 BERNINA Corporate Blog -
In the previous lesson – nr. 33 – I have showed you how to prepare for Cutwork in the BERNINA Embroidery Software V8. Basic options are covered, next we will do the preparations. But first, let’s take a look how CutWork = open embroidery, is made by hand.
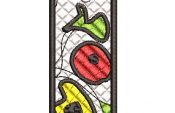
Open embroidery – from English Embroidery, Richelieu, Reticella, Venetian embroidery, Hardanger*, Lacework etc – is embroidery with cut-outs in combination with different stitches.
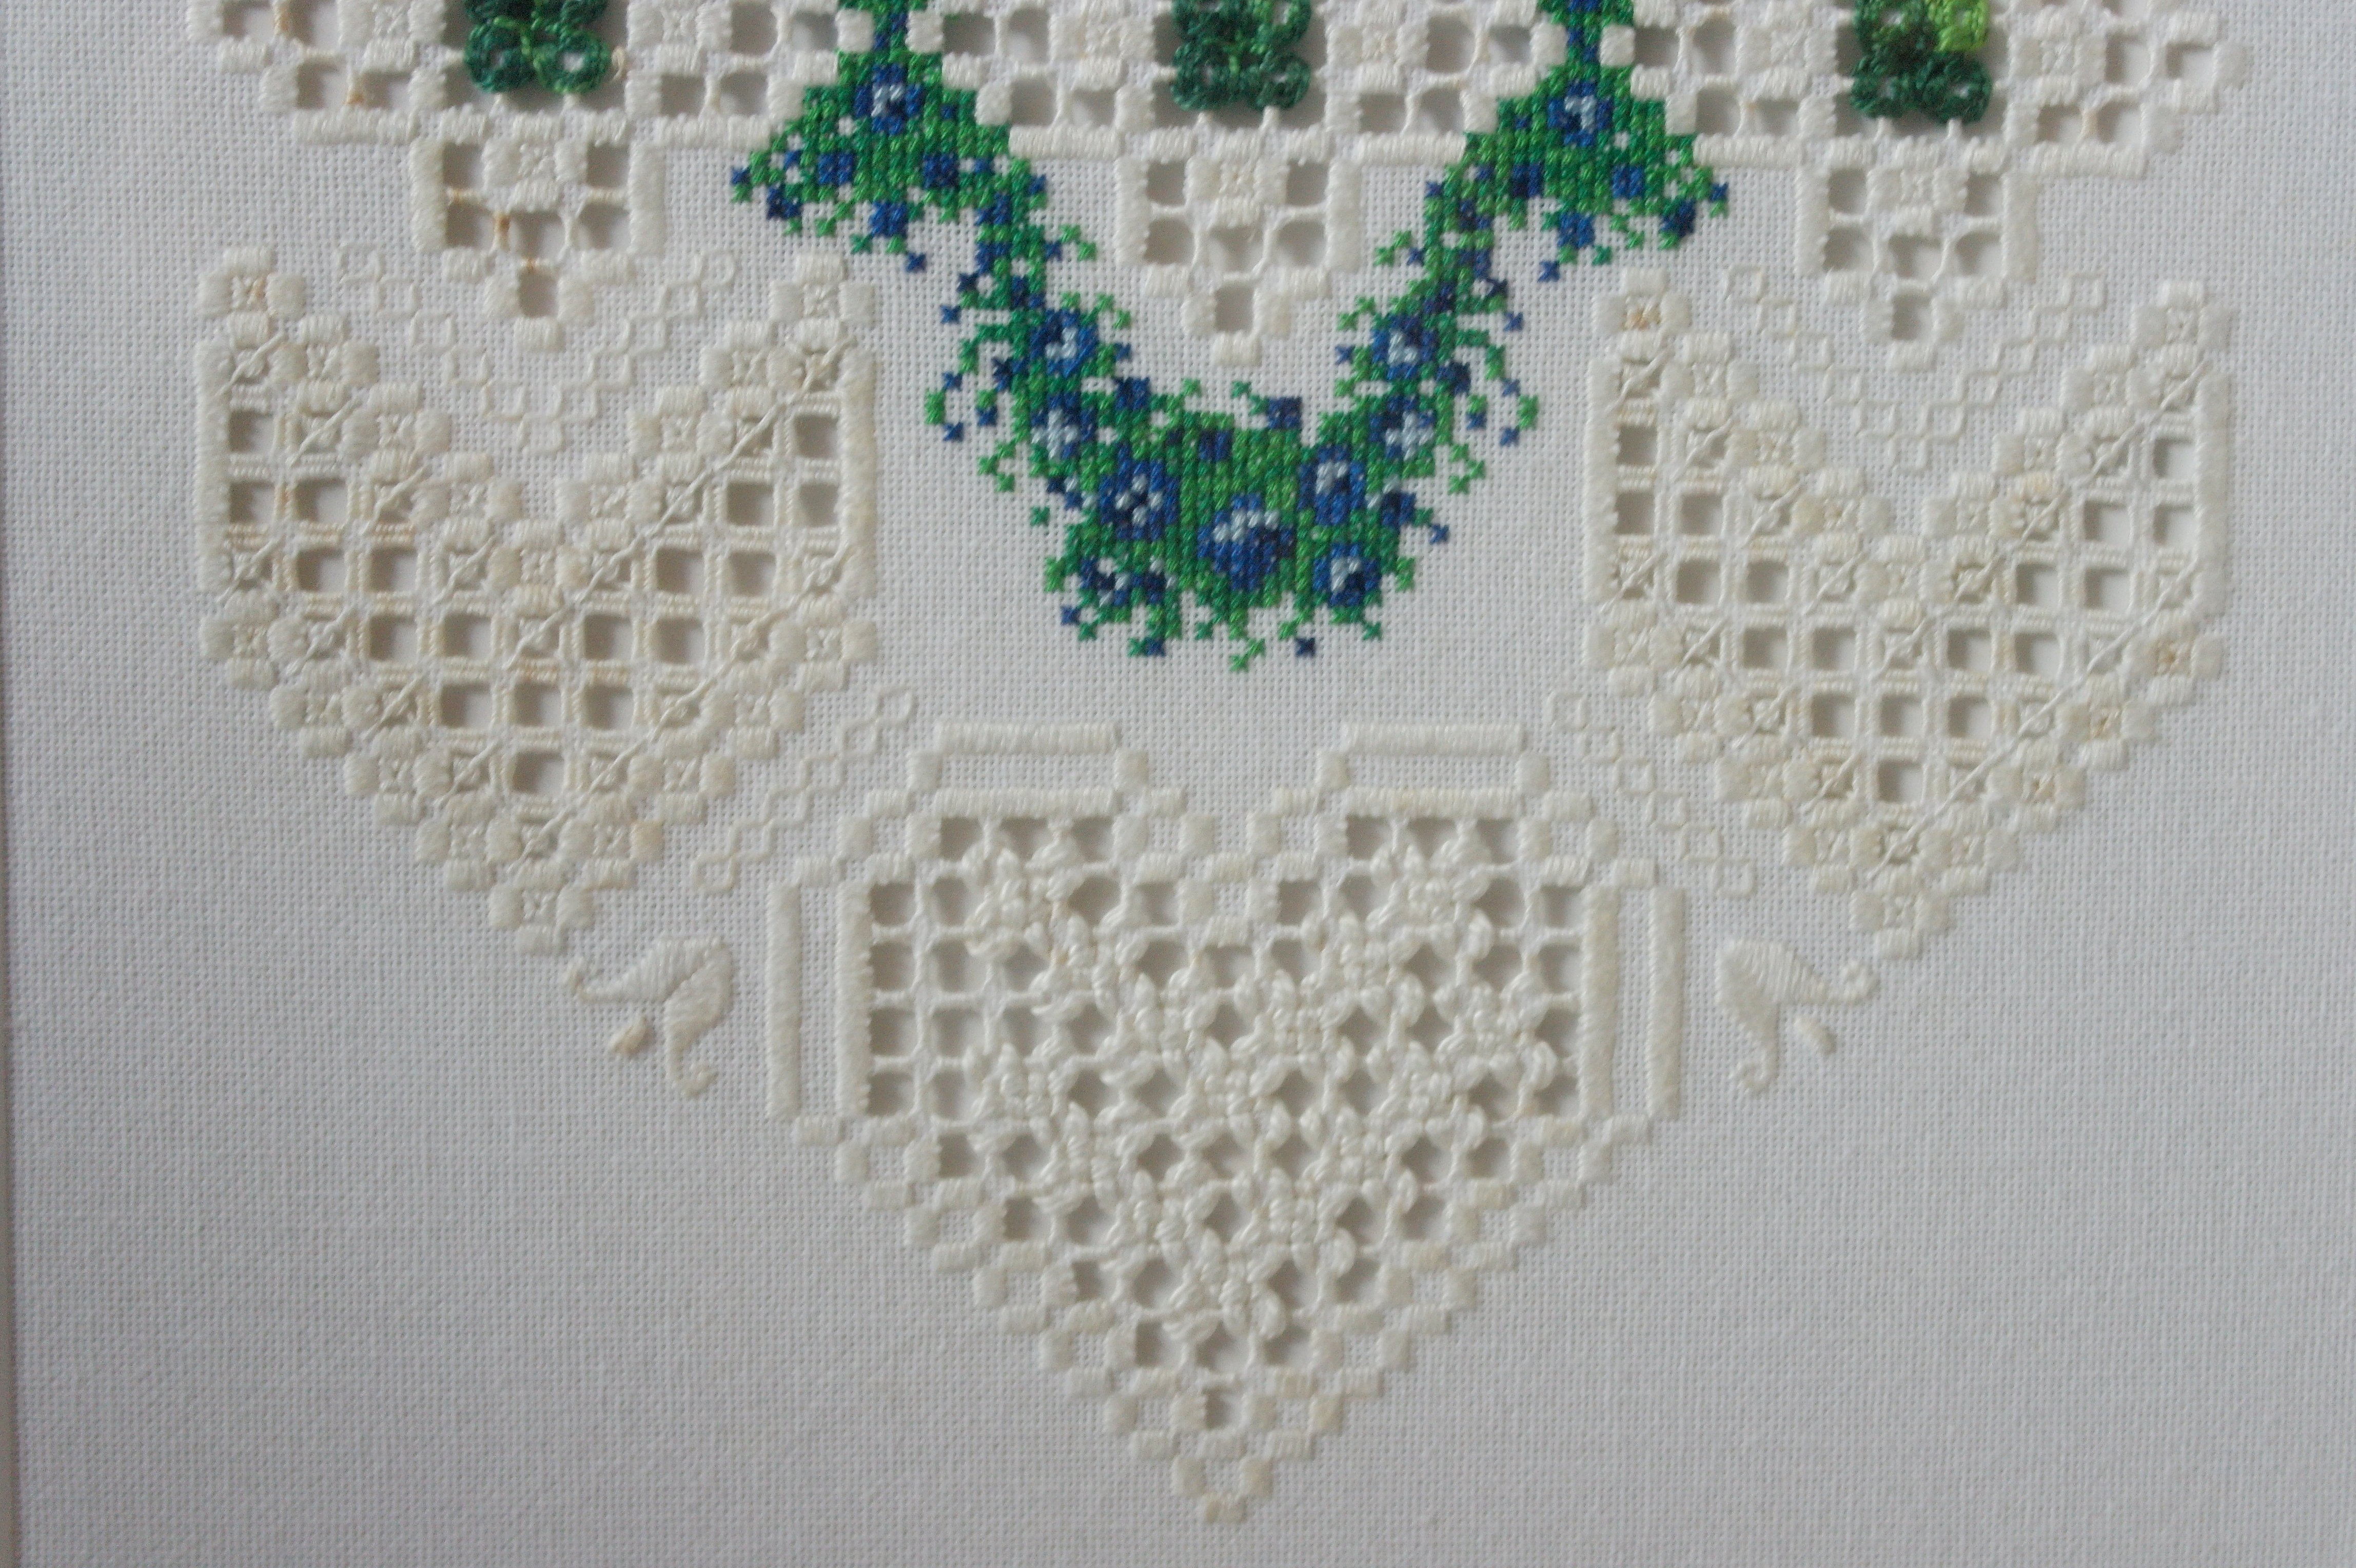
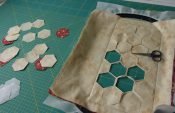
*Hardanger can be open embroidery but also closed embroidery, or a mix. The image above shows one of my own projects, made by hand with Satin Stitches and lots of special stitches combined with cut-outs and Cross Stich.

The image above shows even more different stitches: large squares with open embroidery = cut-outs with special needle work stitches. A (sometimes) intricate way to make beautiful projects.
I have made many different open embroidery projects by hand, but how wonderful would it be to design it for machine embroidery? Of course you could not compare them, but combining cut-outs and machine embroidery would be fun.
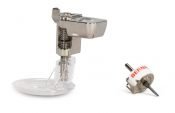
The BERNINA Reference Manual tells us what the usual method for CutWork by hand is:
– Embroider the design on fabric
– Iron and stabilize with starch
– Make cut-outs between embroidery stitches, using a small sharp scissors
– Do NOT cut the embroidery stitches
– When ready, iron again
Dense woven fabrics, which don’t fray easily – are the best to use, especially for Richelieu and English Embroidery. For Hardanger, special embroidery fabric is used, or use Evenweave. Depending on these fabrics, spray is used, or stabilizers. As soon as the cut-outs are made, the appearance of the embroidery changes dramatically.
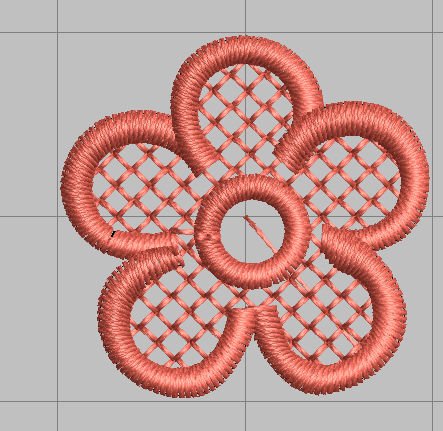
Users of V8 know that – while making FSL = Free Standing Lace – a water soluble stabilizer is used in the embroidery hoop. After washing it all after the embroidery is done, just the stitches remain, which is the actual lace. Holes between the stitches are not cut, but washed out, because of the openness of the design. There are a couple of LACE motifs in the BERNINA Embroidery Library, like this little flower = SimpleLace01.ART80. But this is a different method, comparing to designing CutWork.
Getting Clipart via CorelCONNECT from your Desktop.
You can use a downloaded/ready-made embroidery CutWork design, which you can purchase with different embroidery websites. Bring it to your machine and embroider it, and afterwards use the CutWork Tool. But how much fun is it to design your own CutWork, using your own drawing or Clipart (beware of Copyright) from the Internet. Much Clipart can be found in Corel CONNECT, the additional part of the BERNINA Embroidery Software, where many Vector images of good quality are at your disposal: you can see what images are available by using the separate icon on your Desktop.
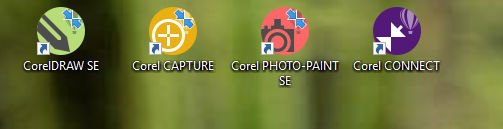
The four Corel’s were installed after the first Update of V8: CorelDRAW SE, CorelCAPTURE and CorelPHOTO-PAINT SE and CorelCONNECT.
Use CorelCONNECT via your desktop to find the clipart you want to use: you can do this by double-clicking on the icon. To do so, you can get the Clipart first, saving it in a special folder on your hard drive, and open the folder in V8/Artwork Canvas to edit.
Getting Clipart from CorelCONNECT via Artwork Canvas.
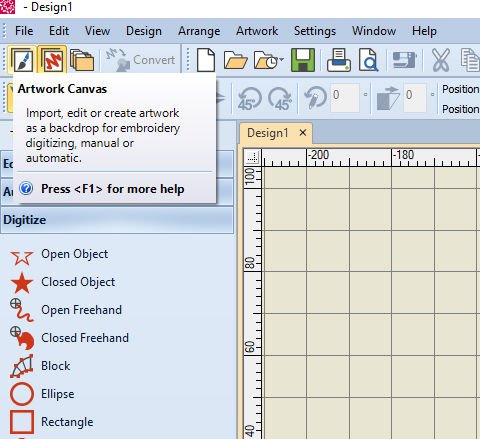
You can also find the same Clipart, inside Artwork Canvas: use the left icon to open Artwork Canvas.
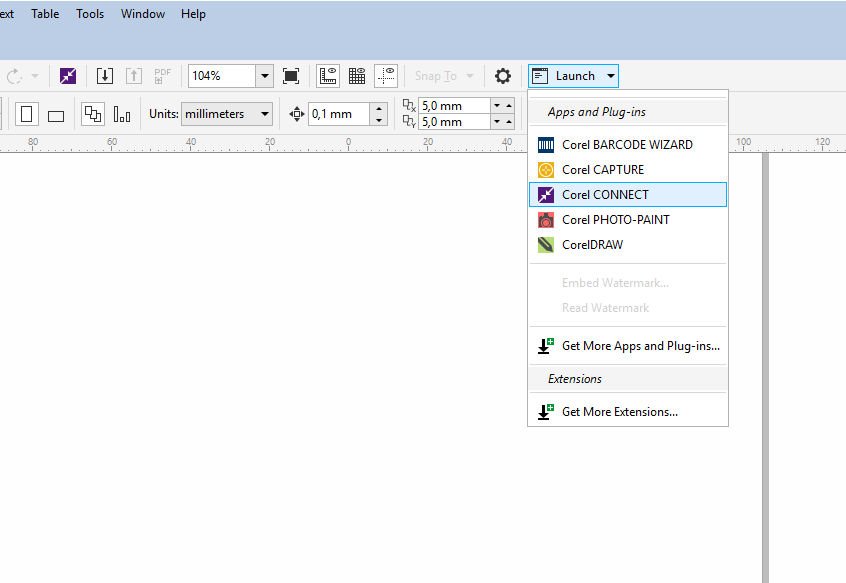
Look for the word ‘Launch’ = option, click on the down-arrow, and click on CorelCONNECT.
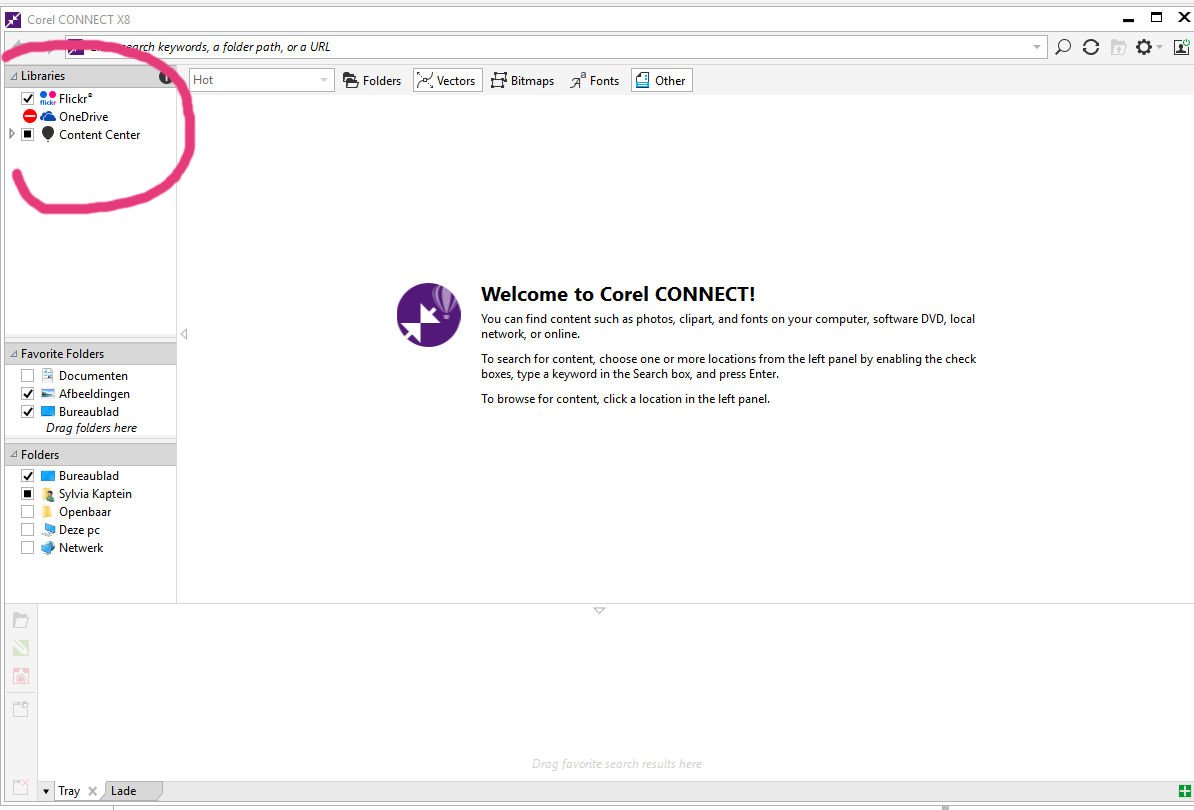
A ‘Corel CONNECT X8’ menu is opened. Look for ‘Libraries’, top left,
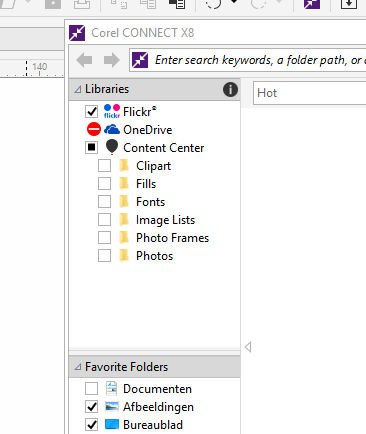
and click on the small arrow, left of ‘Content Center: a drop-down list with options is available now. You only need ‘Clipart’.
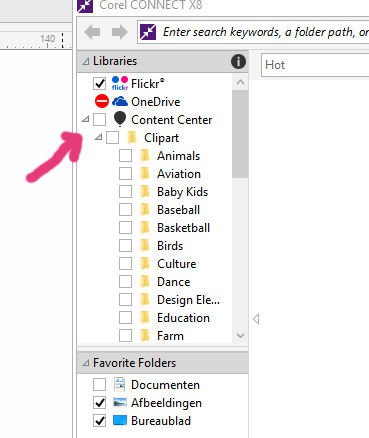
When hovering the cursor of your mouse over these options, you can see arrows appear to the left of the empty boxes/options. Click on the arrow next to ‘Clipart’ to open another drop-down list with subjects available in Clipart. There will be a scroll bar to the right to go up and down, to see all the subjects.
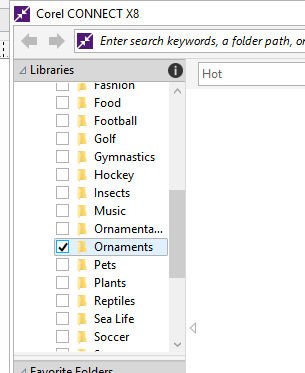
When checking the box ‘Clipart’- which is the main box – all boxes with the subjects below are checked too, but for our CutWork design, we only need a Butterfly. So just check the box ‘Ornaments’, or click on the name to activate (nothing happens when just checking the box: you need to click on the subject name to get clipart),

and be sure the ‘Vectors‘ – bar on top of Corel CONNECT X8 is used. And there is your clipart in this category: the butterfly ‘CGS20345’ is the one we will use for project.
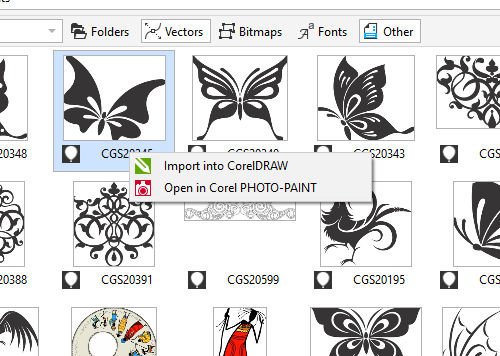
To import it, right-click on that file, and choose ‘import into CorelDRAW’.
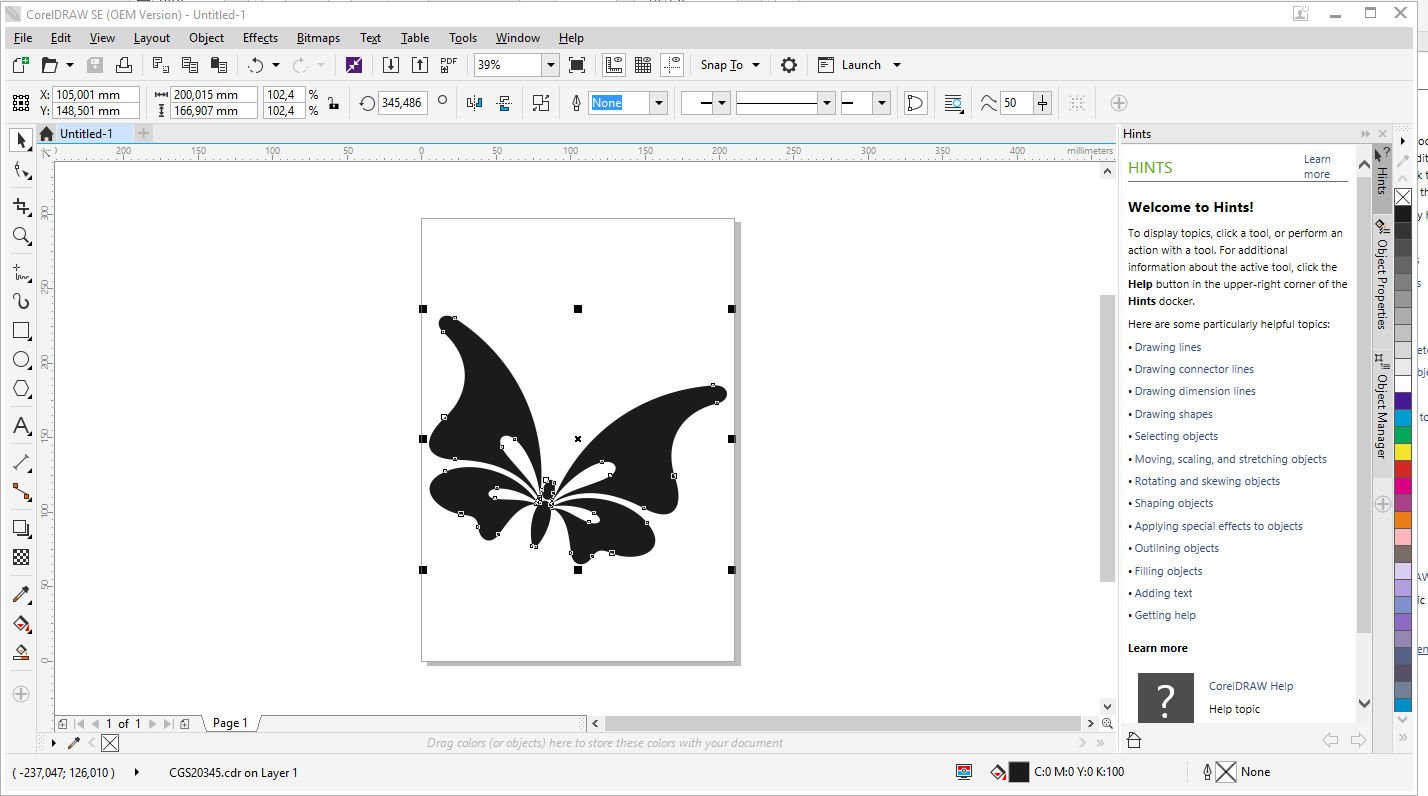
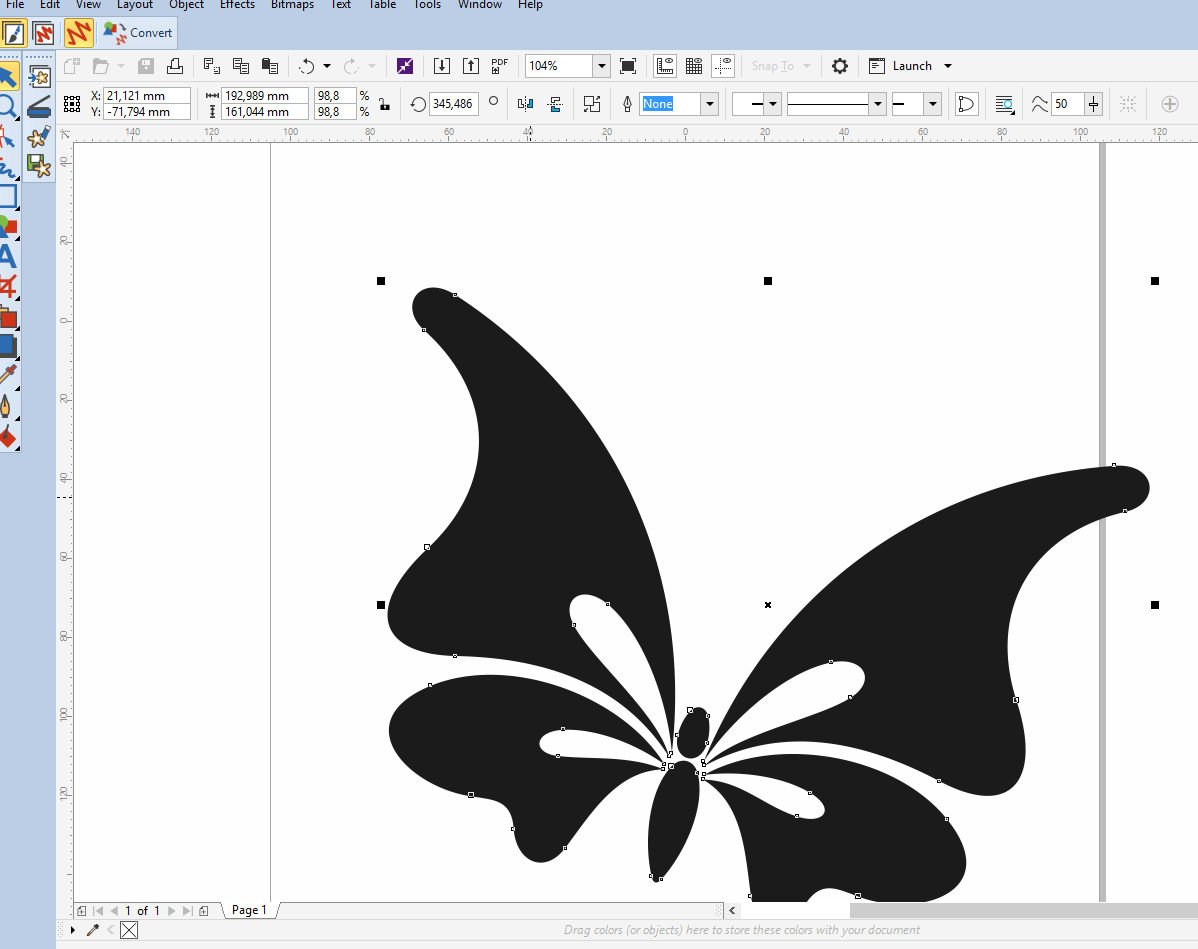
A new screen will appear: CorelDRAW SE (OEM Version) – Untitled-1 (which refers to the butterfly that has no name yet, because you didn’t save it). The butterfly is now placed on the drawing board. You can adjust the size a bit, to be sure the black nodes of the selection will fit between the lines.

Then use ‘File’, ‘Save as..’ to save your design – naming it ‘butterfly cutwork’ , to be able to find it again on your hard disk. It will be saved by CorelDRAW with the extension .cdr. Close all boxes/menu’s, but be sure Artwork Canvas is still opened.
Loading the Butterfly in Artwork Canvas.
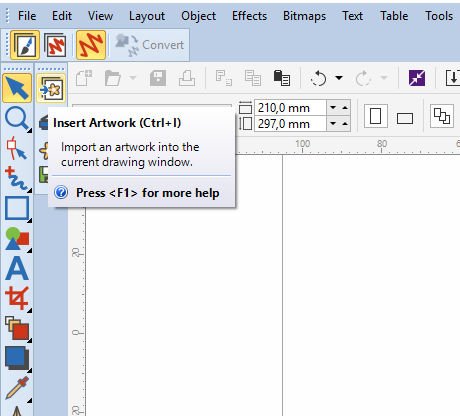
Use the icon ‘Insert Artwork’ or ‘Ctrl+I’ to be able to edit the Butterfly for CutWork. it will open the library.

I have placed my butterfly in the Embroidery Library, My Designs, Cutwork: a separate folder. Look for the file ‘butterfly cutwork.cdr’ ,
double-click on that file (or click and use ‘Import’, right bottom) to place it on your workspace in Artwork Canvas. When hovering over the blanc space you will see information appear, with a corner ruler. Just click on a spot between the lines to actually place it.
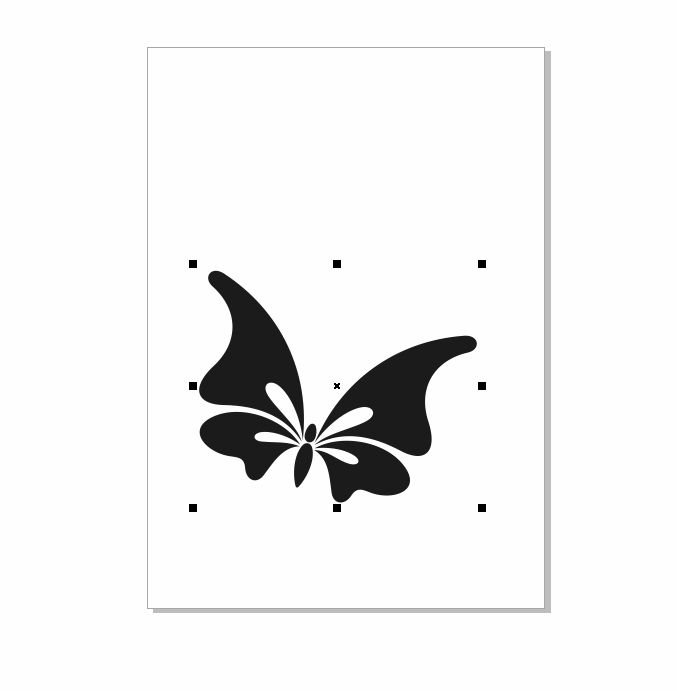
When it is too large, just push the black nodes until it fits between the lines. Be sure it is still selected, with square black nodes visible,
then click on ‘Convert’ on the upper toolbar to place the butterfly in Embroidery Canvas as an embroidery design. And there it is! Still selected (black nodes are again visible). V8 converted it, using a Step Fill, which is fine, because I want to use these stitches anyway. Have you noticed that ‘Digitize’ with the left toolbar ‘Toolboxes’ is now opened? You can edit the butterfly if you need to, which will be necessary, because I want to cut holes in the wings of the butterfly.
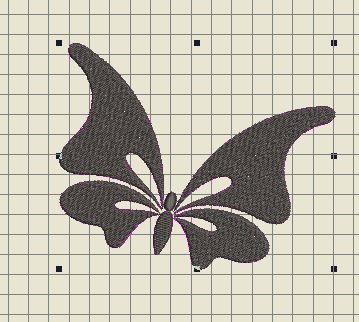
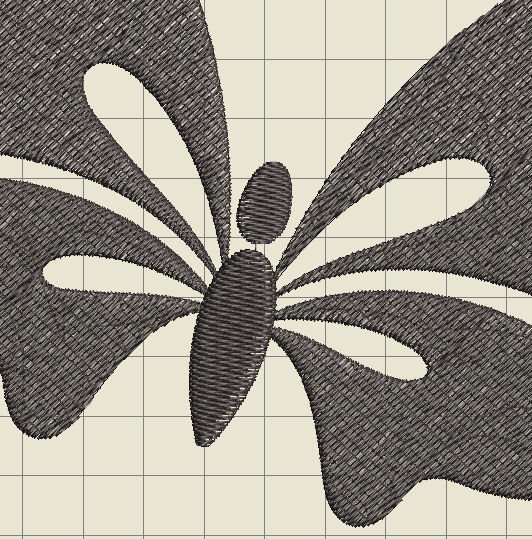
The embroidery will be made, before cutting: that’s what I want – CutWork afterwards. But if you take a closer look, you can see that the wings are not touching the body, and the head of the butterfly is separated from the body too. They all have to connect, to be able to get one single embroidered butterfly with four holes in the wings. I have enlarged the picture to get a better look.
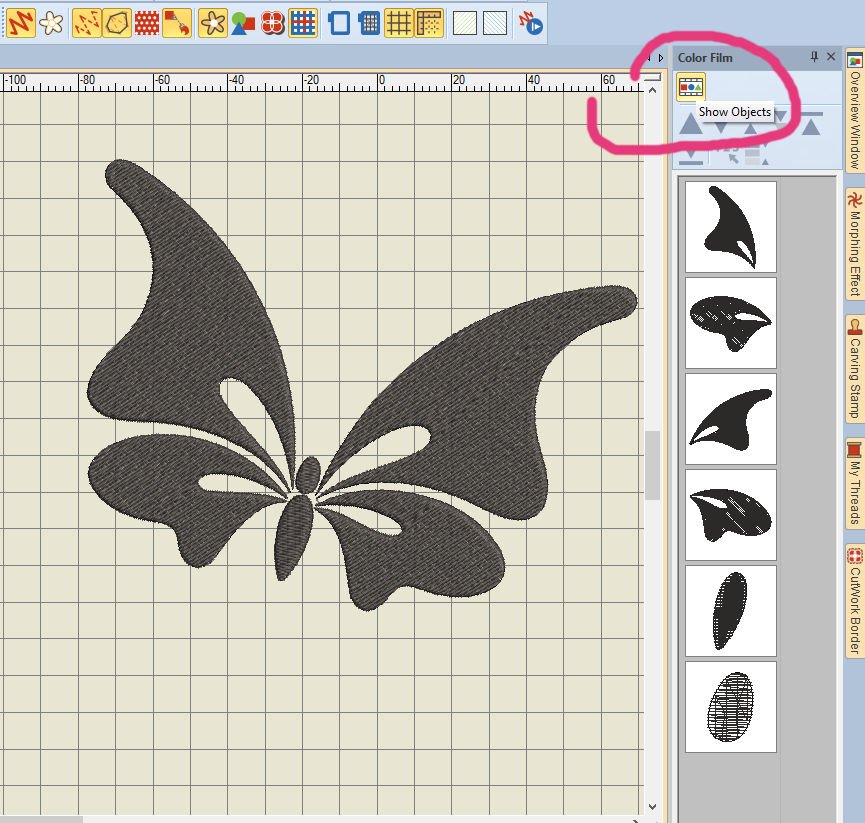
By looking in the docker ‘Color Film’, choosing ‘Show Objects’ I can see each object = 6 of them. So far so good.
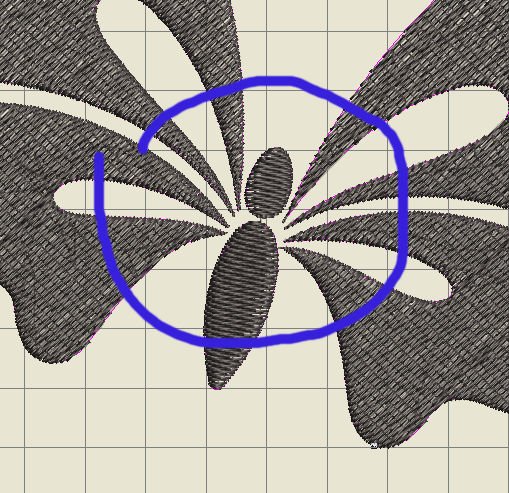
Since each object of the butterfly can be edited separately, I can move the head down, underneath the body, and the wings too, to make it one single object. I have enlarged the gaps in the wings, because of the size of the cuts I want to make inside thee wings: I have used the Reshape tool, pushing and pulling nodes, even add some nodes to make the lines more curved/natural. It can take some time, but it will improve the embroidery/CutWork. To prevent bulk, I have used ‘Remove Overlaps’ with ‘Edit’ on the left toolbar ‘Toolboxes’, which reduced the stitch count too. Edit as much as you need, but remember you can always adjust some more later.
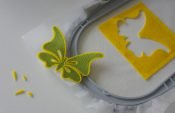
Check measurements: select the design, and see how large it is. I will use my Large Oval Hoop with my BERNINA 770QE, for the actual embroidery and CutWork. Finally I was content, and saved this new butterfly under a different filename in the same category with ‘My Designs’. Always change the file name after editing, because perhaps you want to use the original design for something else.
We will continue to make the actual CutWork in the next lesson: see you then.
Happy Stitching
Sylvia Kaptein
www.sylviasartquilts.nl
It is SO clever ?
And fun, isn’t it?
Very helpful tutorial and inspiration. Thank you Sylvia. As you mentioned loading artwork in Artwork Canvas it reminded me that I’m looking for a particular sunflower design which we had access to in V7 but lost all of that Corel clipart on our computer when we went to V8 (Corel moved to a cloud storage, but we lost access to the artwork originally for V7). Do you know how we might get access to such artwork?
Hi Darlen,
I am sorry, but I started with V8, don’t know what artwork was available with V7. Perhaps you can try it with ‘Free Clipart Sunflower’ via the Internet, it could be there or something similar. Or, you can even draw it yourself, scan it and save it as a drawing, loading it in Artwork Canvas of the BERNINA Embroidery Software (V8), and convert it to embroidery. Even use it for CutWork. It is worth to try
Sylvia