 BERNINA Corporate Blog -
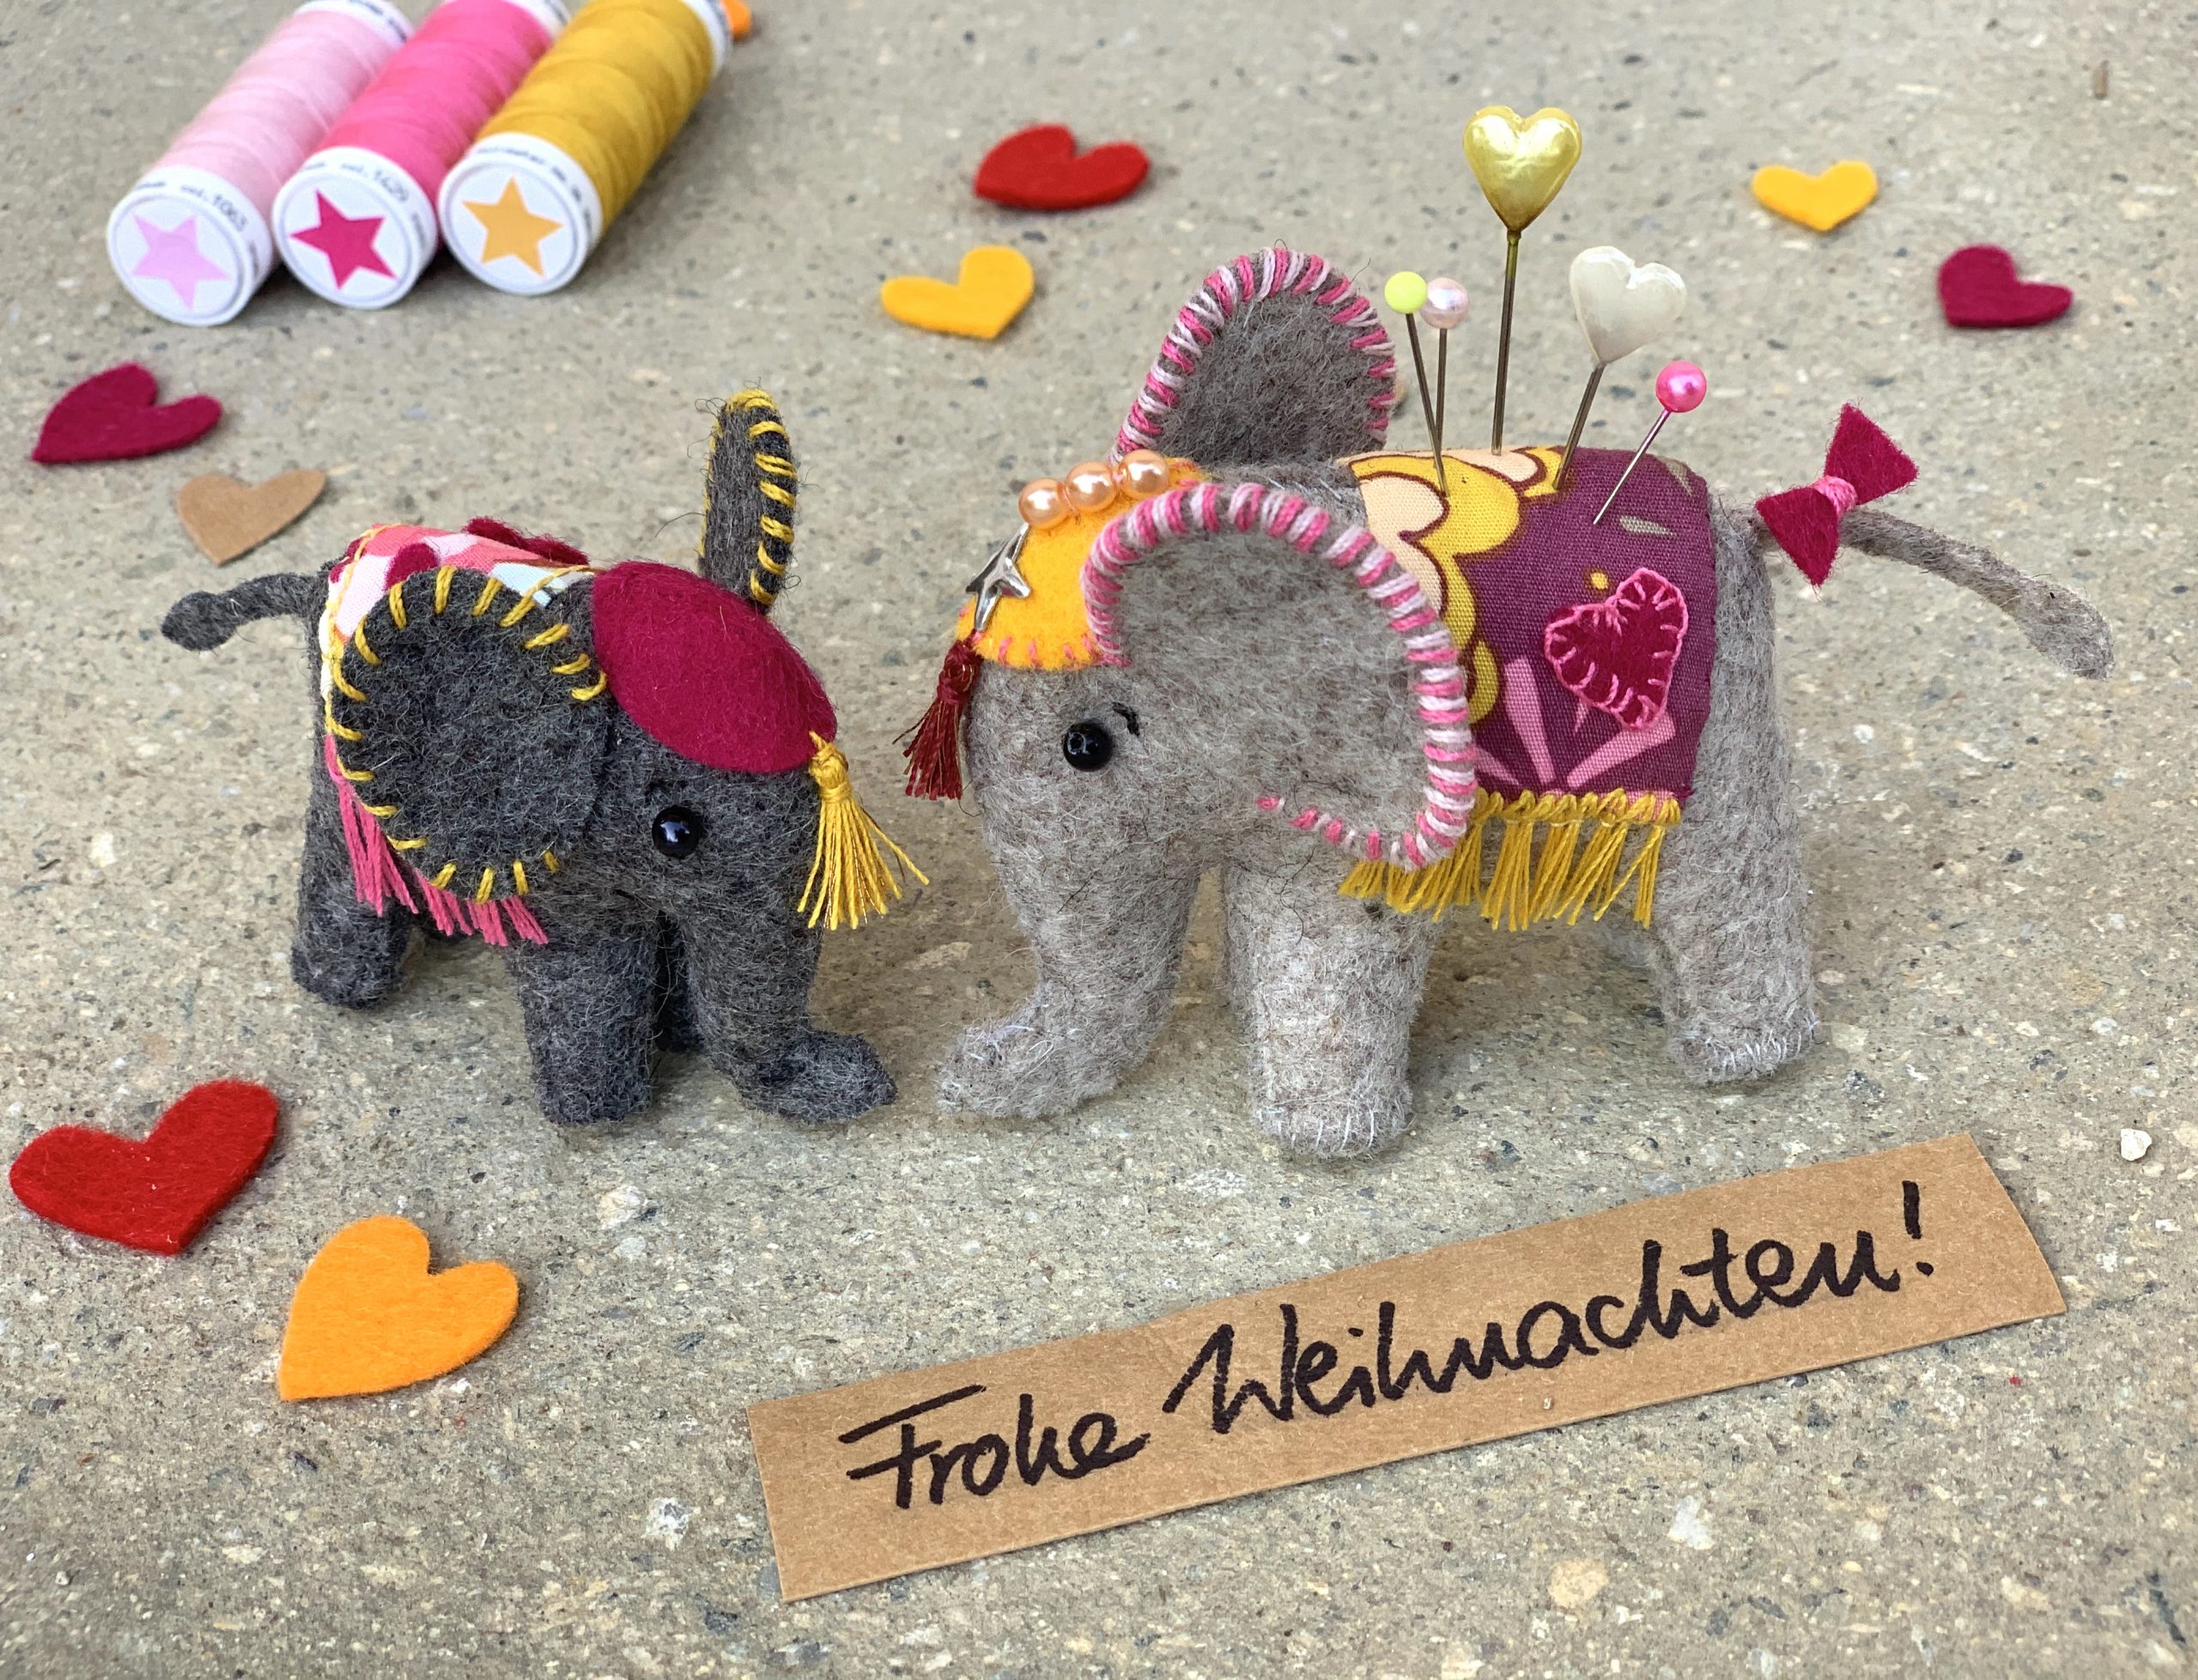
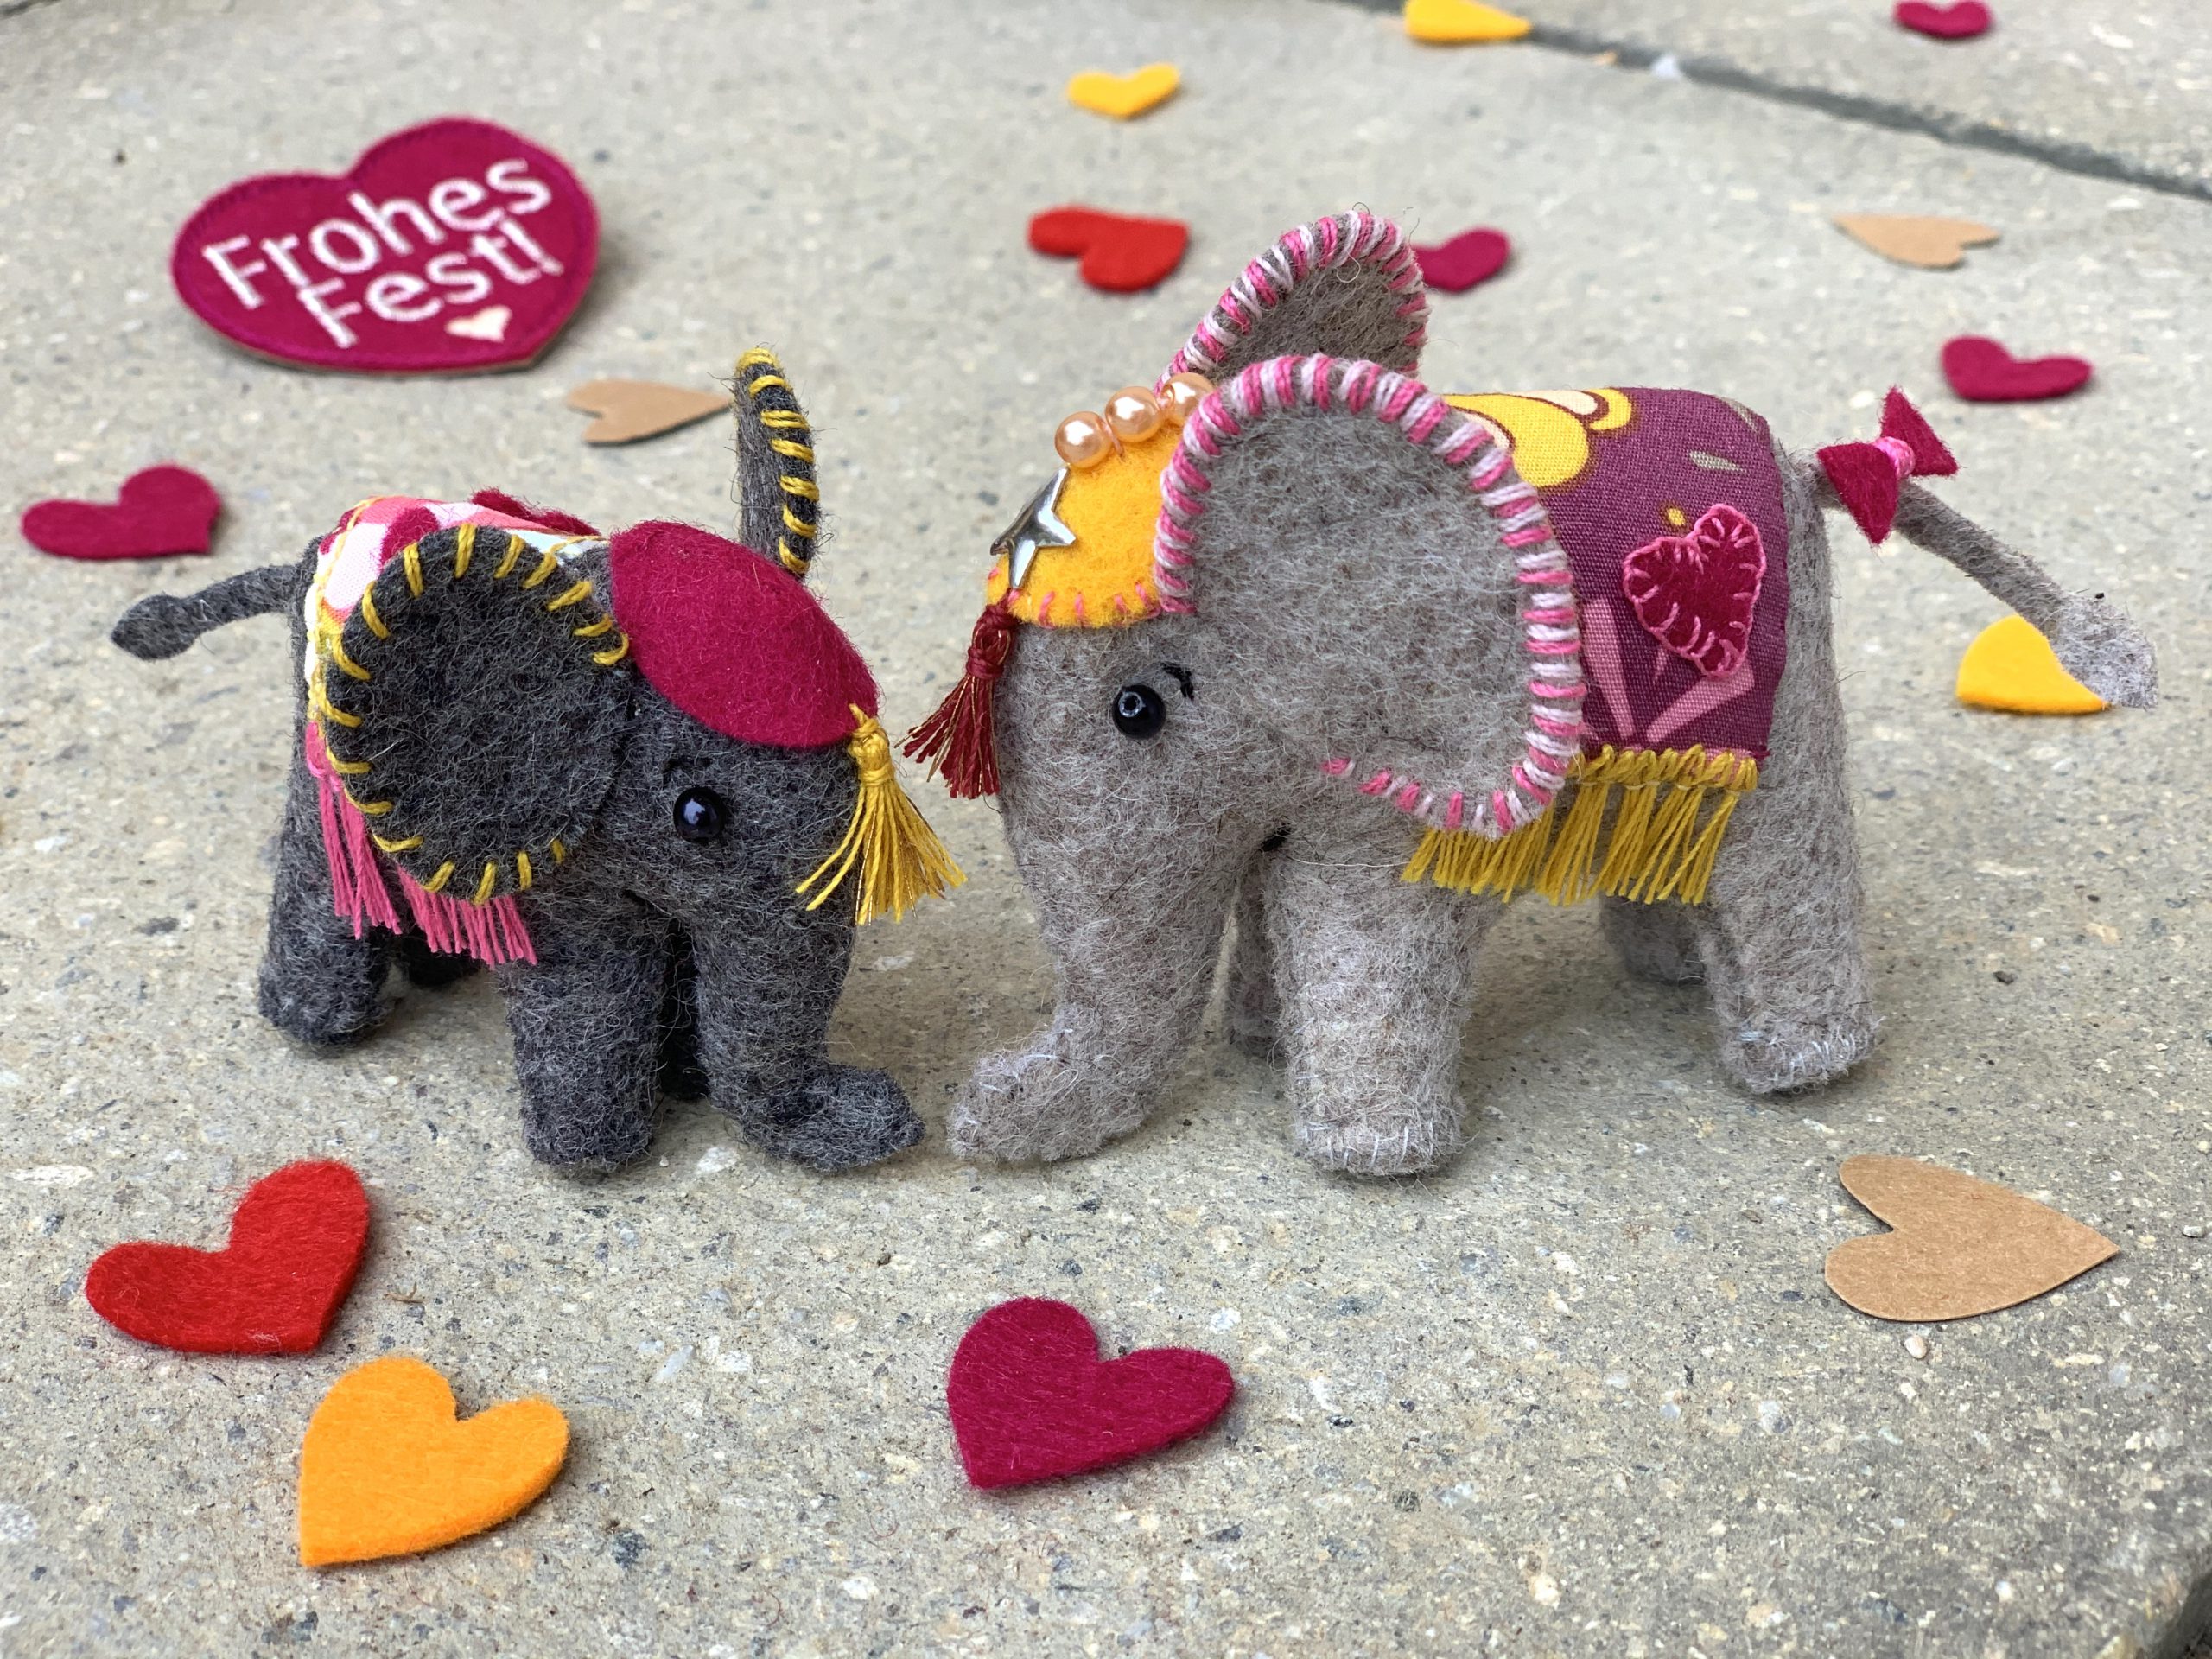
Here’s a cute elephant for you to sew! Hidden behind the second door of the BERNINA Advent Calendar 2020 are sewing instructions for this special lucky mascot. Right at the end of this post, there is also a small Christmas decoration that you can make on your BERNINA embroidery machine.
A unique year is drawing to a close. I thought long and hard about what my Christmas sewing project for this year might look like. But why, of all things, did I decide on two elephants made from wool felt? They are not exactly one of the Christmas classics…
In many cultures the elephant is a symbol of strength and wisdom. Elsewhere, it is said that riding an elephant brings good luck for years to come. For me personally, the elephant stands for a love of travel and exploring foreign countries. These are all things that we long to do in the current time, so why don’t we give these elephants from our hearts as a symbol of all these wonderful things…?
Our sewing machines can have a little rest while we make these small animals. The elephant is mostly sewn by hand. This means that we can spend cozy Christmas evenings with our loved ones on the sofa and still enjoy our creative hobby. Whether you use it as a gift tag or a Chirstmas decoration, a toy figure for the kids or a pincushion, there are so many gift options for this little animal made with love and from the heart.
Sewing an elephant – the materials
- Felt remnants approx. 2 mm thick in gray and possibly other colors for the hat or other decorations
- Two small black beads per elephant – or twisted hand embroidery thread – and optional colored beads for decoration
- Colorful cotton fabric remnants
- Fiberfill
- EXTRA STRONG thread from Mettler
- POLY SHEEN and METALLIC thread from Mettler if required
- Textile adhesive if required
Sewing an elephant – the instructions
The small elephant is approx. 7 x 5 cm, and the large one is approx. 8 x 6 cm. The dimensions refer to the size without the tail and ears.
Download free pattern
You can download the pattern for the elephant here for free:
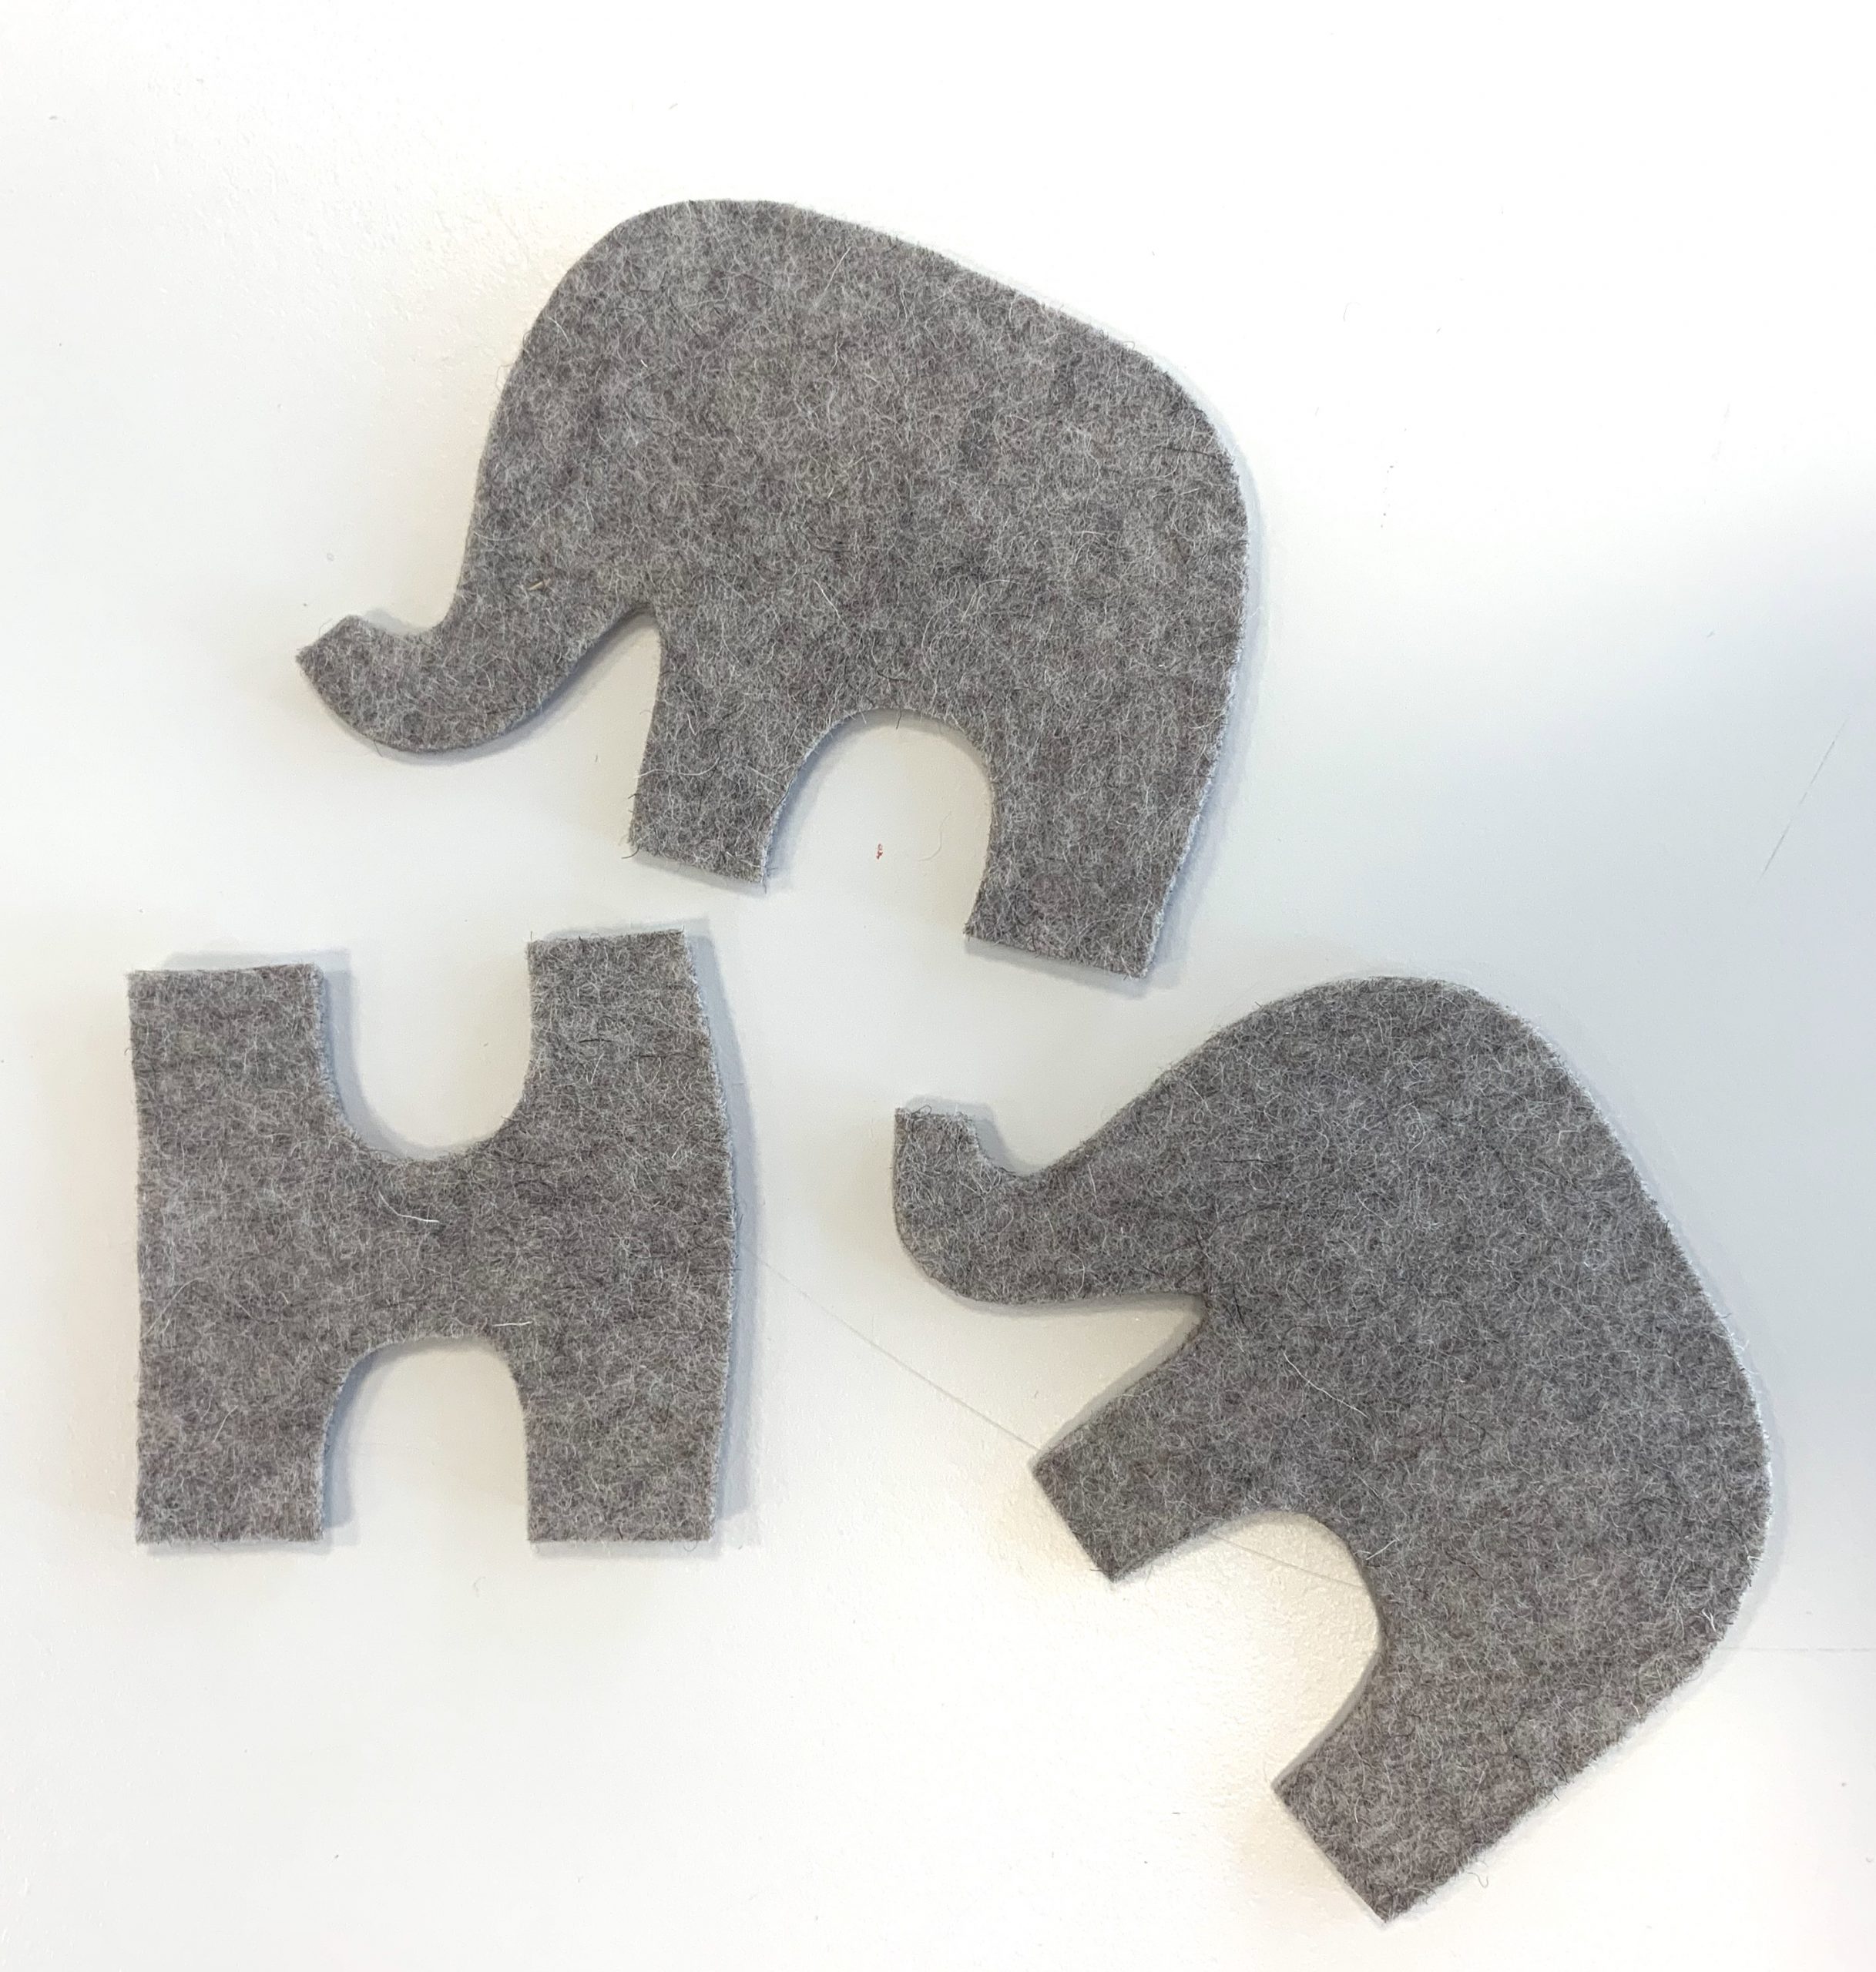
Cutting out
Cut the following pieces out of wool felt for each elephant:
- 2x body
- 2x ears
- 1x bottom piece
- 4x soles of the feet
- 1x tail
- 1x hat, optional (size the same for both elephants; depending on the position of the ears, the hat may have to be trimmed slightly)
From the cotton remnants, cut out:
- a piece approx. 6 x 3.5 cm for the small elephant’s blanket
- a piece approx. 7 x 4 cm for the large elephant’s blanket
Iron over approx. 0.5 cm of the fabric around the edge onto the wrong side (see illustration below in the text).
Sewing an elephant body
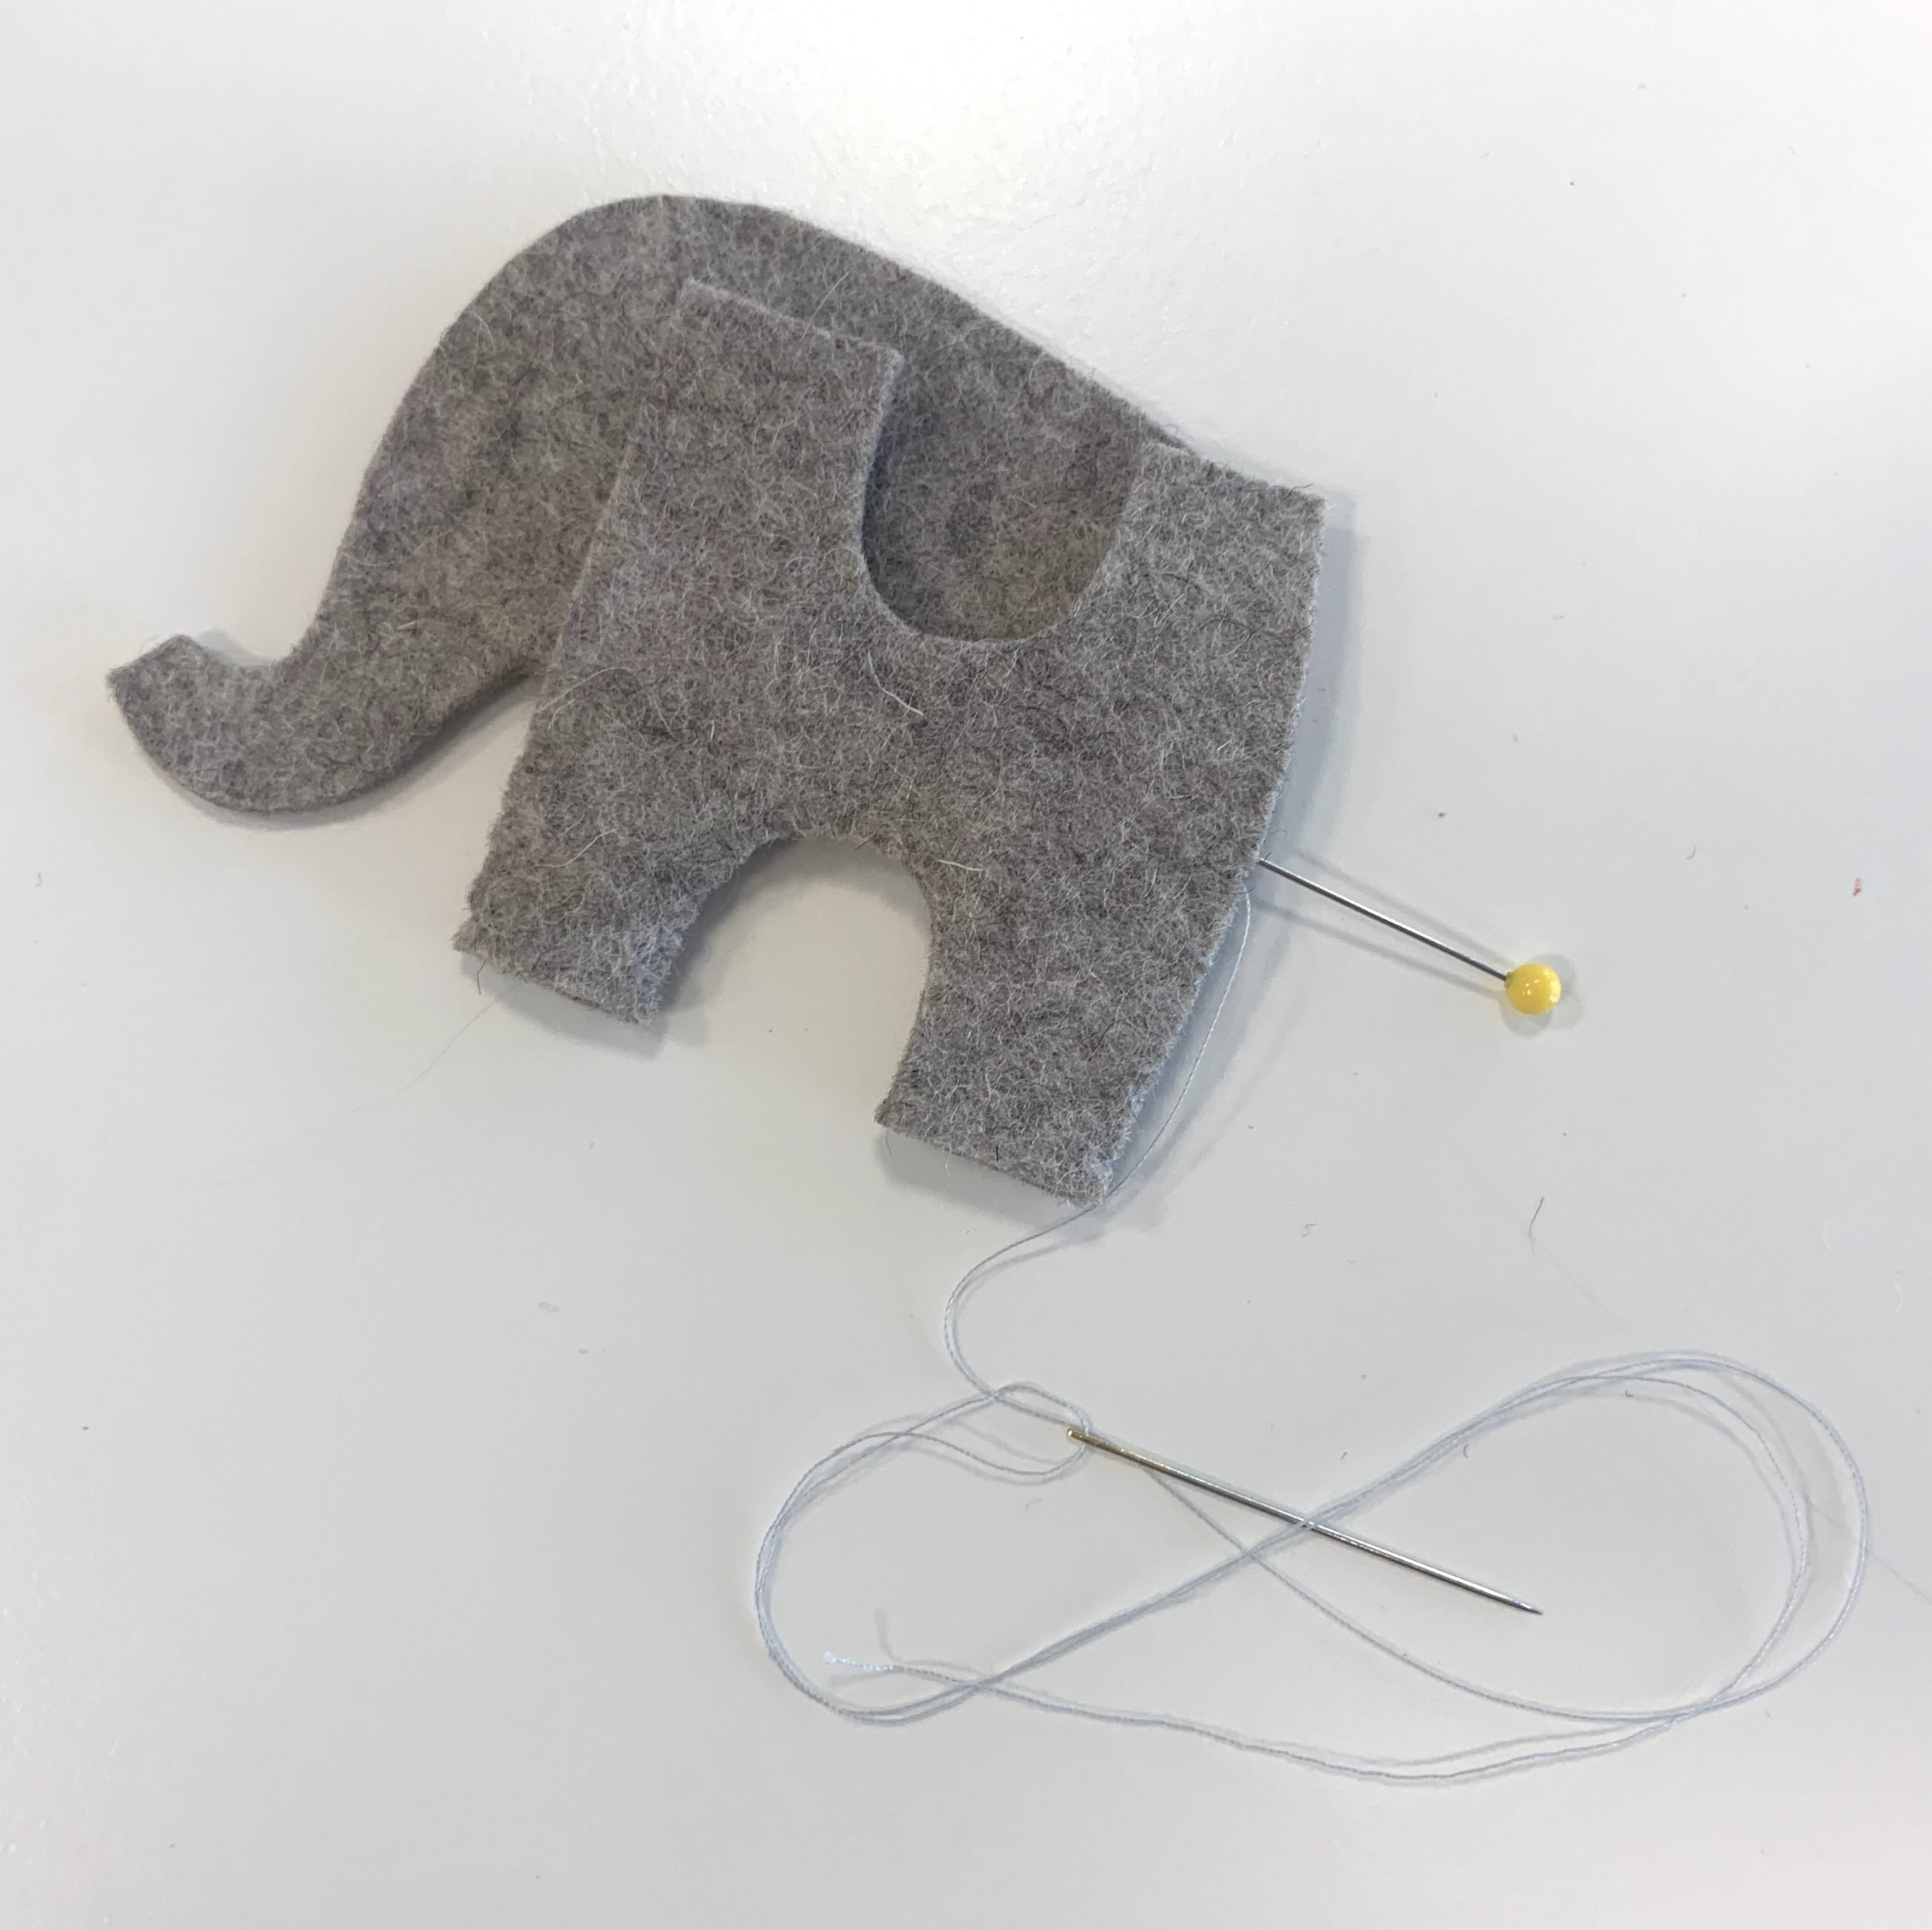
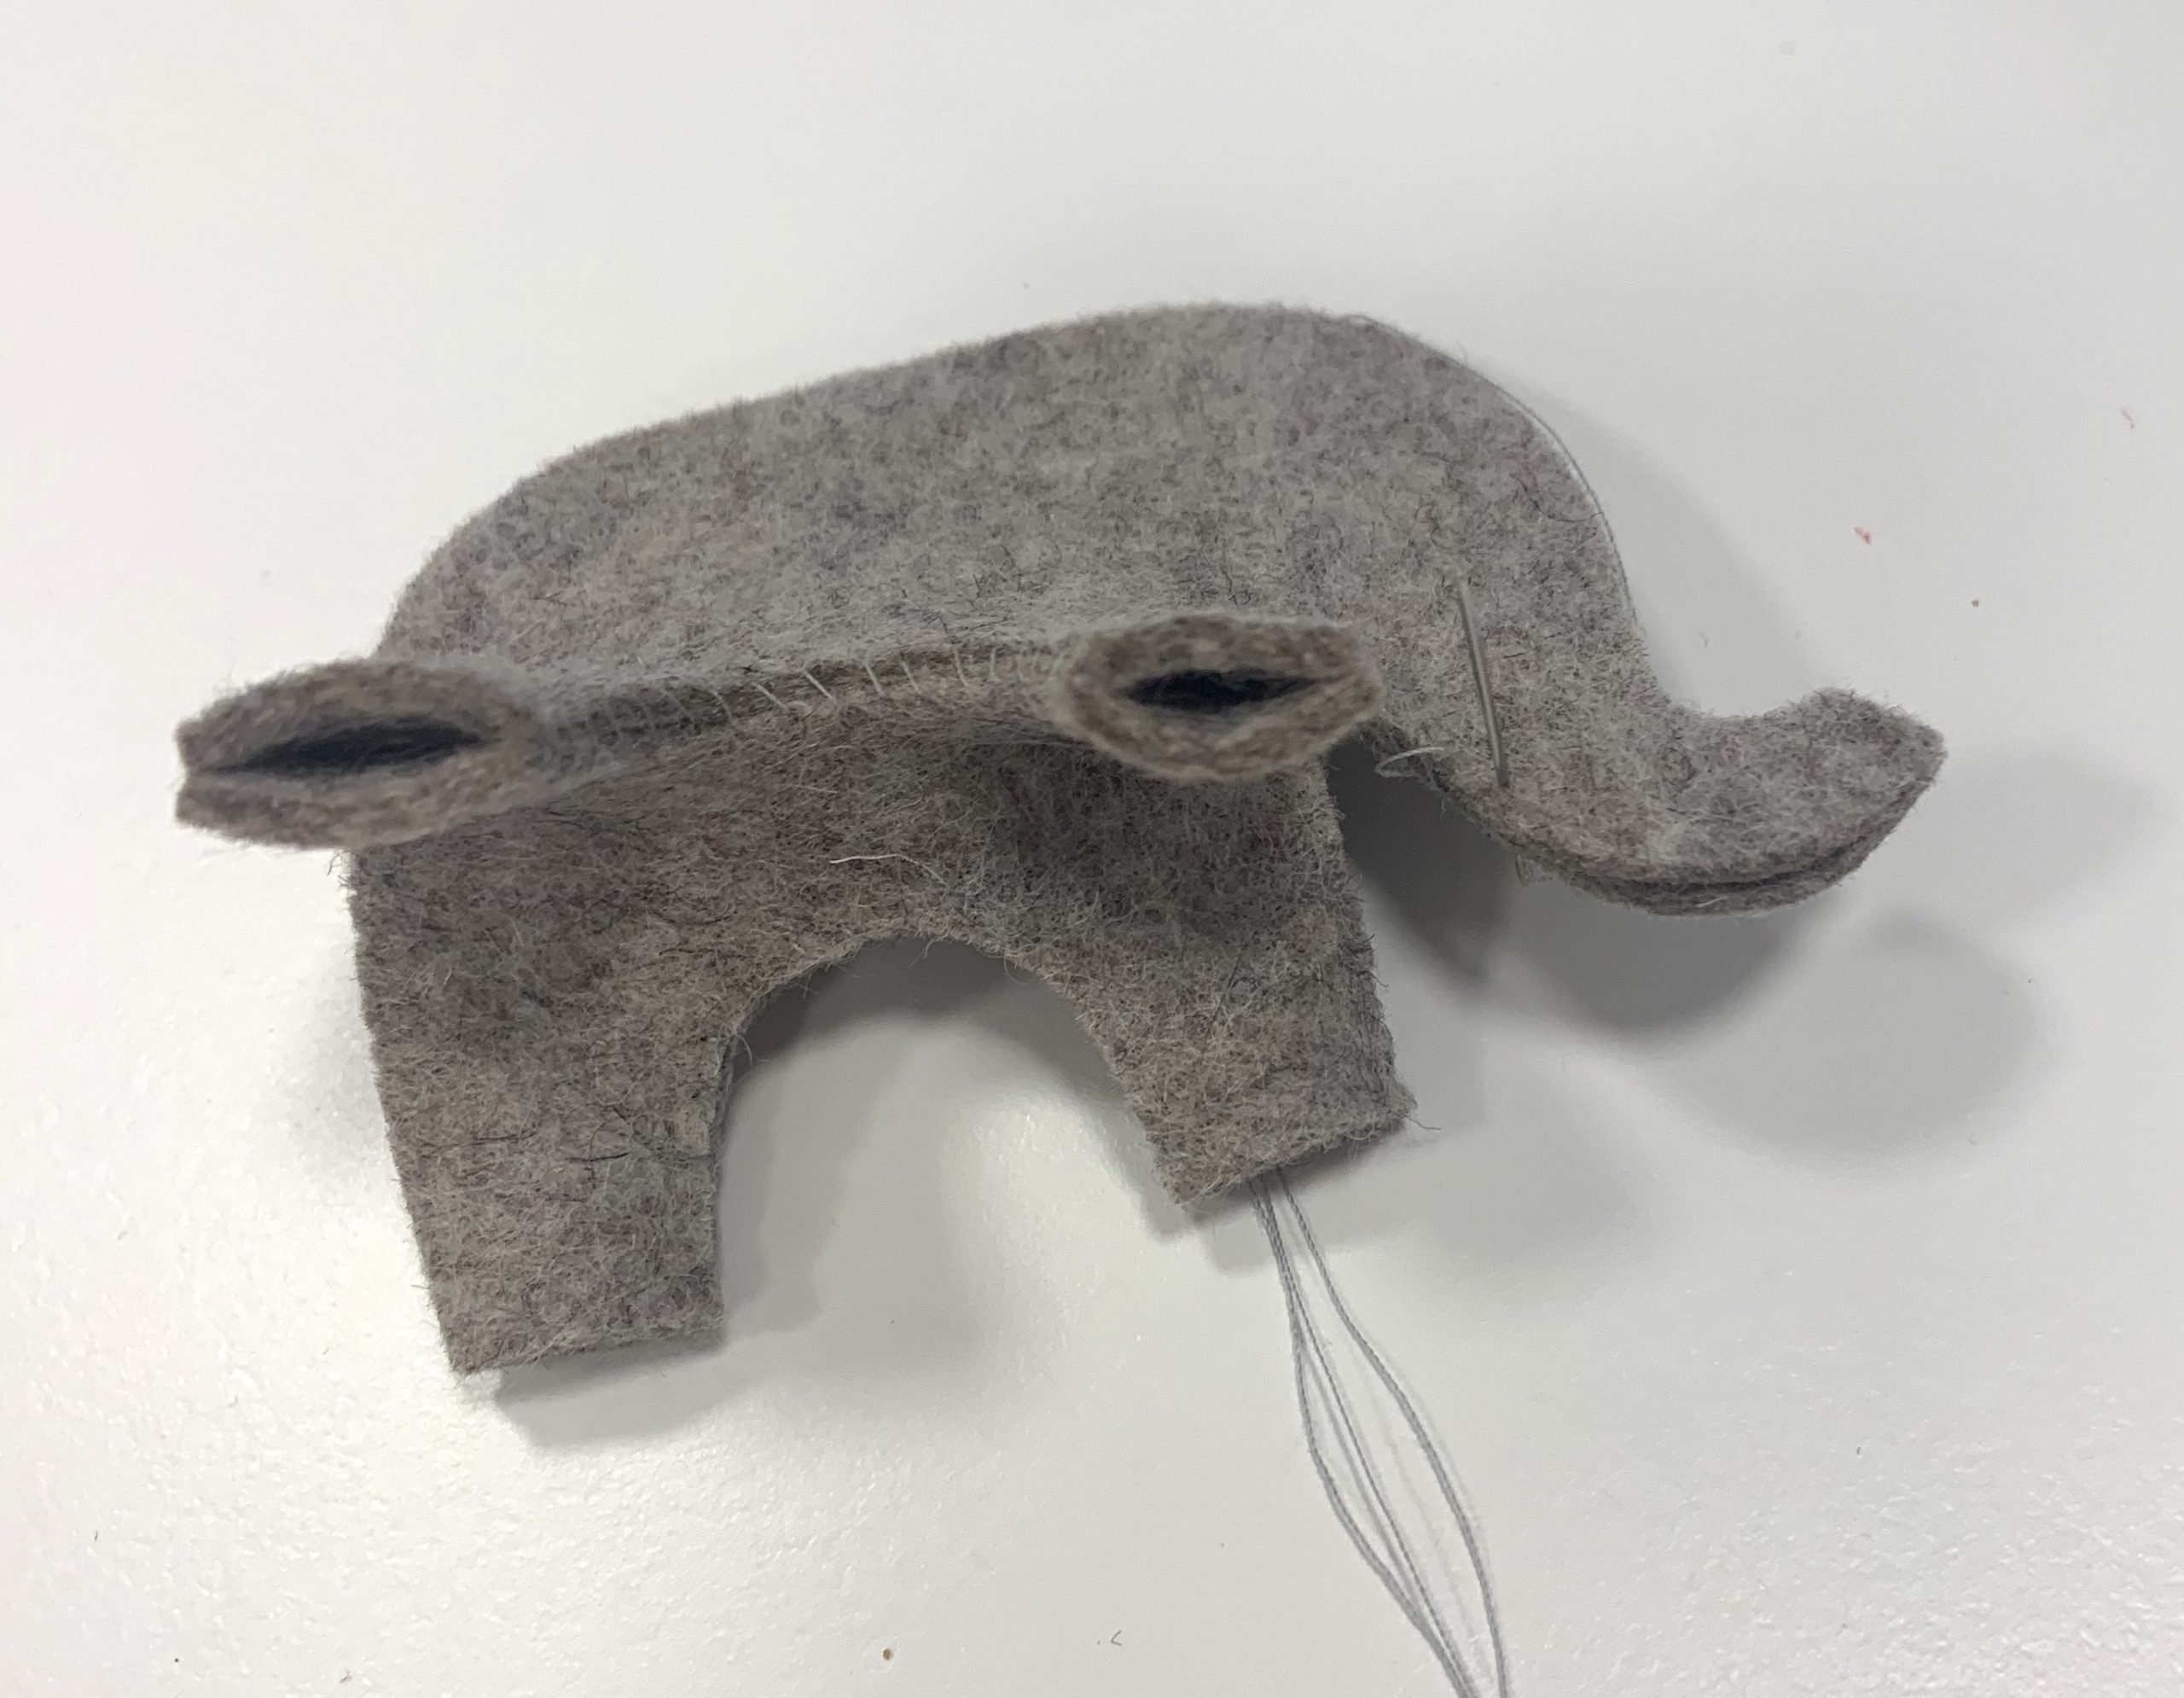
All parts are sewn together by hand using small slip stitches. We start with the two body pieces and the bottom piece:
I used SERALON thread from Mettler. First, sew one of the bottom pieces onto a body piece by sewing the outer legs and the curve. Leave the bottom opening of the legs open.
The second body piece is then inserted. To do this, fold the bottom piece down…
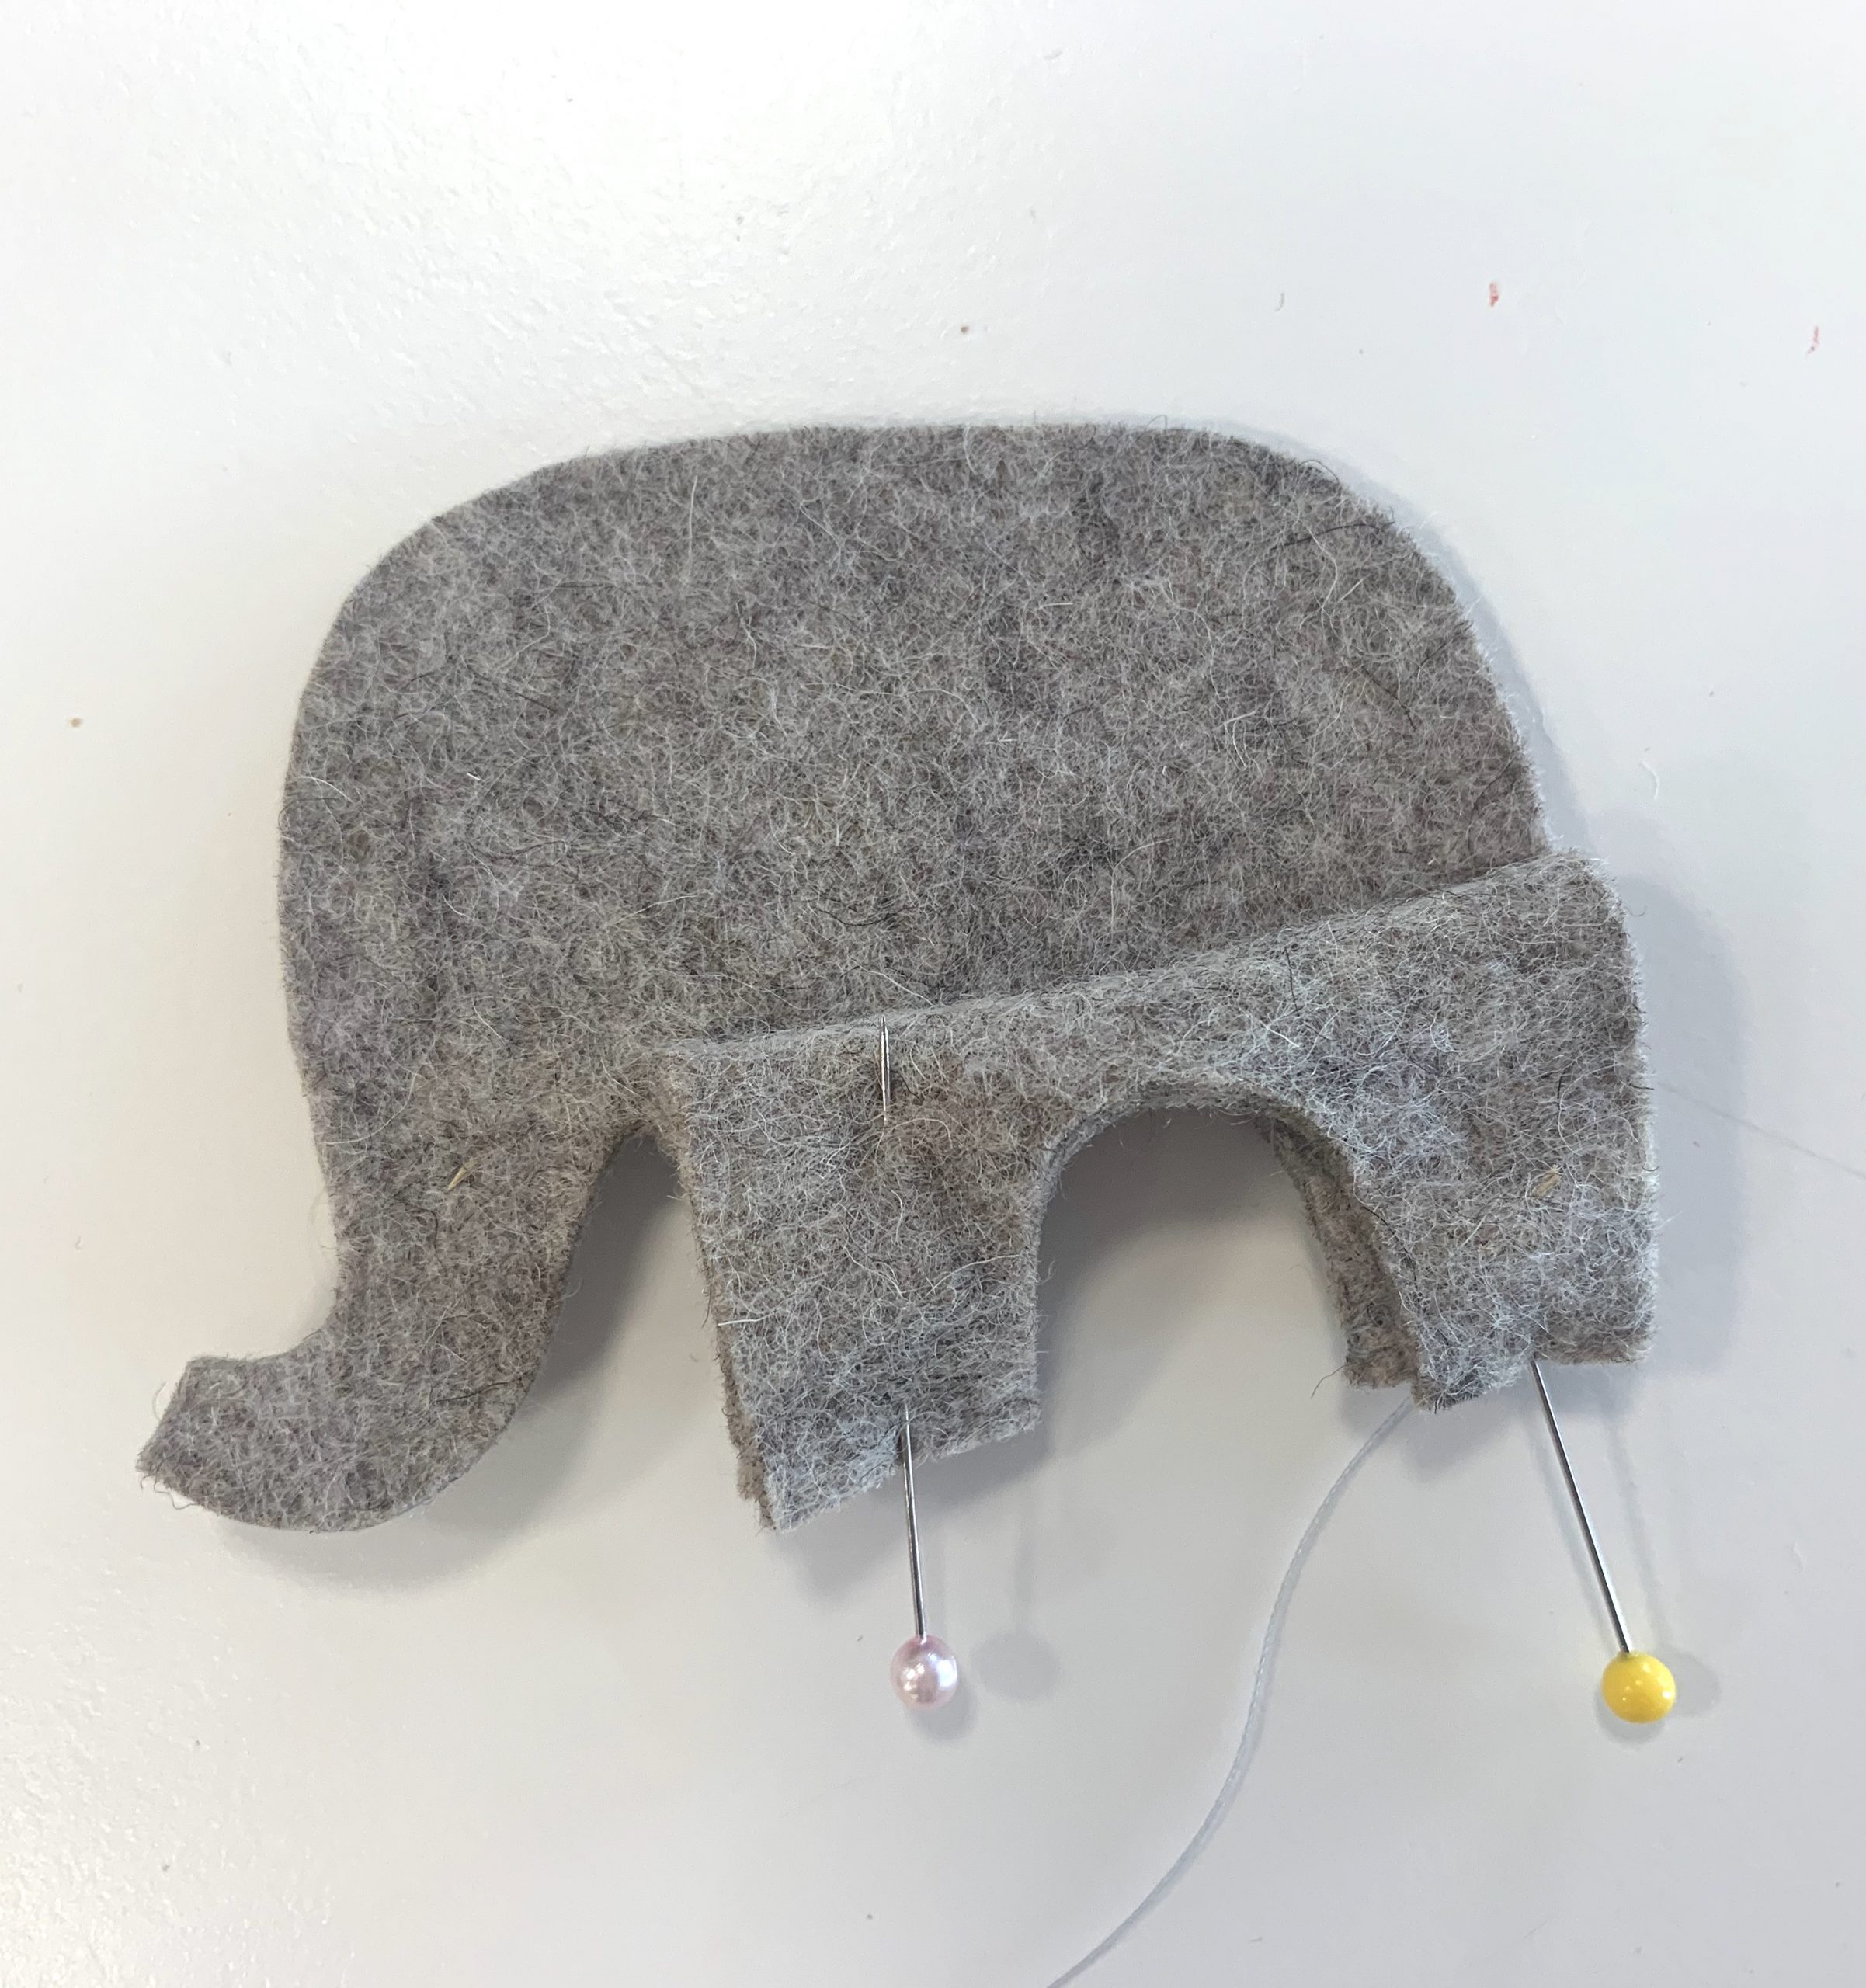
…and sew on the second side of the body.
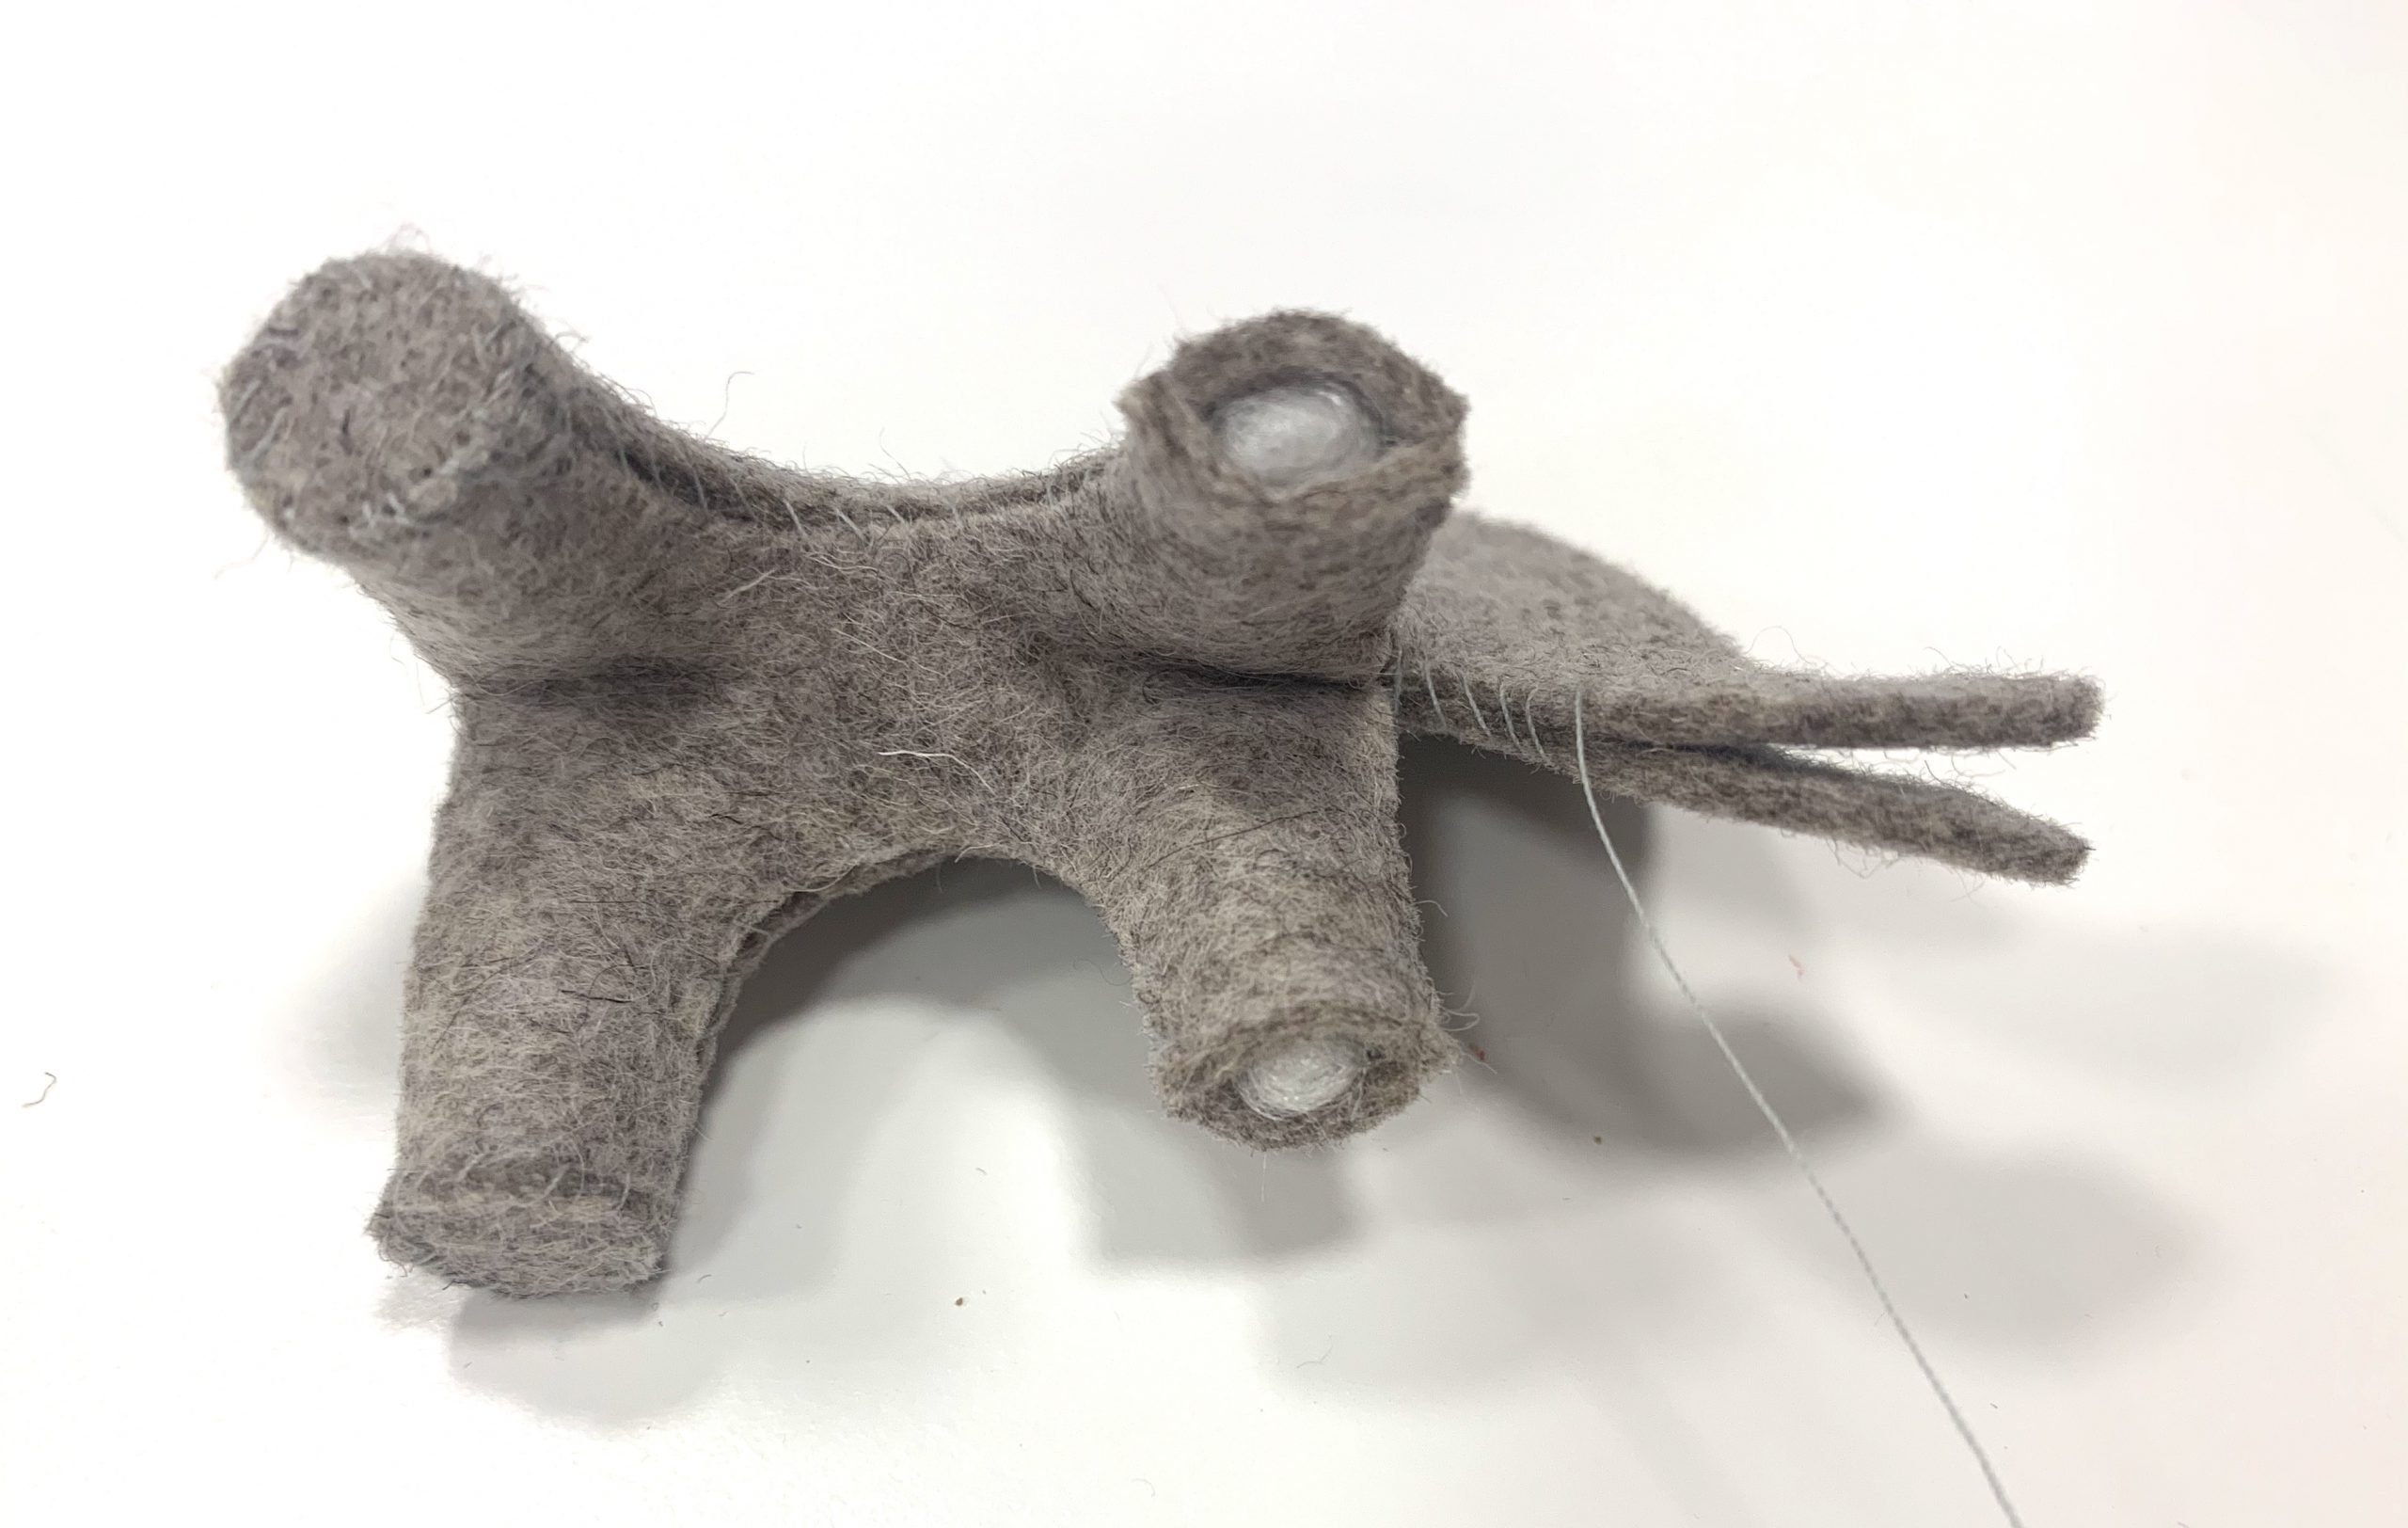
Now stuff the legs with fiberfill and sew in the soles using small slip stitches. Add more fiberfill if necessary.
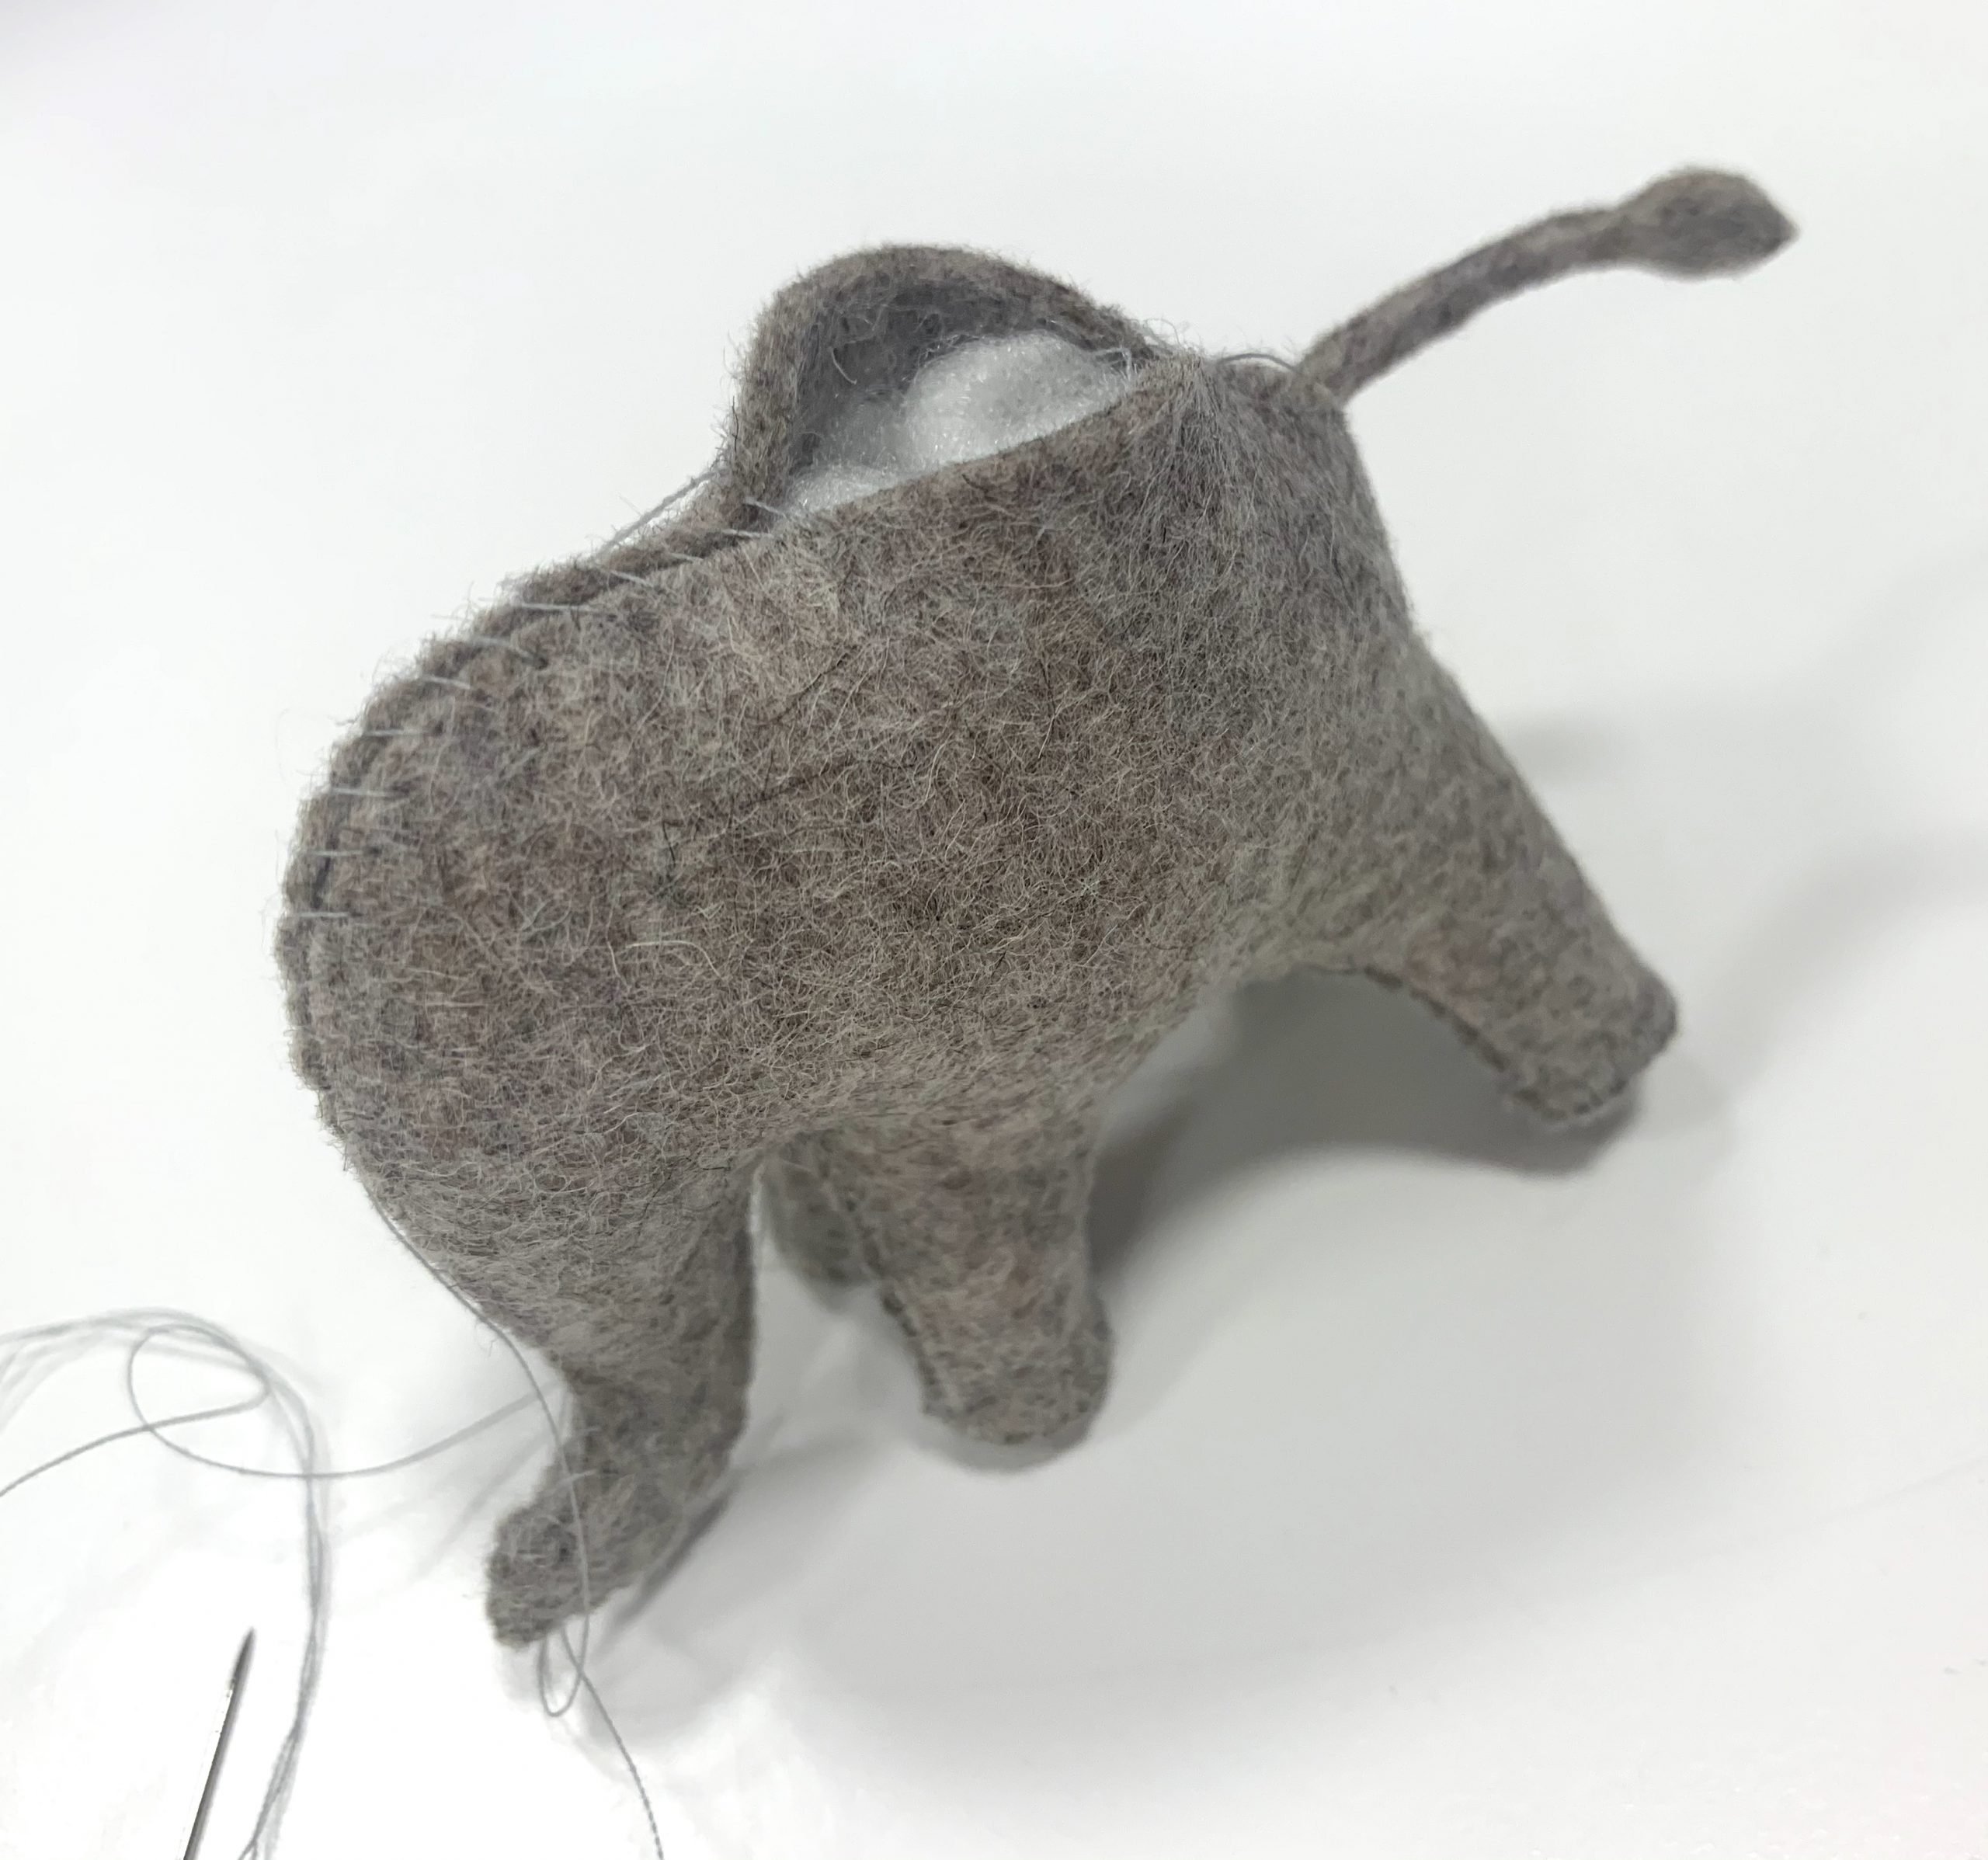
Then close up the rest of the body using small slip stitches and gradually stuff with fiberfill. Insert and sew in the tail at the appropriate place.
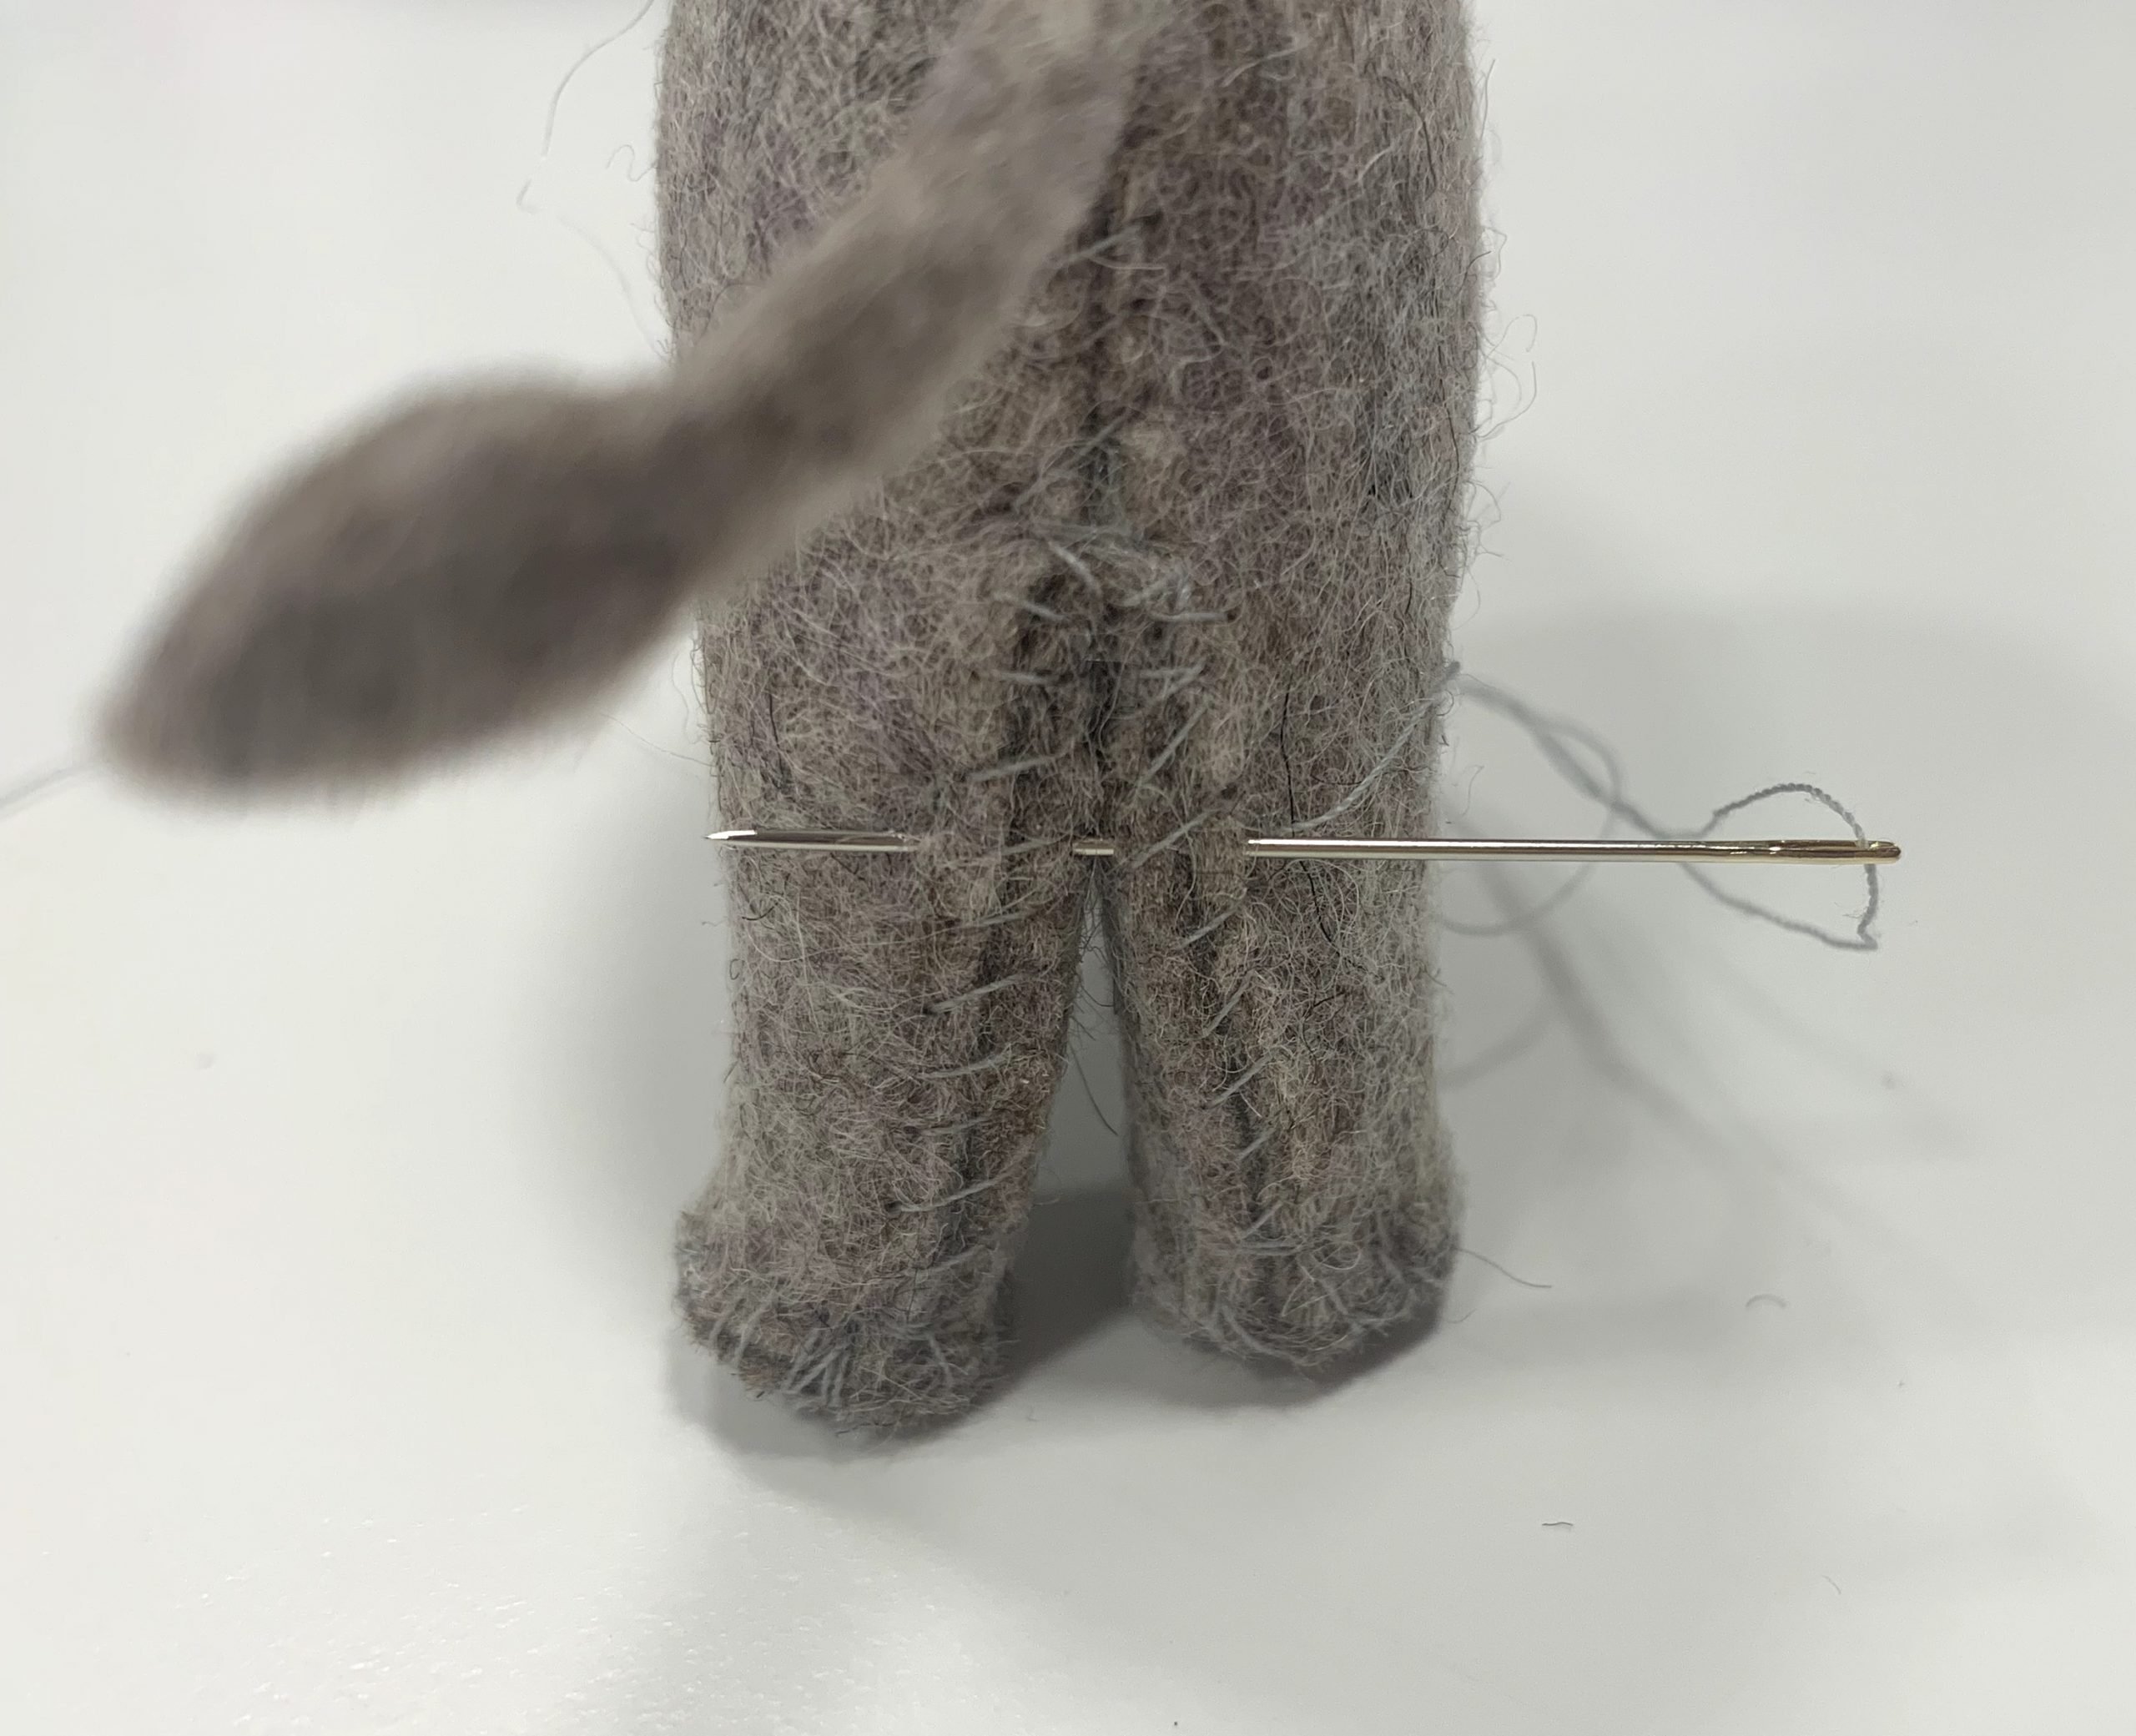
If the elephant has knock knees, you can fix them with a few stitches. Alternatively, you can spray them using a spray bottle containing water and wrap a rubber band around the legs. After drying, the felt stays in the corresponding shape.
Sew on the ears by hand and decorate as desired using EXTRA STRONG thread.
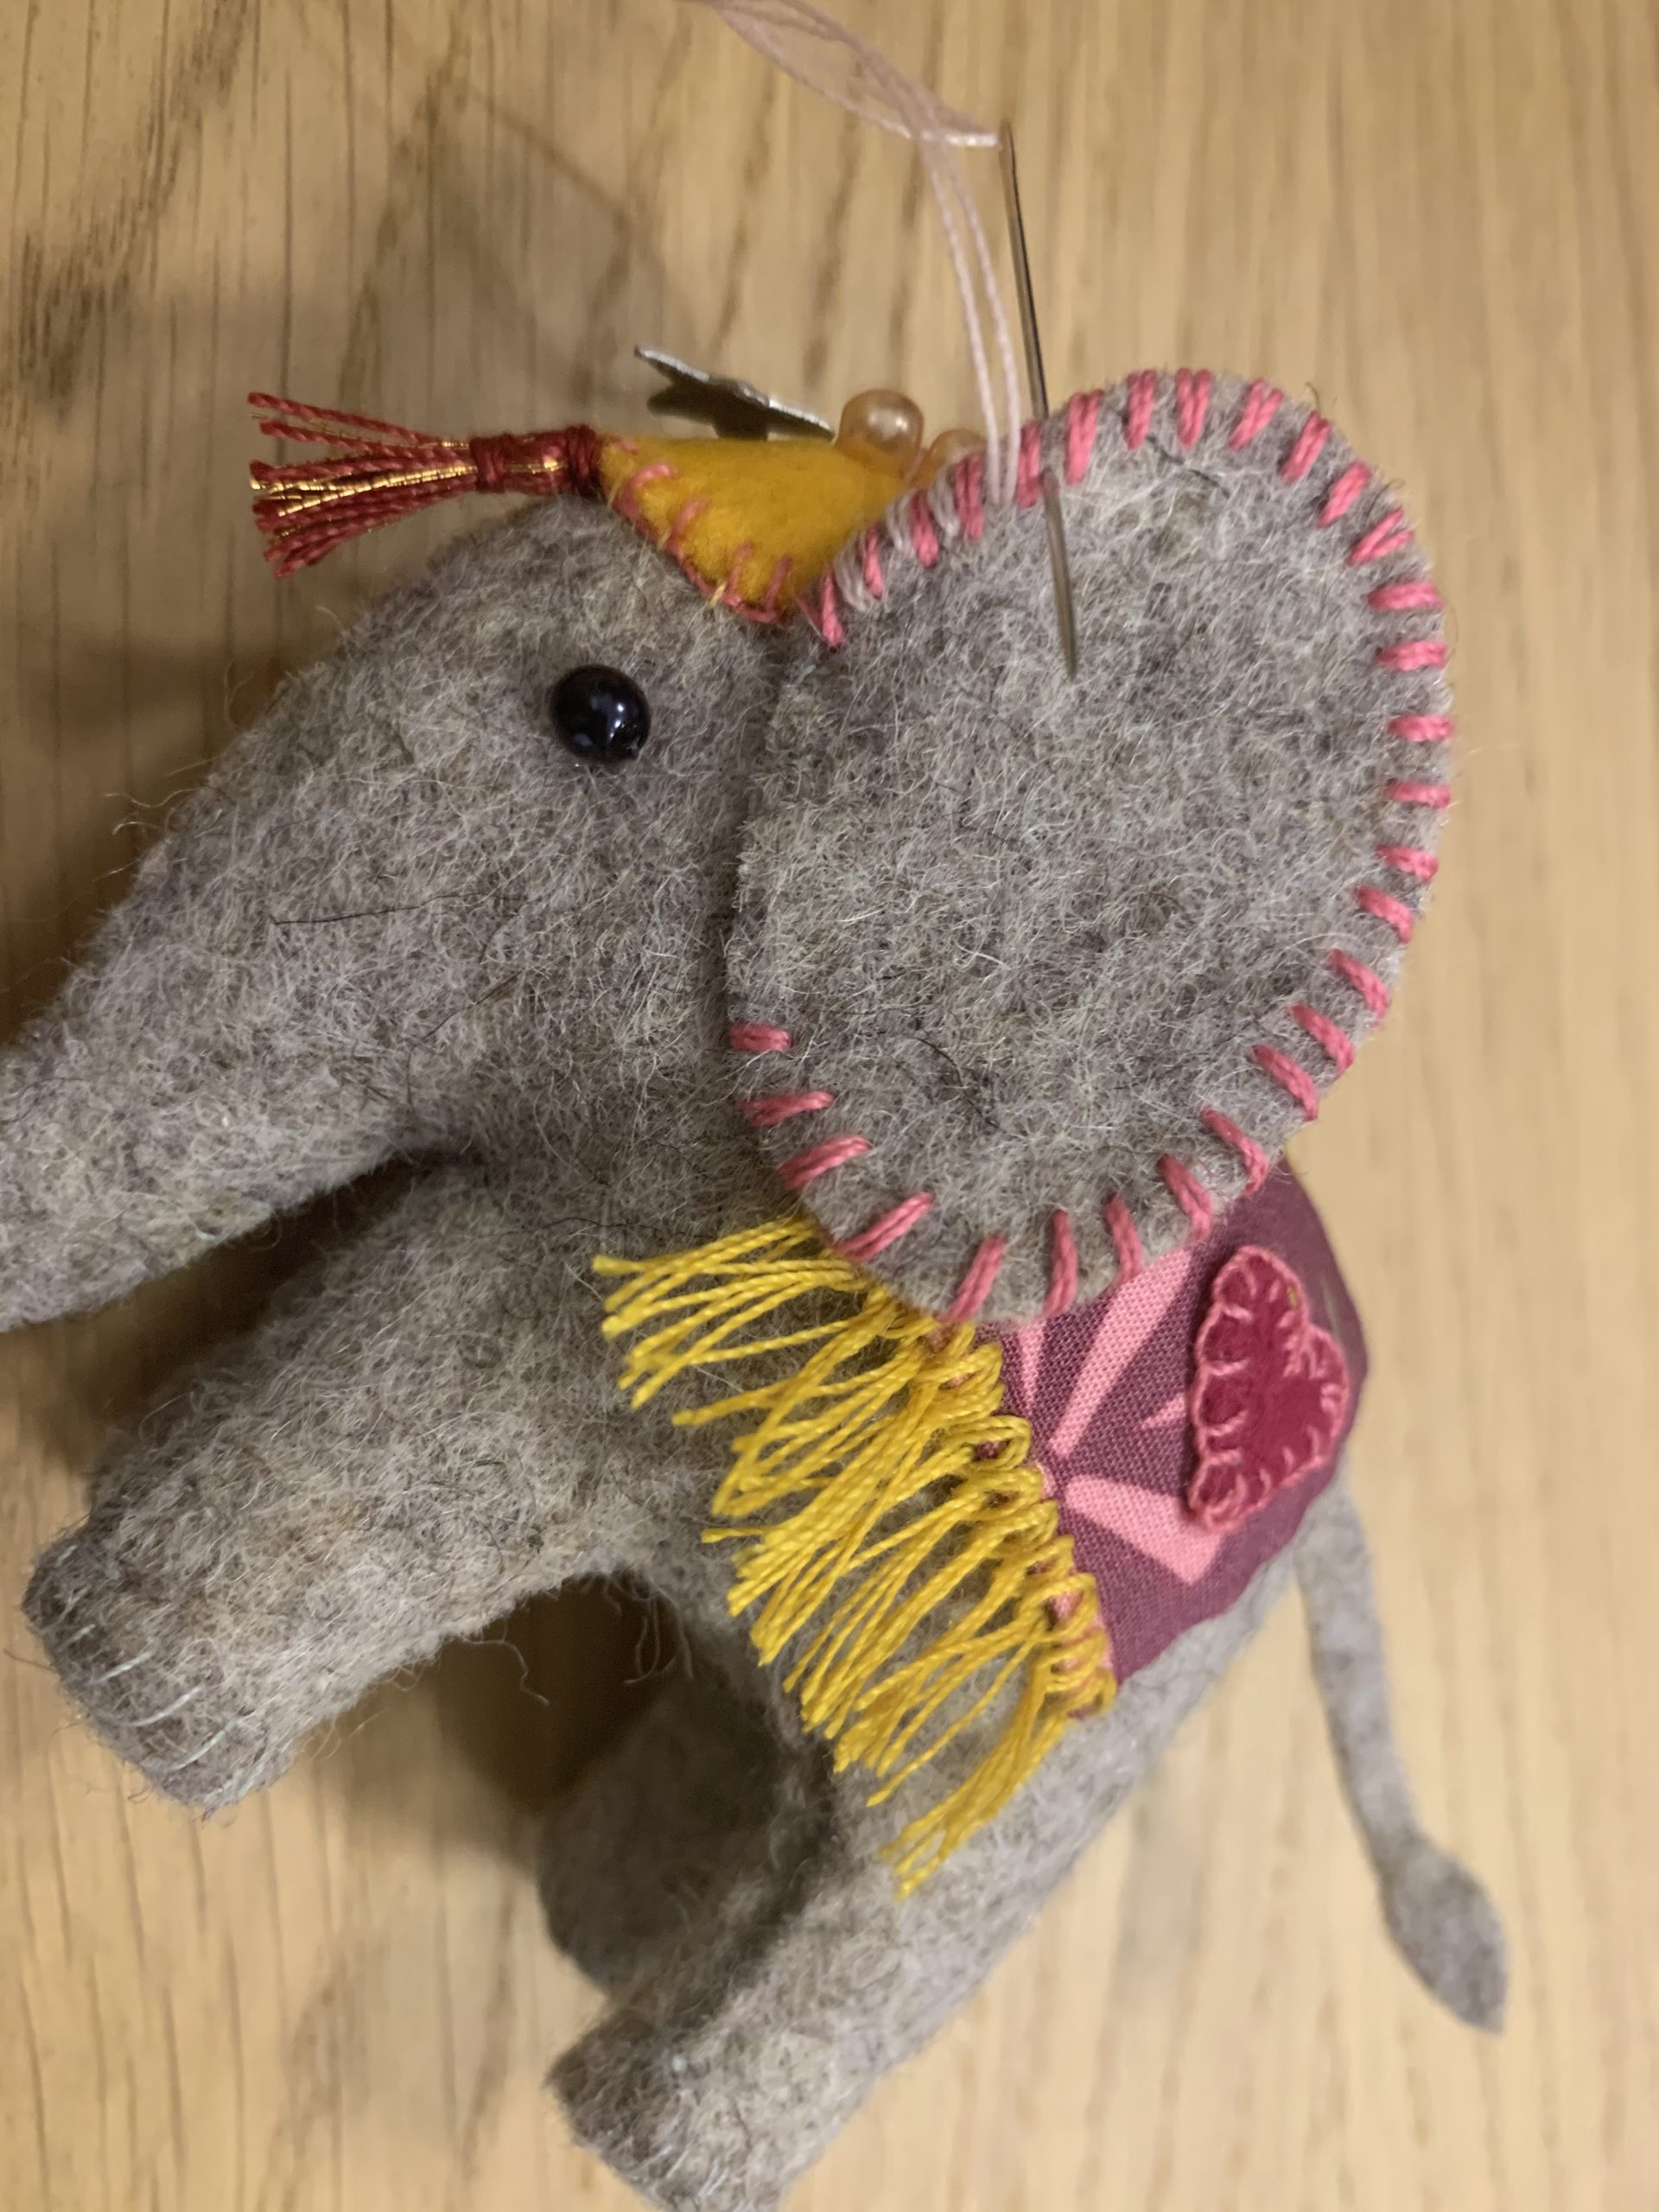
Sew on beads for the eyes or you can embroider them on using twisted embroidery thread.
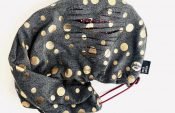
The hat
To close the felt hat, sew a few stitches by hand along the straight edges and then turn. The slip stitches are then on the inside.

You can decorate the edges by hand with decorative stitches, and add homemade tassels to the hat. For both of these, I again used EXTRA STRONG thread from Mettler. The star is an iron-on stud that is simply ironed on. As you can see in one of the pictures below, I sewed three beads onto the hat of the big elephant.
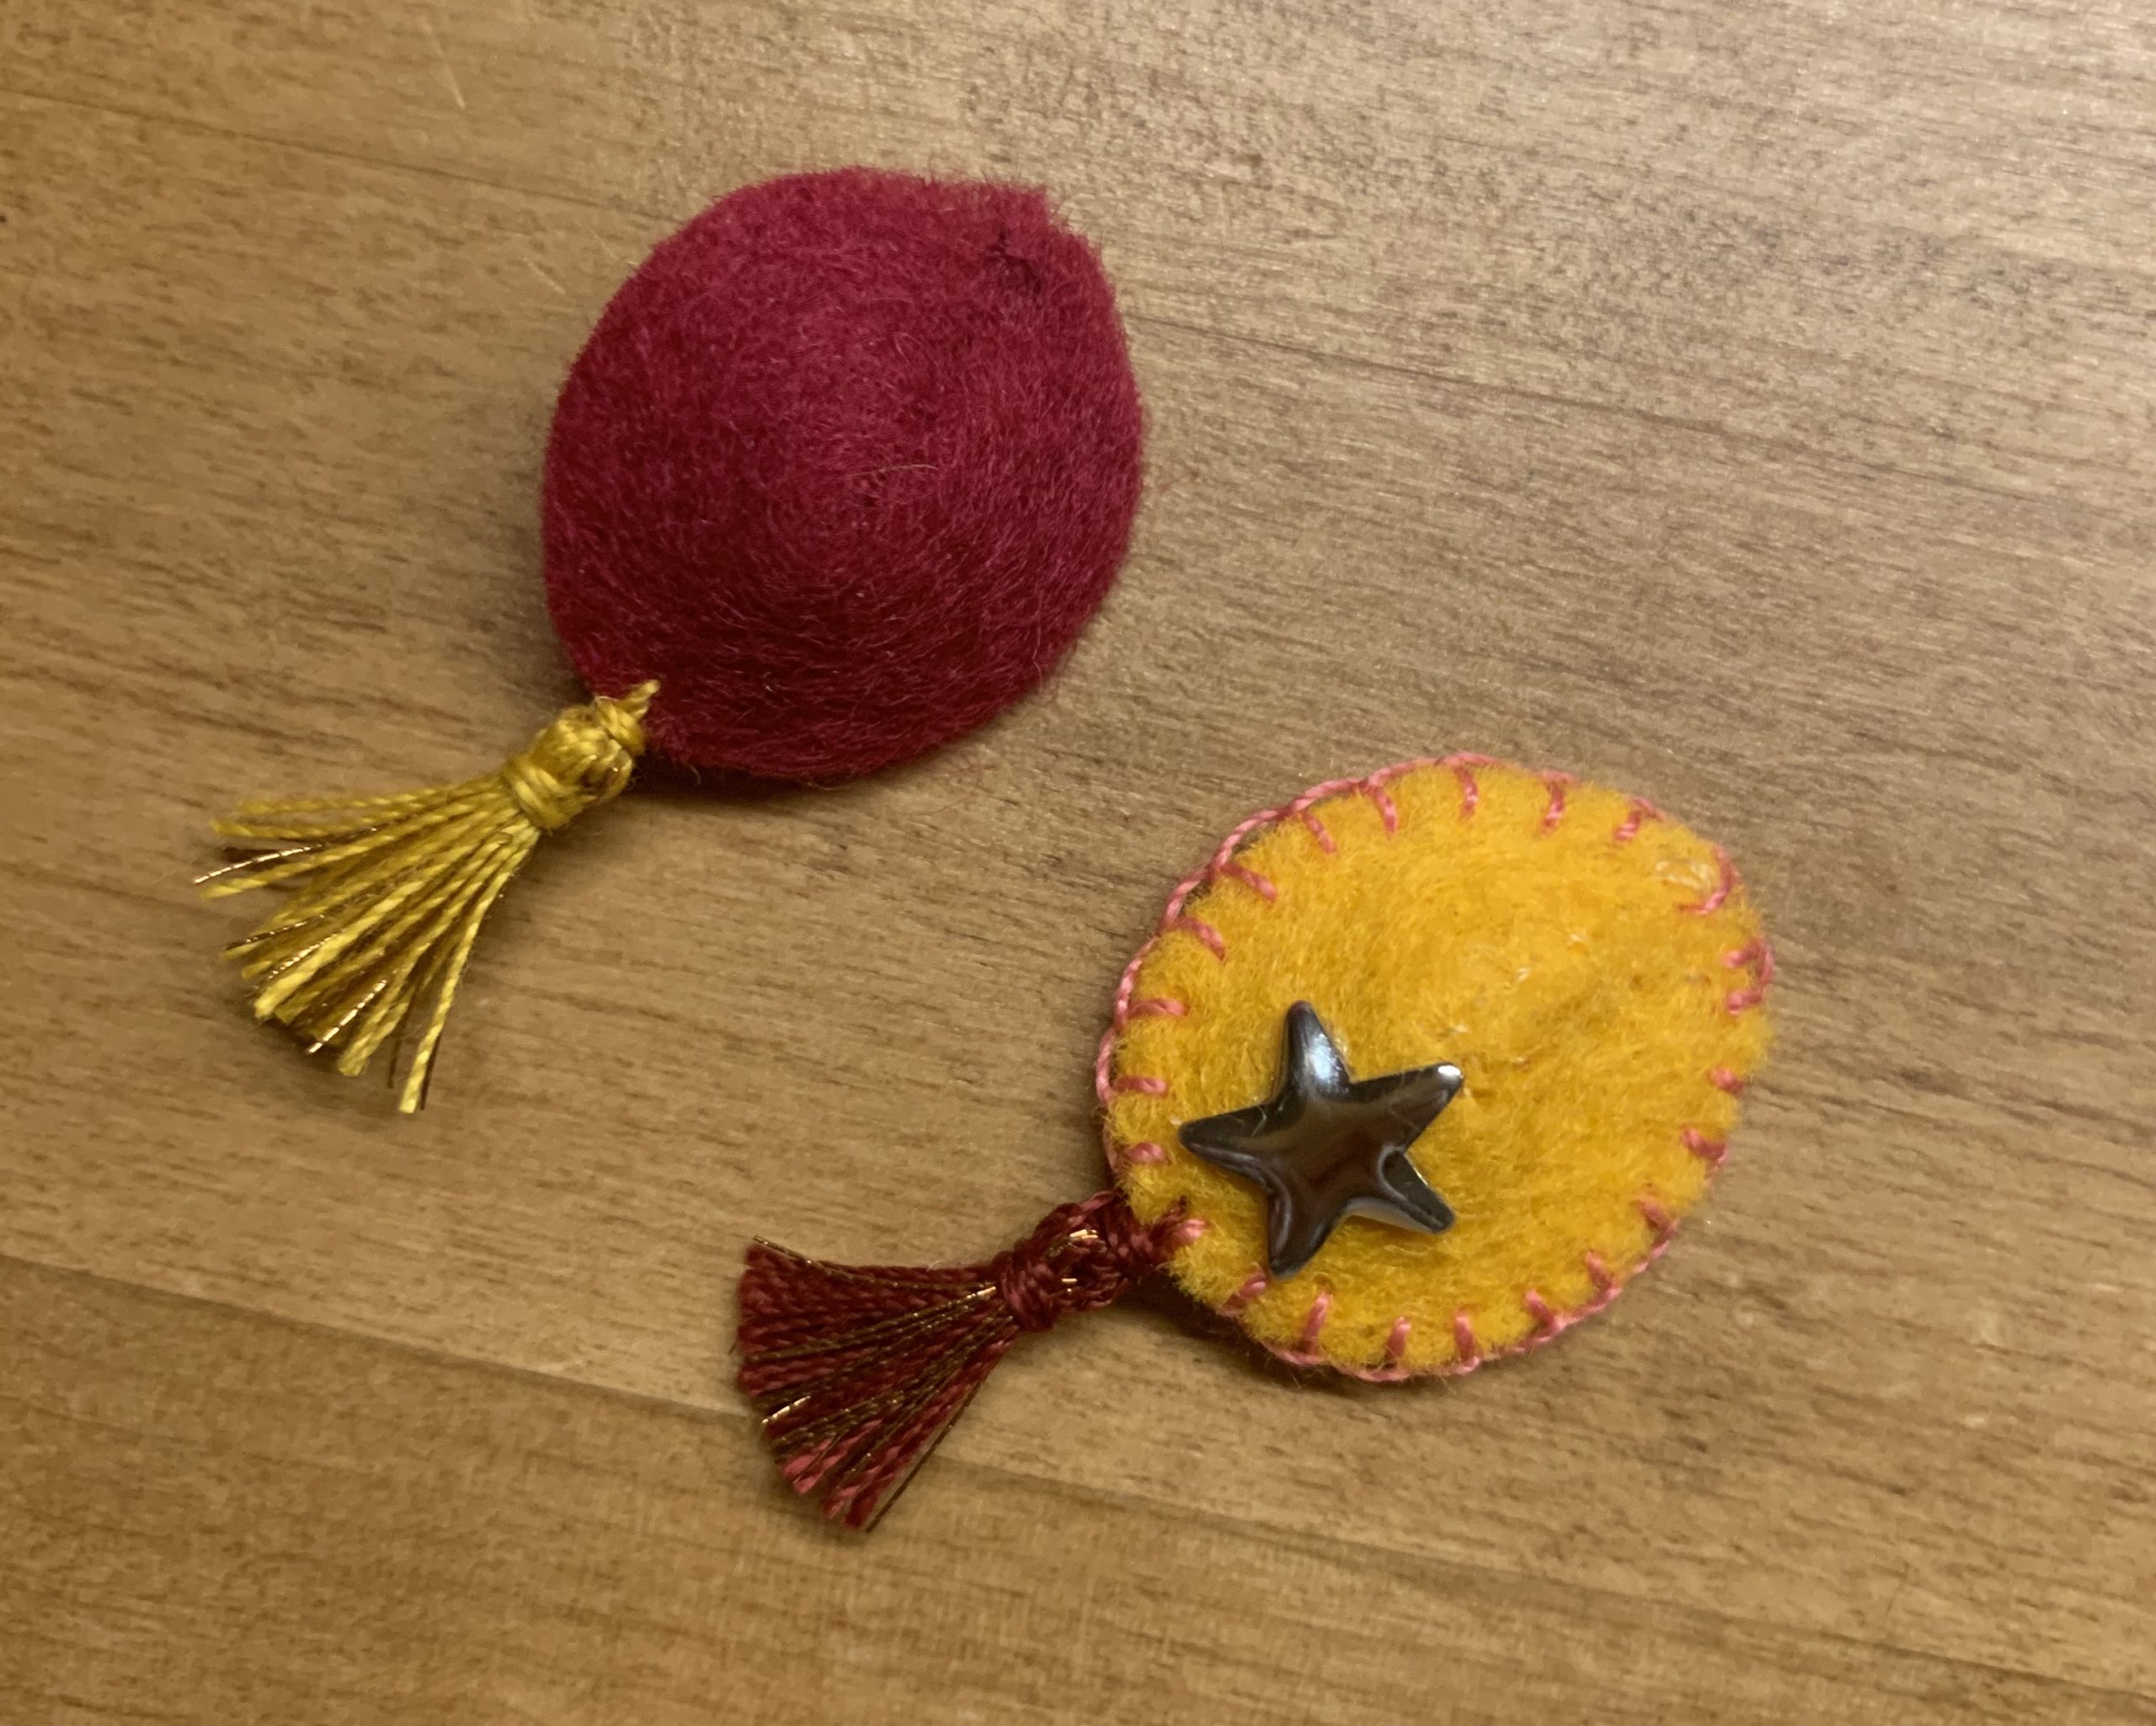
The small tassels are easy to make by winding thread around a fork. I place the binding thread for the tassel between the two middle prongs. After cutting open the wound thread, place the ends on top of each other and bind it to form a tassel.

The blanket
I ironed the edges of the cotton fabric over by about 0.5 cm onto the wrong side in advance.
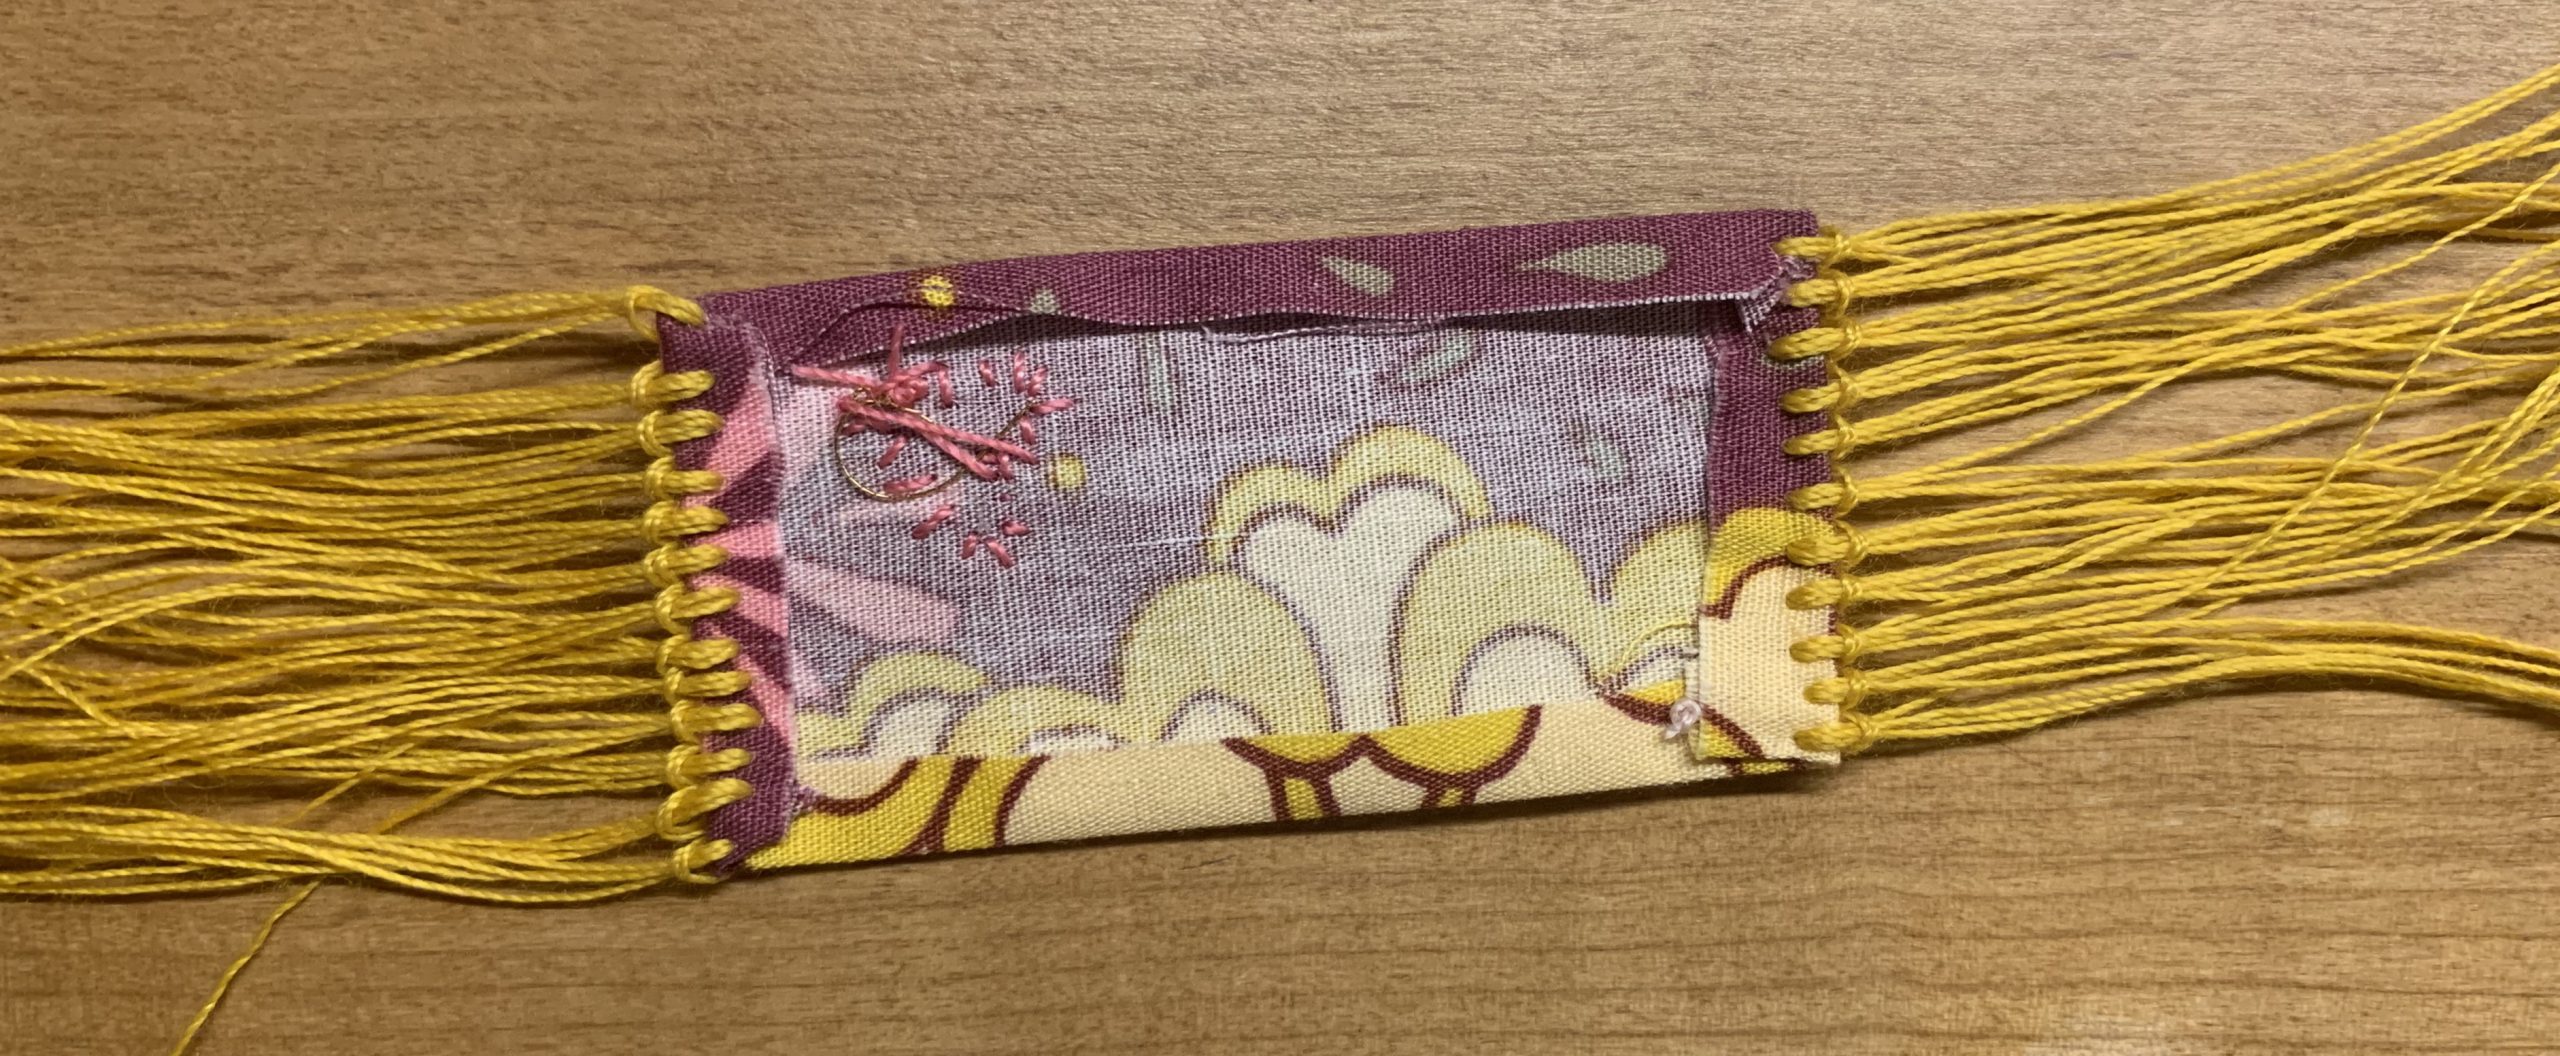
Here’s how to make the fringes on the blankets: Pull a folded loop of yarn through the prepared piece of fabric as shown from the right side to the wrong side using an auxiliary thread.

Then push the end of the fringe thread through the loop and tighten the loop securely. Continue in the manner described until the row of fringes is complete.

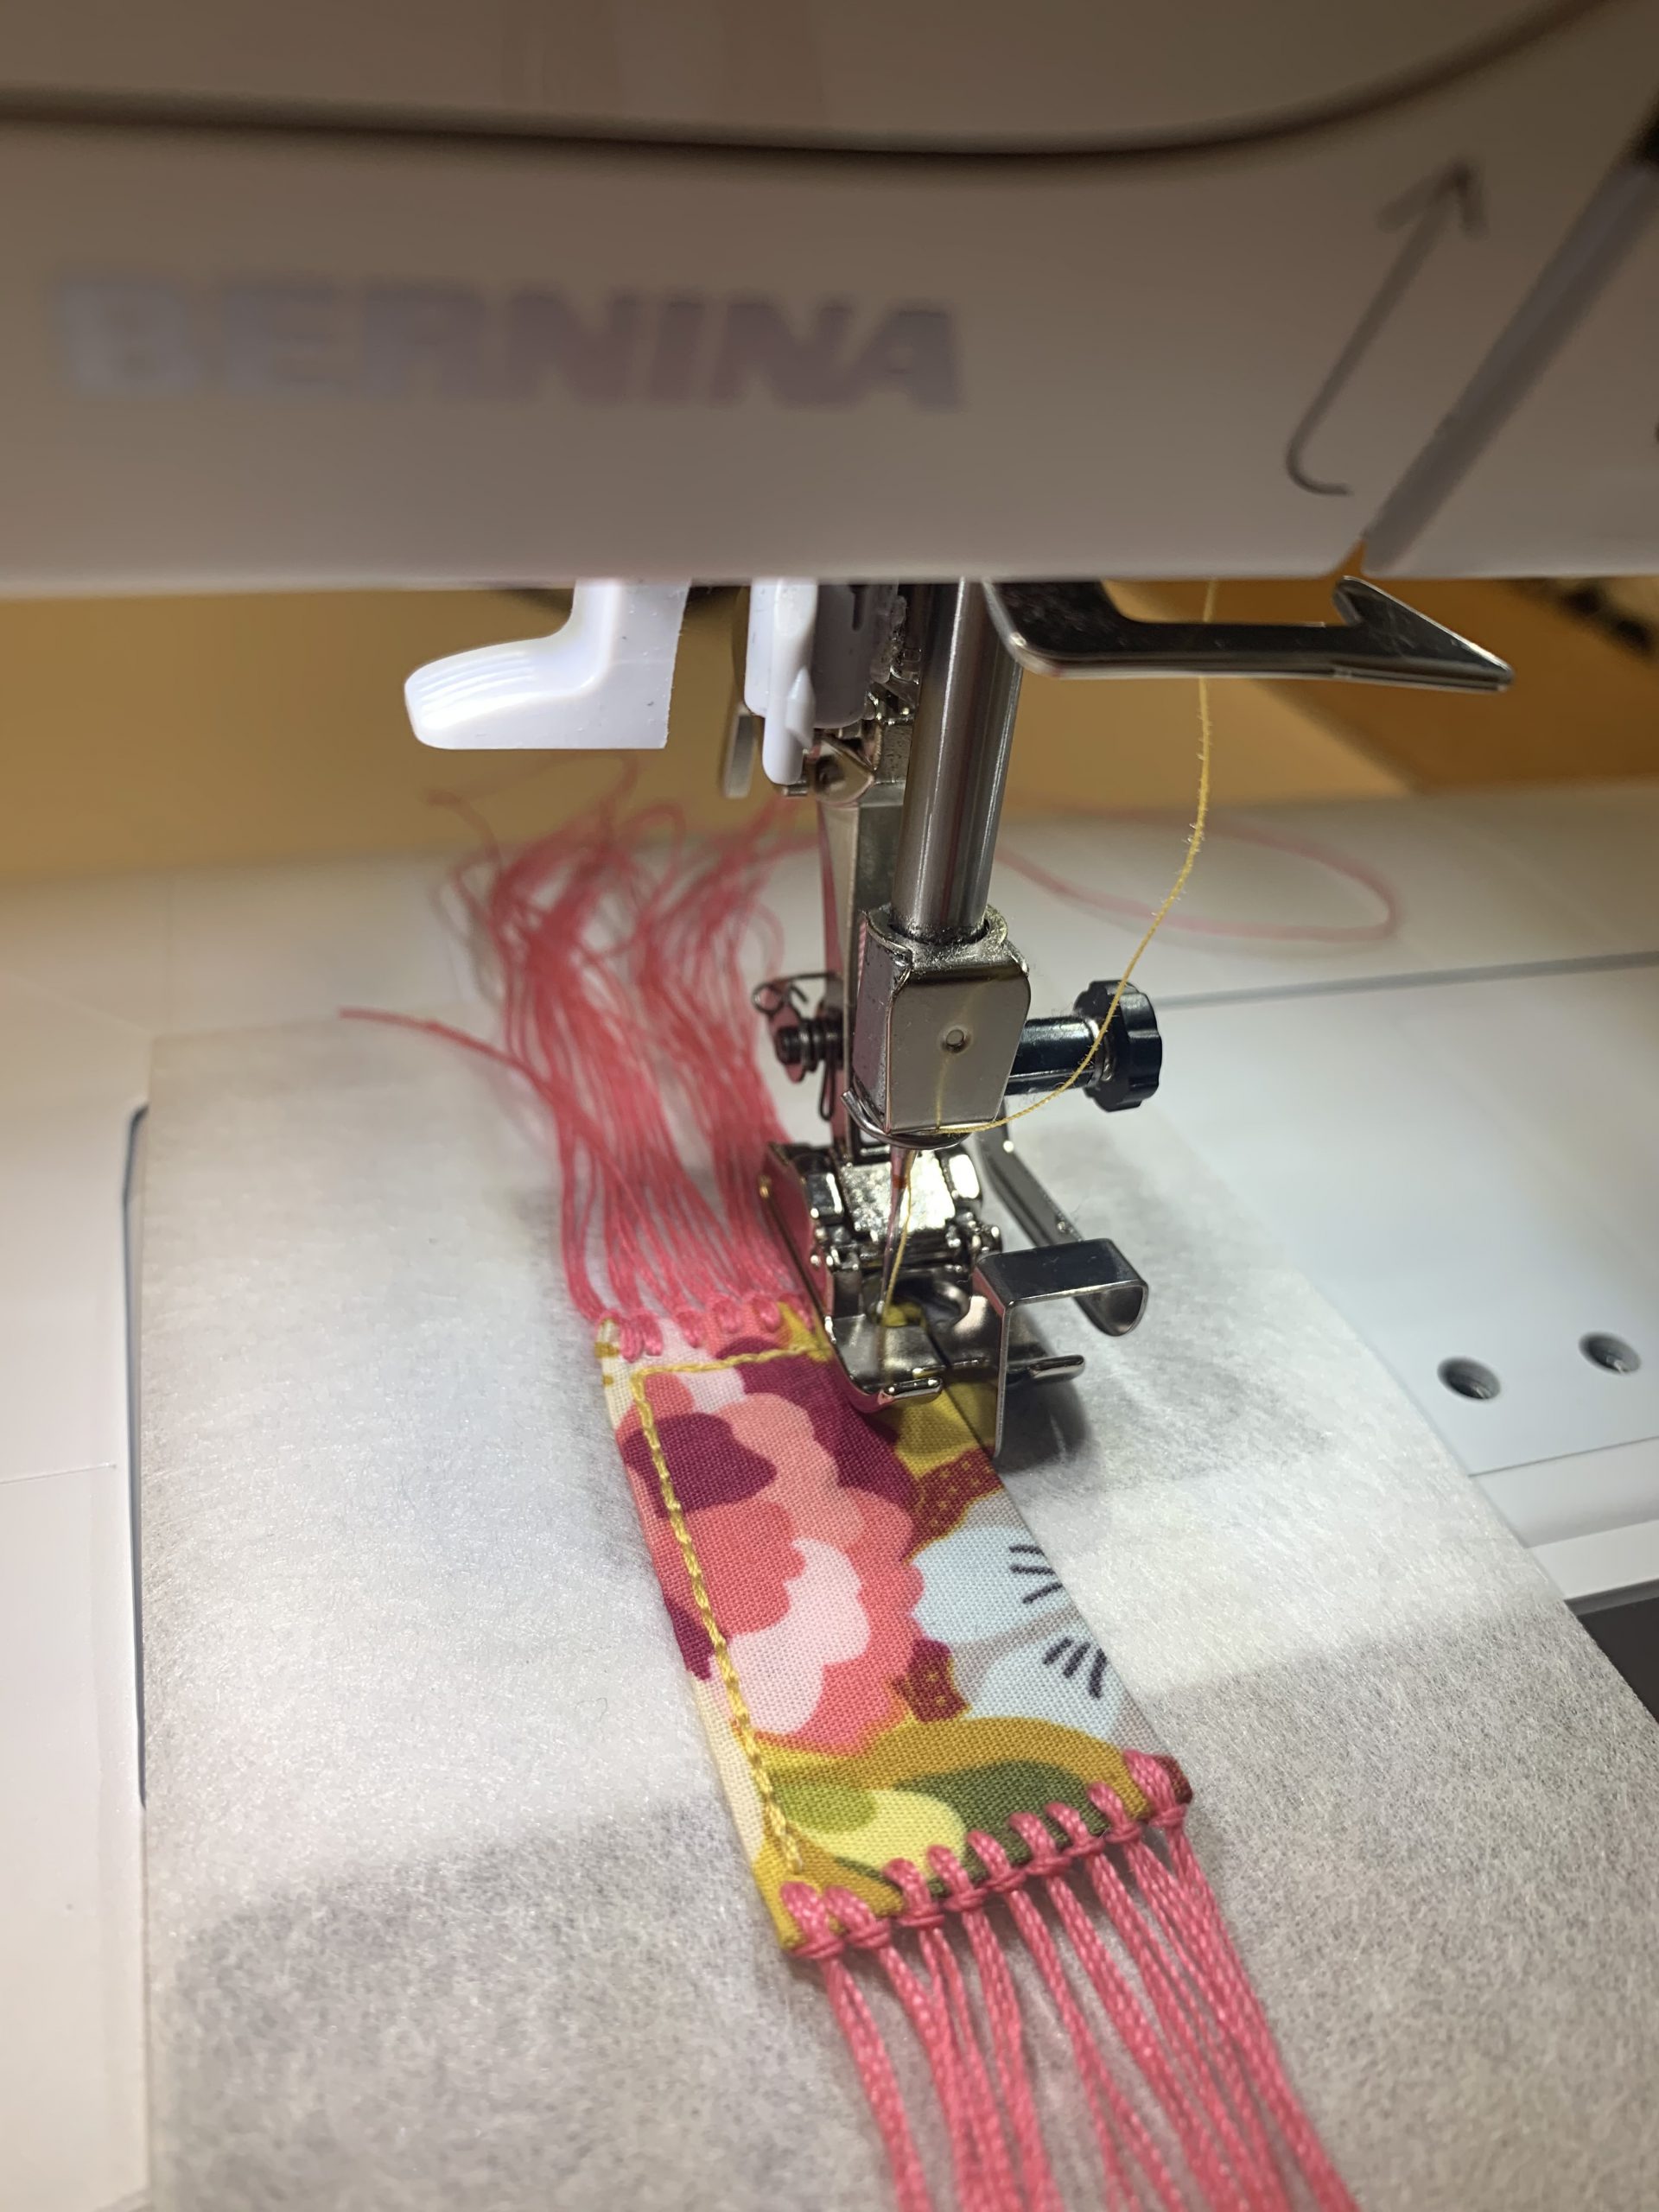
You can decorate the blanket with decorative stitches from your BERNINA however you like, using either POLY SHEEN or METALLIC embroidery thread. To prevent the fabric from puckering while you are sewing, you should always put tear-away stabilizer under the stitching. This is then removed once you’ve finished.
You can sew a line of straight stitch over the fringe loops to hold them in place. Alternatively, the ends of the fringes can later be attached to the elephant with a few stitches by hand.

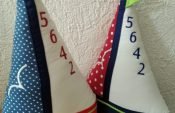
Attach the blanket to the elephant either with a few stitches by hand or with textile adhesive, likewise the hat. You can also sew on more beads if you wish. When you have finished the blanket, trim the fringes to the desired length.
Your unique gift from the heart is finished… that’s how quick it is to sew an elephant! If you want to use the elephant as a Christmas decoration, thread a hanger into the back.
Making Christmas decorations on an embroidery machine
Did you spot the Christmas decoration in the background in the picture above? Below, I’ll show all owners of an embroidery machine how you can make it quickly and easily!
Free heart decoration embroidery file
I’m making the embroidery file available to you in various file formats. You can find the free download here:
Materials
You will need some wool felt remnants, sewing cardboard, tear-away stabilizer and embroidery thread.
Embroidering heart Christmas decorations – the instructions
After all the hand sewing, my BERNINA B 700 embroidery machine is looking forward to going into action! It only takes a few minutes to embroider this Christmas decoration.
Insert a piece of tear-away stabilizer into the small hoop and embroider sequence 1, the positioning line for the wool felt. Place a sufficiently large piece of wool felt on top of this and sew it into place with sequence 2.
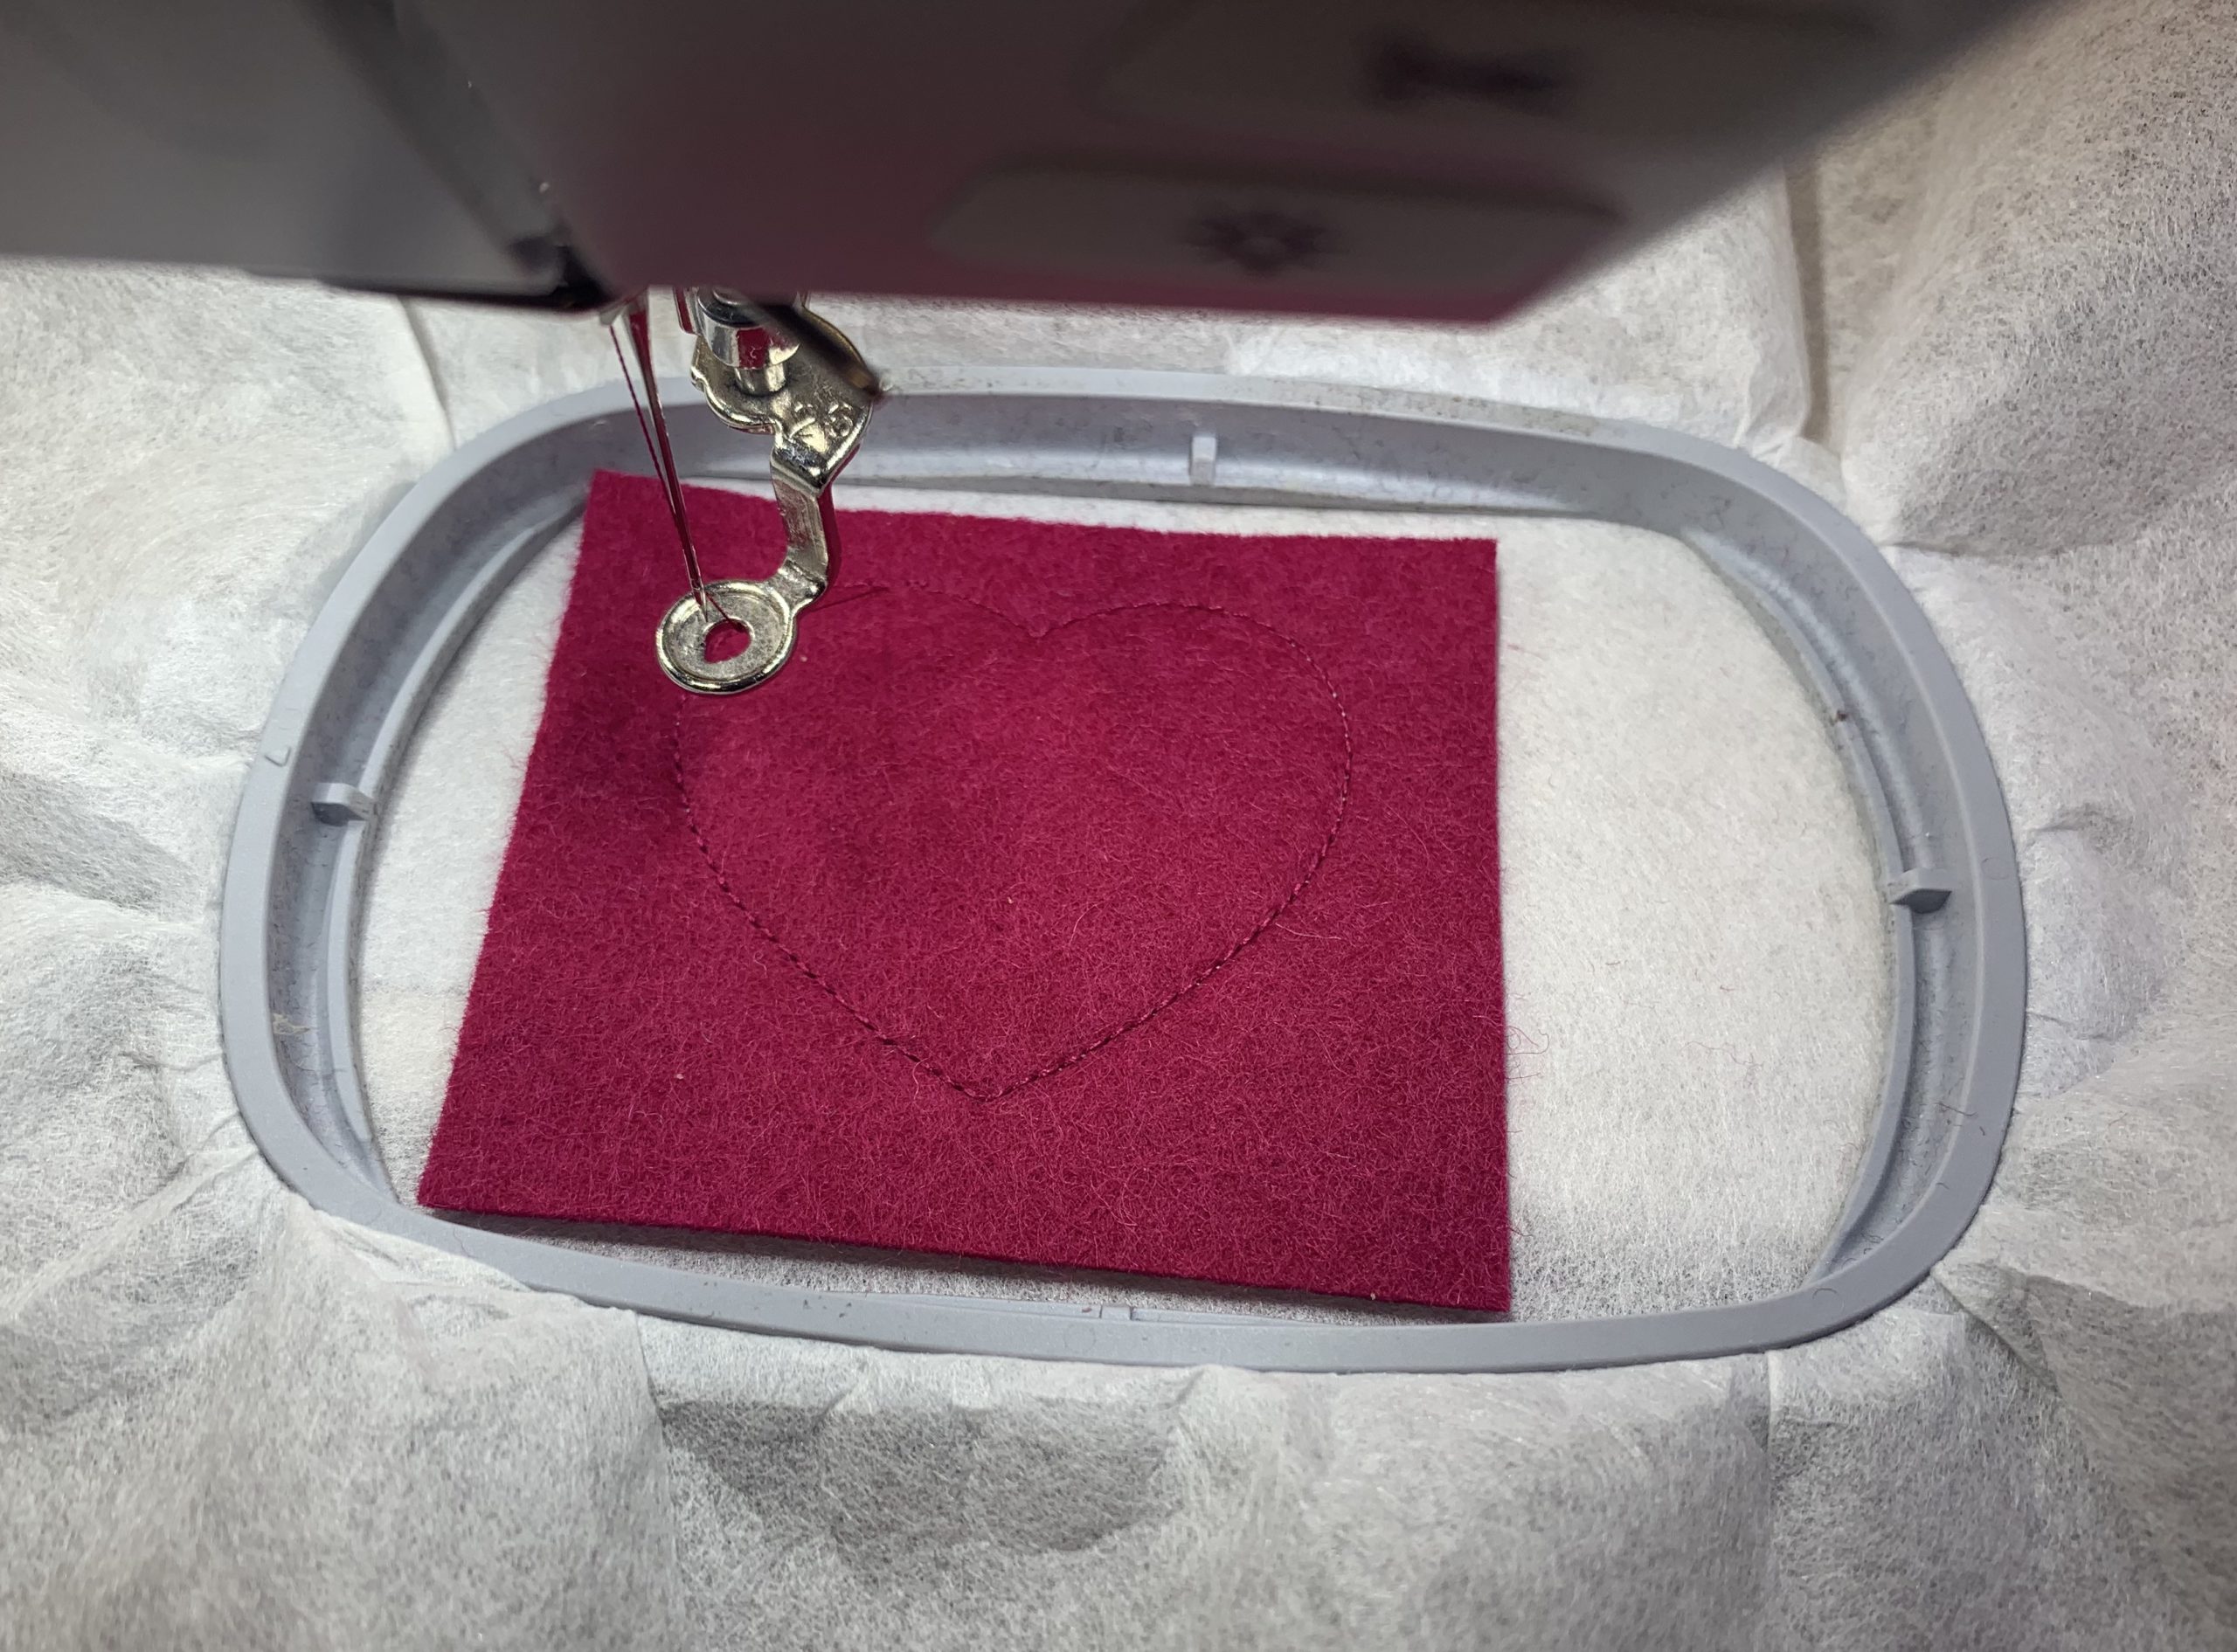
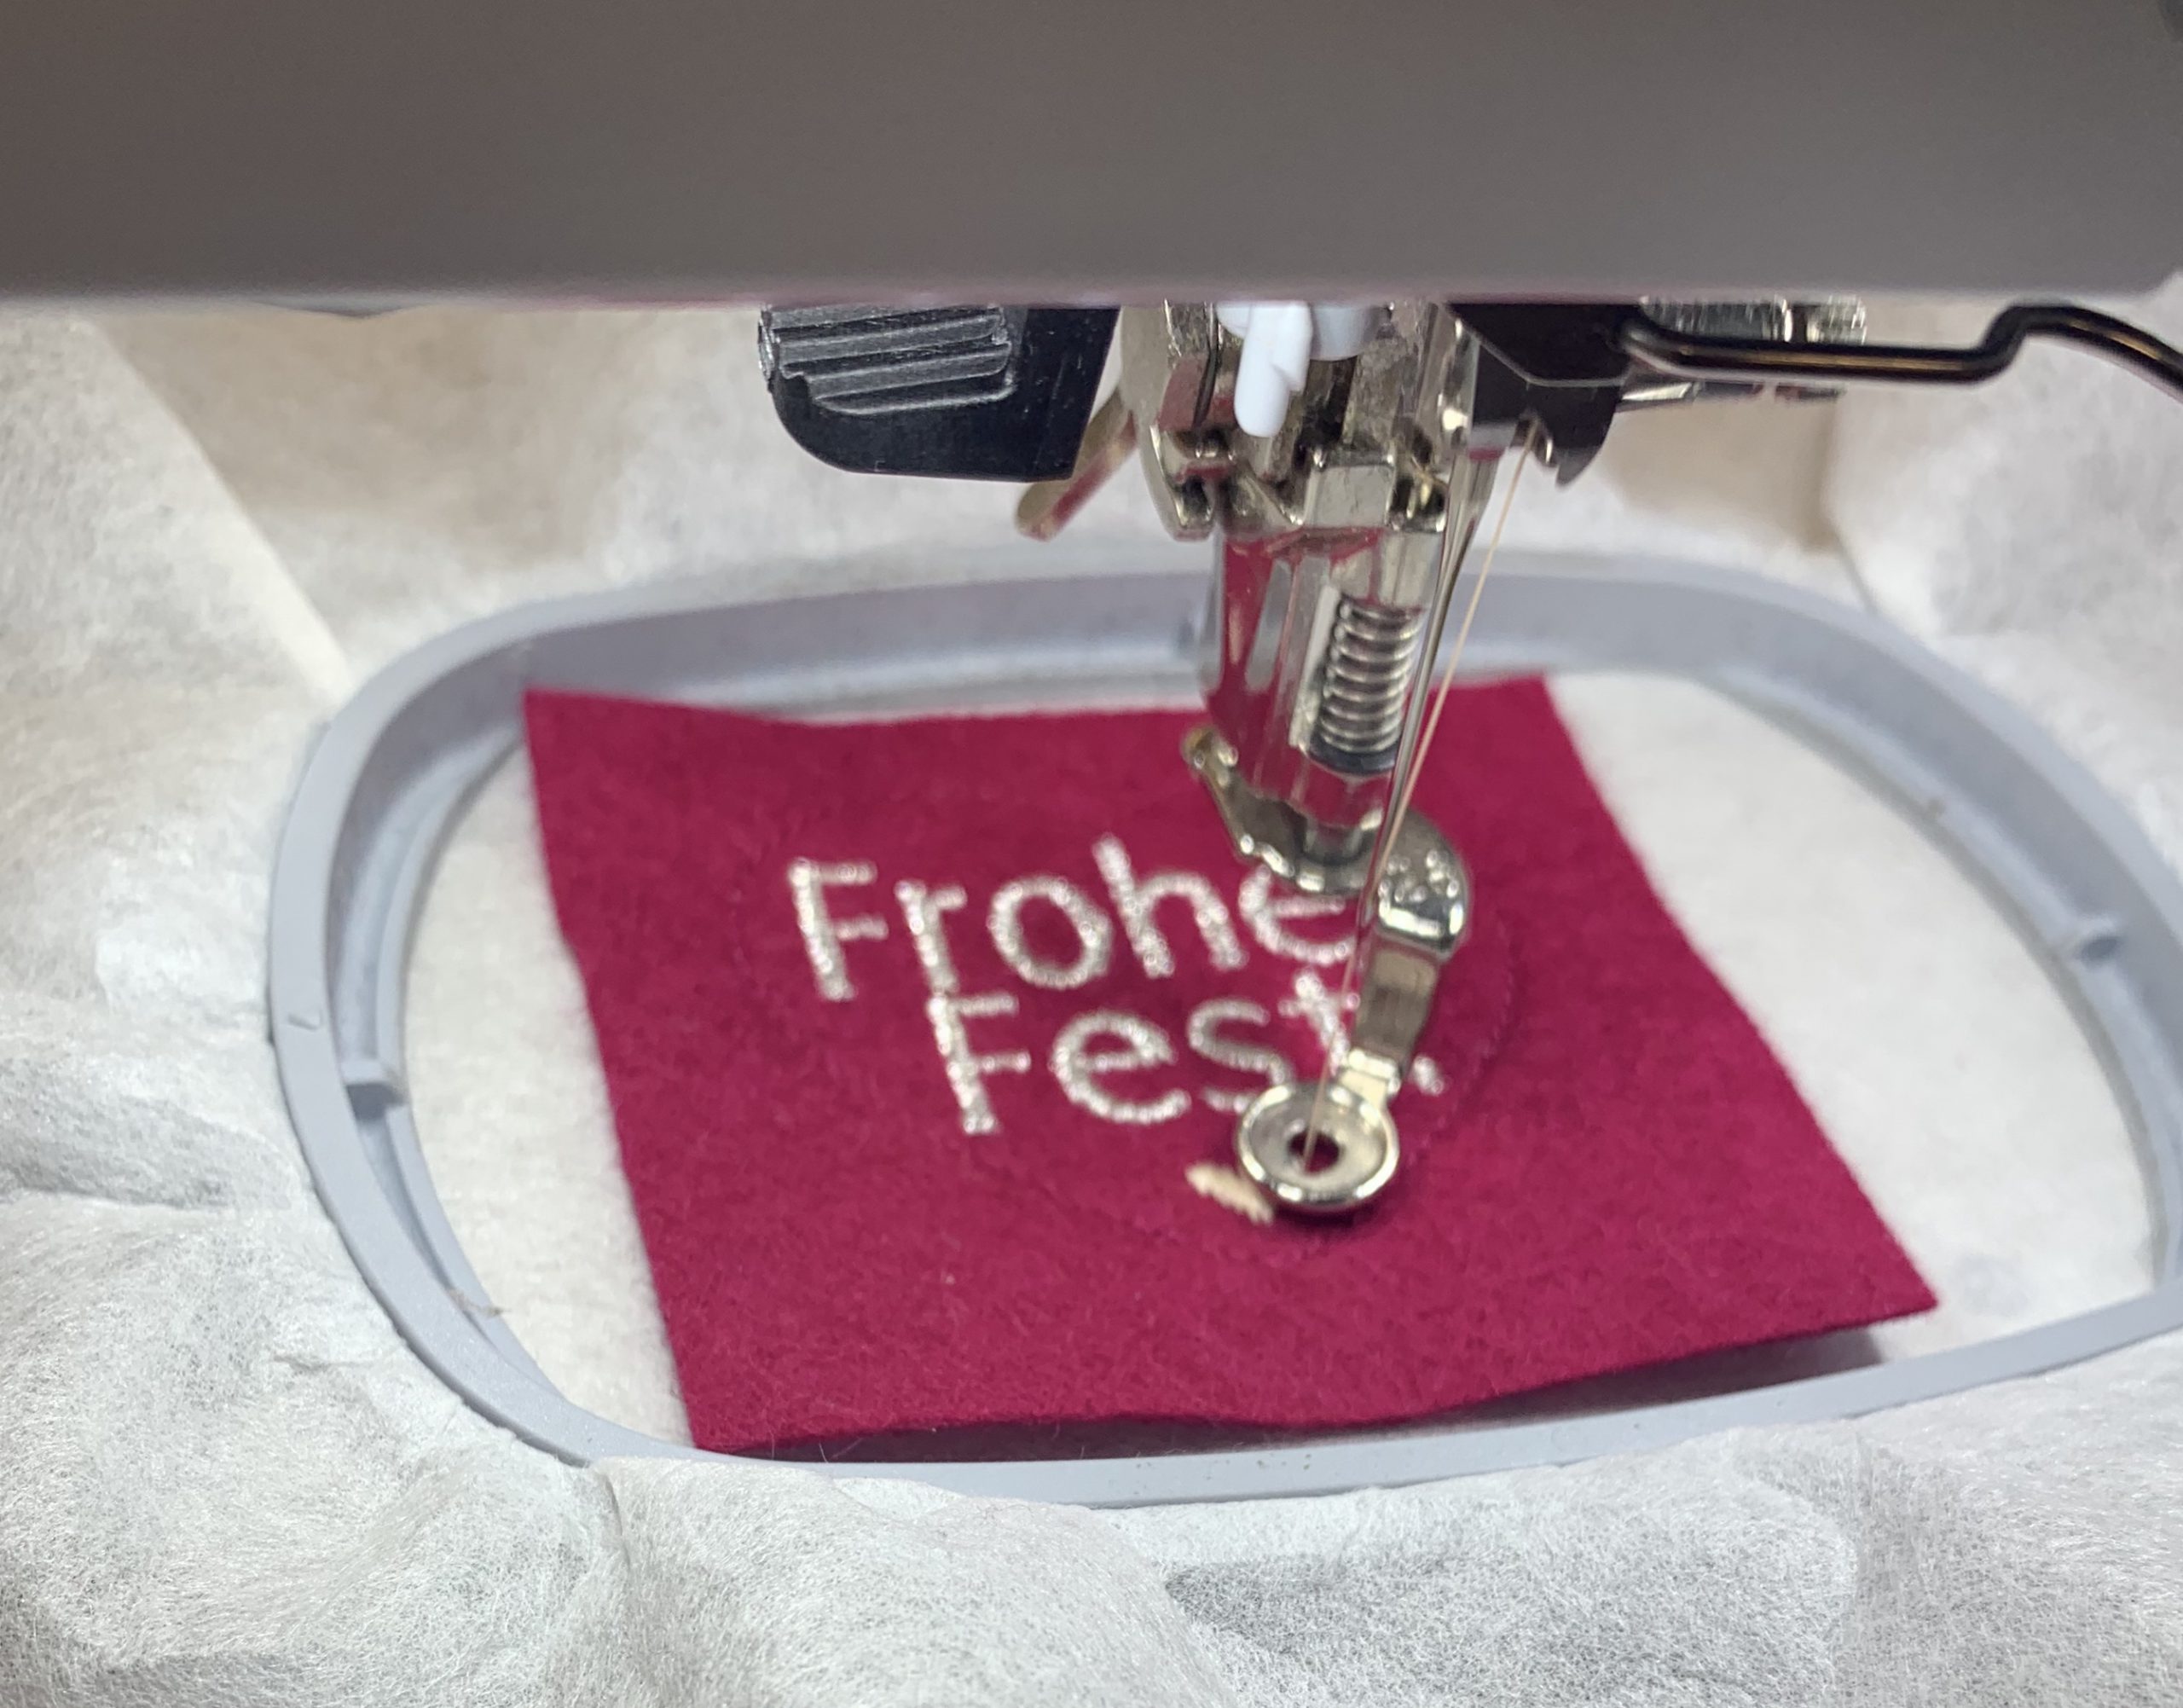
Use sequences 3 and 4 to embroider the lettering and the heart.
Now take the hoop out of the machine, but don’t take the embroidery out of the hoop, and stick a piece of sewing cardboard or, if you like, some more wool felt, onto the back with adhesive tape.
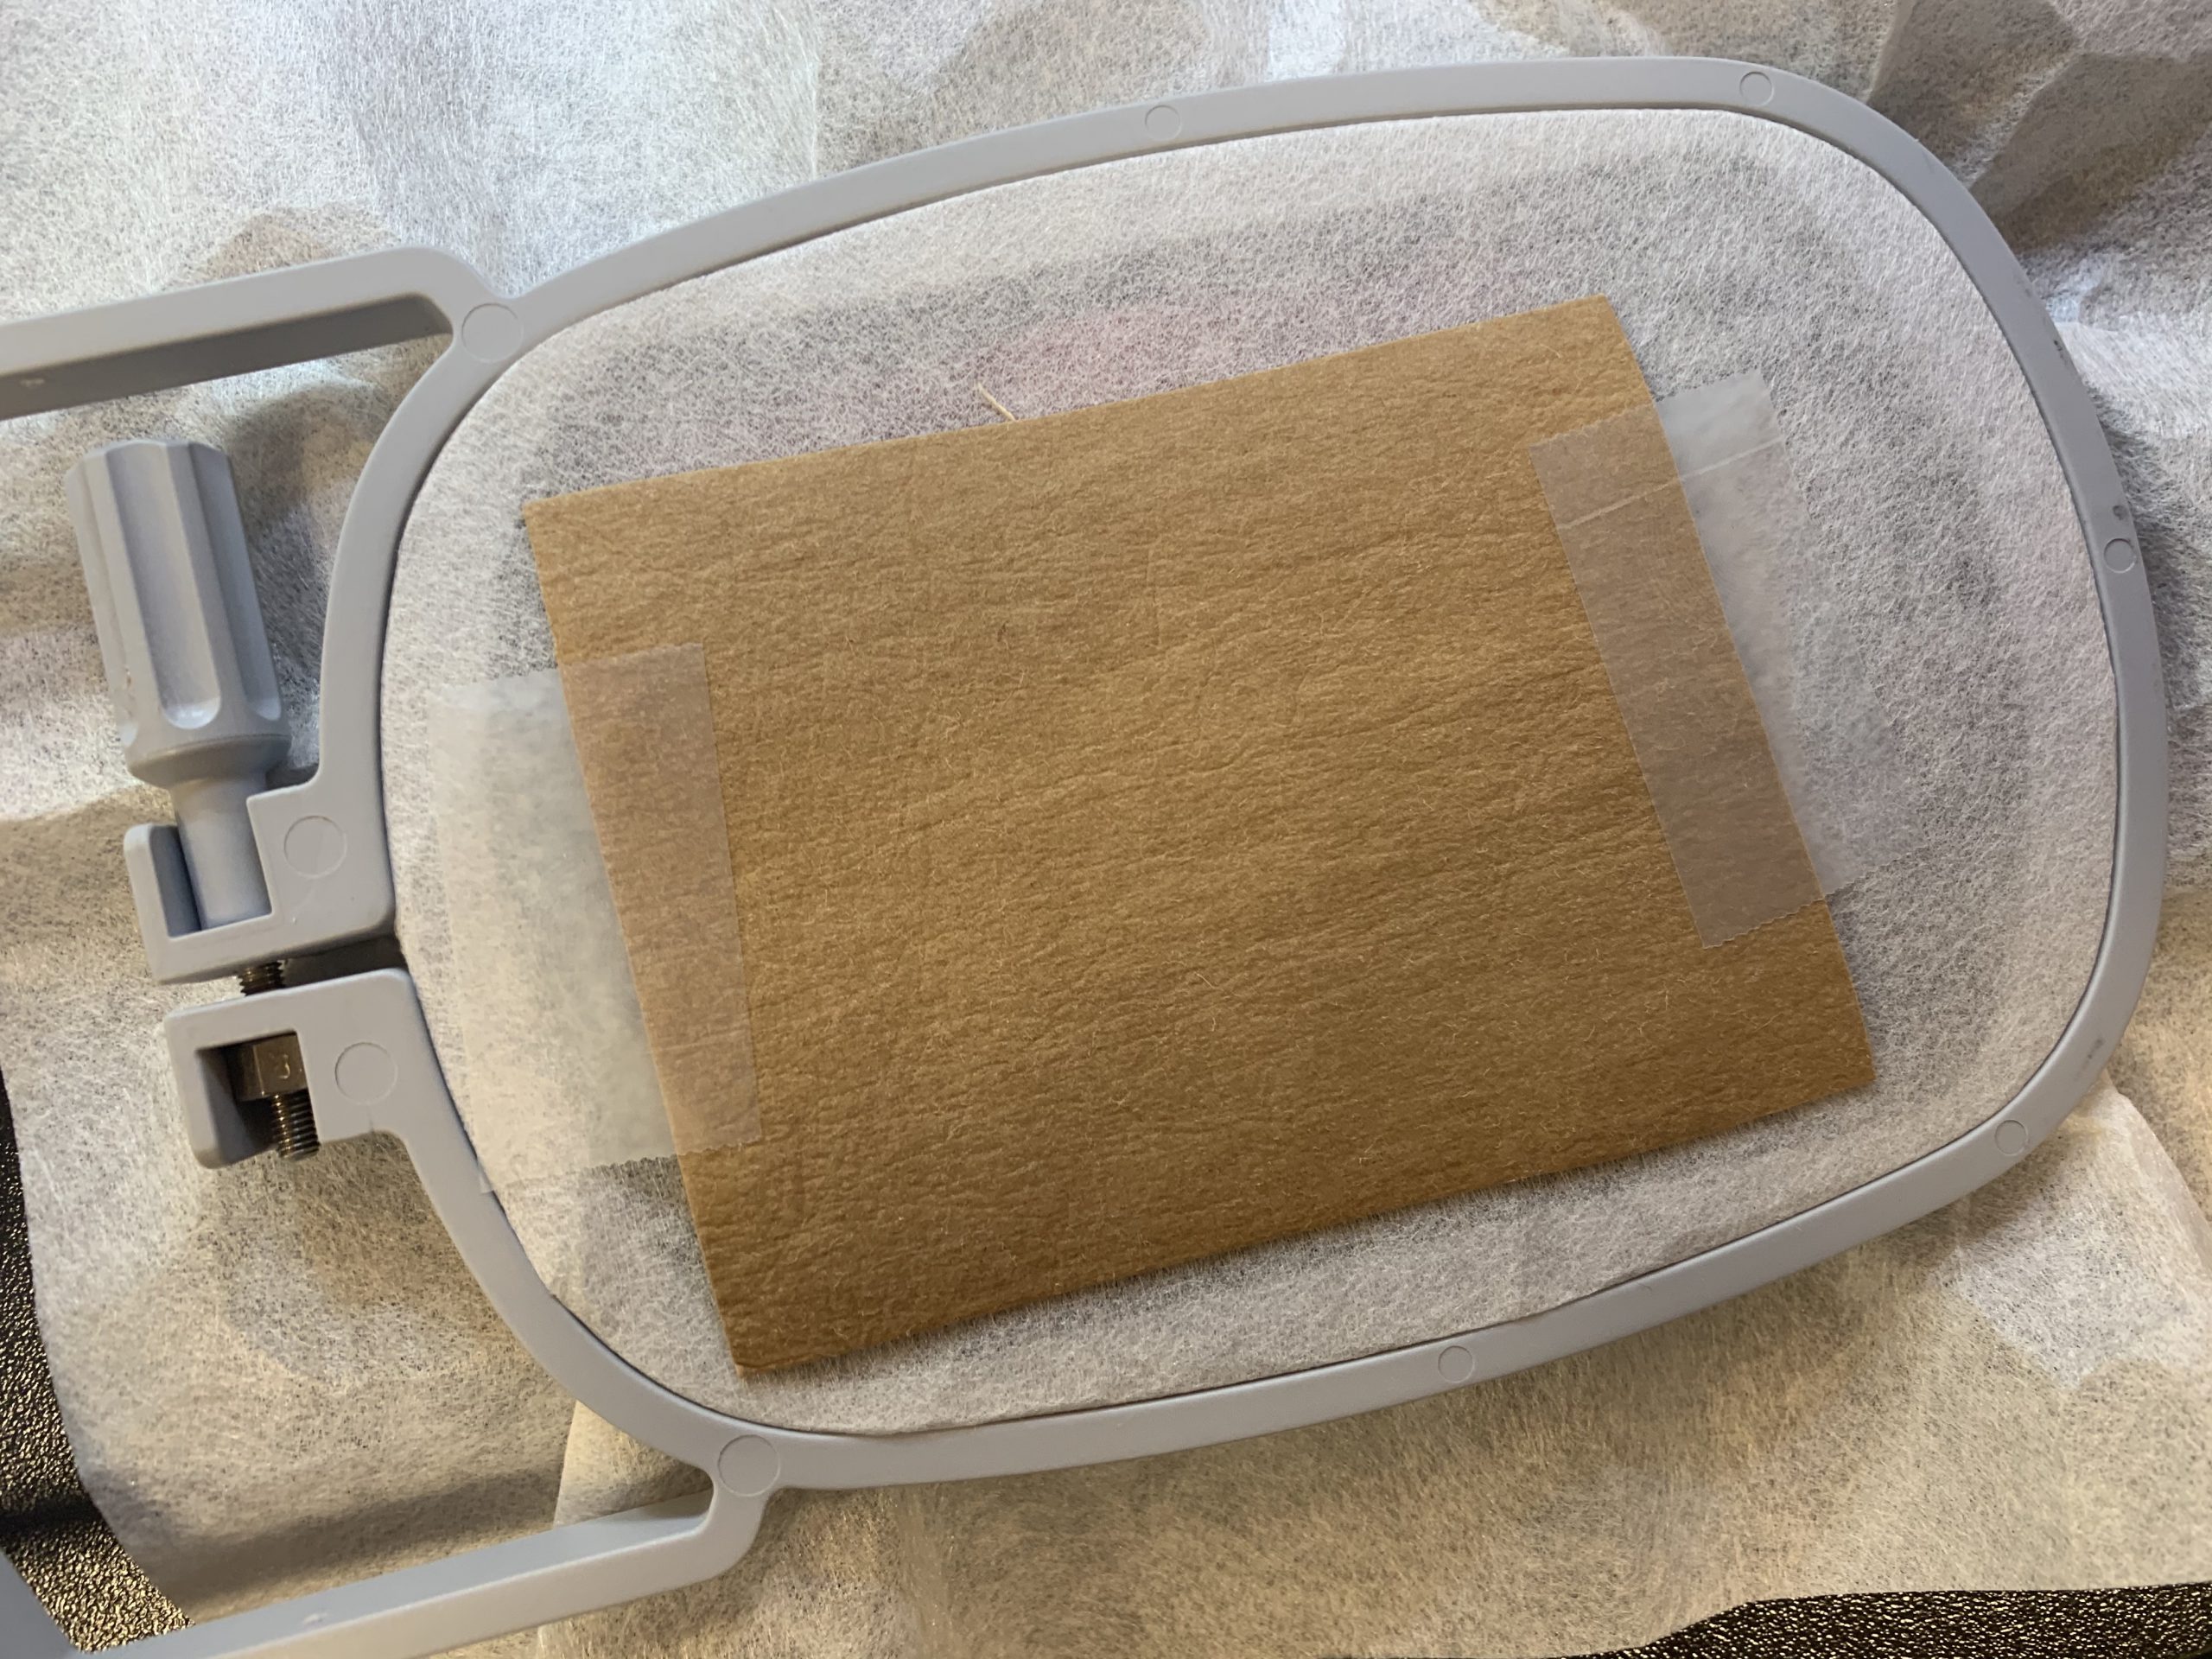
Now put the hoop back into the machine. Make sure that the cardboard on the back does not come off! To make the back look beautiful, you can put same color thread into the machine for a bobbin thread. Now embroider the last sequence to secure all the layers together.
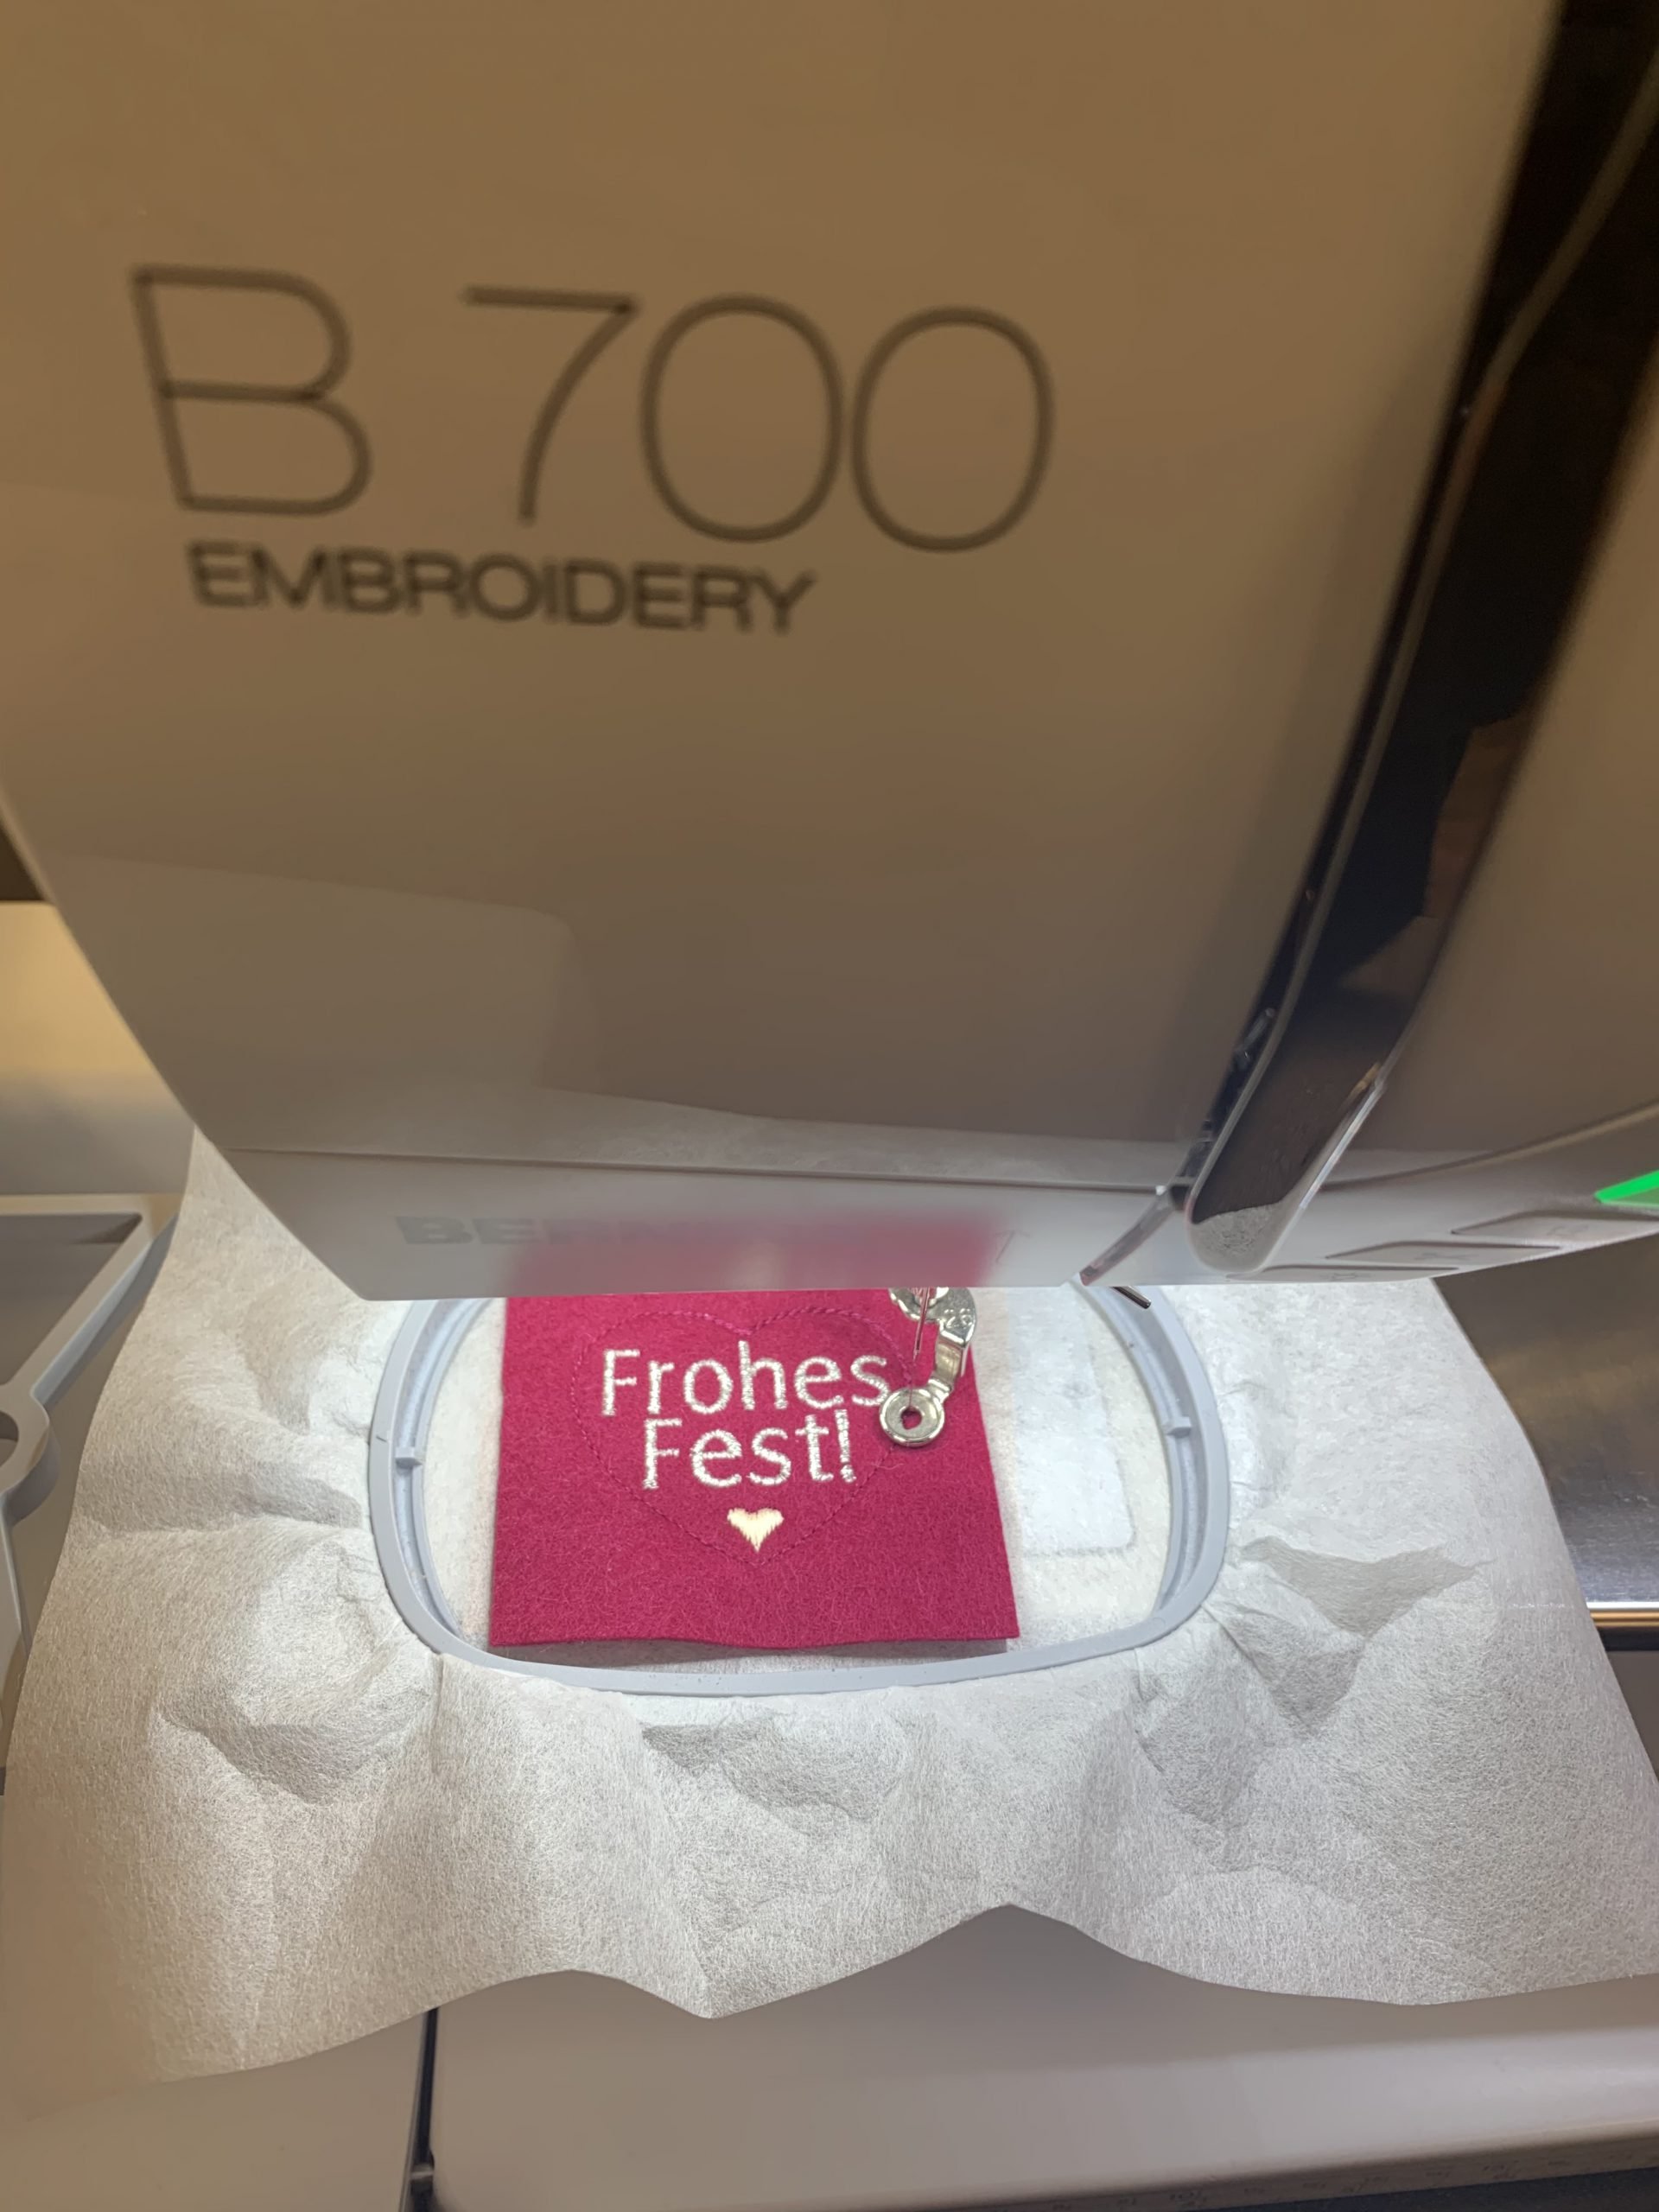
Take the embroidery out of the hoop. Then cut out the stabilizer and the heart, leaving an allowance of a few millimeters from the last embroidery sequence. Attach an eyelet or, if you prefer, thread some yarn through the heart for the hanger.

Don’t they look lovely? Maybe you’d like to sew several elephants like I did? I love seeing the herd grow.
And now, from the bottom of my heart, I wish you a wonderful and peaceful Christmas with your loved ones!
Stay safe!
All the best,
Claudia


soooo cute thx