 BERNINA Corporate Blog -
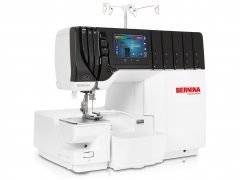
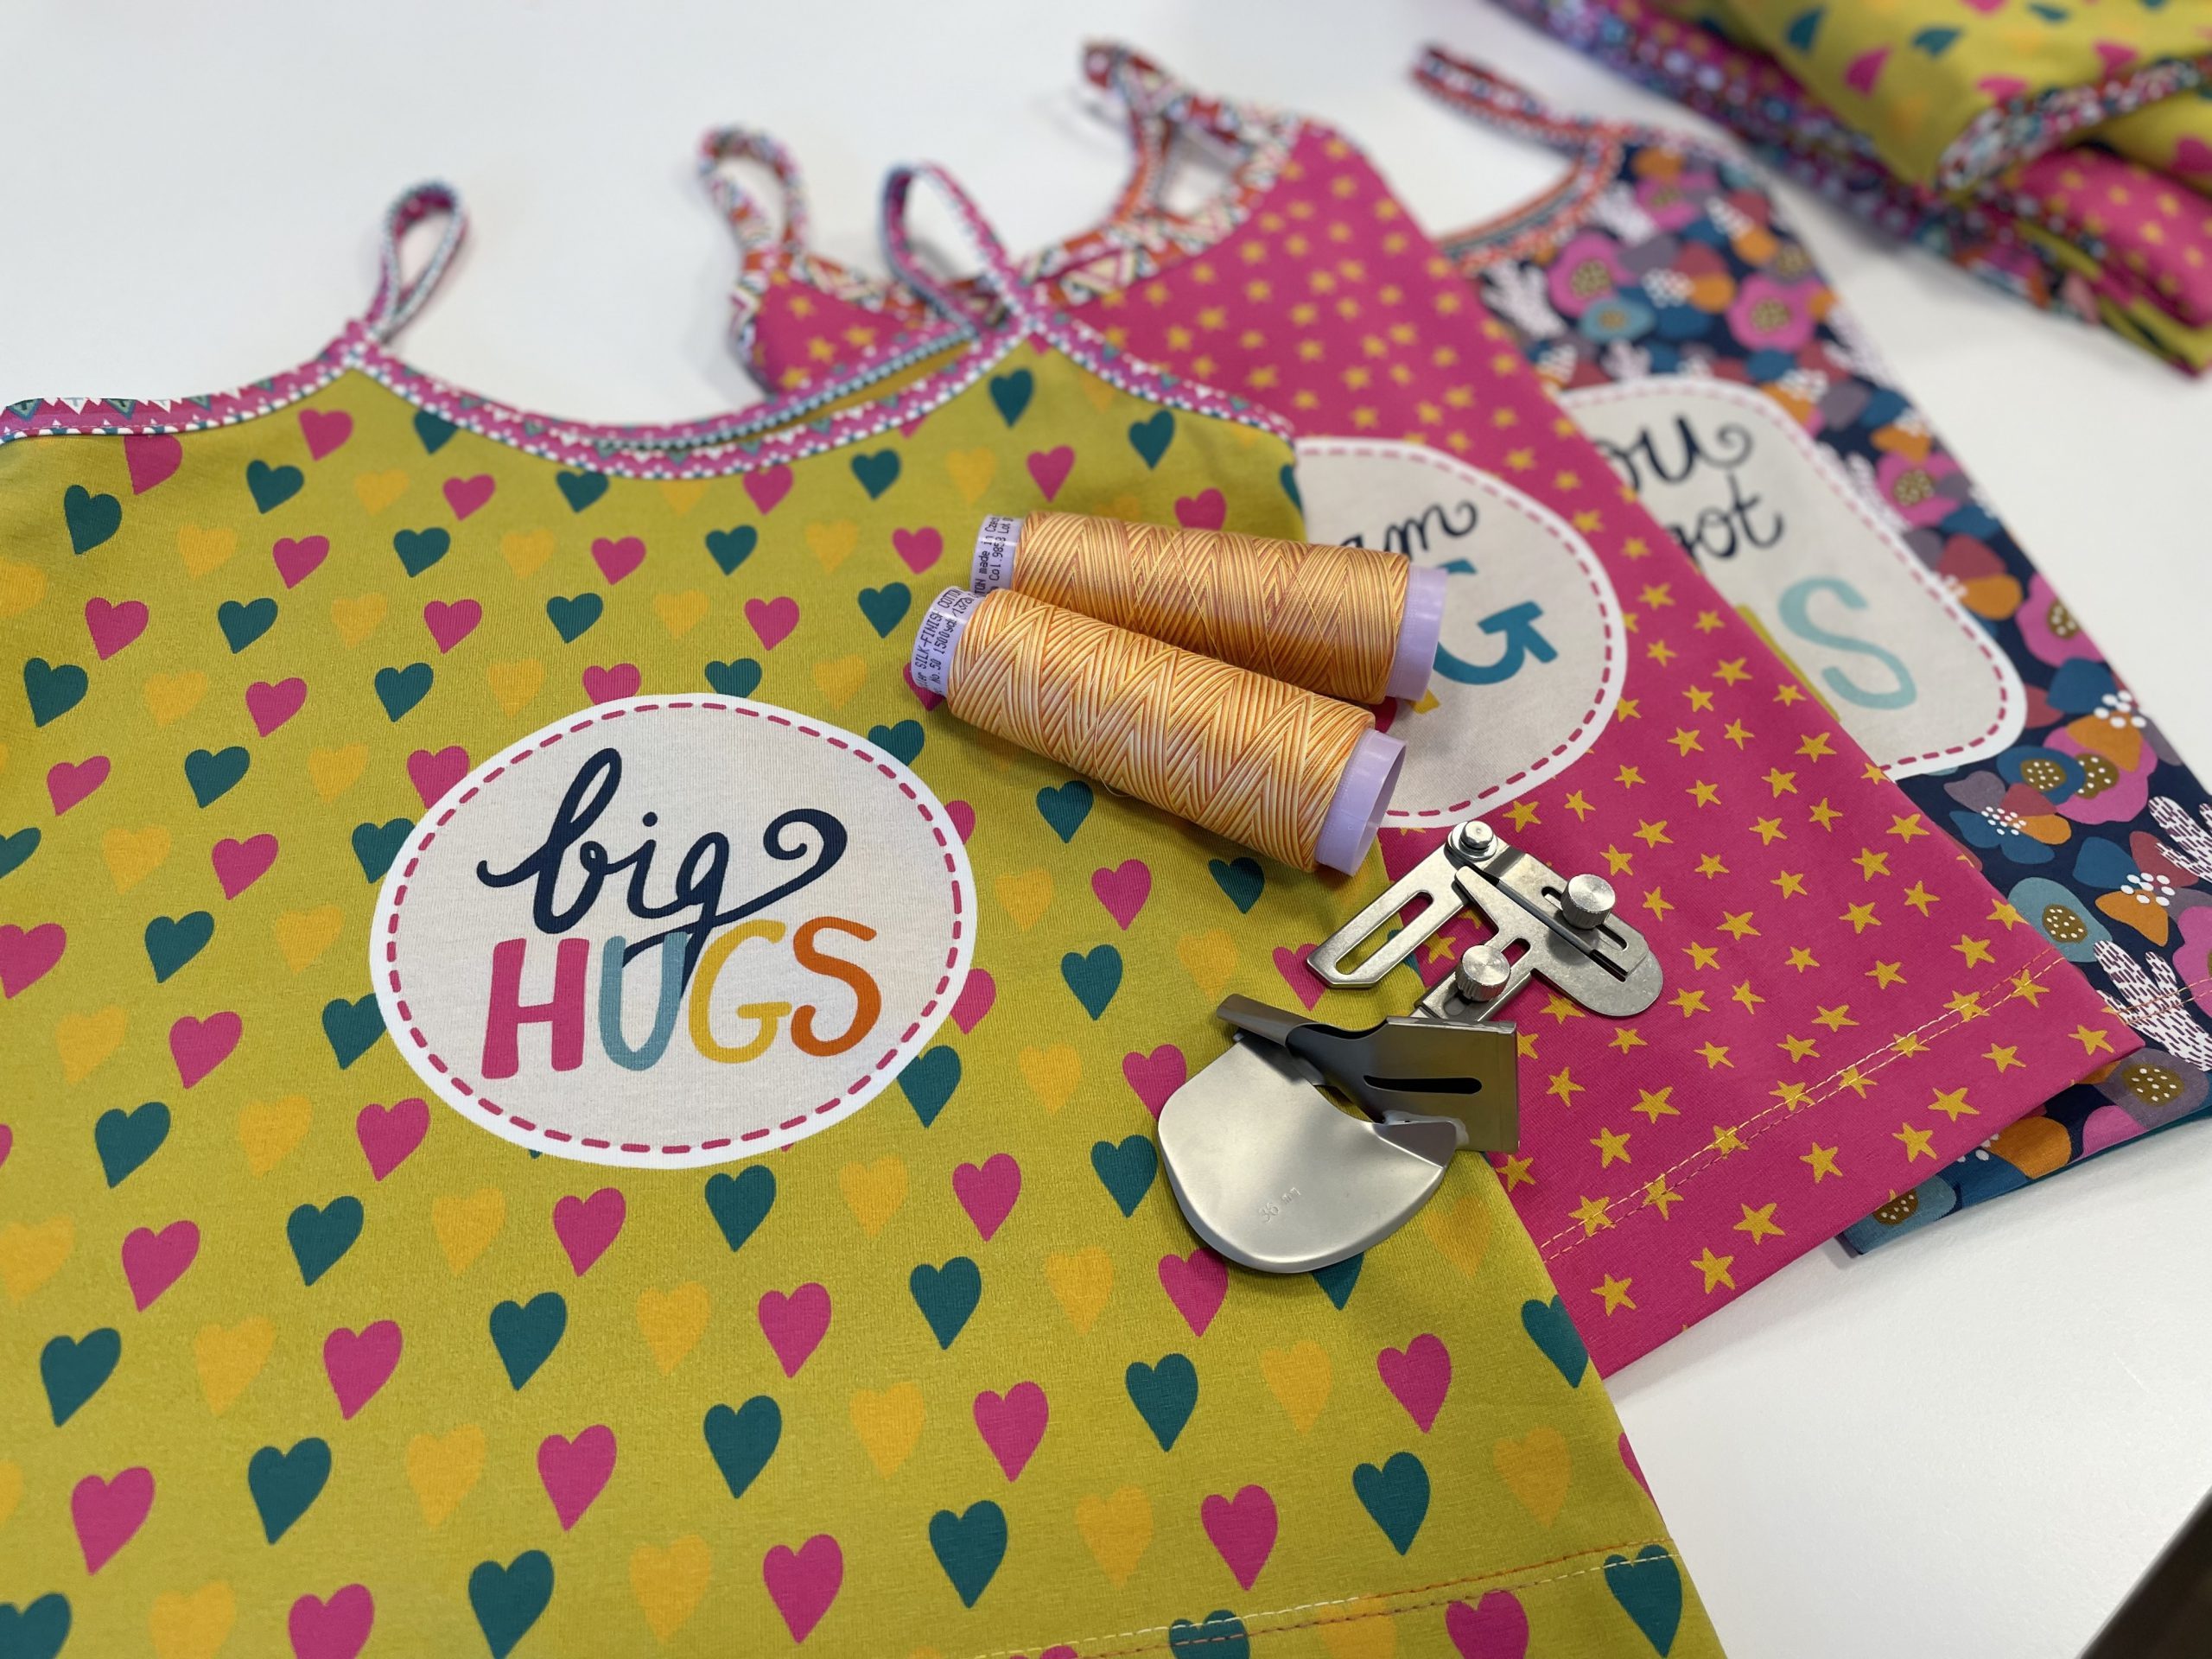
For some time now, there are two binders available for the L 890. In this blog you will be introduced to the Double Fold Binder for Unfolded Tape #C21.It consists of the parts shown in the photo. It can be used to process tapes with a width of 36 mm. The tape is folded in at the top and at the bottom side. The finished sewn binding is 1 cm wide. An additional presser foot is not required, the Cover/Chainstitch Foot #C13 is the ideal companion for the binder. The #C13 is included in the standard accessories of the L 890.
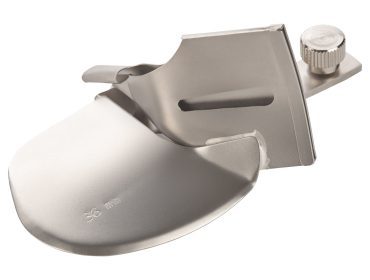

Attaching the Double Fold Binder #C21
You can see in our video tutorial how to attach the Double Fold Binder to the L 890:
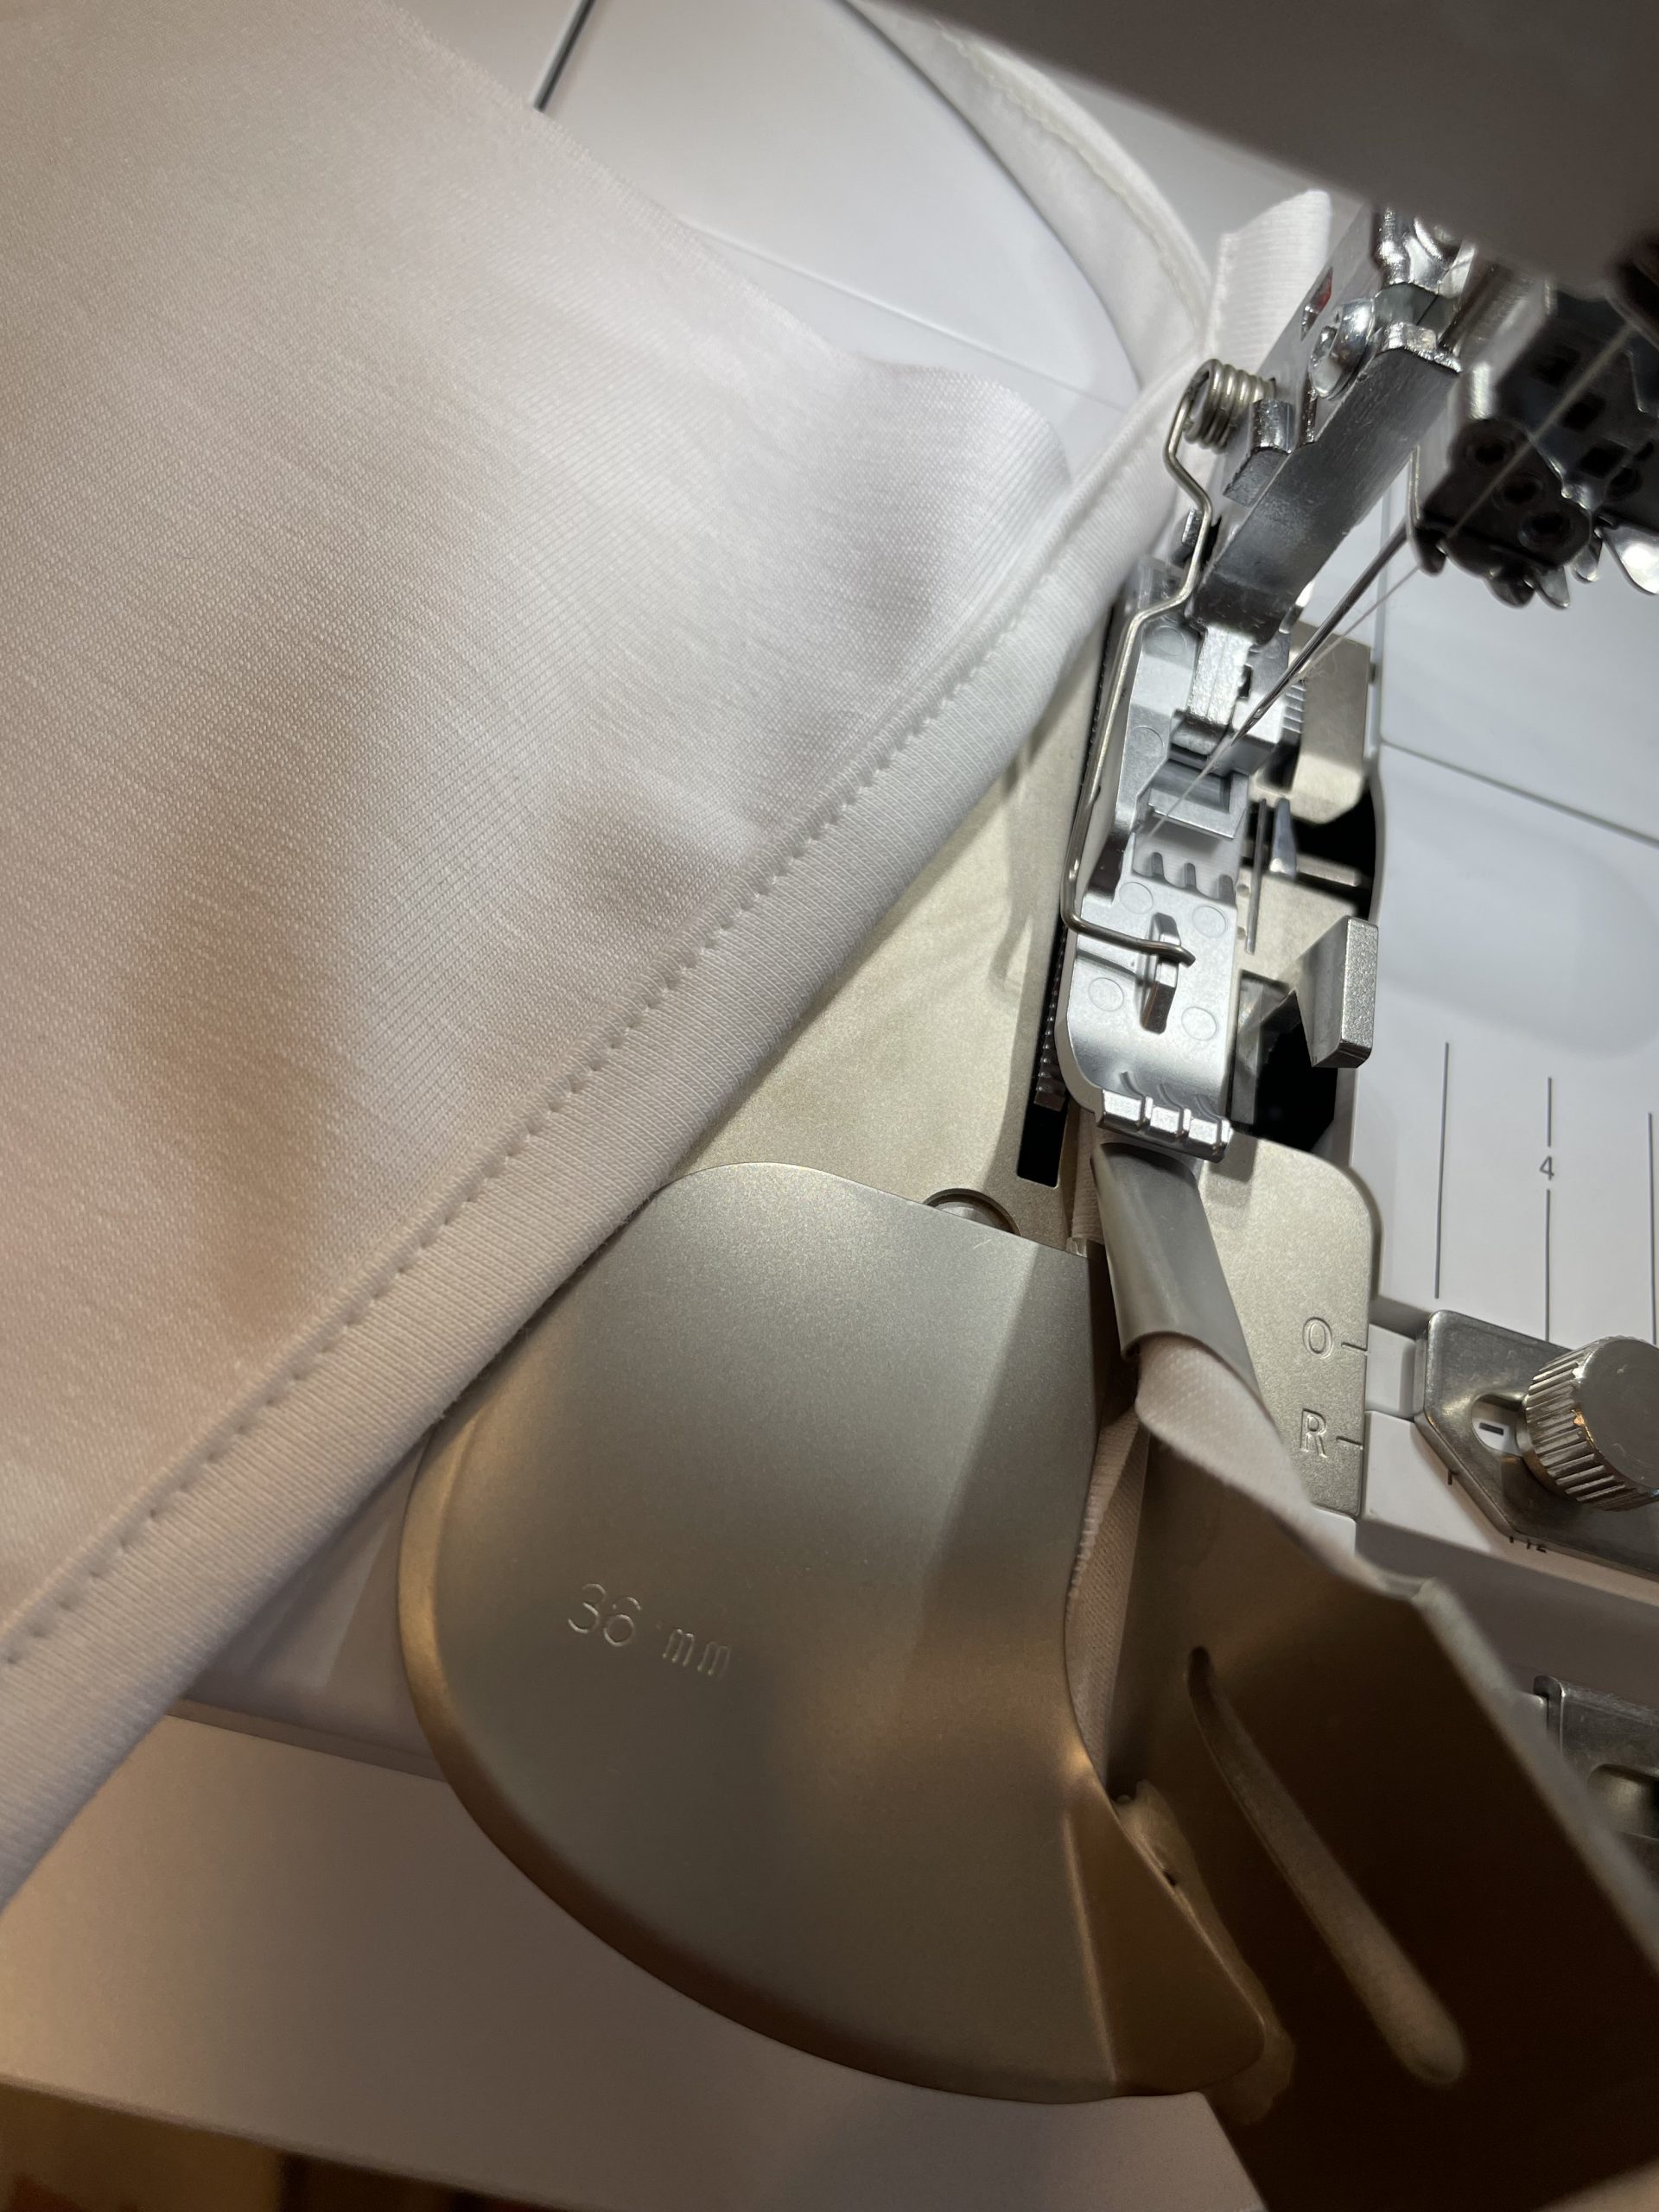
For convenient threading of the tape into the binder, swing the binder out.

It is important, that the position of the Double Fold Binder and presser foot are aligned.

In any case, I recommend starting to sew a test binding. My BERNINA L 890 has mastered it perfectly, so how about we make a small project with it?
Preparing the pattern
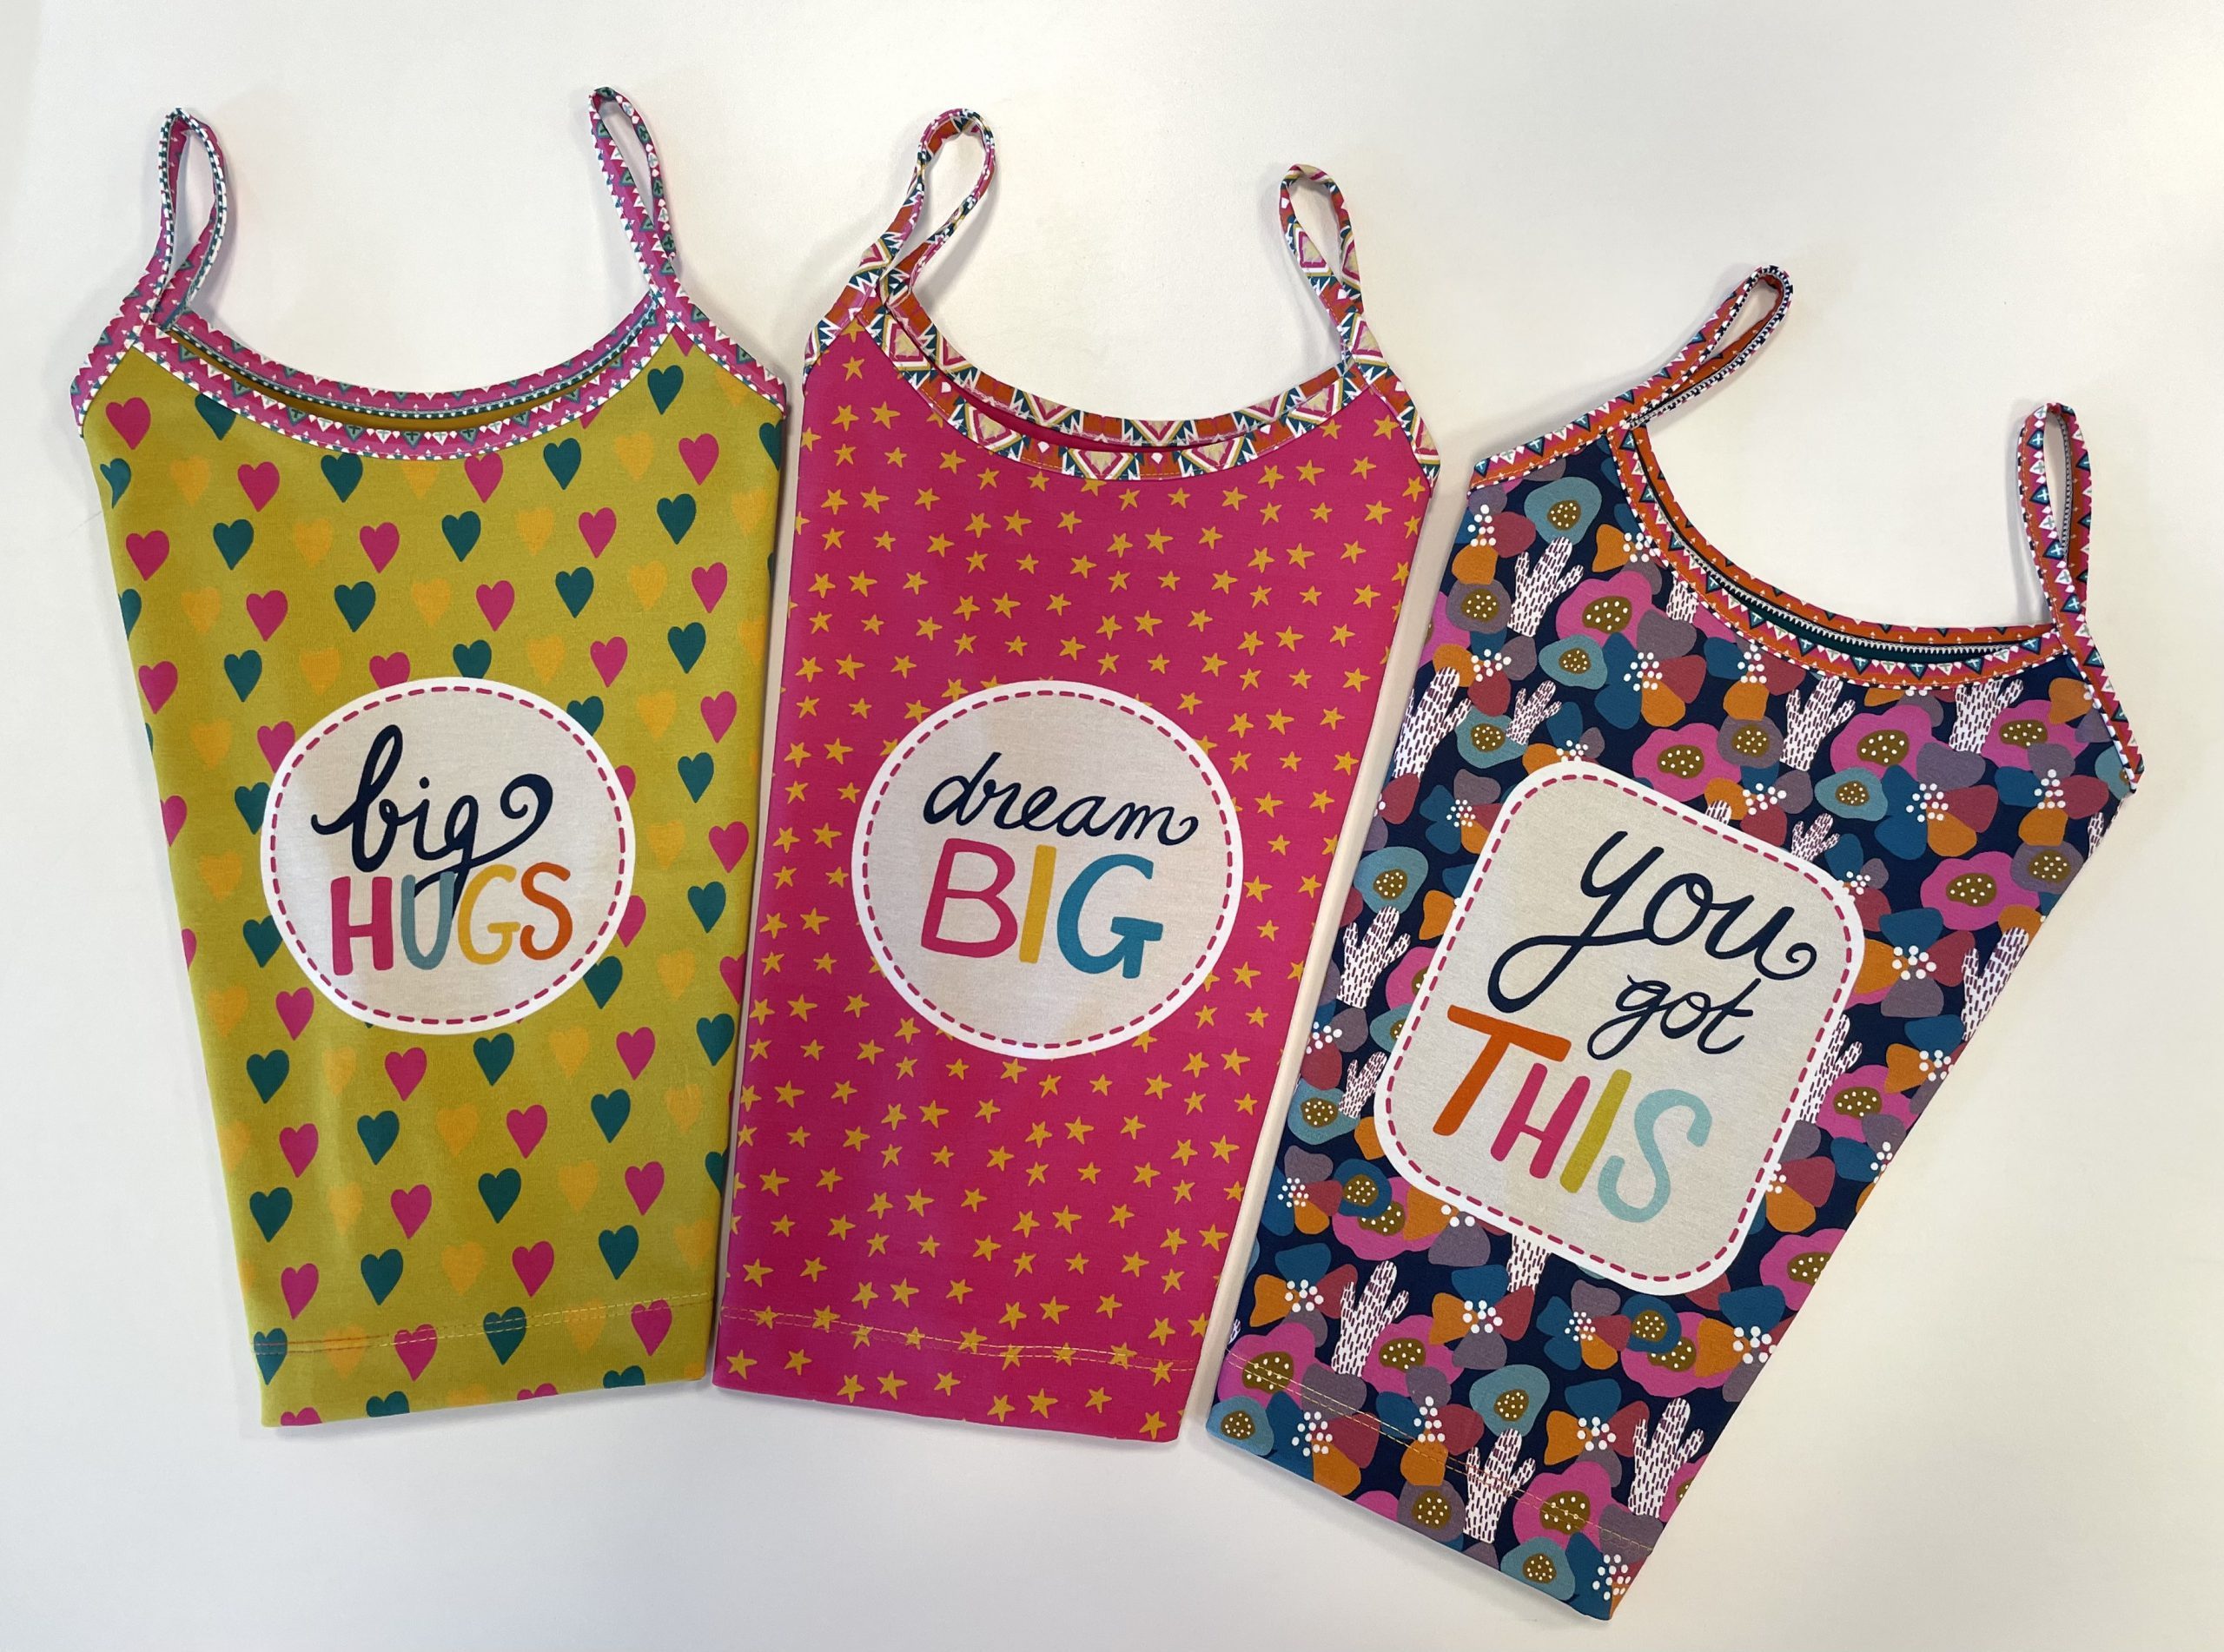
With this Double Fold Binder, I want to copy and re-sew my daughters favorite top.
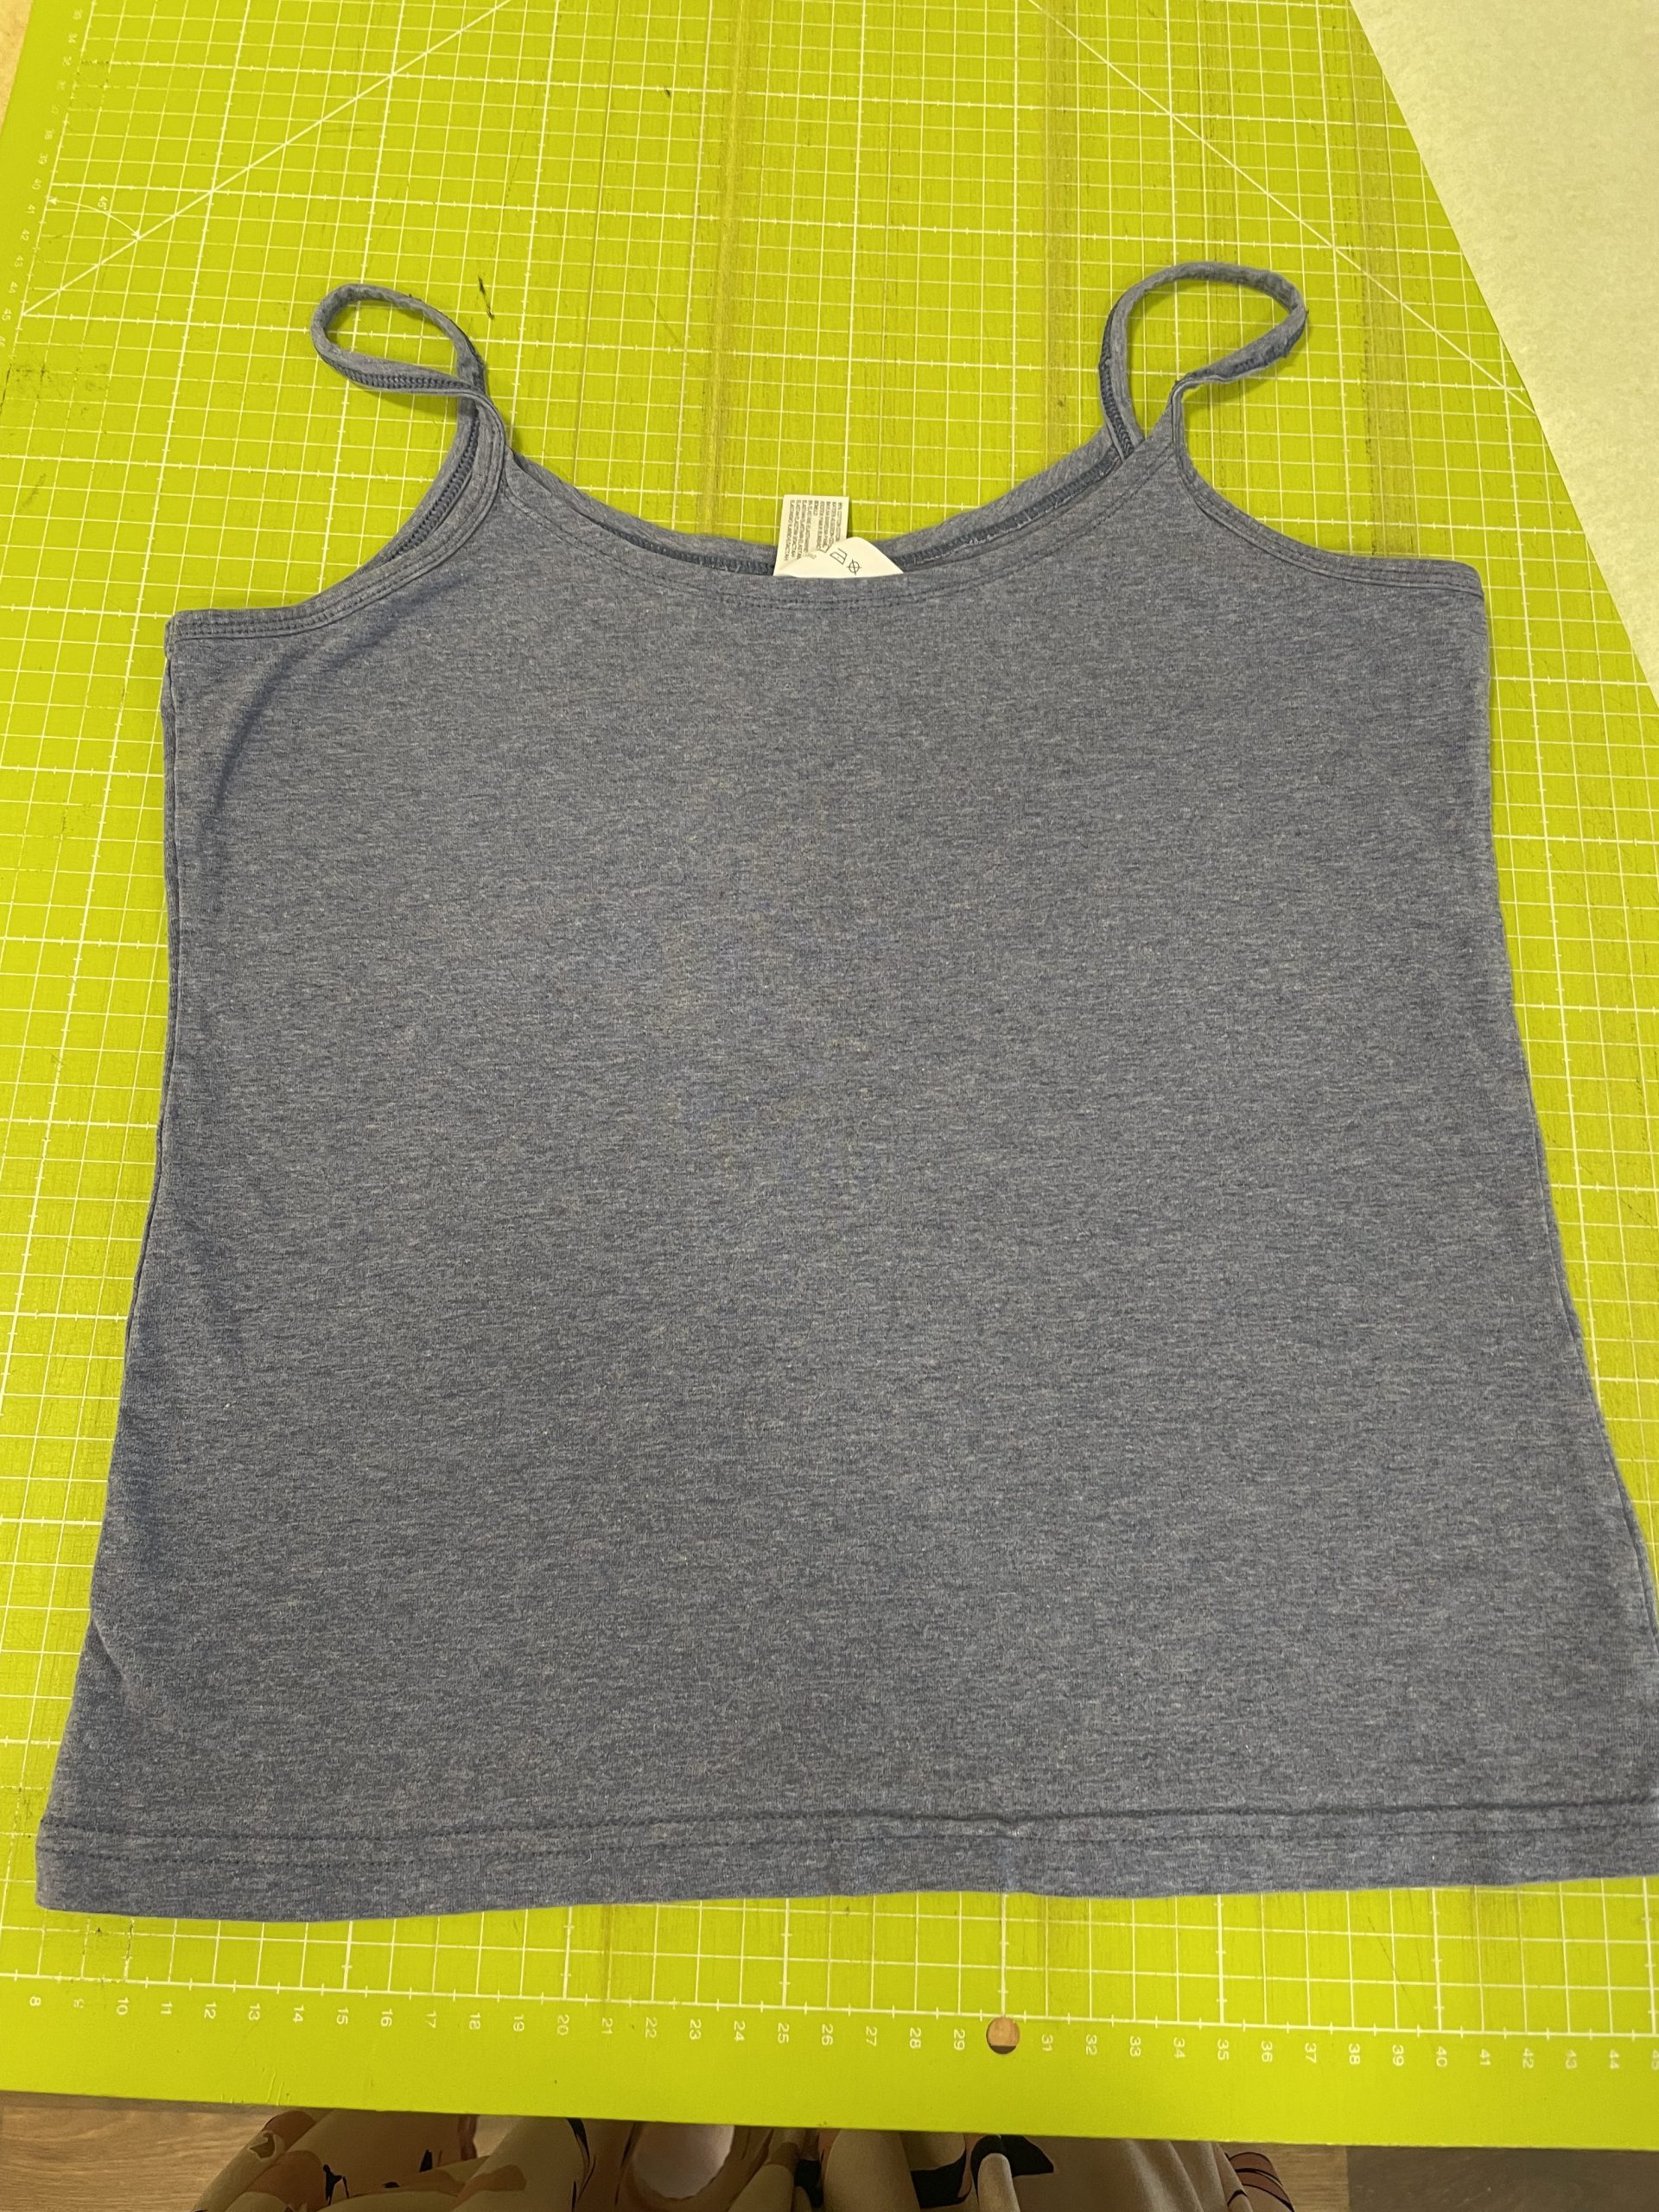
Let me show you how these tank tops were created.
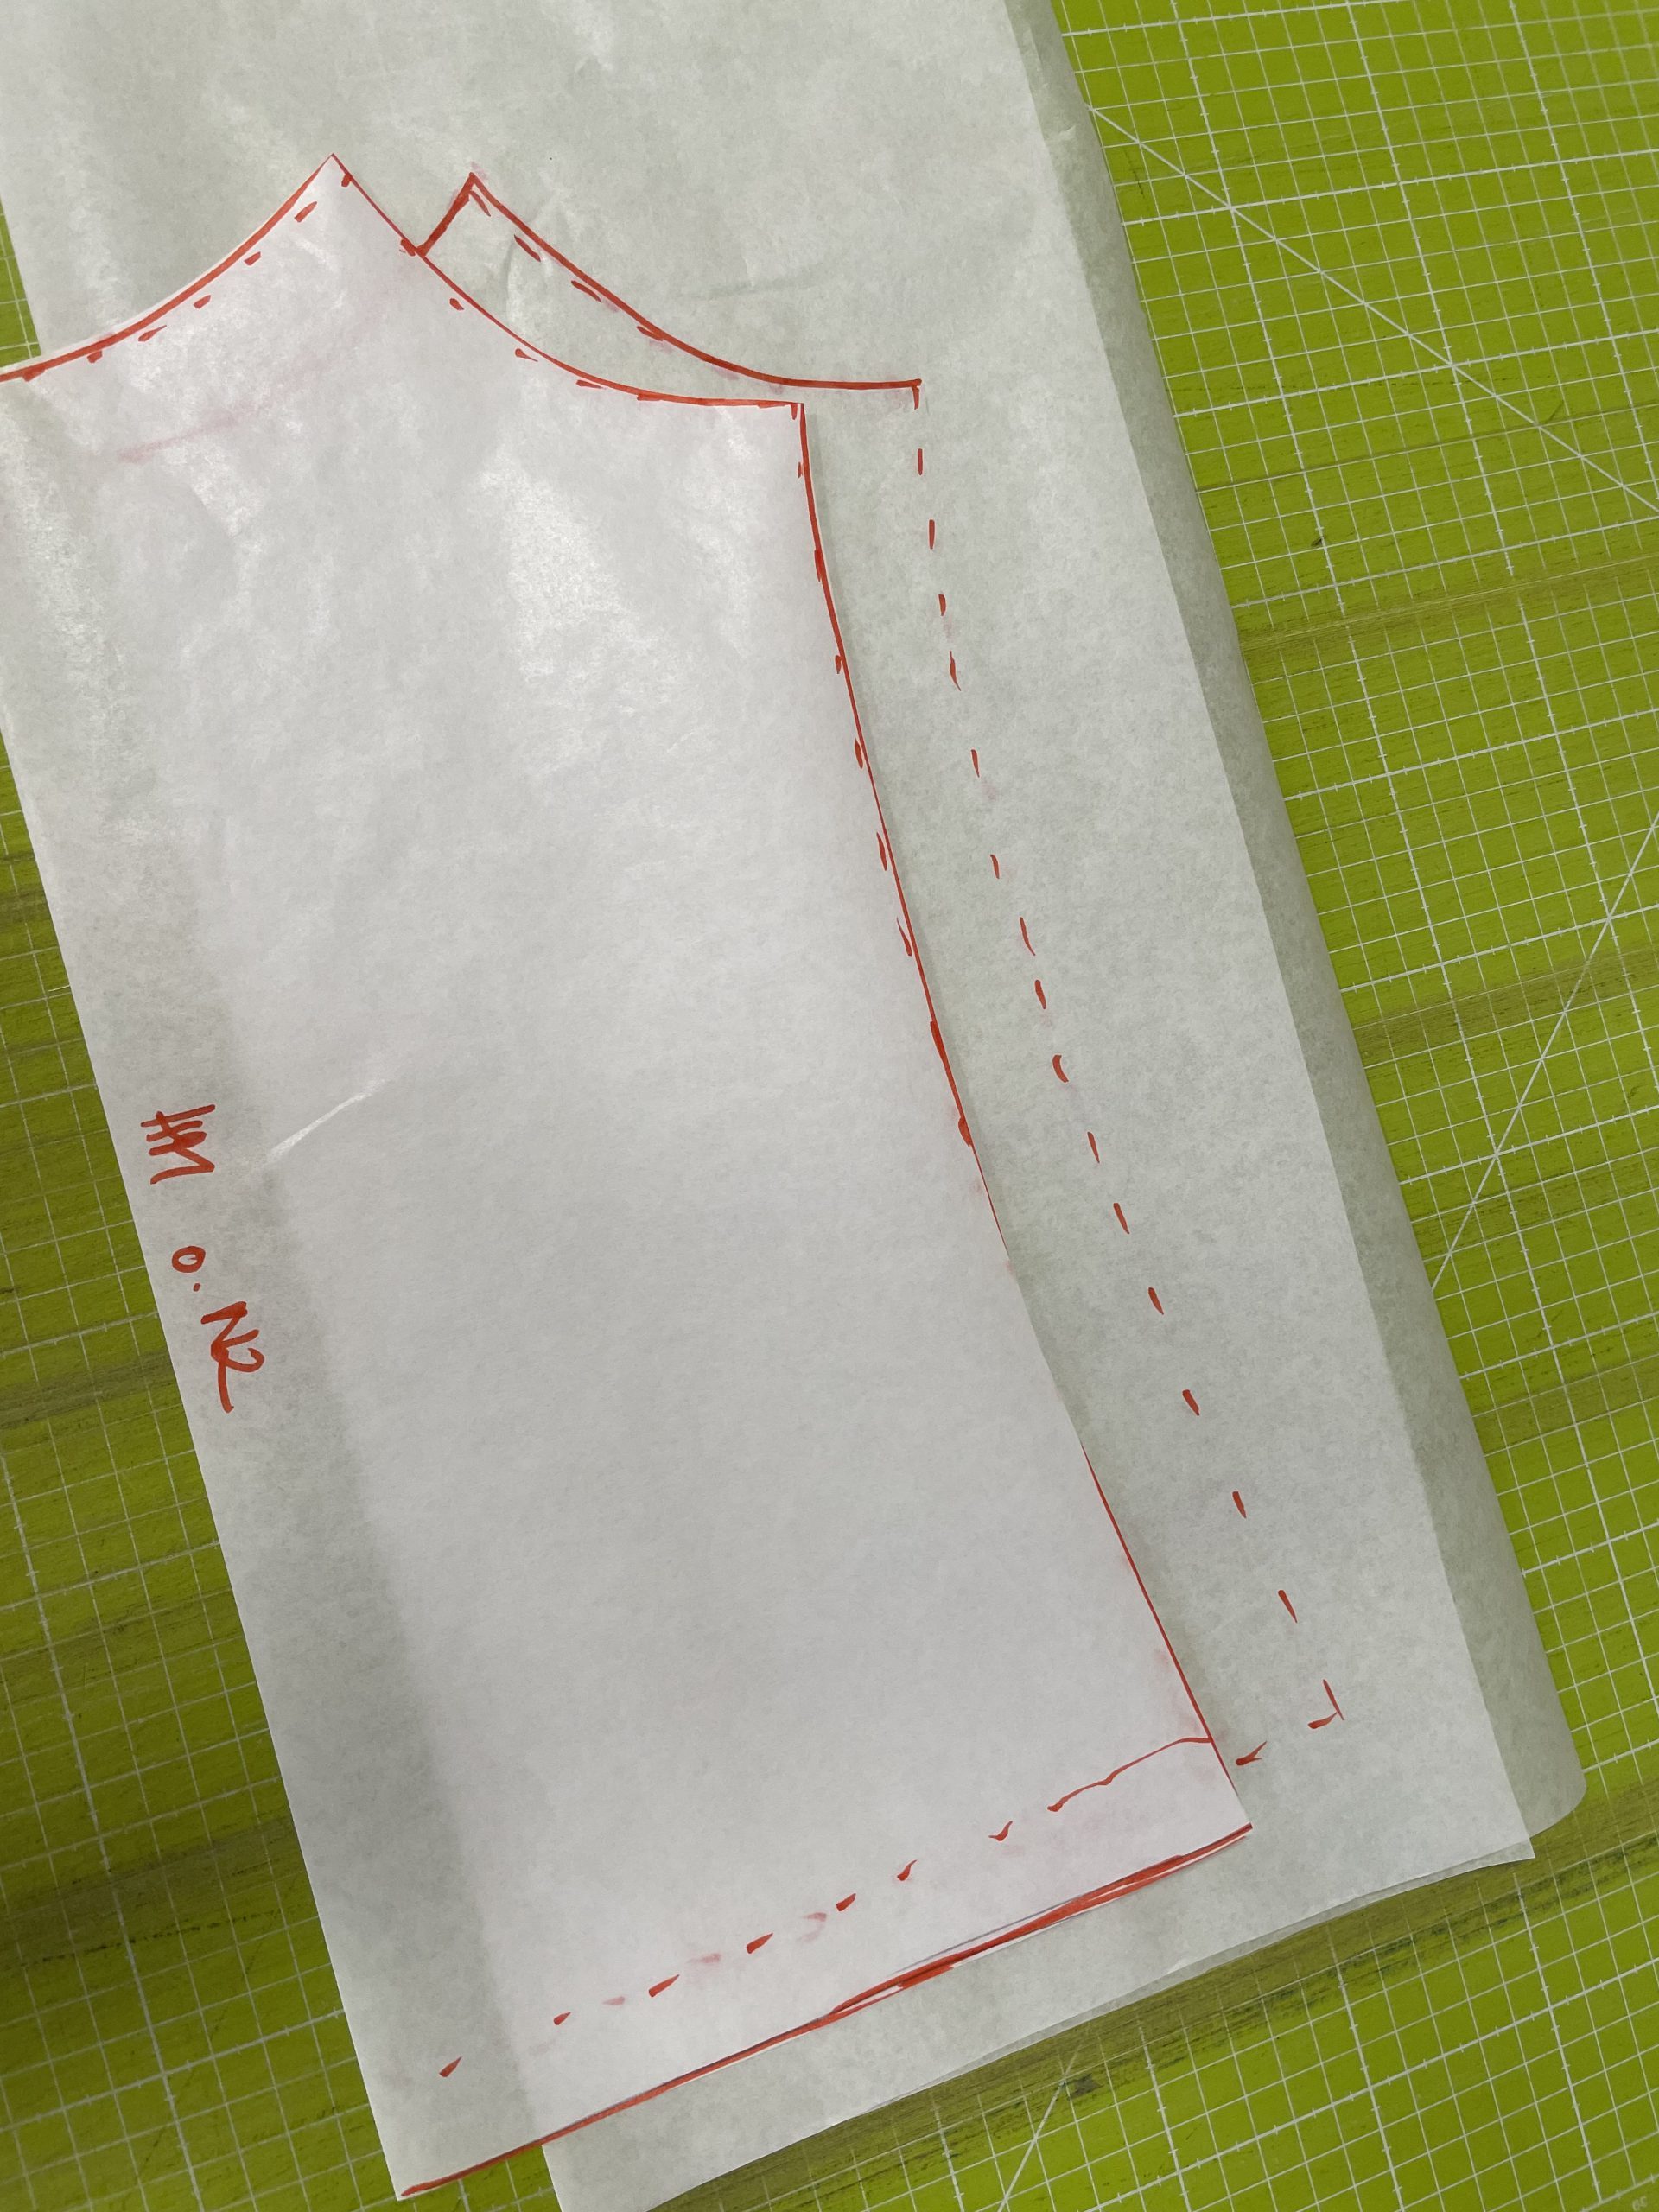
The pattern is not difficult and can be easily copied from the tank top. I place the pattern paper onto the top and trace the contours.
The I fold the just copied template in the center. As you can see, there are some tolerances. That is completely normal, because the top has been worn and washed many times, so it is certainly not perfectly symmetrical on the table.

In this case, you simply align the sides by finding the “golden mean”.

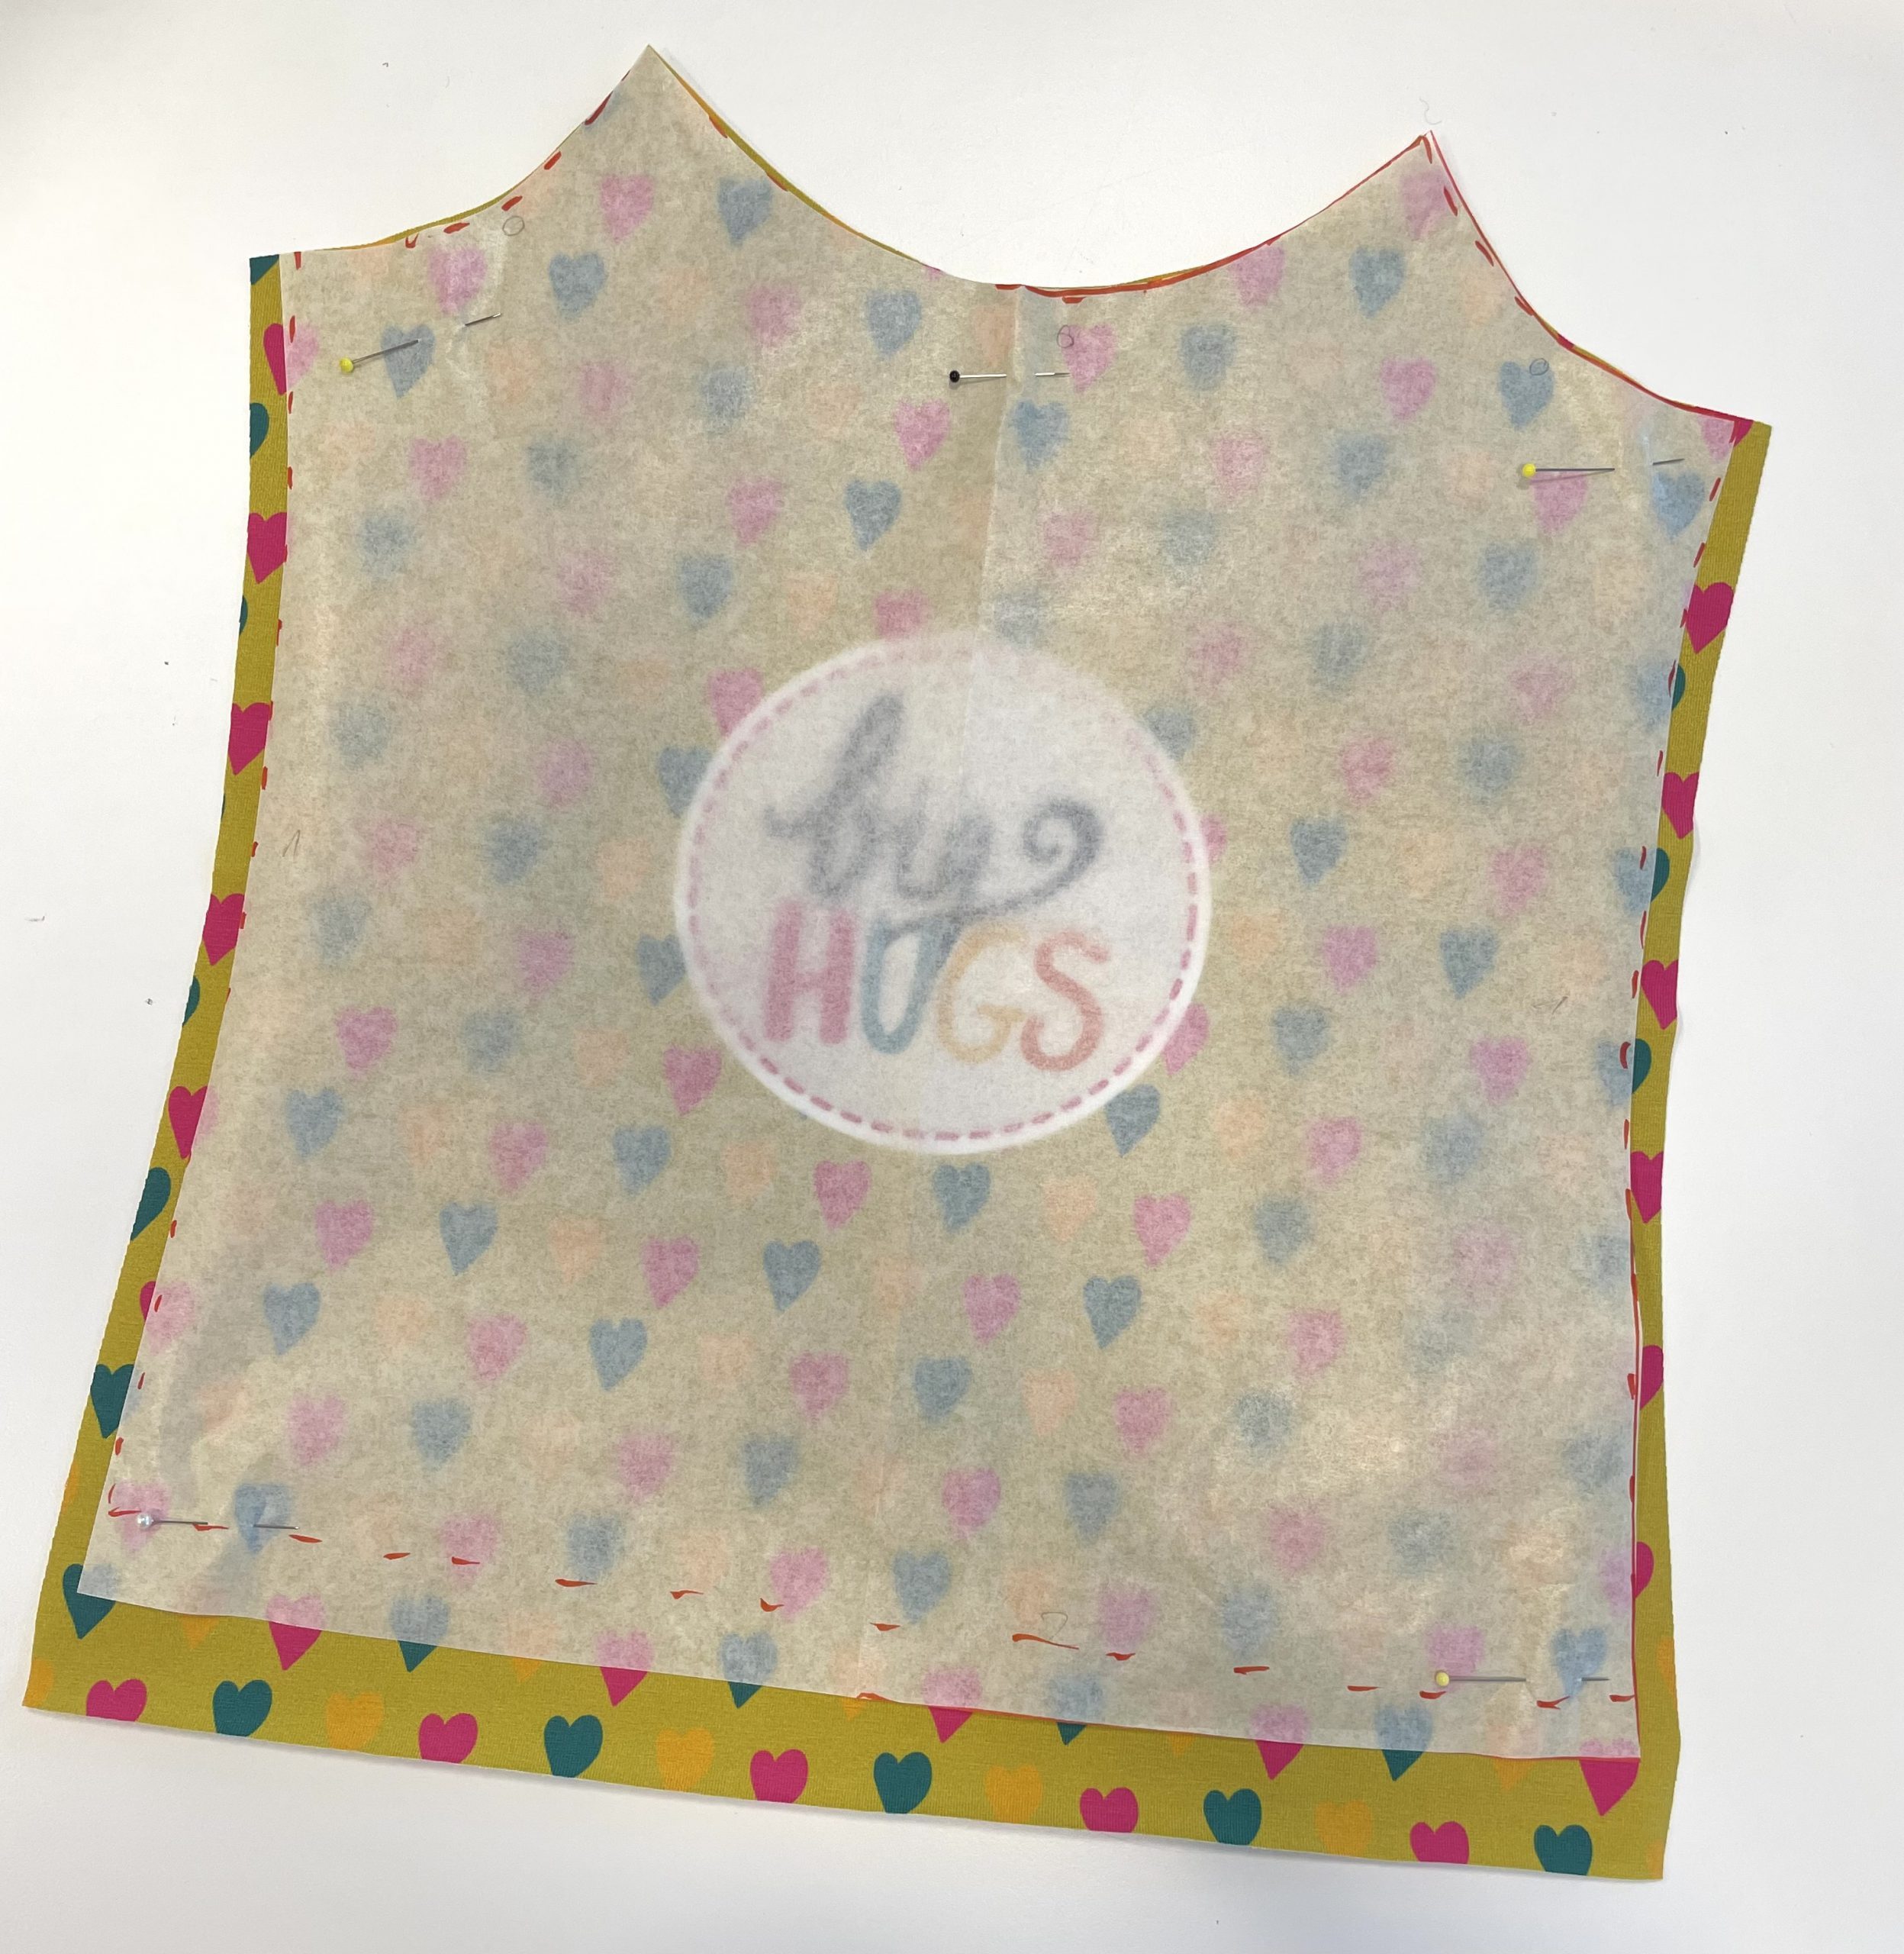
The procedure is the same for the back piece and then I already have the two pattern pieces I need.
I cut the fabric plus seam allowance. I used a nice, printed fabric from a local source for my tops, but I am sure you find something you, respectively your daughter, likes.
Sewing binding and straps
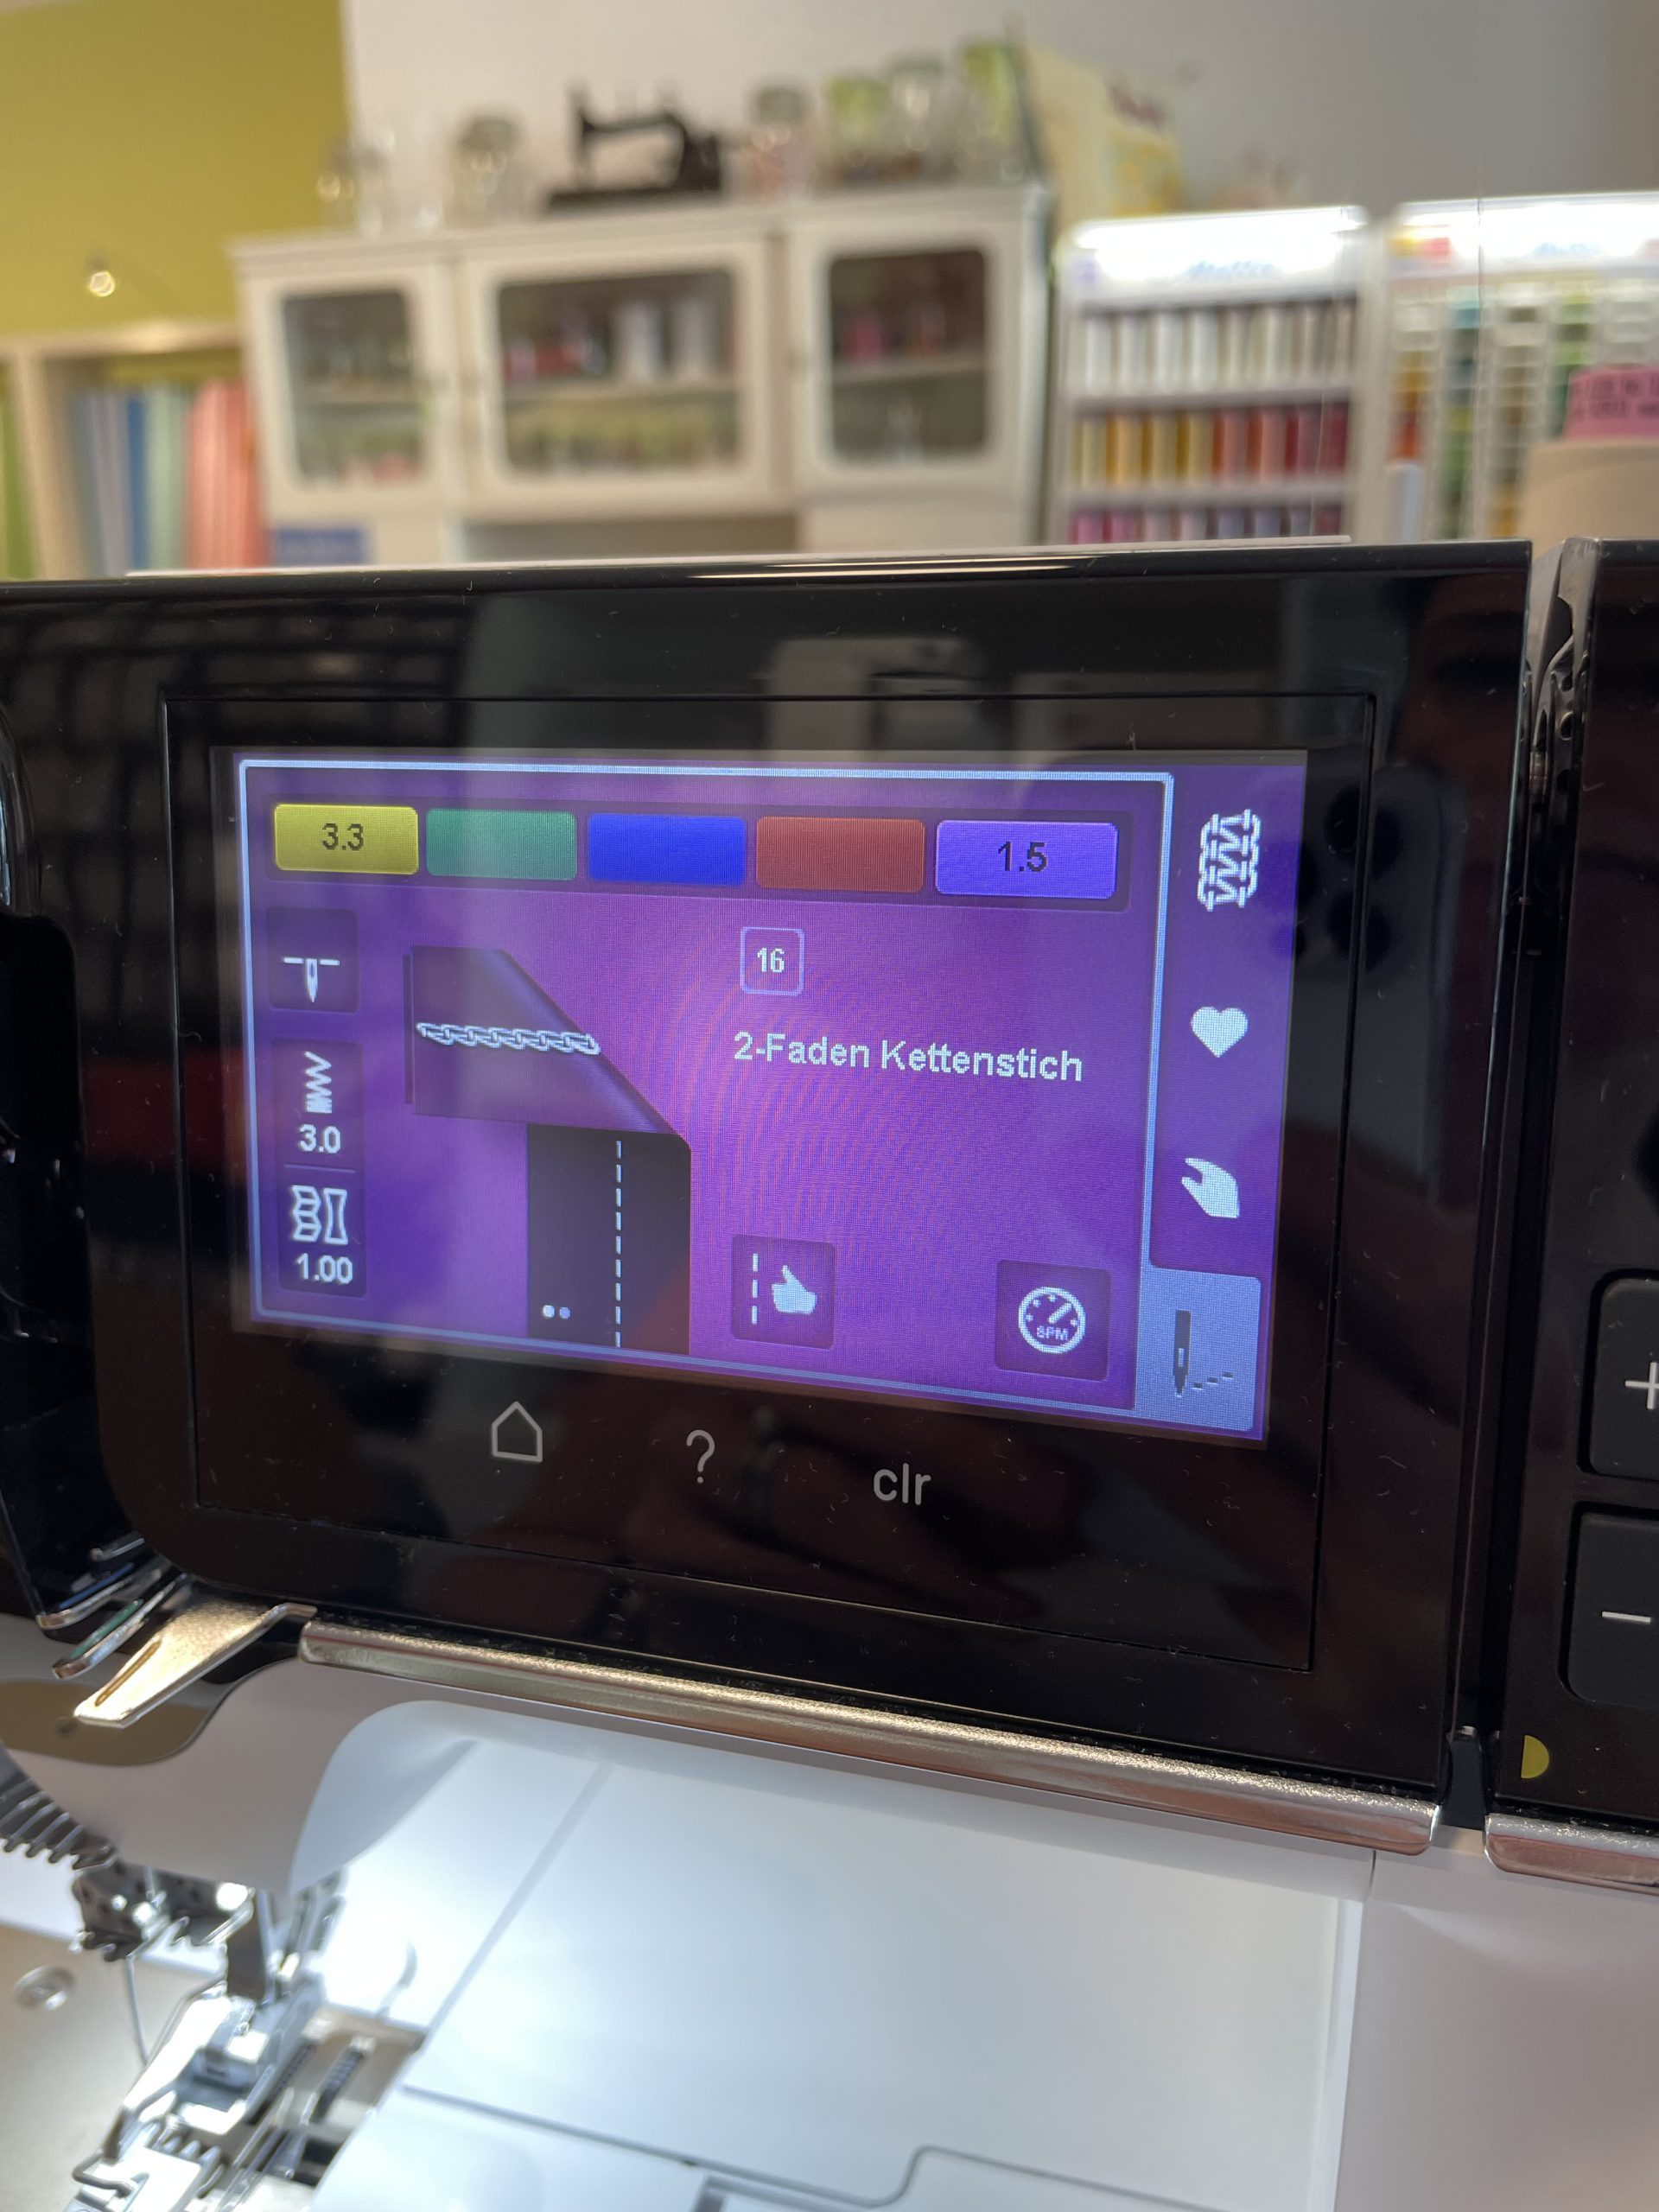
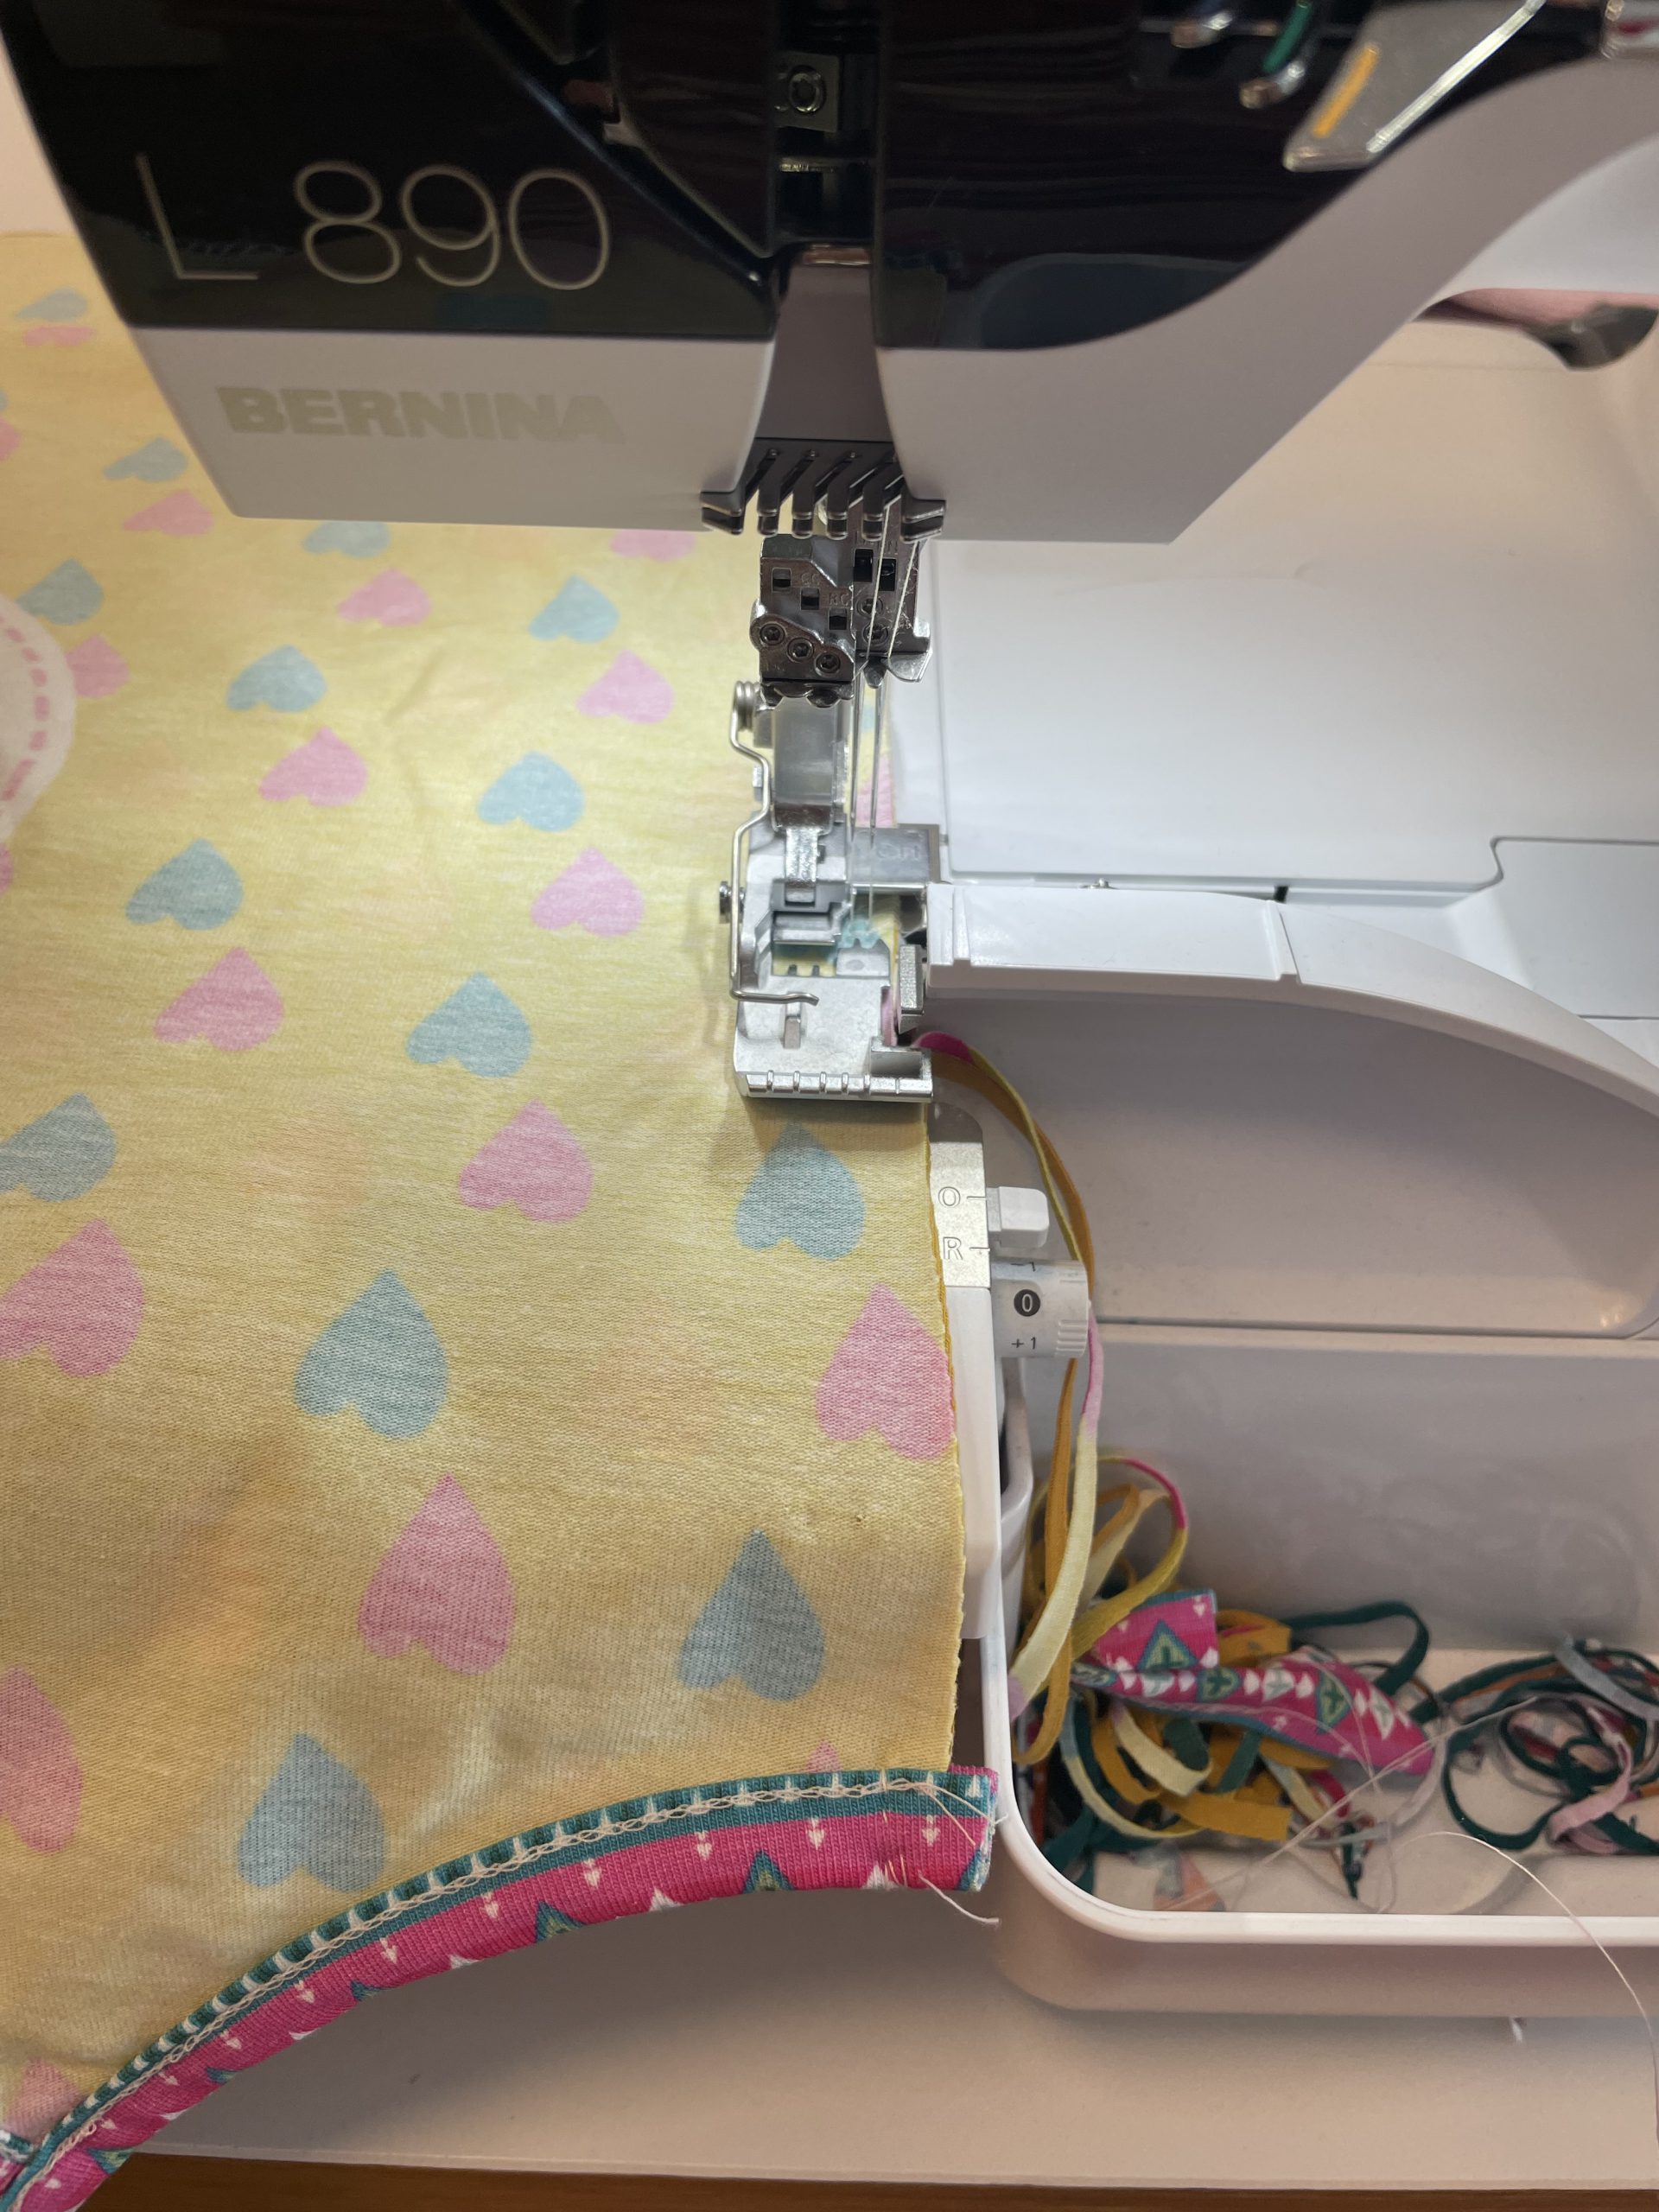
My binding is sewn with the chainstitch on the L 890, stitch 16.
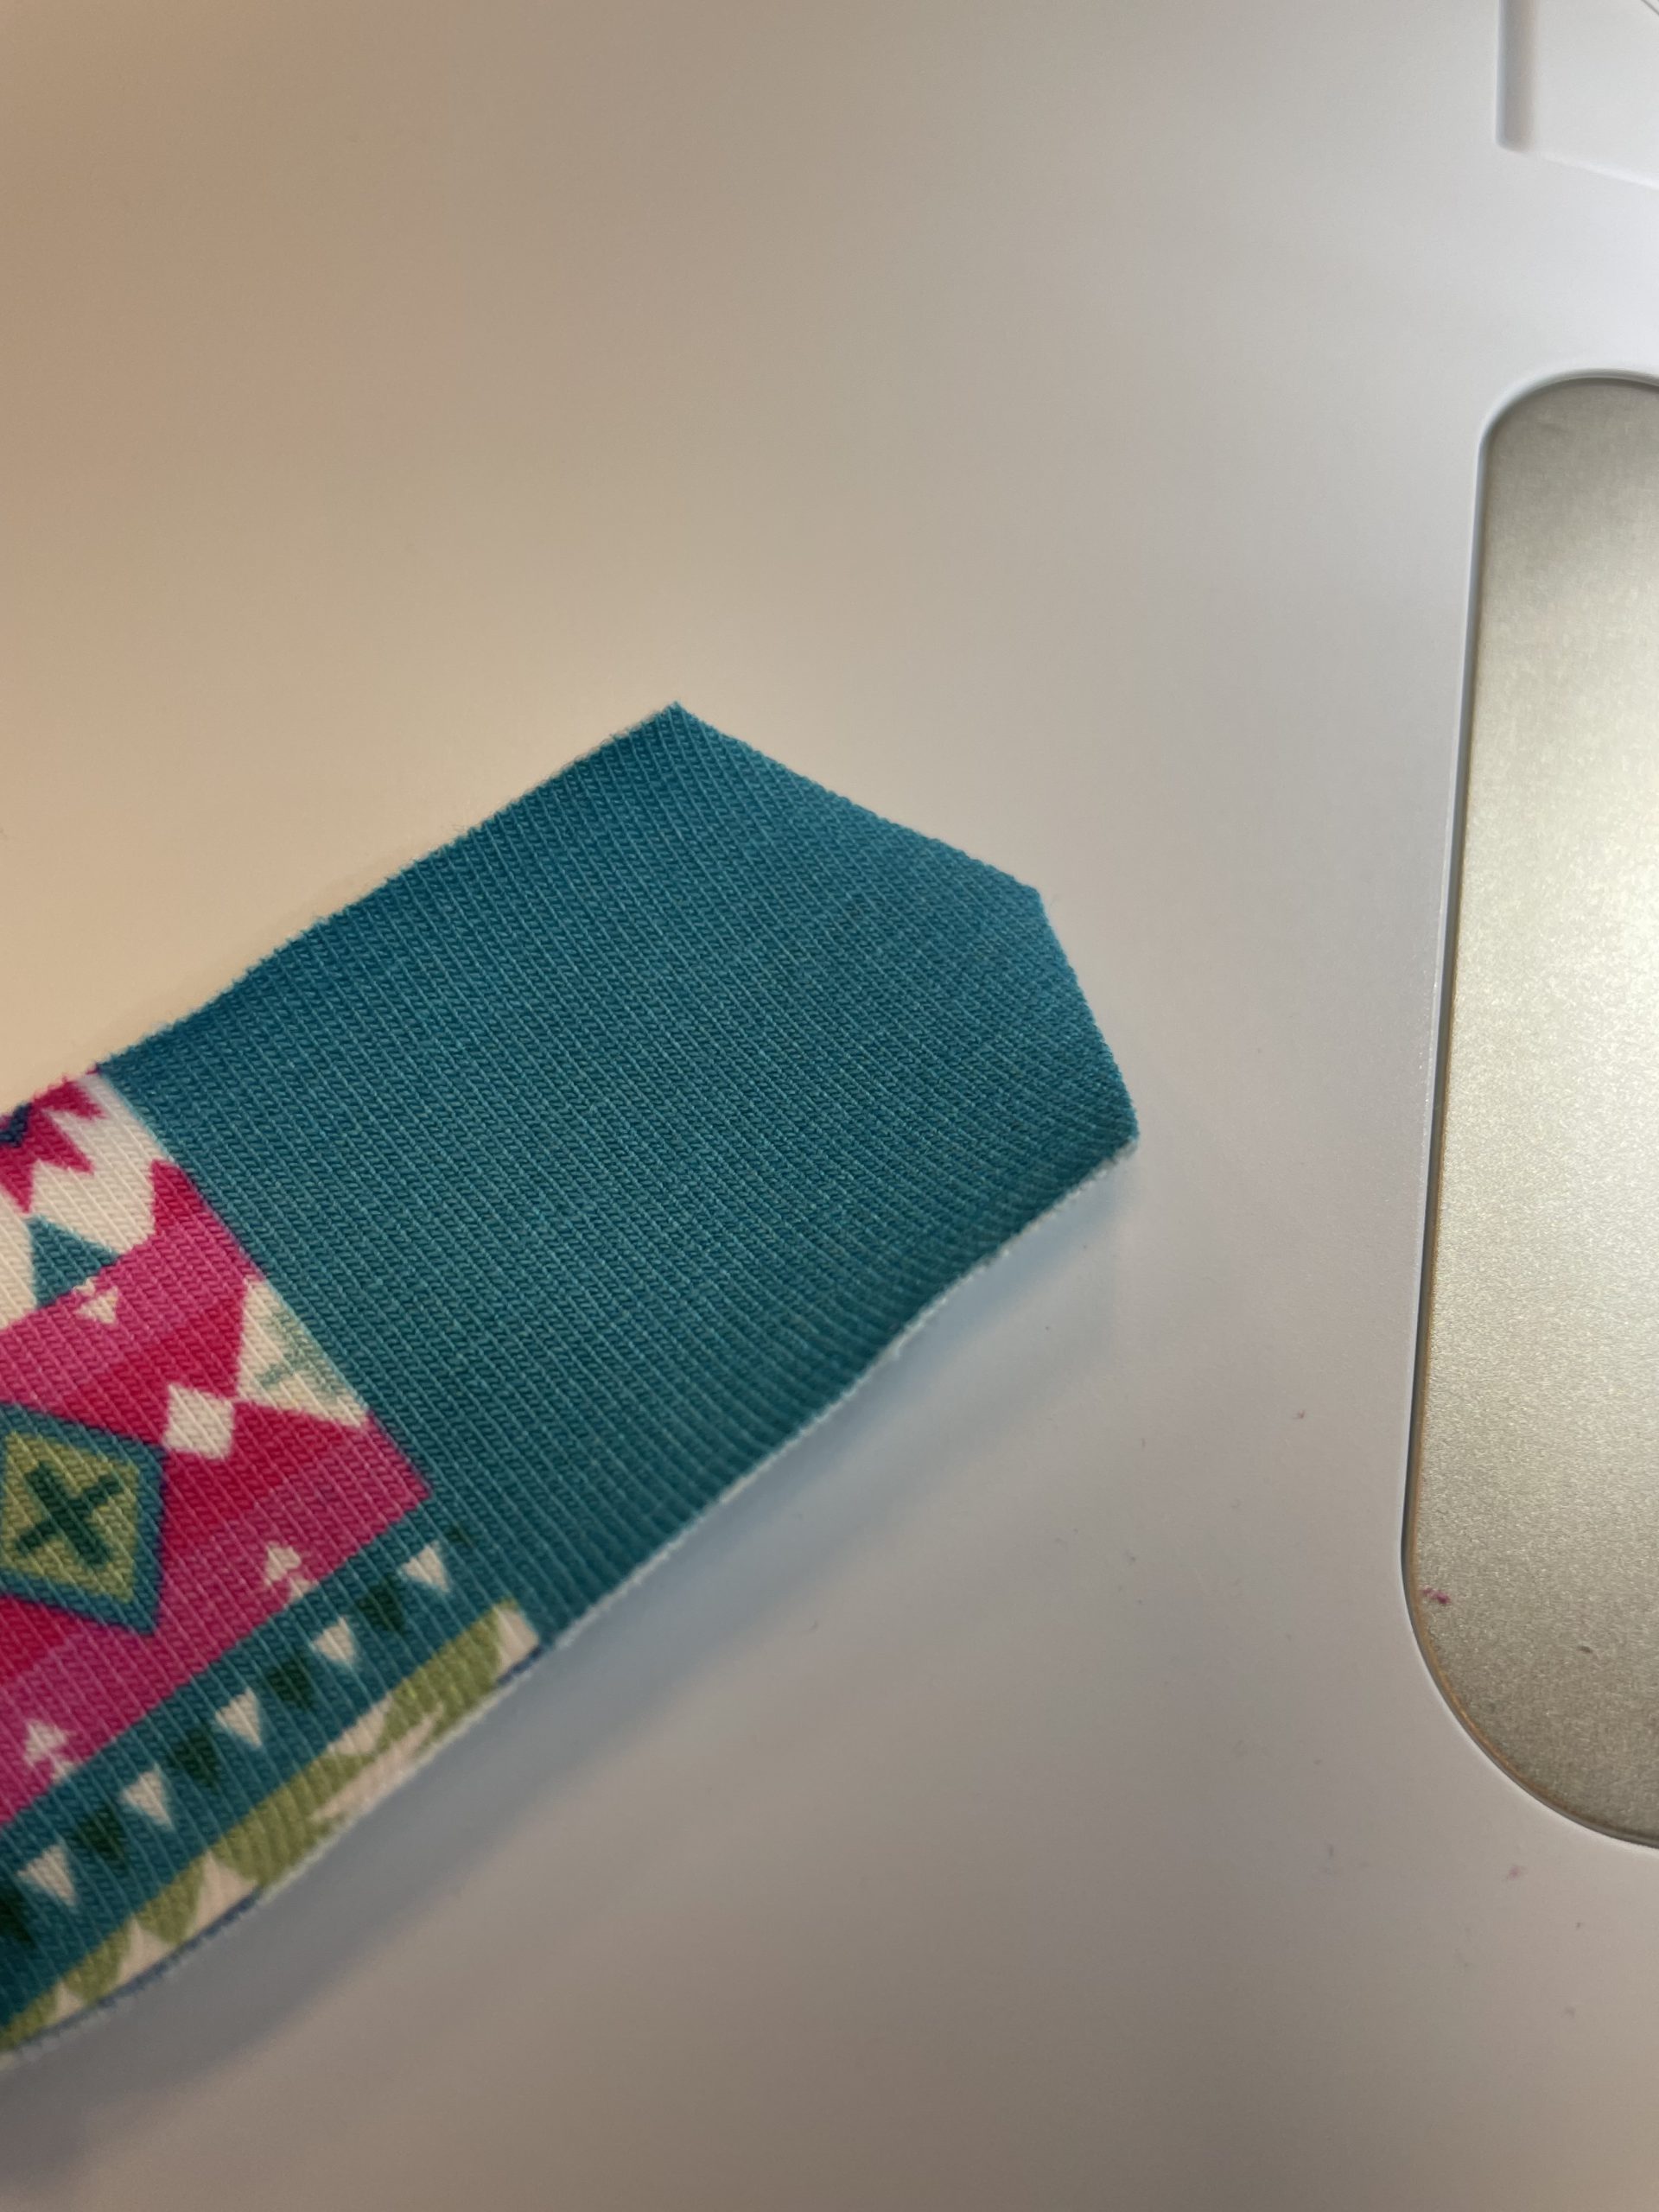
It is easier to thread the binding into the Double Fold Binder if you cut it to an arrow shape at the front.
First, I have been binding both top edges, the one the front and the one on the back pattern piece. Afterwards it is time for the first armhole.

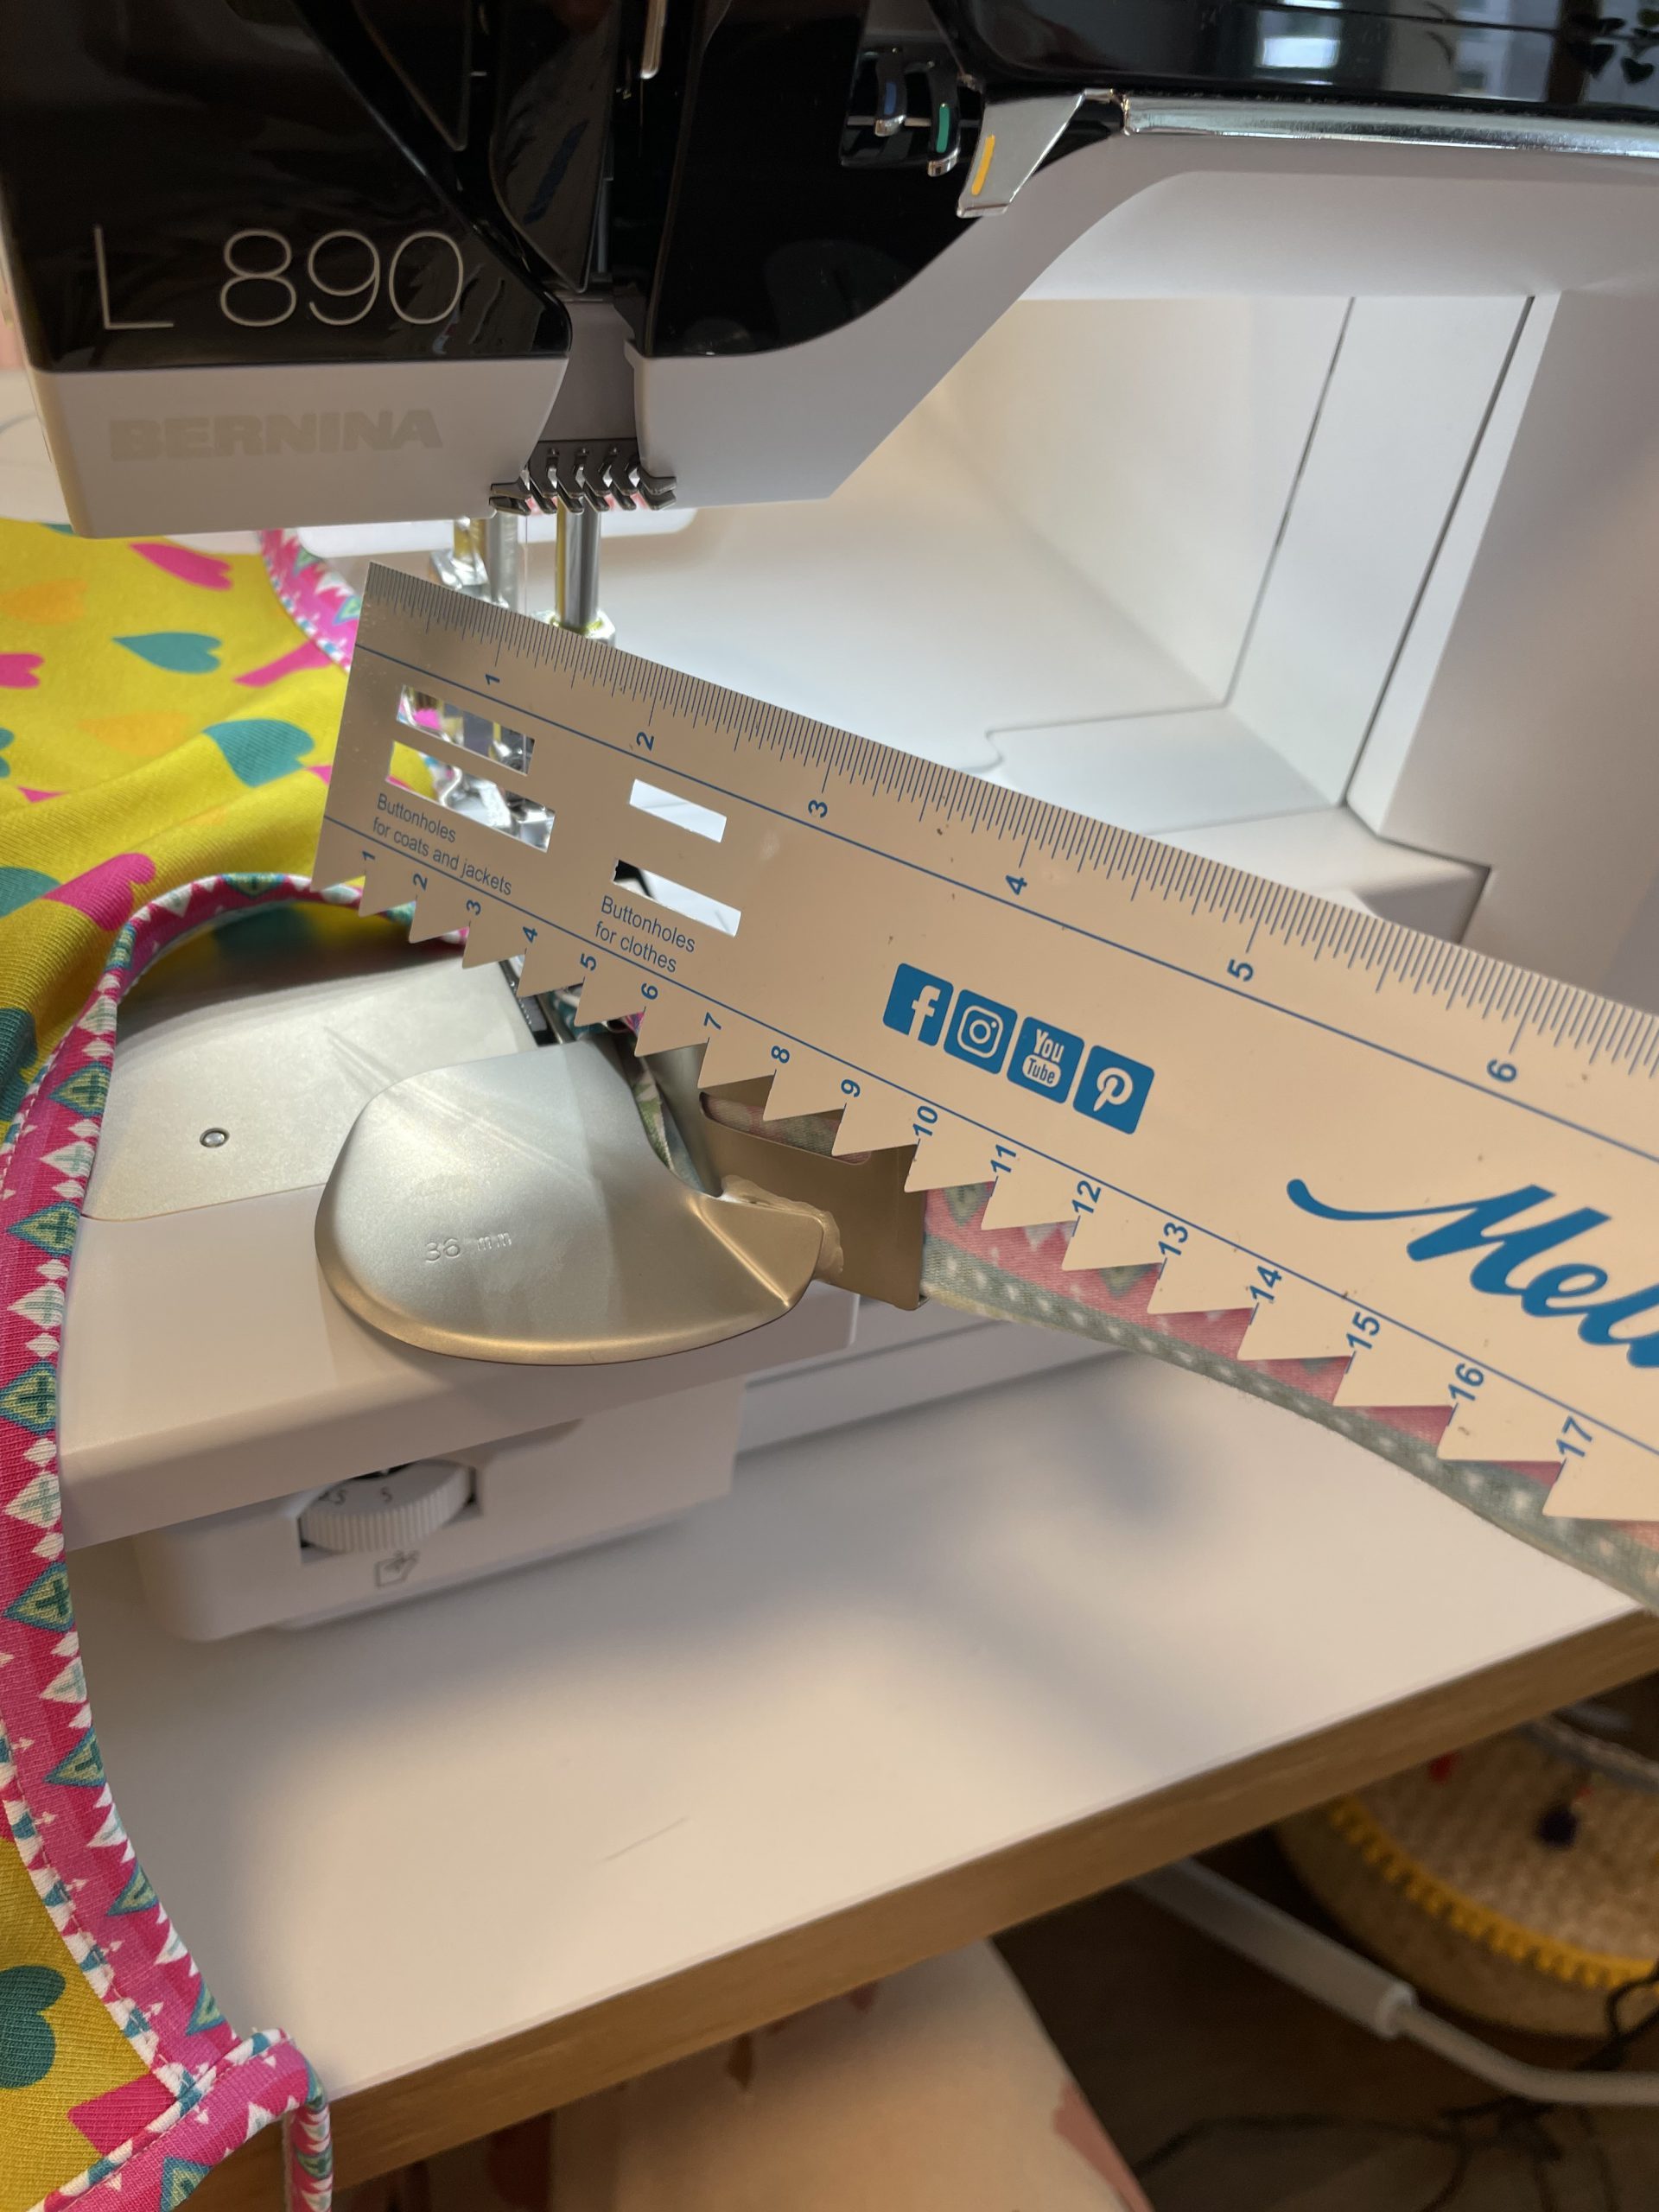
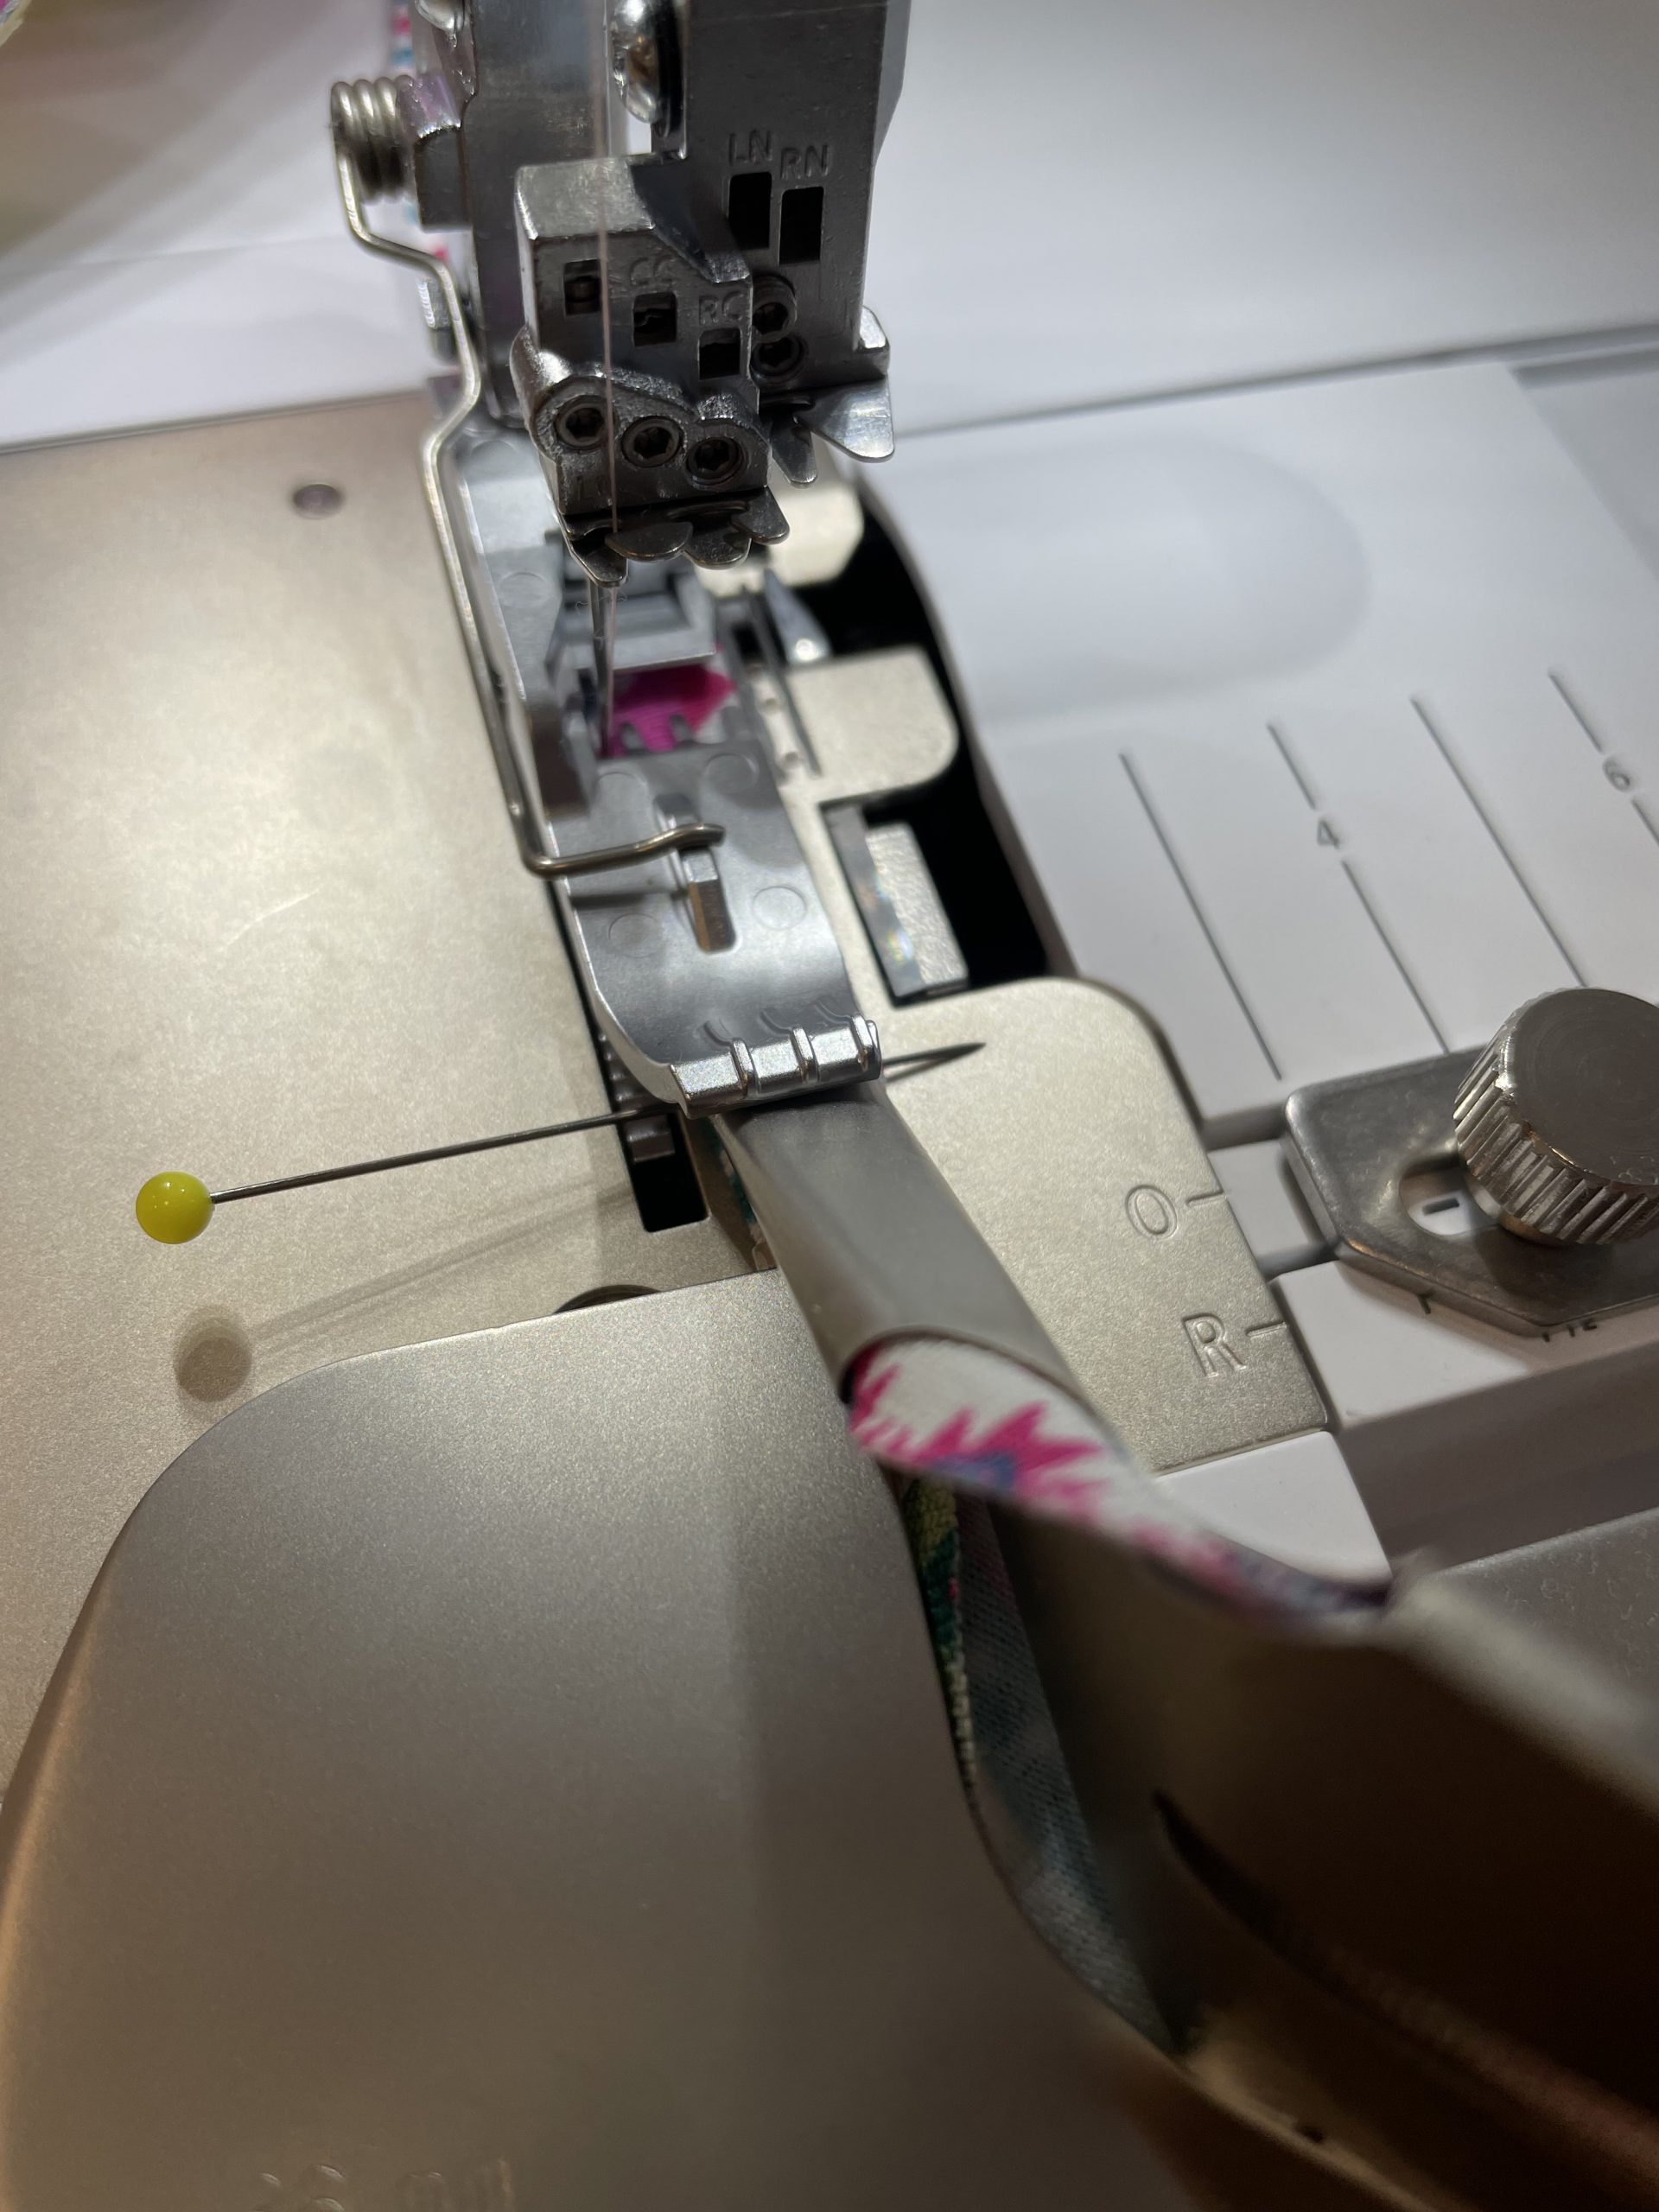
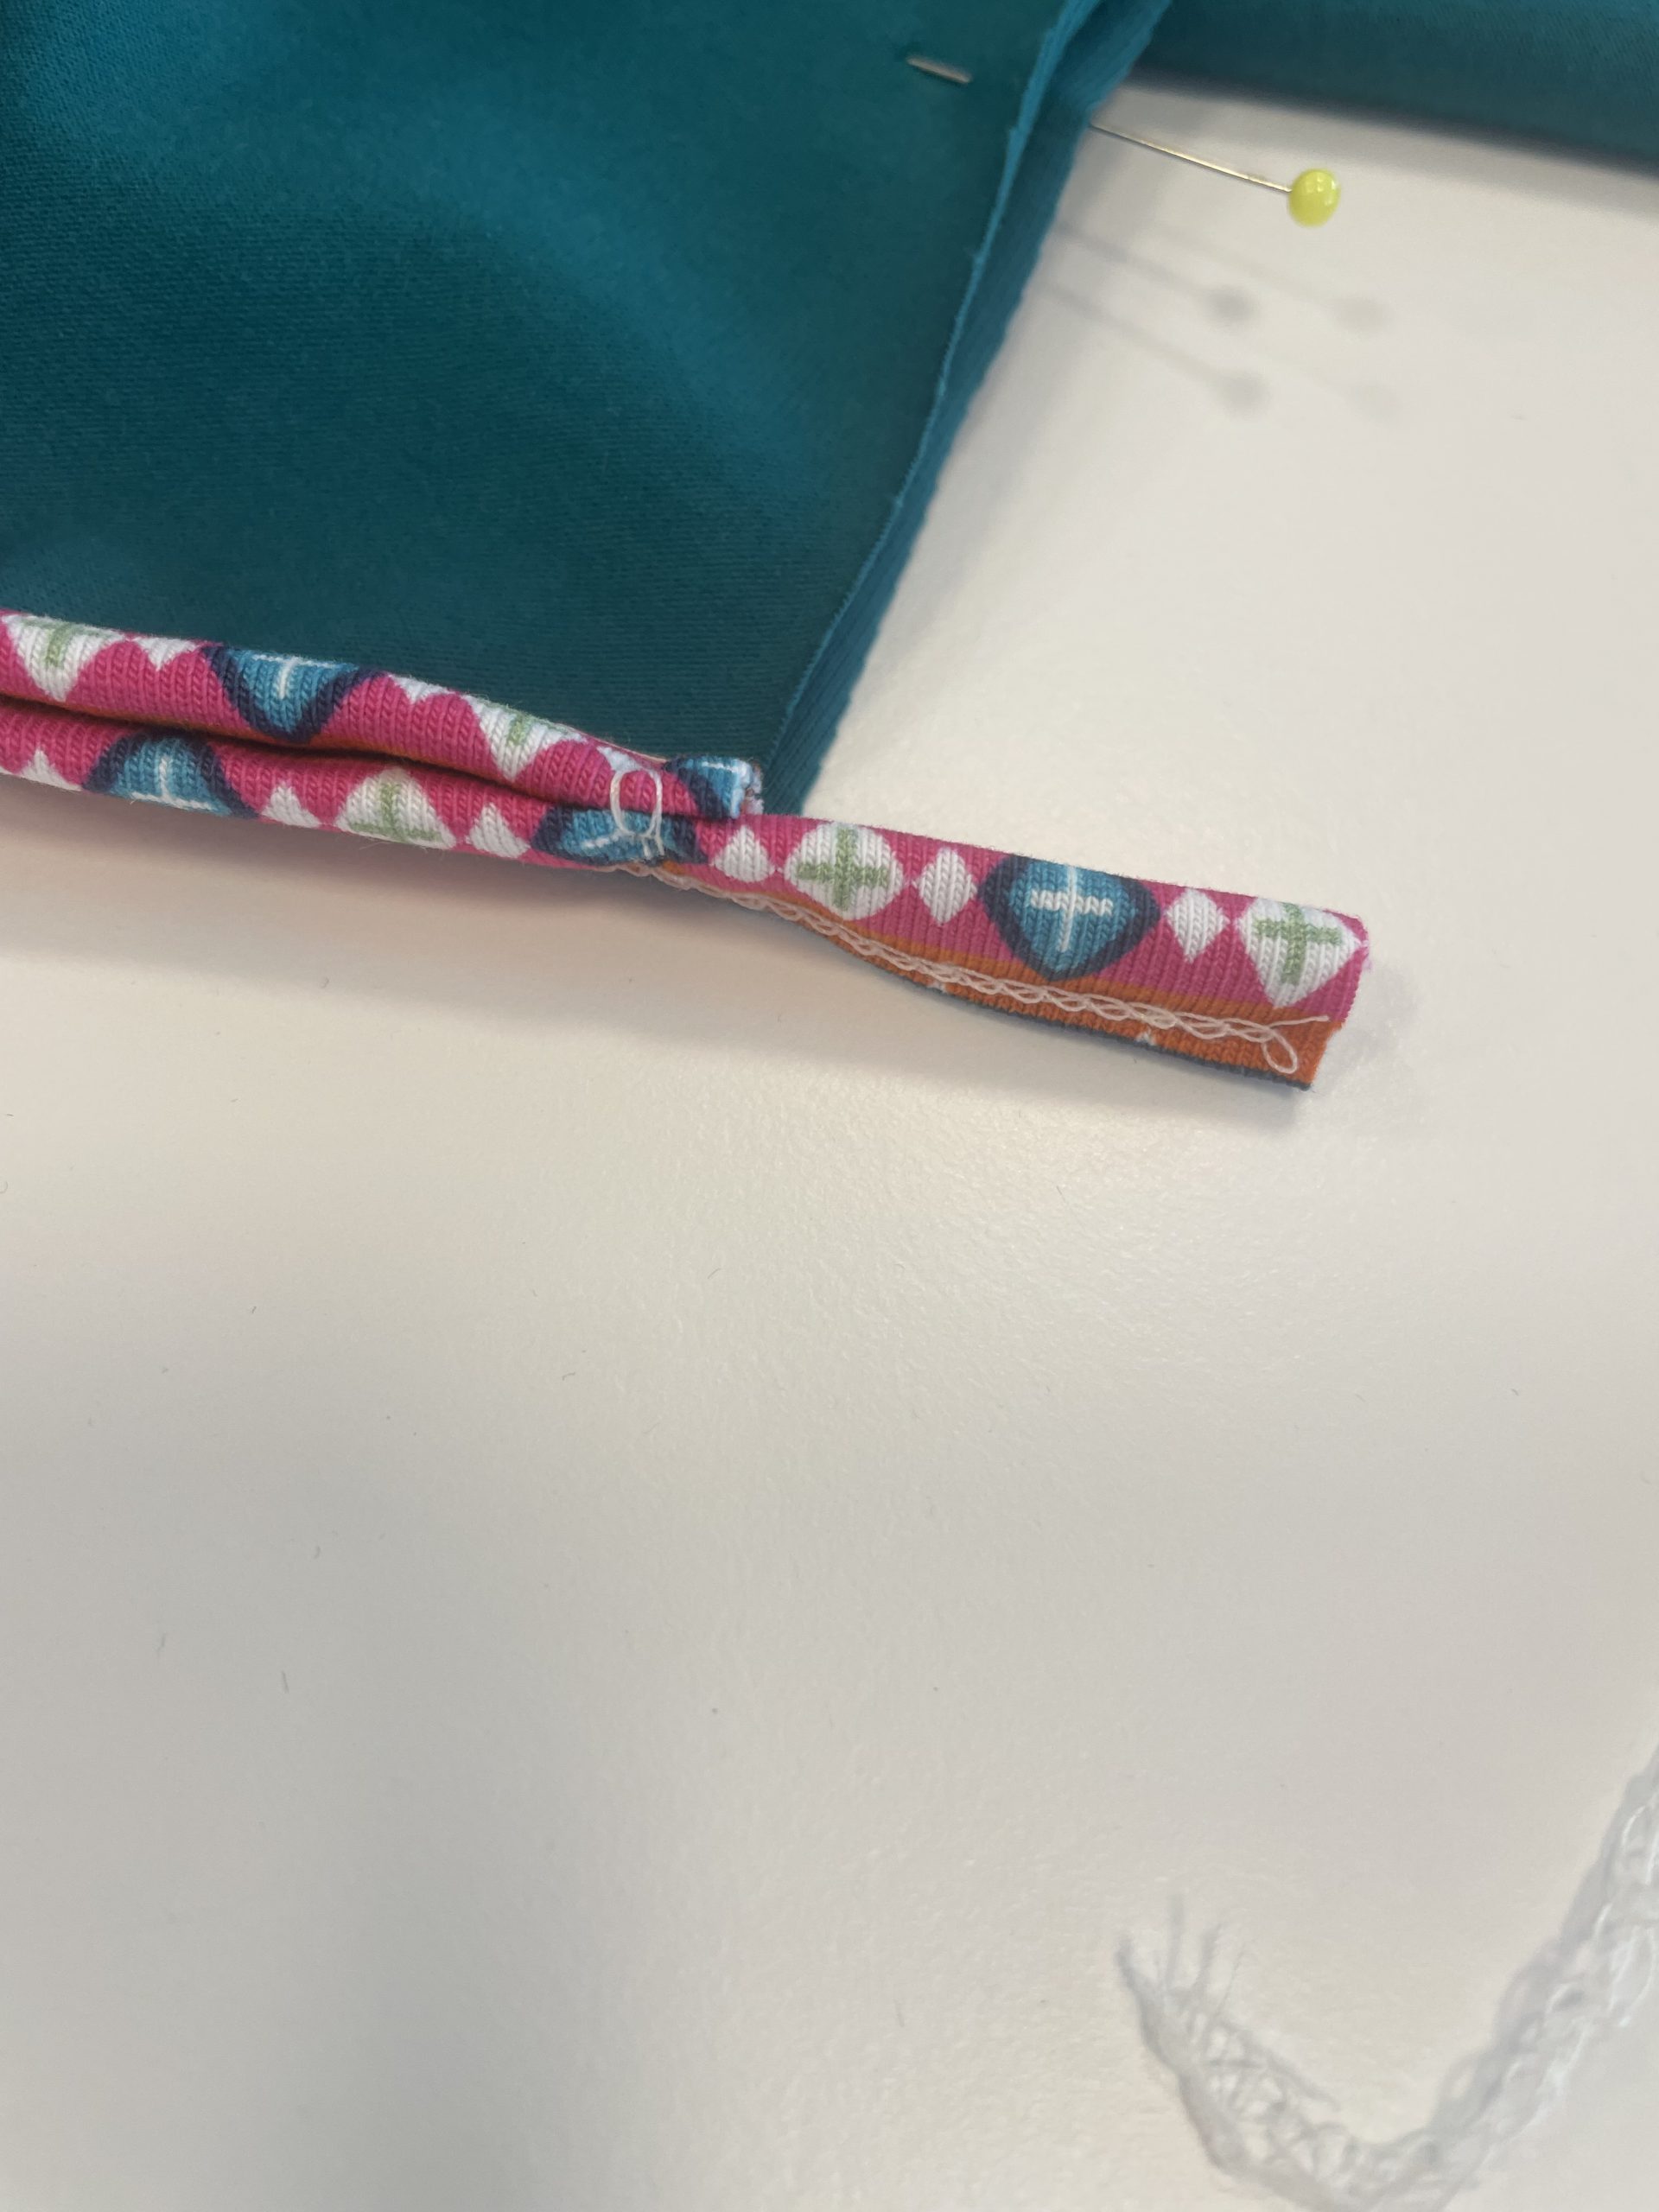
At the top end of the armhole, a piece of binding is sewn without fabric for the first strap.

Here you have to measure carefully, so that the straps are the same length as the original one and the shirt fits well later on. I measure the length…
… and mark the end of the strap with a water-soluble marker (you use what you have).
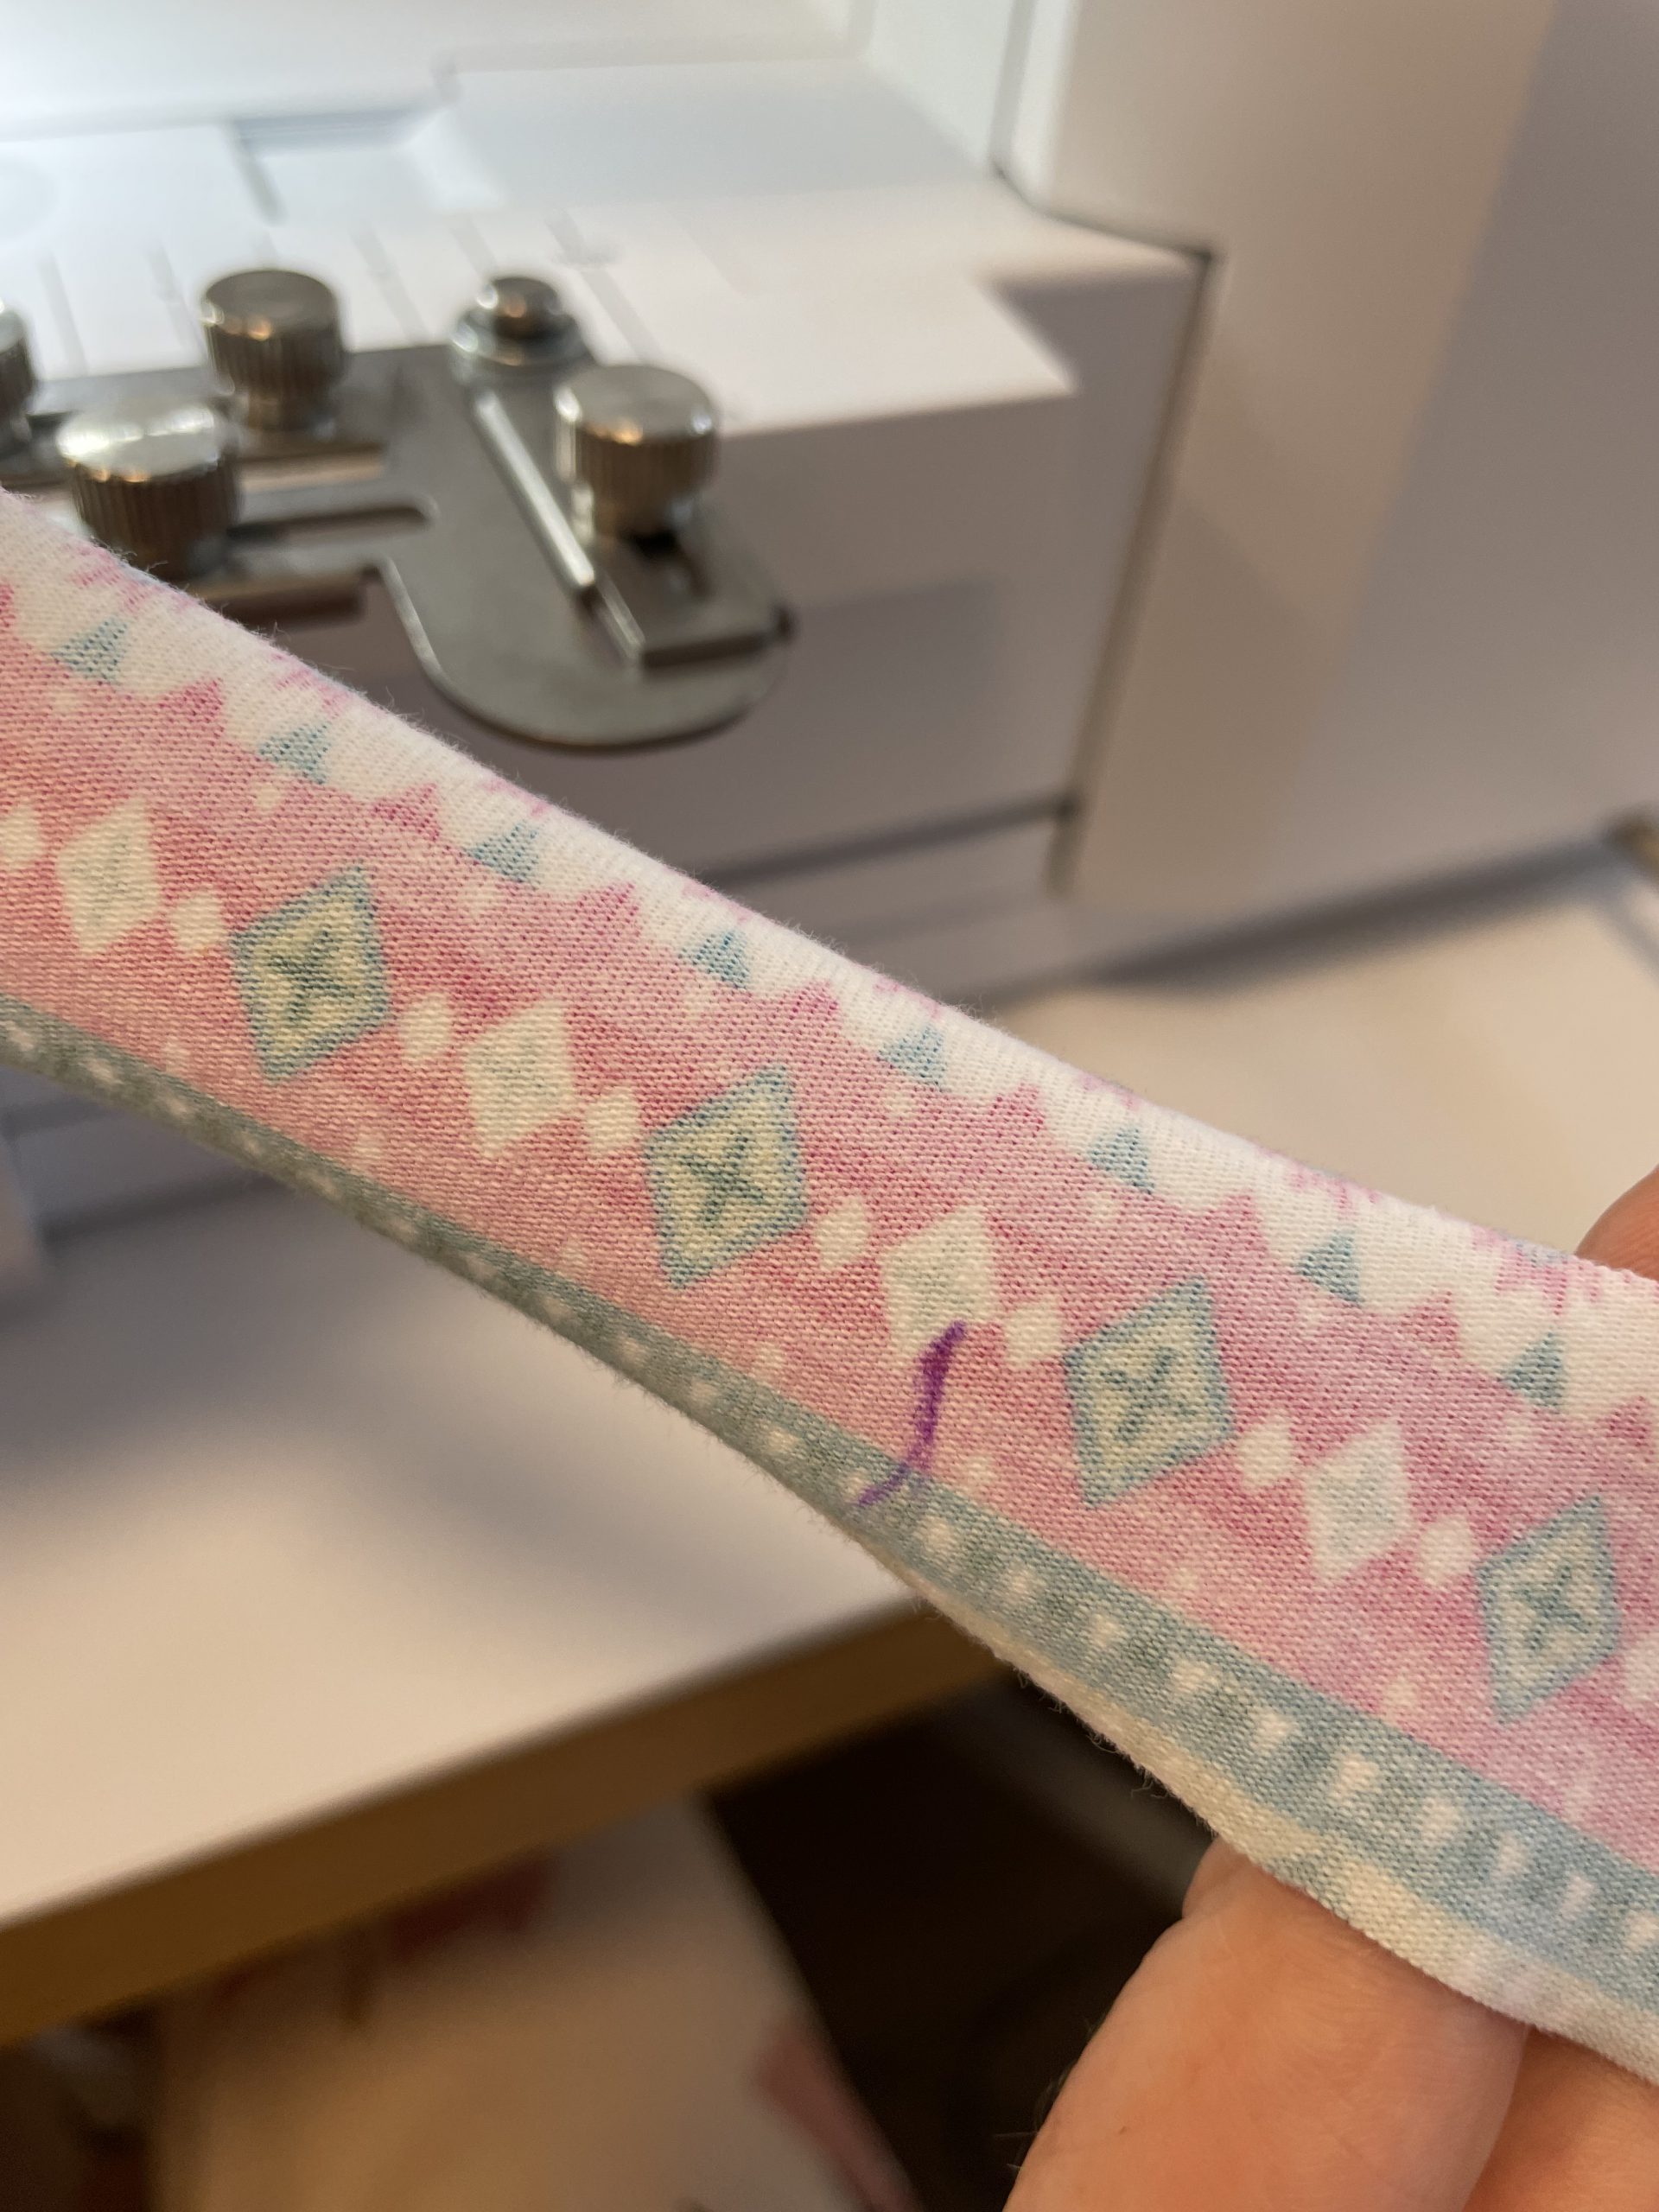
It is then important to keep an eye on this marking for as long as possible.
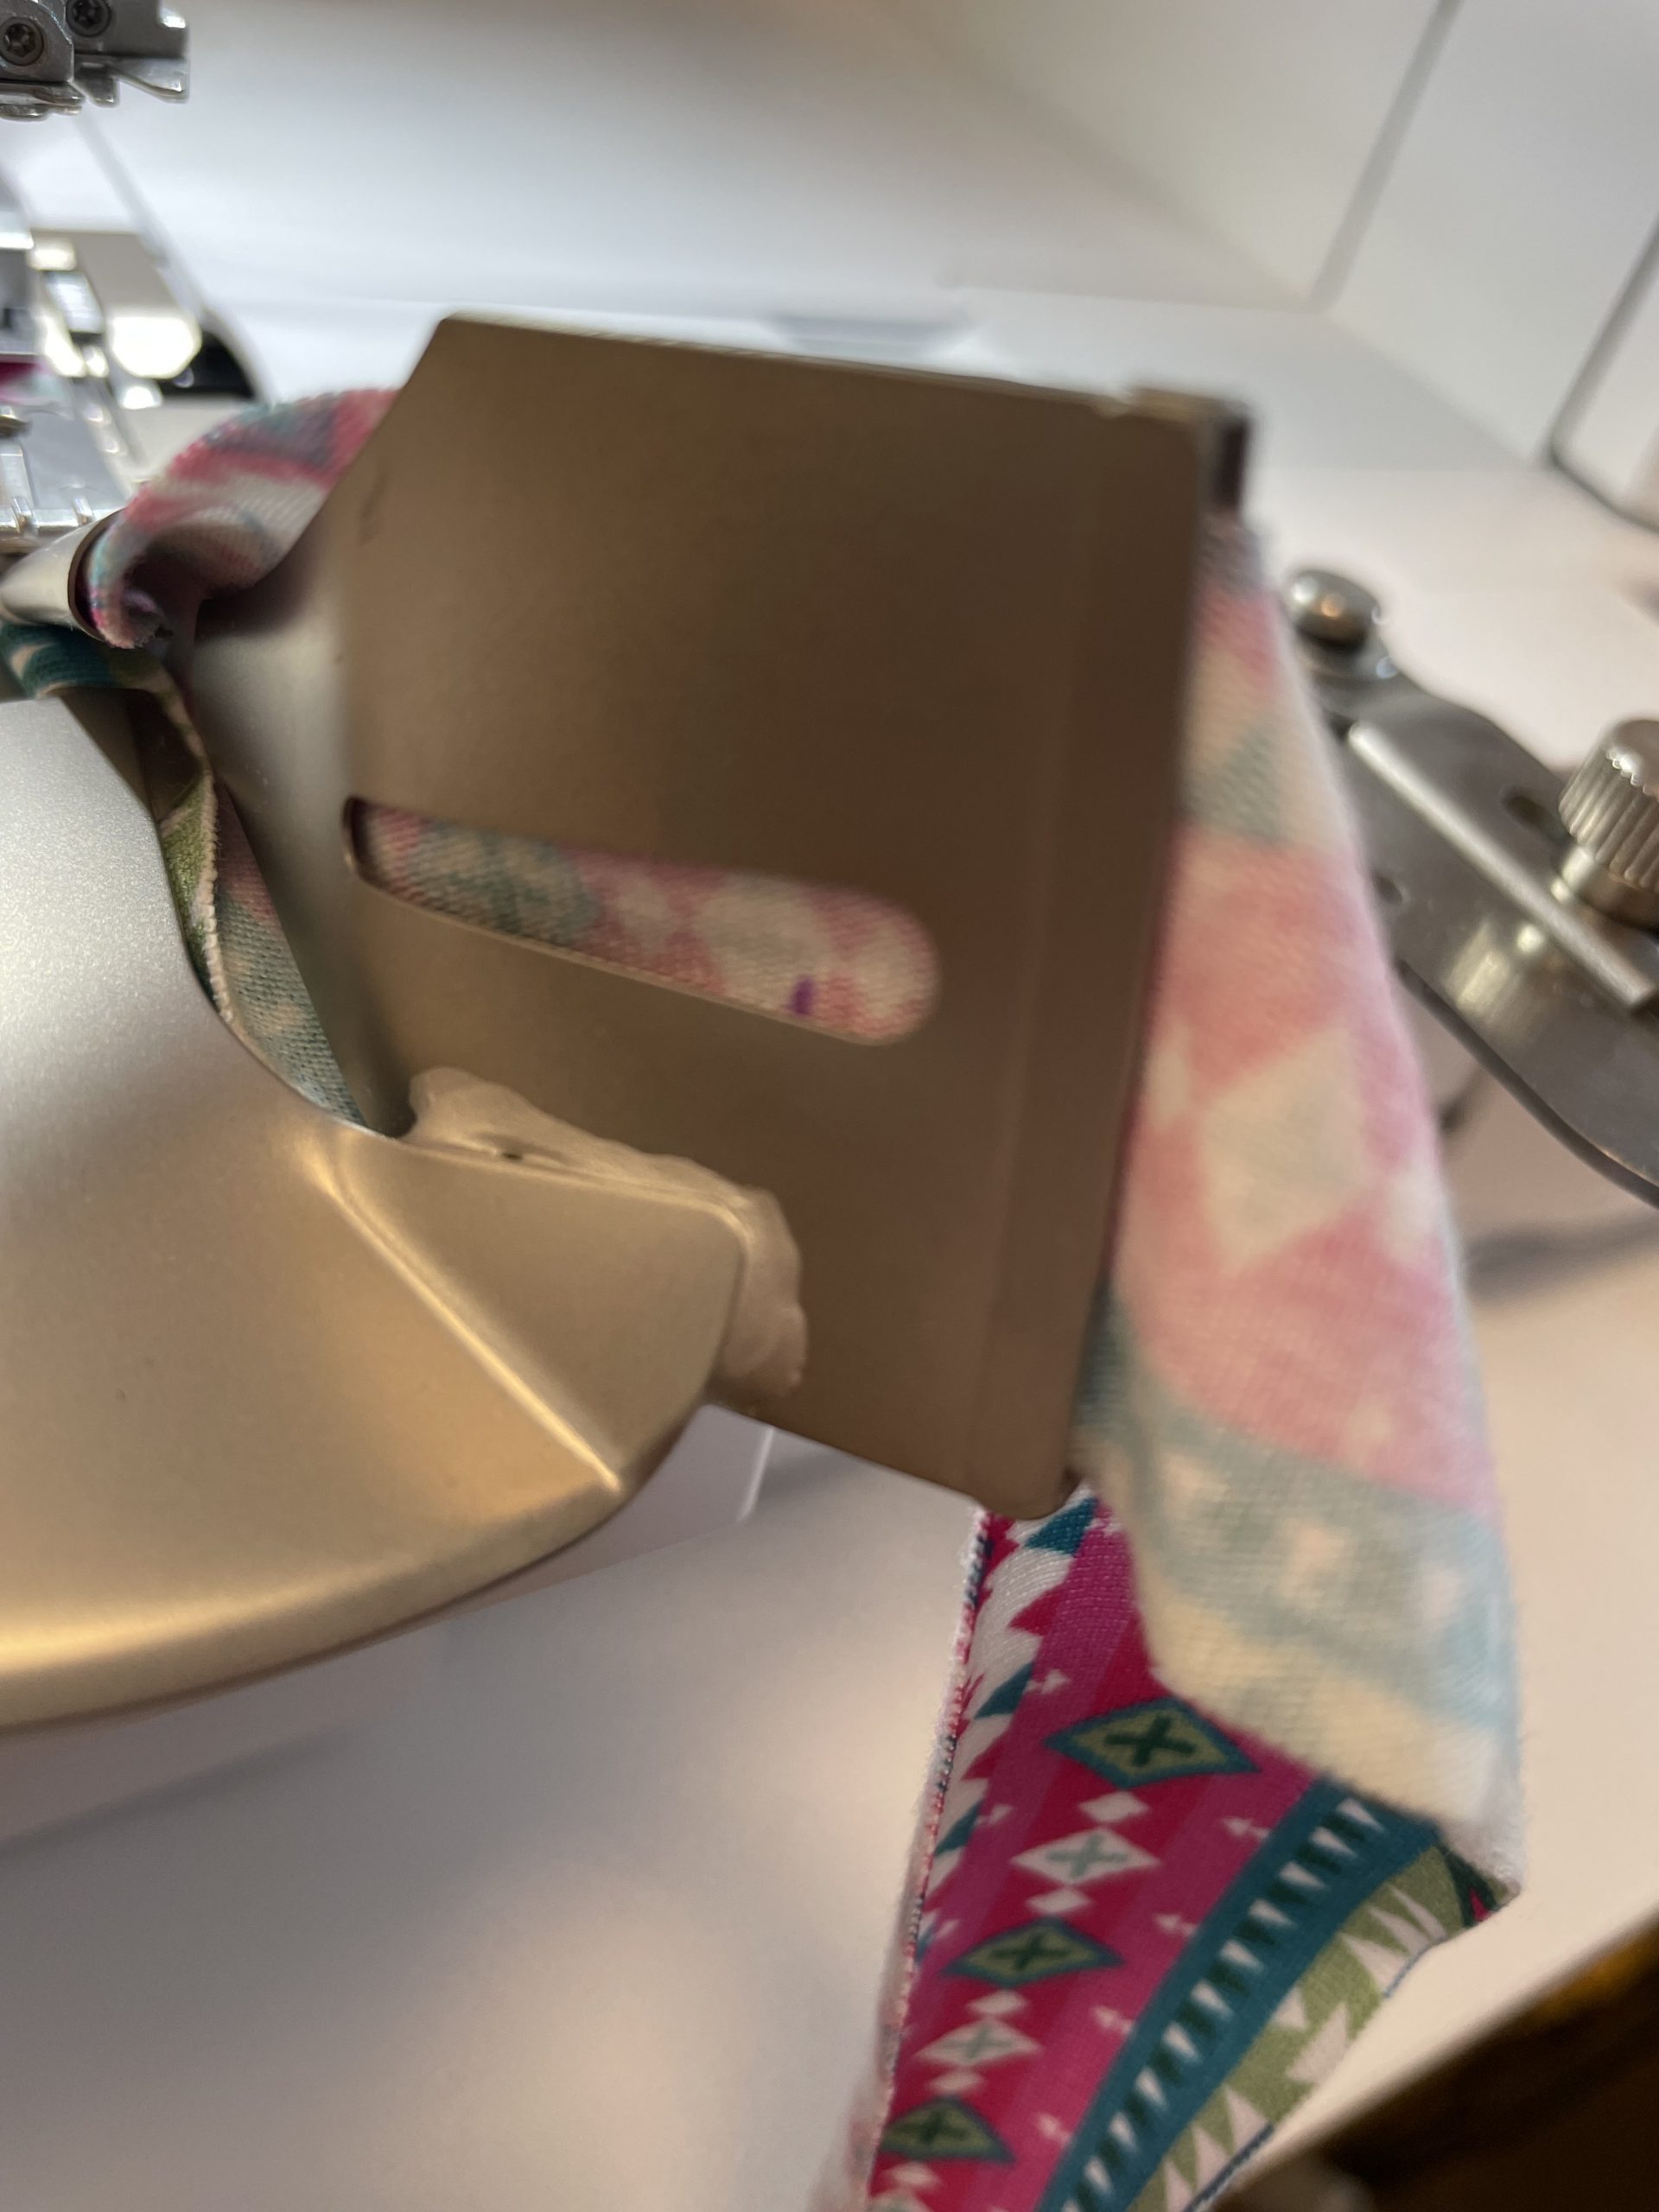
As soon as this is no longer possible, I carefully let a pin “run along” the last piece.
Now the second part of the top can be inserted into the appropriate place, the pin can be removed and sewing can continue. Make sure that the strap does not twist – especially when you sew on the second strap.
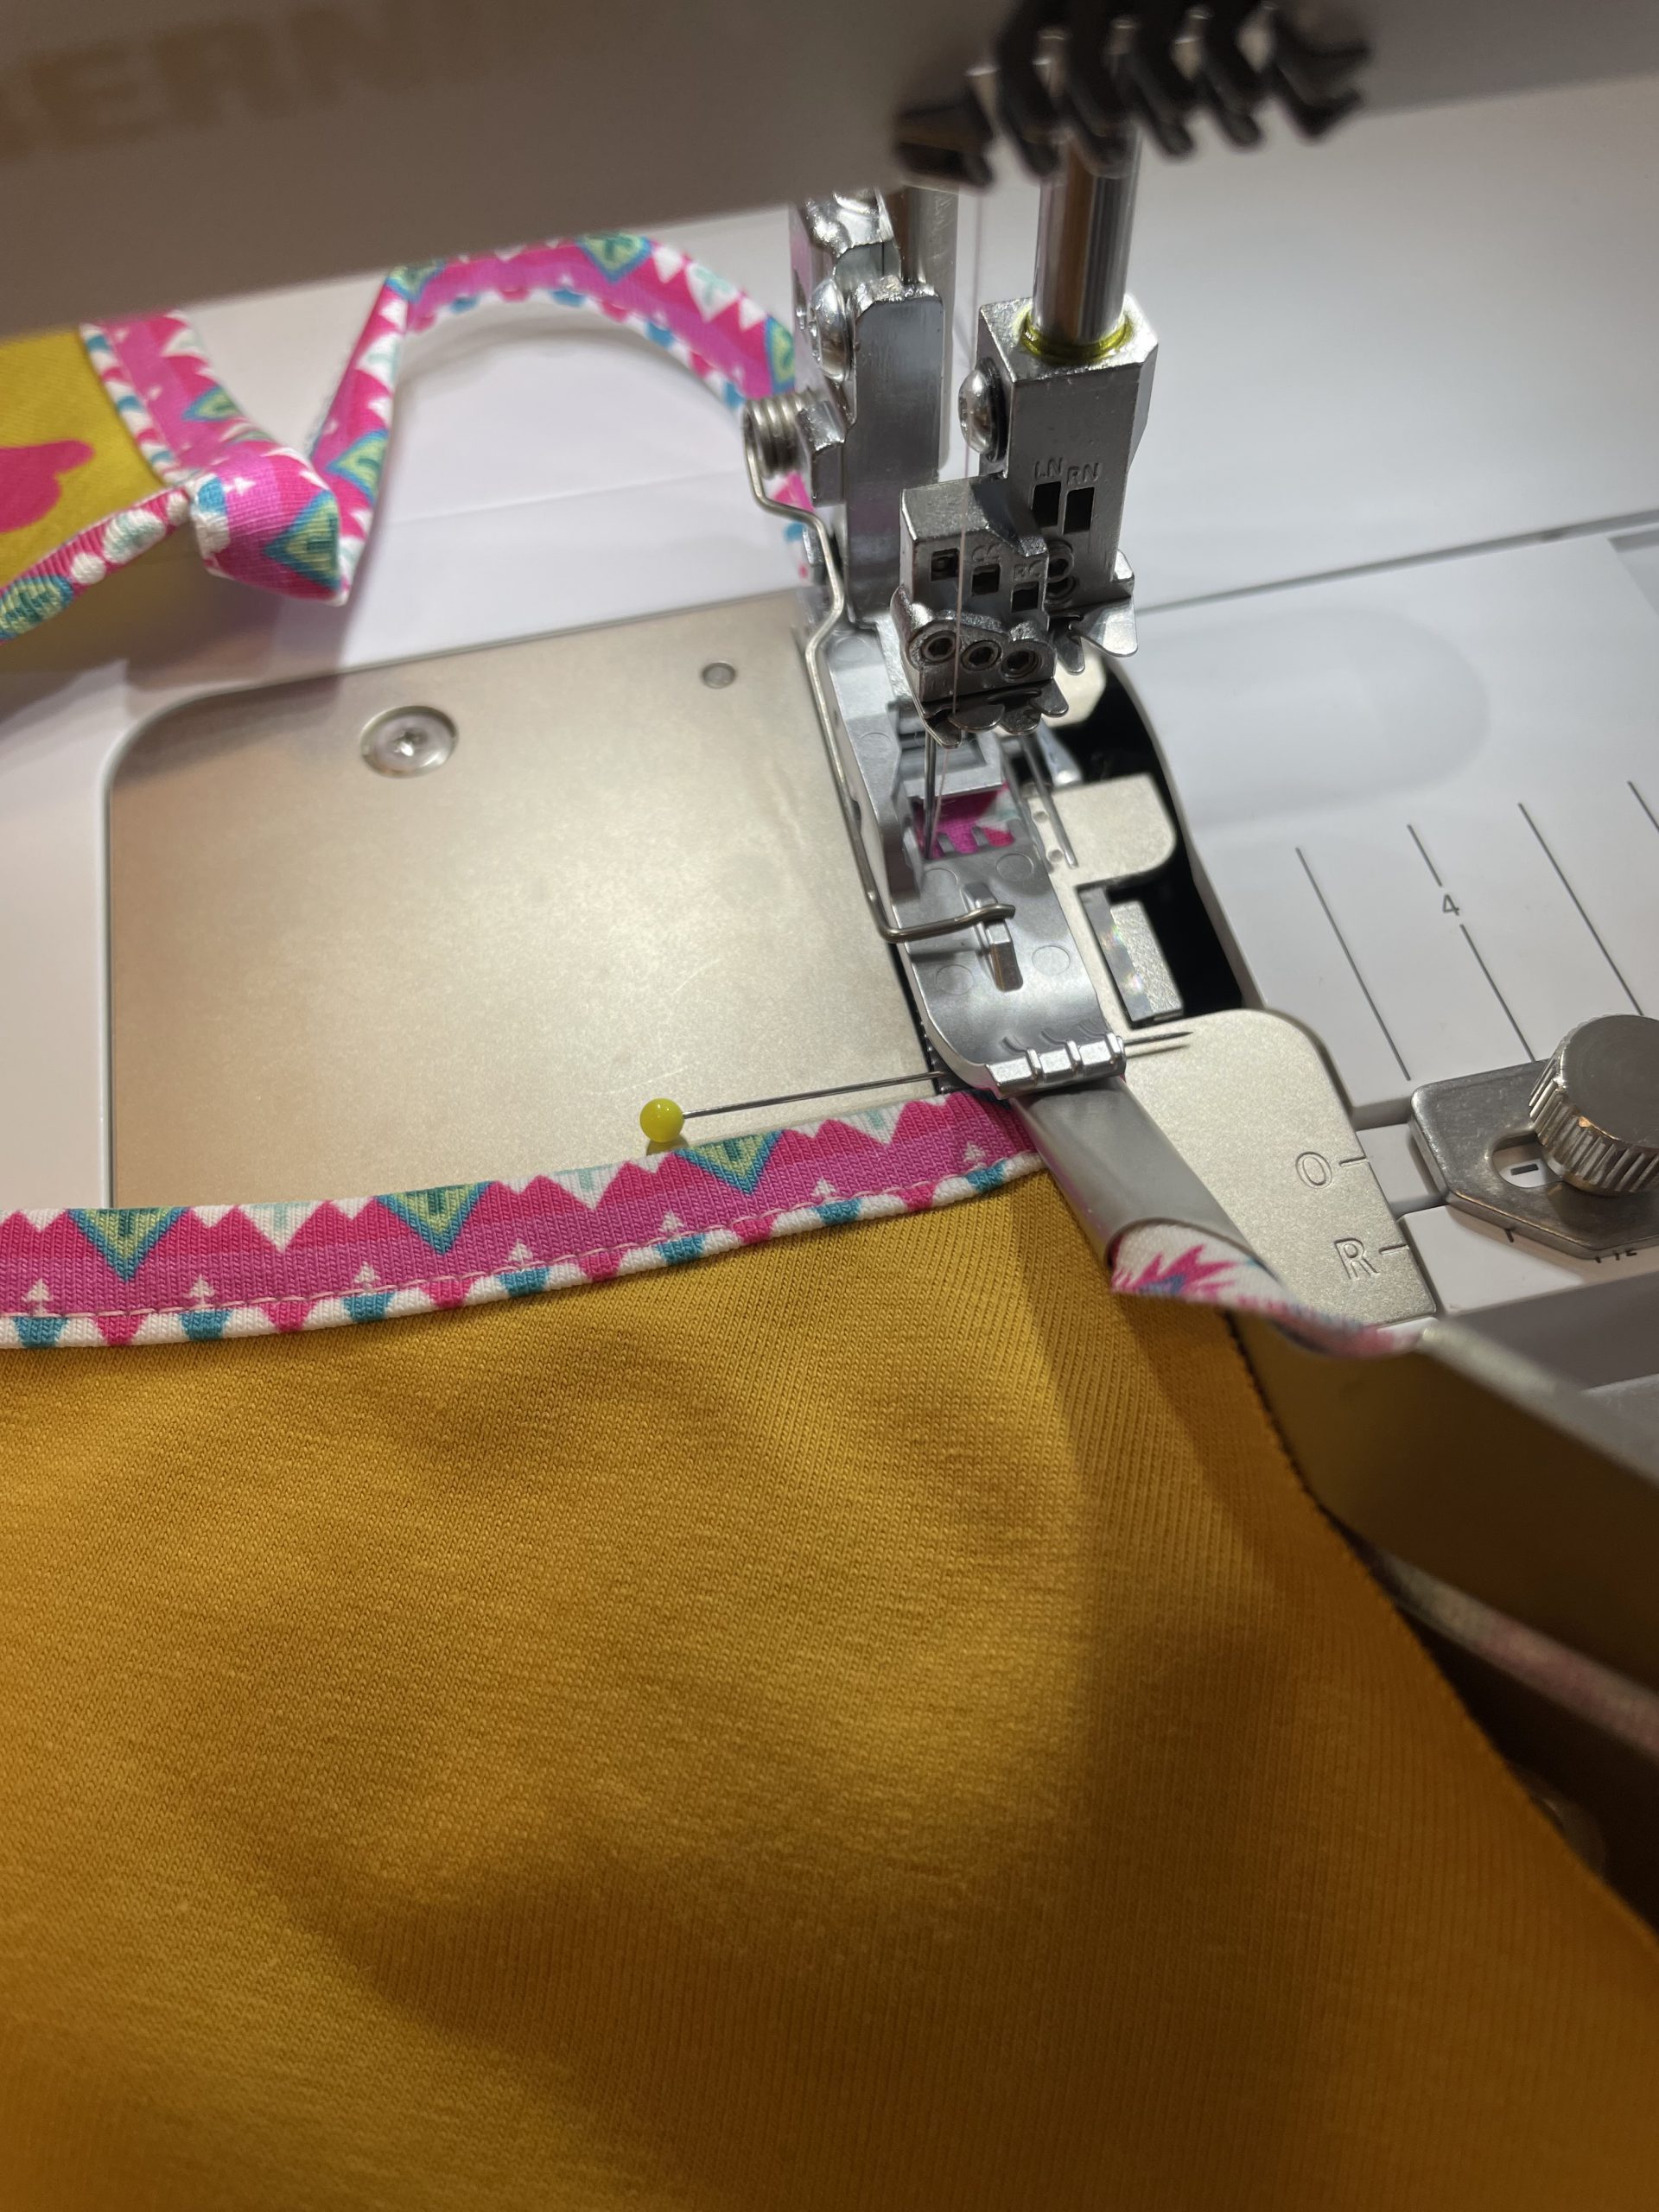
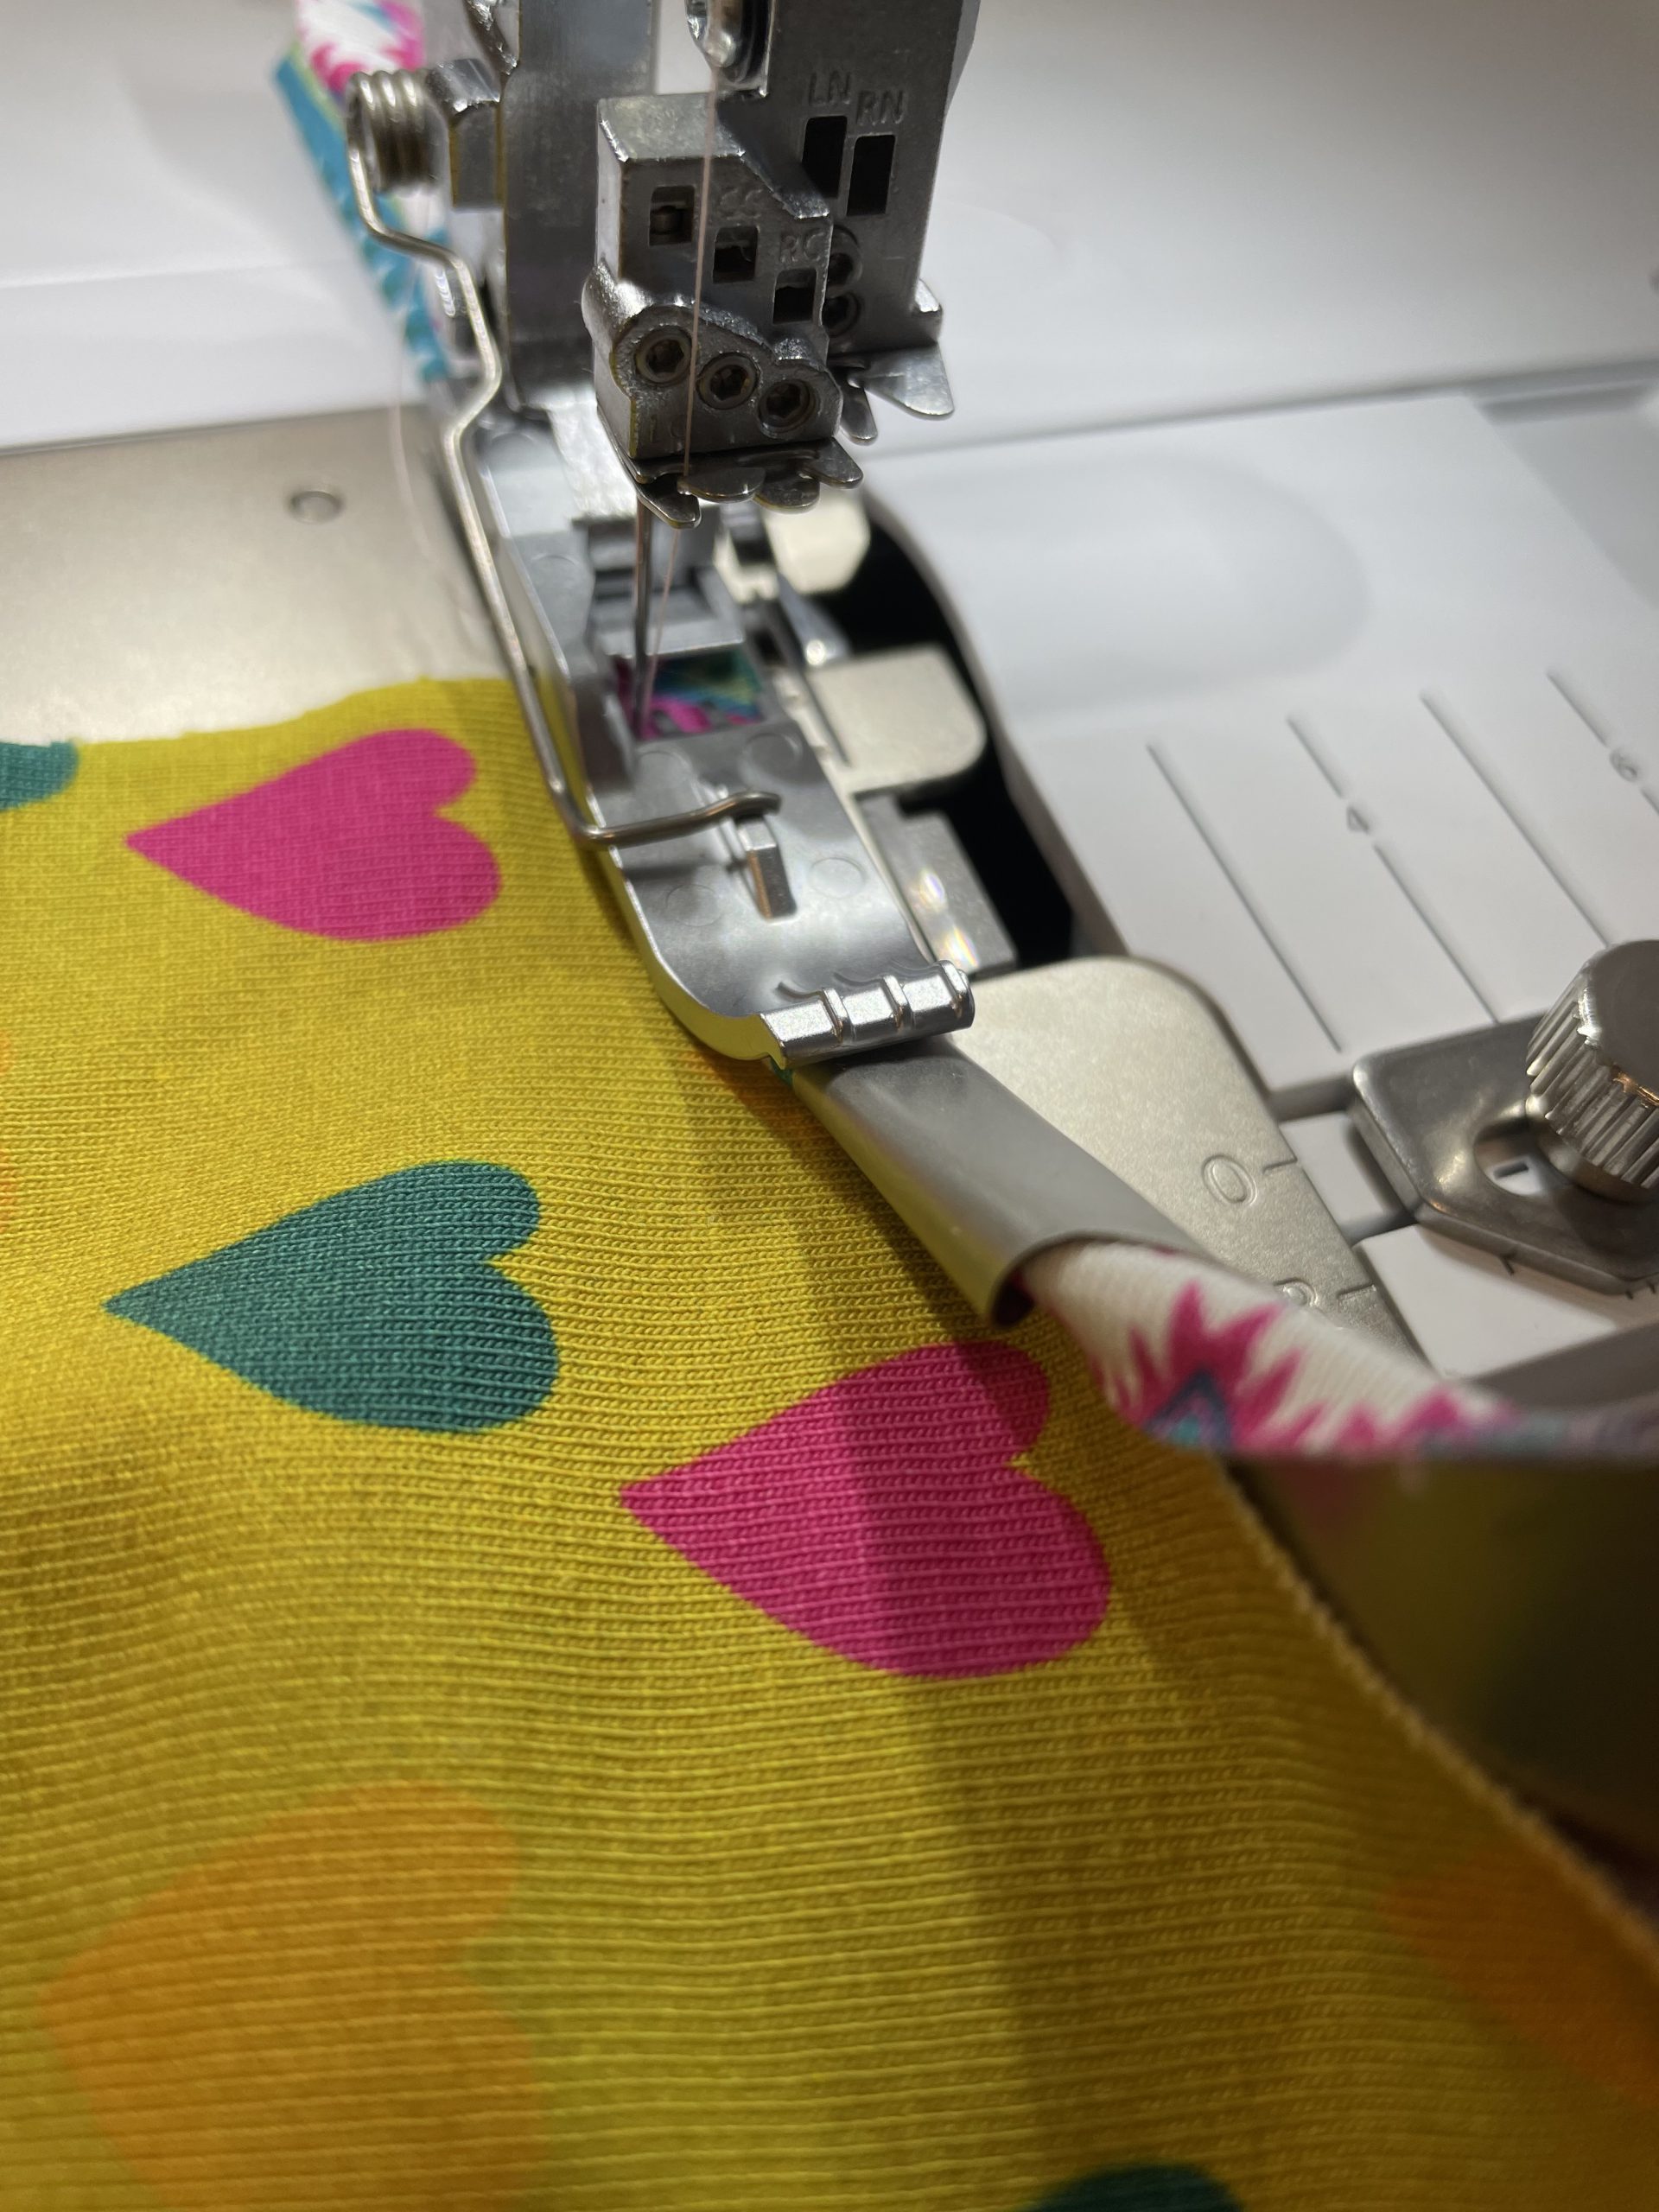
It is also very important that you always push the fabric edge neatly into the Double Fold Binder so that everything can be grasped well and there are no holes in your top, respectively loose binding.
Here all binding has already been stitched and both straps have been completed.
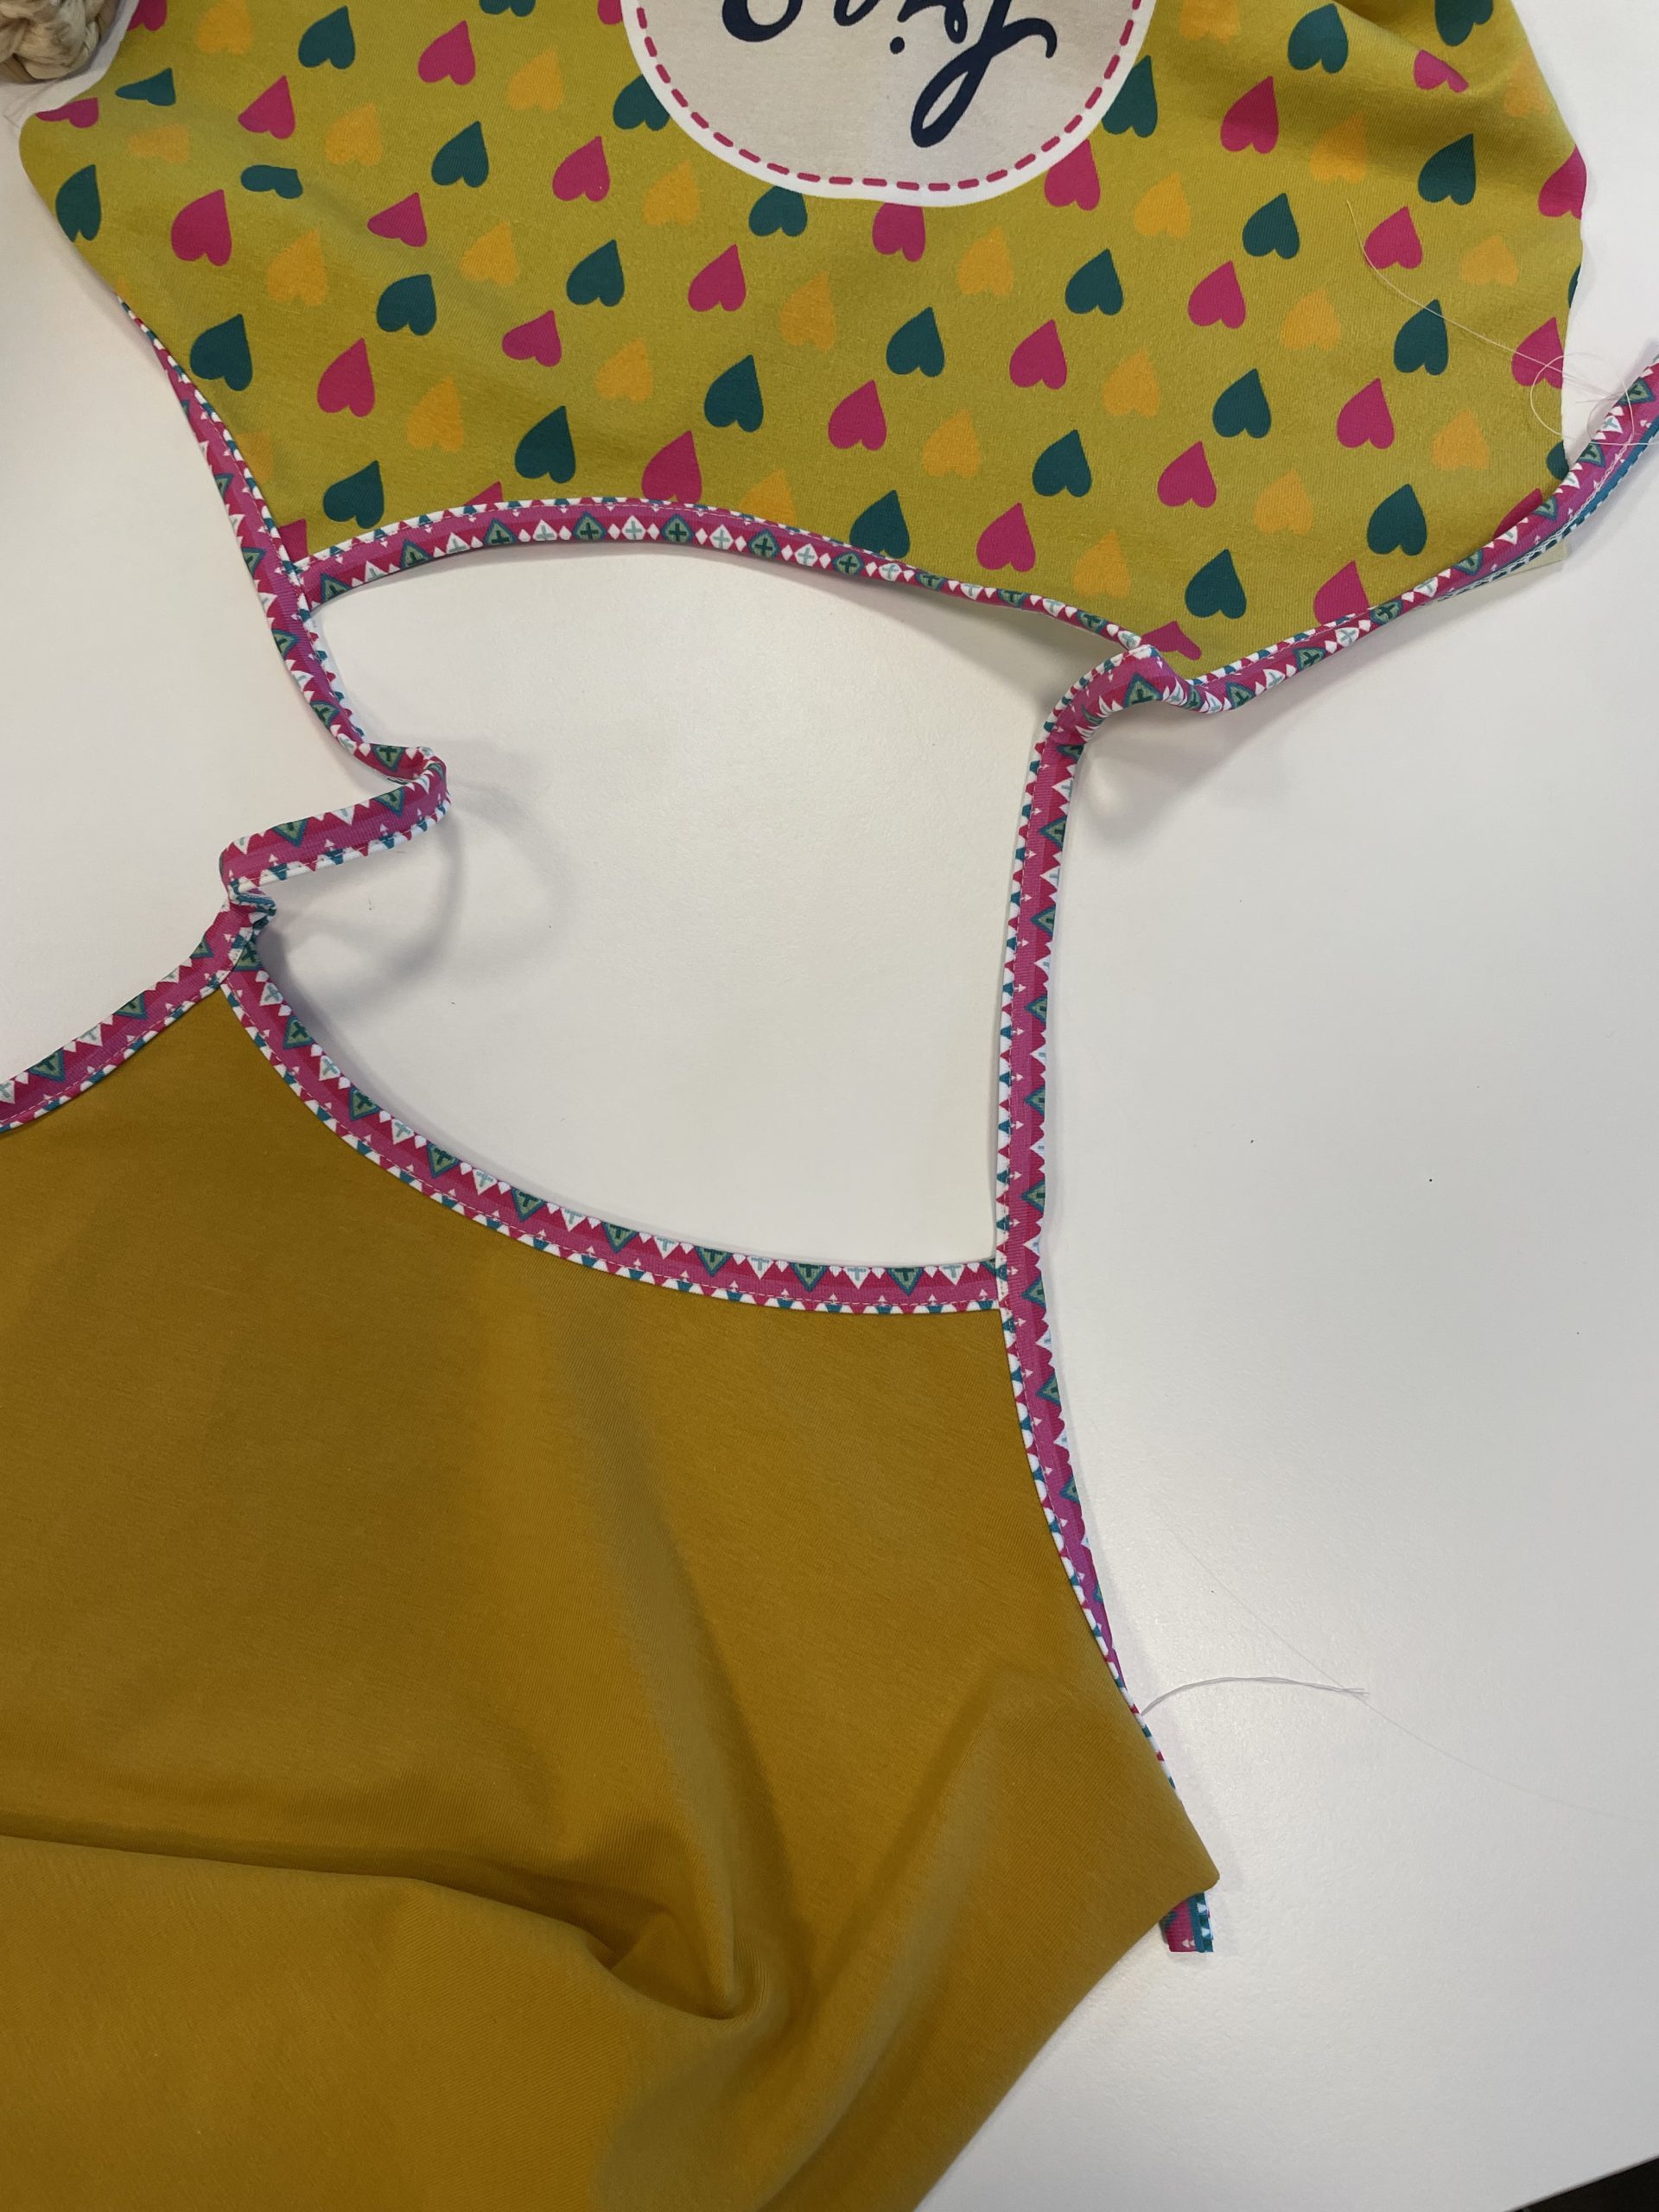
To be on the safe side, I check that both straps are the same length.
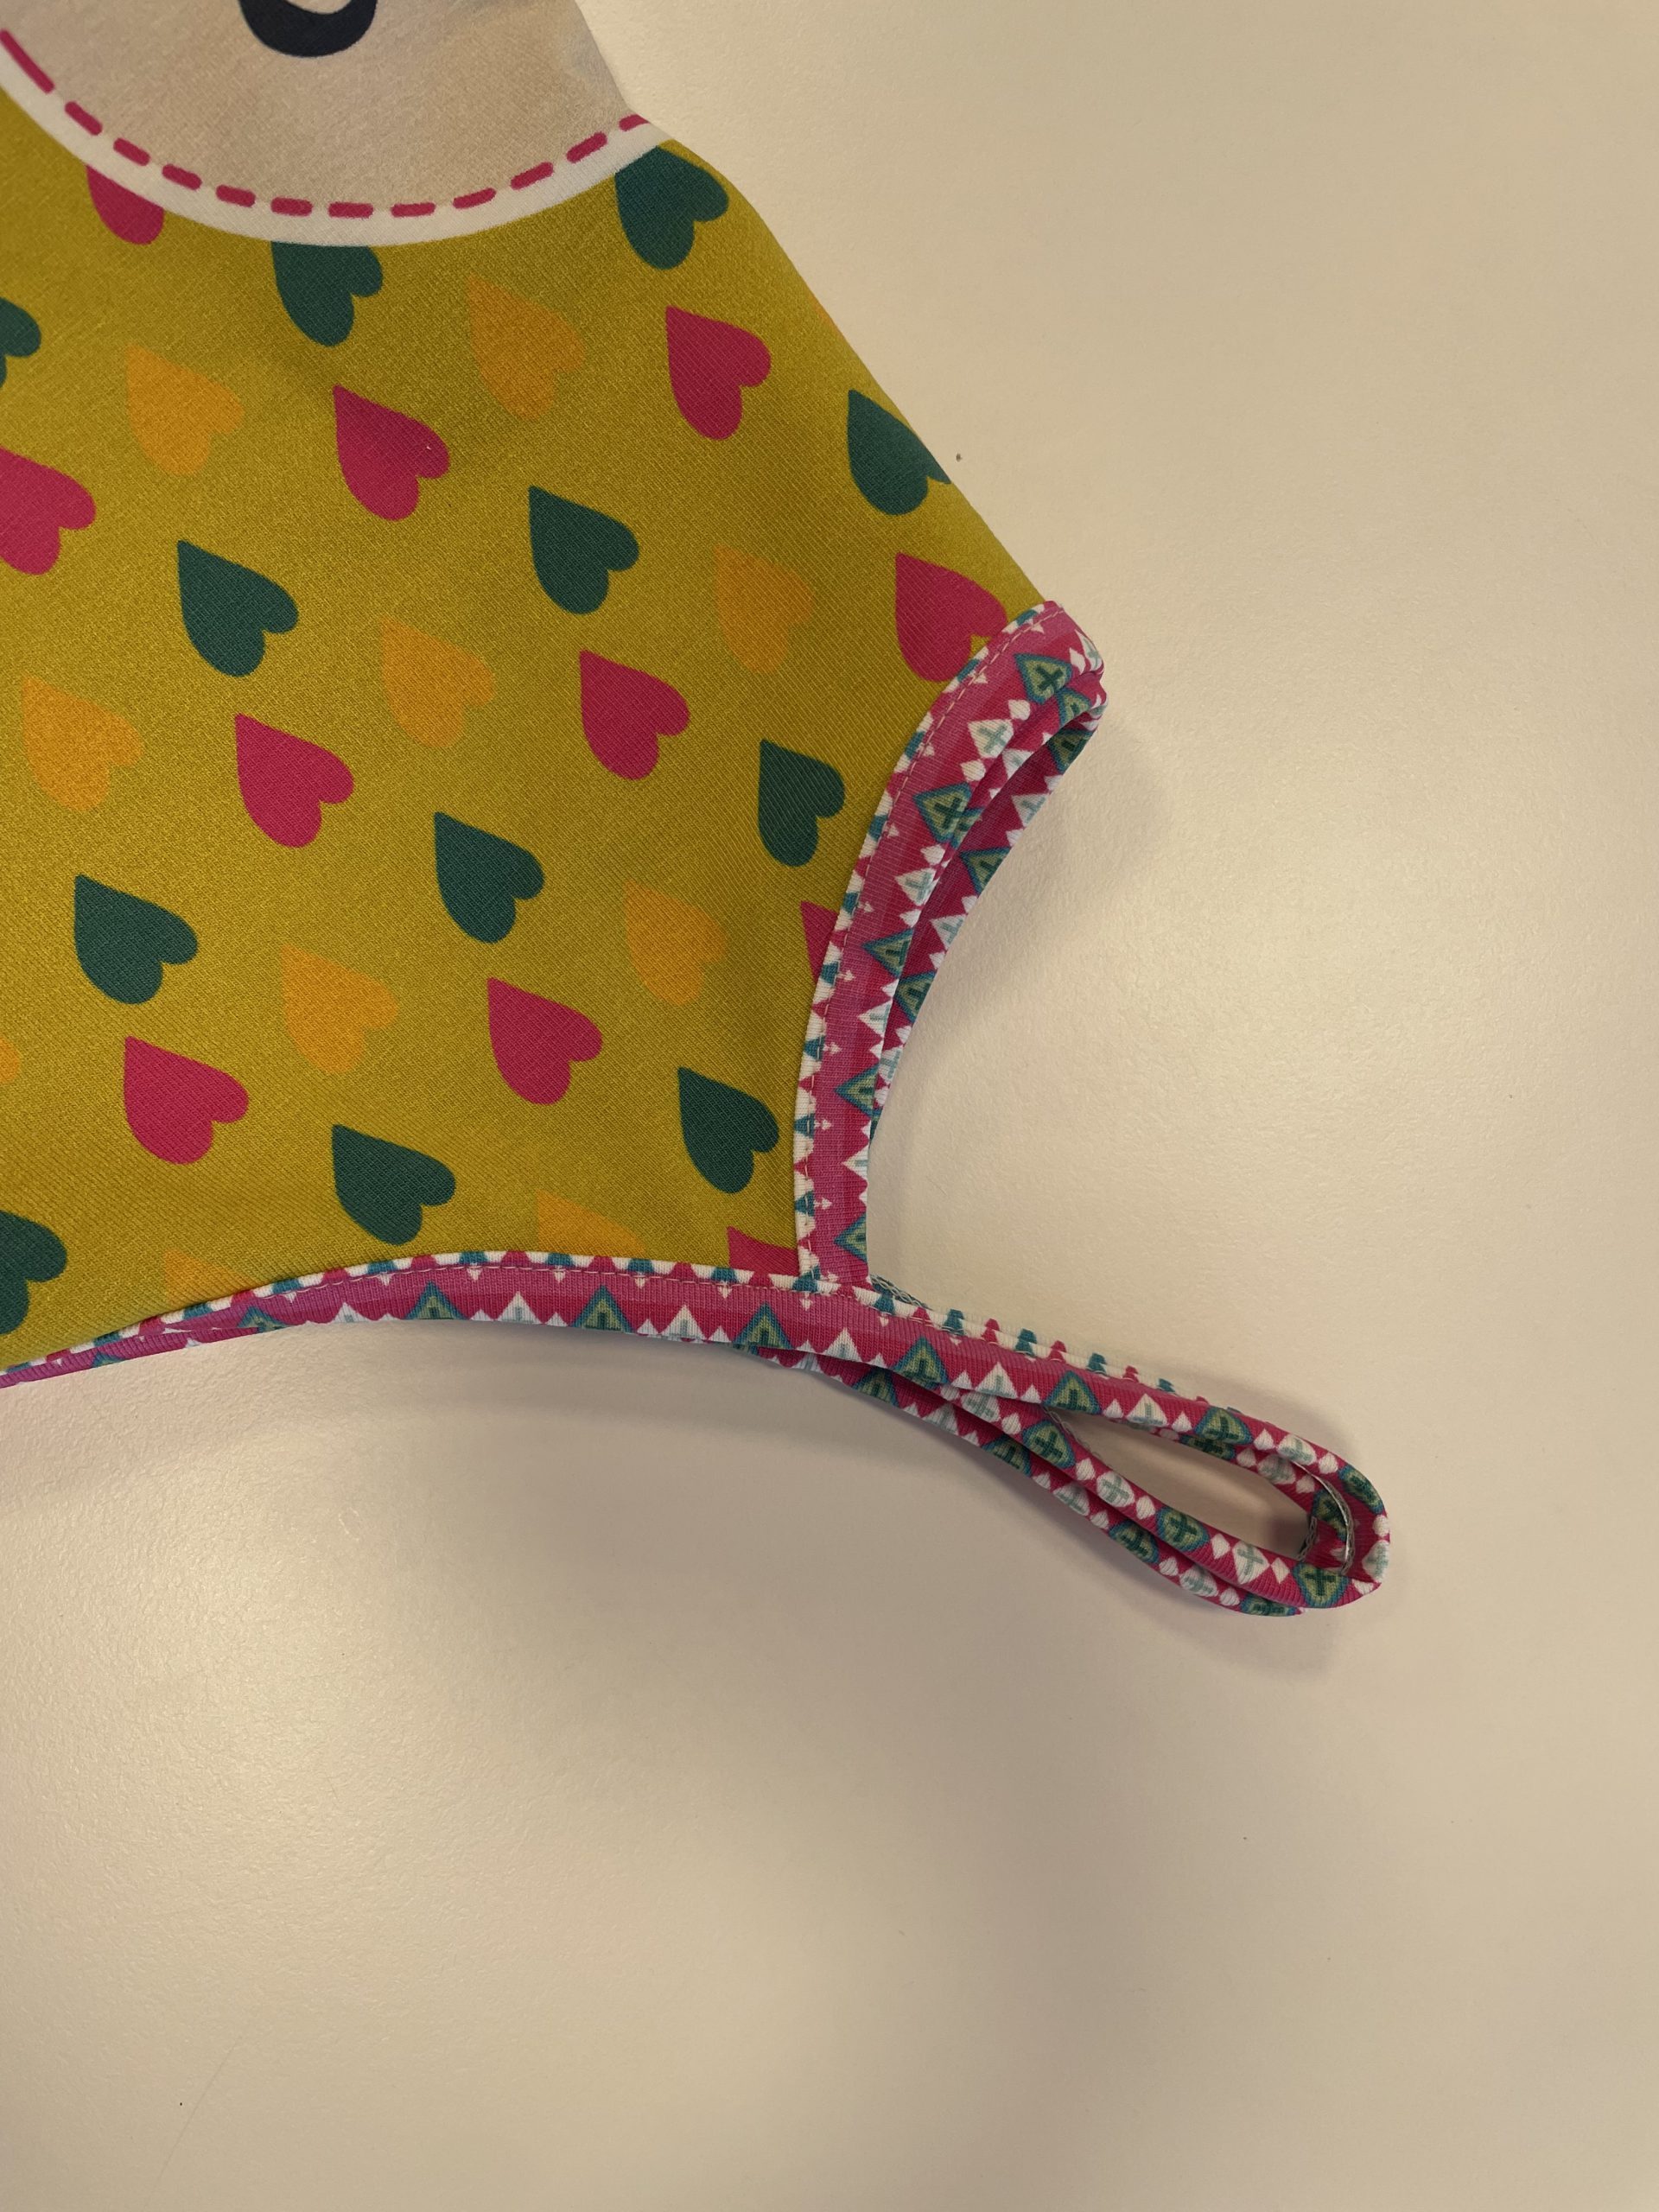
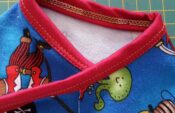
Here you can see the beautiful edging again in detail. I’m amazed at how great the Double Fold Binder for Unfolded Tape #C21 works! I could cut these pretty fabric strips from the fabric panel side printing. However, I am sure you find a suitable combination for your tank top(s)!

Completing the tank top
Now all you must do, is make the side seams and the hem. So that the two binding strips under the arm lie nicely on top of each other and don’t slip when sewing, I stabilize them with a few stitches by hand, which later disappear into the seam.
I sew the side seams from the bottom up because I personally find it easier not to start at the thicker part. If the seam is to begin at the binding strip, it is advisable to place a piece of fabric underneath to level the height and thus ensure a perfect seam begin.
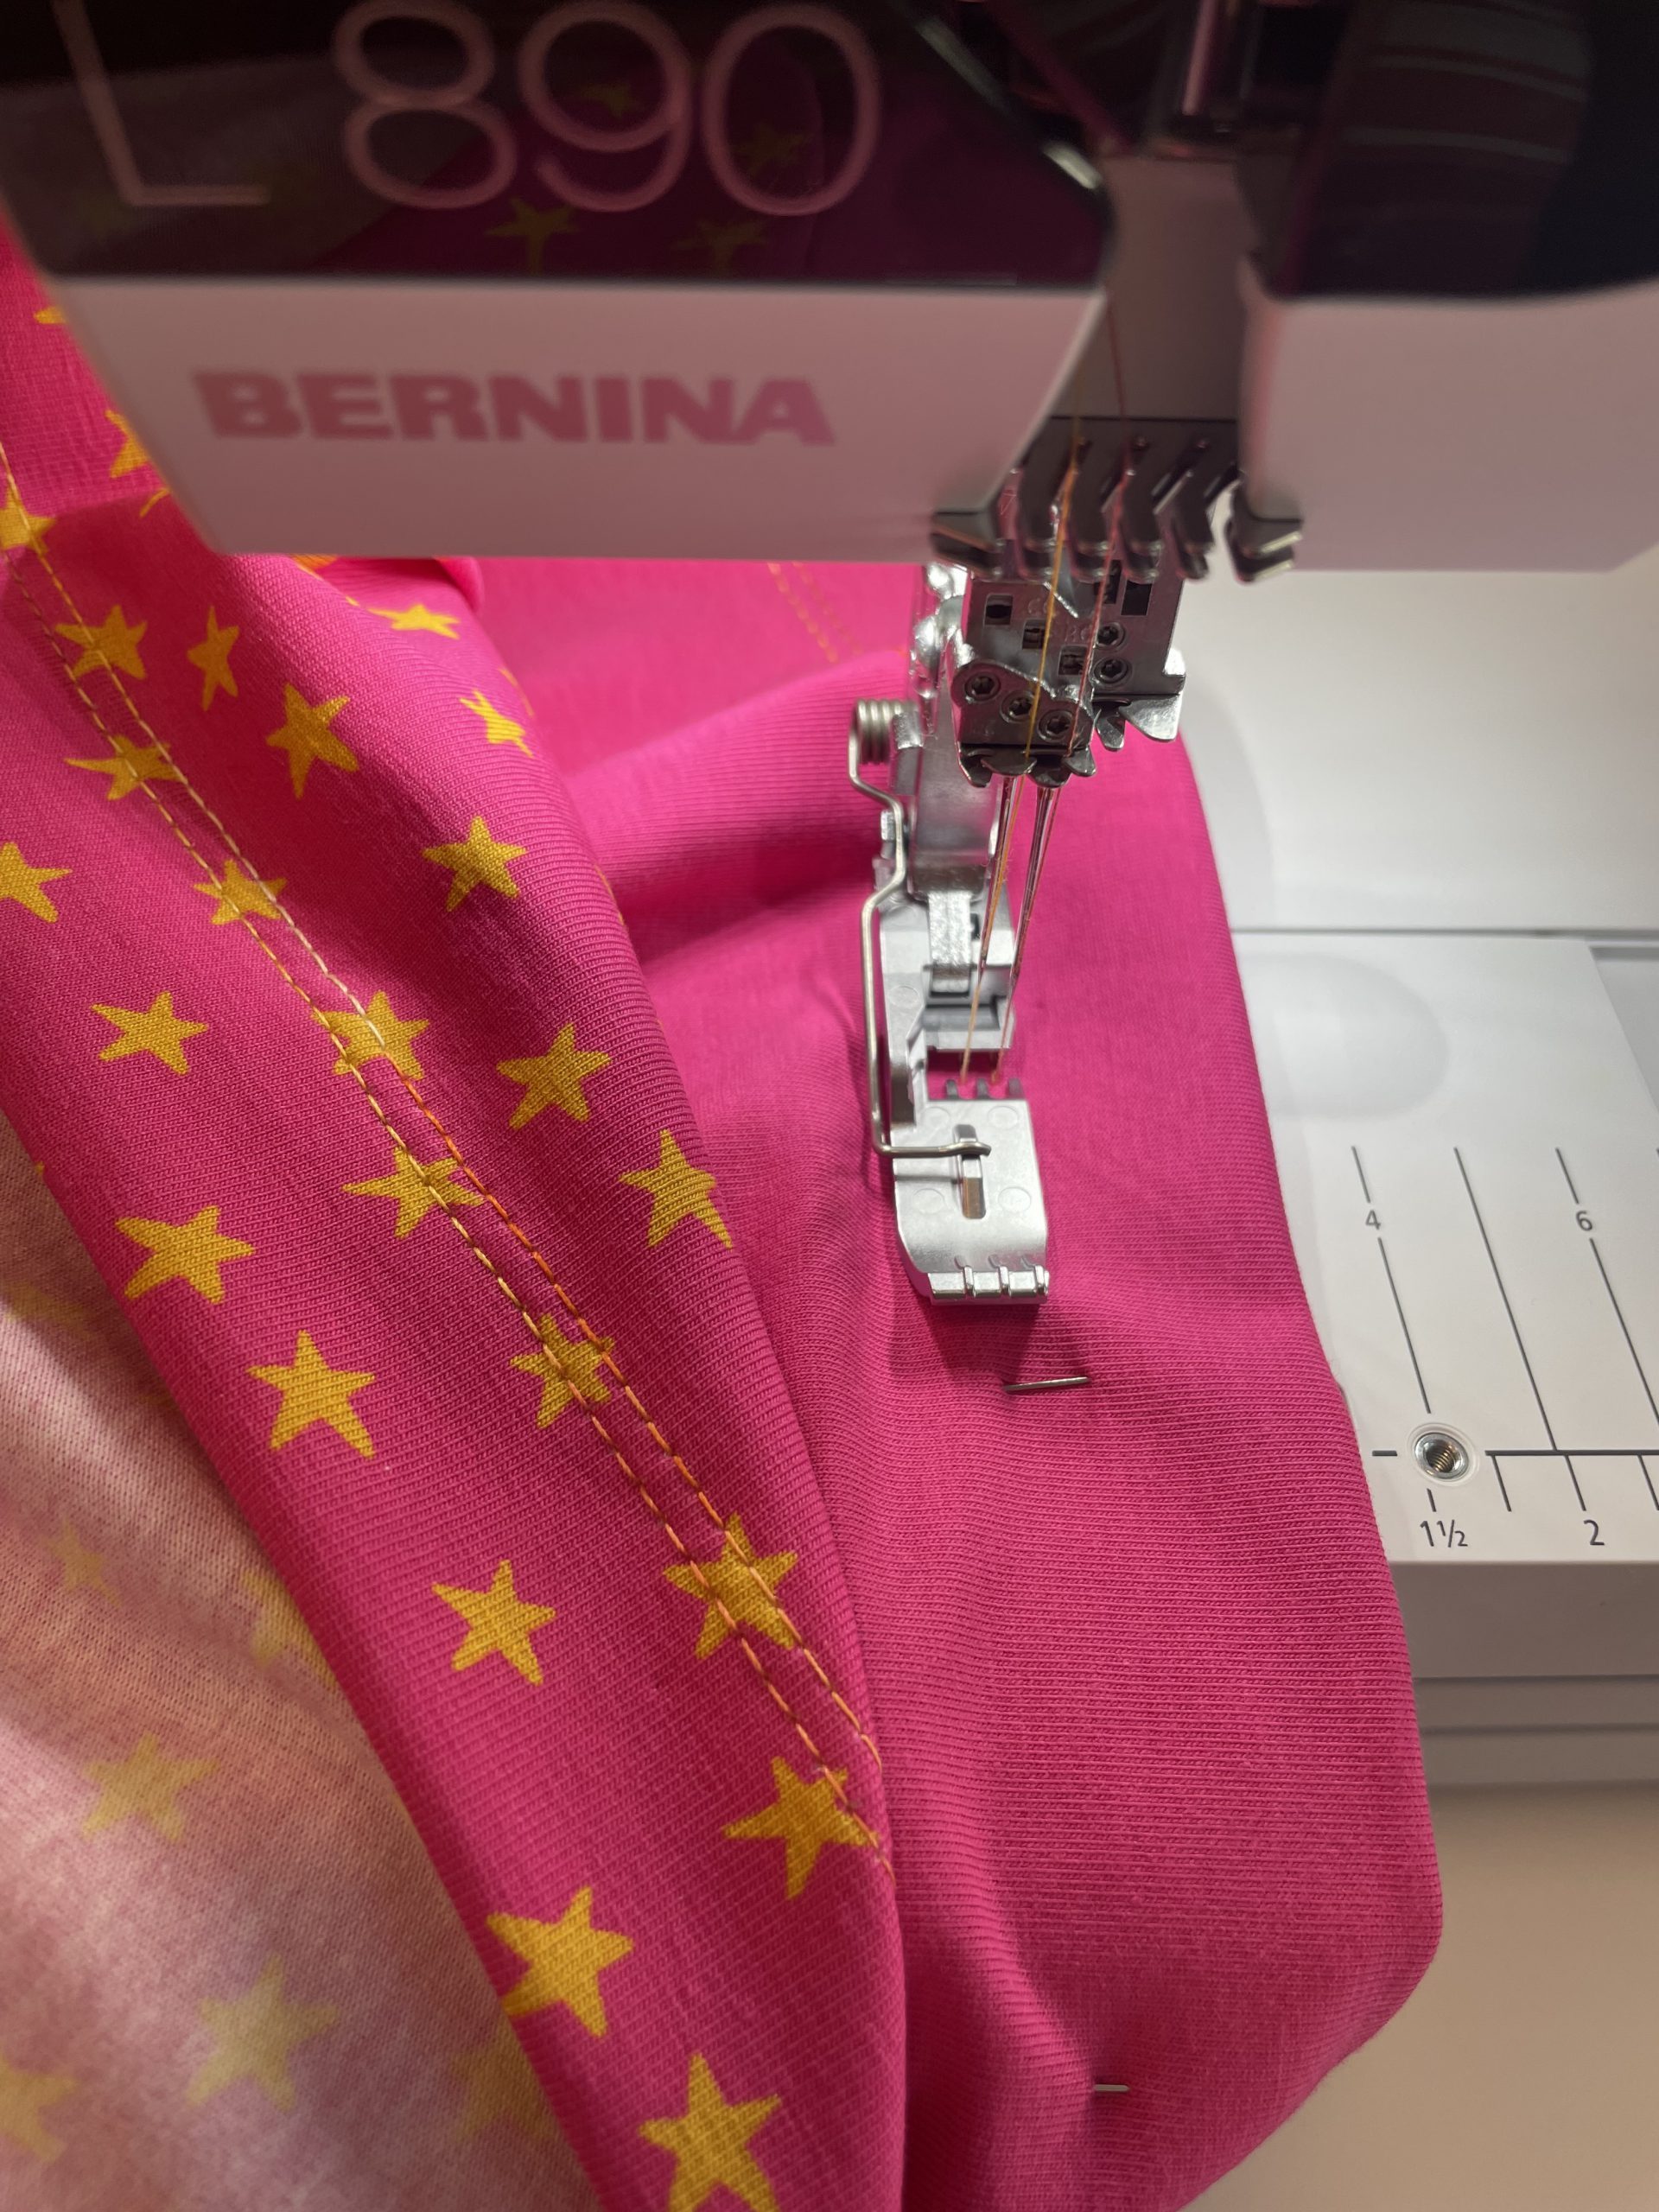
Now I hem the bottom edge of the shirt, also with a coverstitch on my L 890. Here I used Silk Finish Cotton Multi from Mettler in the needles.
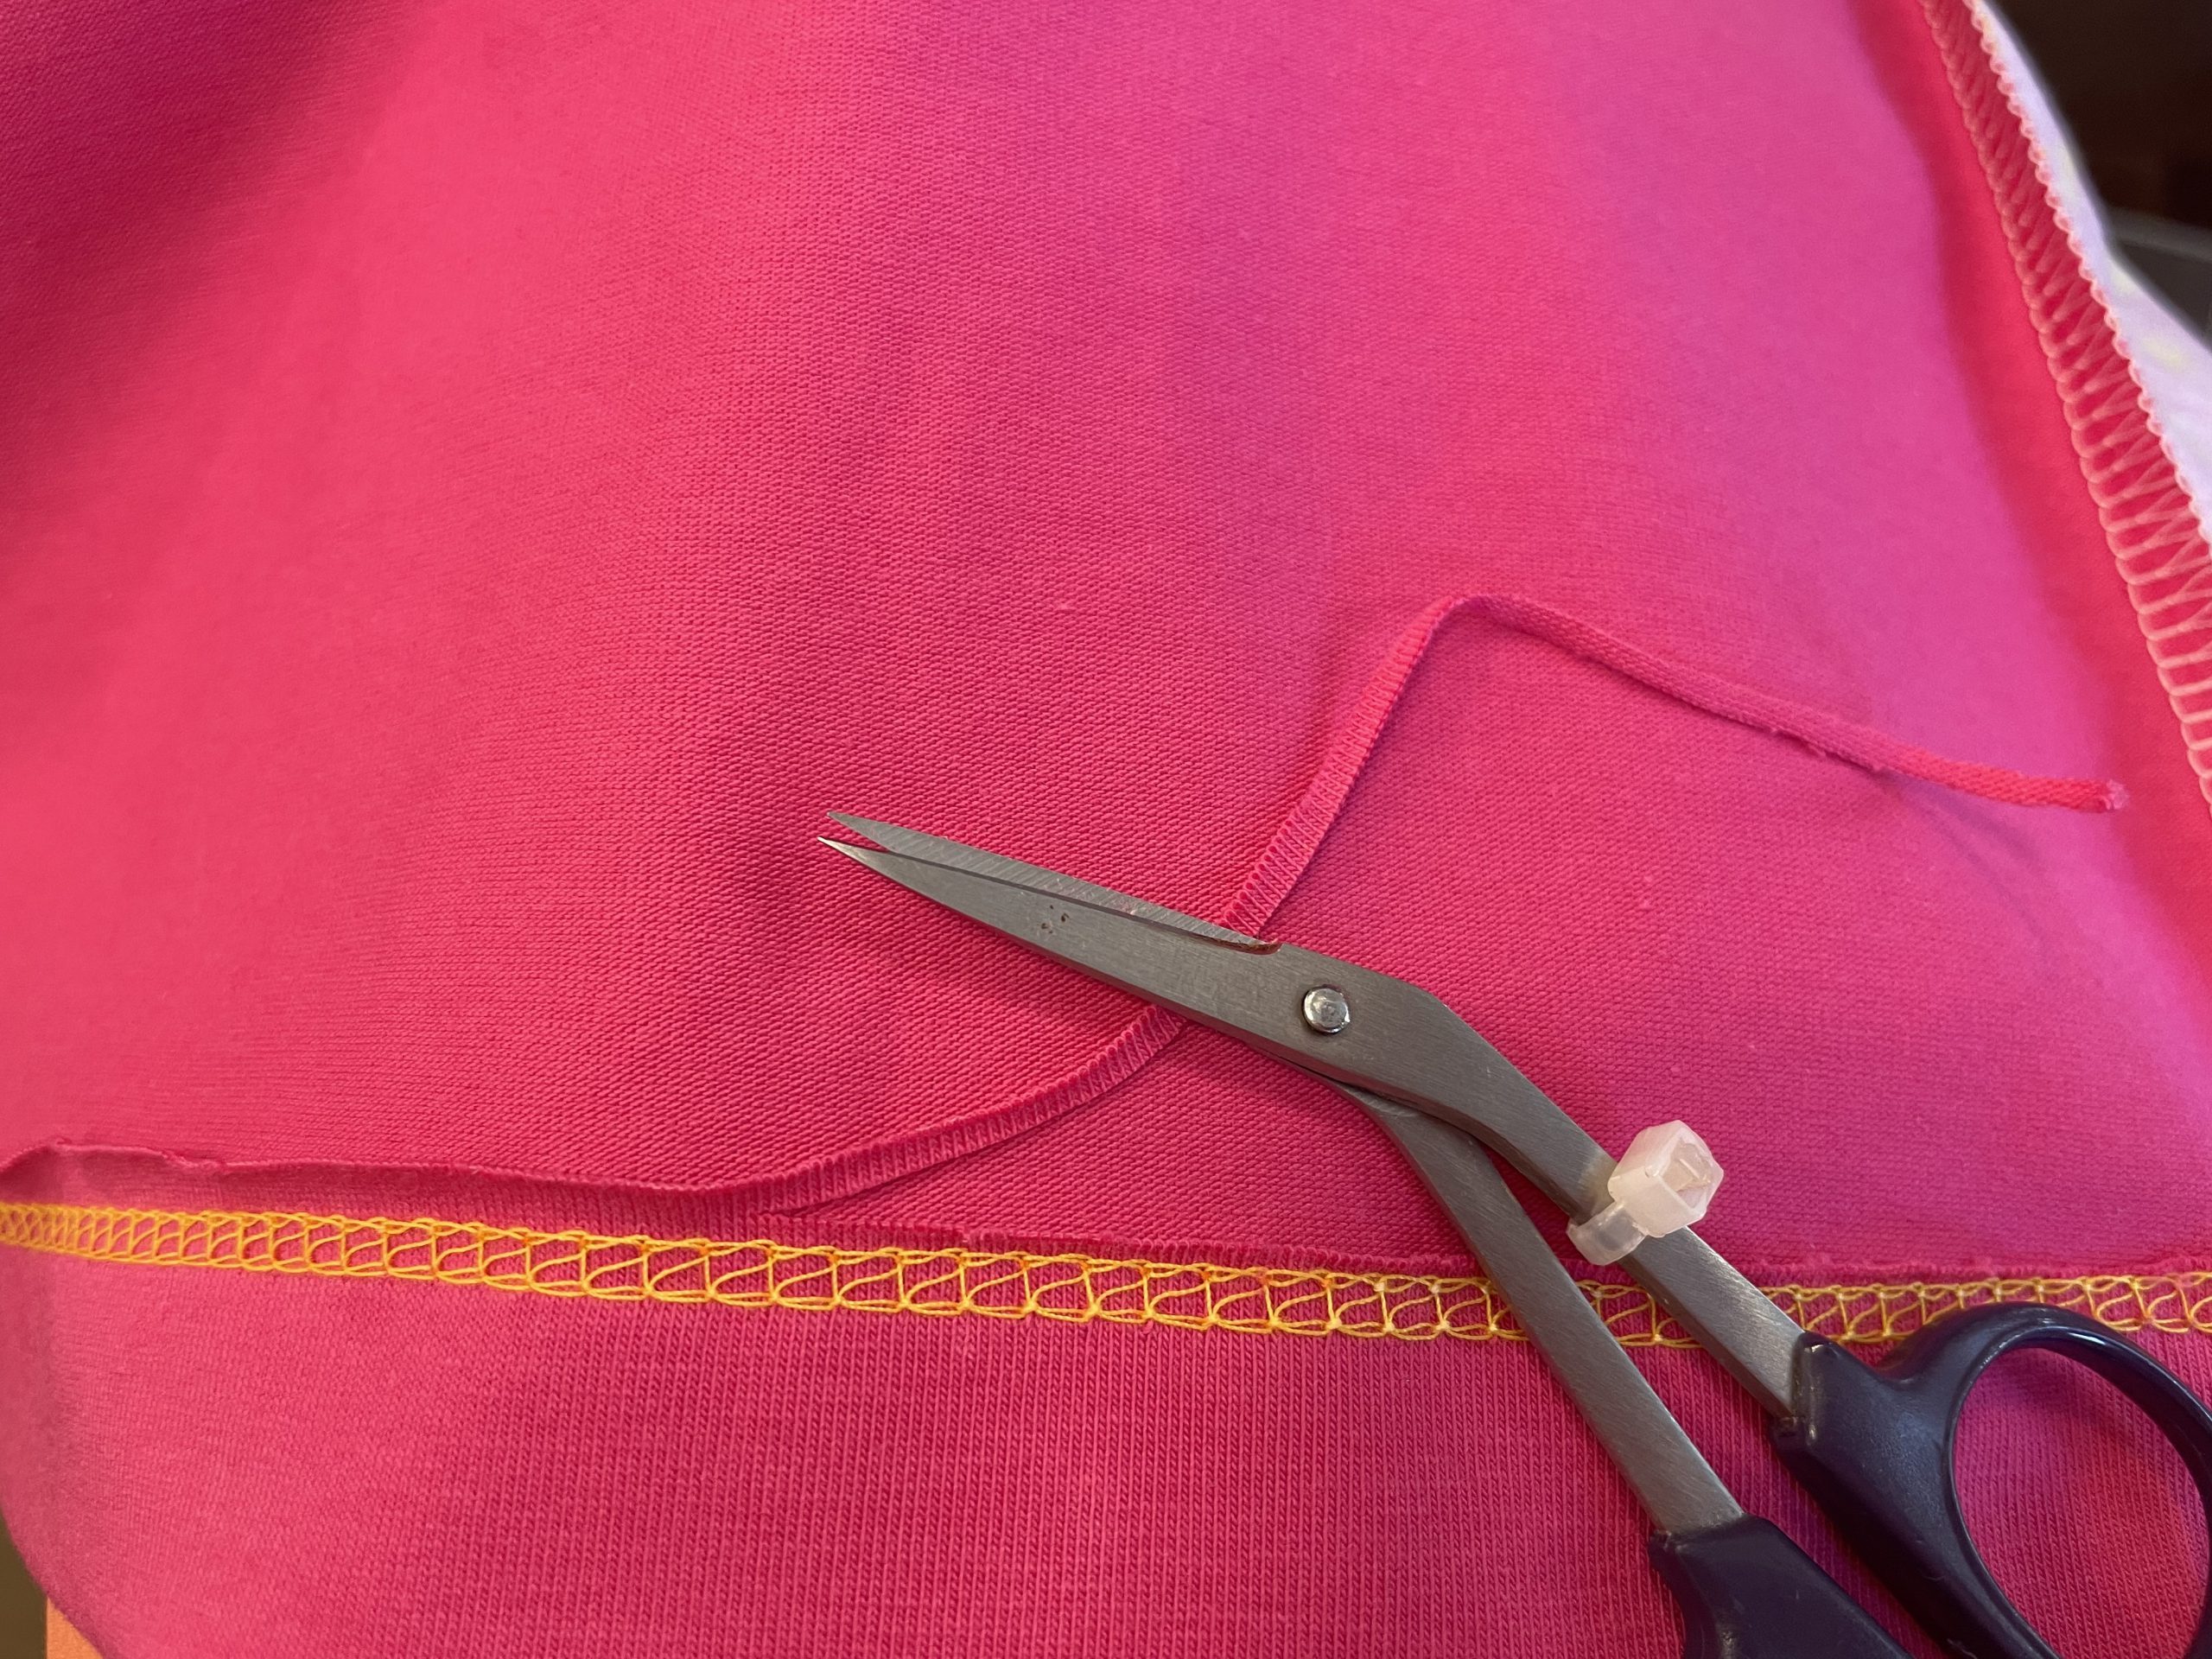
Any excess seam allowance on the inside I cut back with sharp, curved scissors.
The shirts for my daughter are finished and we are ready for a vacation in summer warm climate!
I hope you have fun and enjoy trying out the binders for the L 890, may it be the Double Fold Binder #C21 or the Single Fold Binder #C22!
With kind regards
Claudia


0 Responses