 BERNINA Corporate Blog -
Upcycling of two basic pieces
In the Time to Shine capsule wardrobe I am maken, a few basic pieces that you can easily mix and match cannot be missed. Basic pieces like tops, t-shirts and blouses. For those who know me a bit know that I love to upcycle already existing items. It doesn’t always have to be new. The basics that I’m upcyling in this blog are a memade spaghetti strap top and a bought t-shirt. Upcycling with lace.
To put on your calendar: In October we will make the Megan blouse from Inspiration Magazine together in a sew along. This can also be downloaded for free during that month.
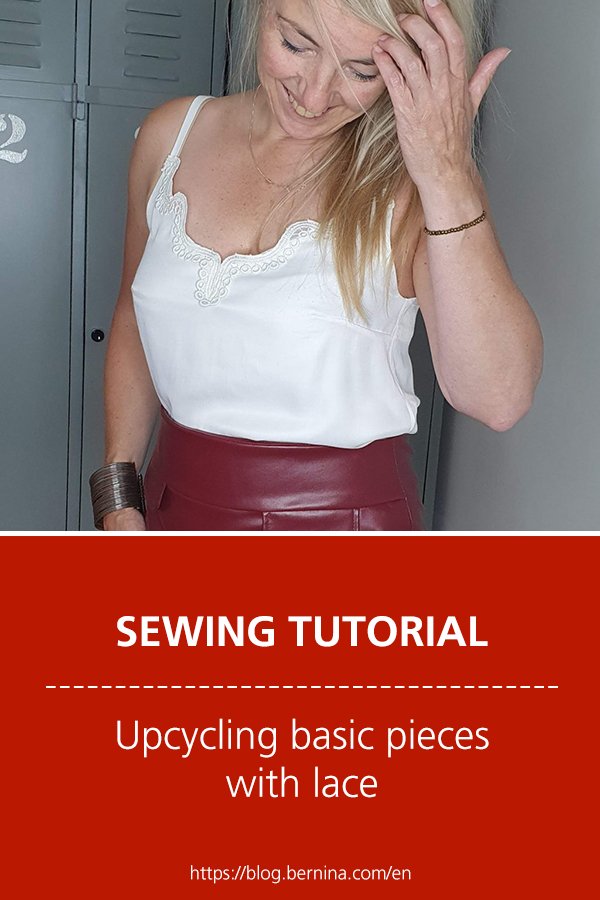
Spaghetti top
Lees de blog in het Nederlands klik hier
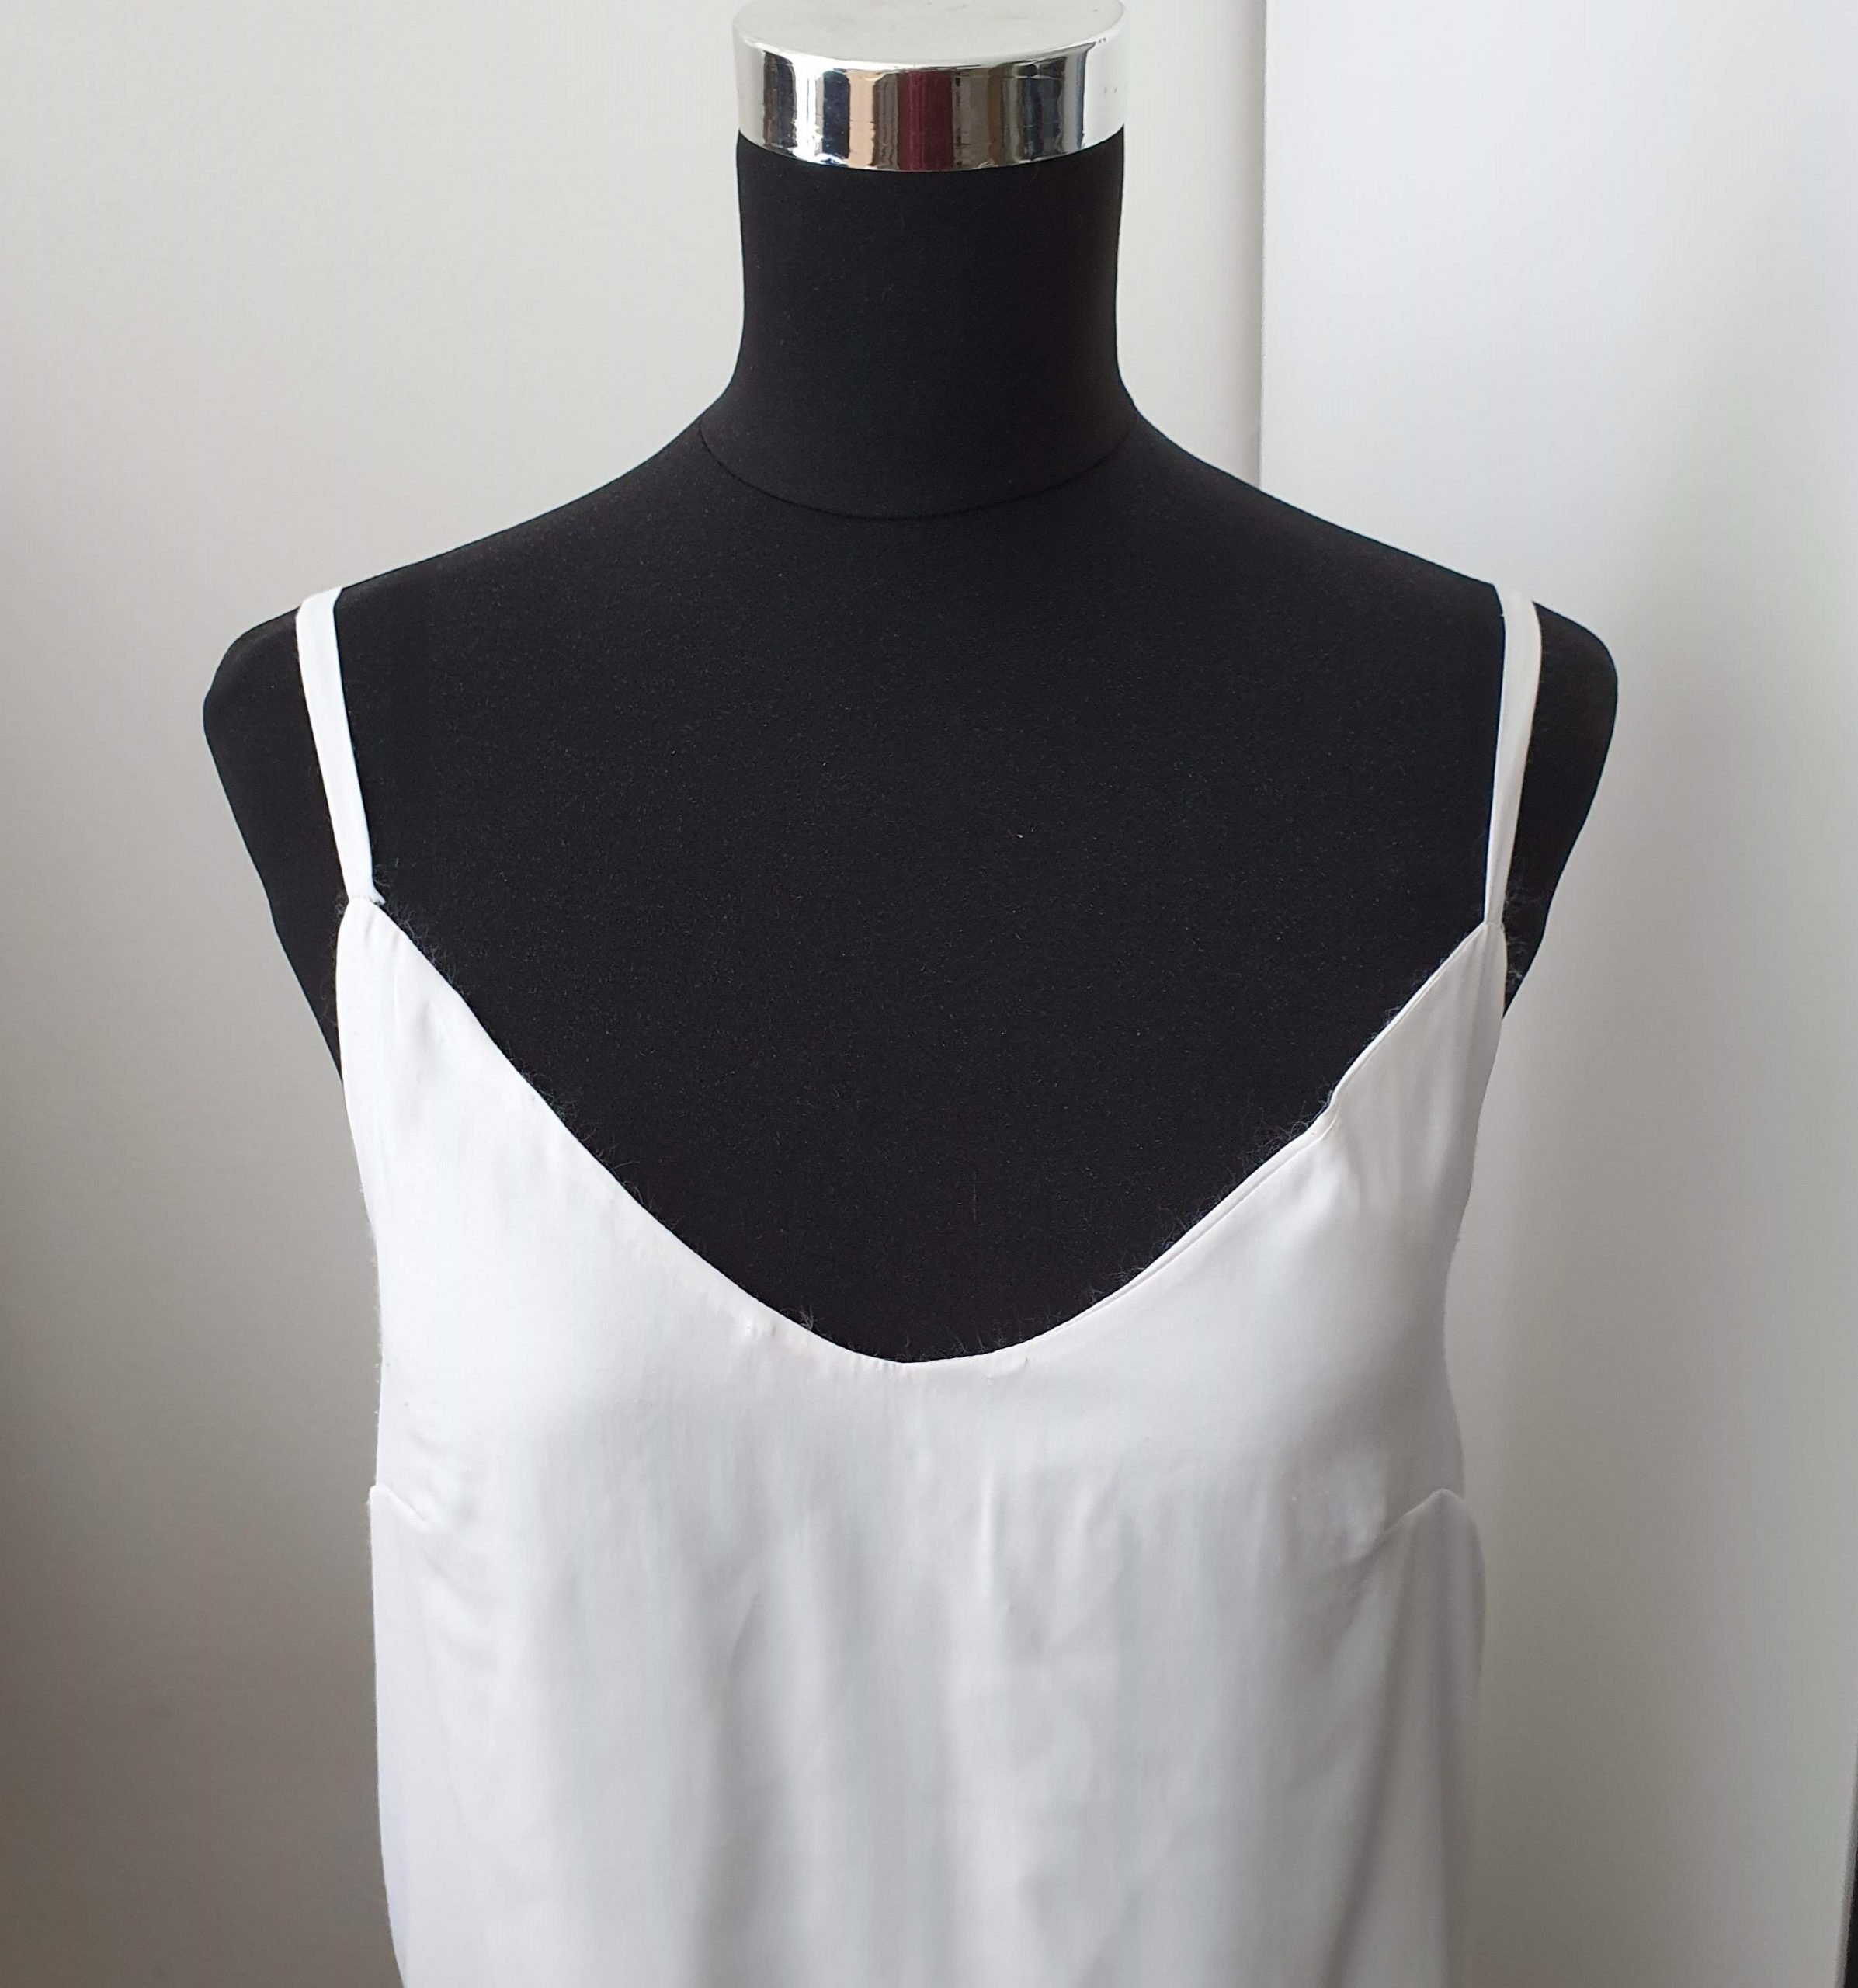
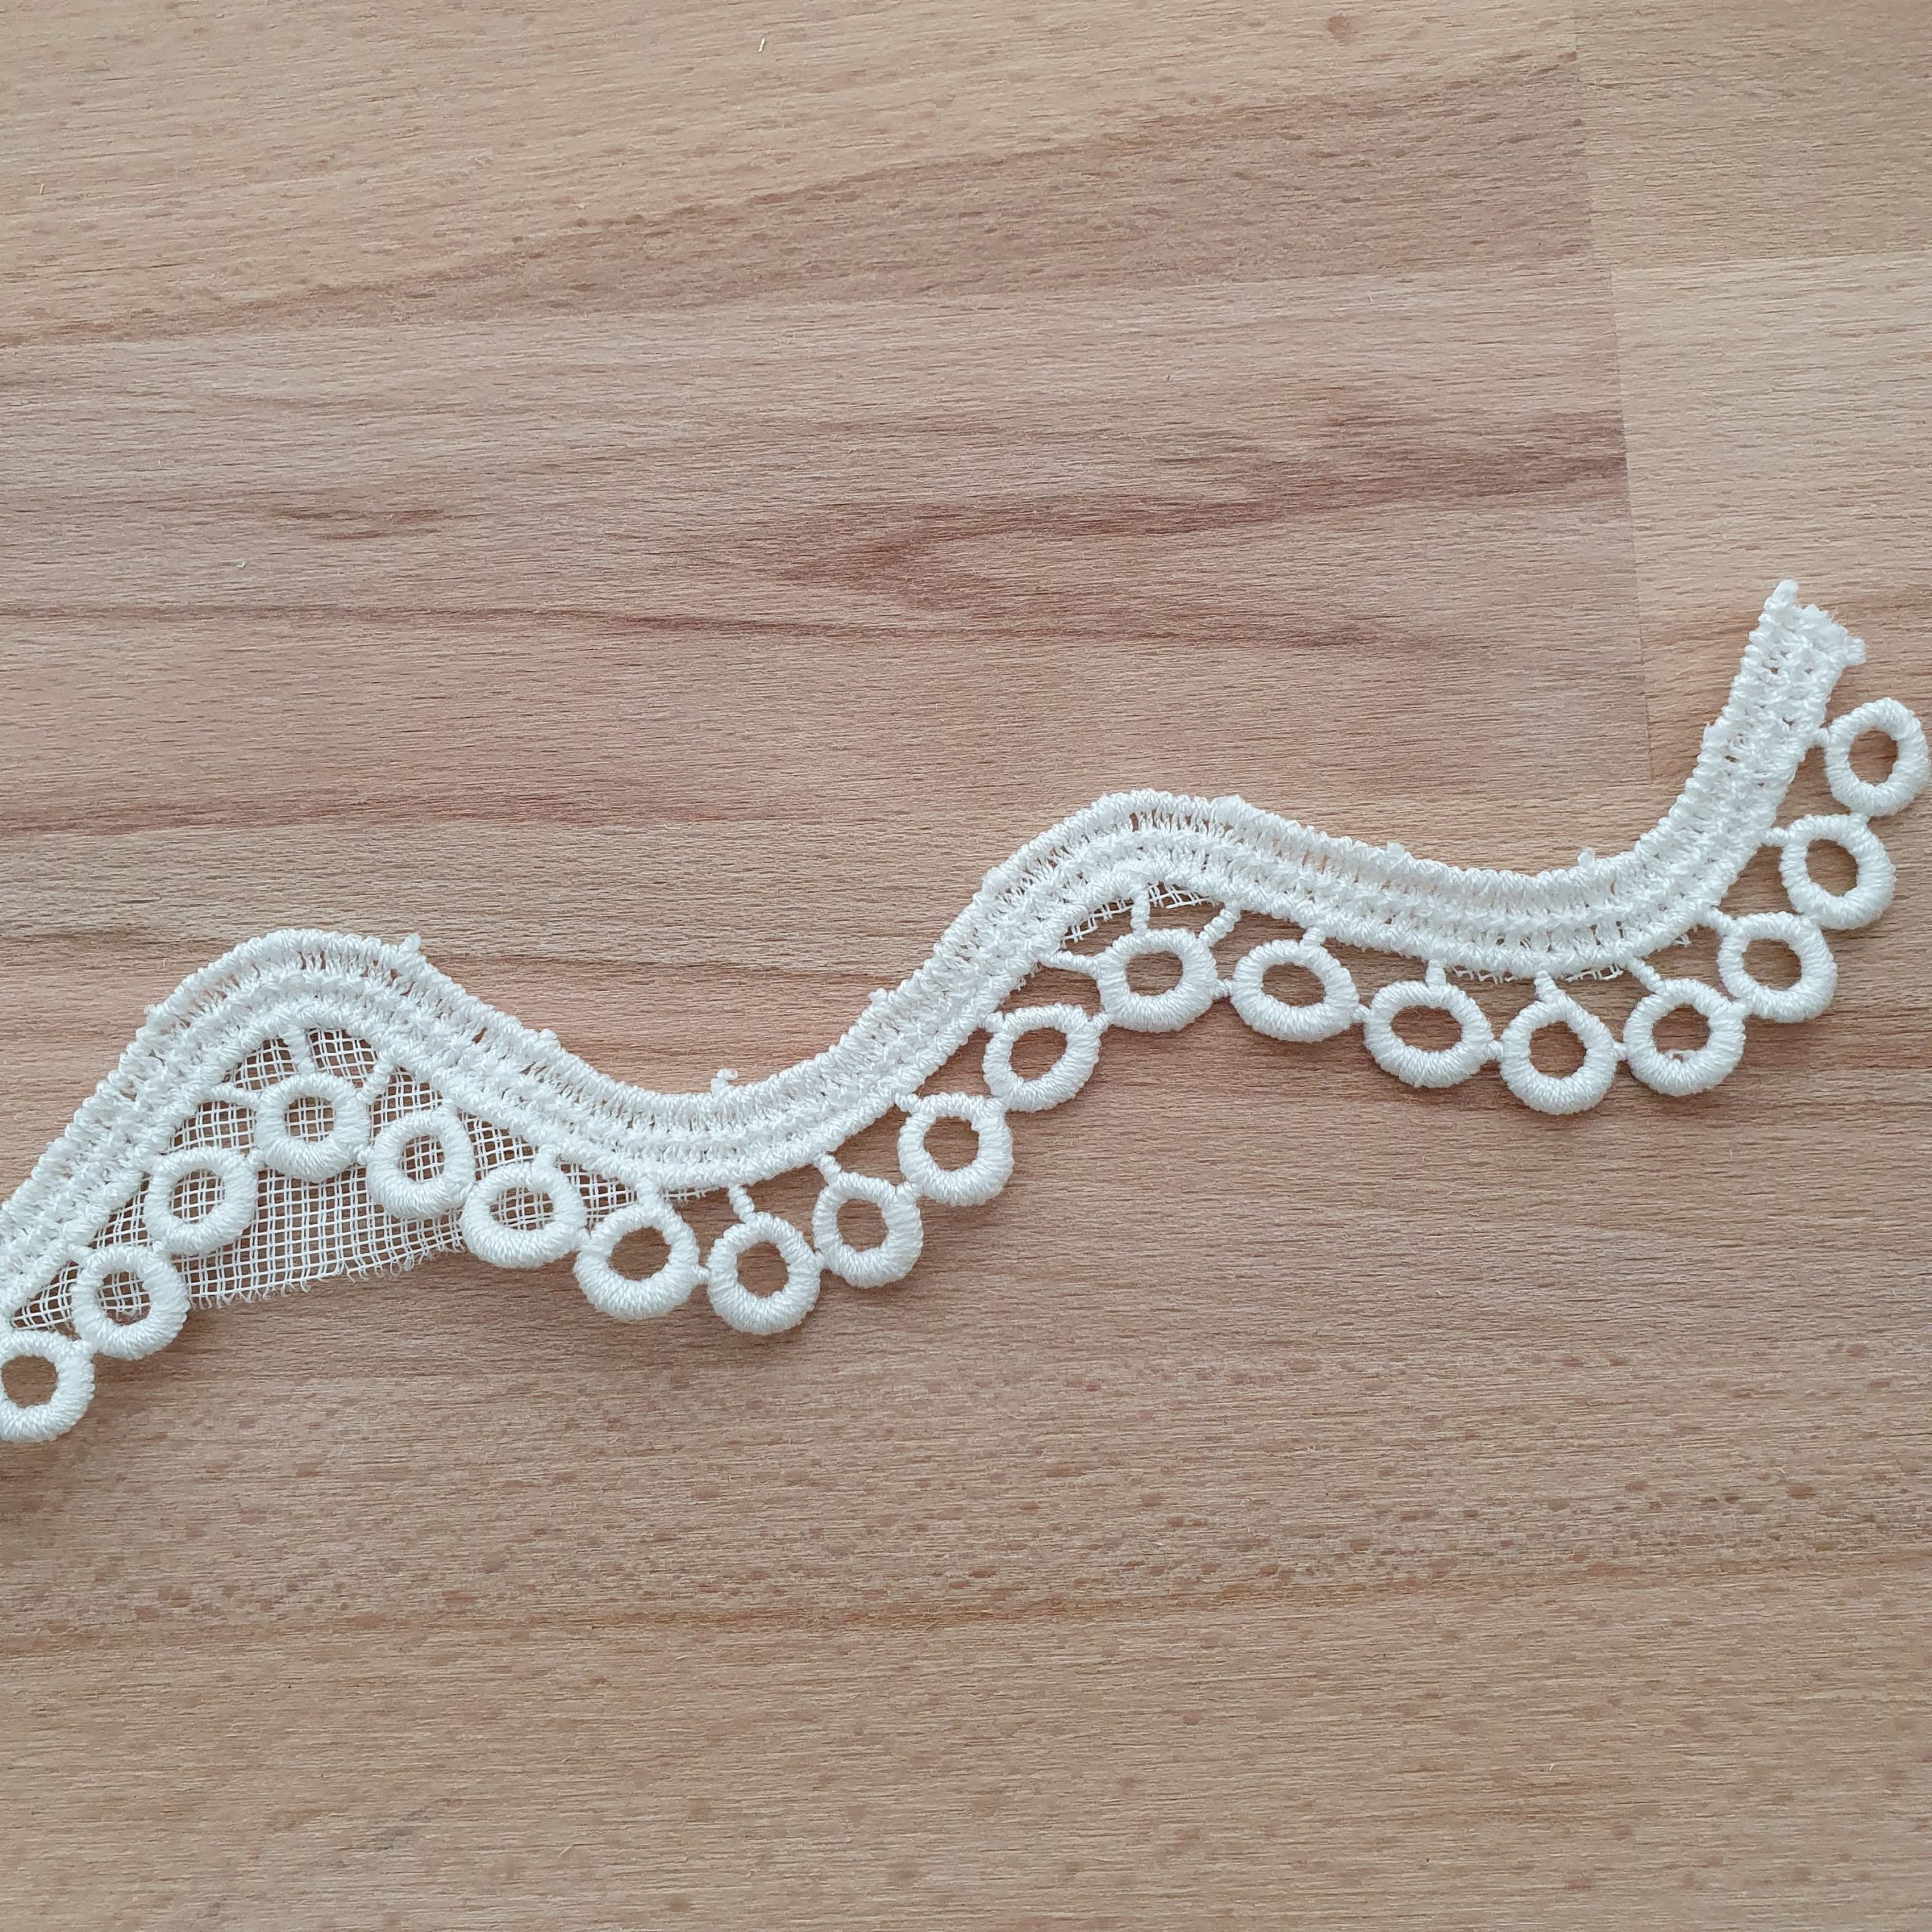
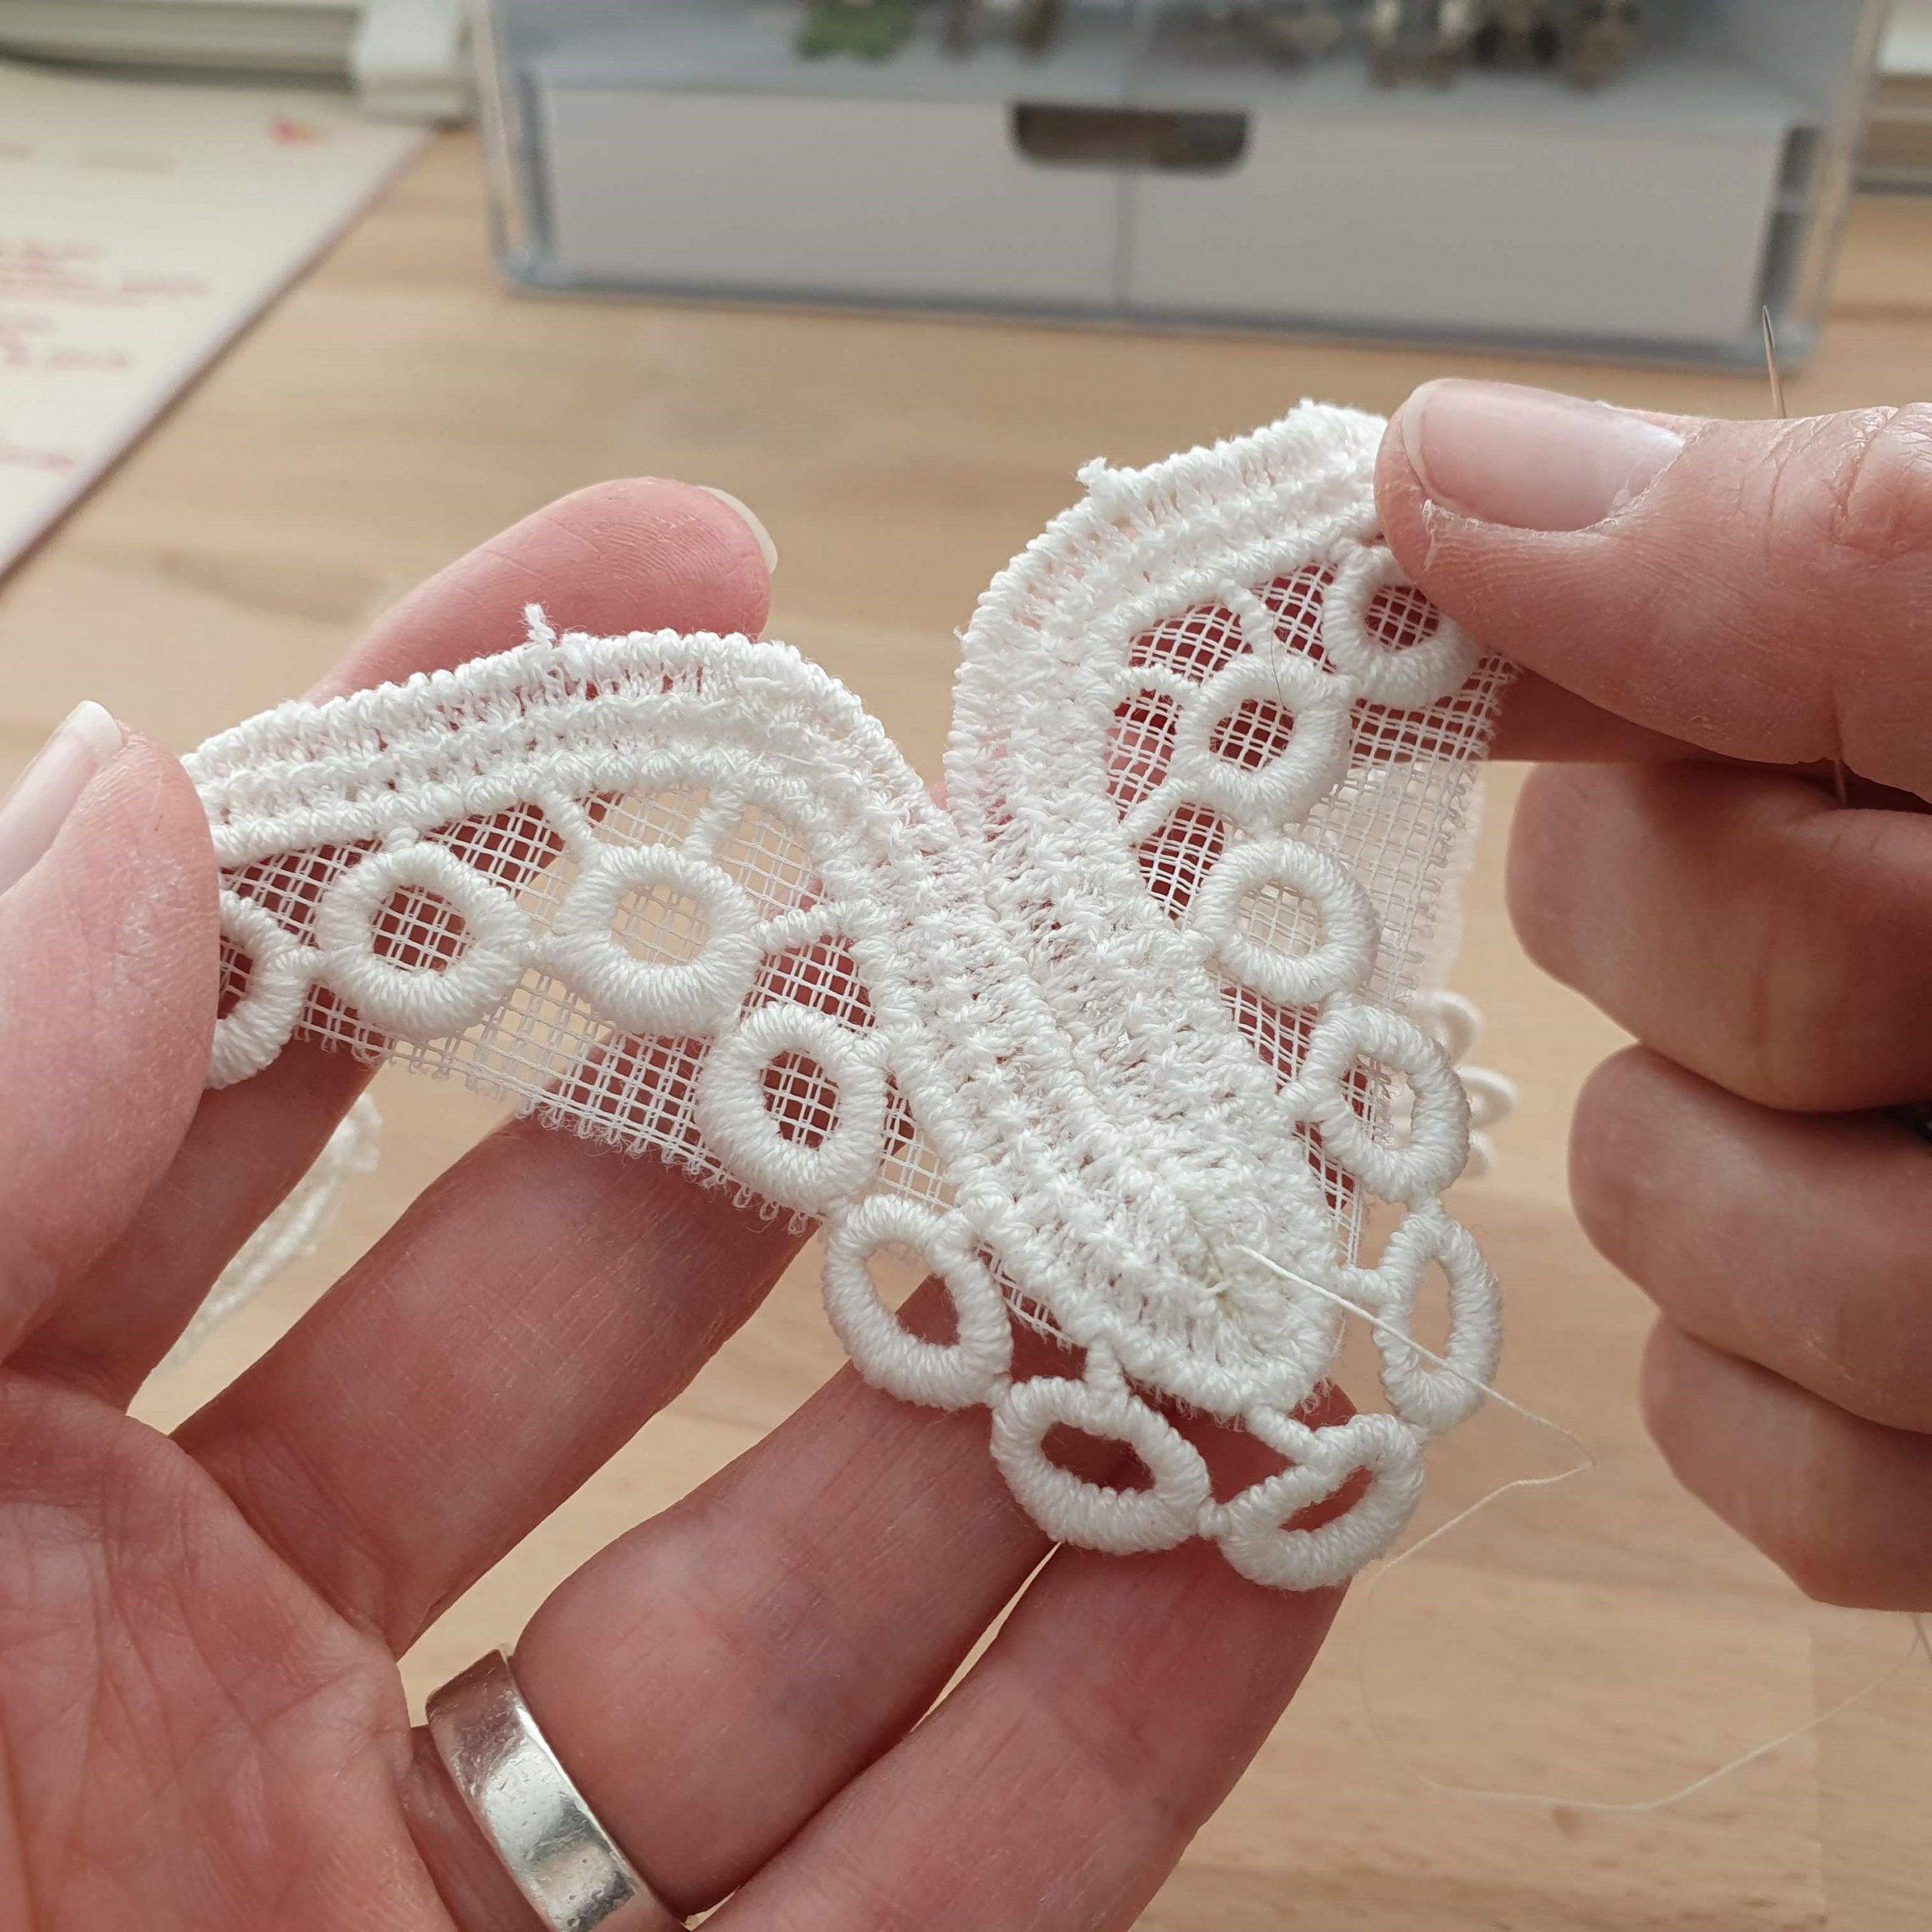
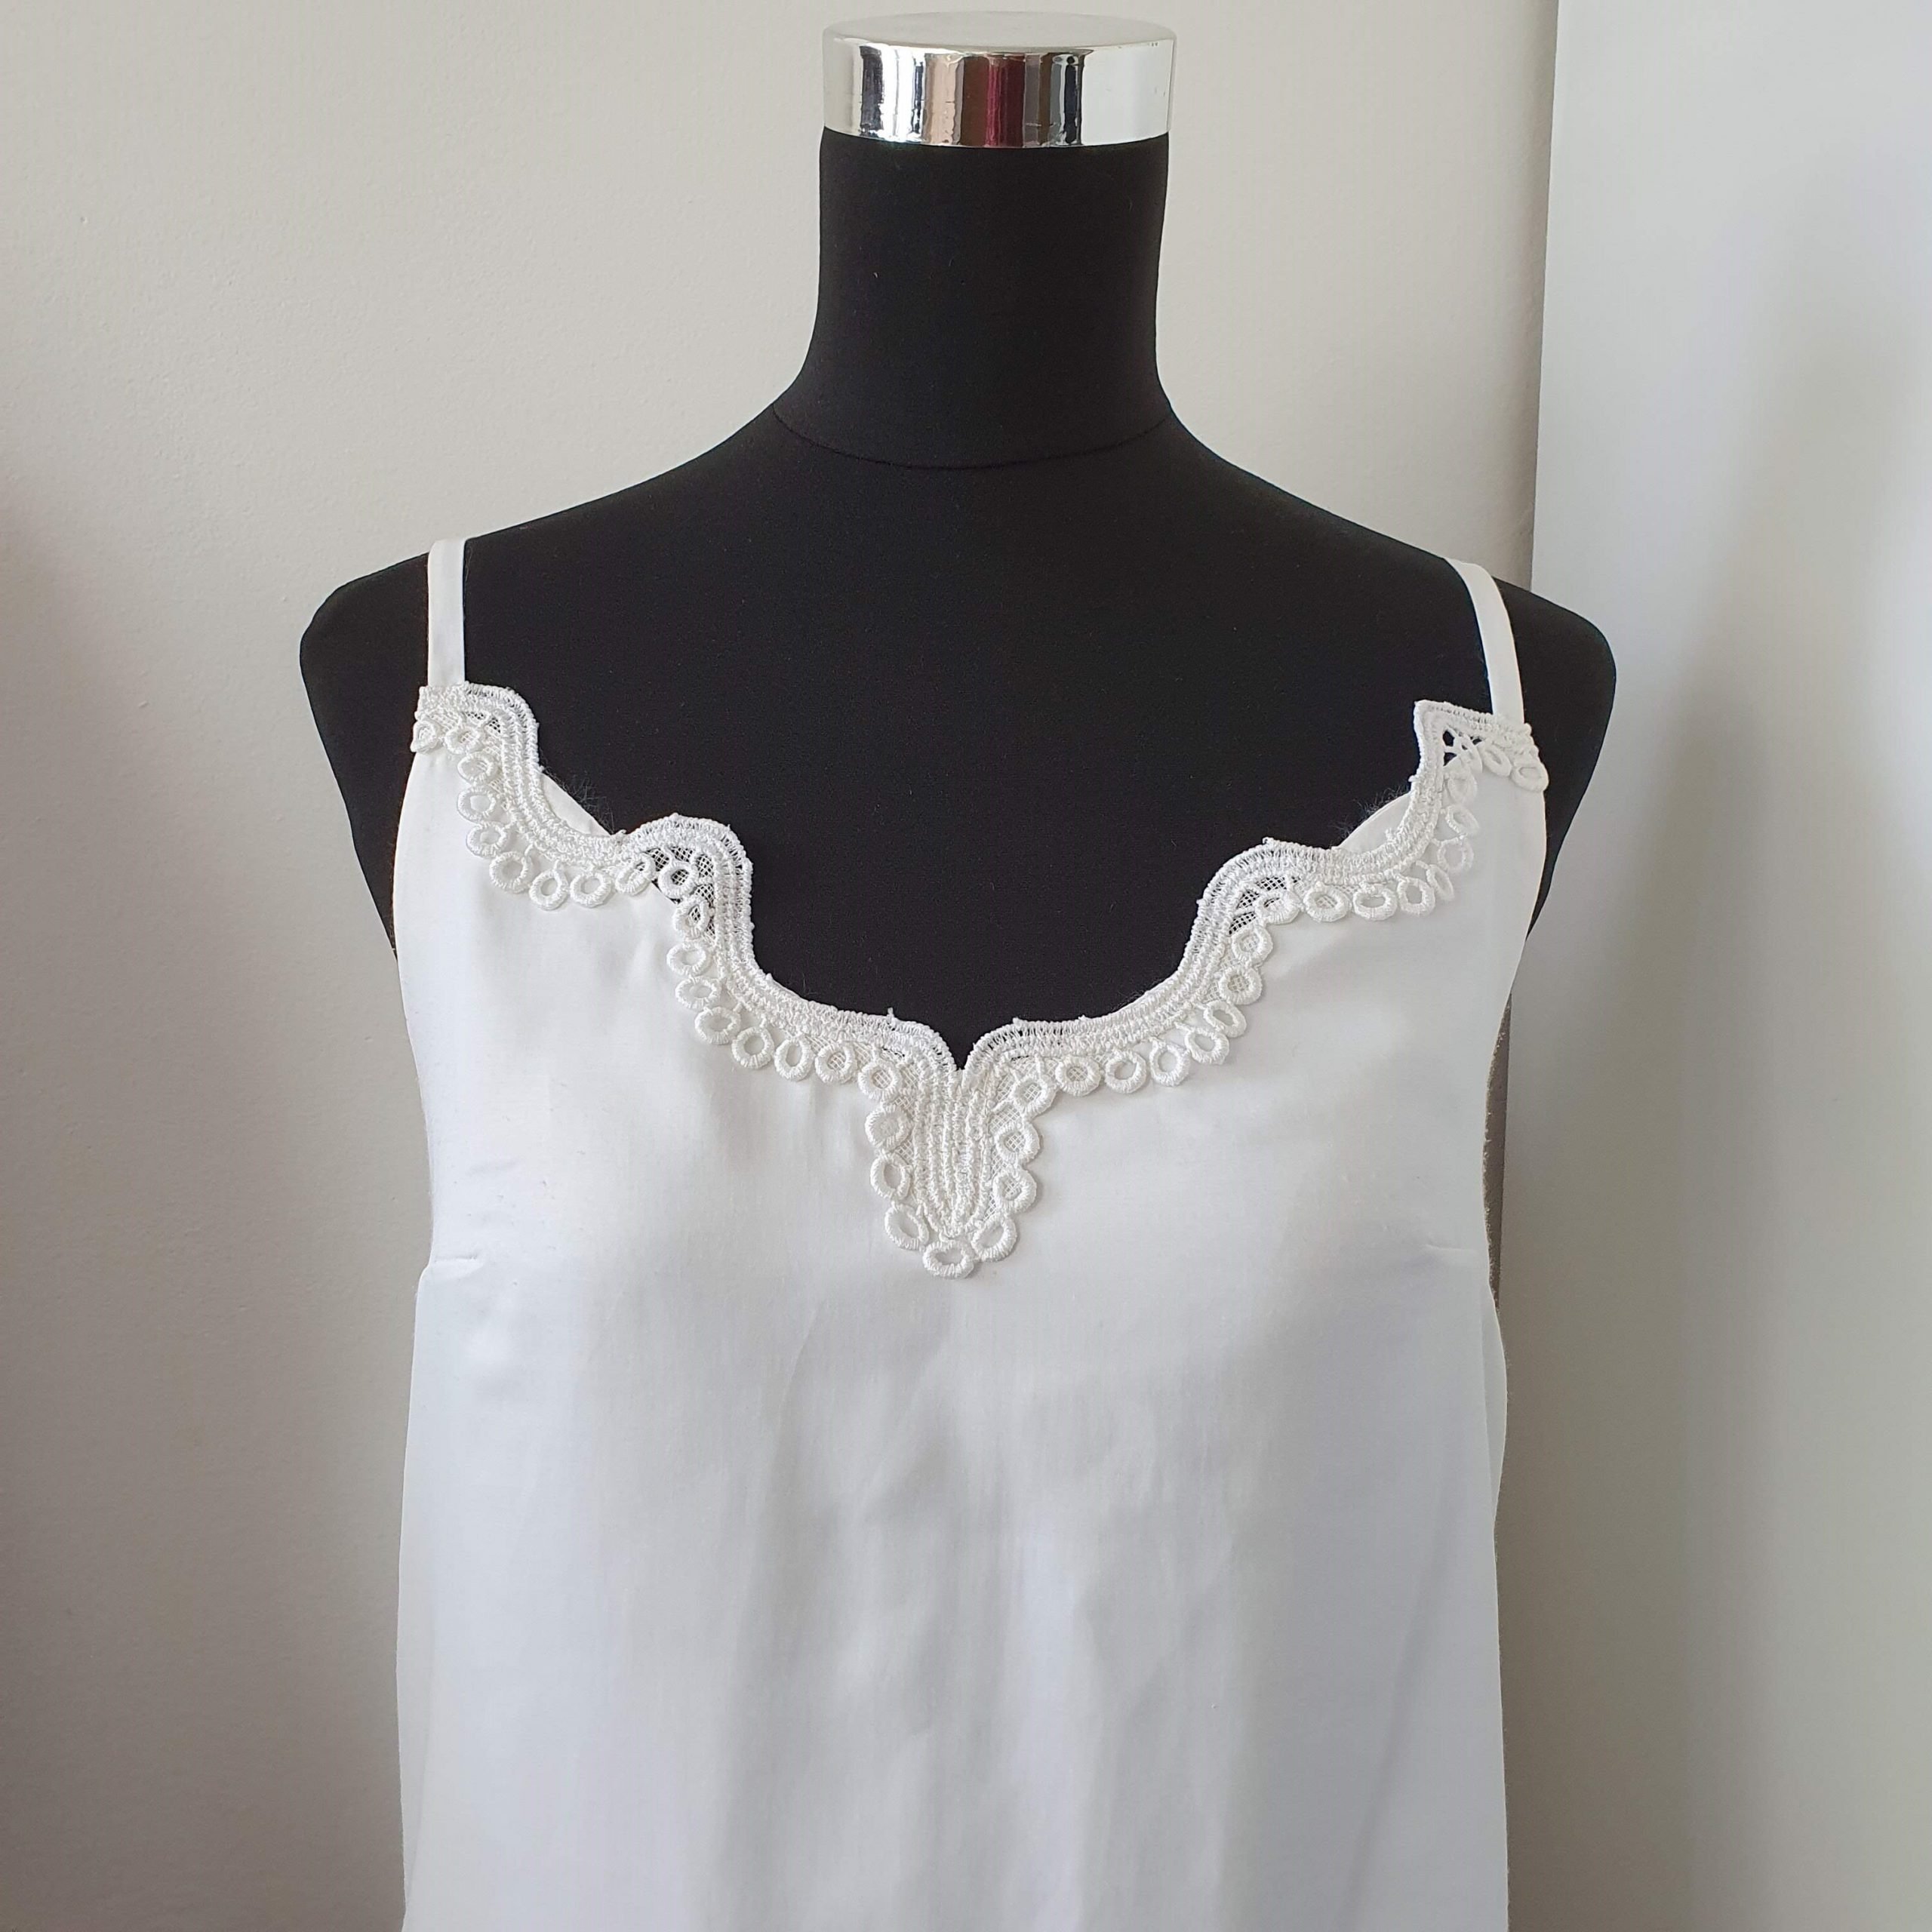
This top I’ve made a few years ago and didn’t wear it much. I wasn’t happy with the wobbly neckline. I didn’t staystitch the neckline before sewing the top. (Read more about when and why you need to staystitch in this blog). To let this top shine again, I add a lace trim to the neckline. I cut the lace trim from a larger piece of lace that I once found in the thrift store. (see below) First I’ve soaked the trim overnight in water with a little chlorine whiten the lace and it worked.
Adding lace
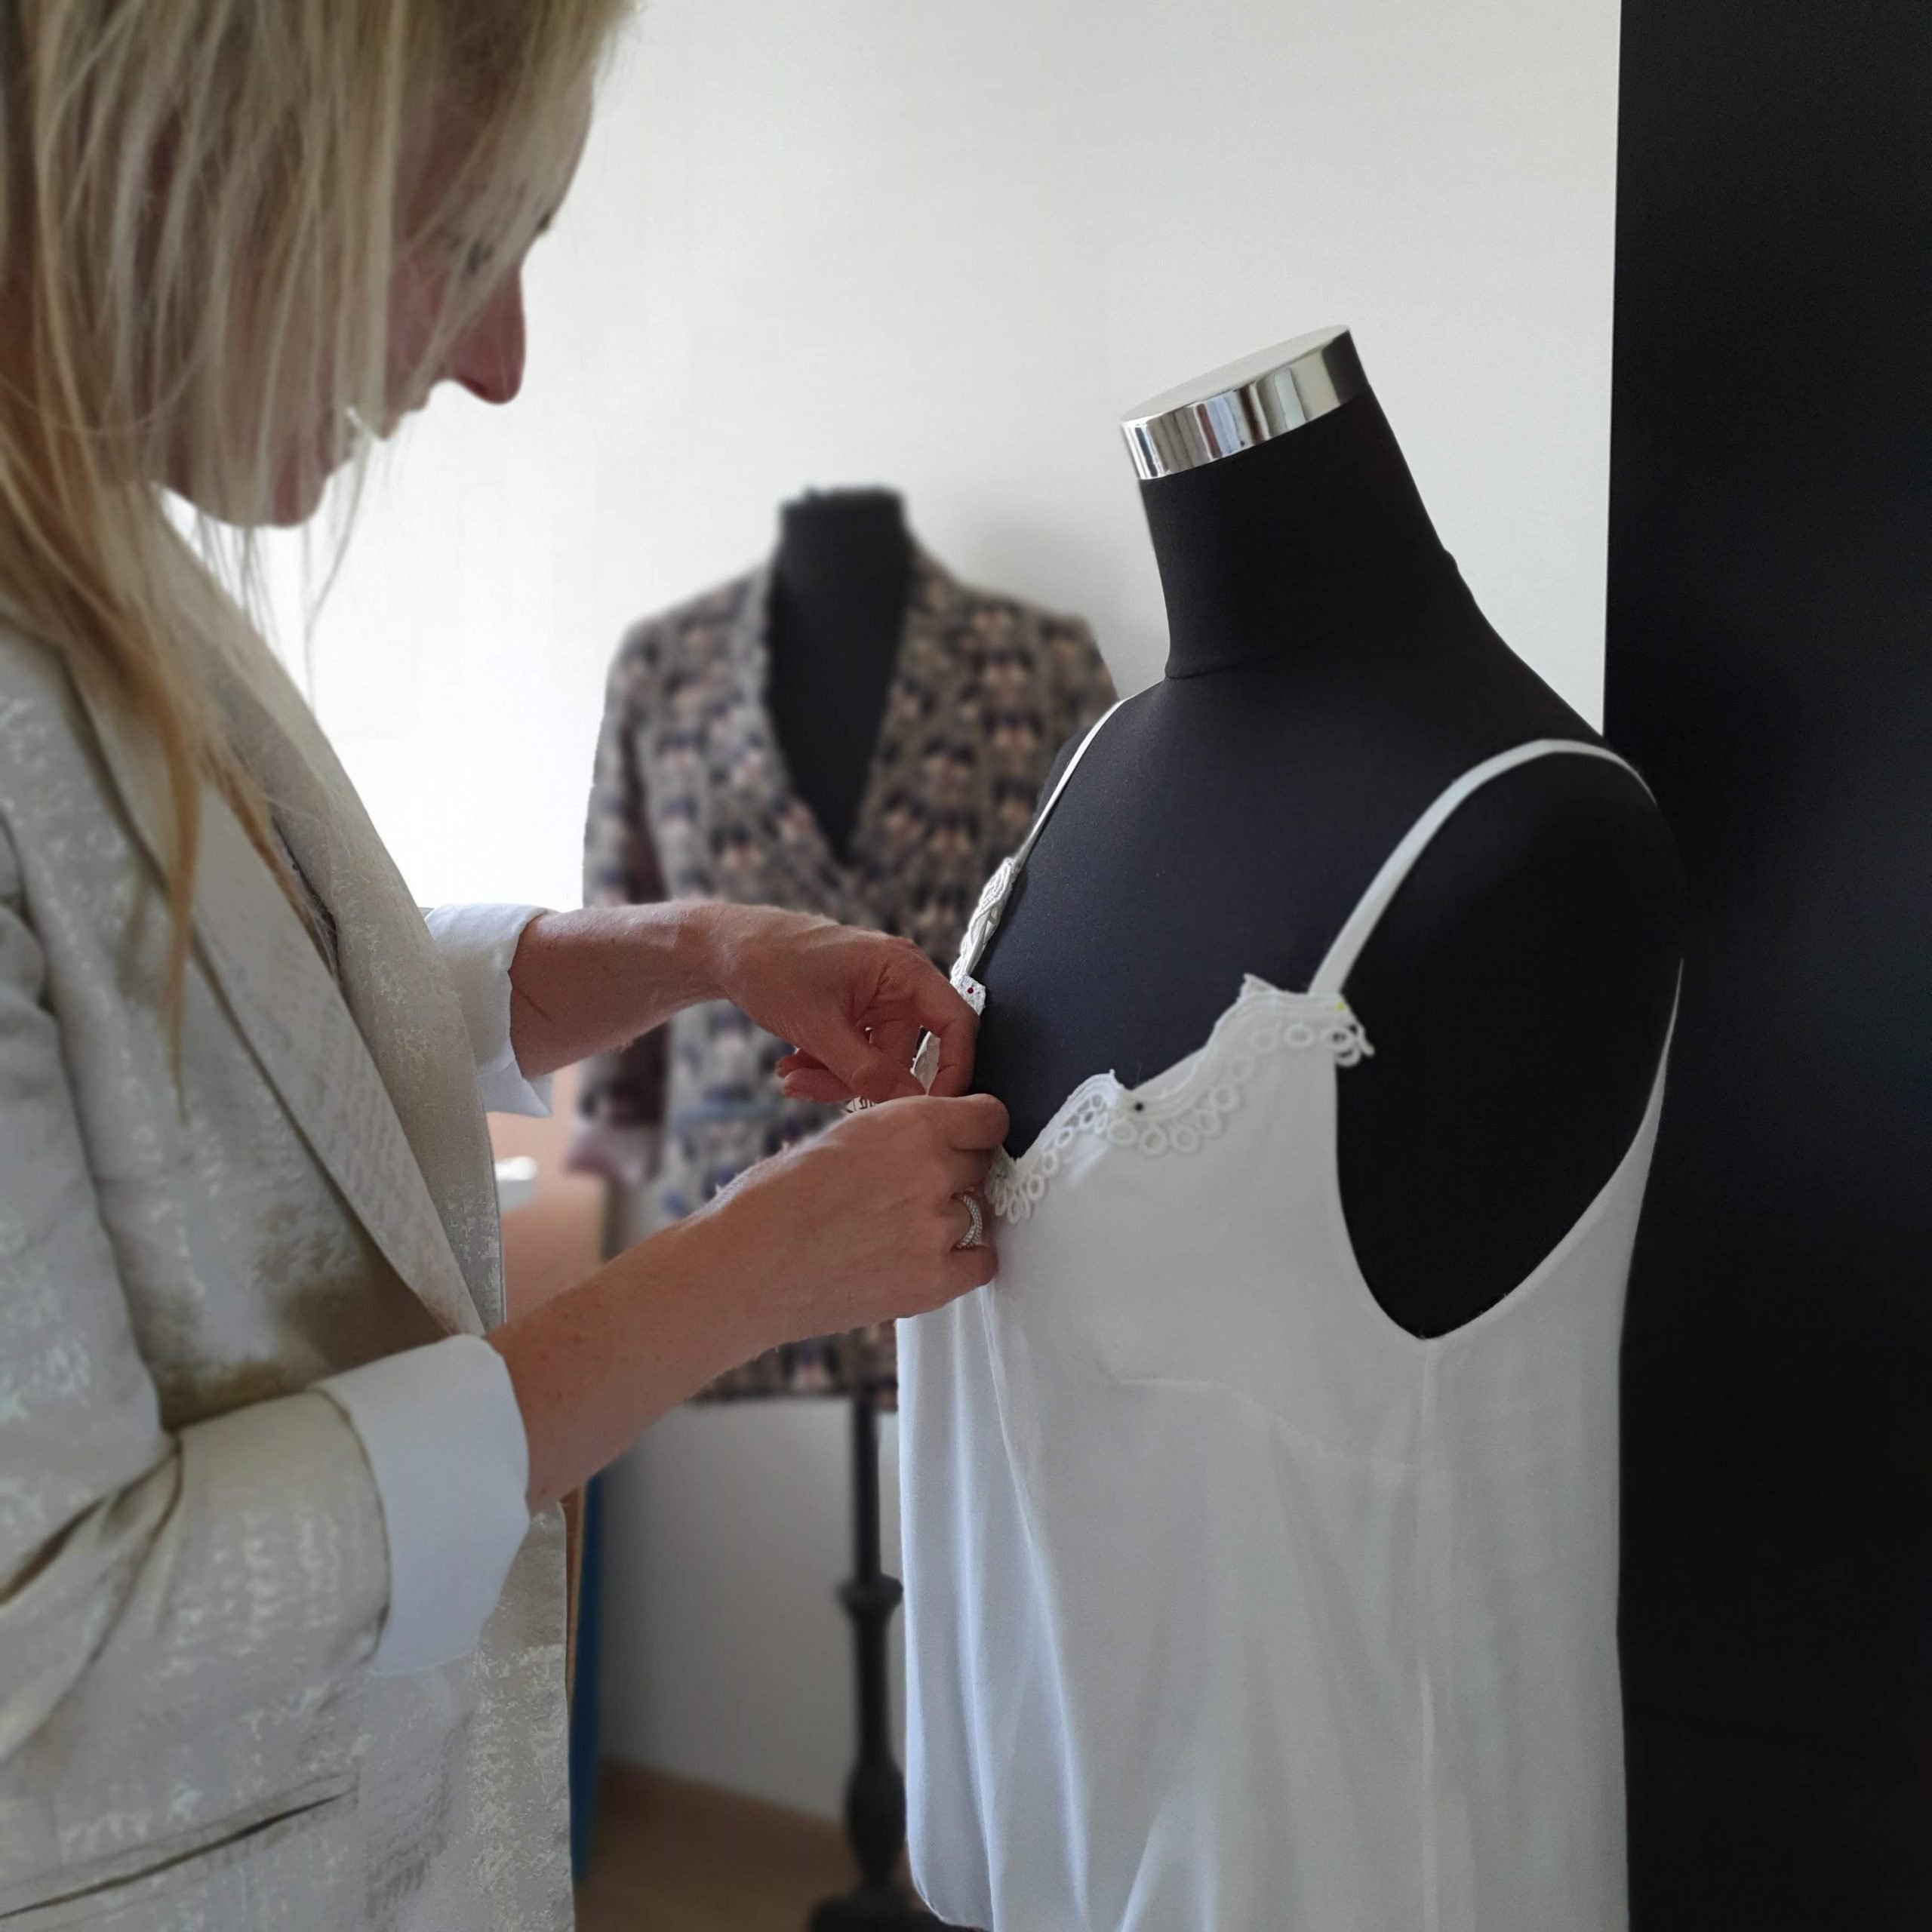
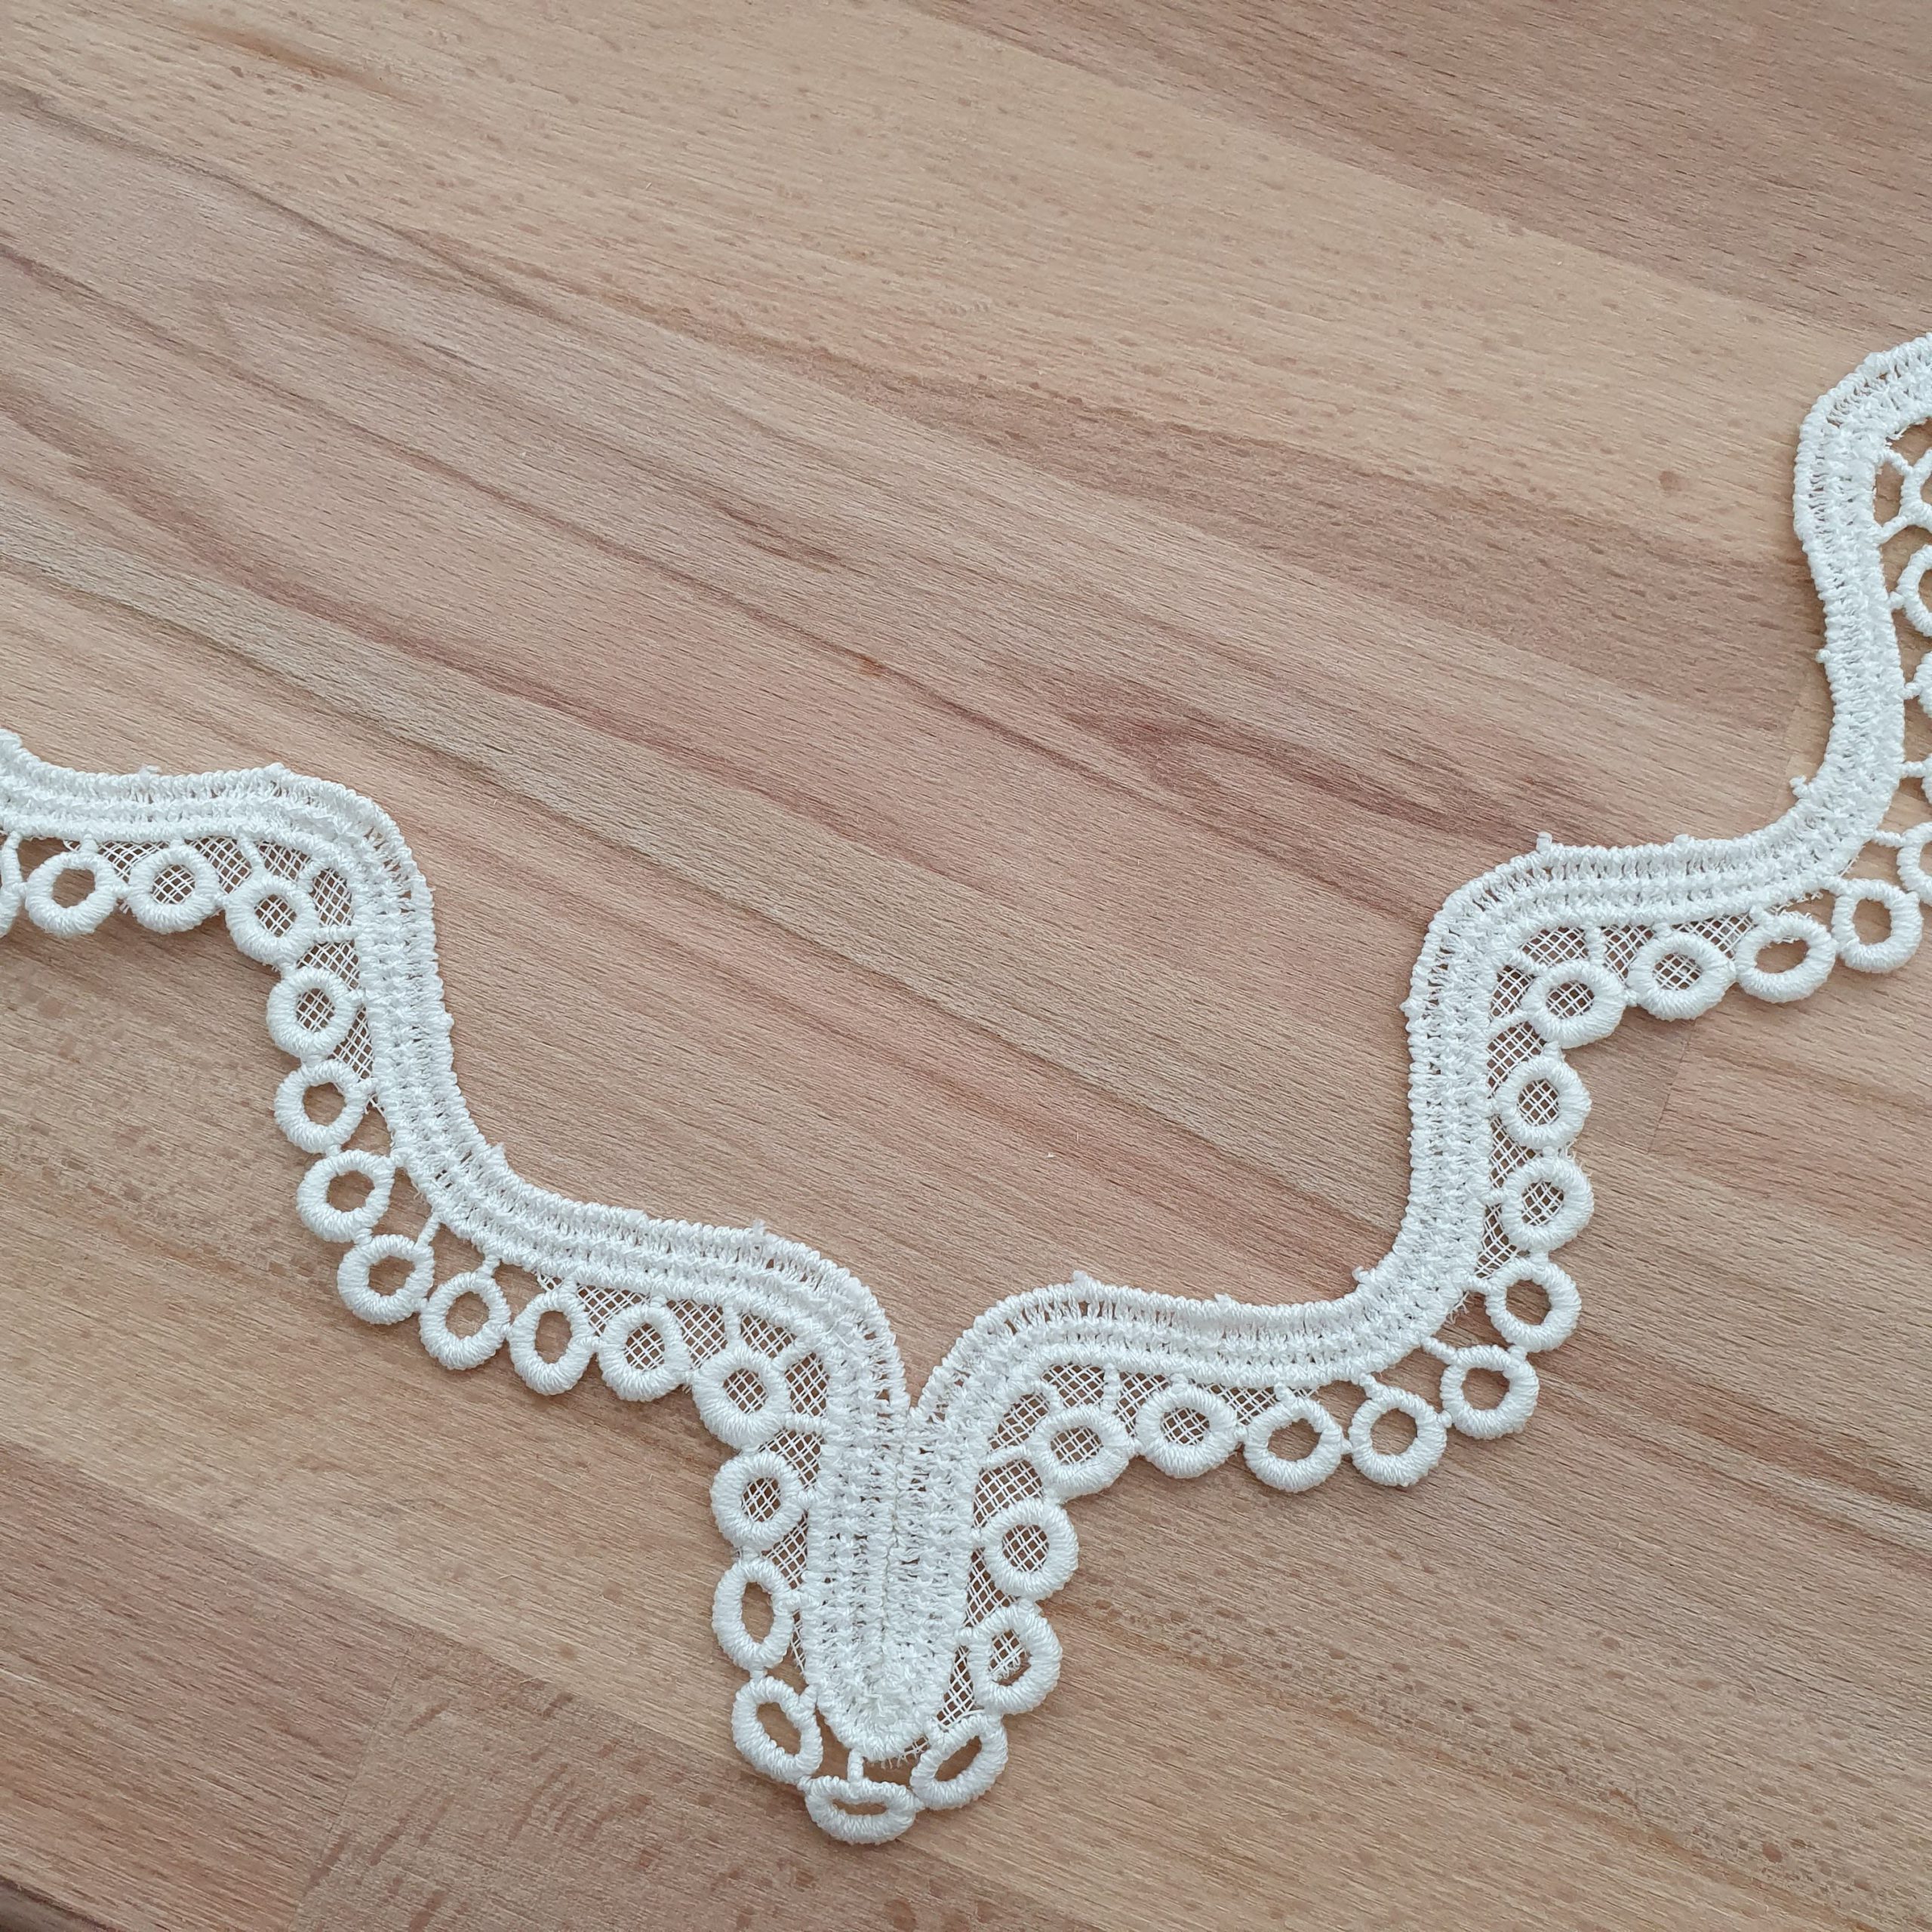
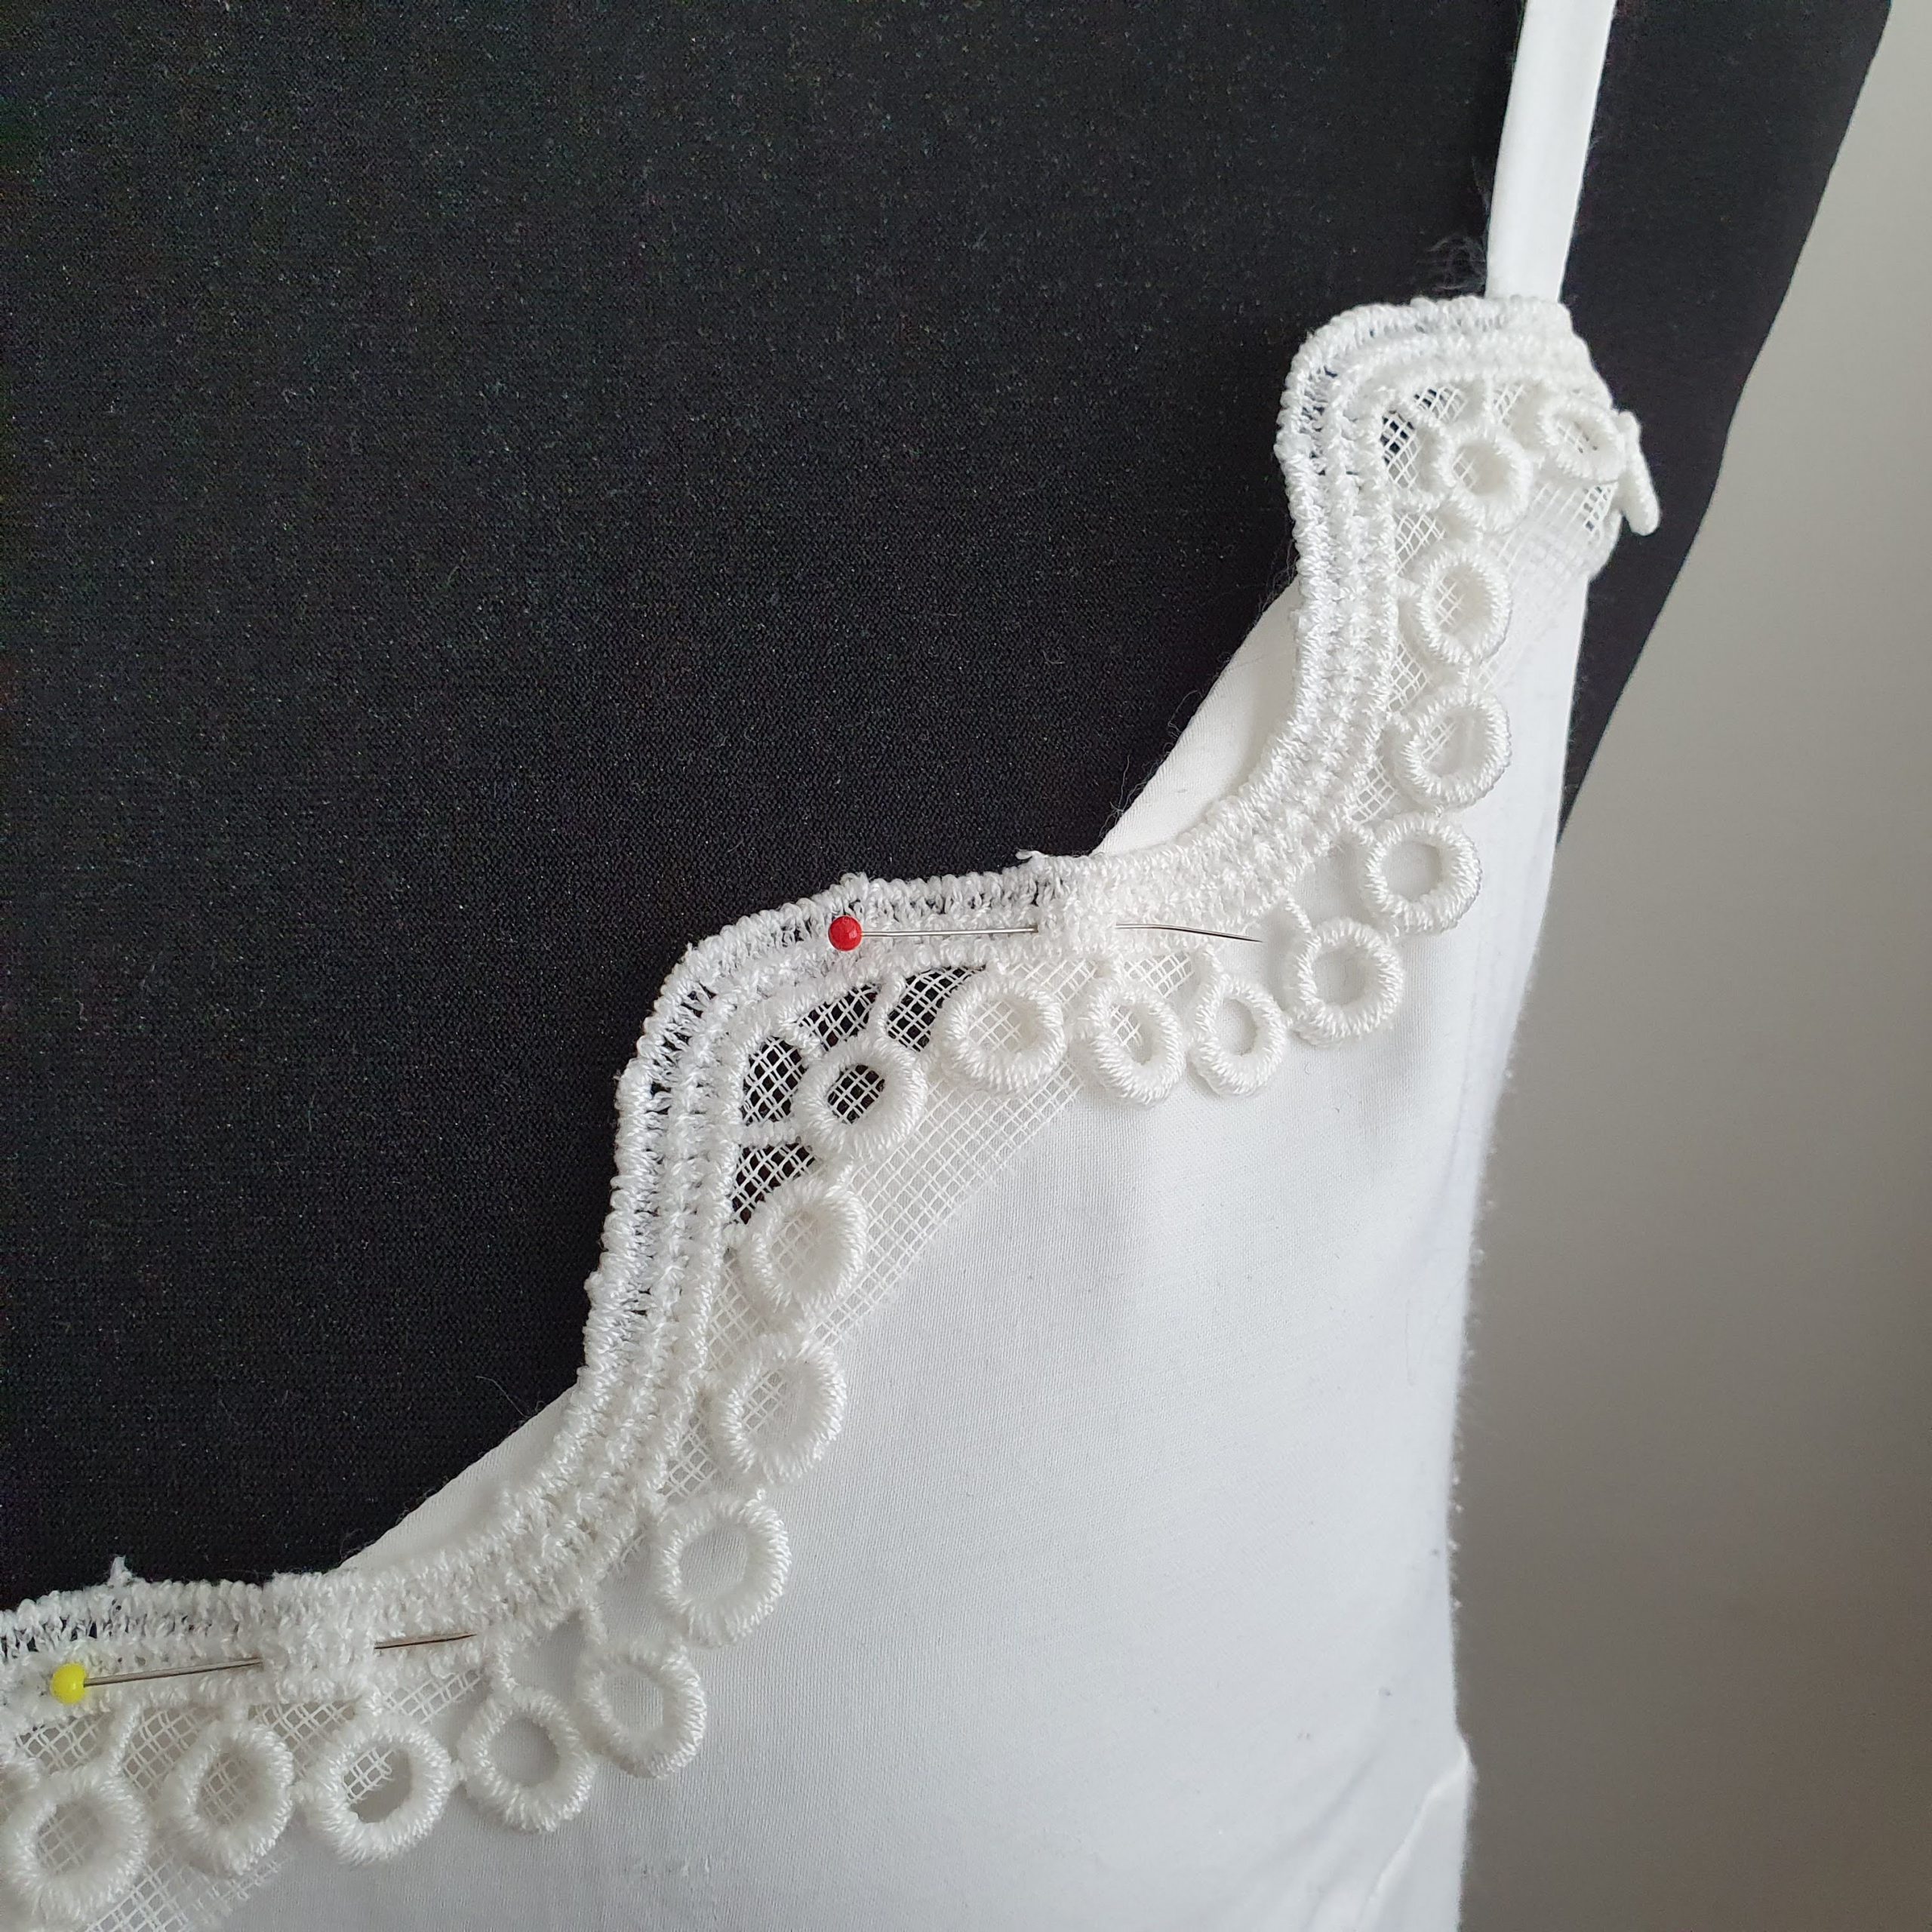
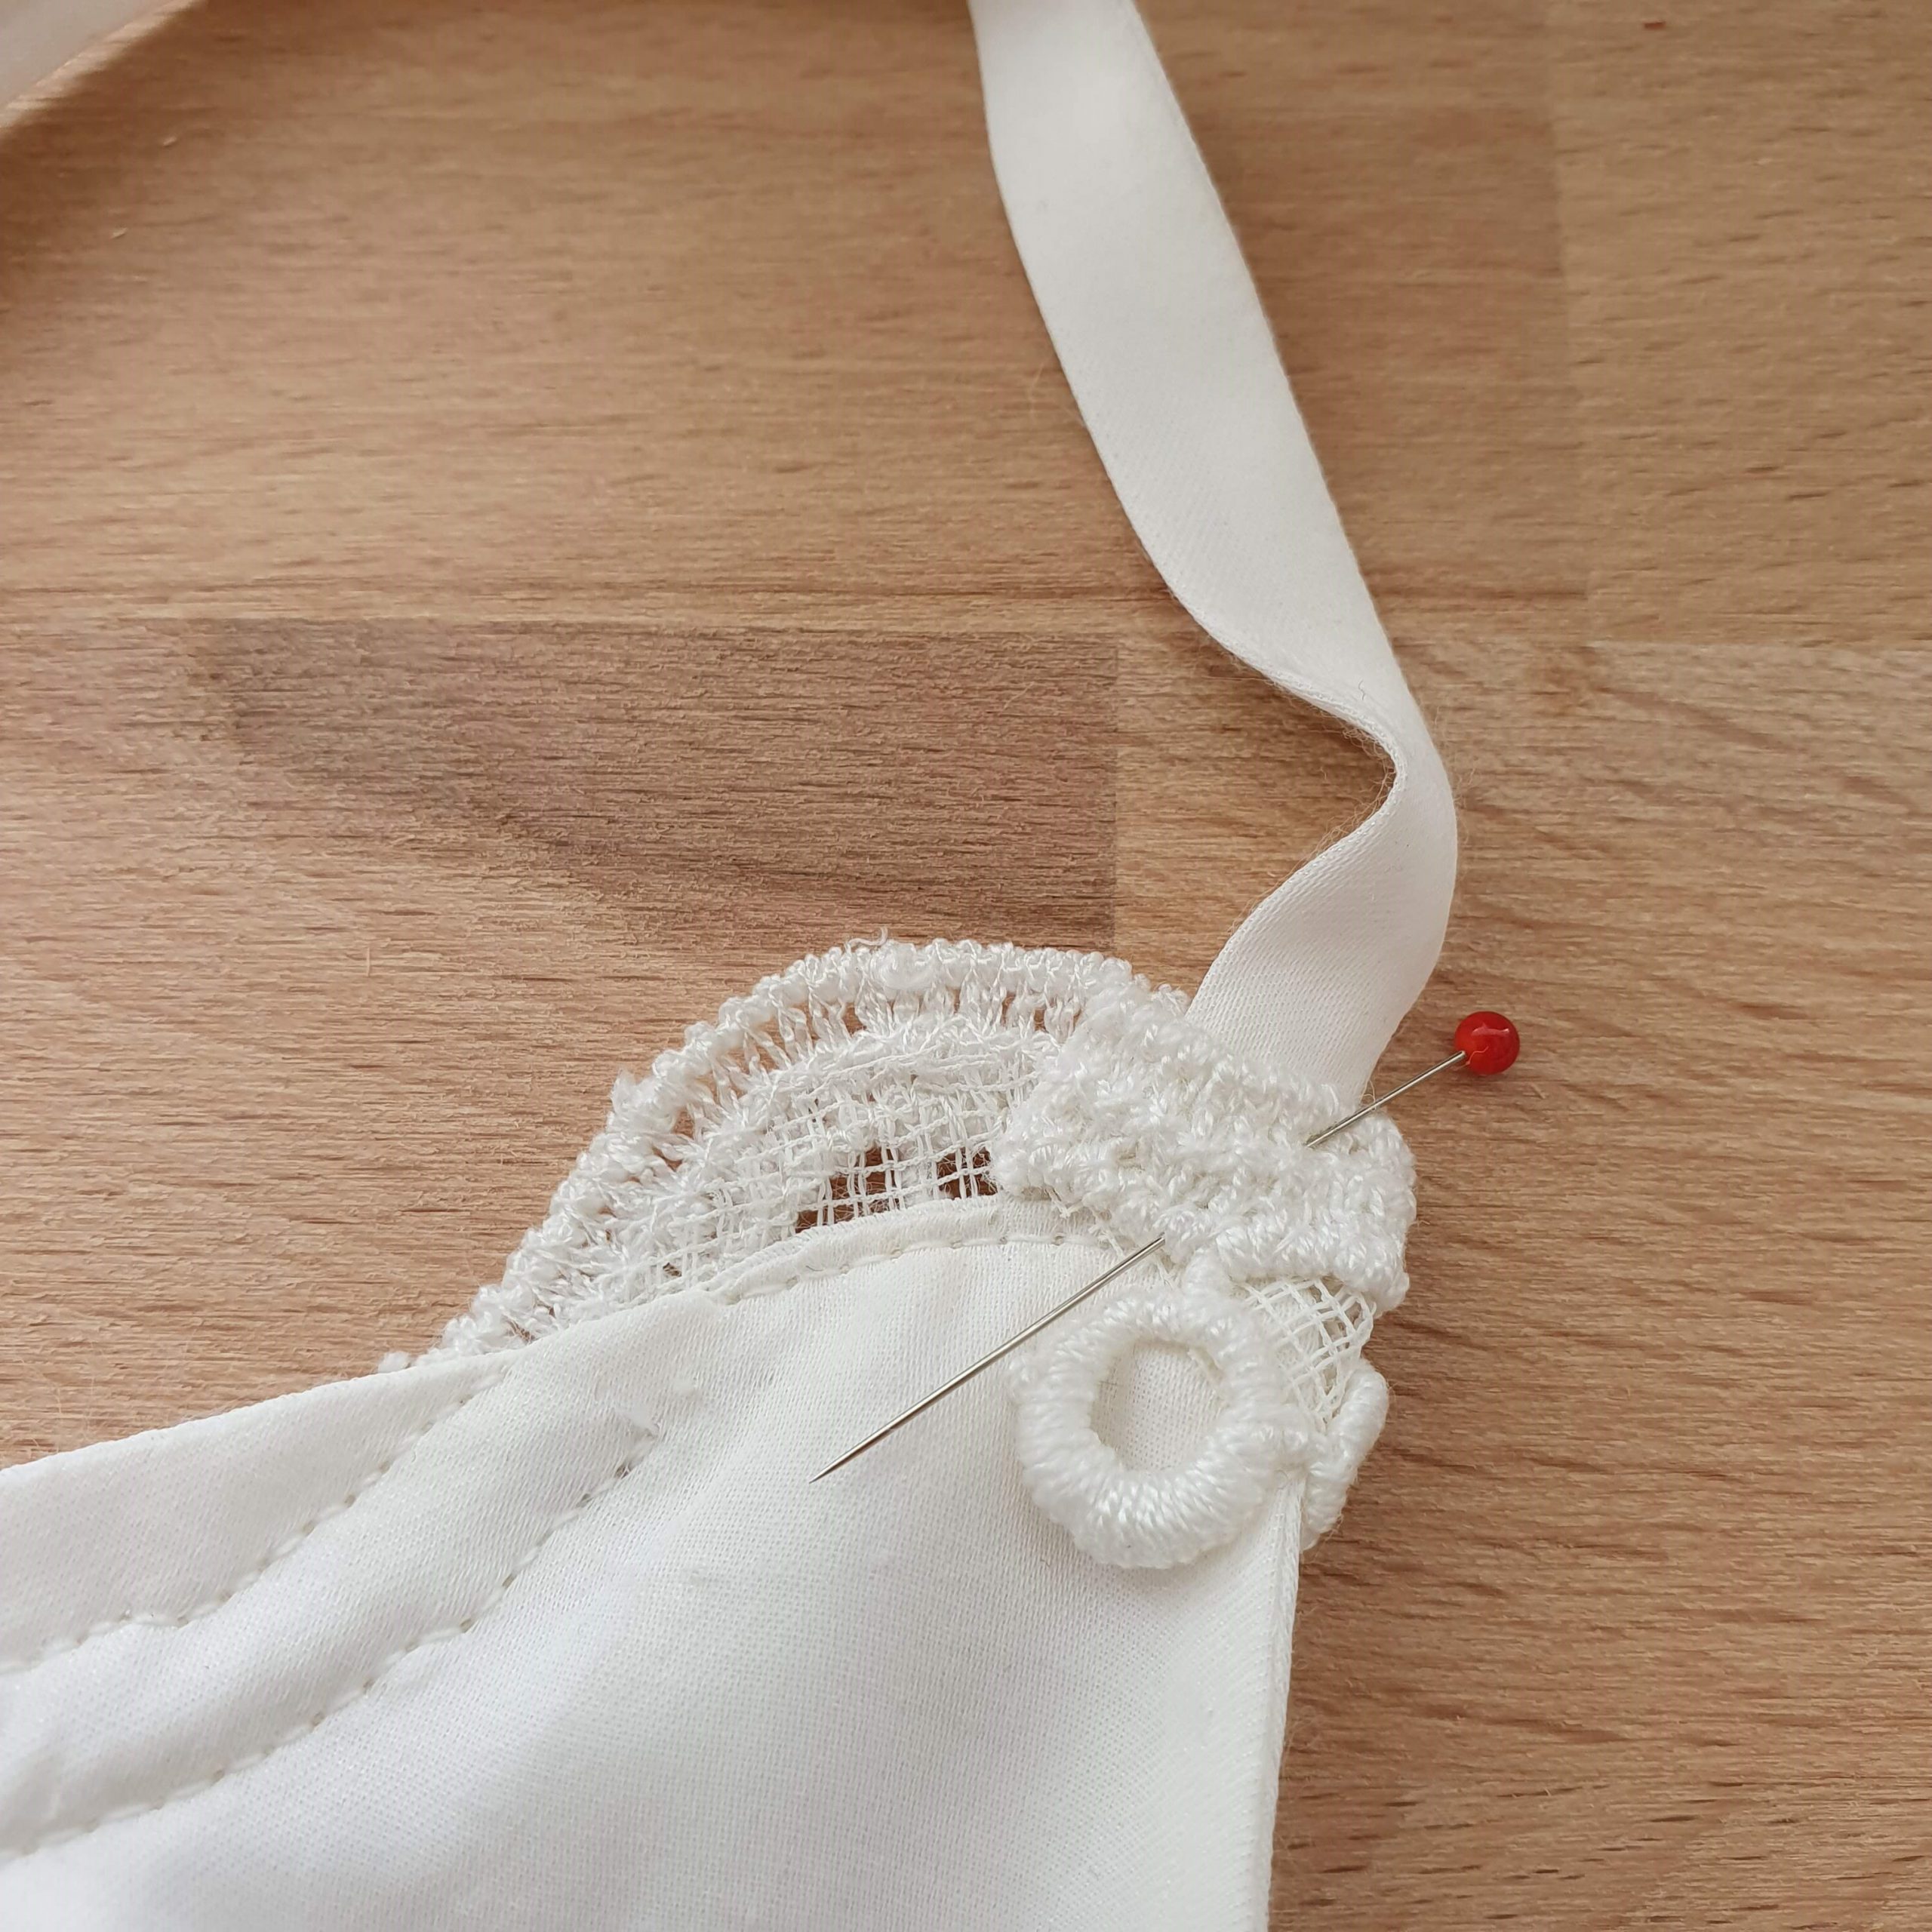
Although the lace has a wavy shape, it is a straight trim that should fit the round/v-shape of the top. For this I first pin the trim loosely on top while it hangs on the mannequin. It turned out that when I attach one of the waves together, I create the right angle which flows nicely along the neckline. Designing by doing.
Designing by doing

Wave pinned so the trim flows nicely along the neckline
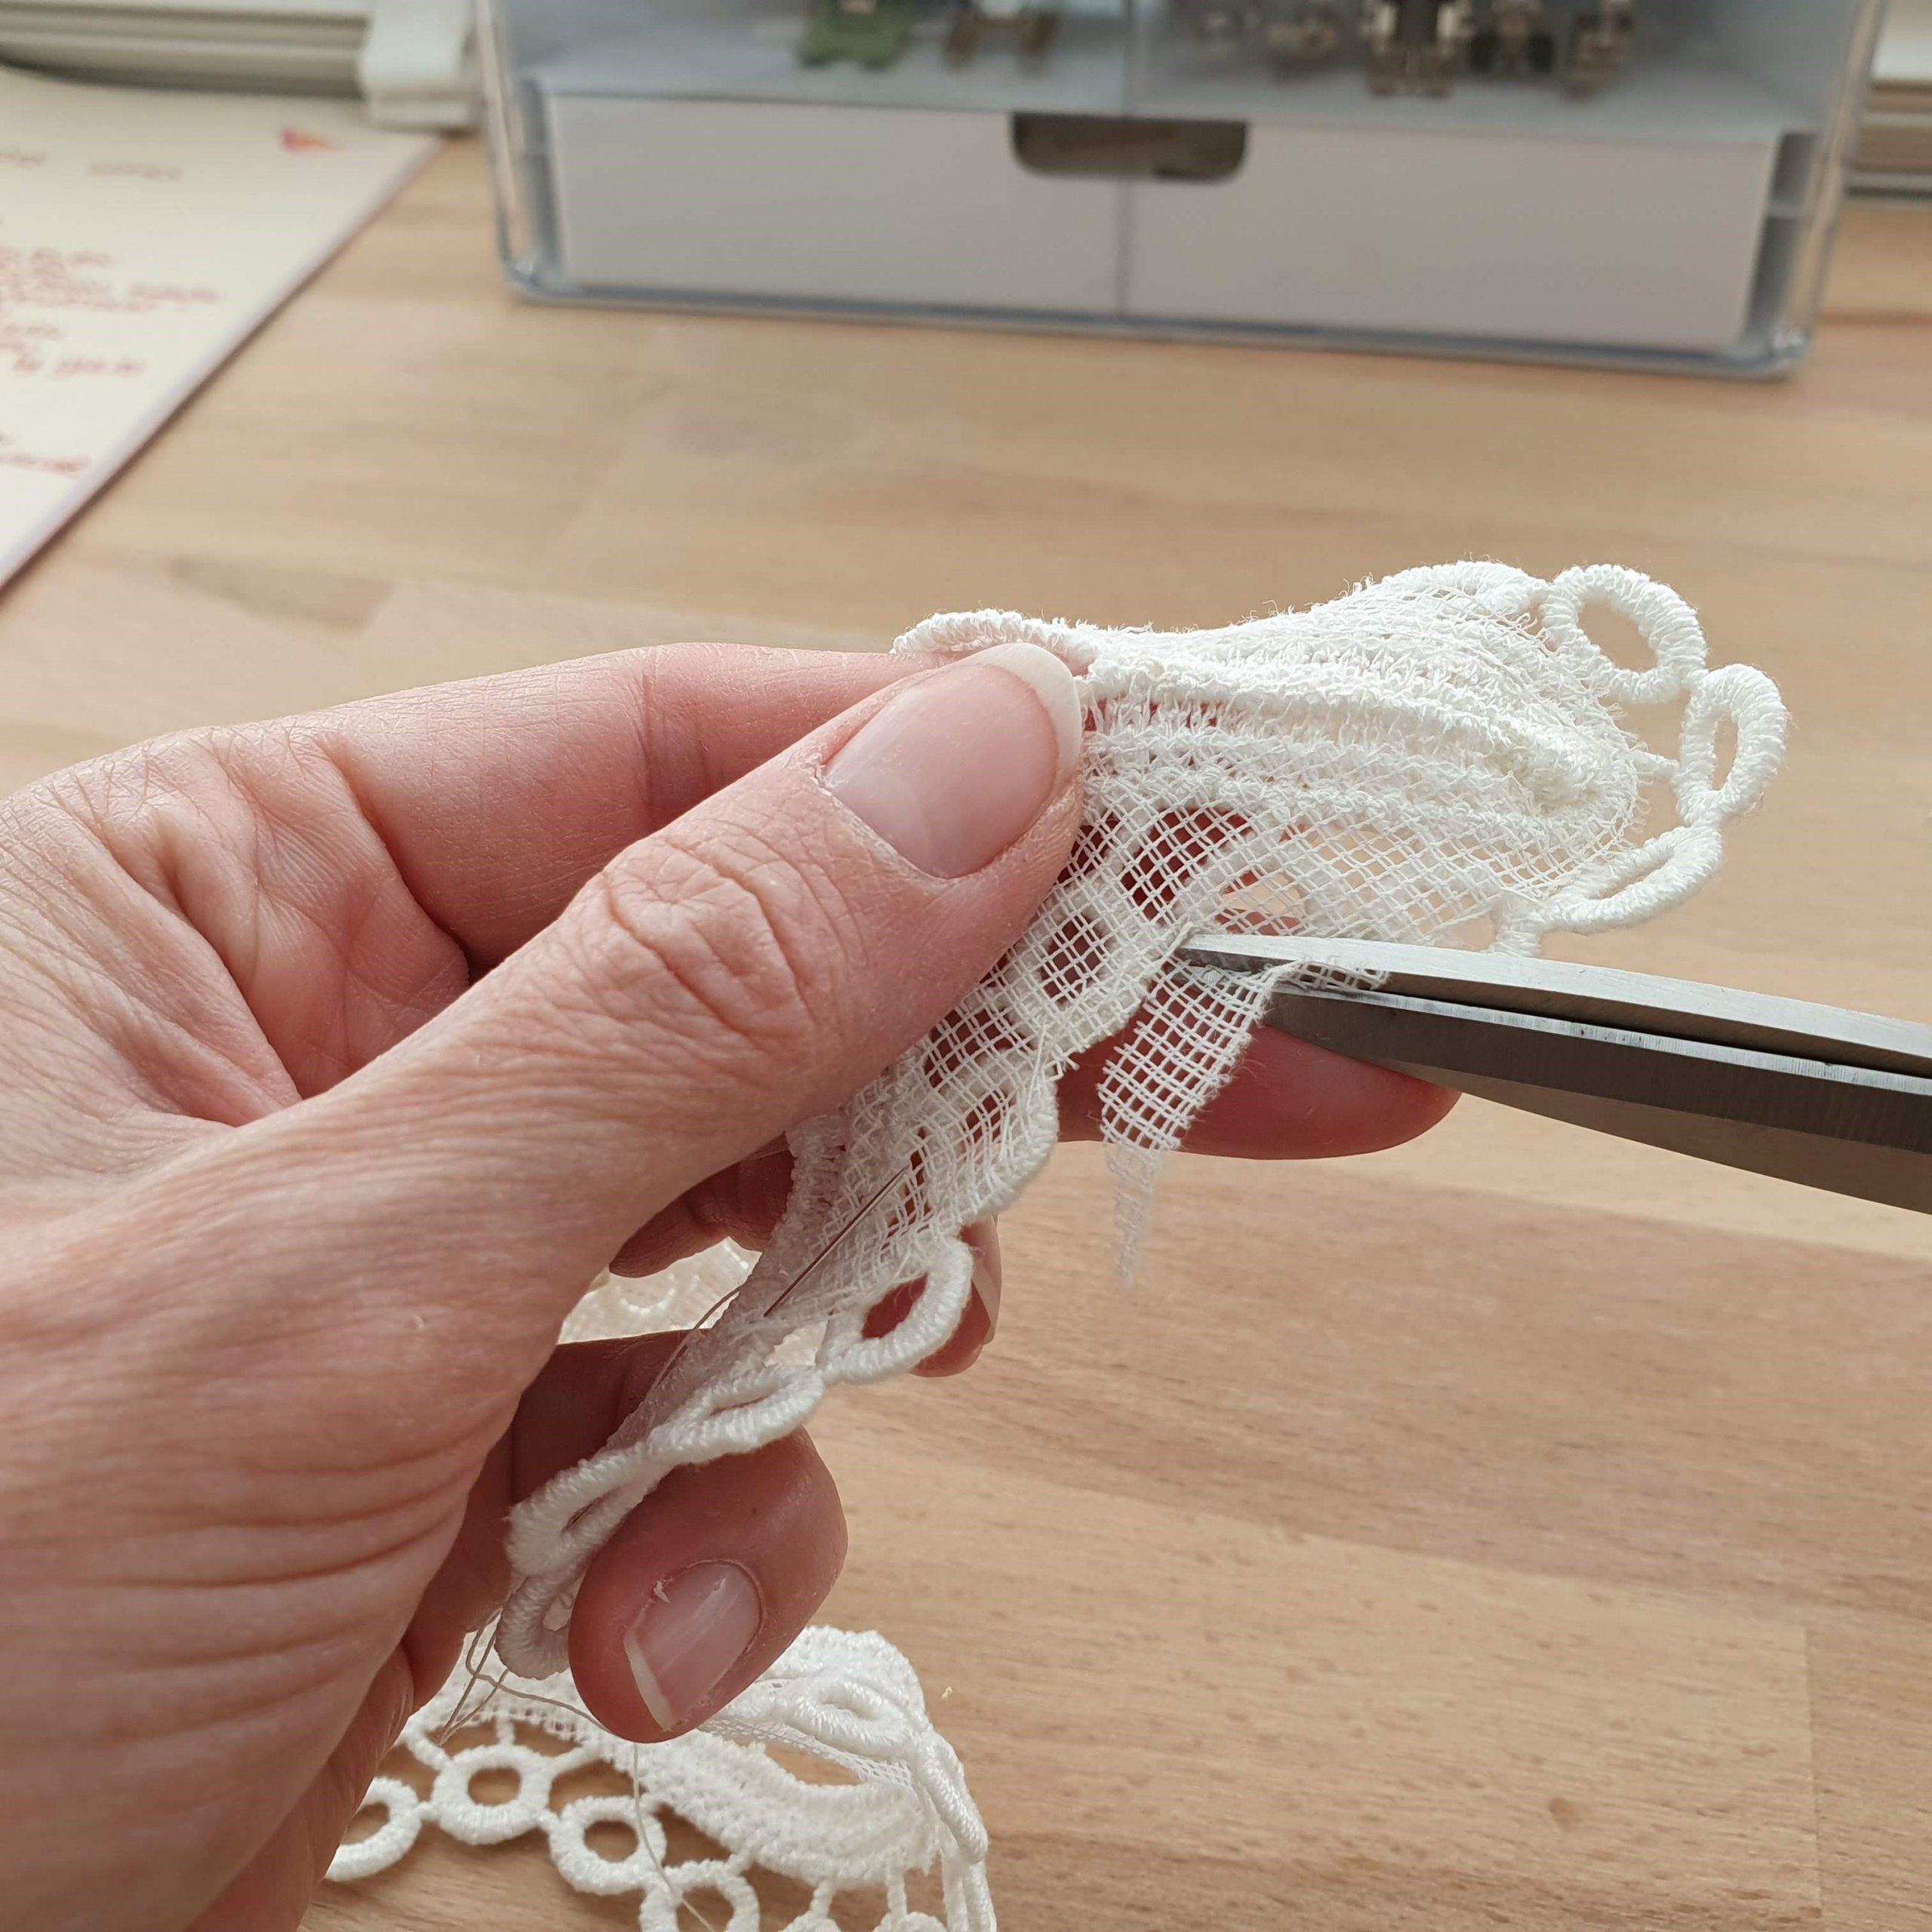
Cutting off some lace
Ready for the top
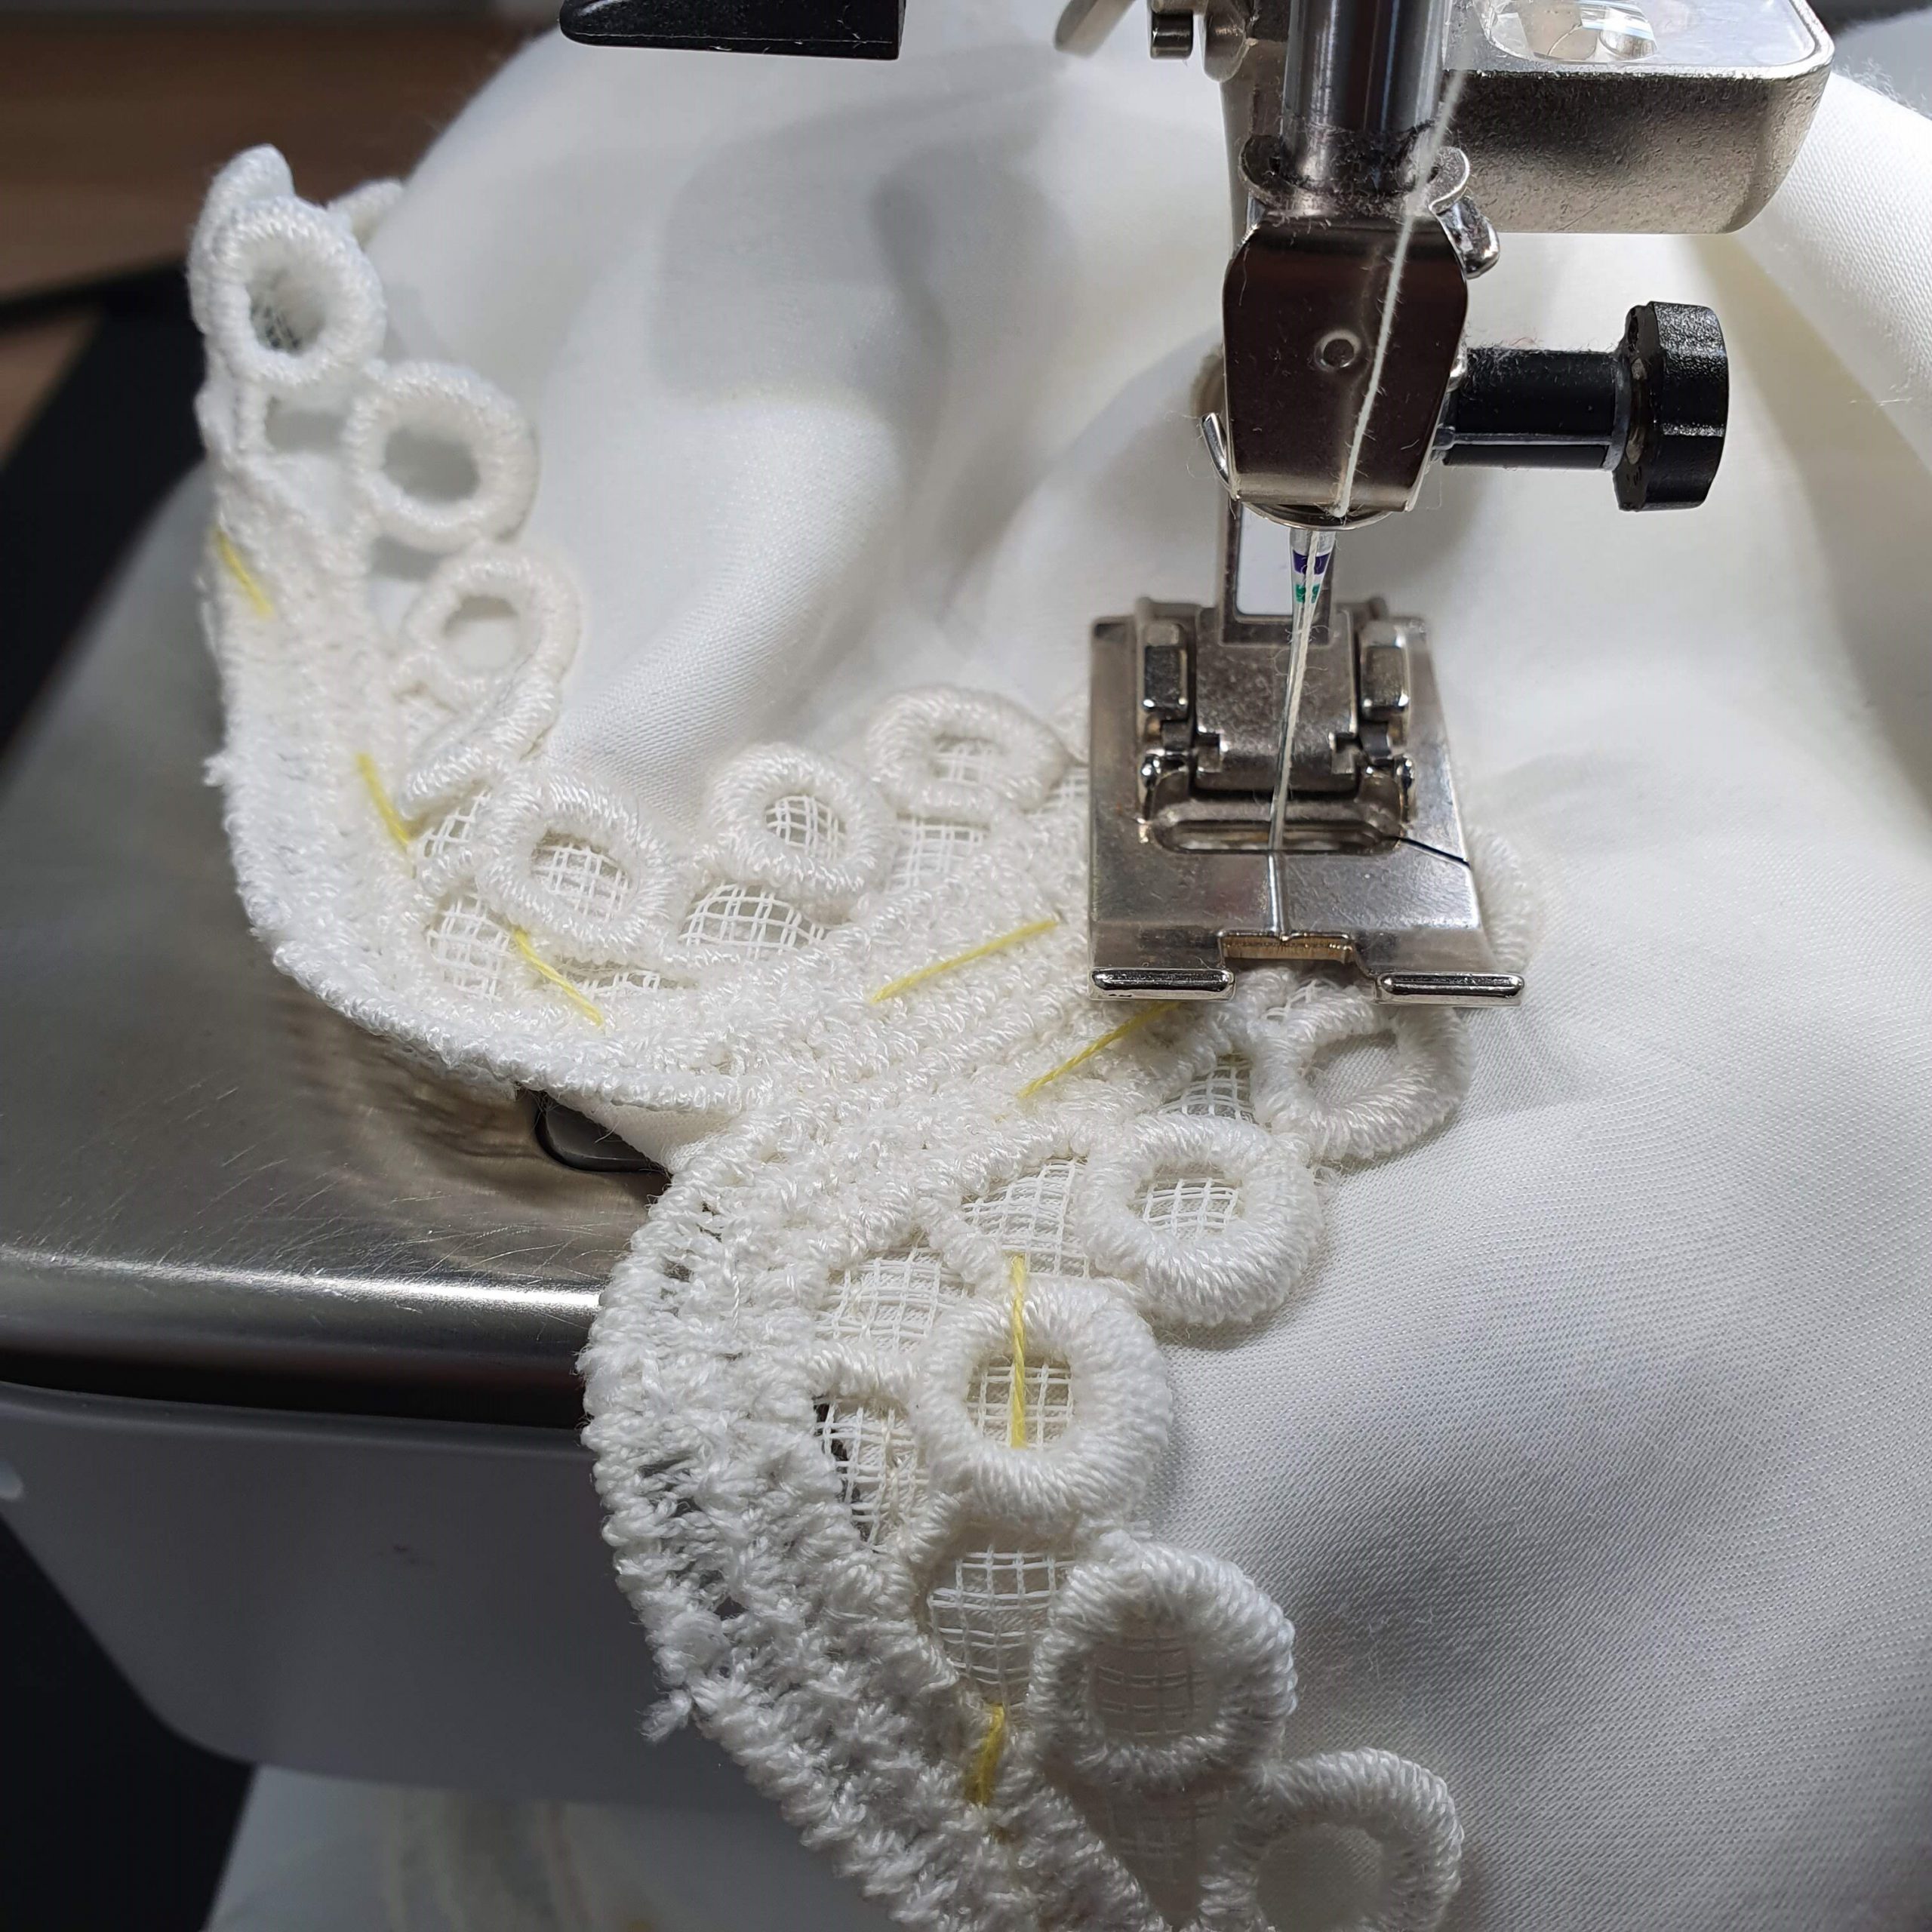
First pin then baste
Before the lace trim is stitched with the machine, I loosely baste the lace with basting thread. This makes it so much easier to follow along the waves of the lace. The stitching is done with reverse pattern foot 1, a straight stitch with stitch length 2.75. The trim is attached with two rows of stitching.
Top stitching the lace waves
I finish the trim on the sides by hand. I fold the trim around the spaghetti straps and then secure it with some stitches.
Secure with two parallel stitching, finish sides by hand
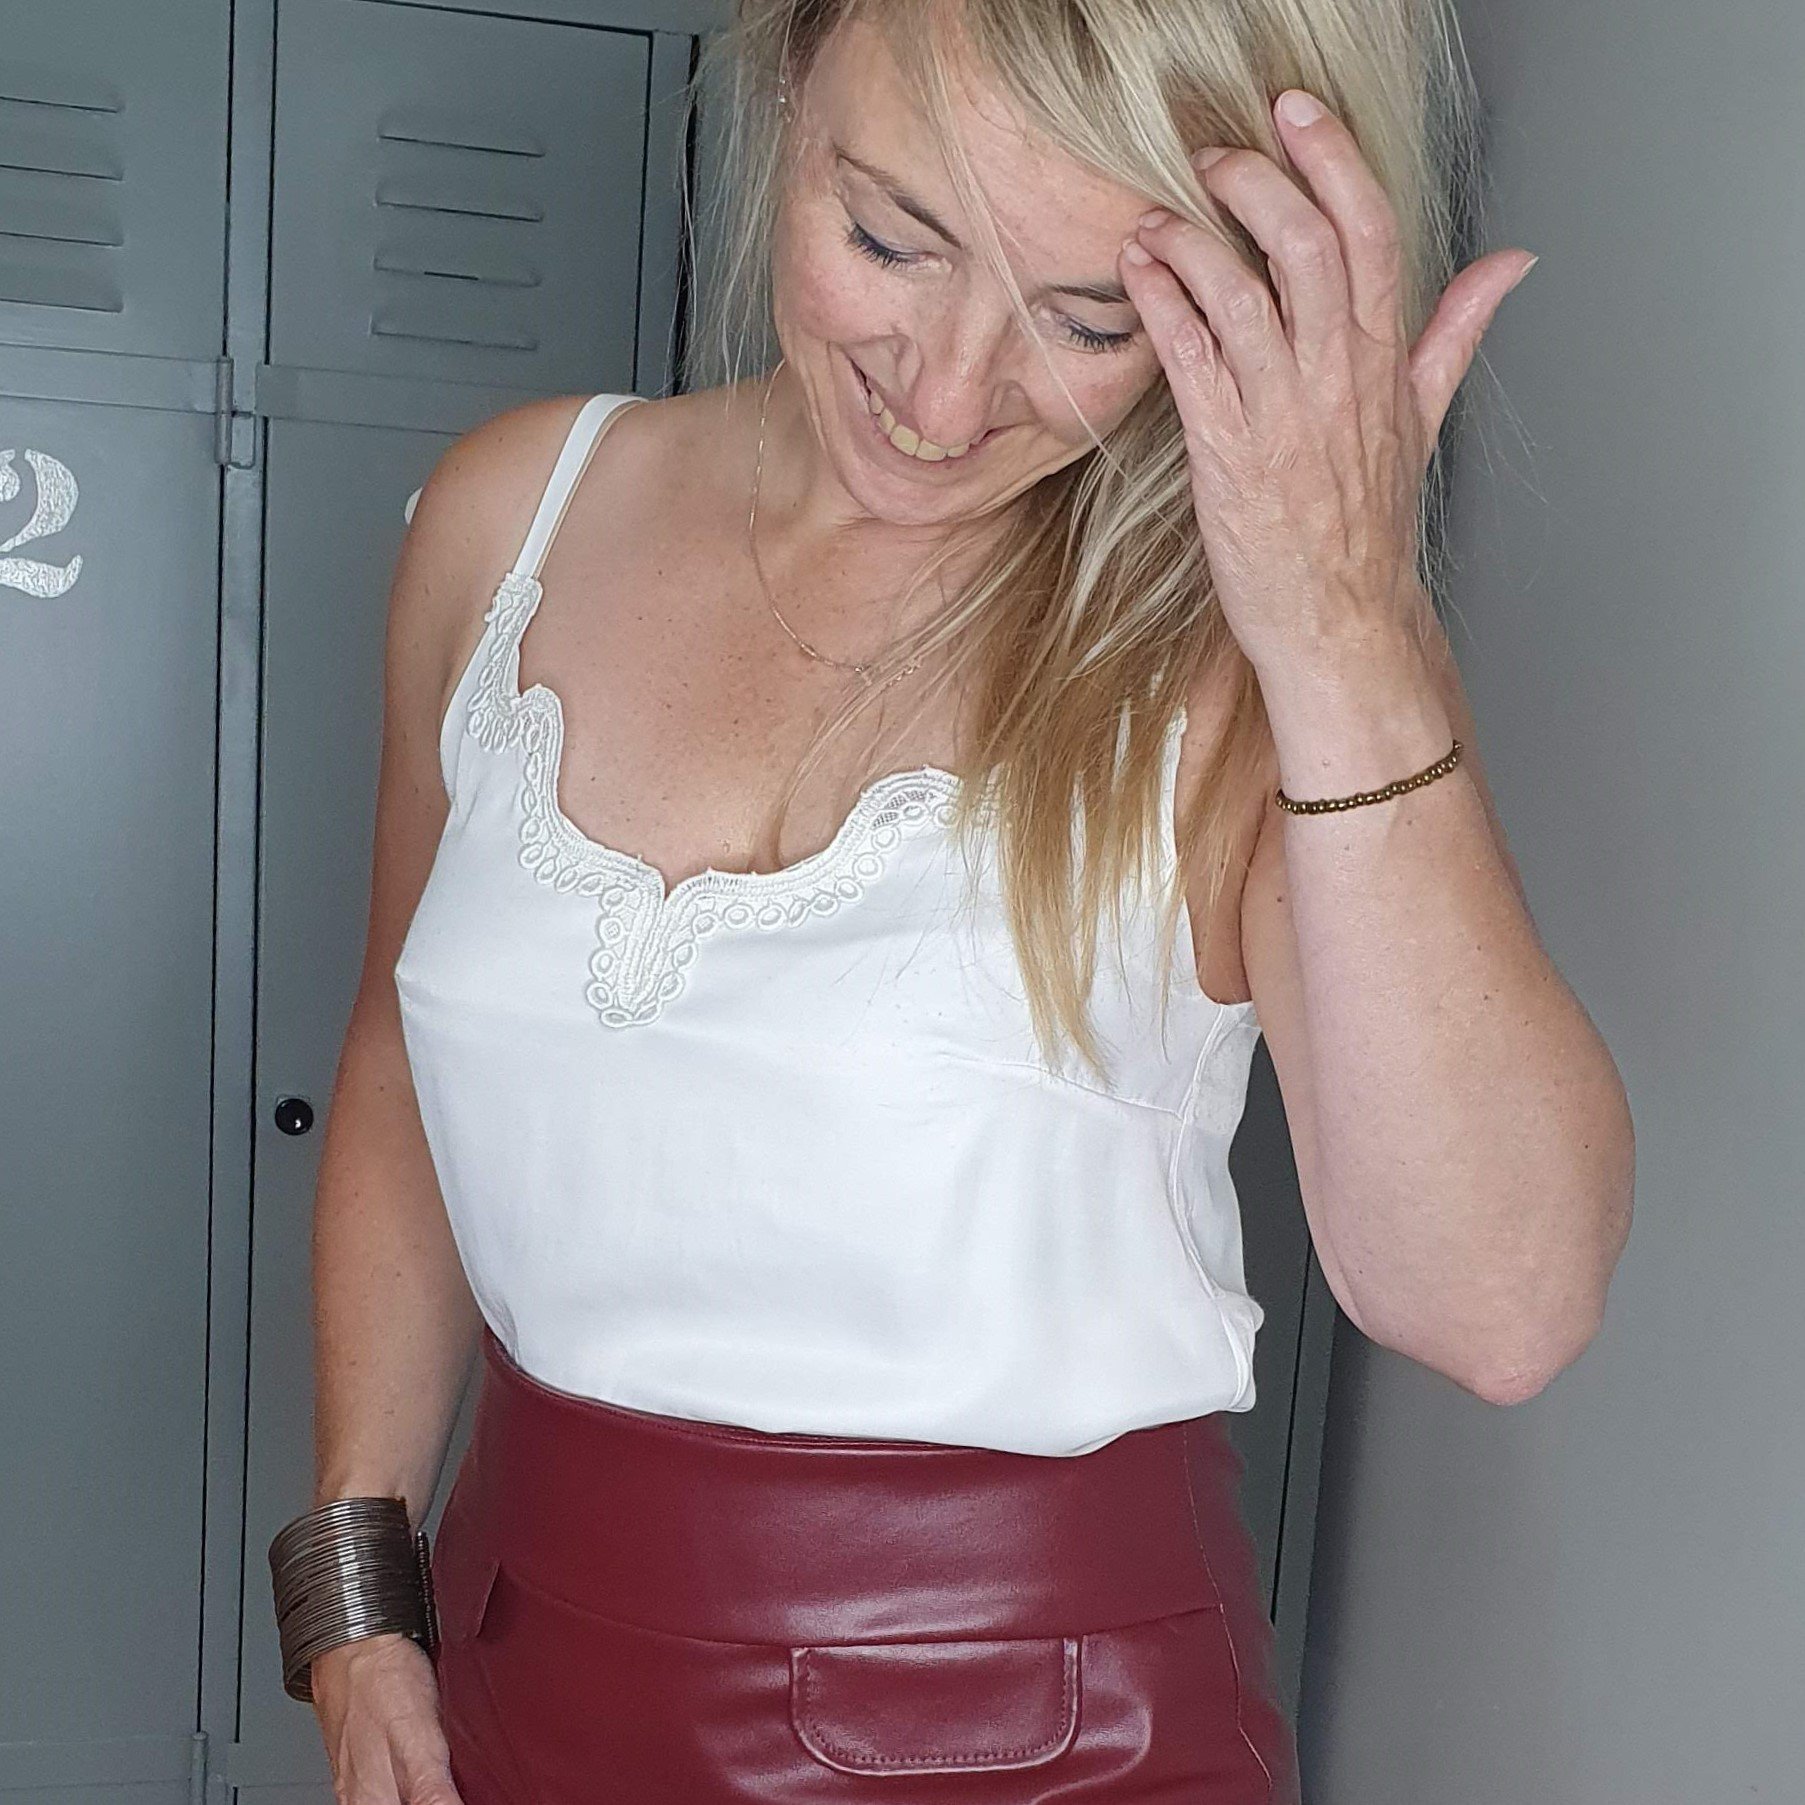
First basic piece is upcycled!
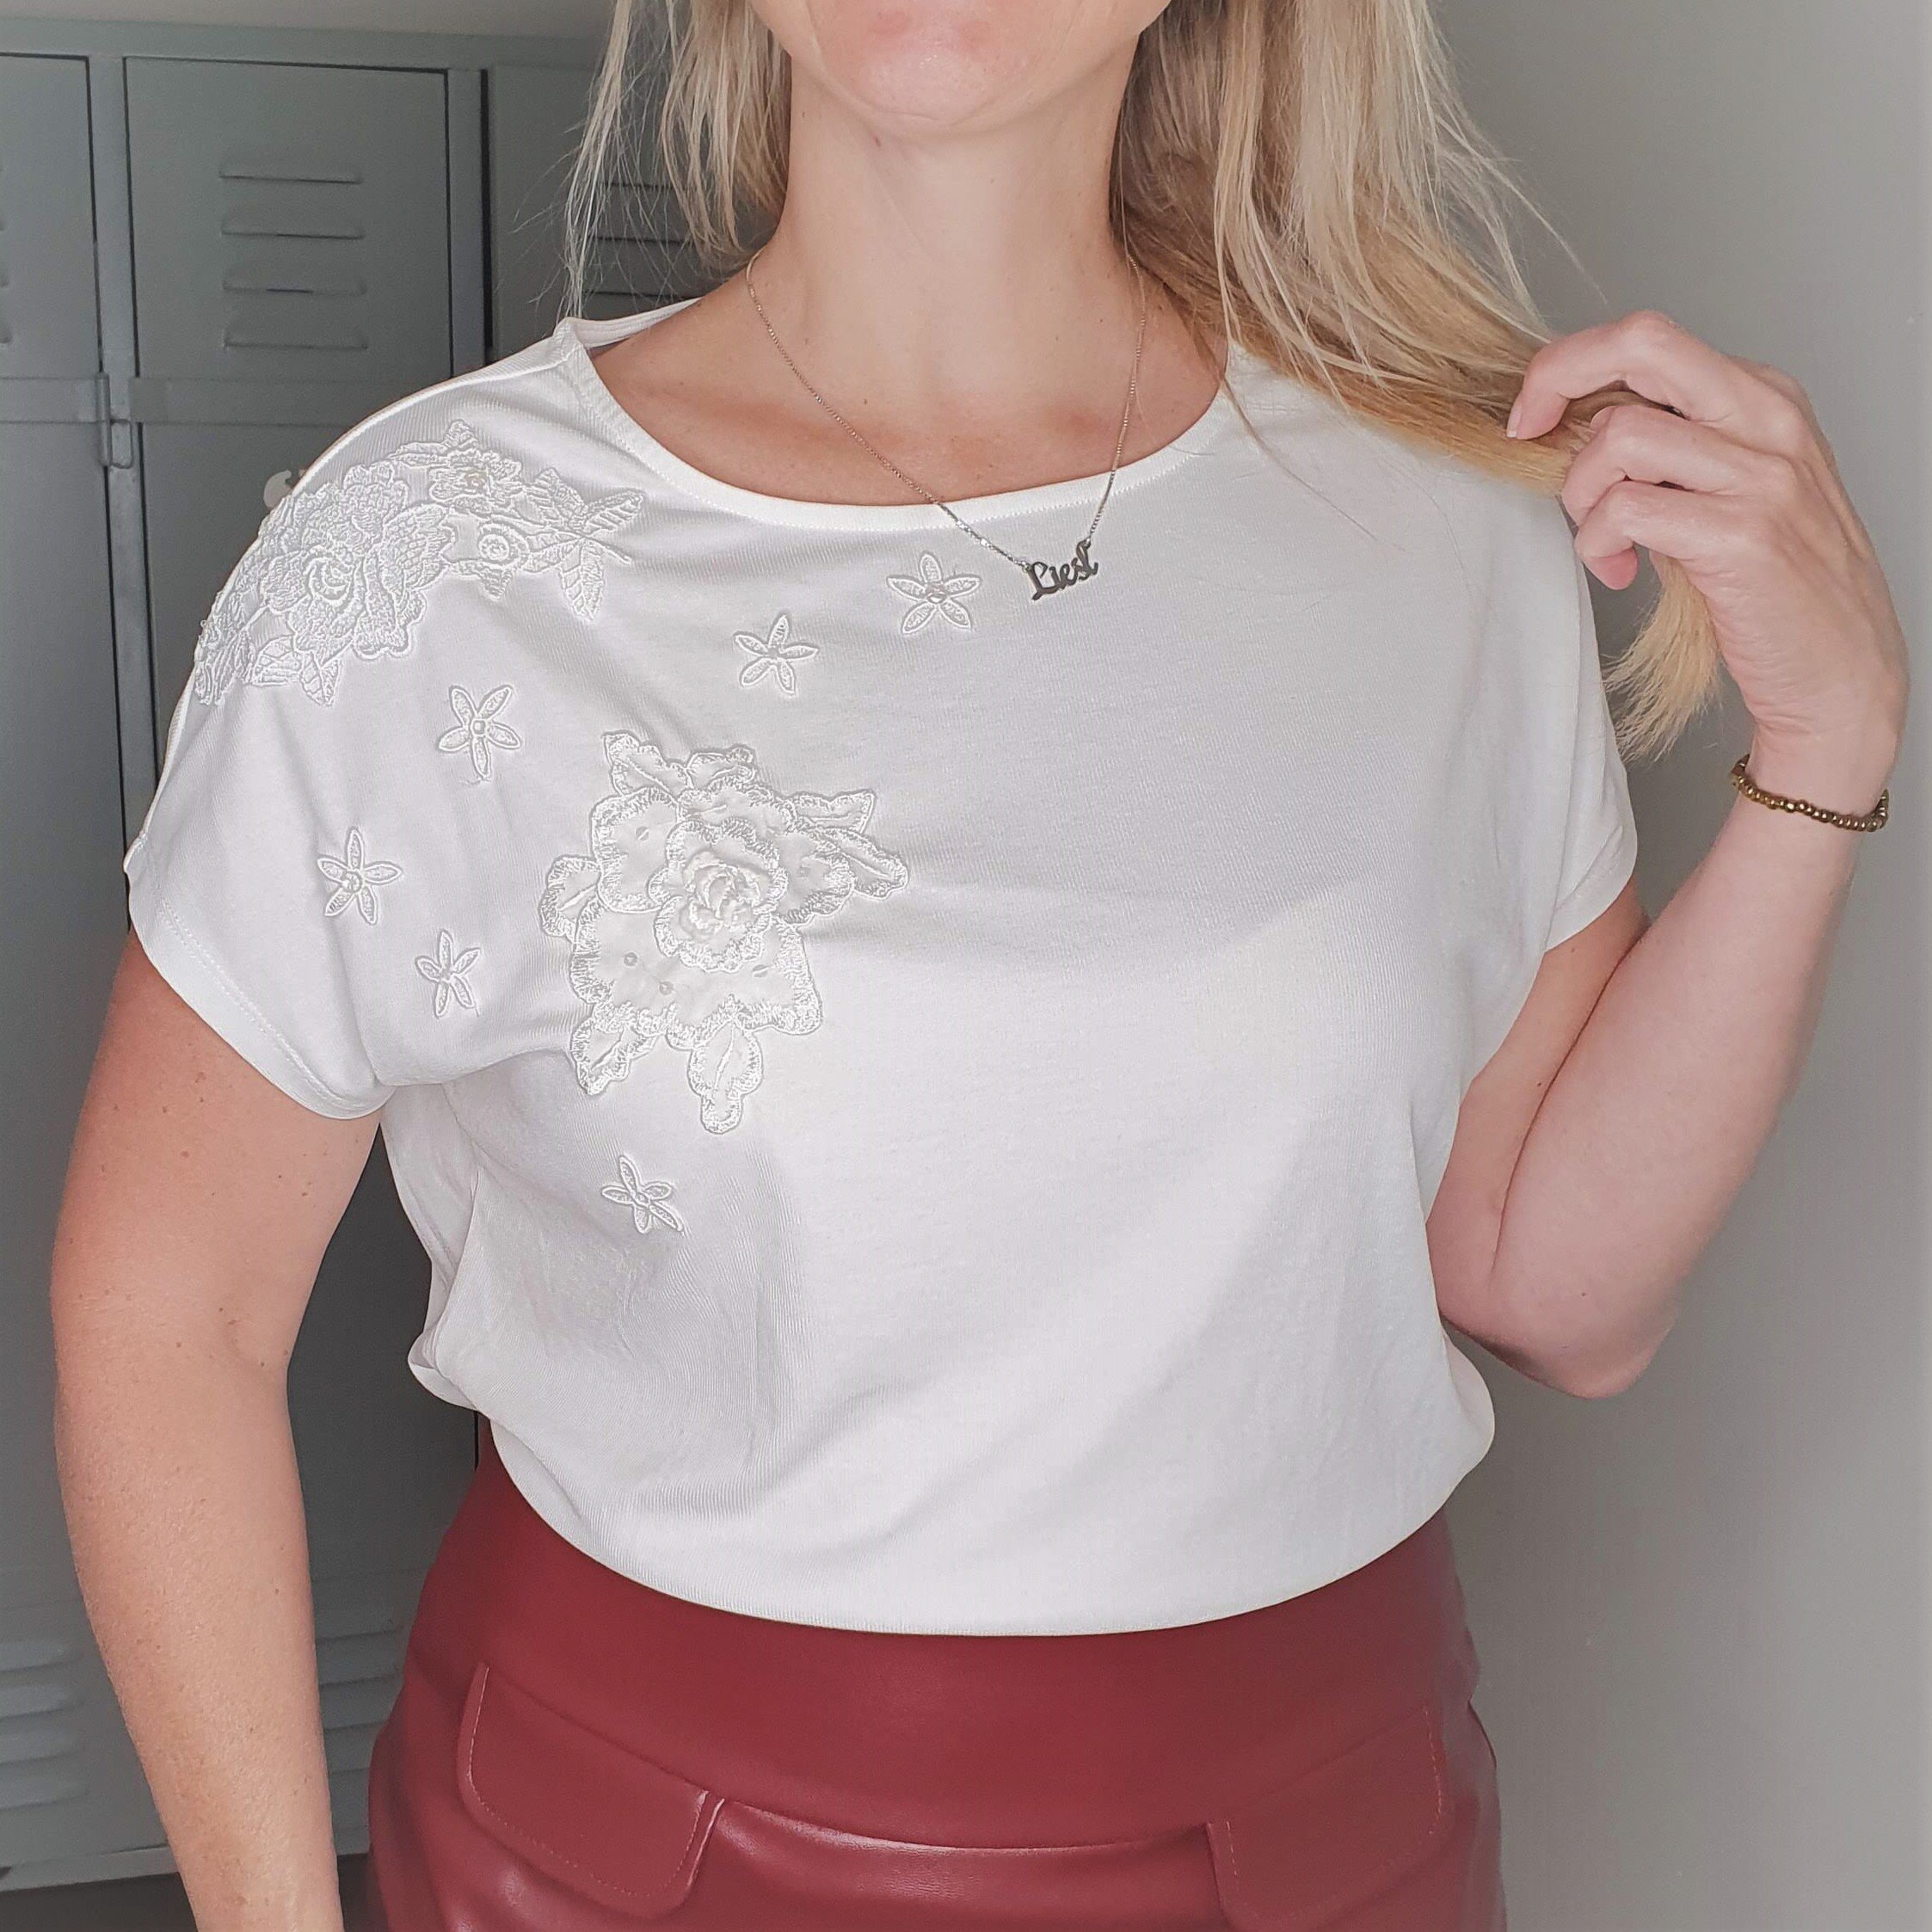
T-shirt
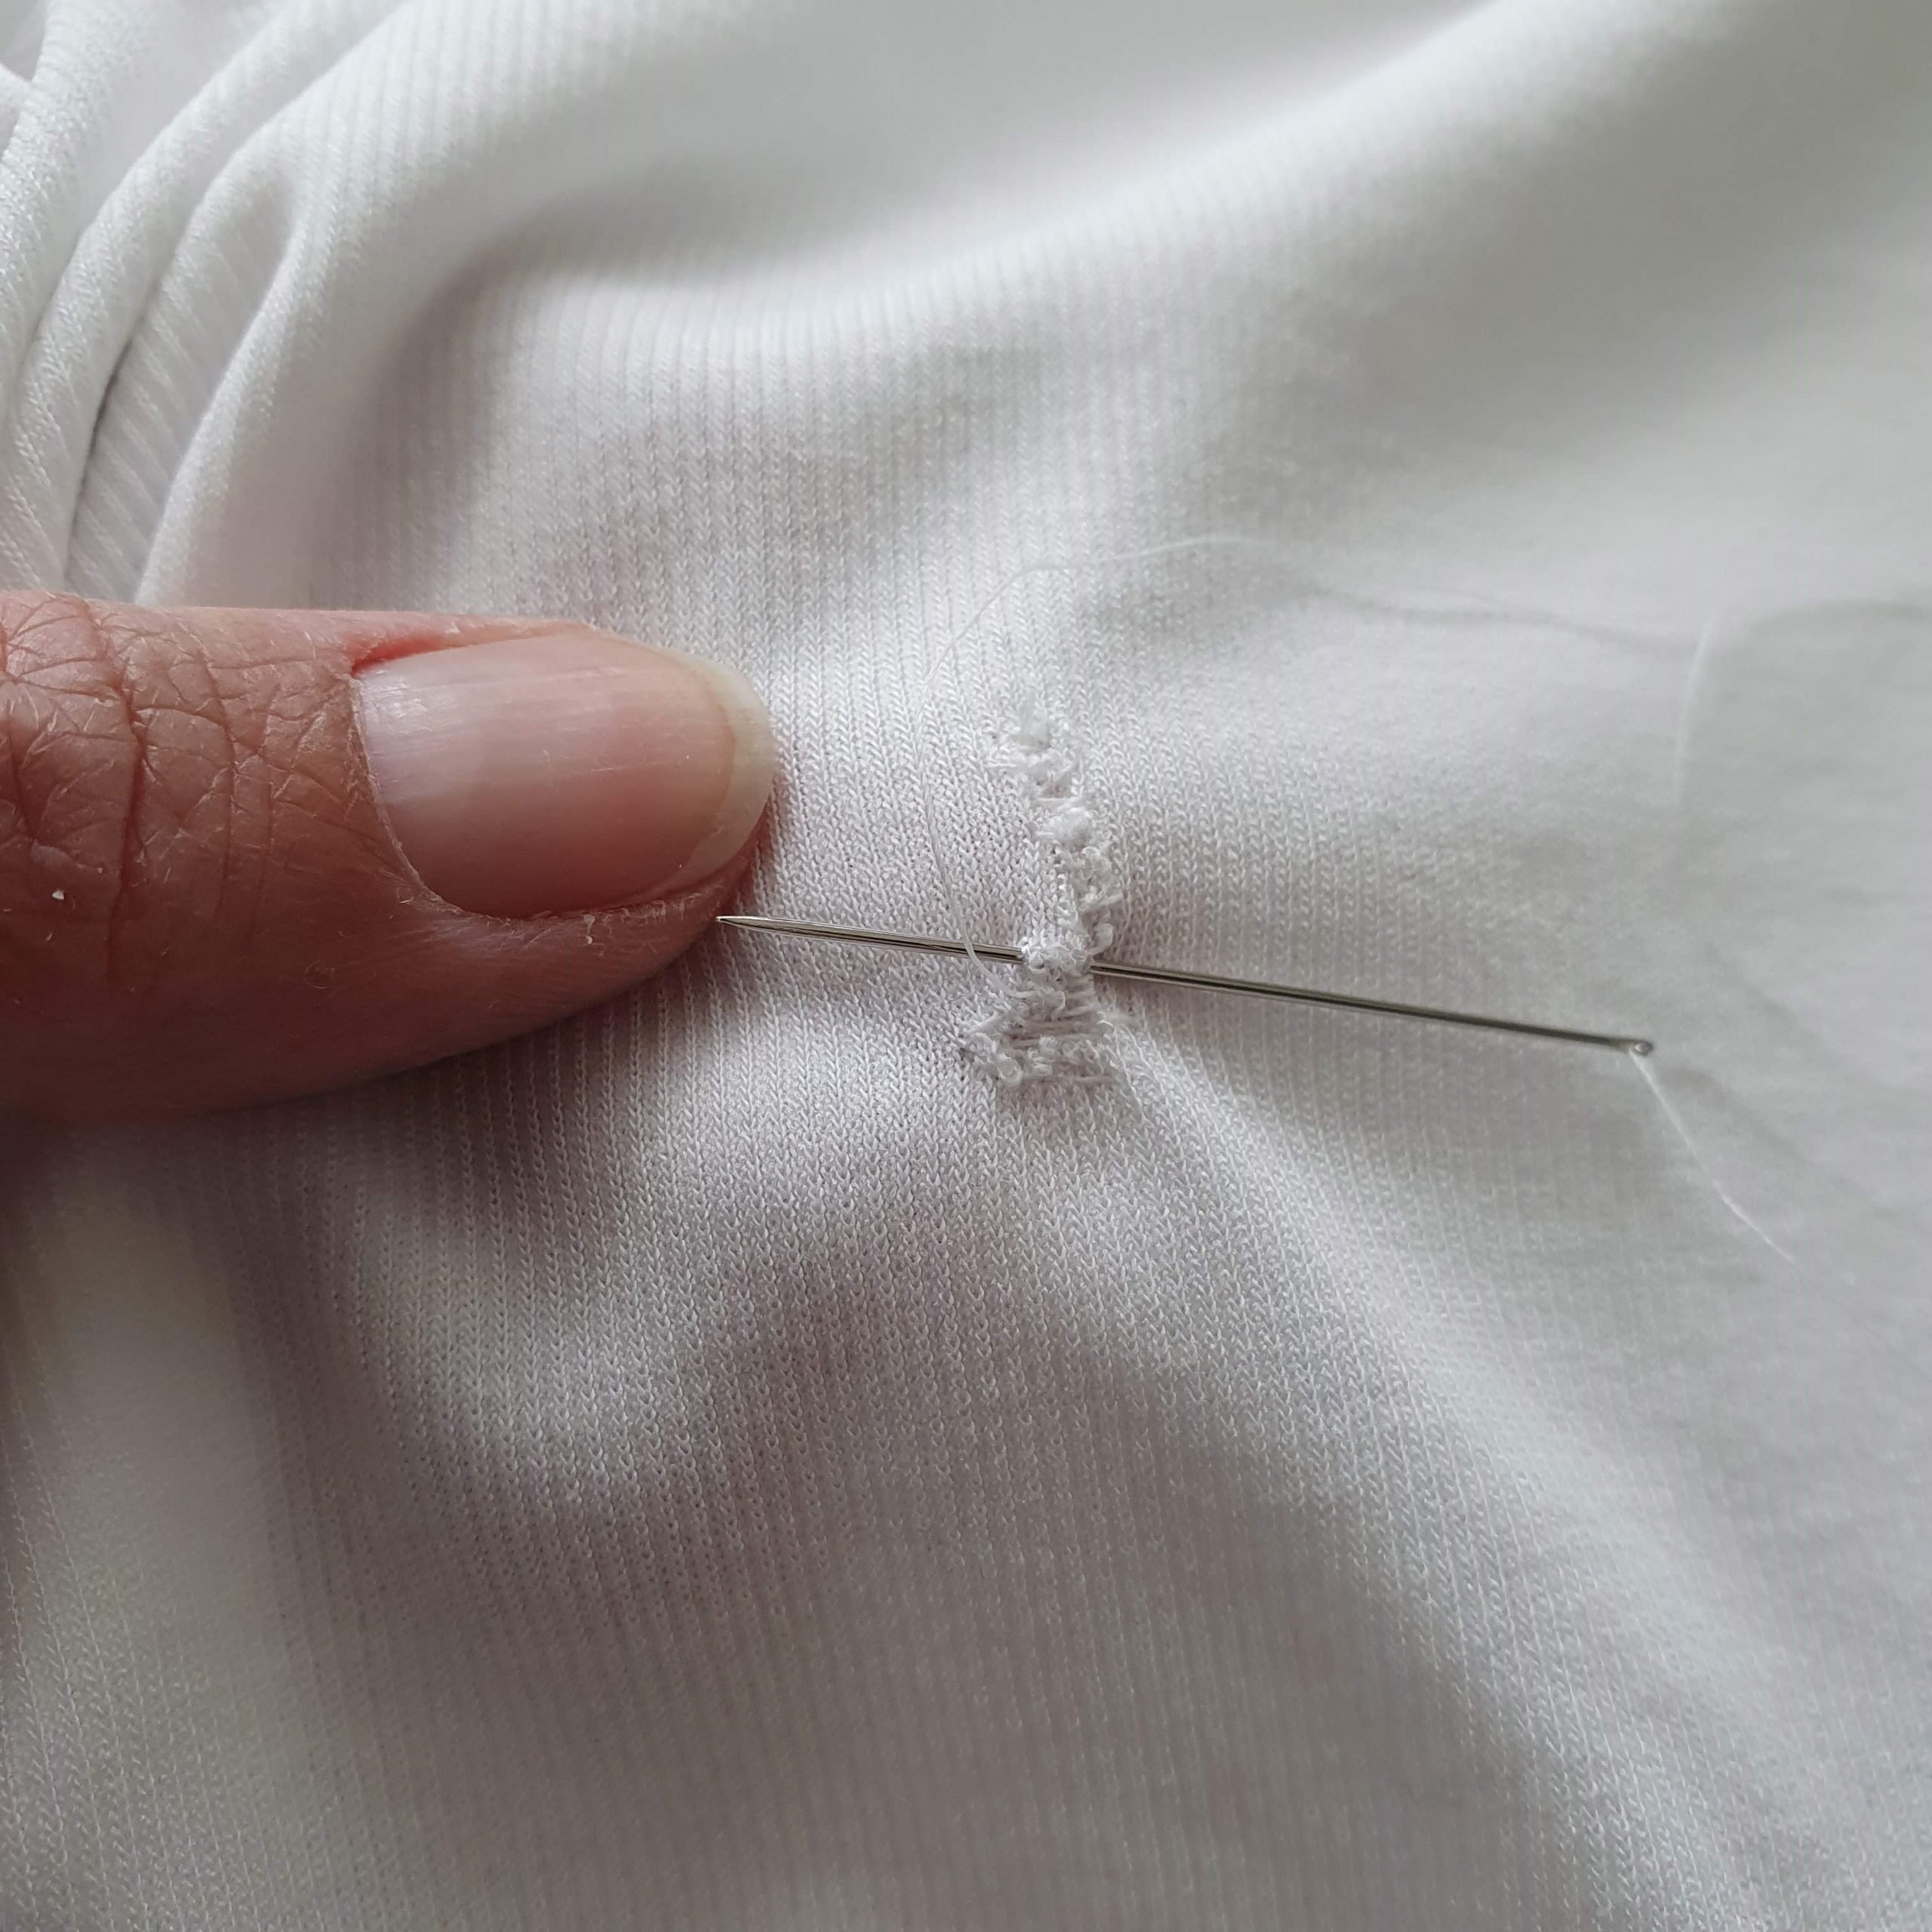
The second project I’m sharing is upcycling this bought t-shirt…with a hole. I believe this hole appeared after wearing it only once. And in a very awkward place. Fixing it you will always see and masking it by a single application is a bit crazy in that place, isn’t it?
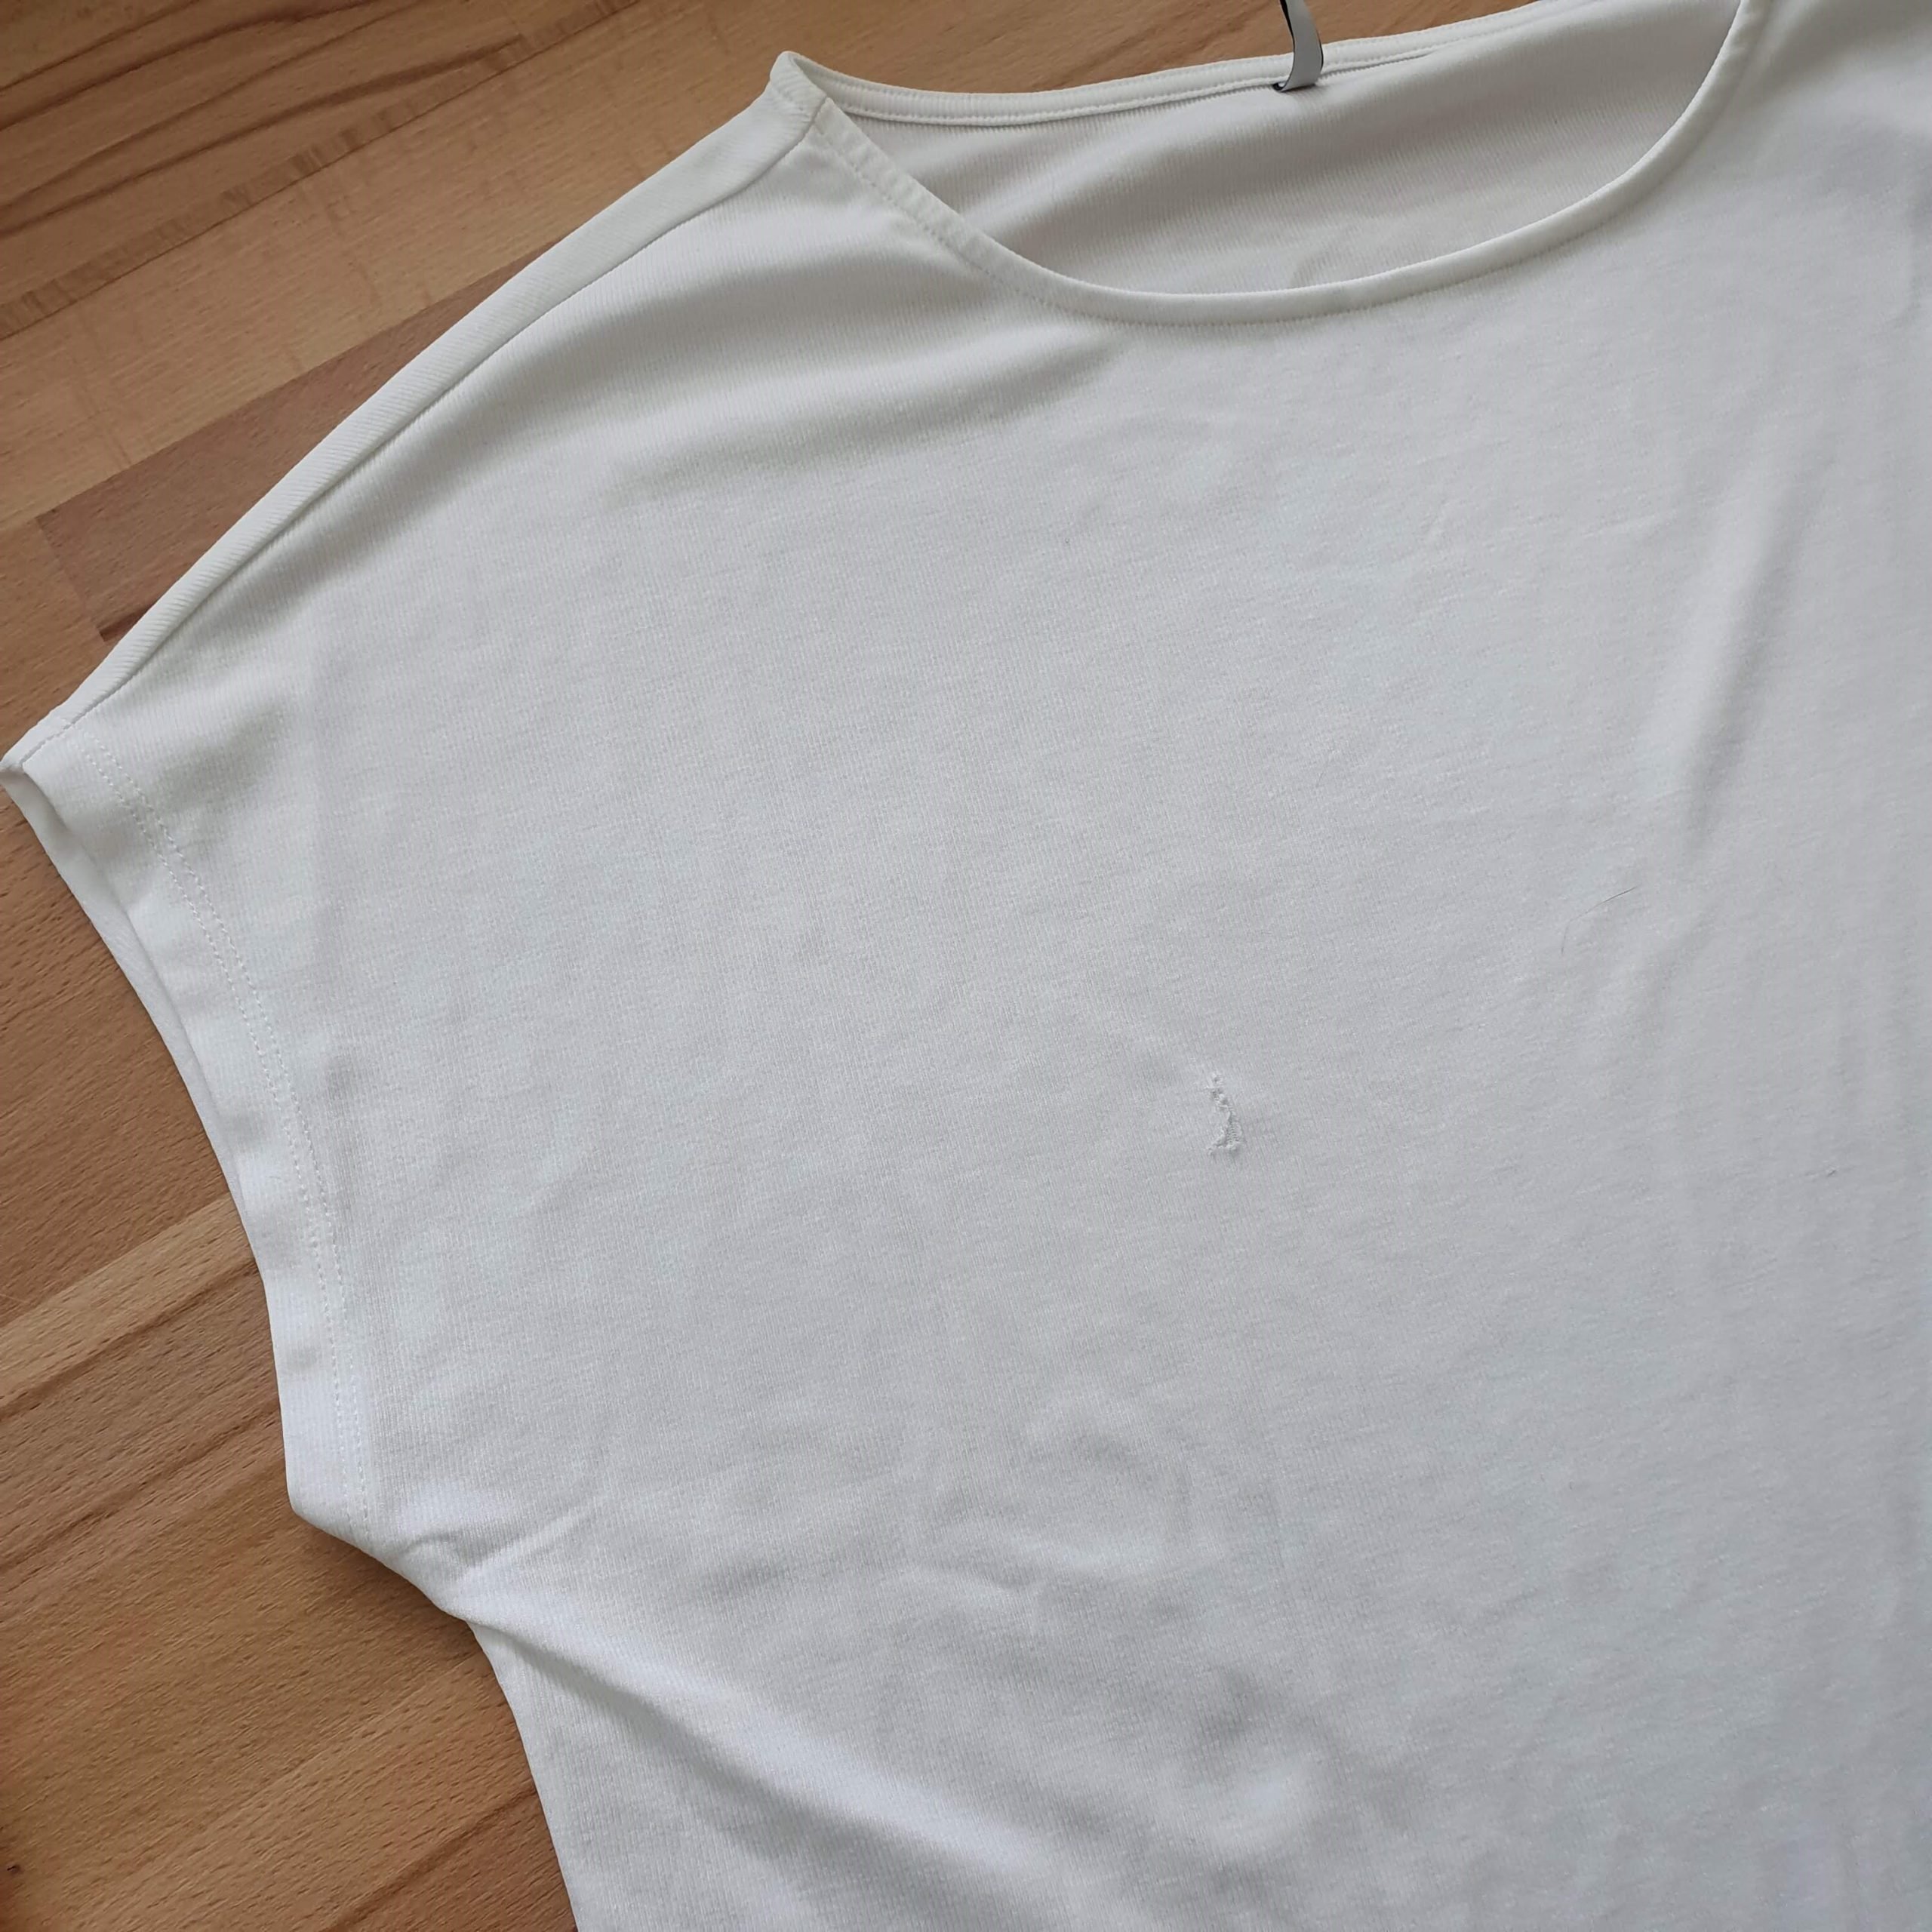
What to do? First make sure that the hole does not get bigger, since it is a fine knitted jersey. I don’t have the best mending skills, but knowing that it will no longer be visible, it’s good enough.
The first idea I played with was adding a lace panel. The same lace as used in the top. Thrift shop treasure It looks nice, but not doable as the shirt is made of stretch knit and the lace is not at all stretchy. In addition, the lace is a bit too yellowish for the shirt. I can of course try to bleach it again, but for such a big piece I was a bit reluctant.

Option one….nope….back to the drawing board
Making lace
It did give me the idea of the following option: lace applications (plural!). The inspiration was a beautiful application that I salvaged from a blazer. This, combined with self-made appliqués with the embroidery module of the BERNINA 590 Crystal Edition, could turn out to be very beautiful.
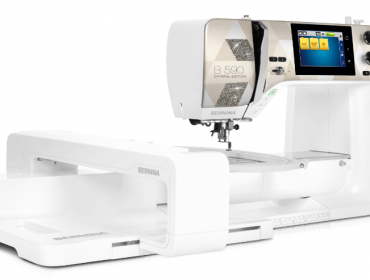
Did you know that with the Crystal Edition you receive 300 free embroidery patterns with which you can give your projects shine. Wanna know more? Take a look.
To make the appliqués fit well with the recycled one, I chose lace appliqués designs that I already had. You can of course also create the embroideries directly on your project. I thought this was unwise with the fabric of this t-shirt, as a hole had formed quite quickly. Making appliqués and attaching them to the t-shirt by hand seemed like a better option.
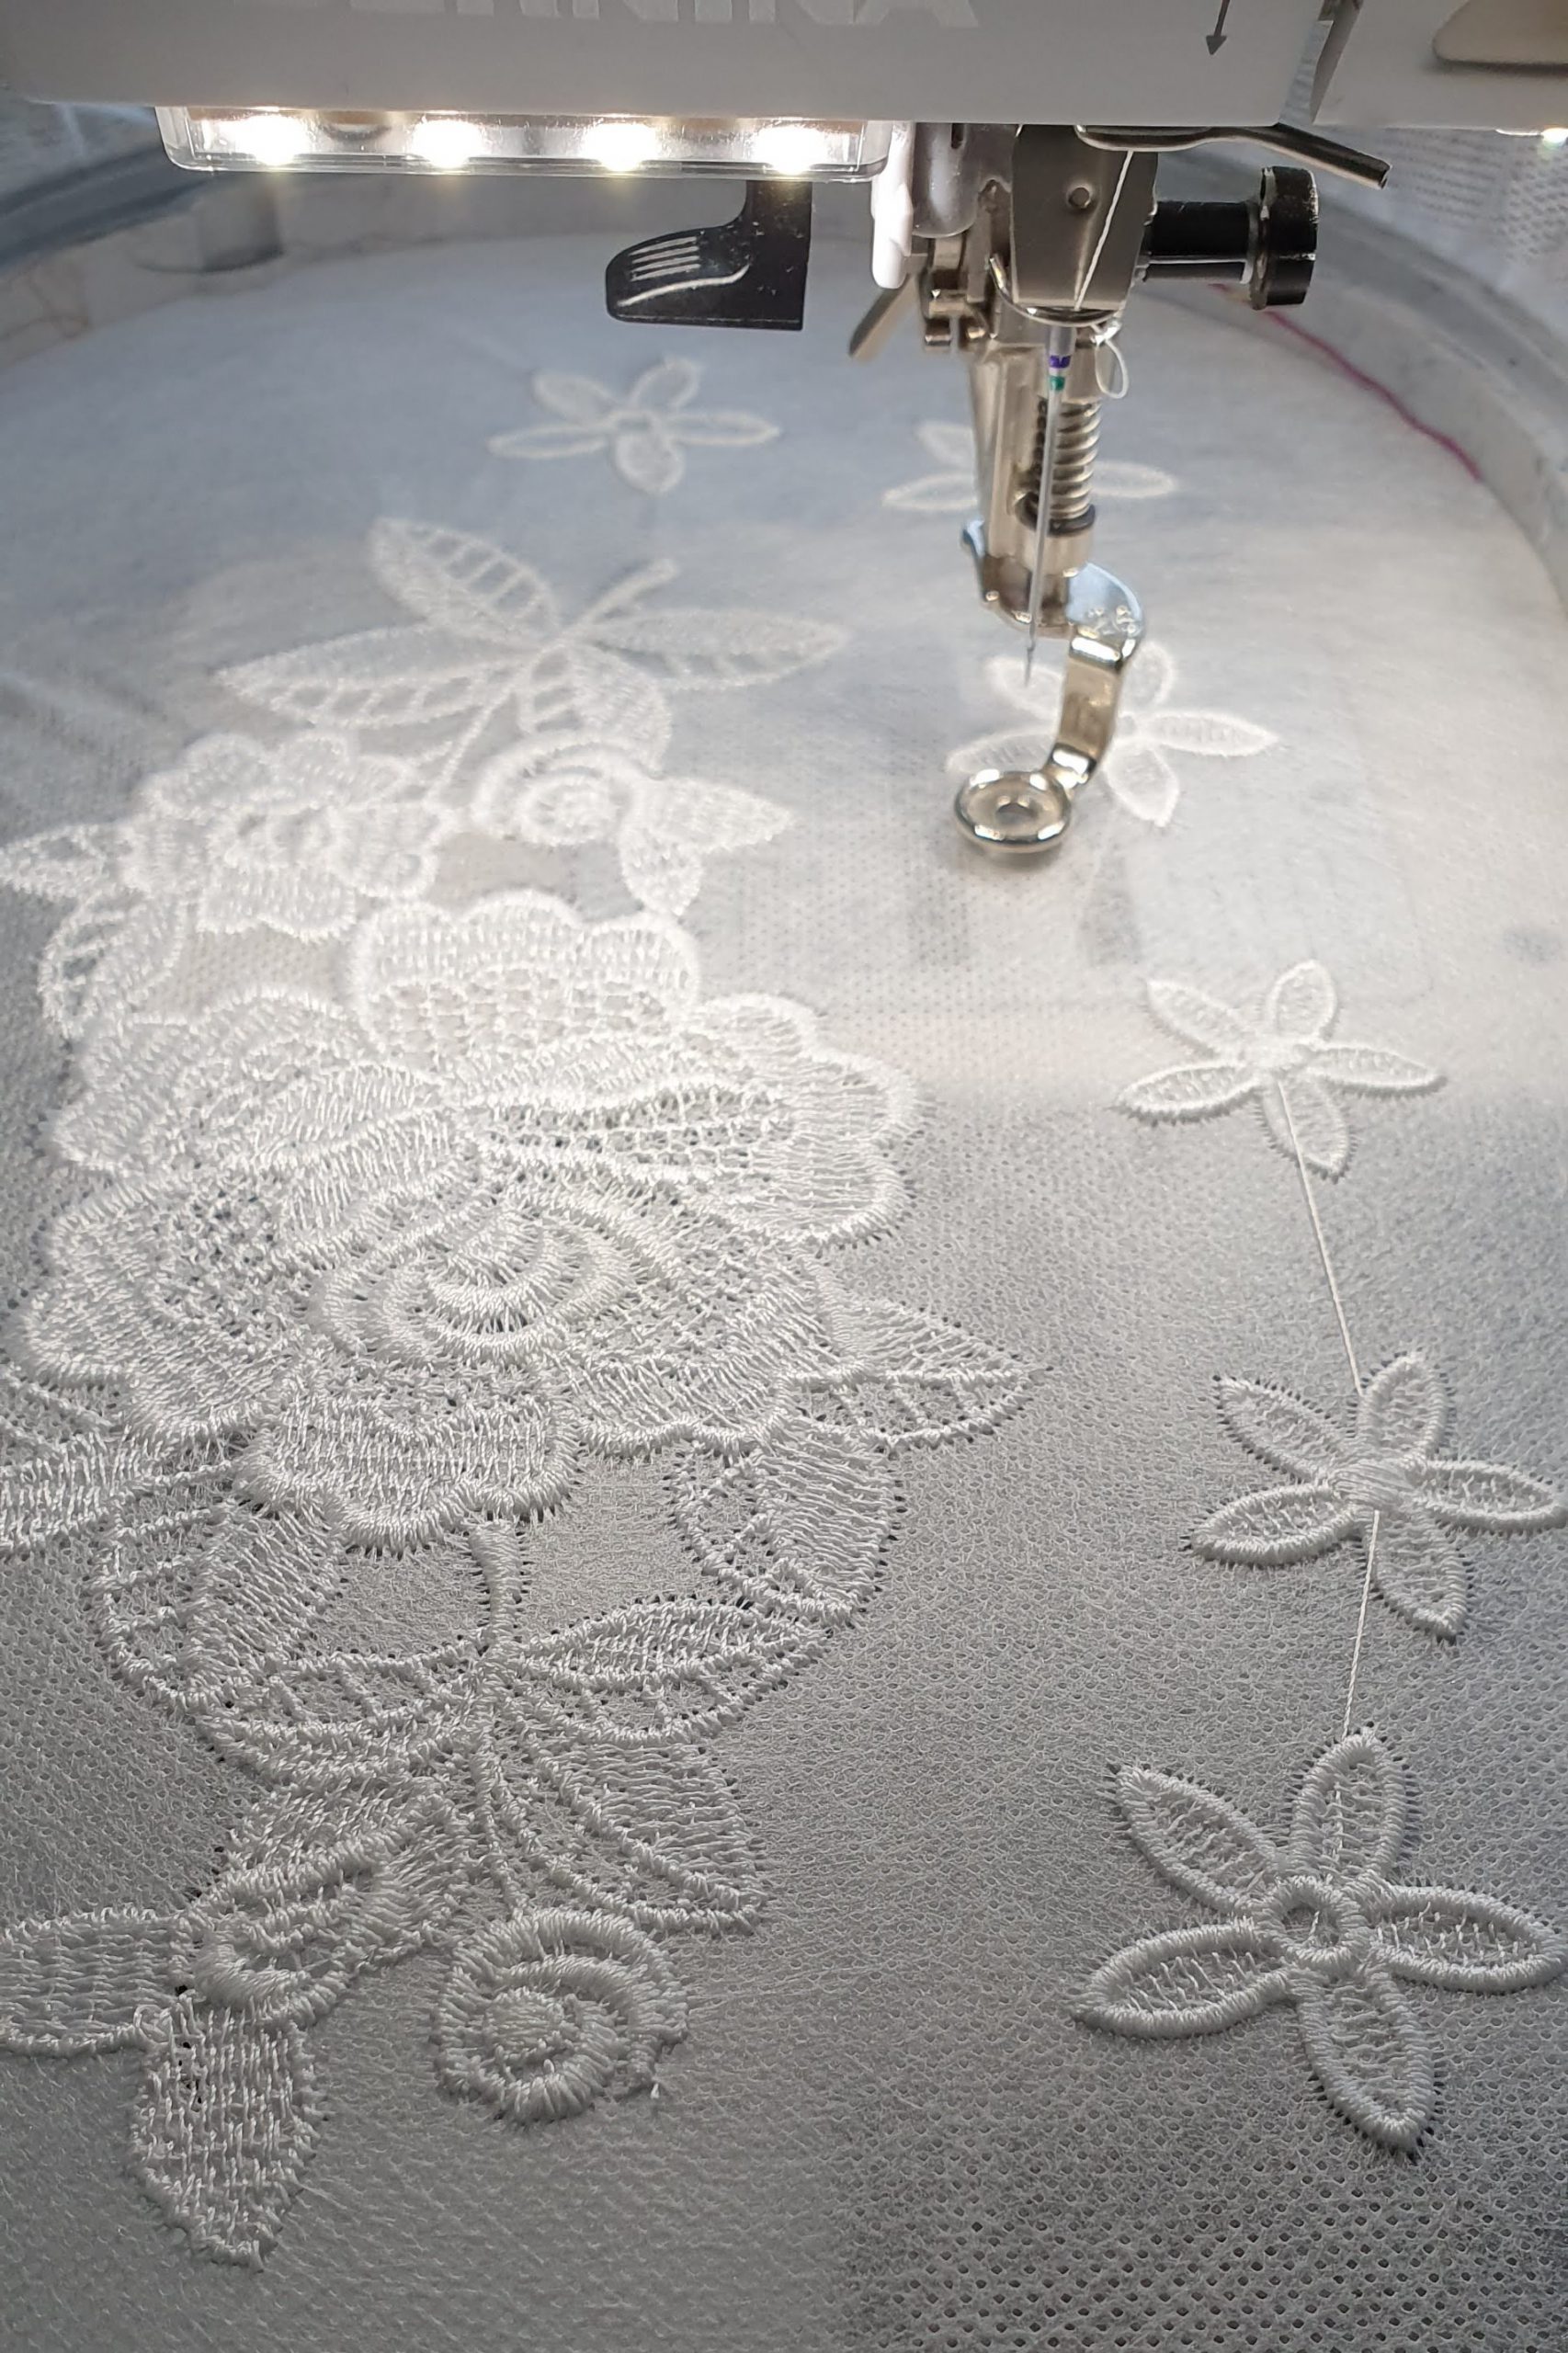
With Poly Sheen thread from Mettler and soluble stabilizer strung in the hoop, the embroidery module was ready to go. I embroidered a larger flower with leaves and several smaller ones.
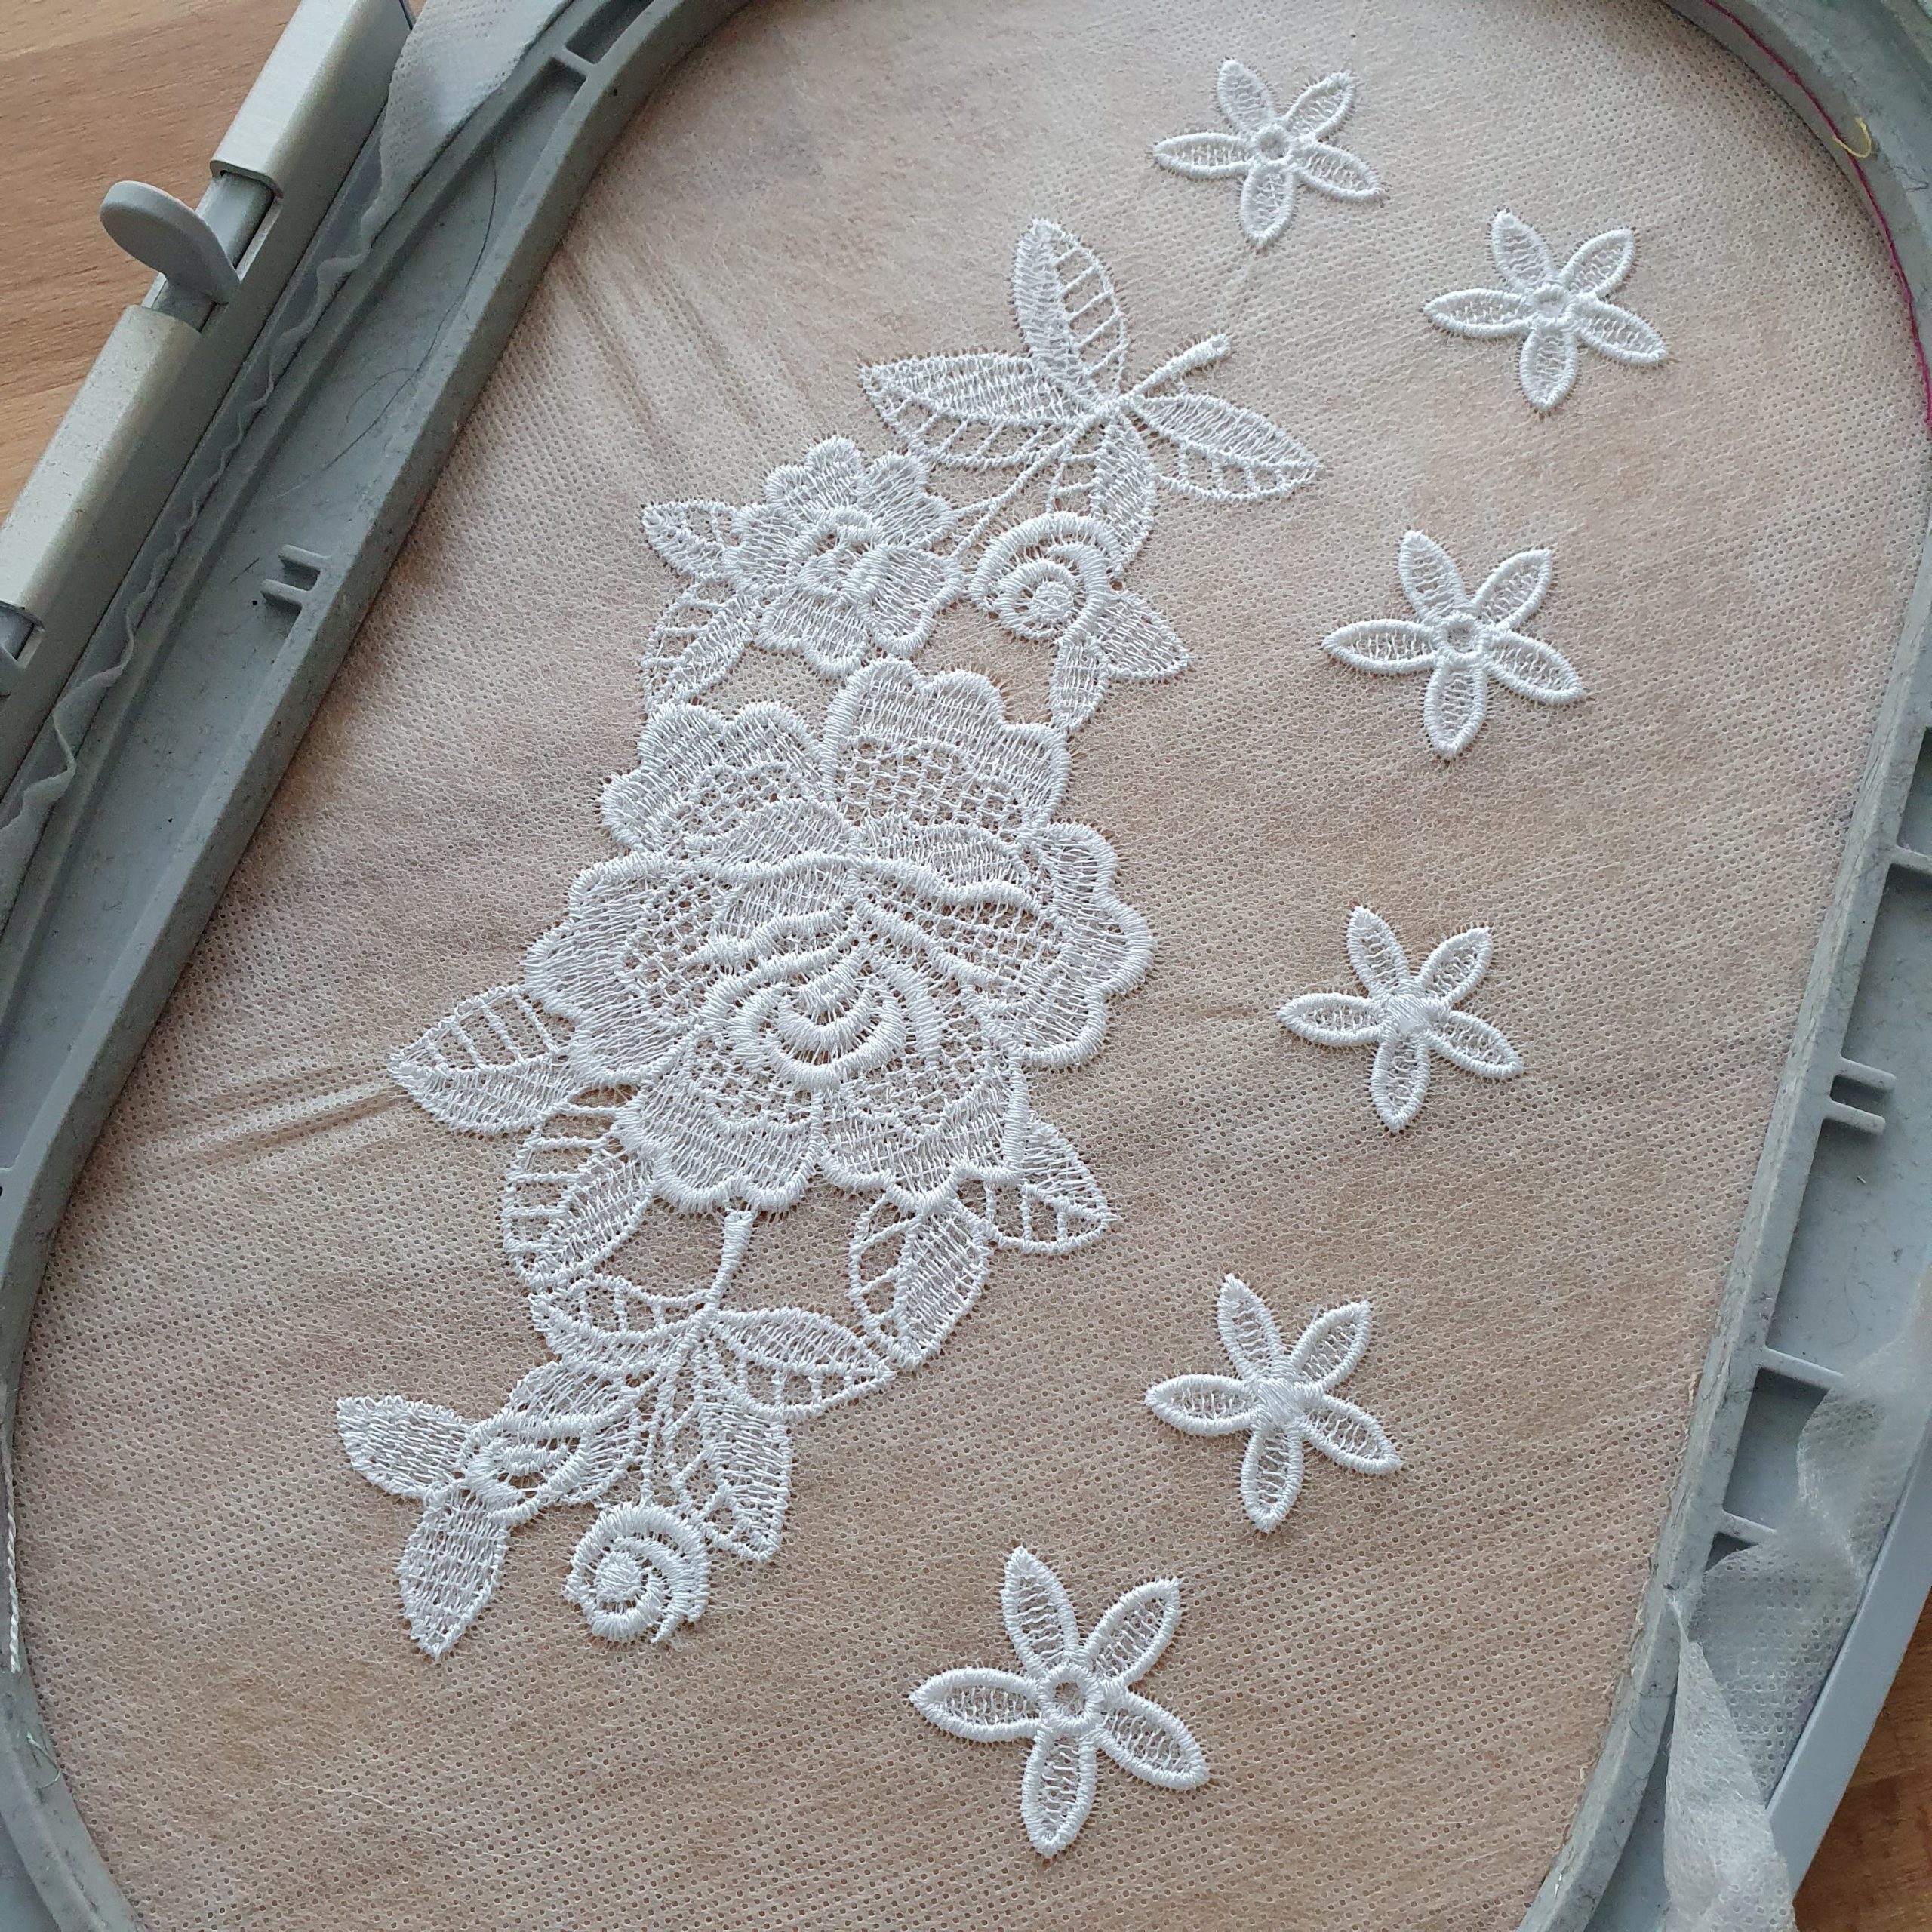
By dipping the soluble stabilizer with the embroidery into the water, it dissolves and what remains are beautiful lace applications.
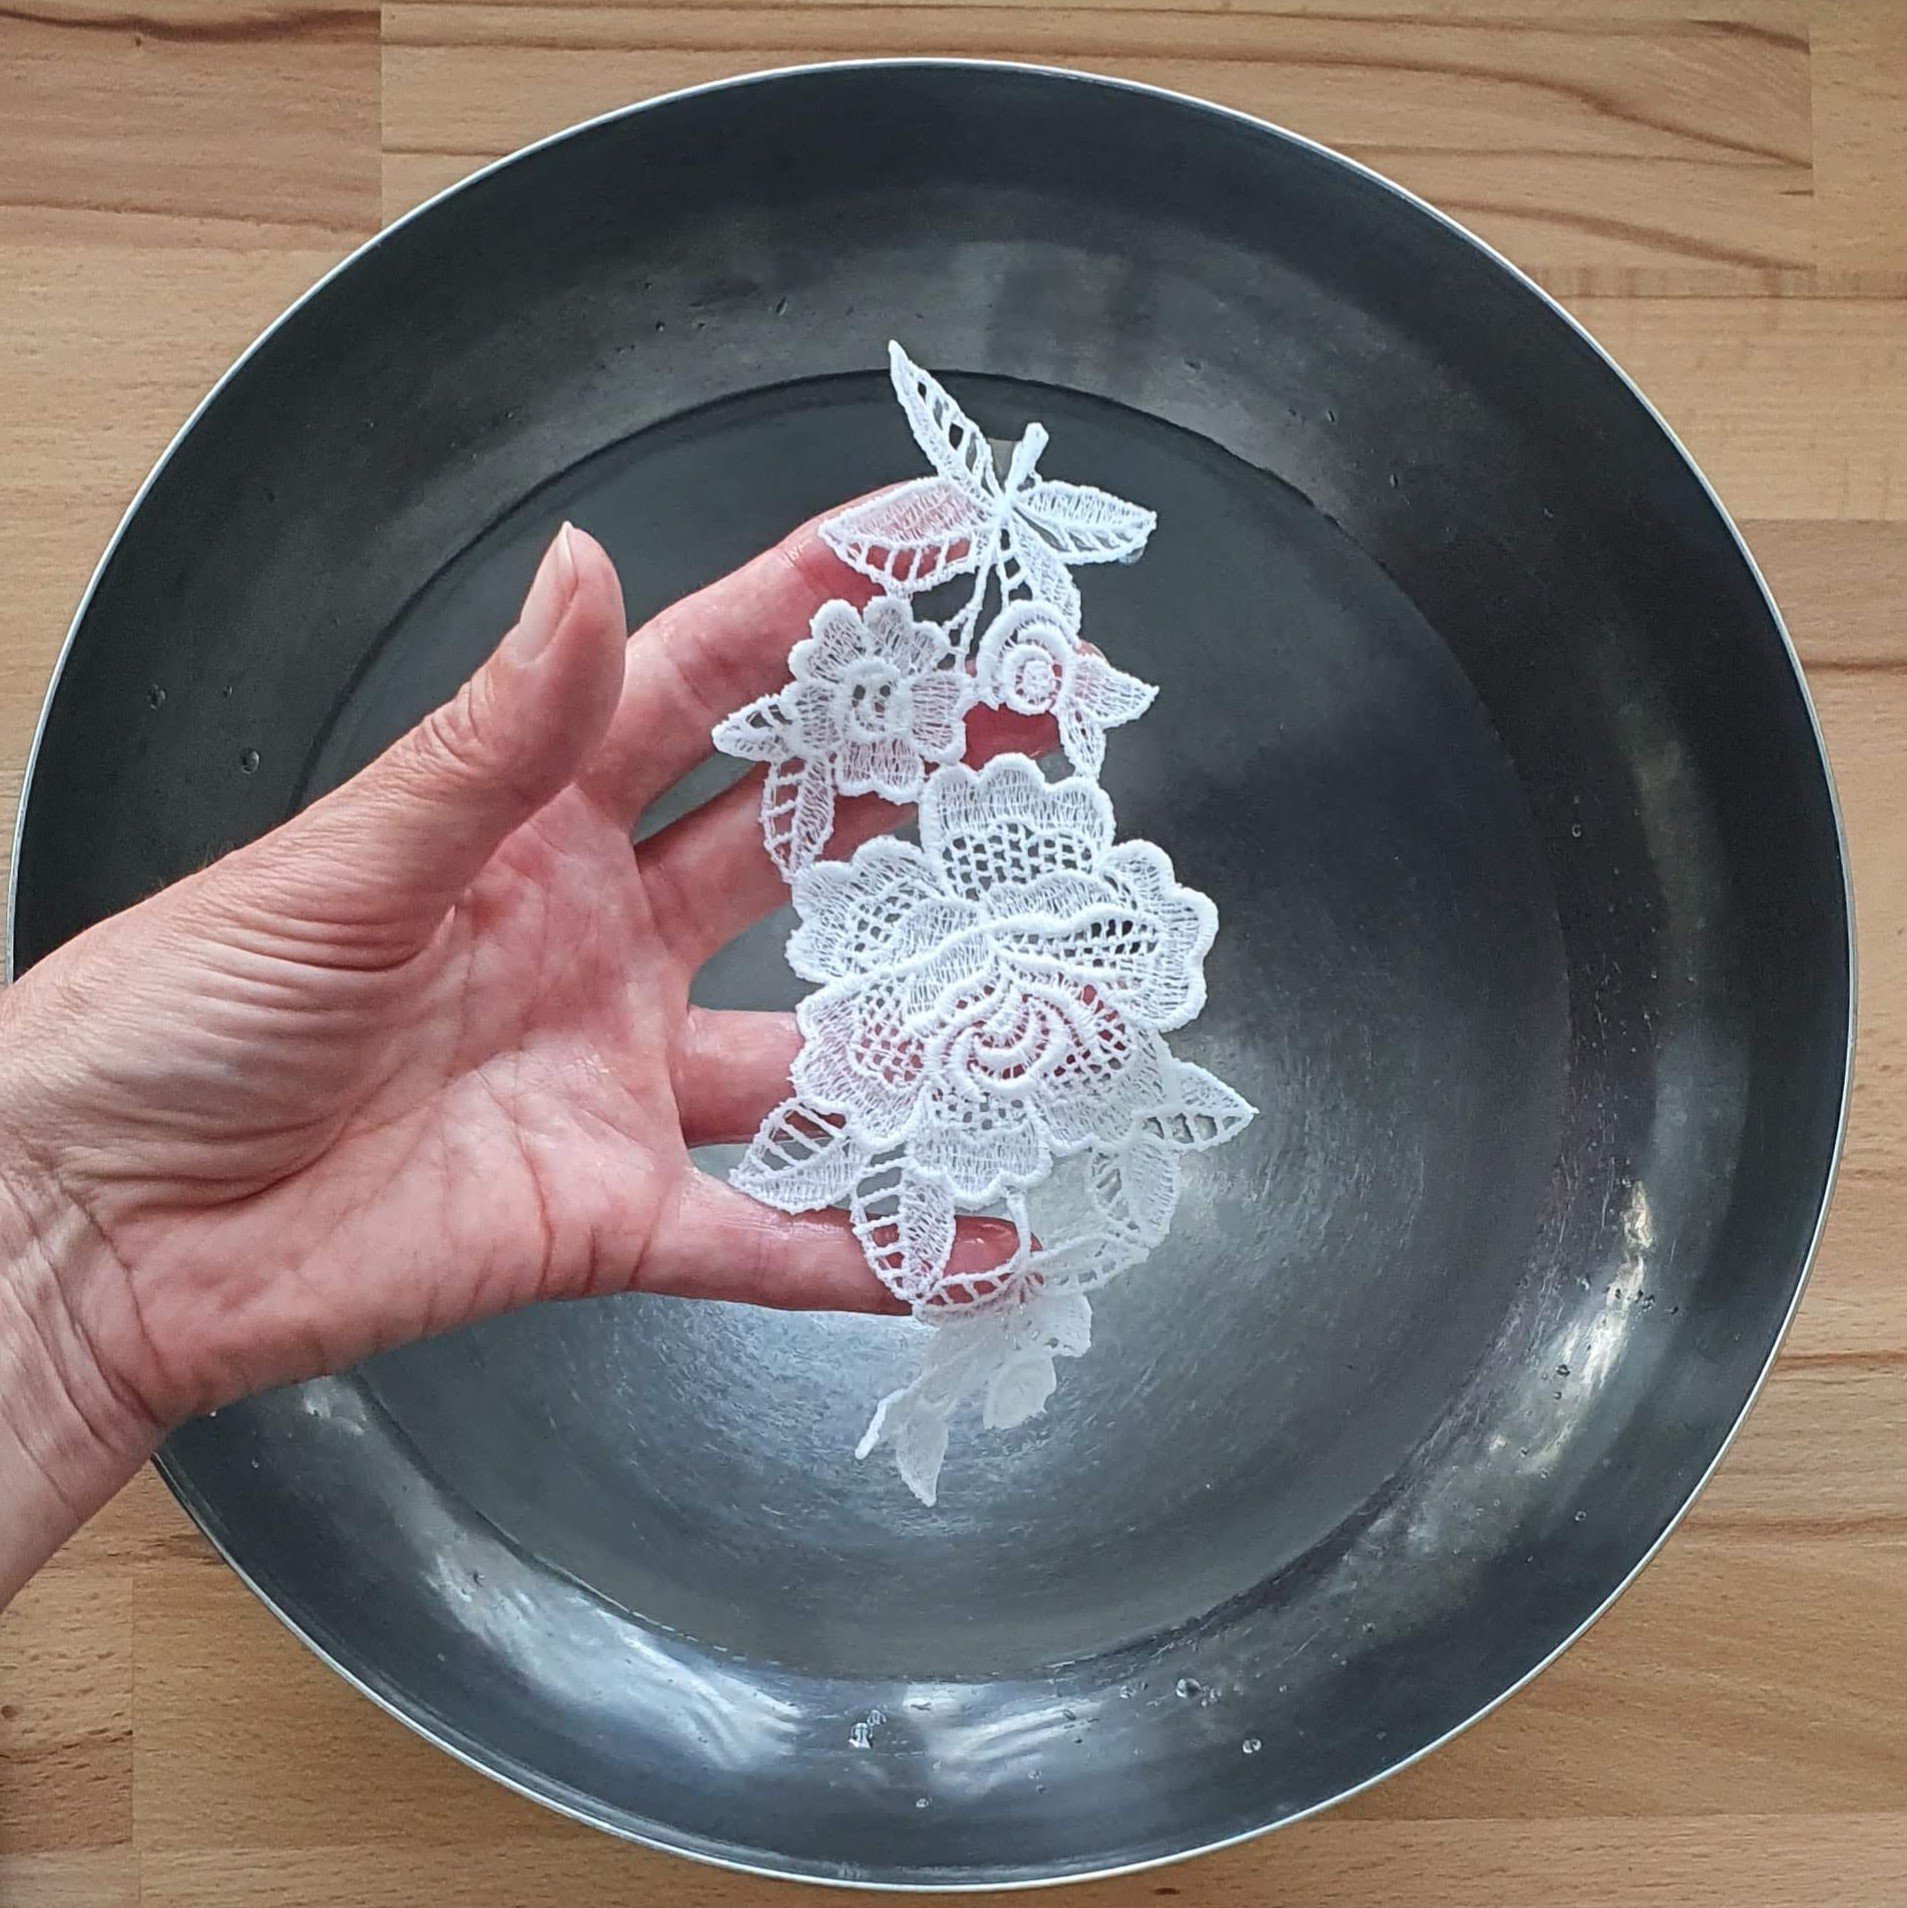
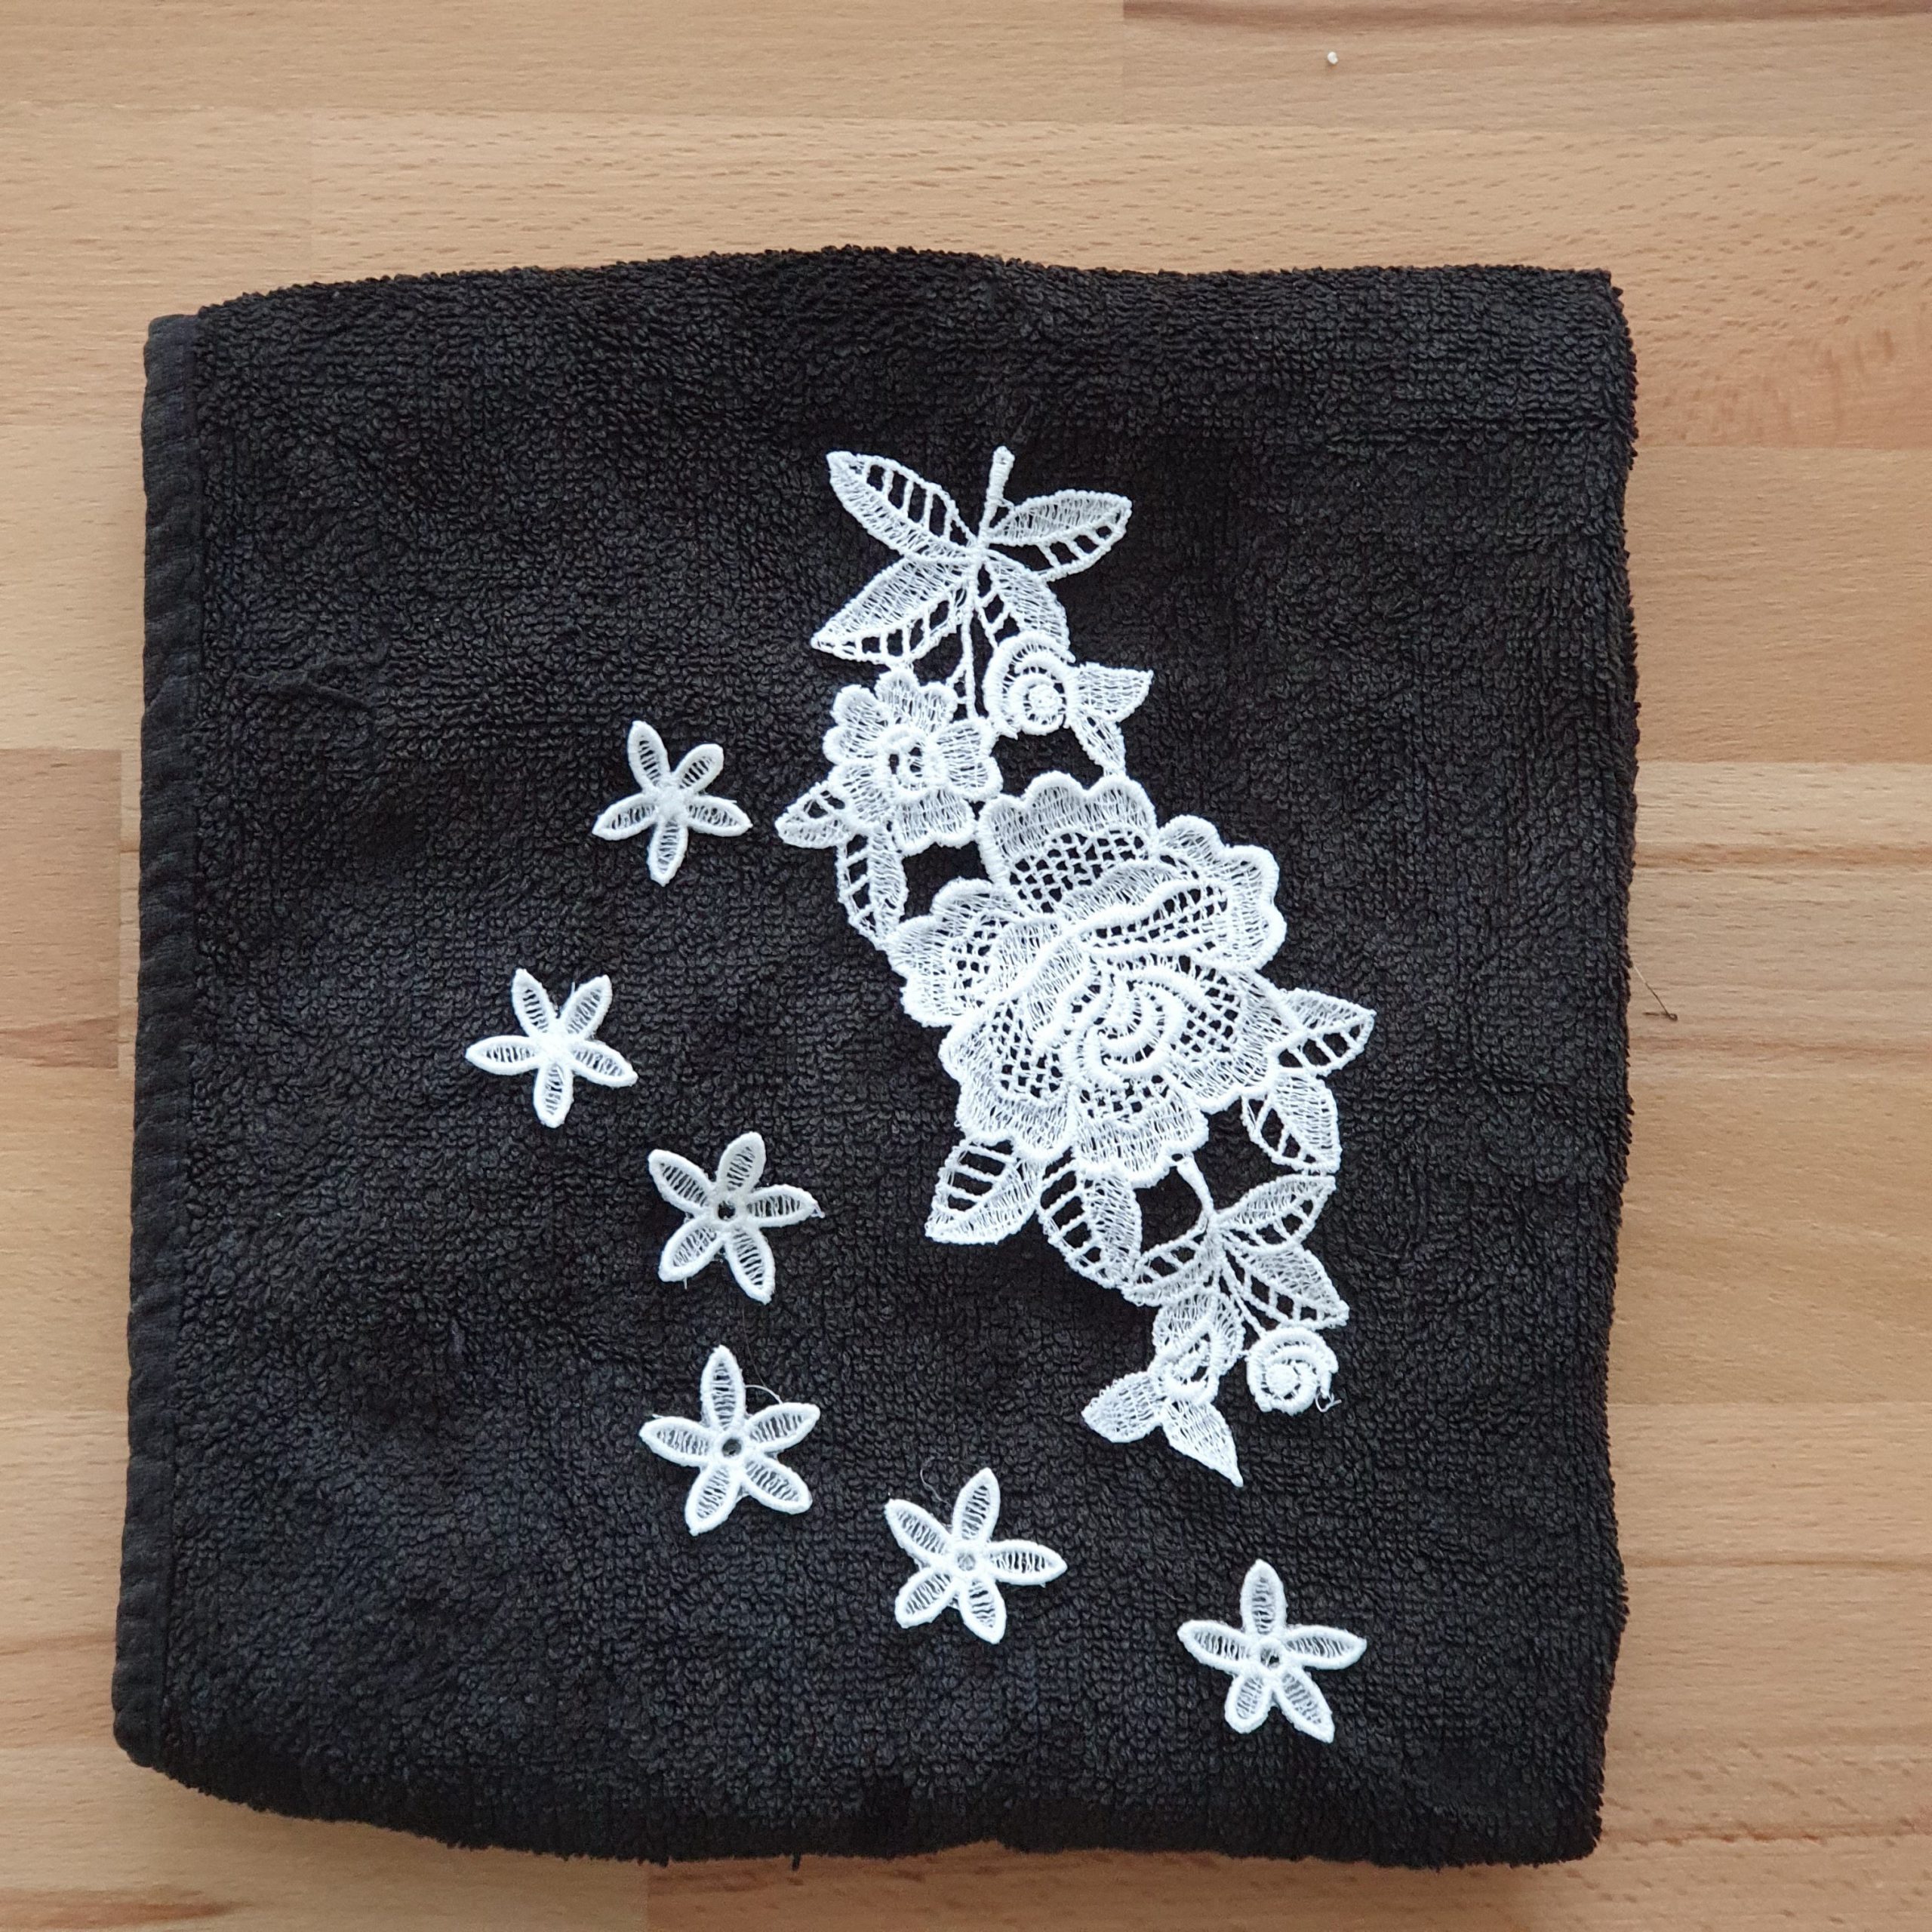
By drying it between a double folded towel with something heavy on top, you get nice flat applications ready for further processing.
On my Instagram you’ll find a video demonstrating this process.
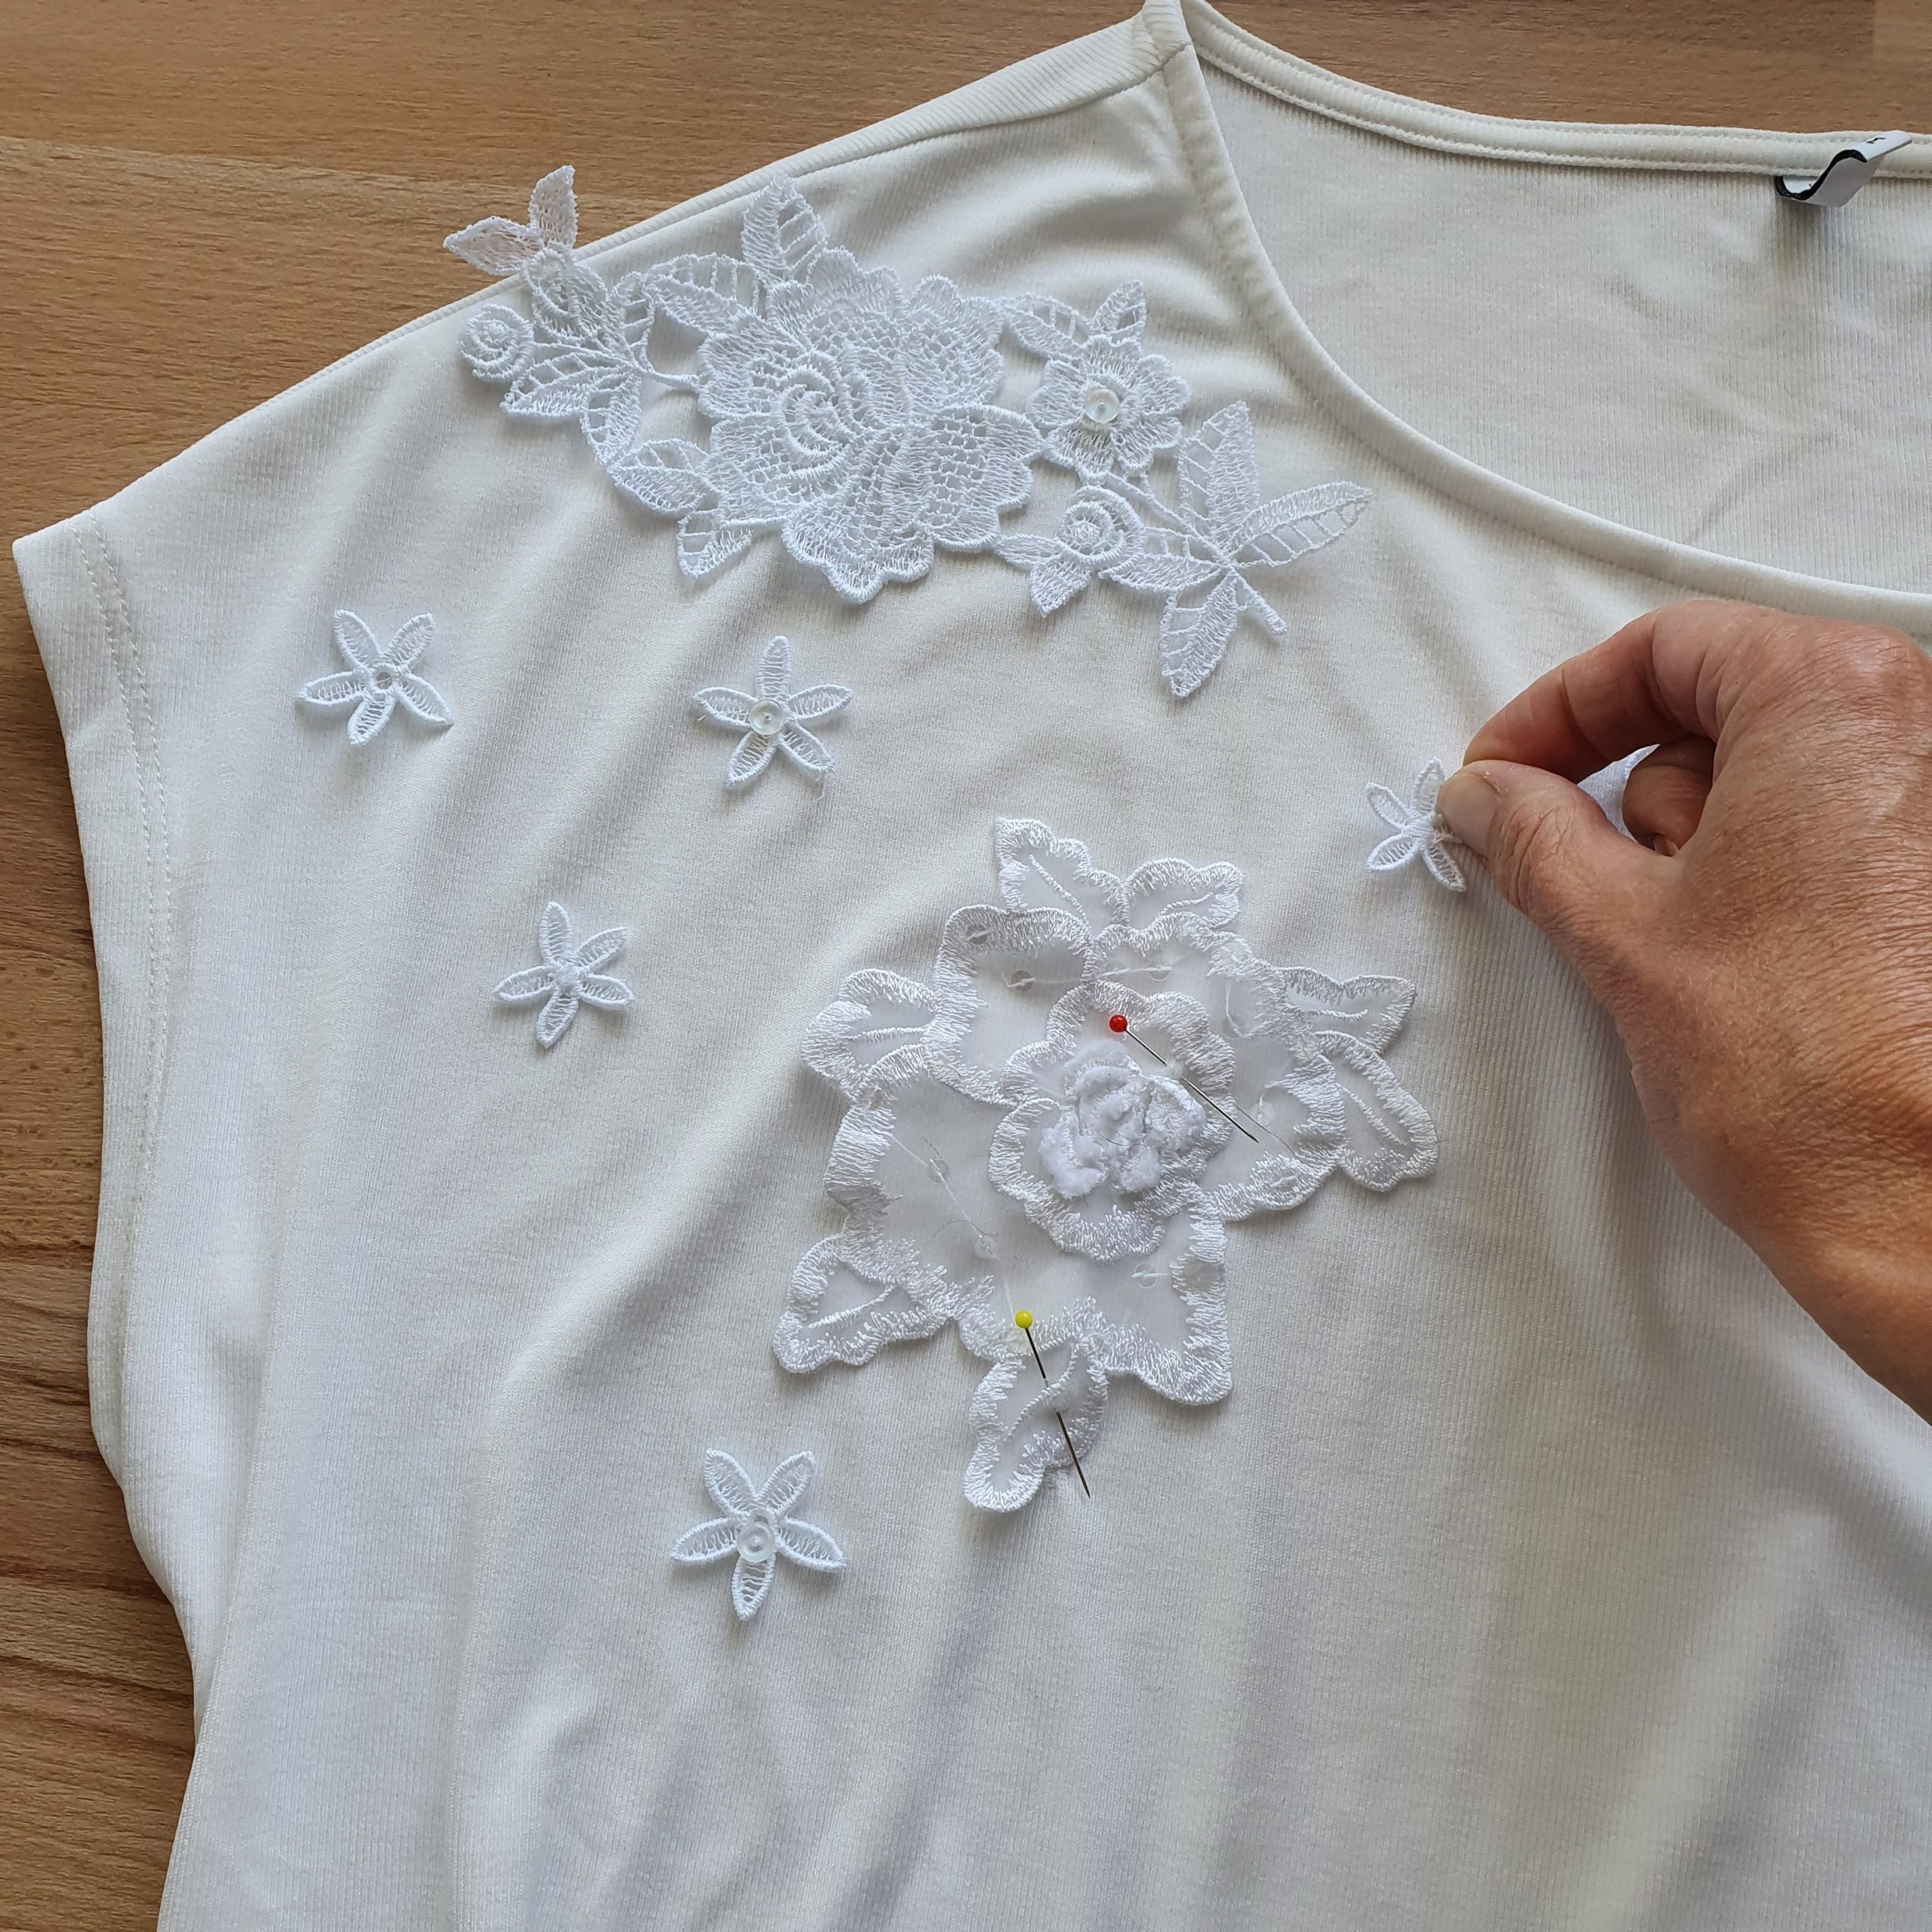
Determining the placing of the applications, around the recycled application
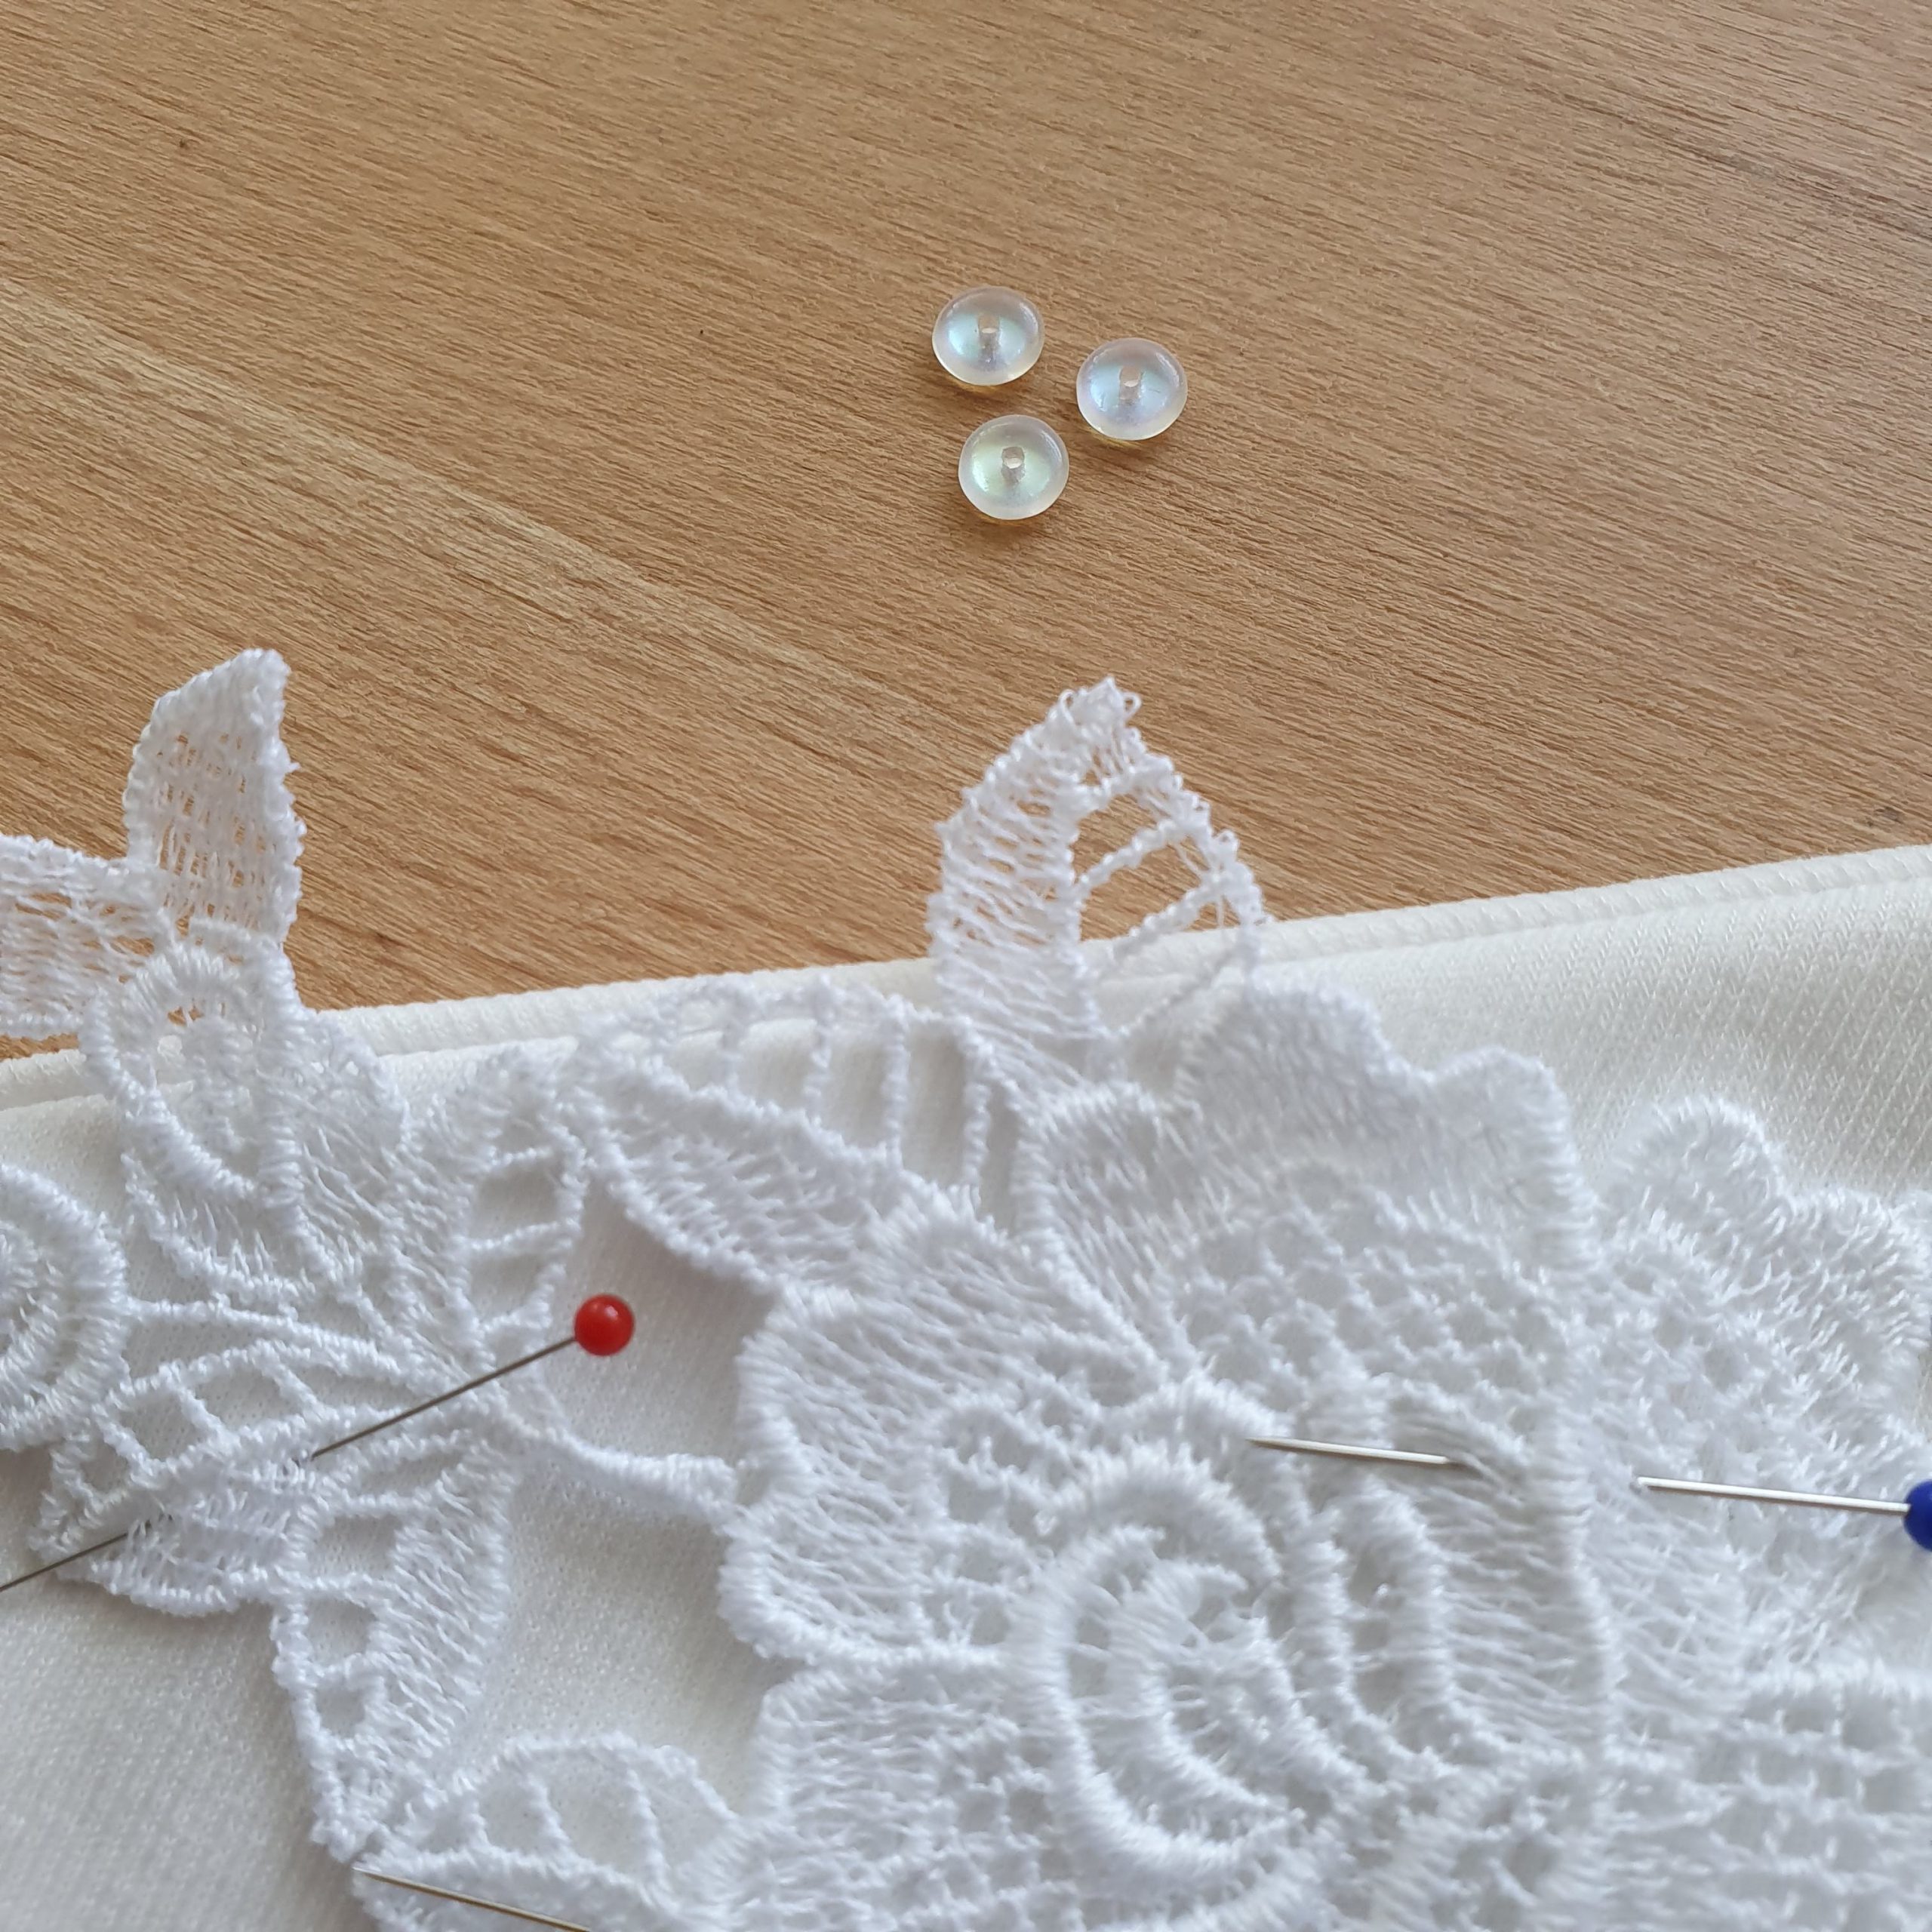
Add pearl beads for even more shine

For hand stitching I use the same thread as used to make the applications
In the end all applications combination beautifully. This t-shirt gets some Time to Shine again!

Definitely a lovely basic for the LIESL Time to Shine capsule collection. Curious about the skirt I’m wearing? My next blog will be about it?. Stay tuned!
Love,
Marlies


Hi,I really like the FSL you used on the top. Could I ask where you got the pattern or you made it yourself? Thank you.