 BERNINA Corporate Blog -
Time to shine! Timeless suit Part two: The blazer

Hi again! In this blog I’ll take you on my sewing journey in making the second part about the, in my view, timeless suit: The blazer. The blazer is a piece of clothing that I often wear. Nowadays I prefer a slightly longer blazer made of fabric with a bit of stretch in it, which also makes it super comfortable to wear. The fabric I used is a somewhat thicker scuba crepe and, just like the pants, also is perfect to make a blazer. Did you miss the first part about the pants? Don’t worry, you can read it here. For both projects I used the BERNINA 590 Crystal Edition.
Klik hier om naar de Nederlandse blog te gaan
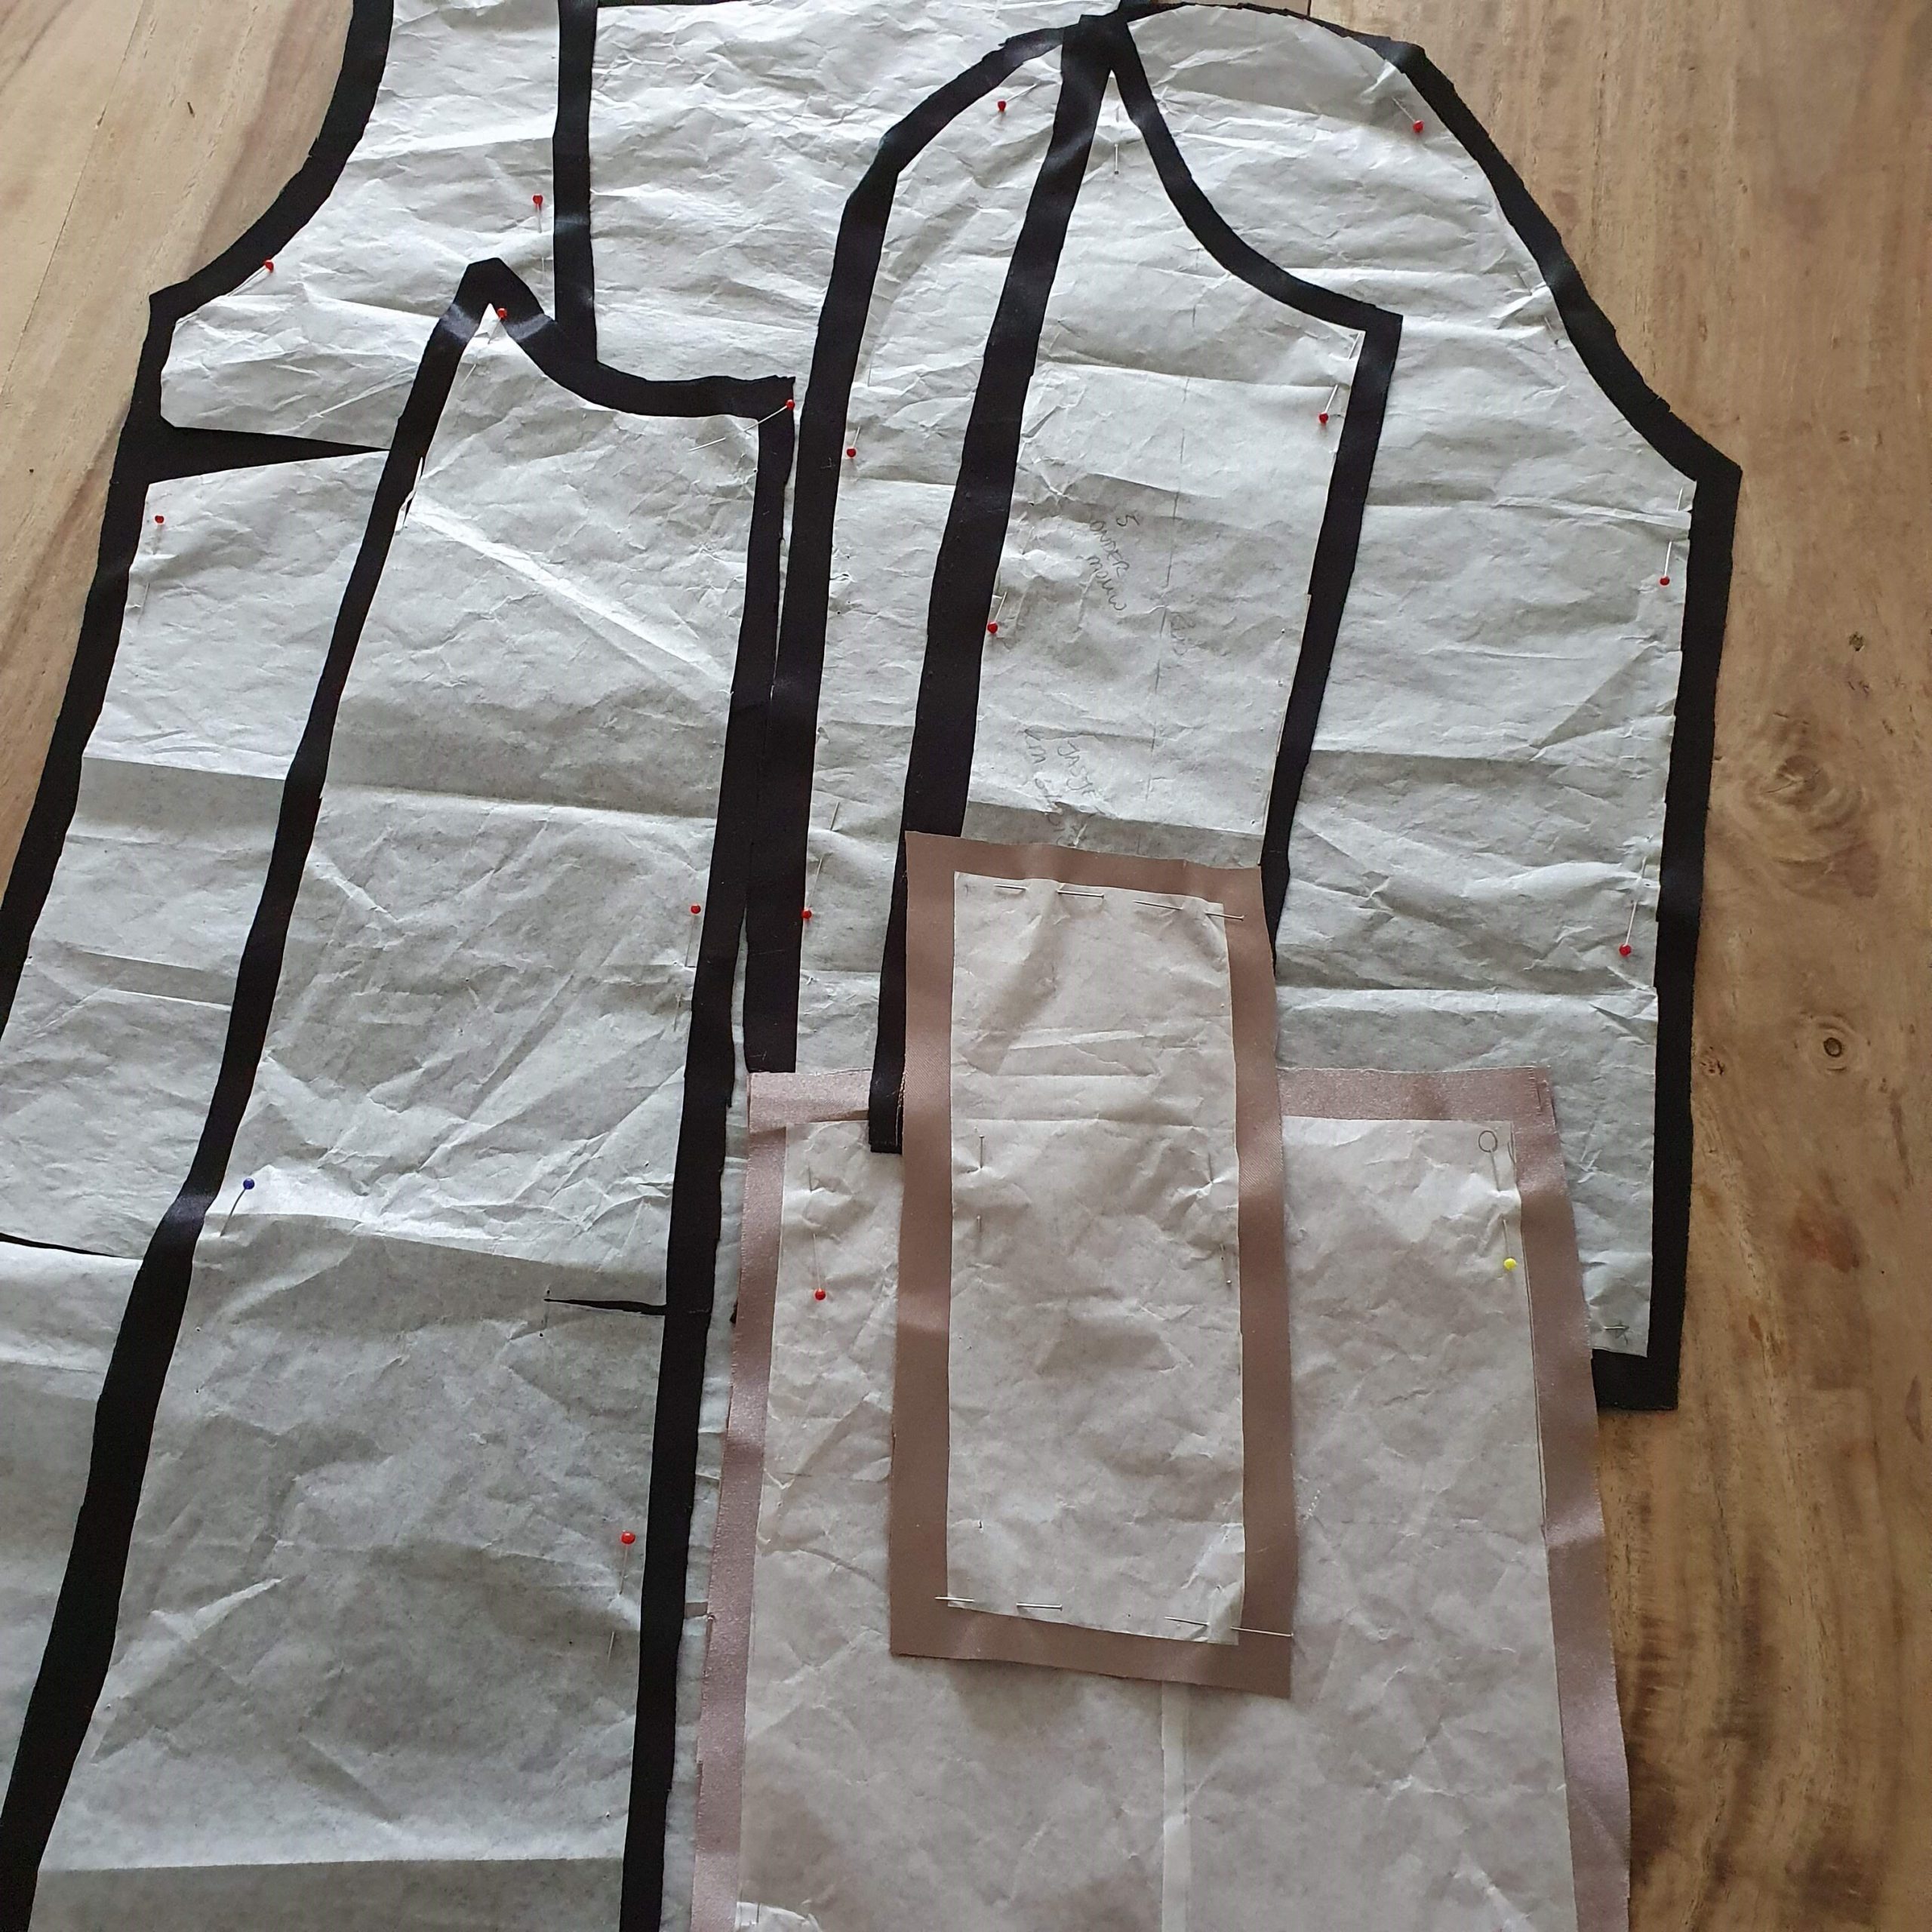
The pattern
The pattern I used for this blazer is from Knipmode (jacket 1, May 2018). This blazer has en an extra high split at the back, which makes it even more comfortable. I didn’t change anything at all to the pattern, for a change. I made the pattern before in a gold non-stretch fabric, even then I didn’t adjust anything to the pattern. Curious about this version? Check it on my Instagram.
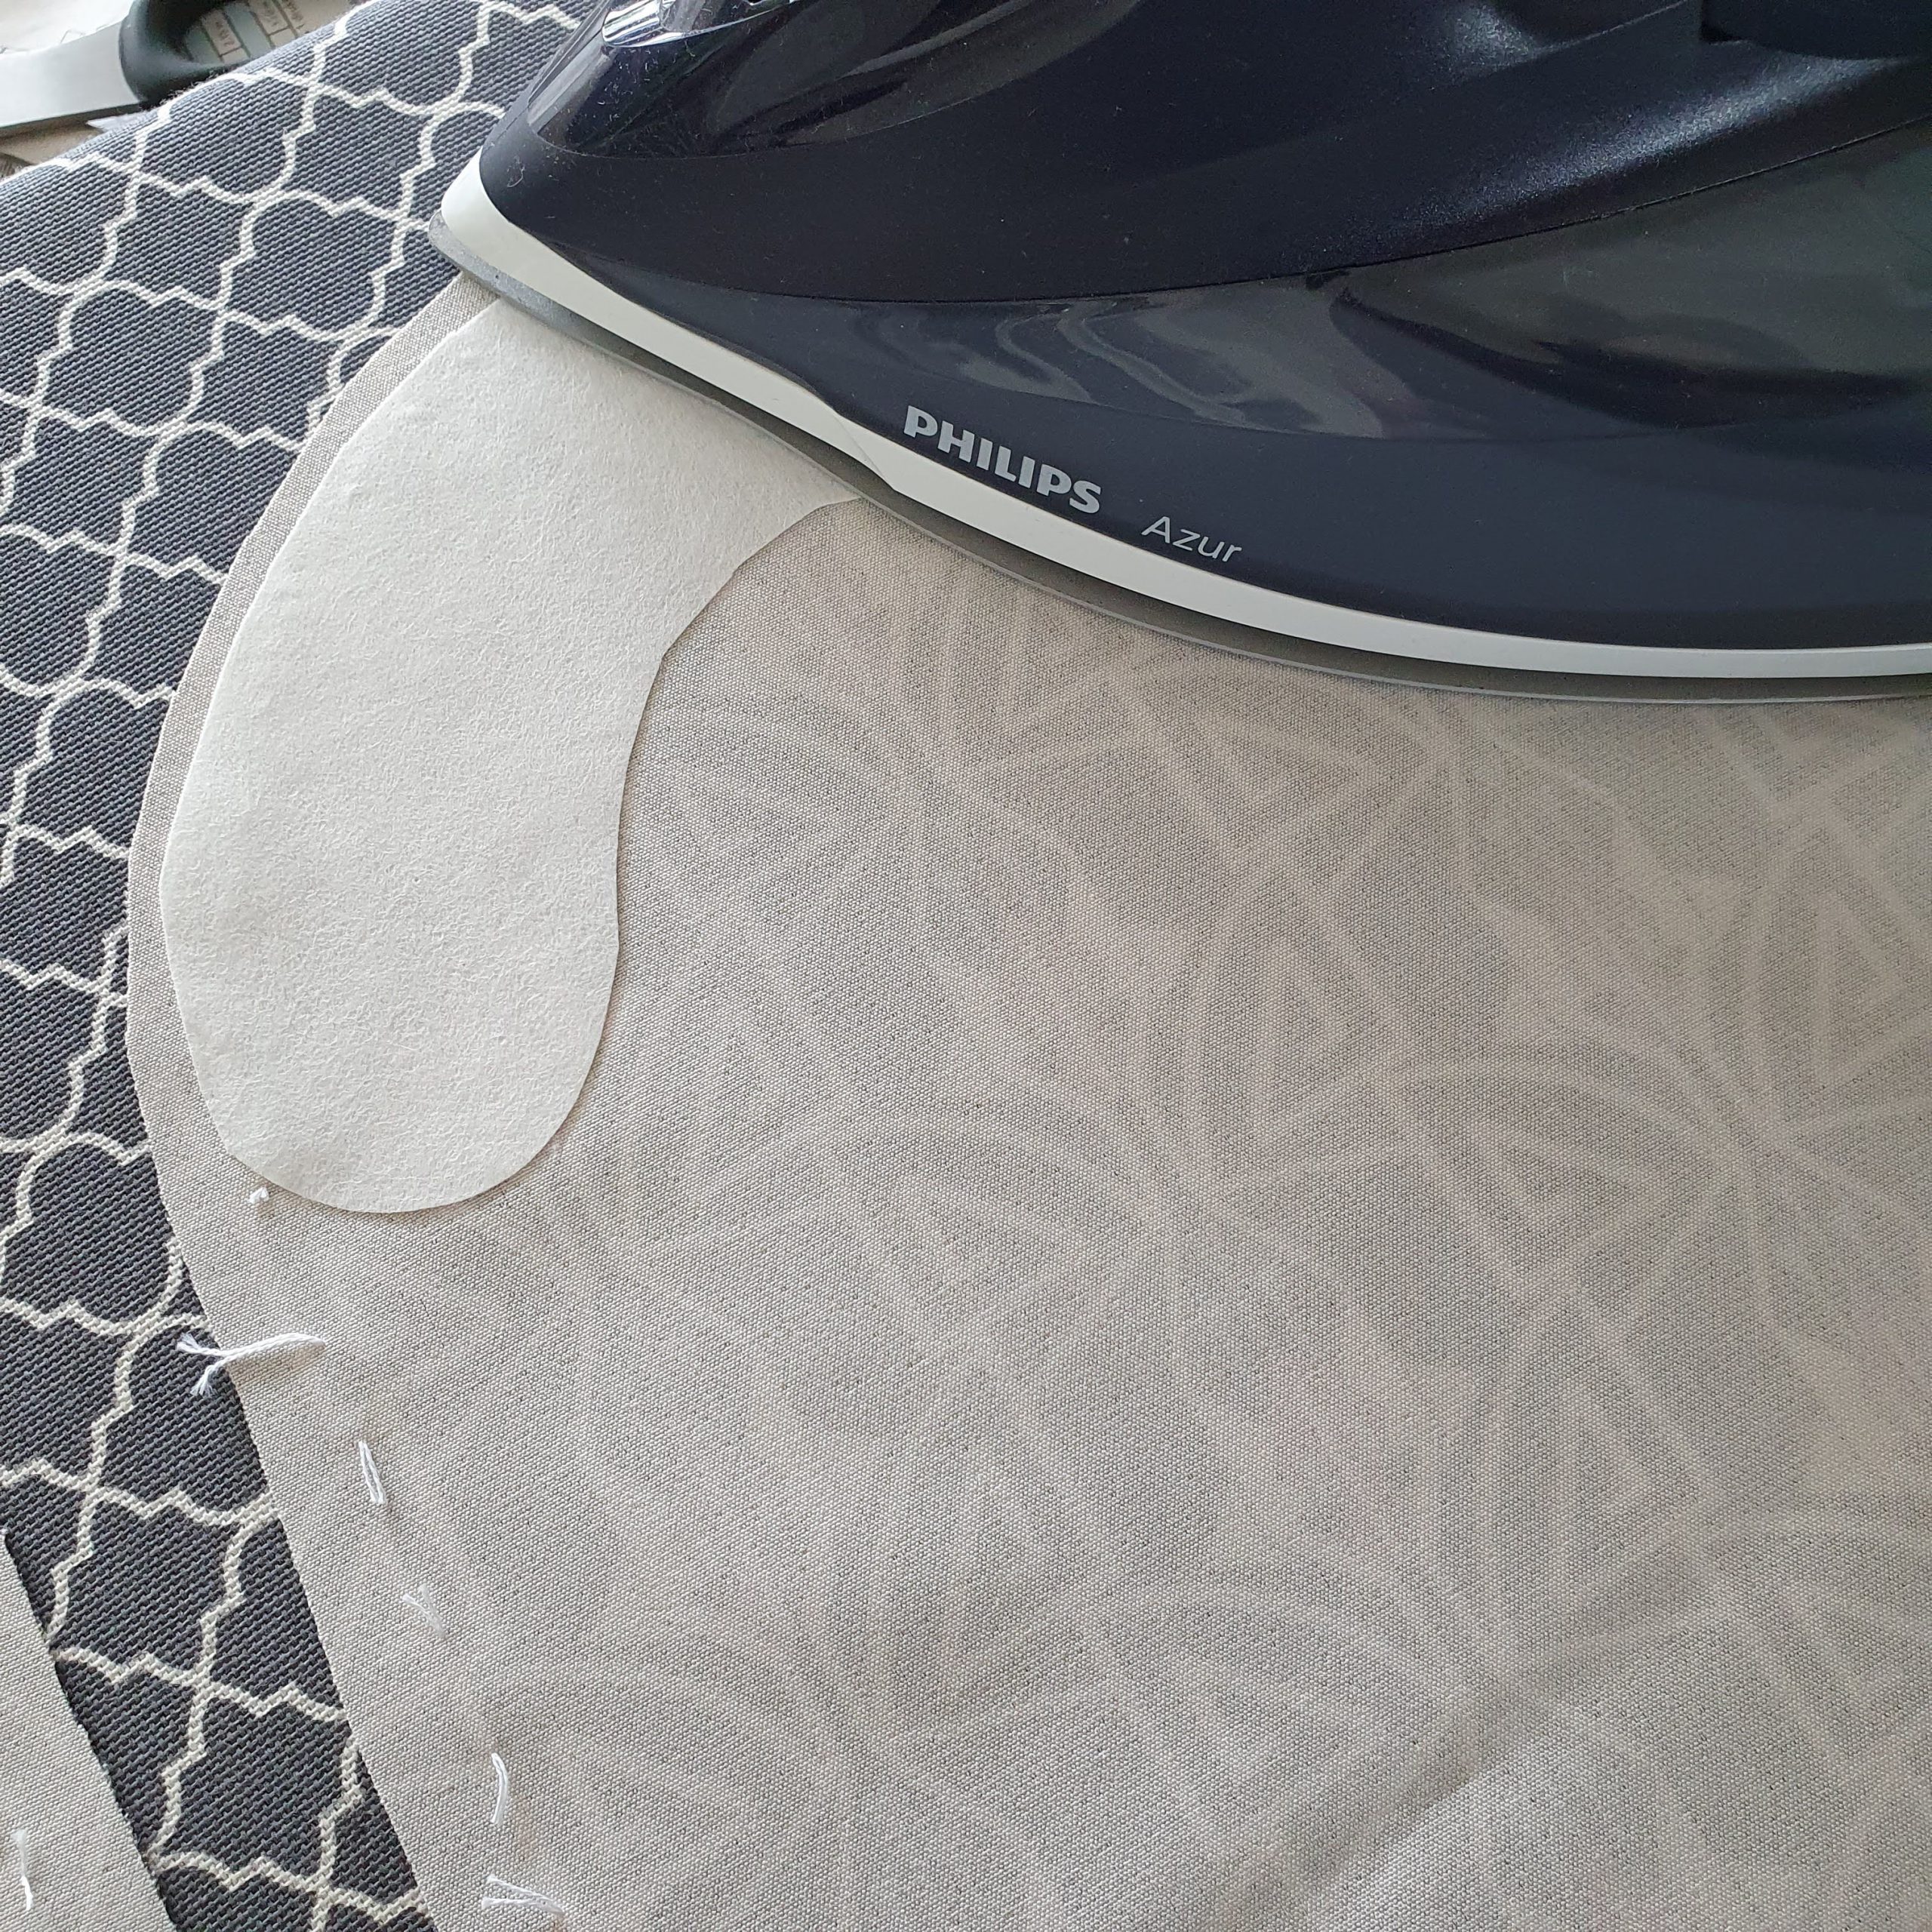
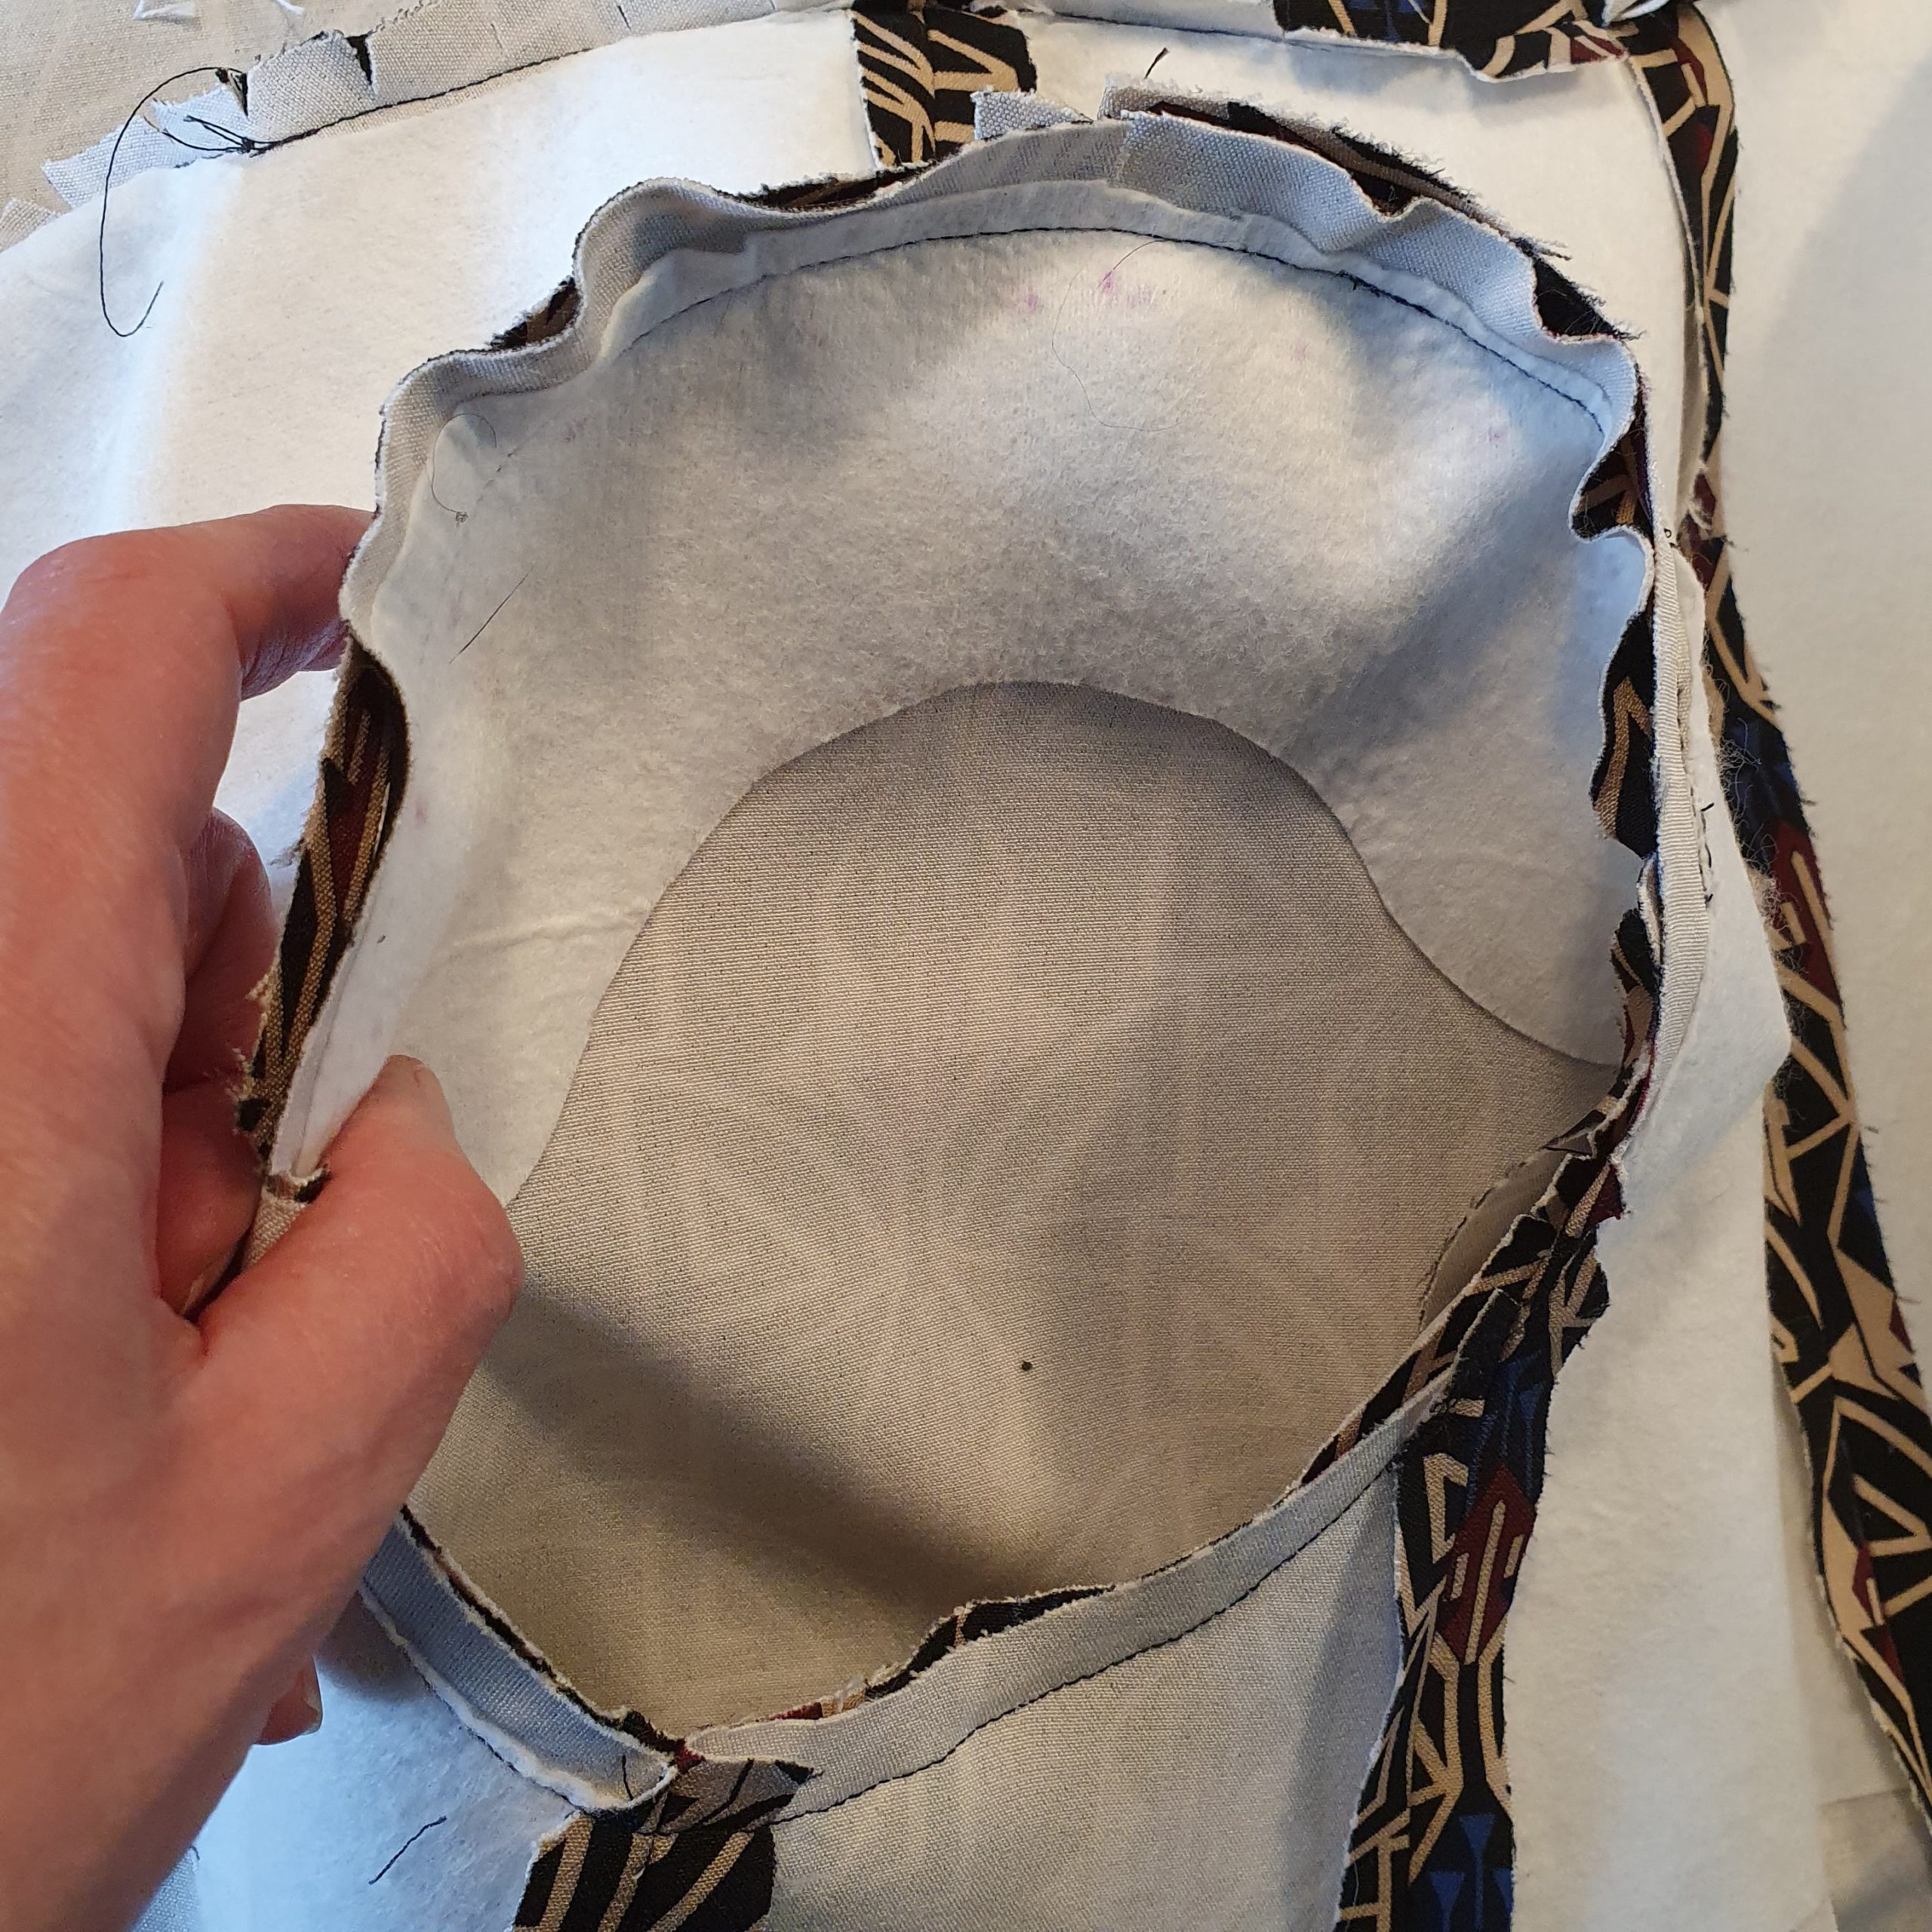
Contrary to the description of the pattern, I have altered the execution of this blazer at some points. For example, I reinforced both the front and the back with soft somewhat firmer nonwoven fabric. For the pockets I used fake leather for the welts and to get nicely shaped shoulders I used besides padding a sleeve moustache of roll. Read about these last mentioned techniques in this blog.

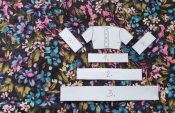
Fake leather welts
Moustache, reinforcement and shoulder pads
Welt pockets
I love welt pockets. It is a precise and time-consuming technique, but the result is marvellous.
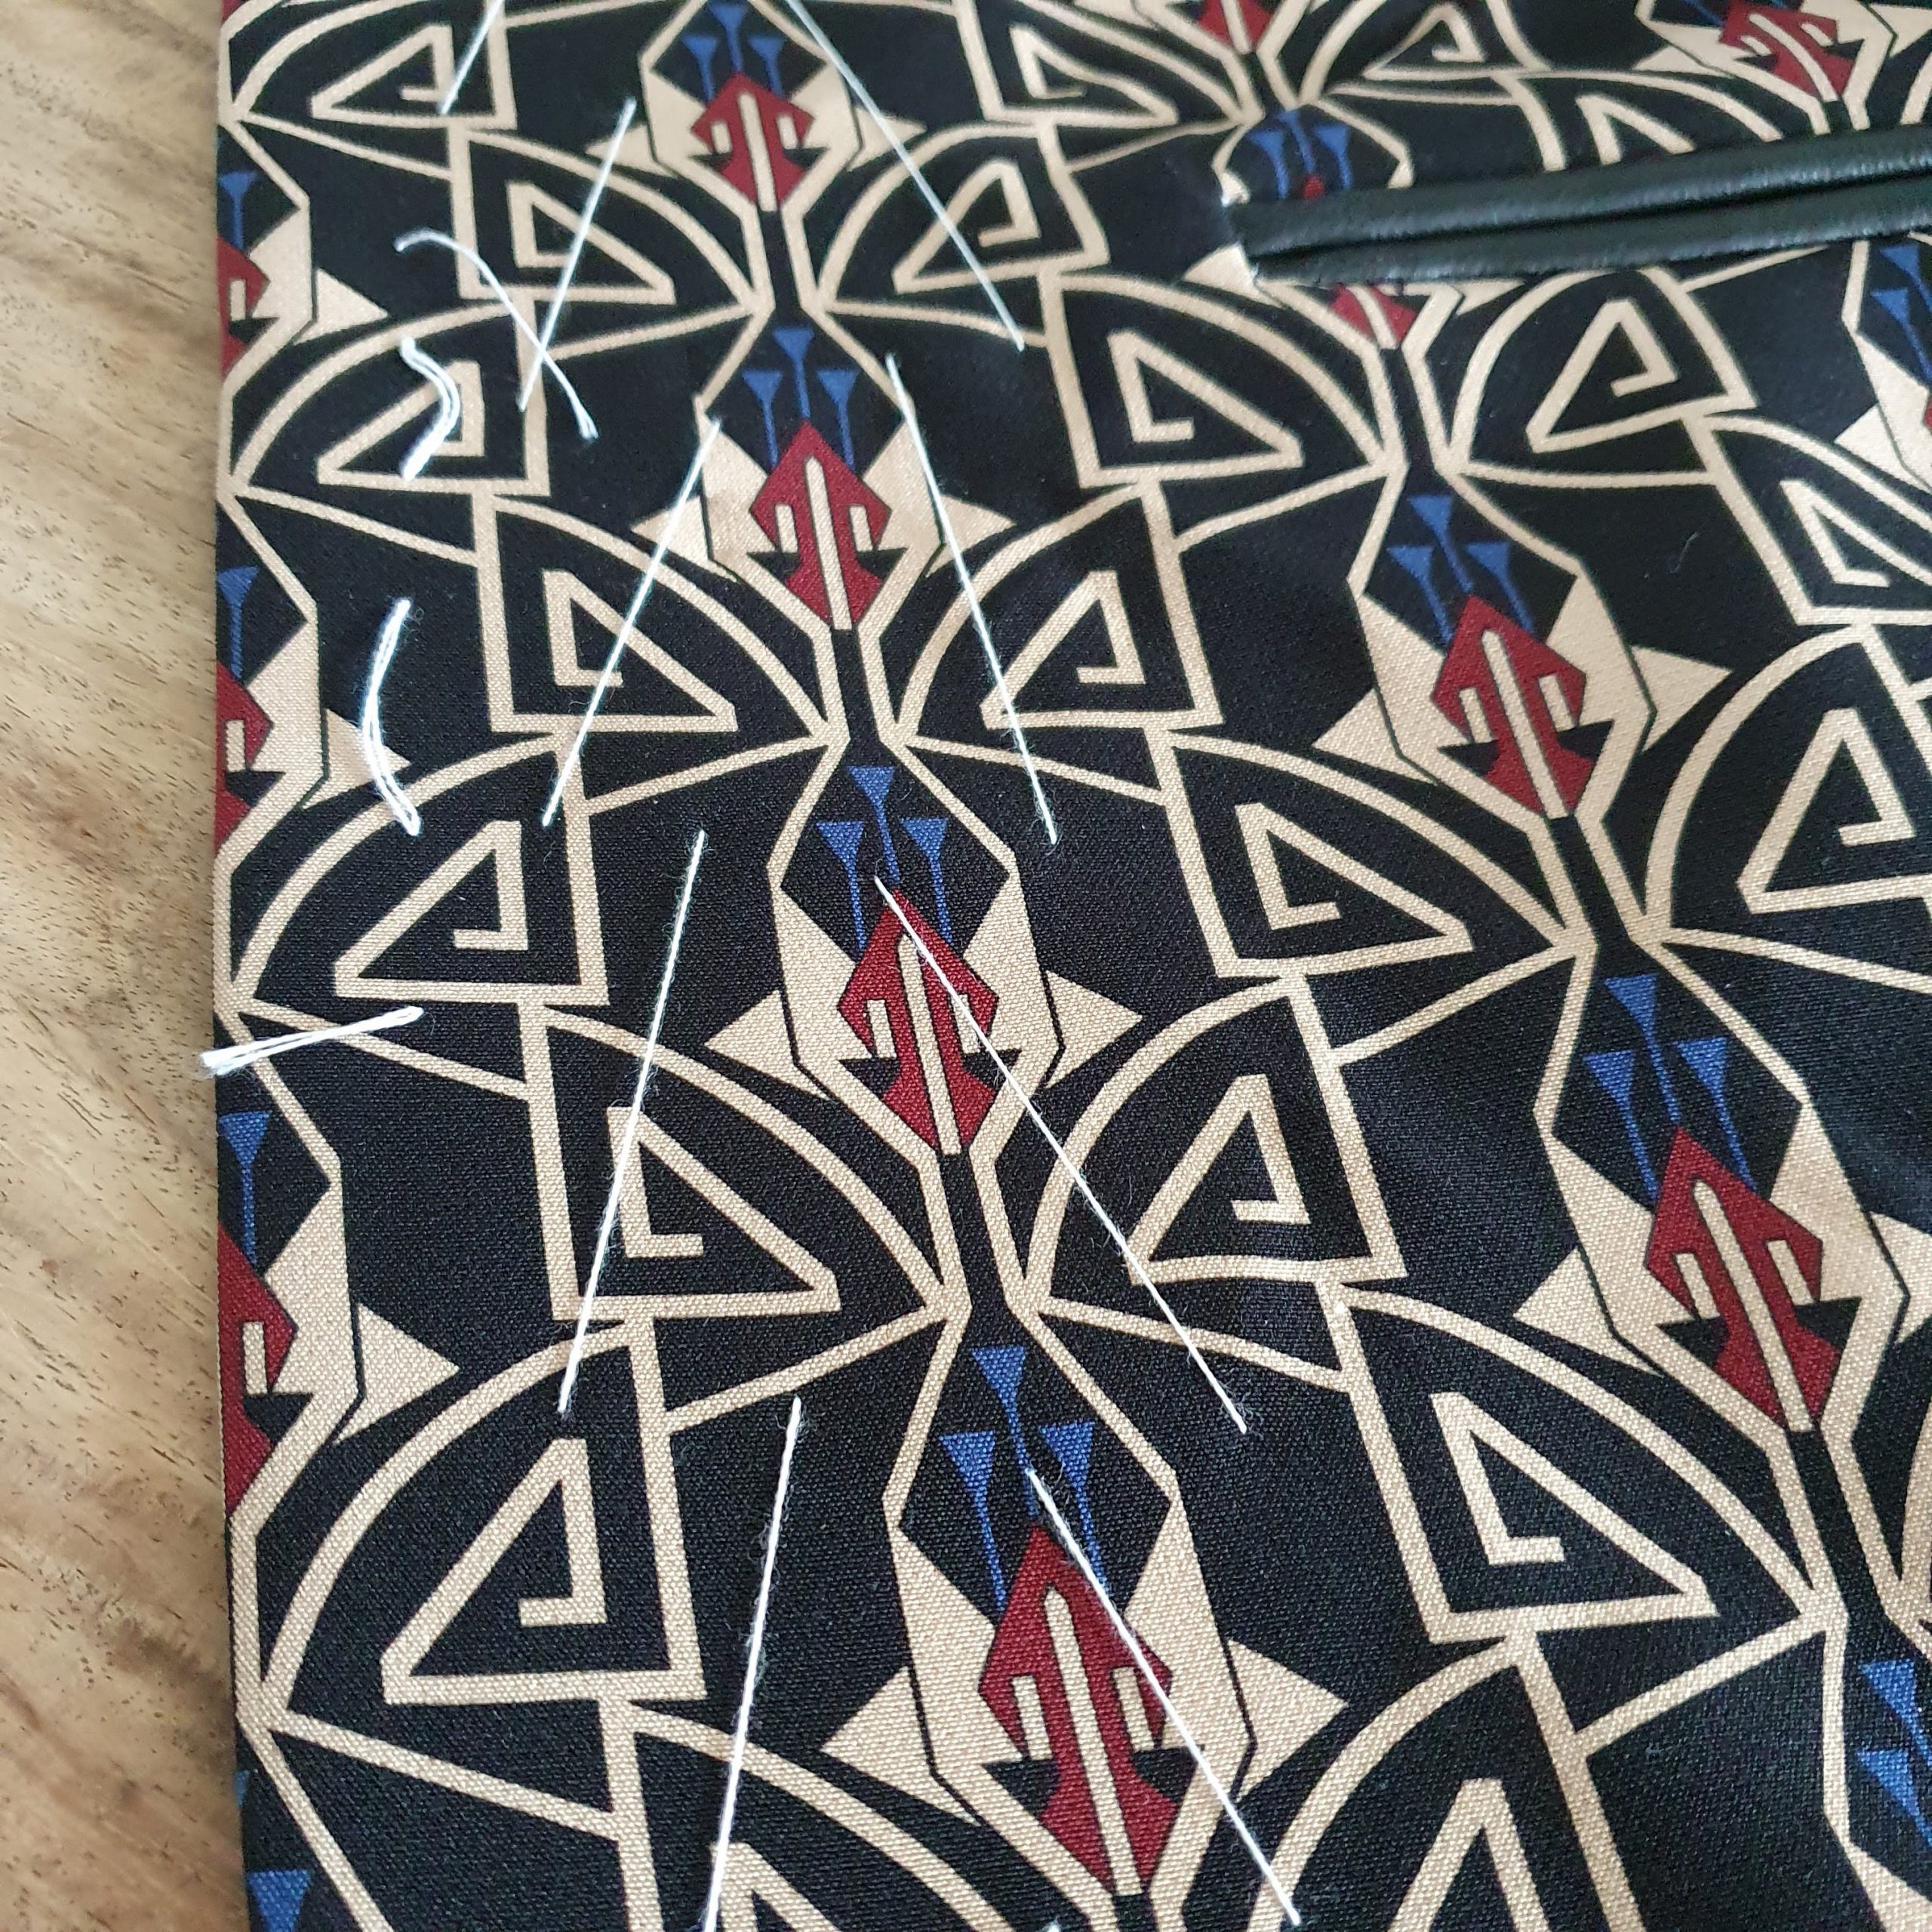
When making welt pockets, it is always important that you work accurately. Start by reinforcing the pocket entrance. In the blazer this is divided over the side and the front pattern pieces. Reinforce it first before stitching the pattern pieces together. Press well after stitching. I usually leave the seam allowance. Then mark (again) the pocket entrance with a sharp pencil or marker. Also with basting thread so that it is also visible on the right side of the fabric.
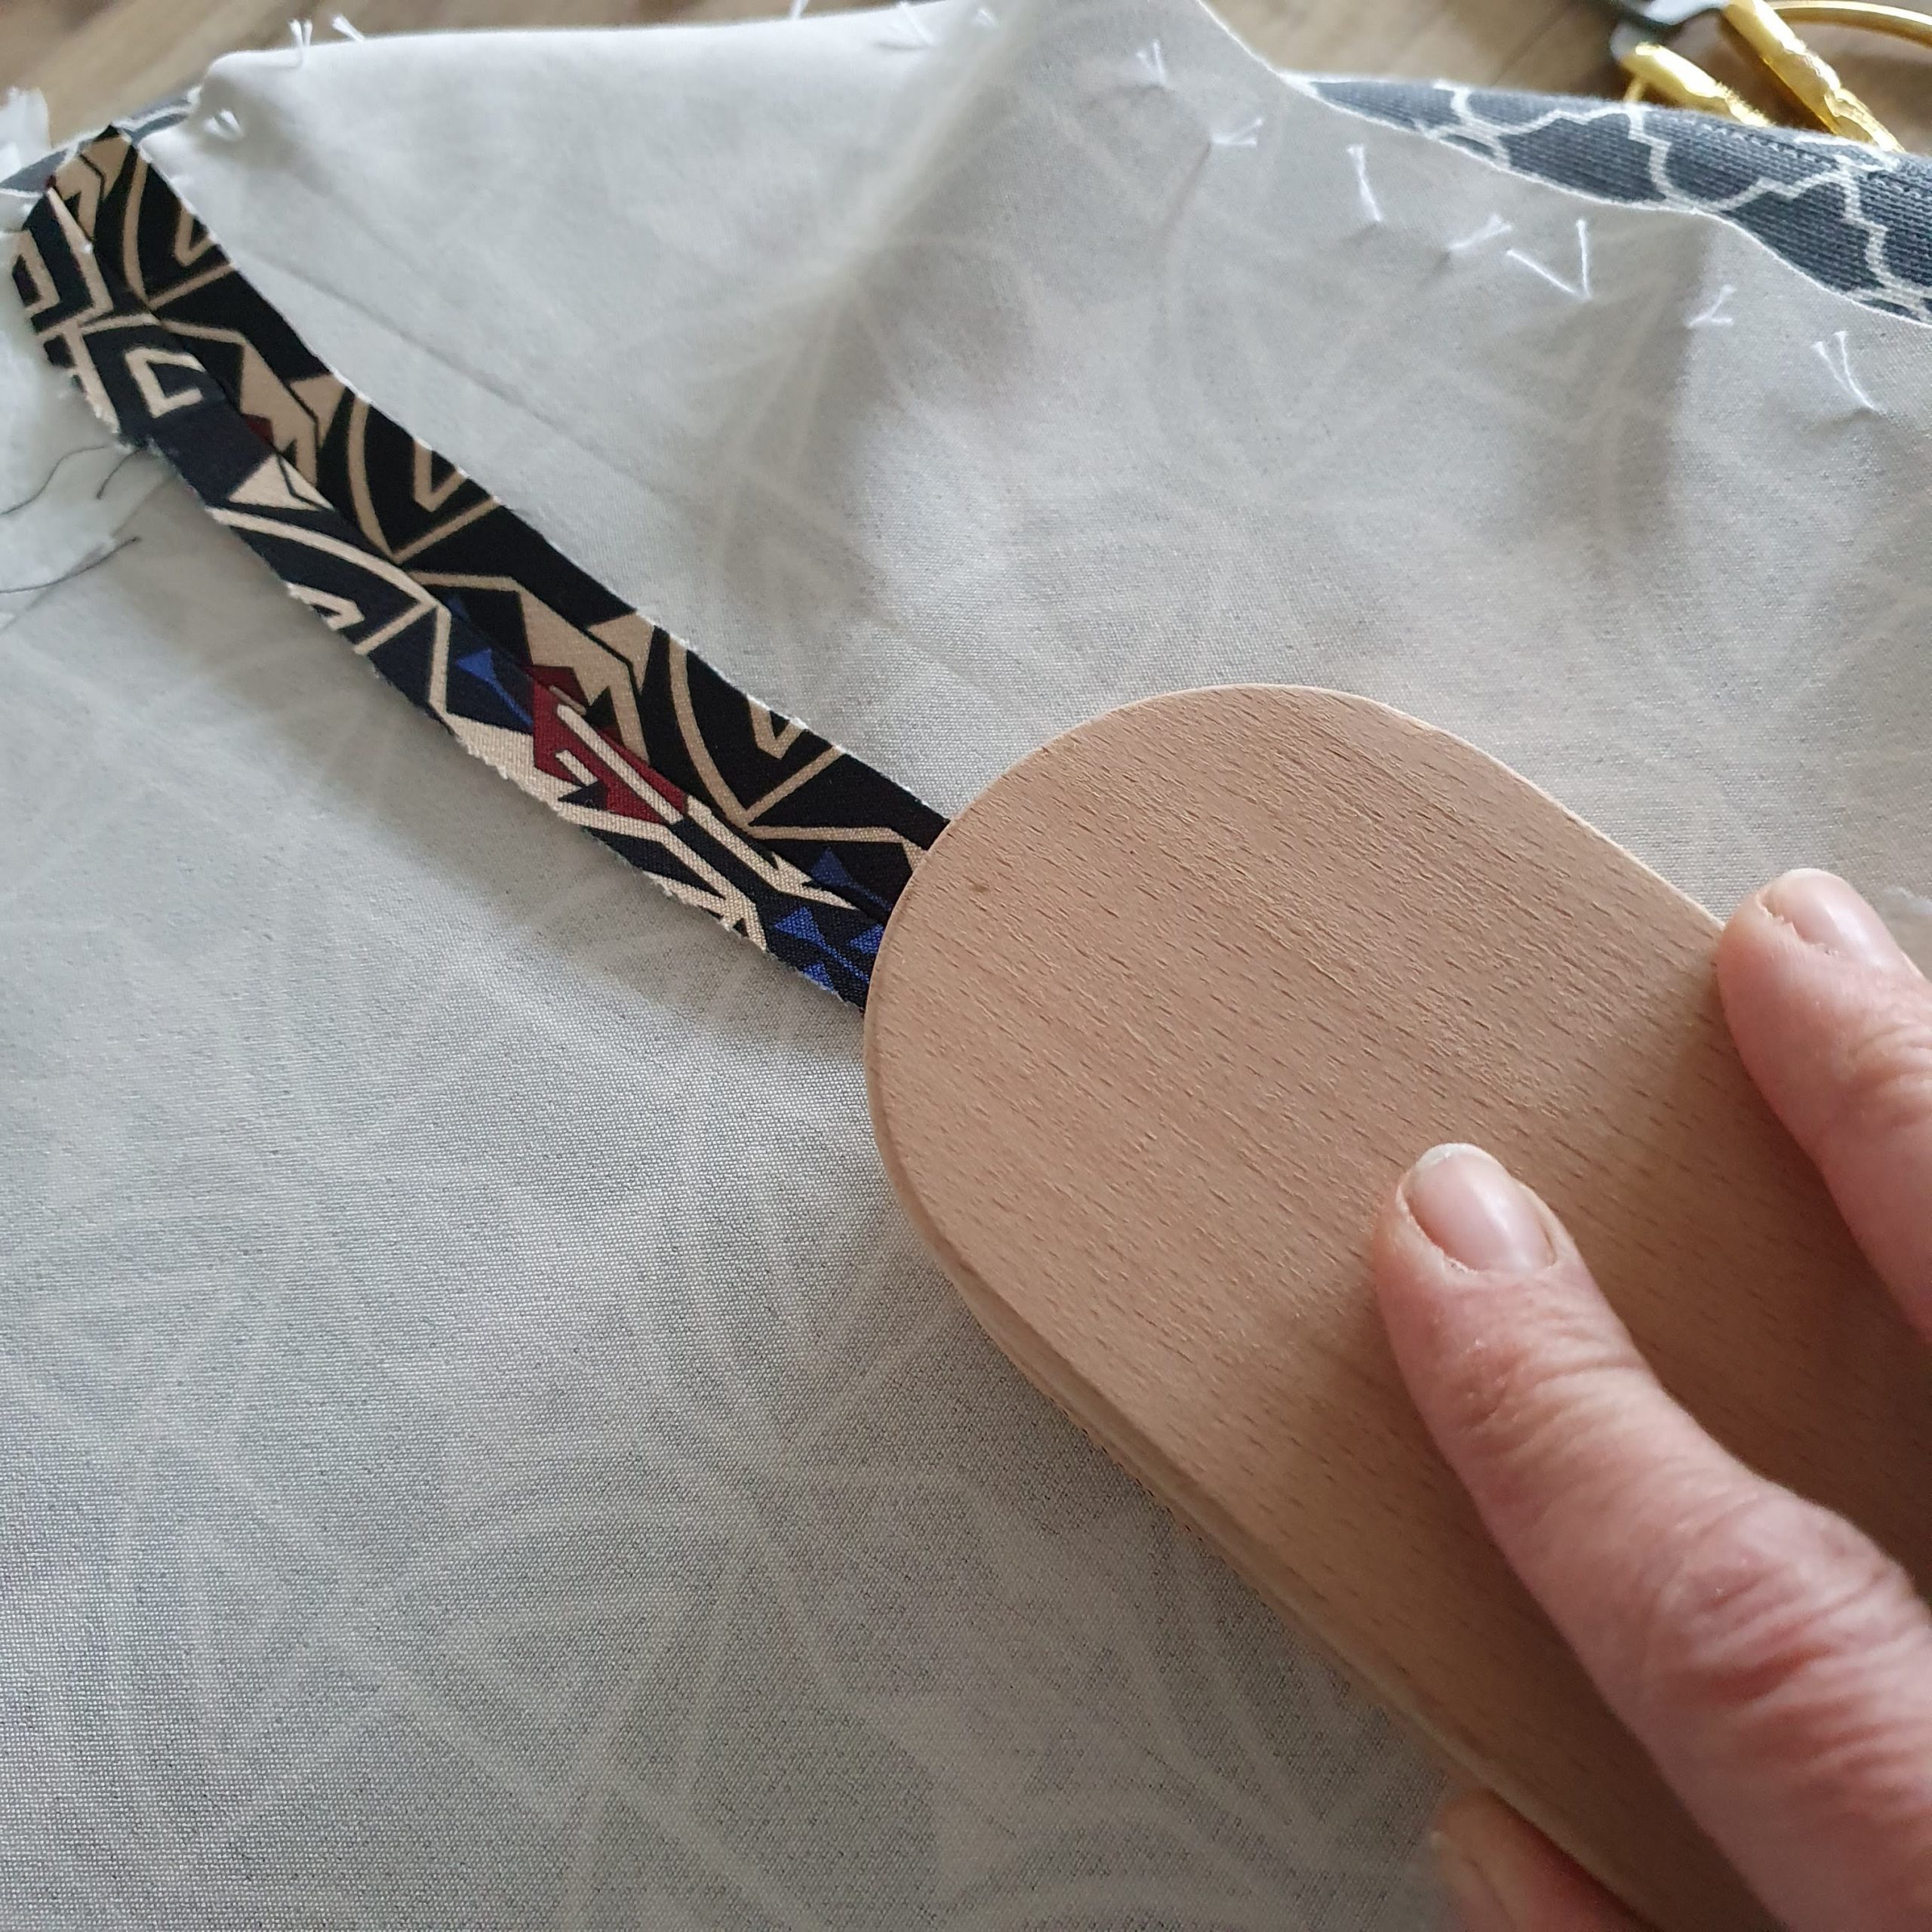
Press seams, use a clapper

Mark
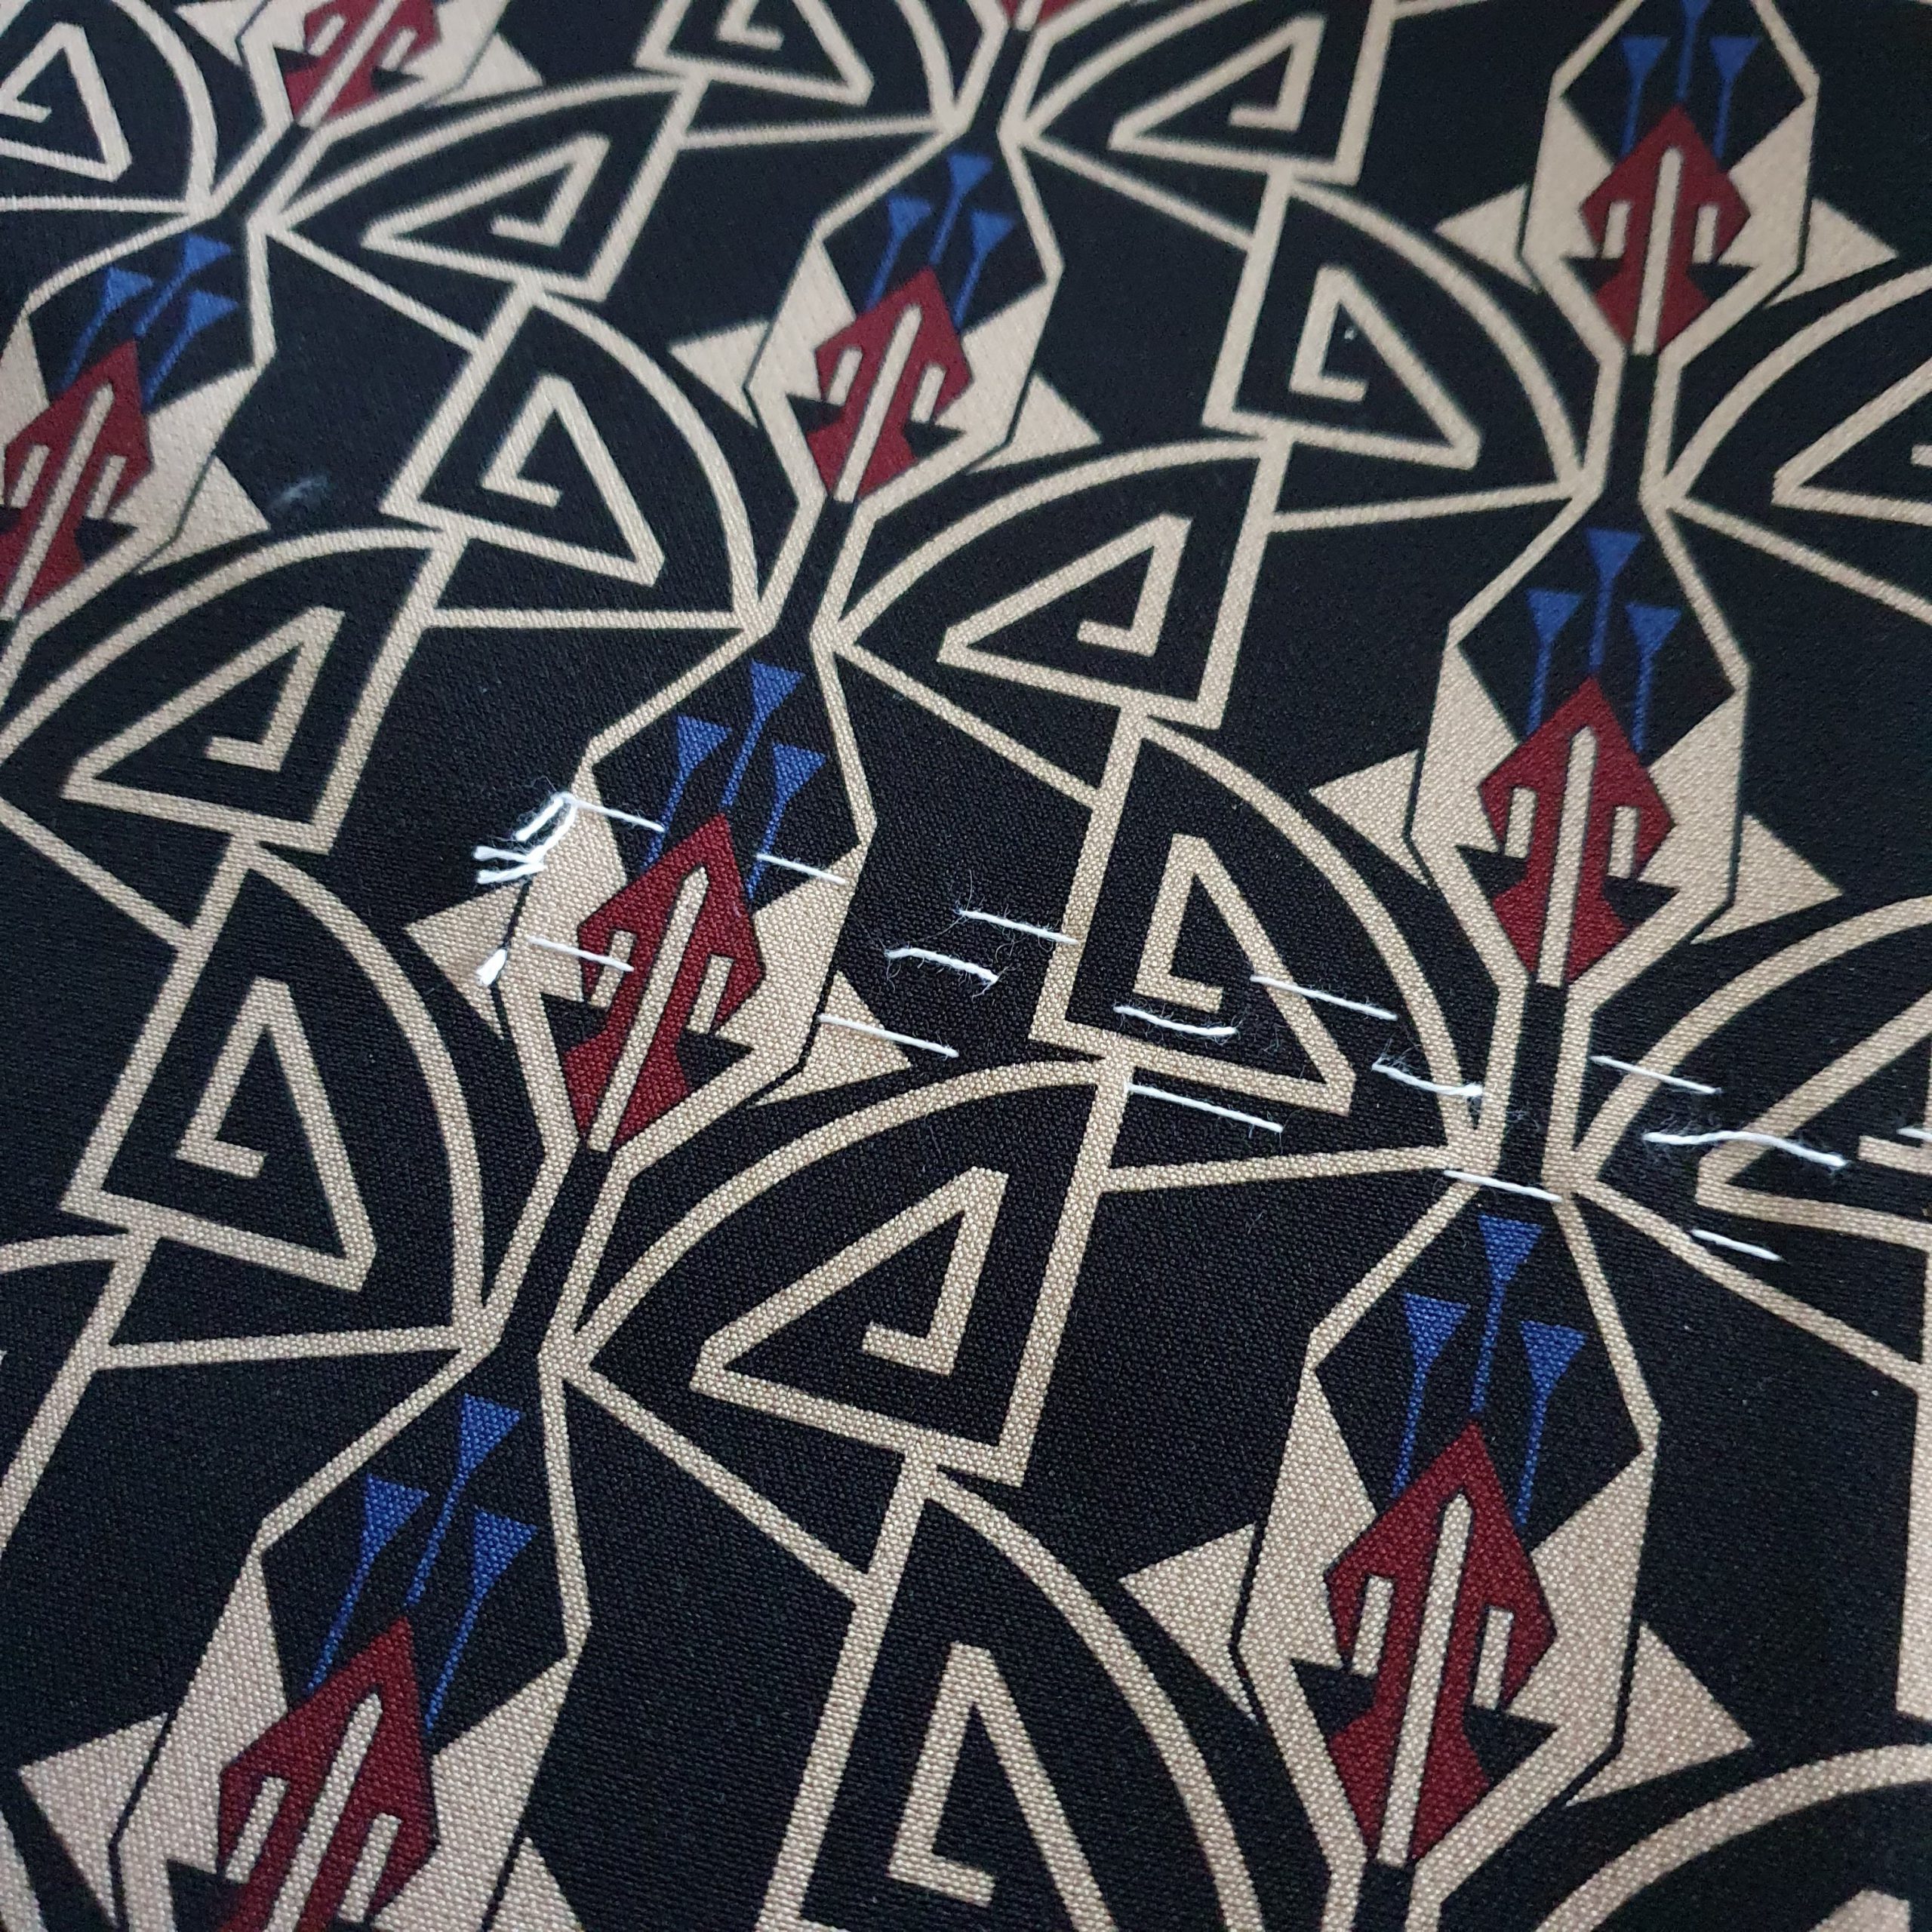
Also with basting thread
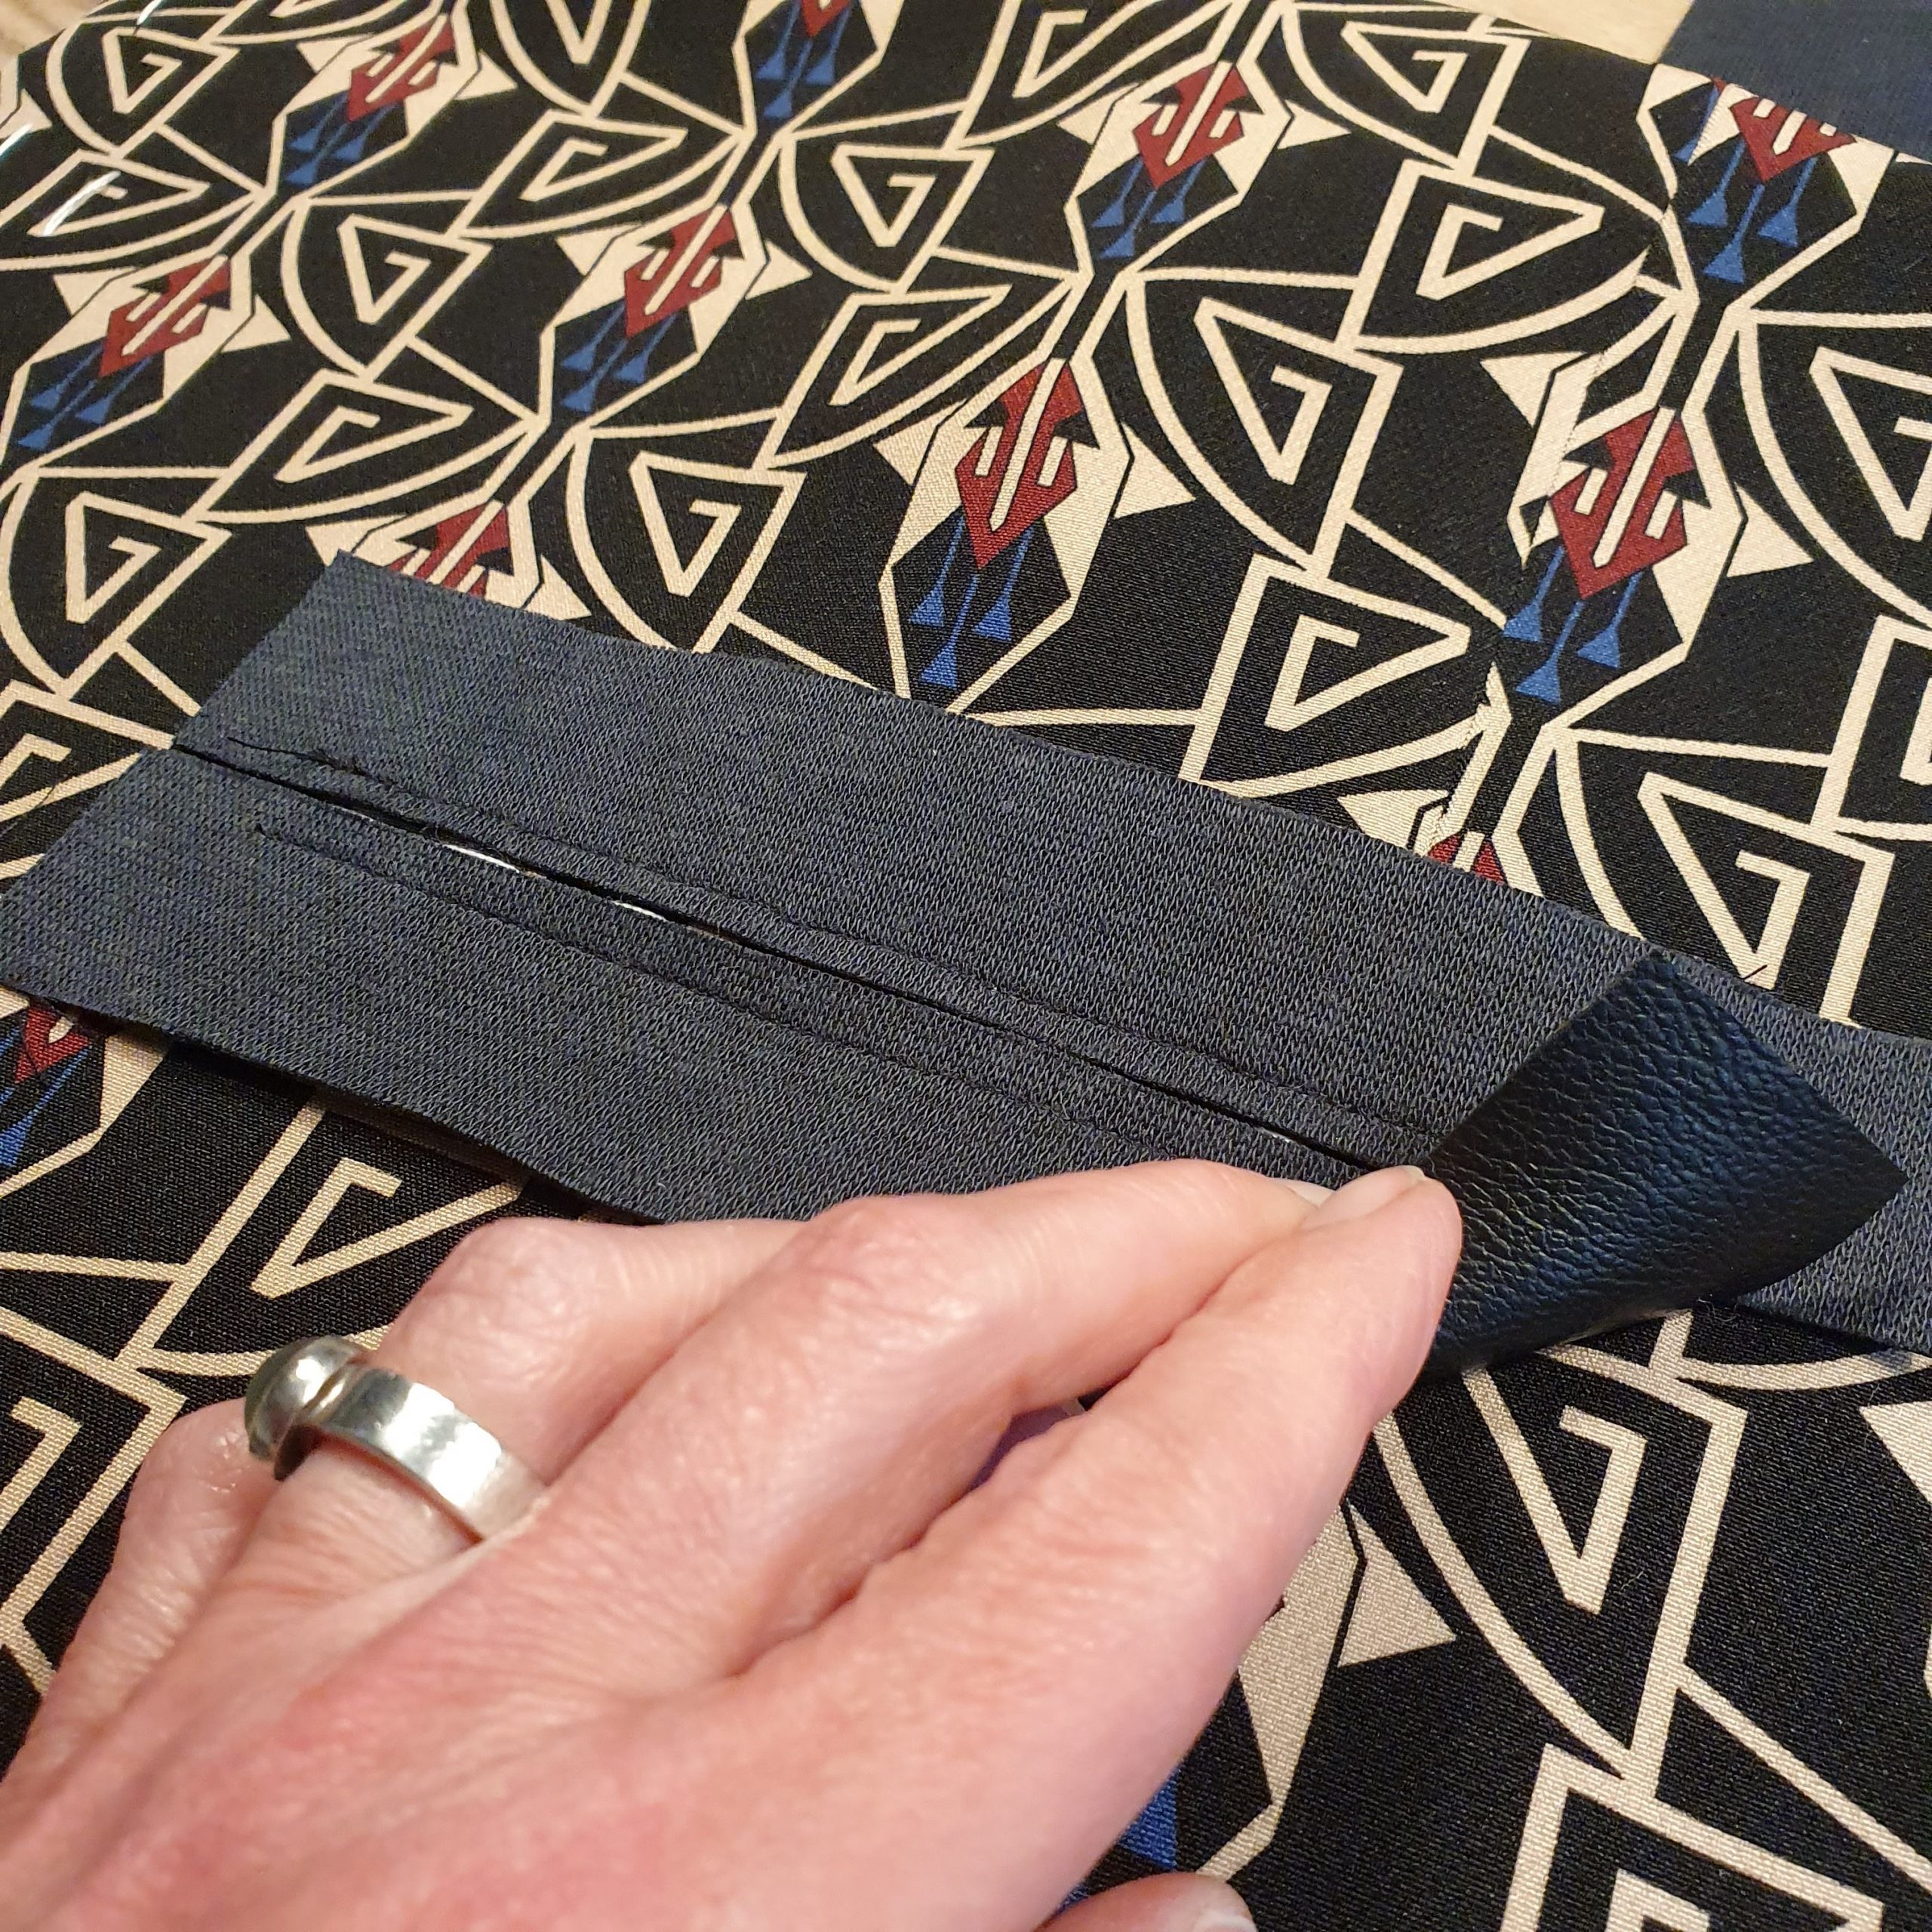
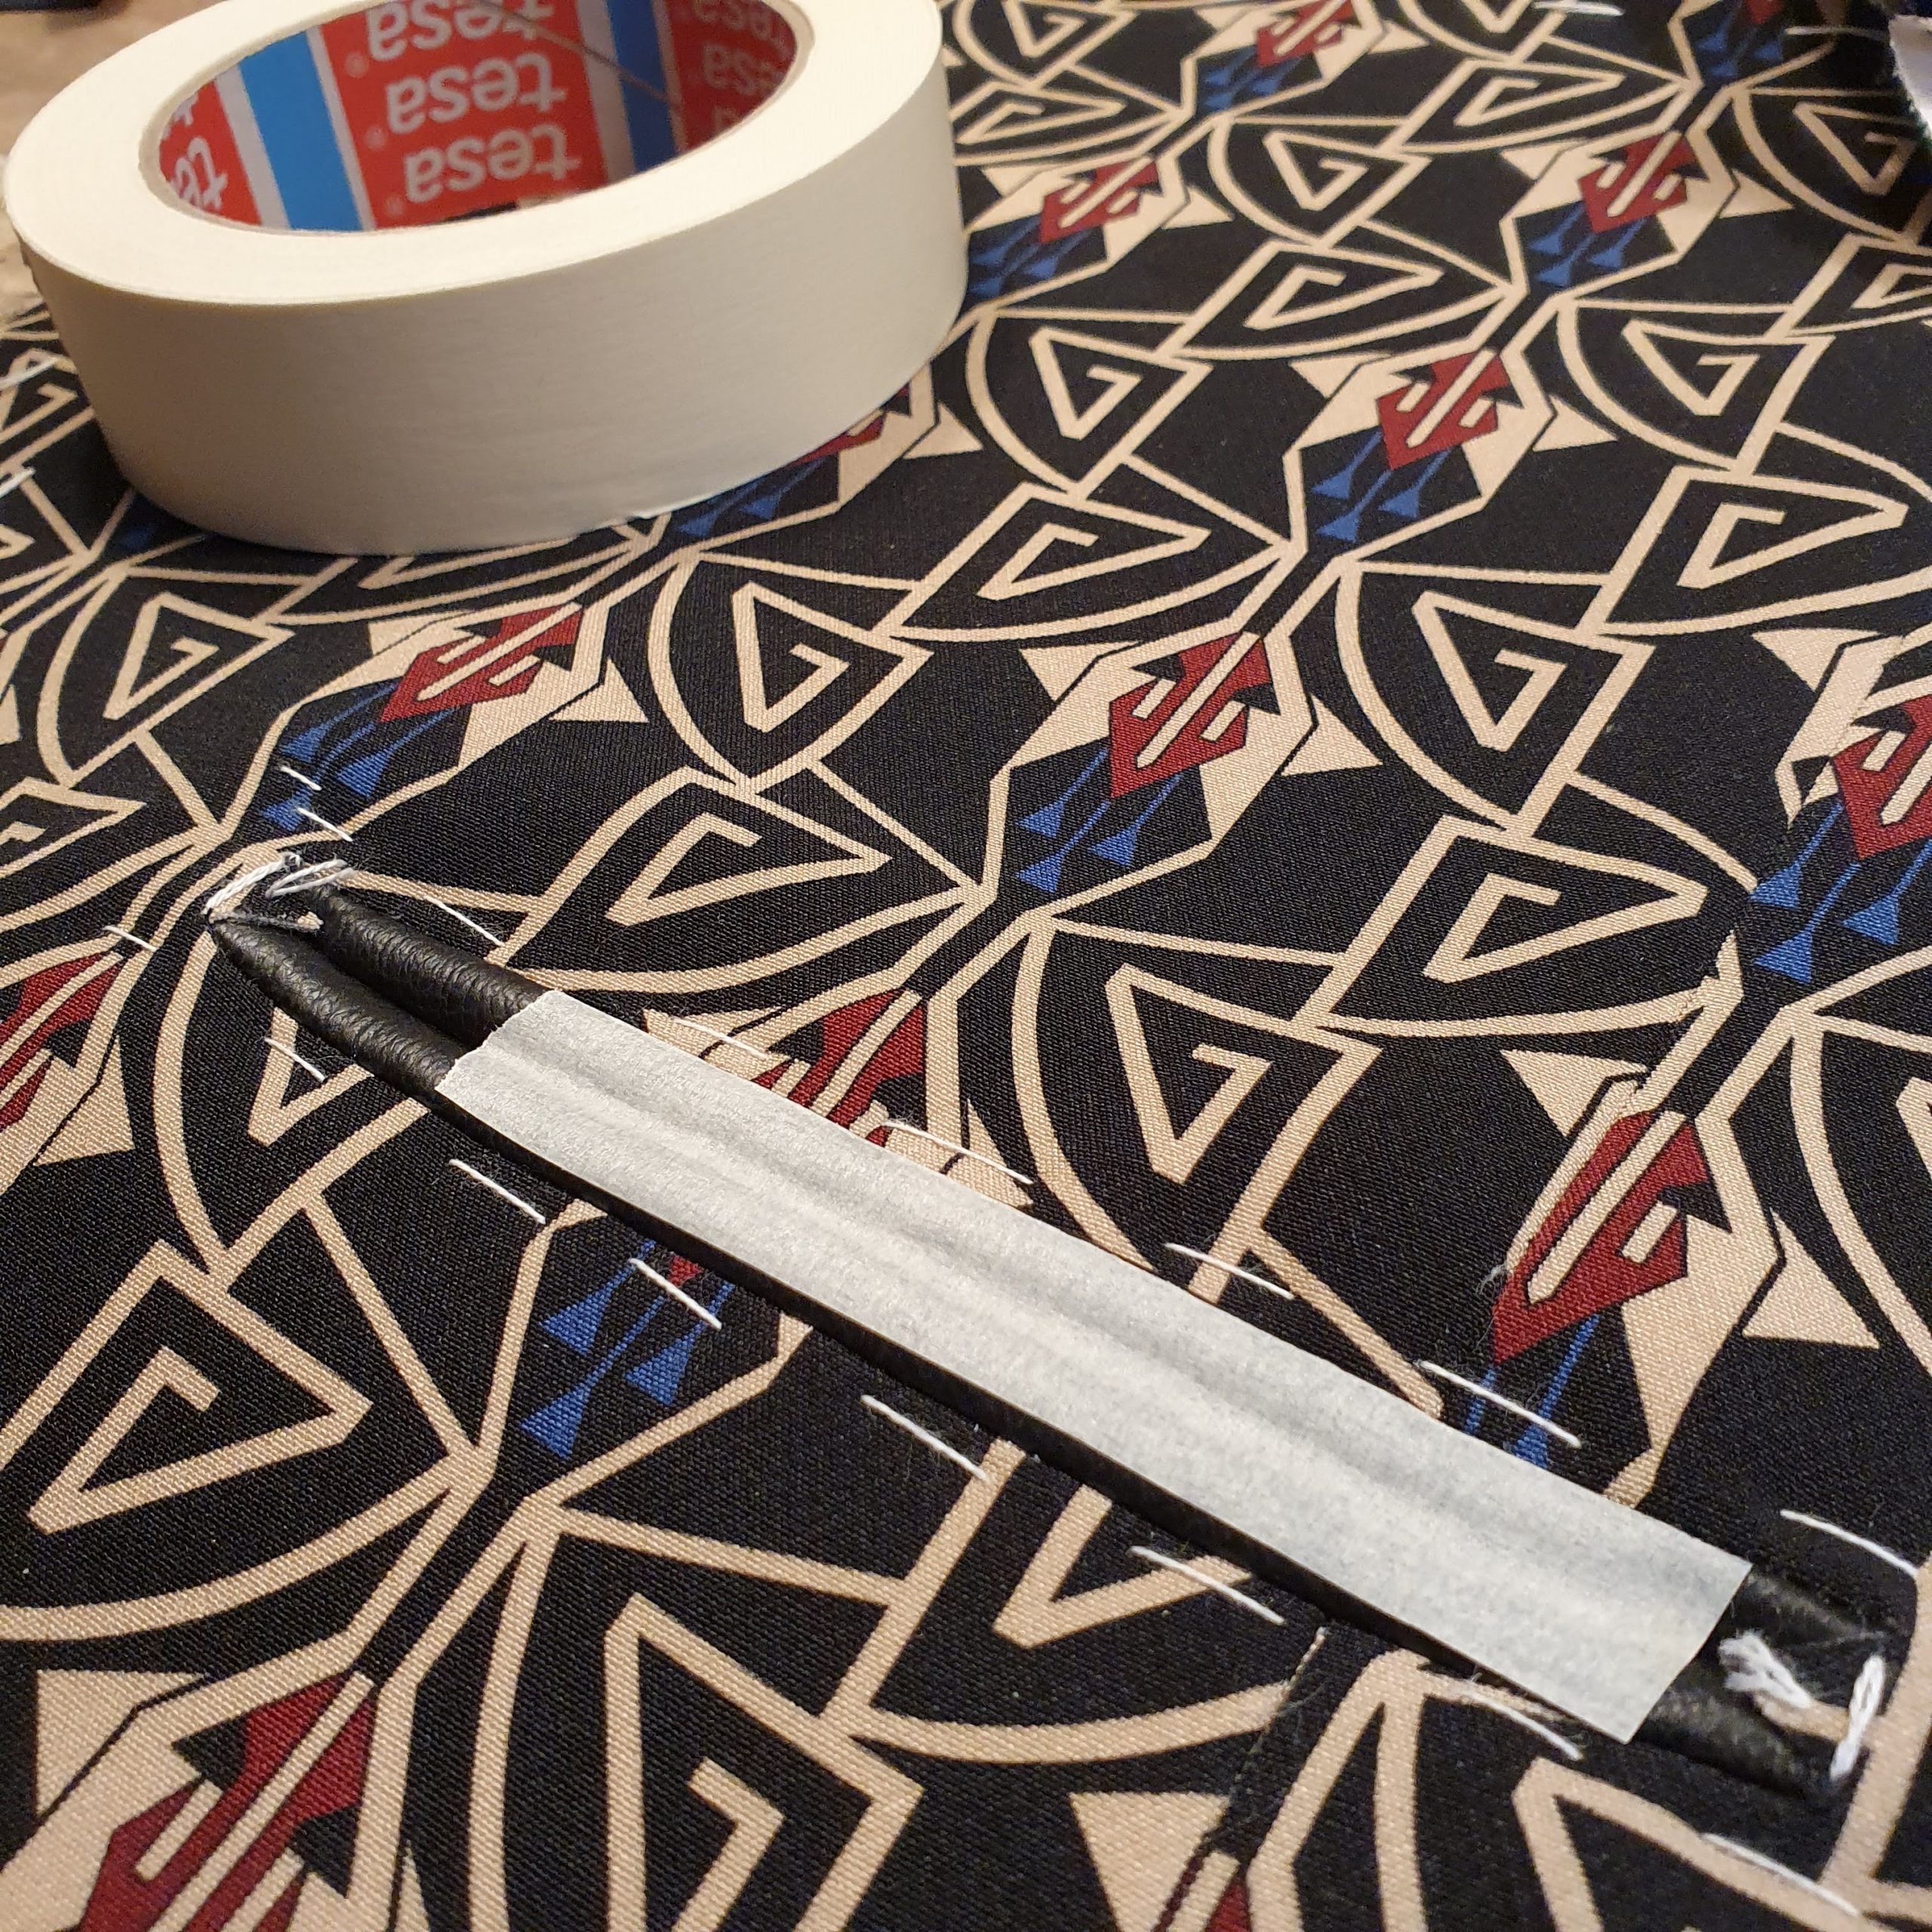
Then place the two welts on the right side of the fabric, right sides down. Pin these, or in the case of this faux leather, tape them. Then stitch the long side neatly on the inside on the drawn marking. Sew exactly from corner to corner.
Next you cut the pocket entrance. At one centimetre you cut diagonally to the corners, exactly where the stitching ends.
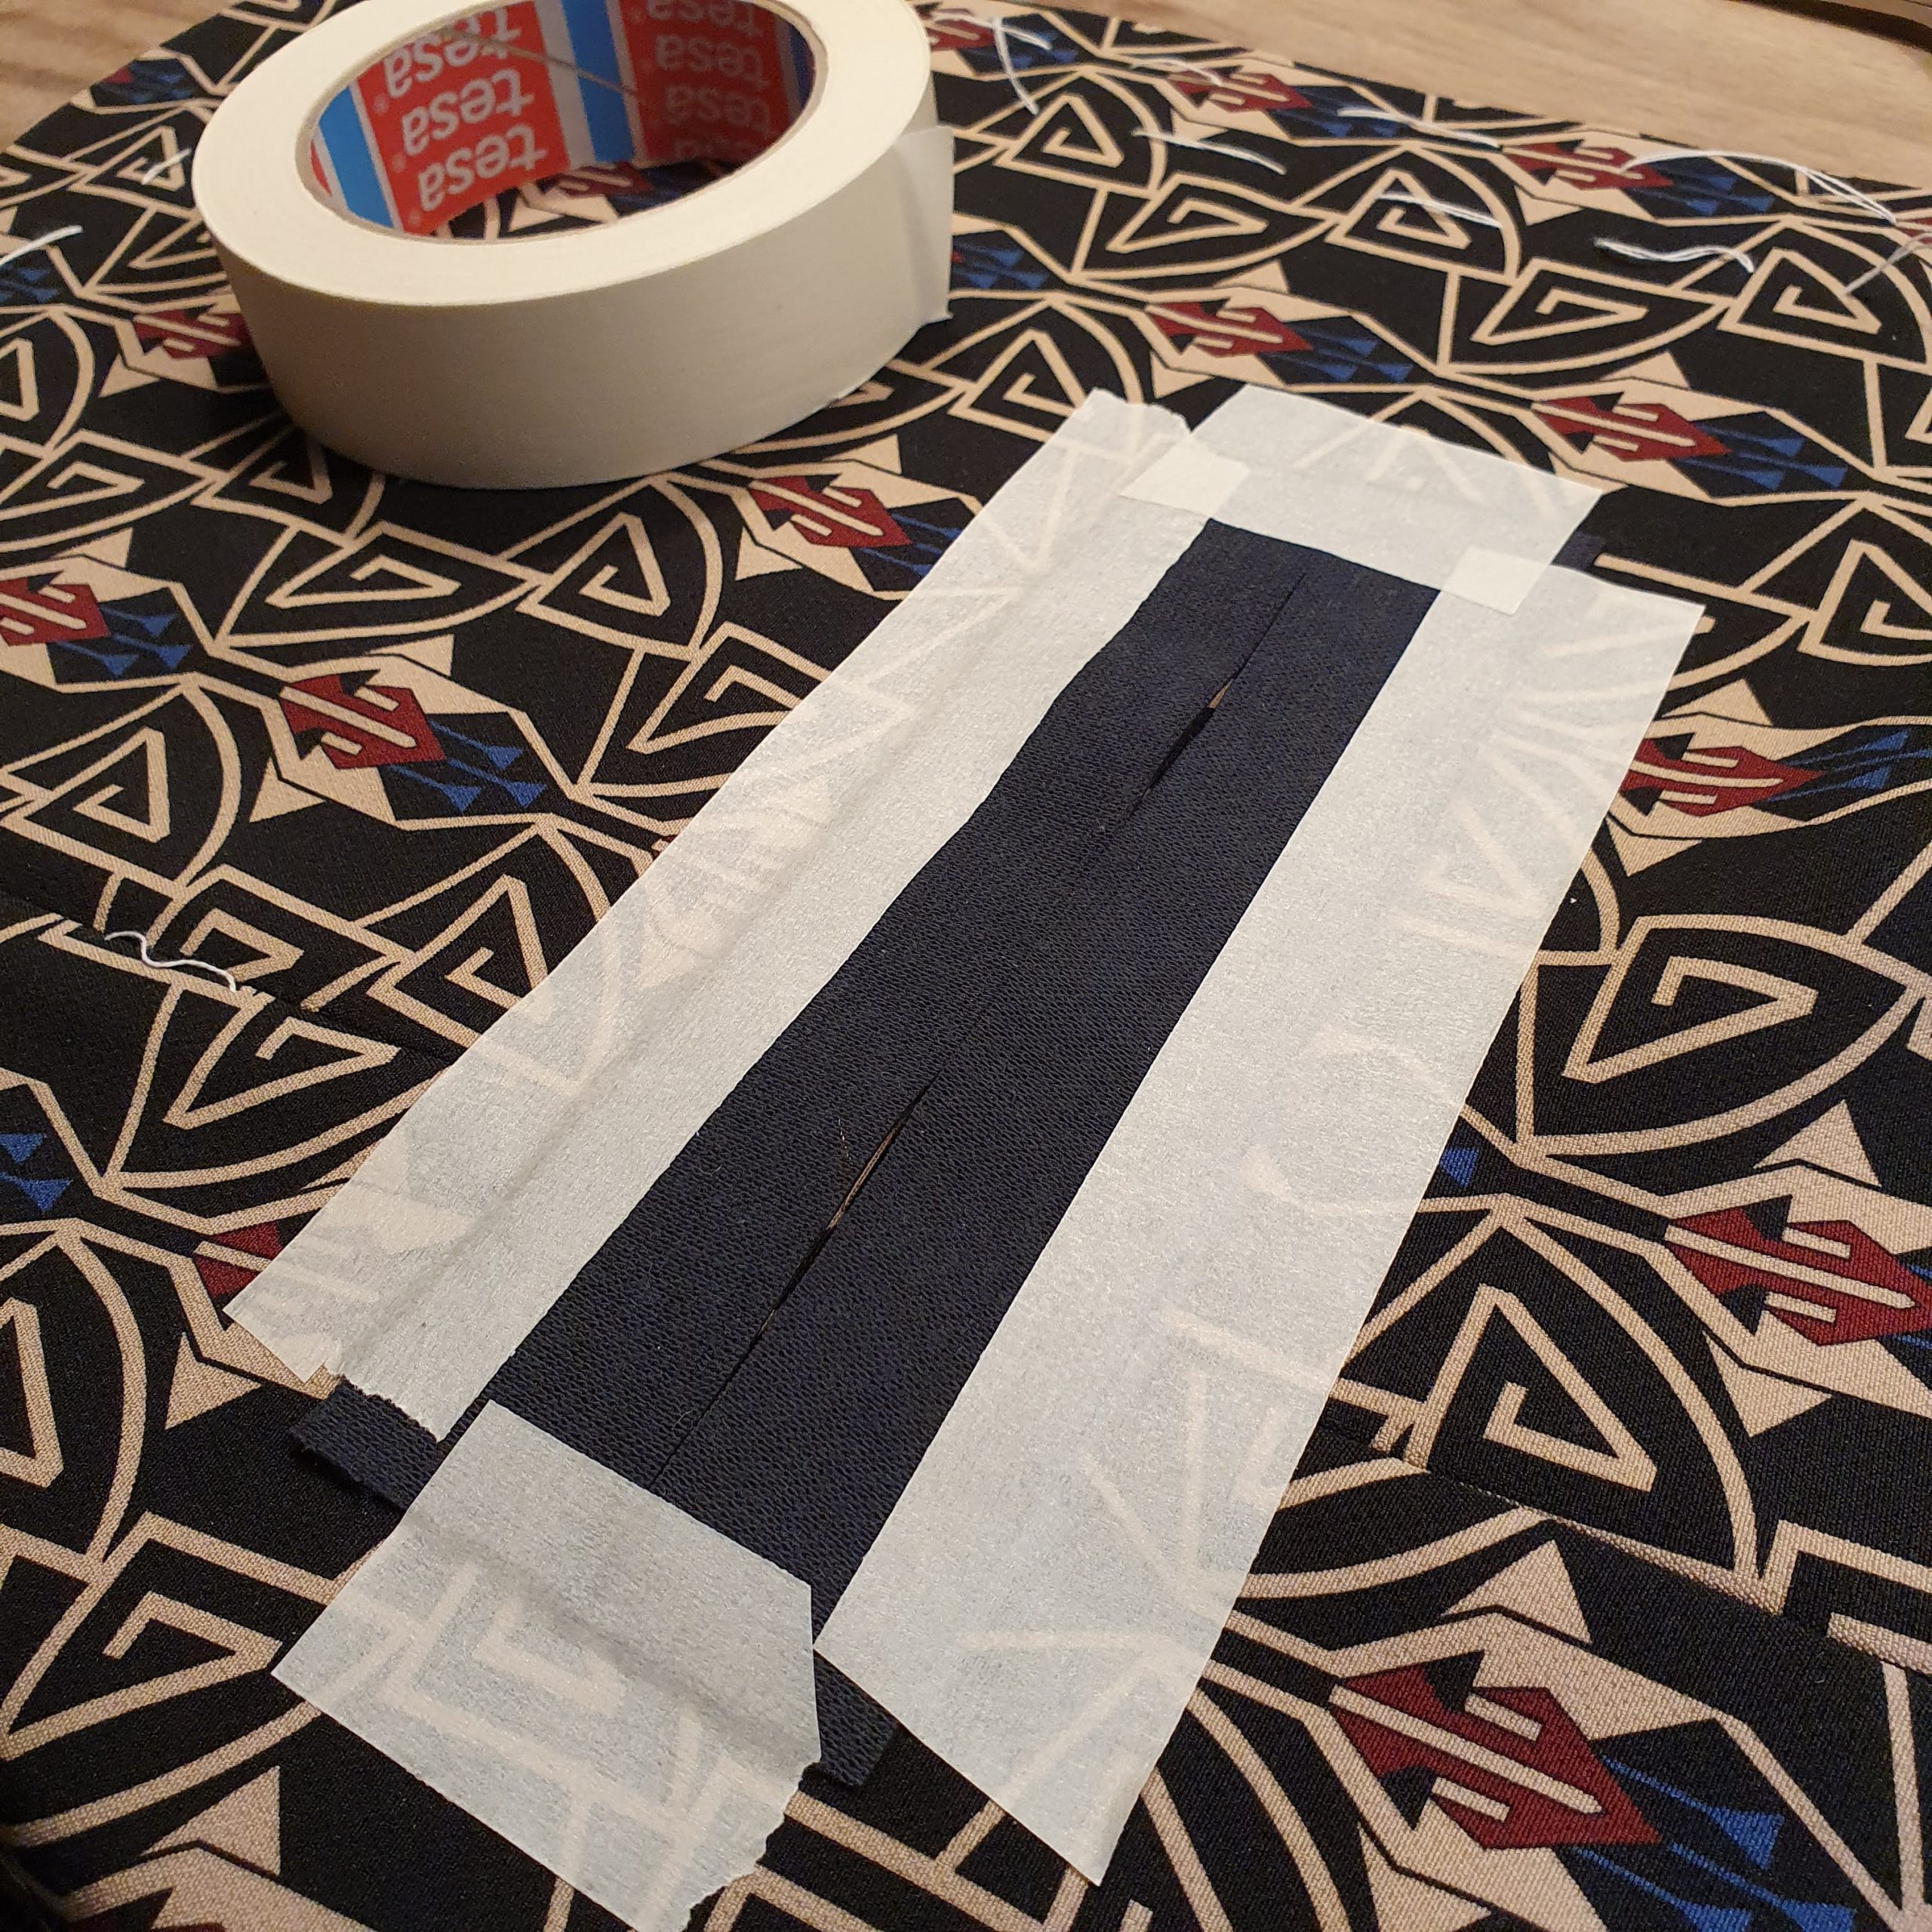
Welt taped
Stitched on the inside
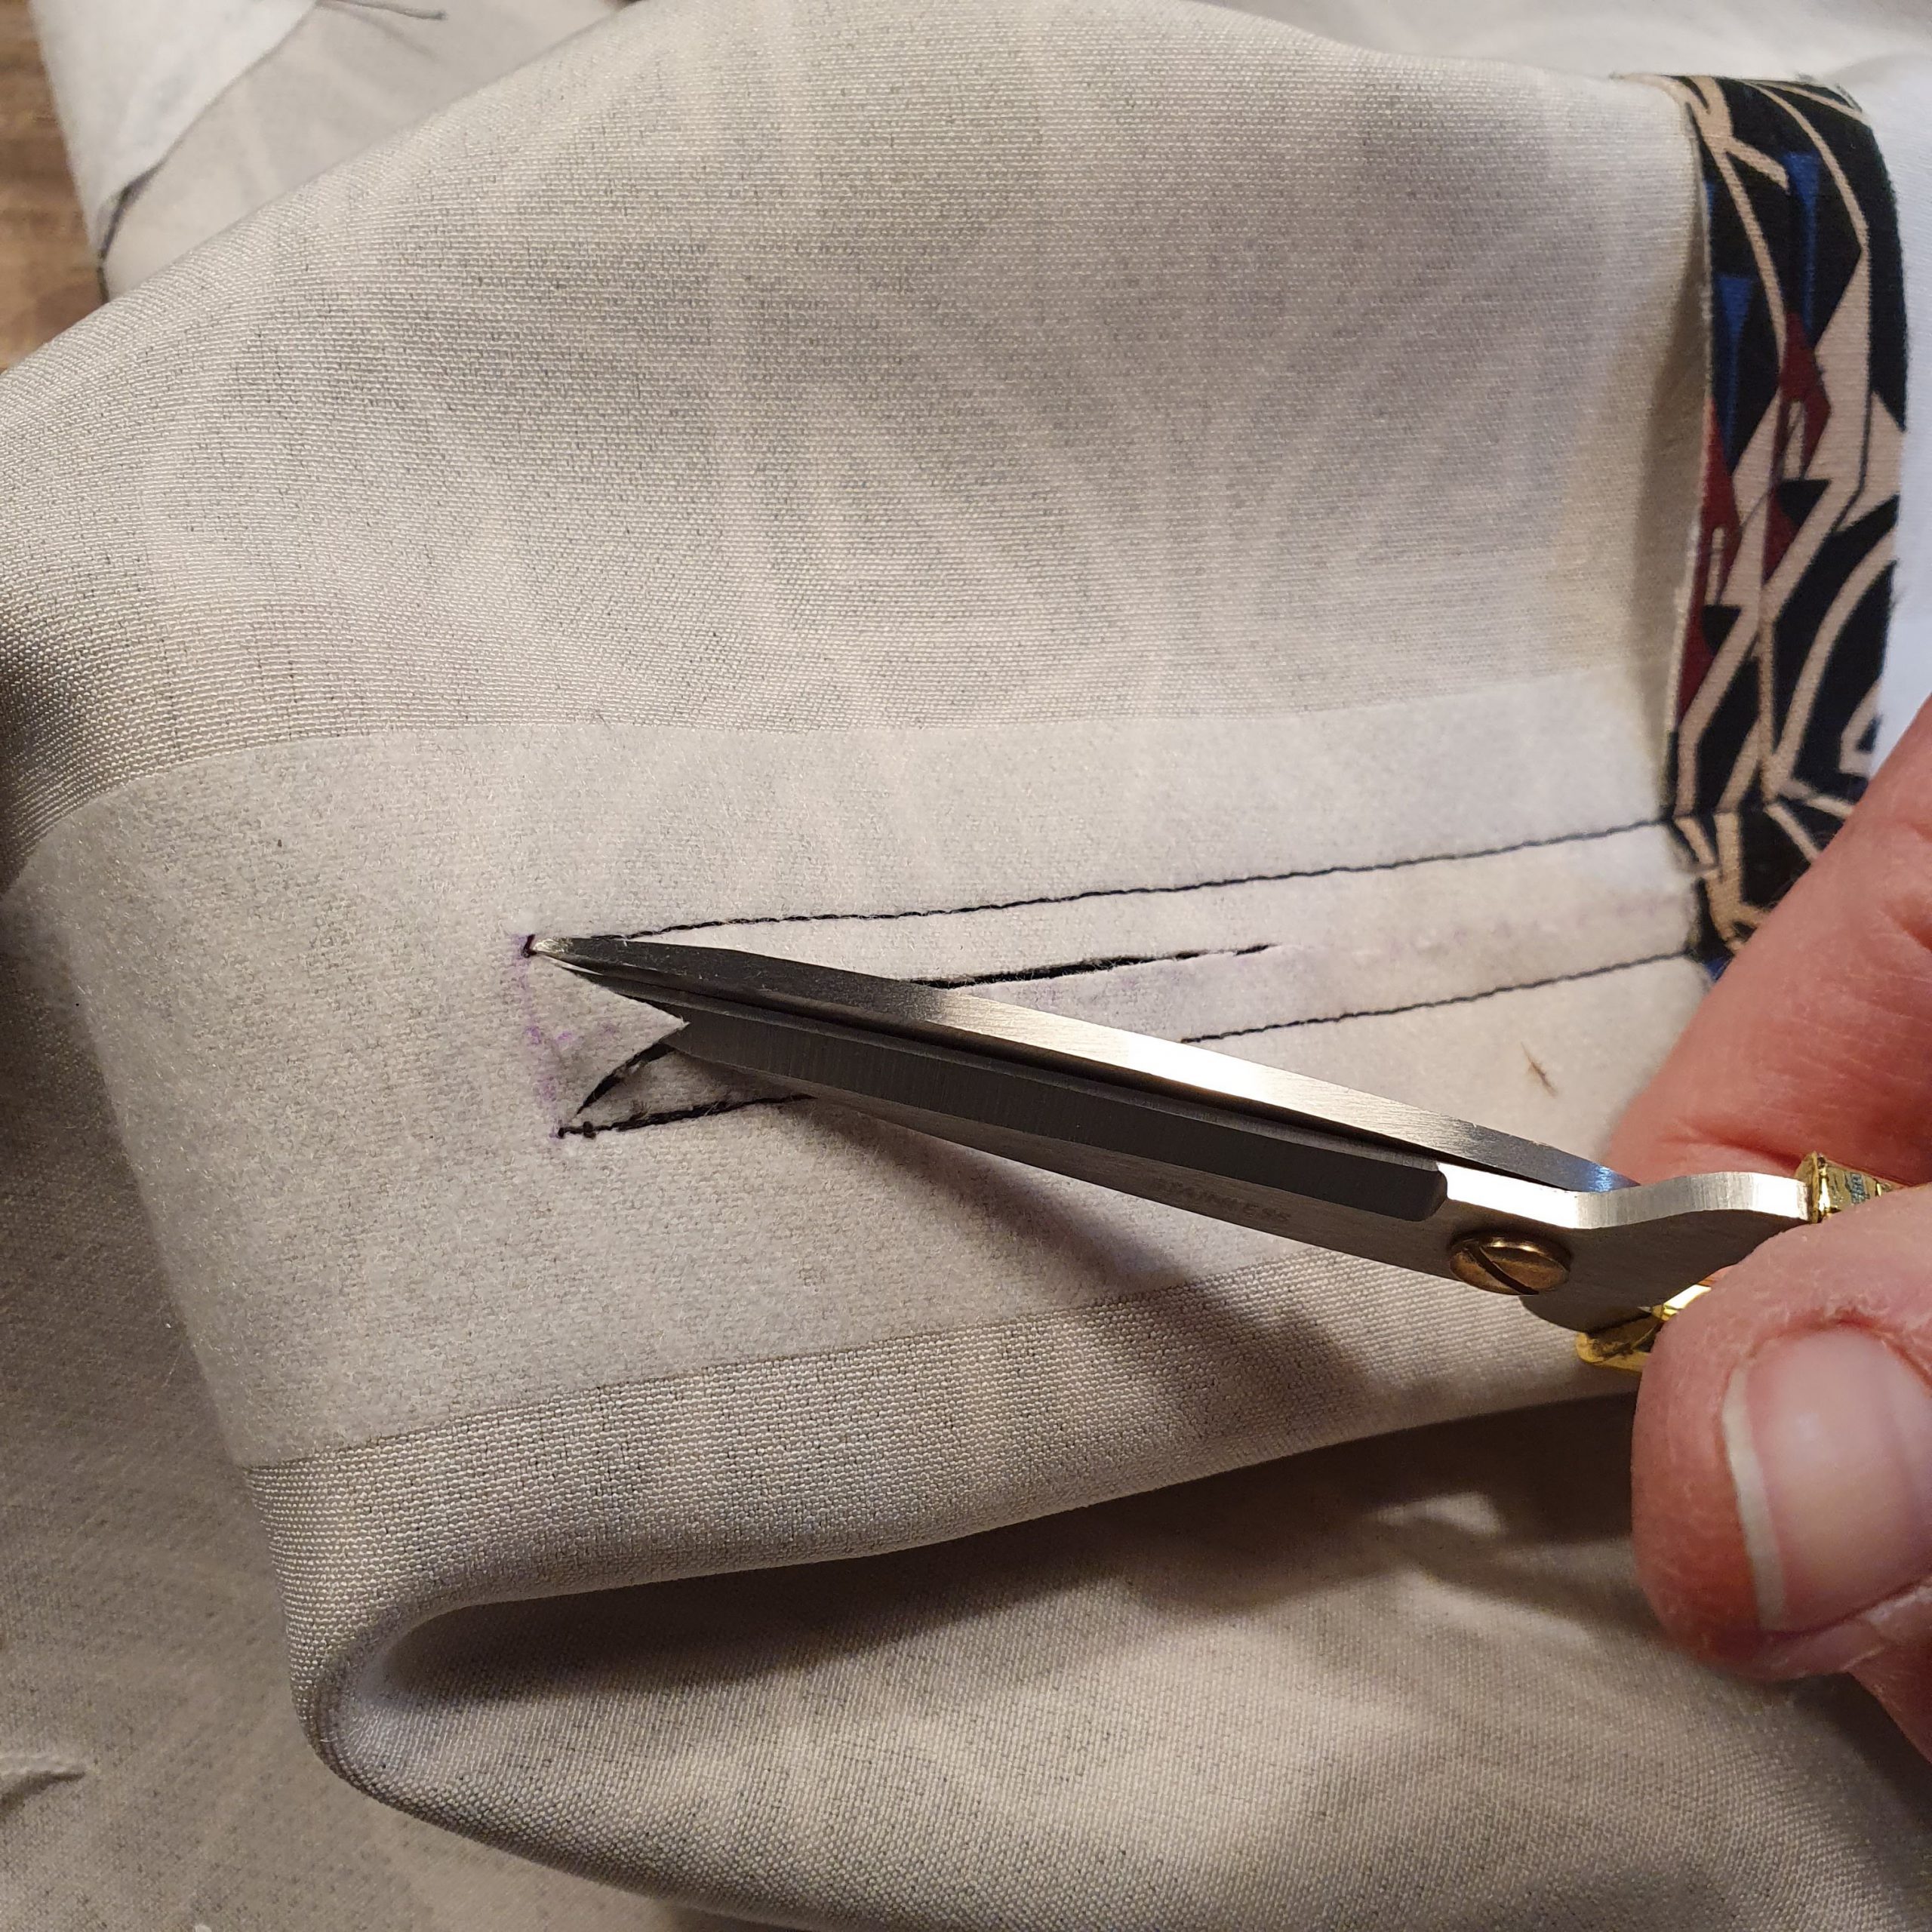
Cut into the corners
Fold the welt showing 0.5 cm at the opening. Pin or tape again. For the sake of accuracy I also baste it.
Then fold the corner on the short side out and sew. Fasten the welts by stitching into the ditch of the previous stitching.
Welt is folded, half a cm visible

Fold out corner and stitch it

Stitch in the ditch
Fasten the two pocket parts to the welts on the inside. I use the scuba crepe fabric as the bottom pocket piece and stretch lining as the top pocket piece. Close the pocket and finish with a zigzag stitch or with an overlocker.
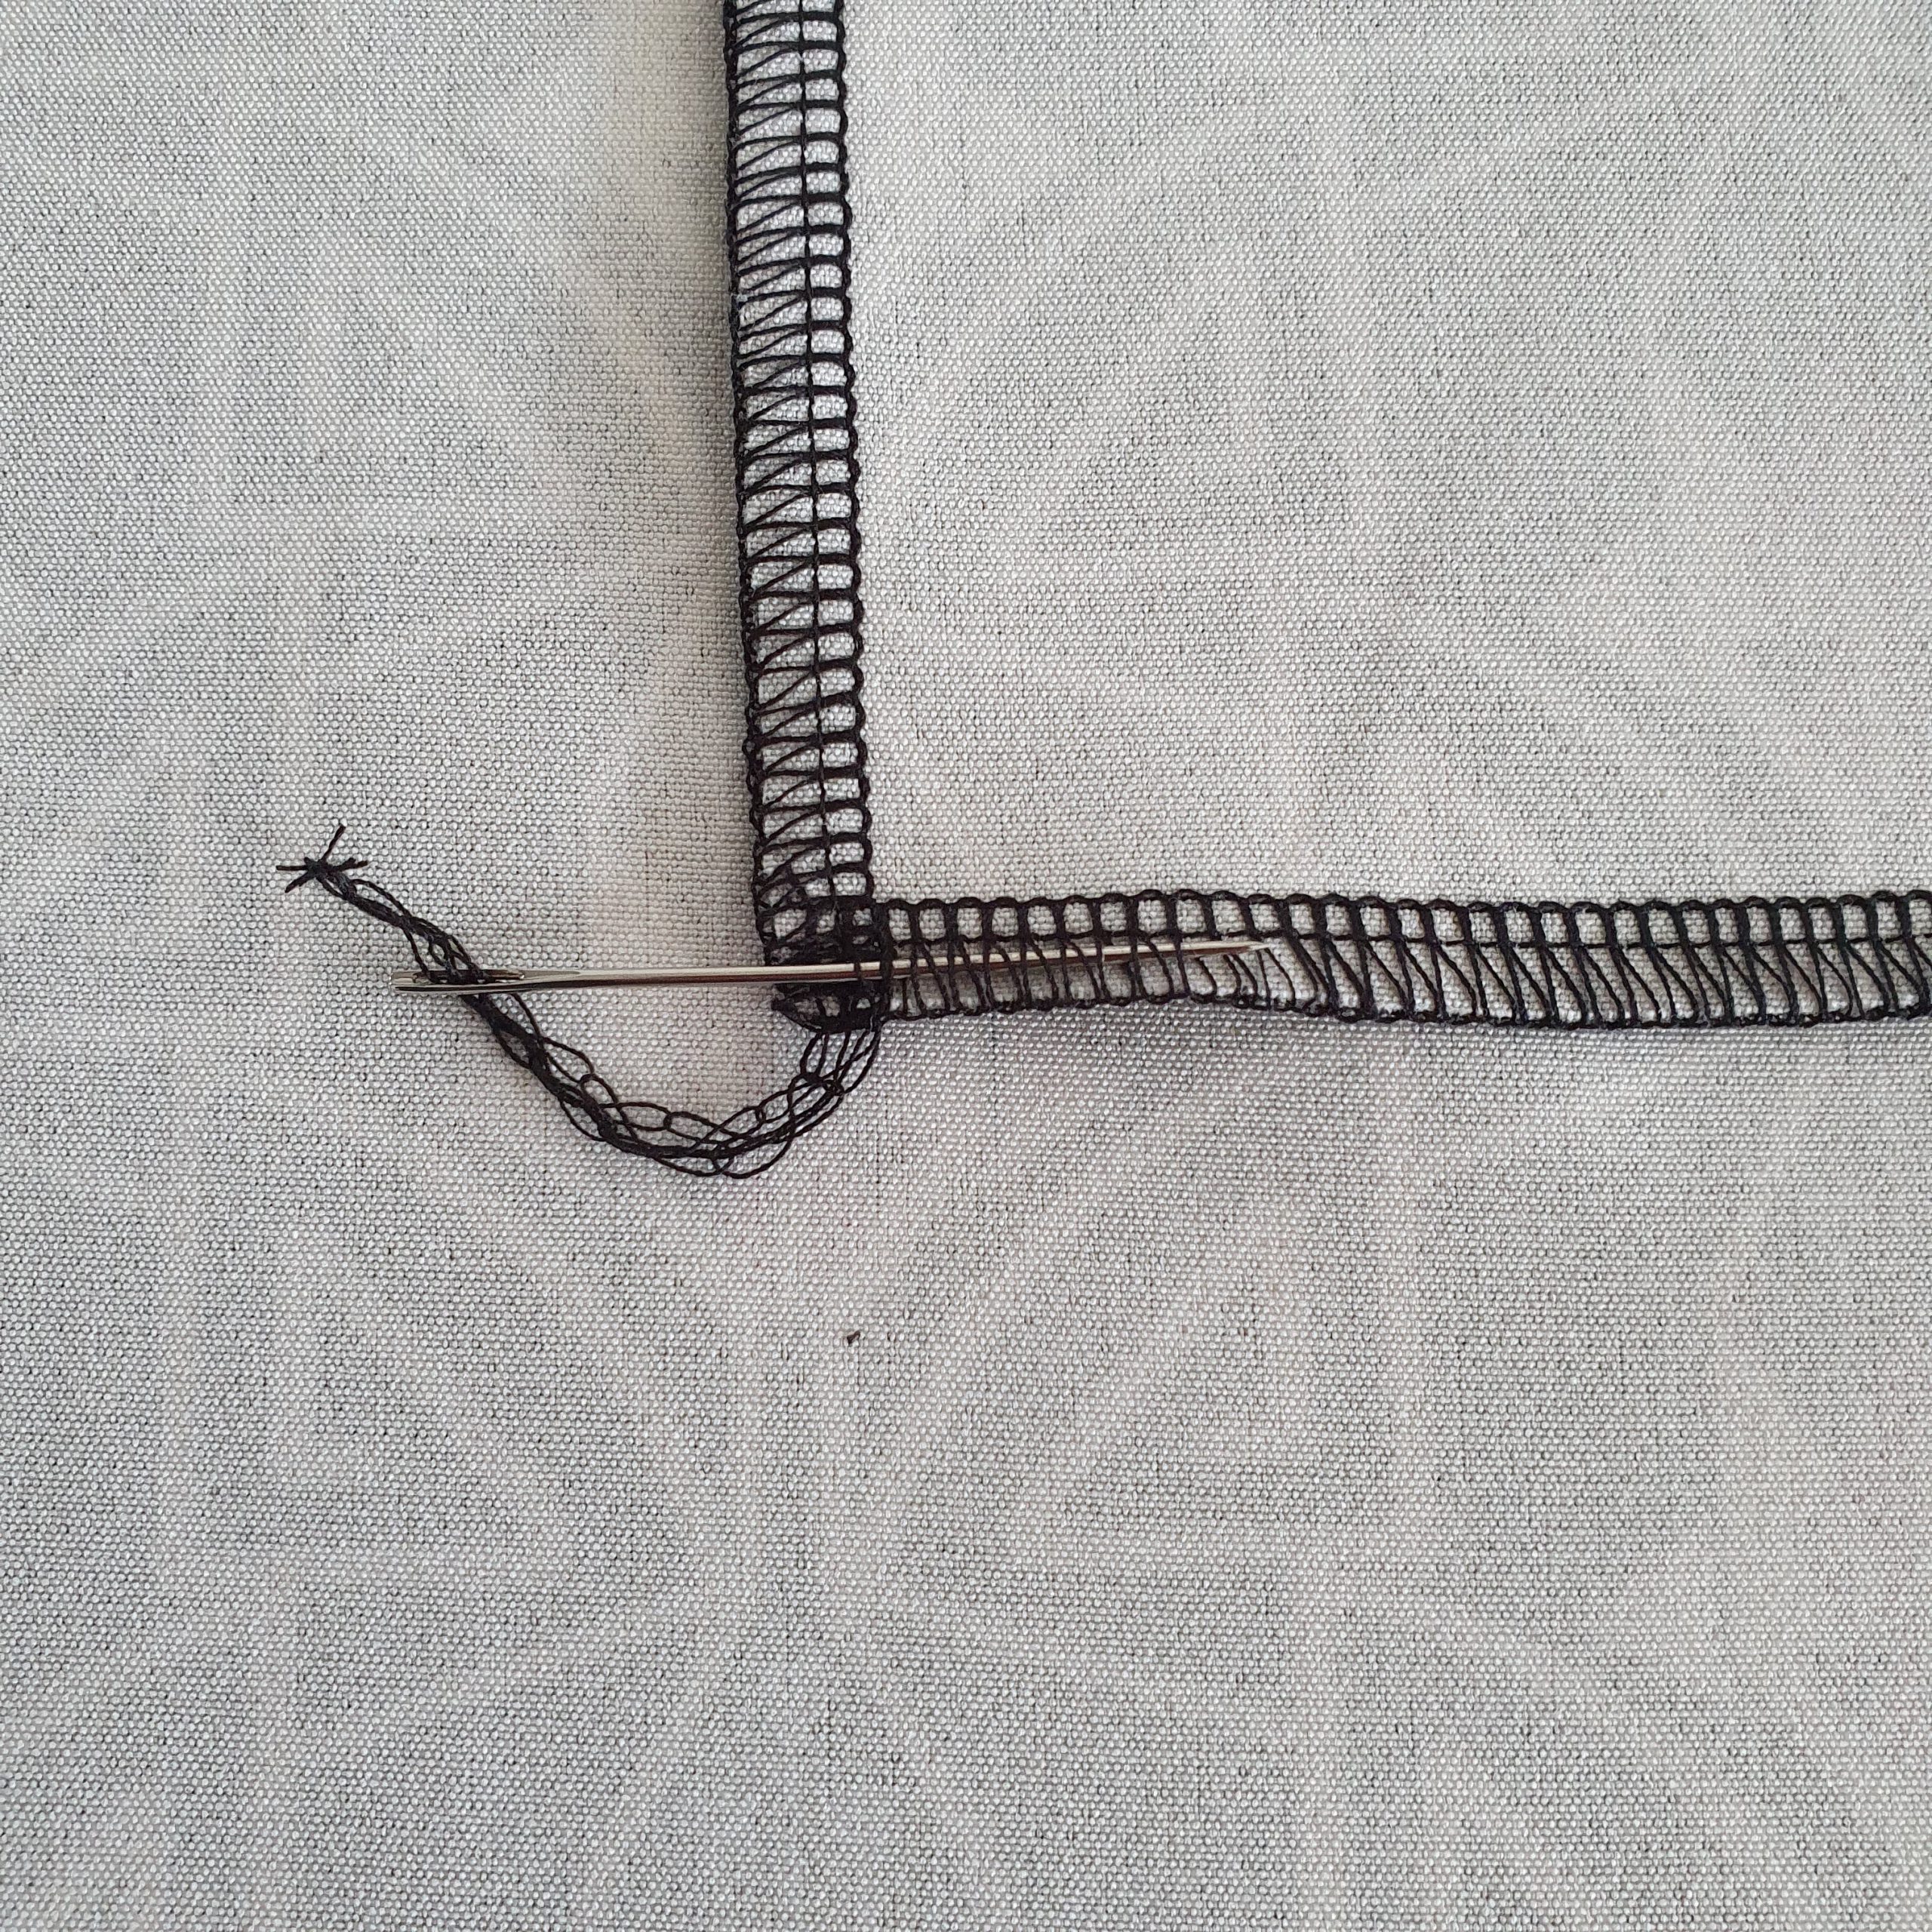
Finish neatly
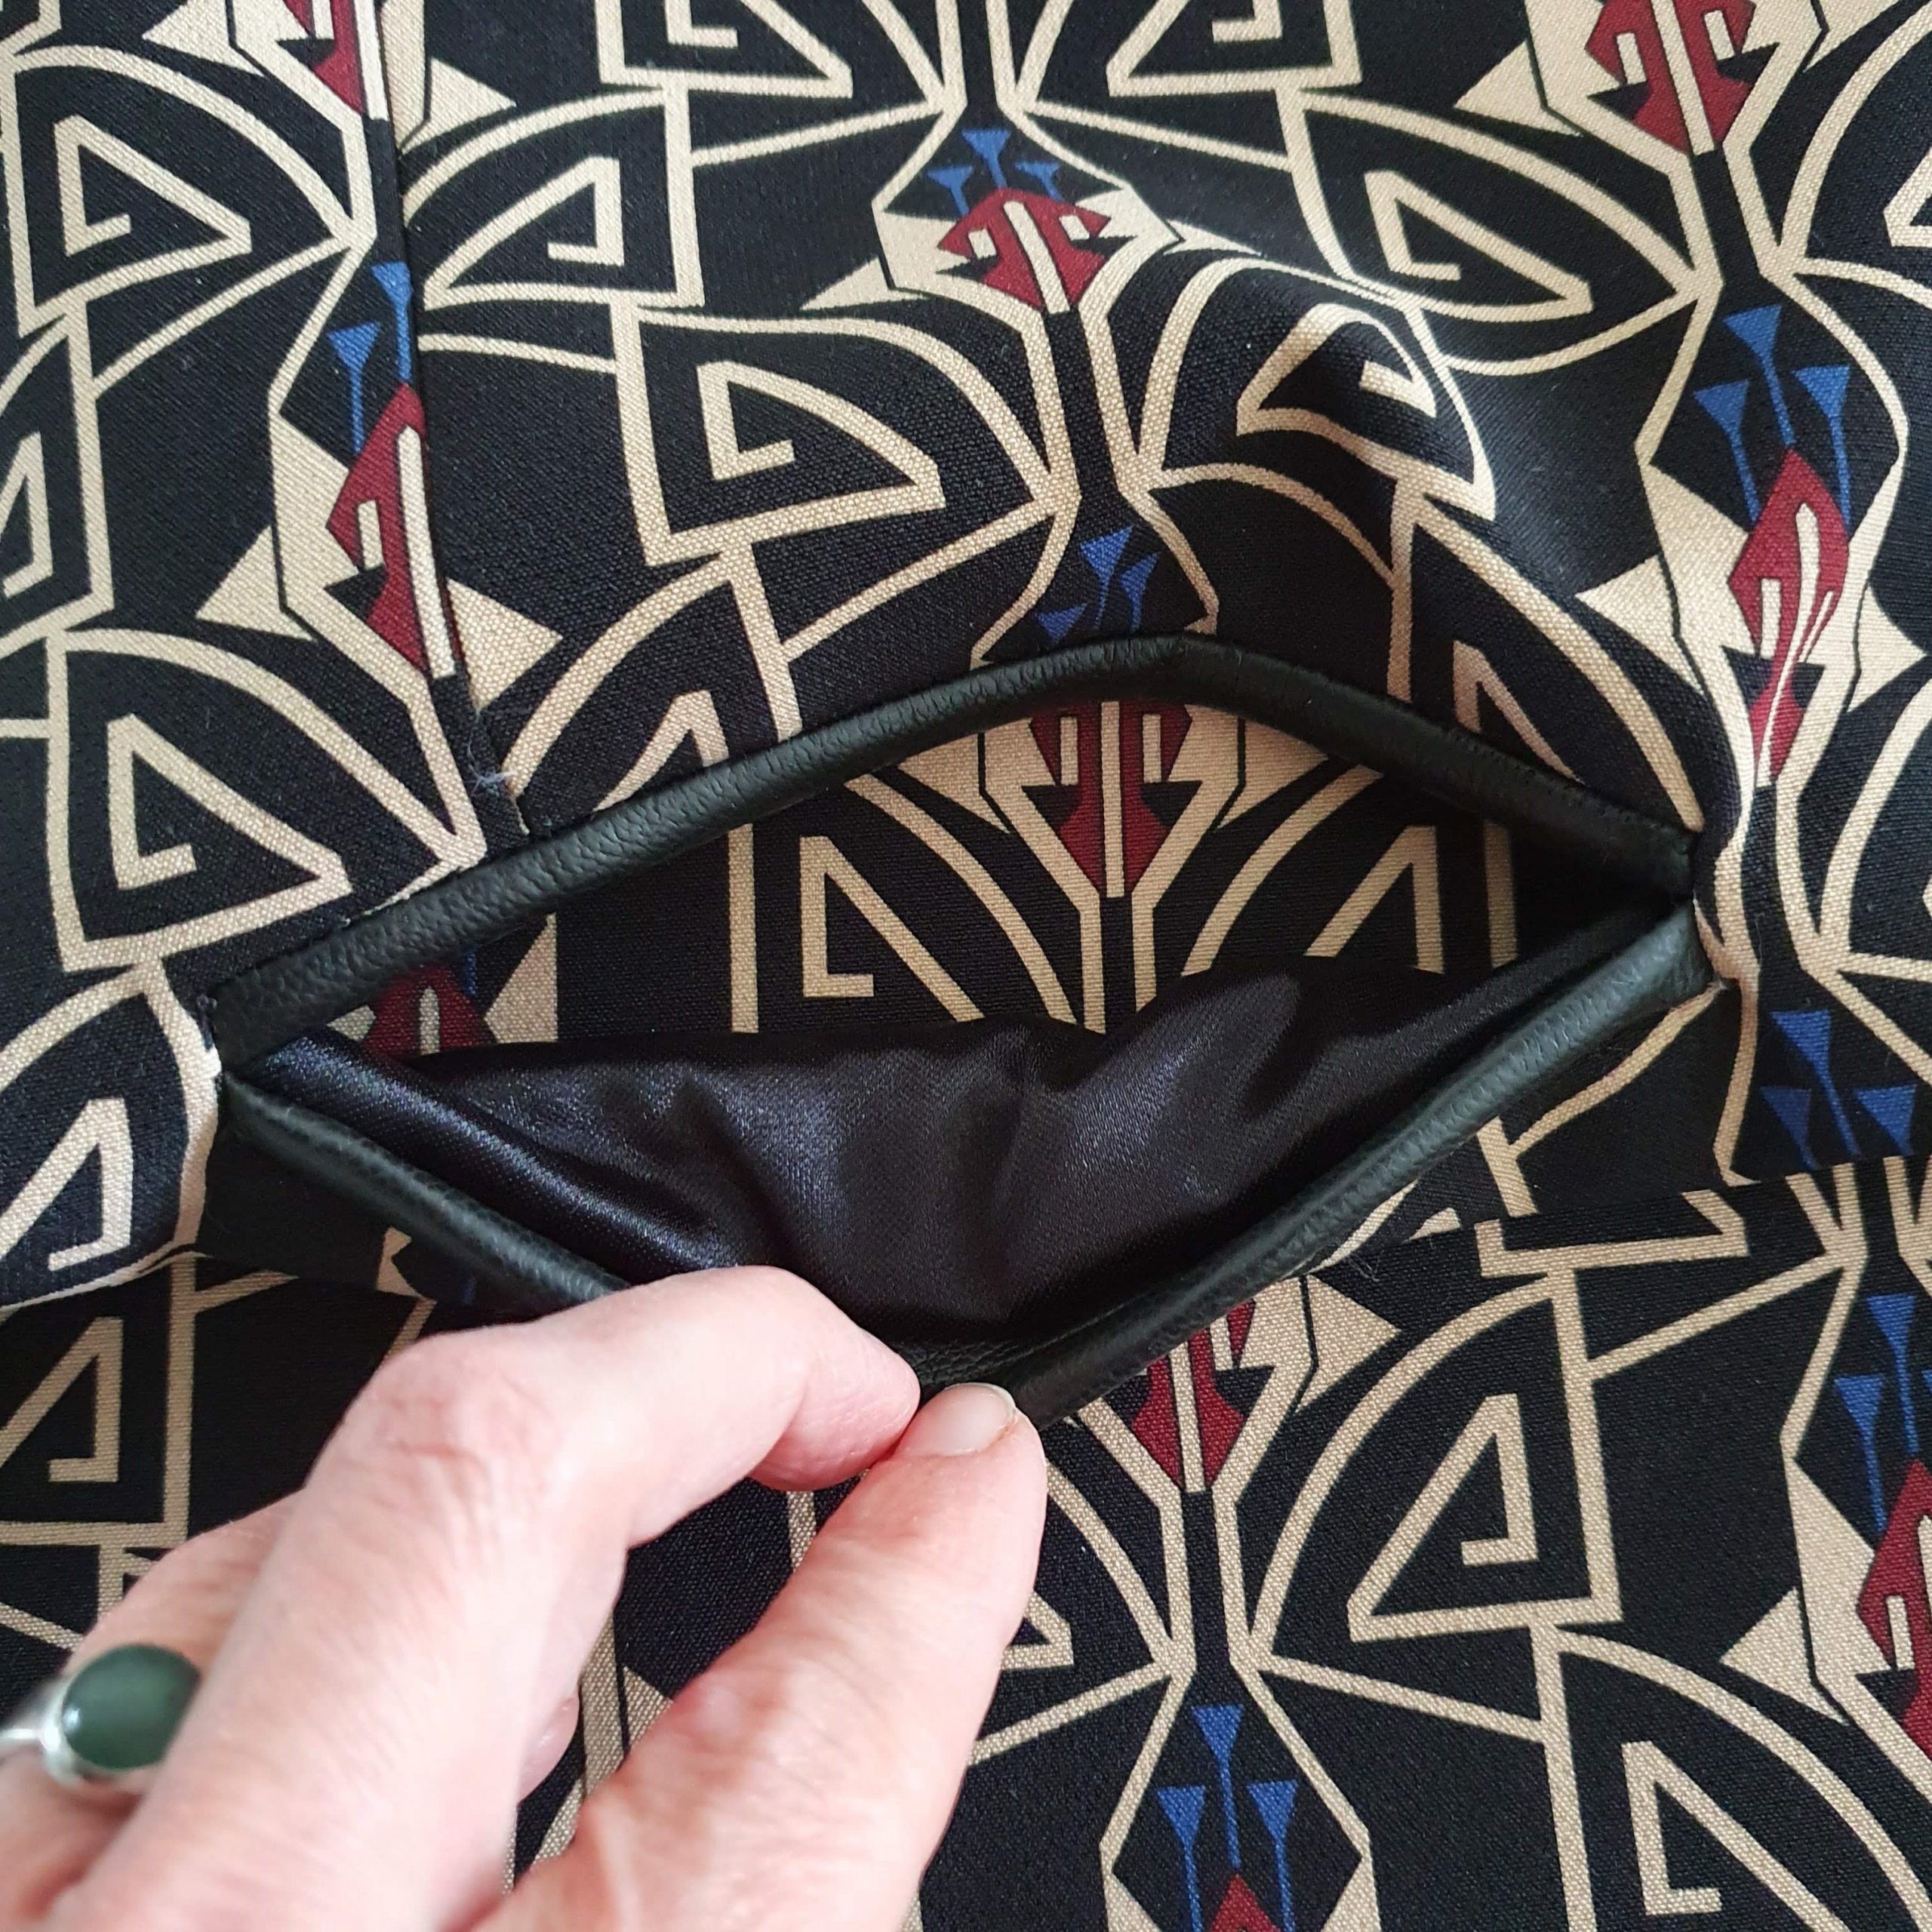
Pocket finished!
With the pockets done, the front and back pattern pieces can be put together, followed by the collar on and then it’s time for the shoulders.
Beautiful shoulders
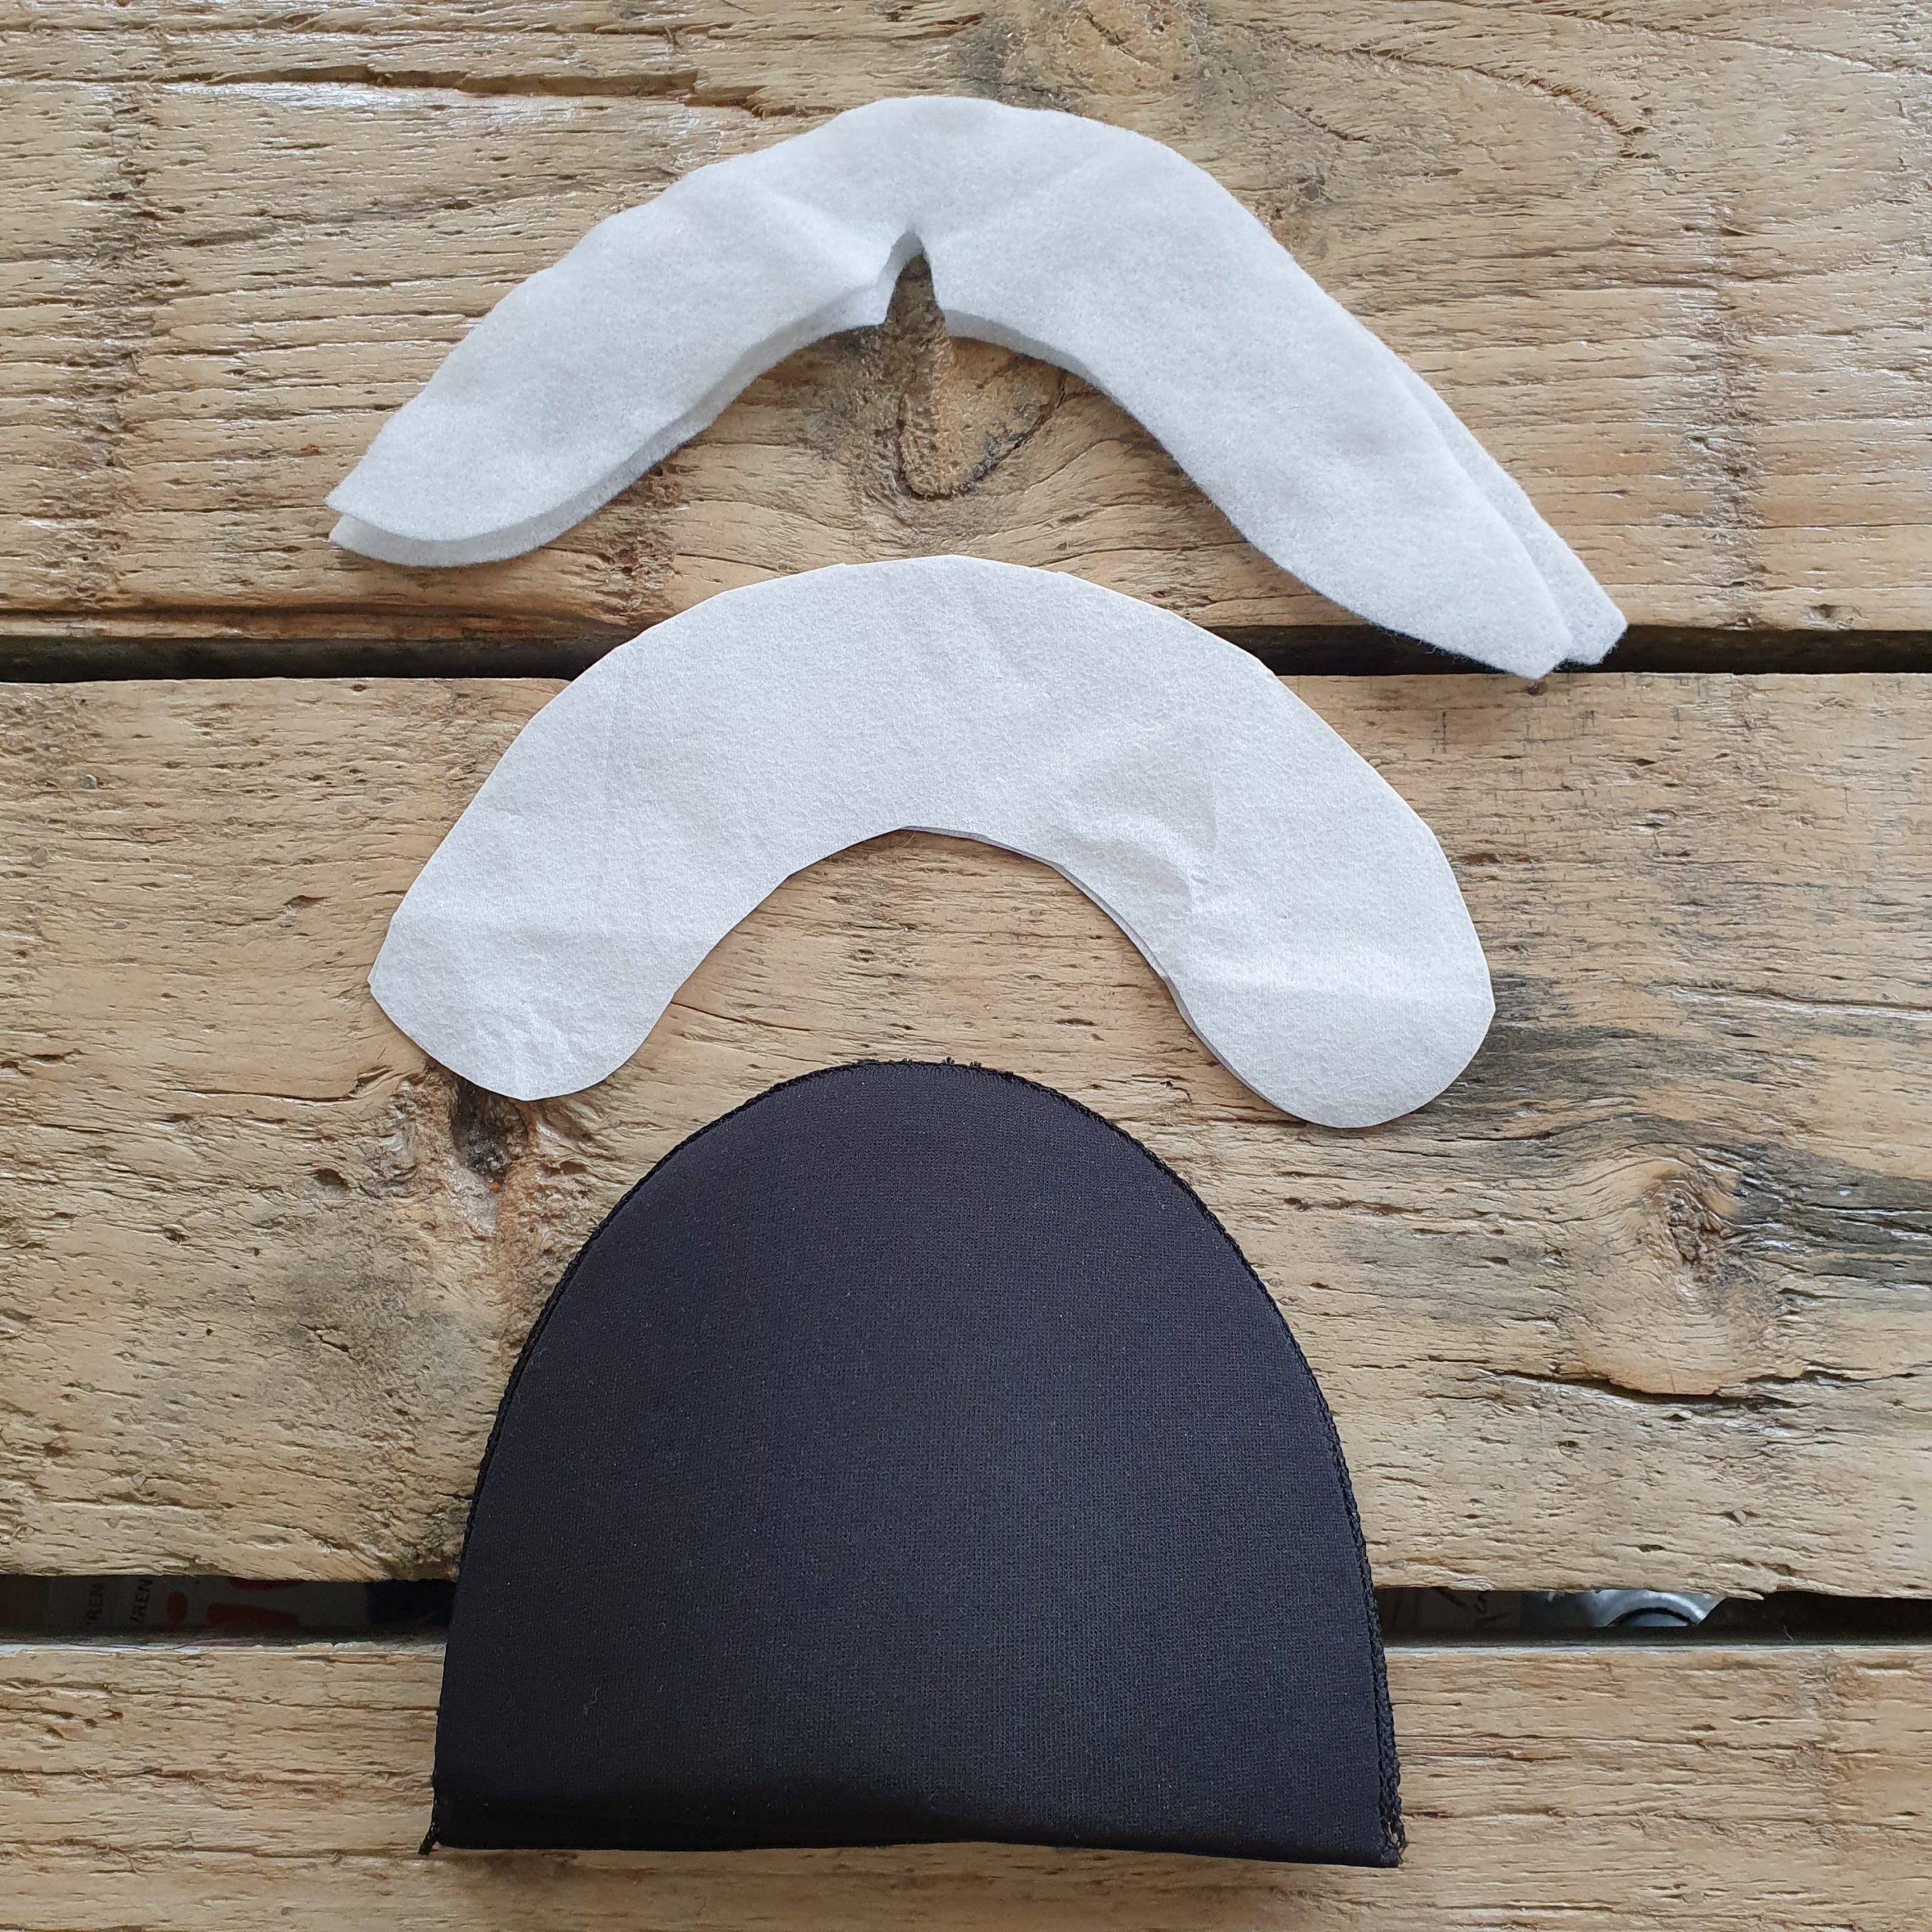
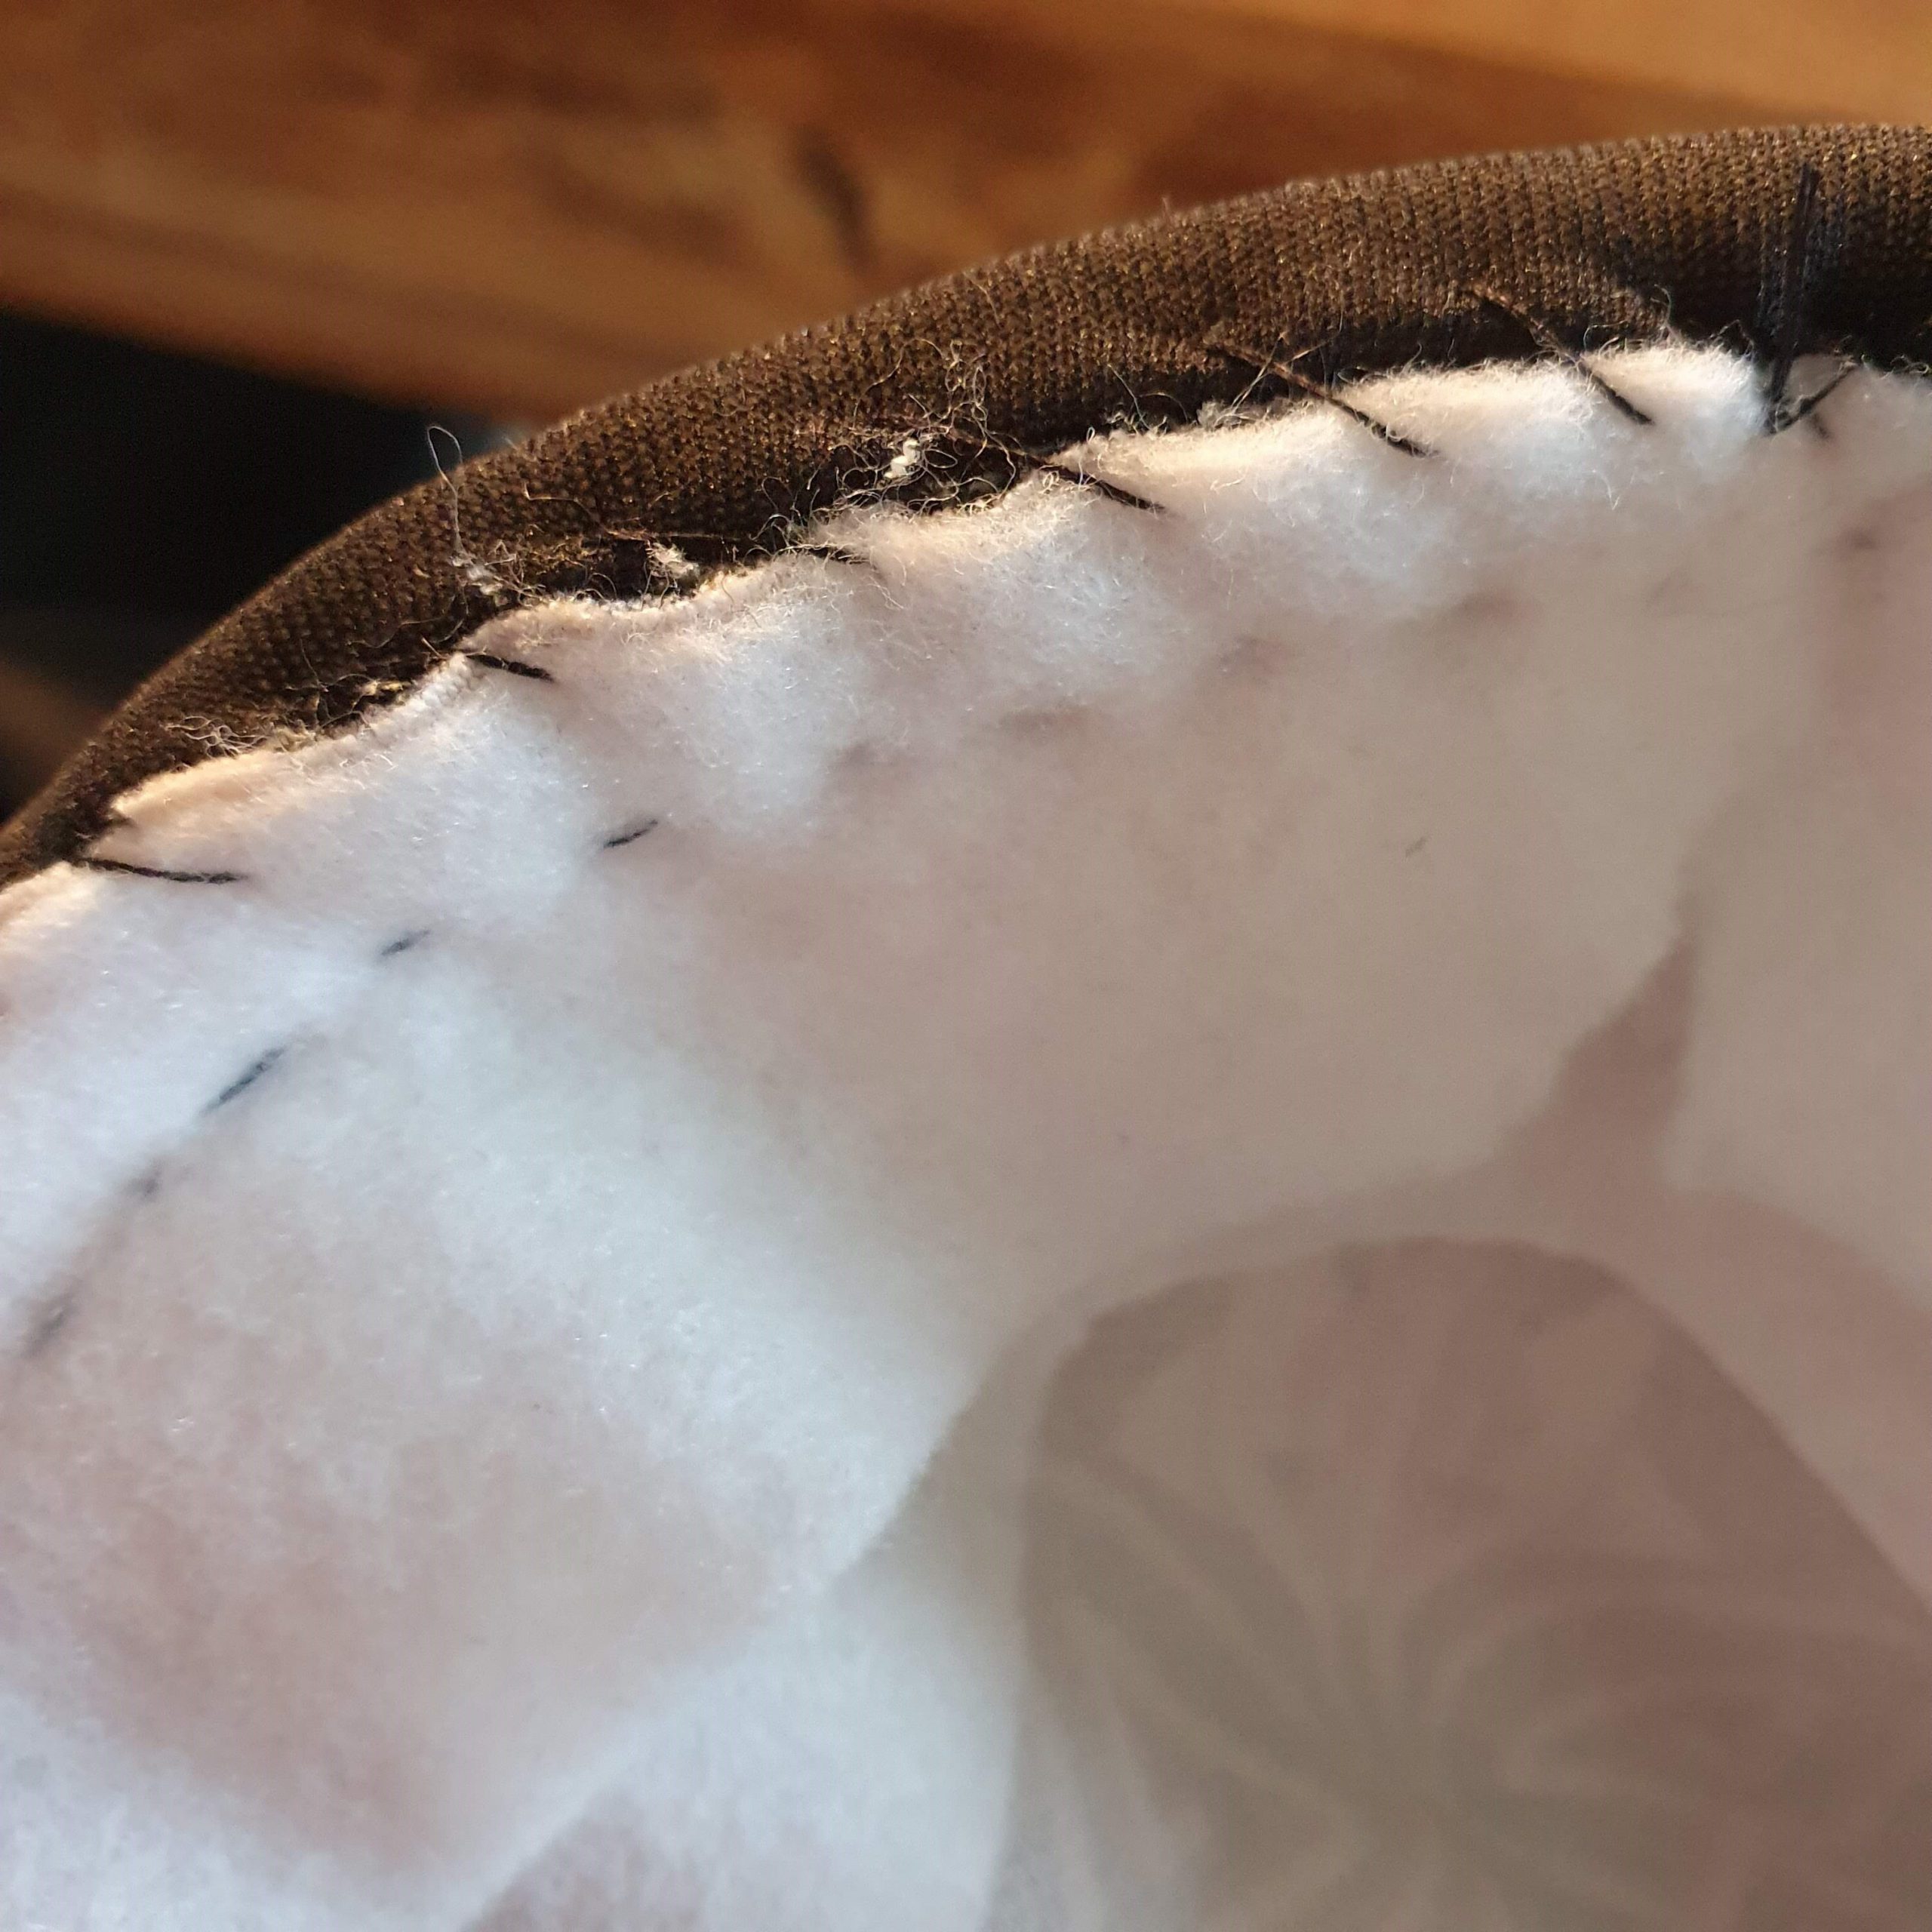
This blazer has shoulder pads. To make the transition from the shoulder to the sleeve smooth, I reinforced the sleeve cap and use of sleeve moustaches. You can buy these sleeve moustaches ready-made. A moustache prevents the sleeve cap from denting. You place them after the sleeve is already in. Before placing, fold the split closed and fasten with a pin. This split is aligned at the shoulder seam. I secured the sleeve moustaches by hand.
Reinforced sleeve head
Sleeve is put in
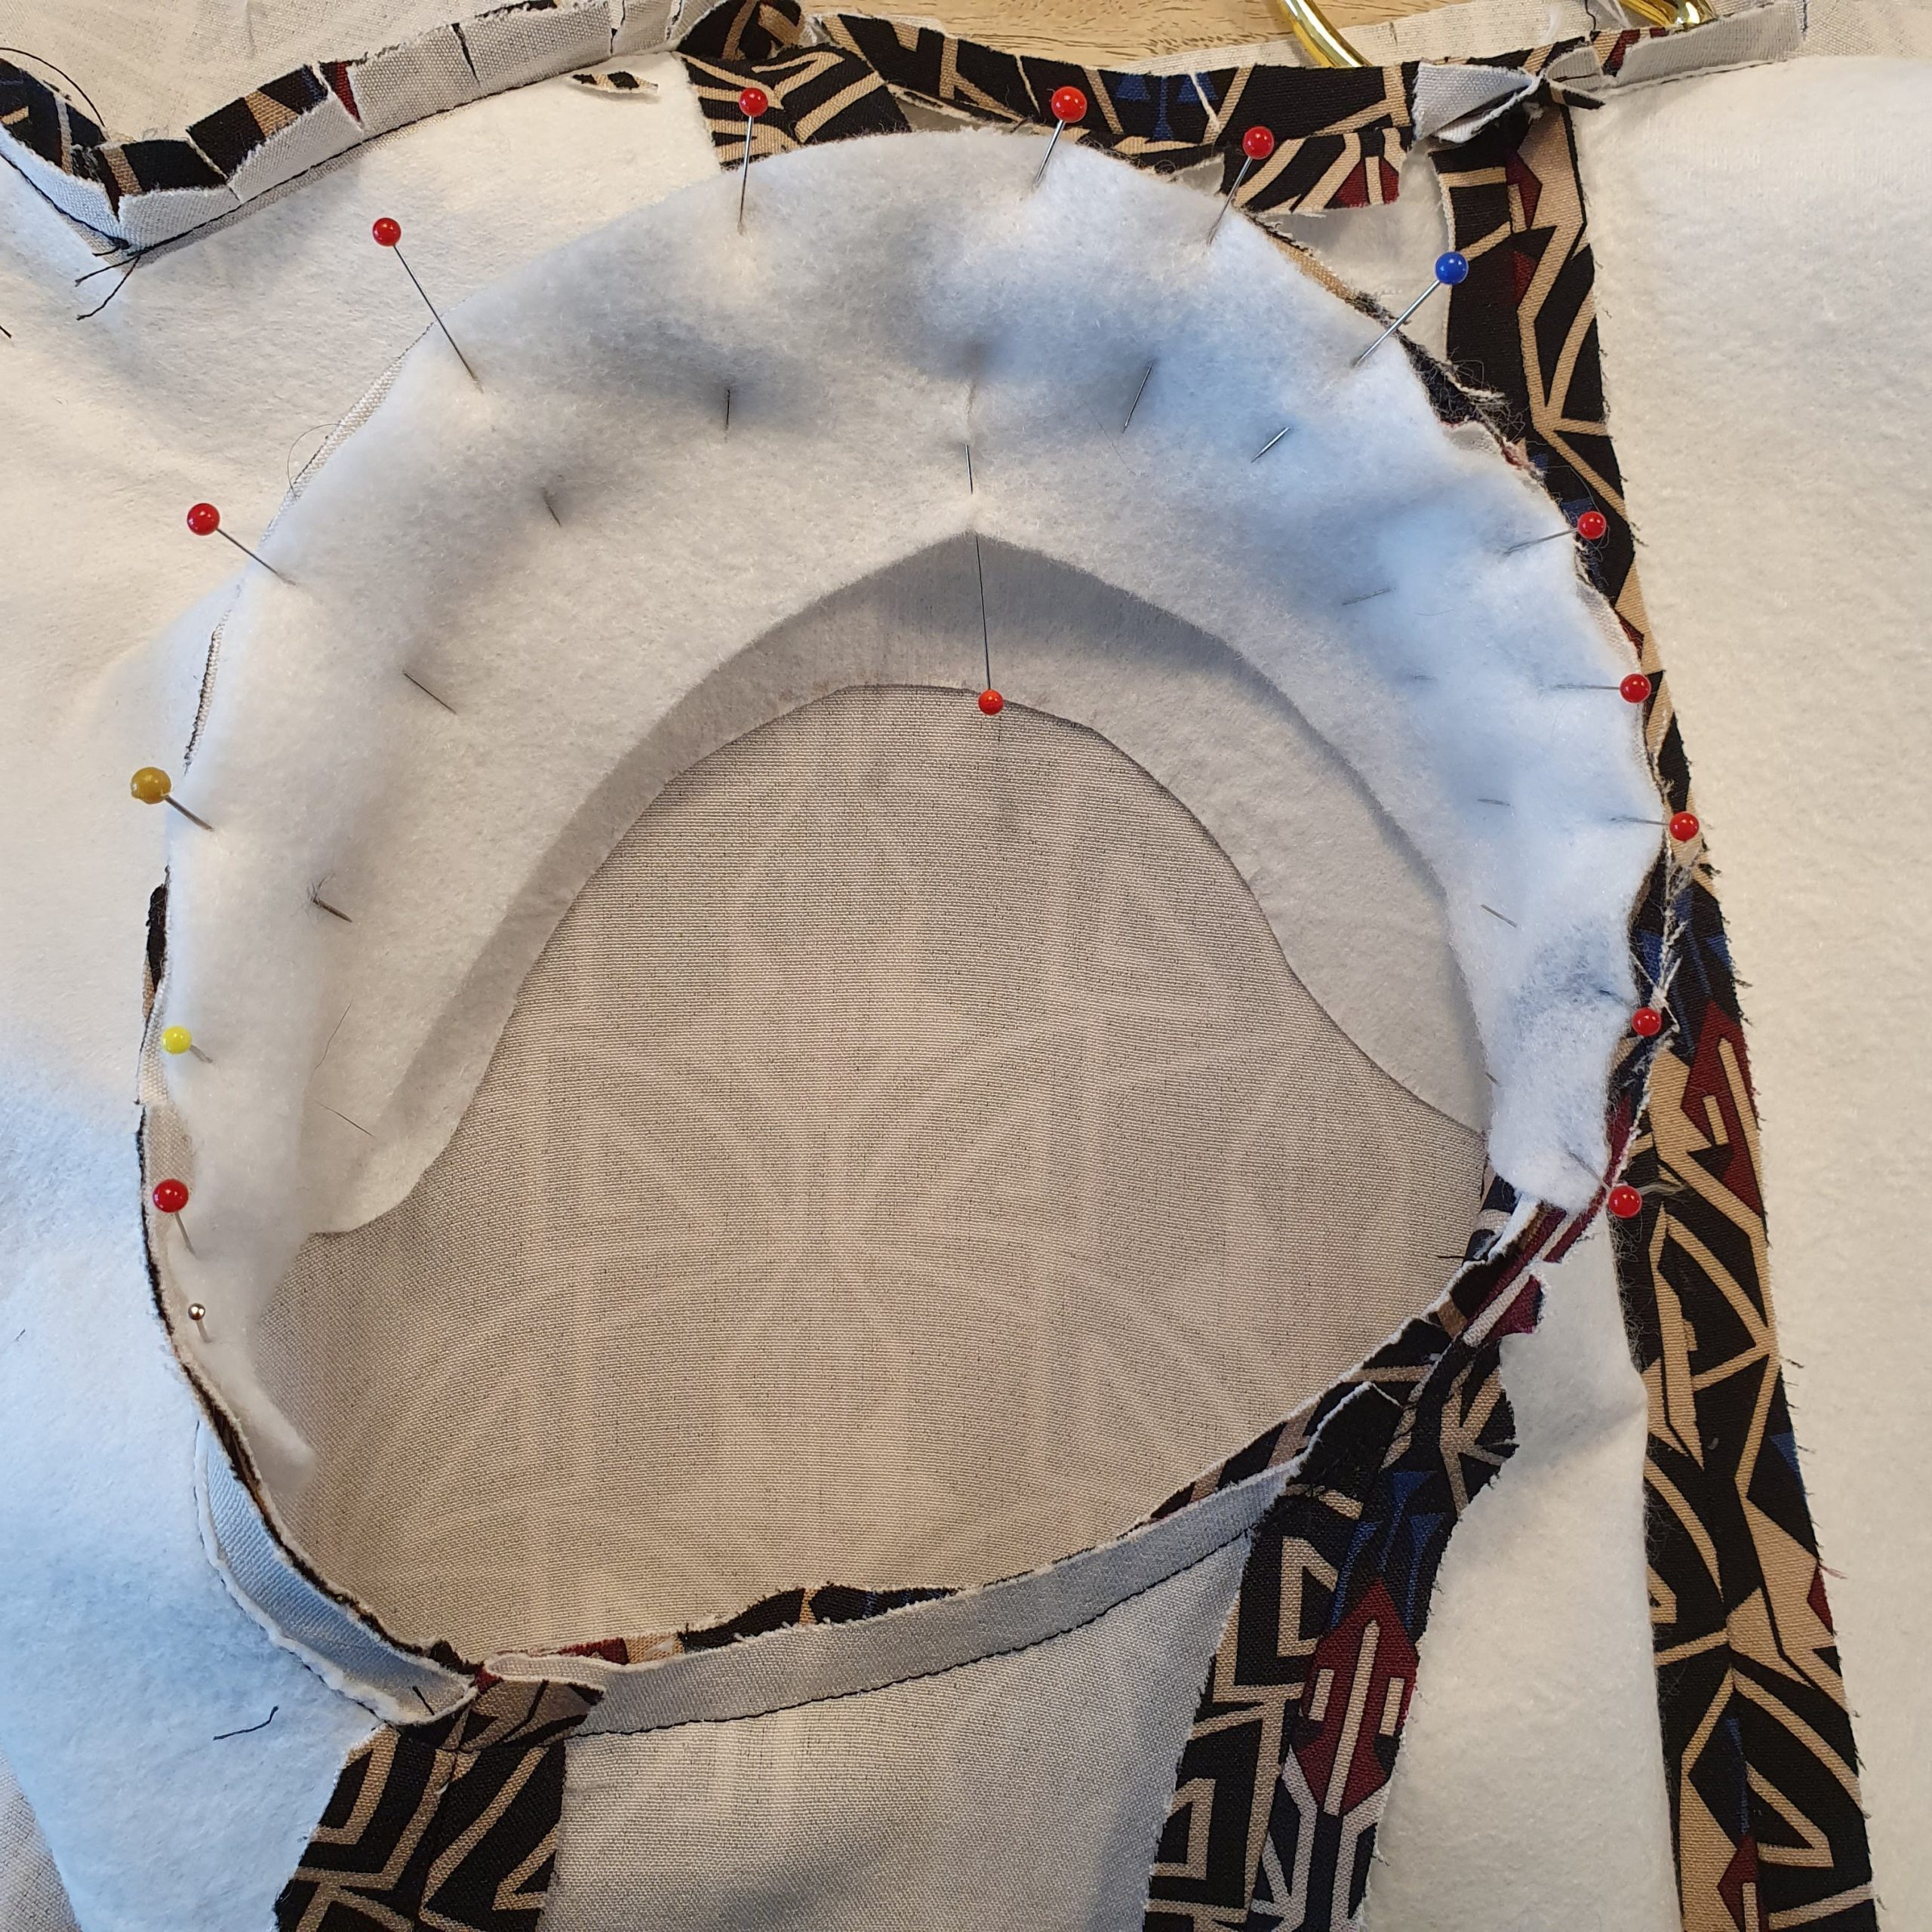
Sleeve moustache pinned
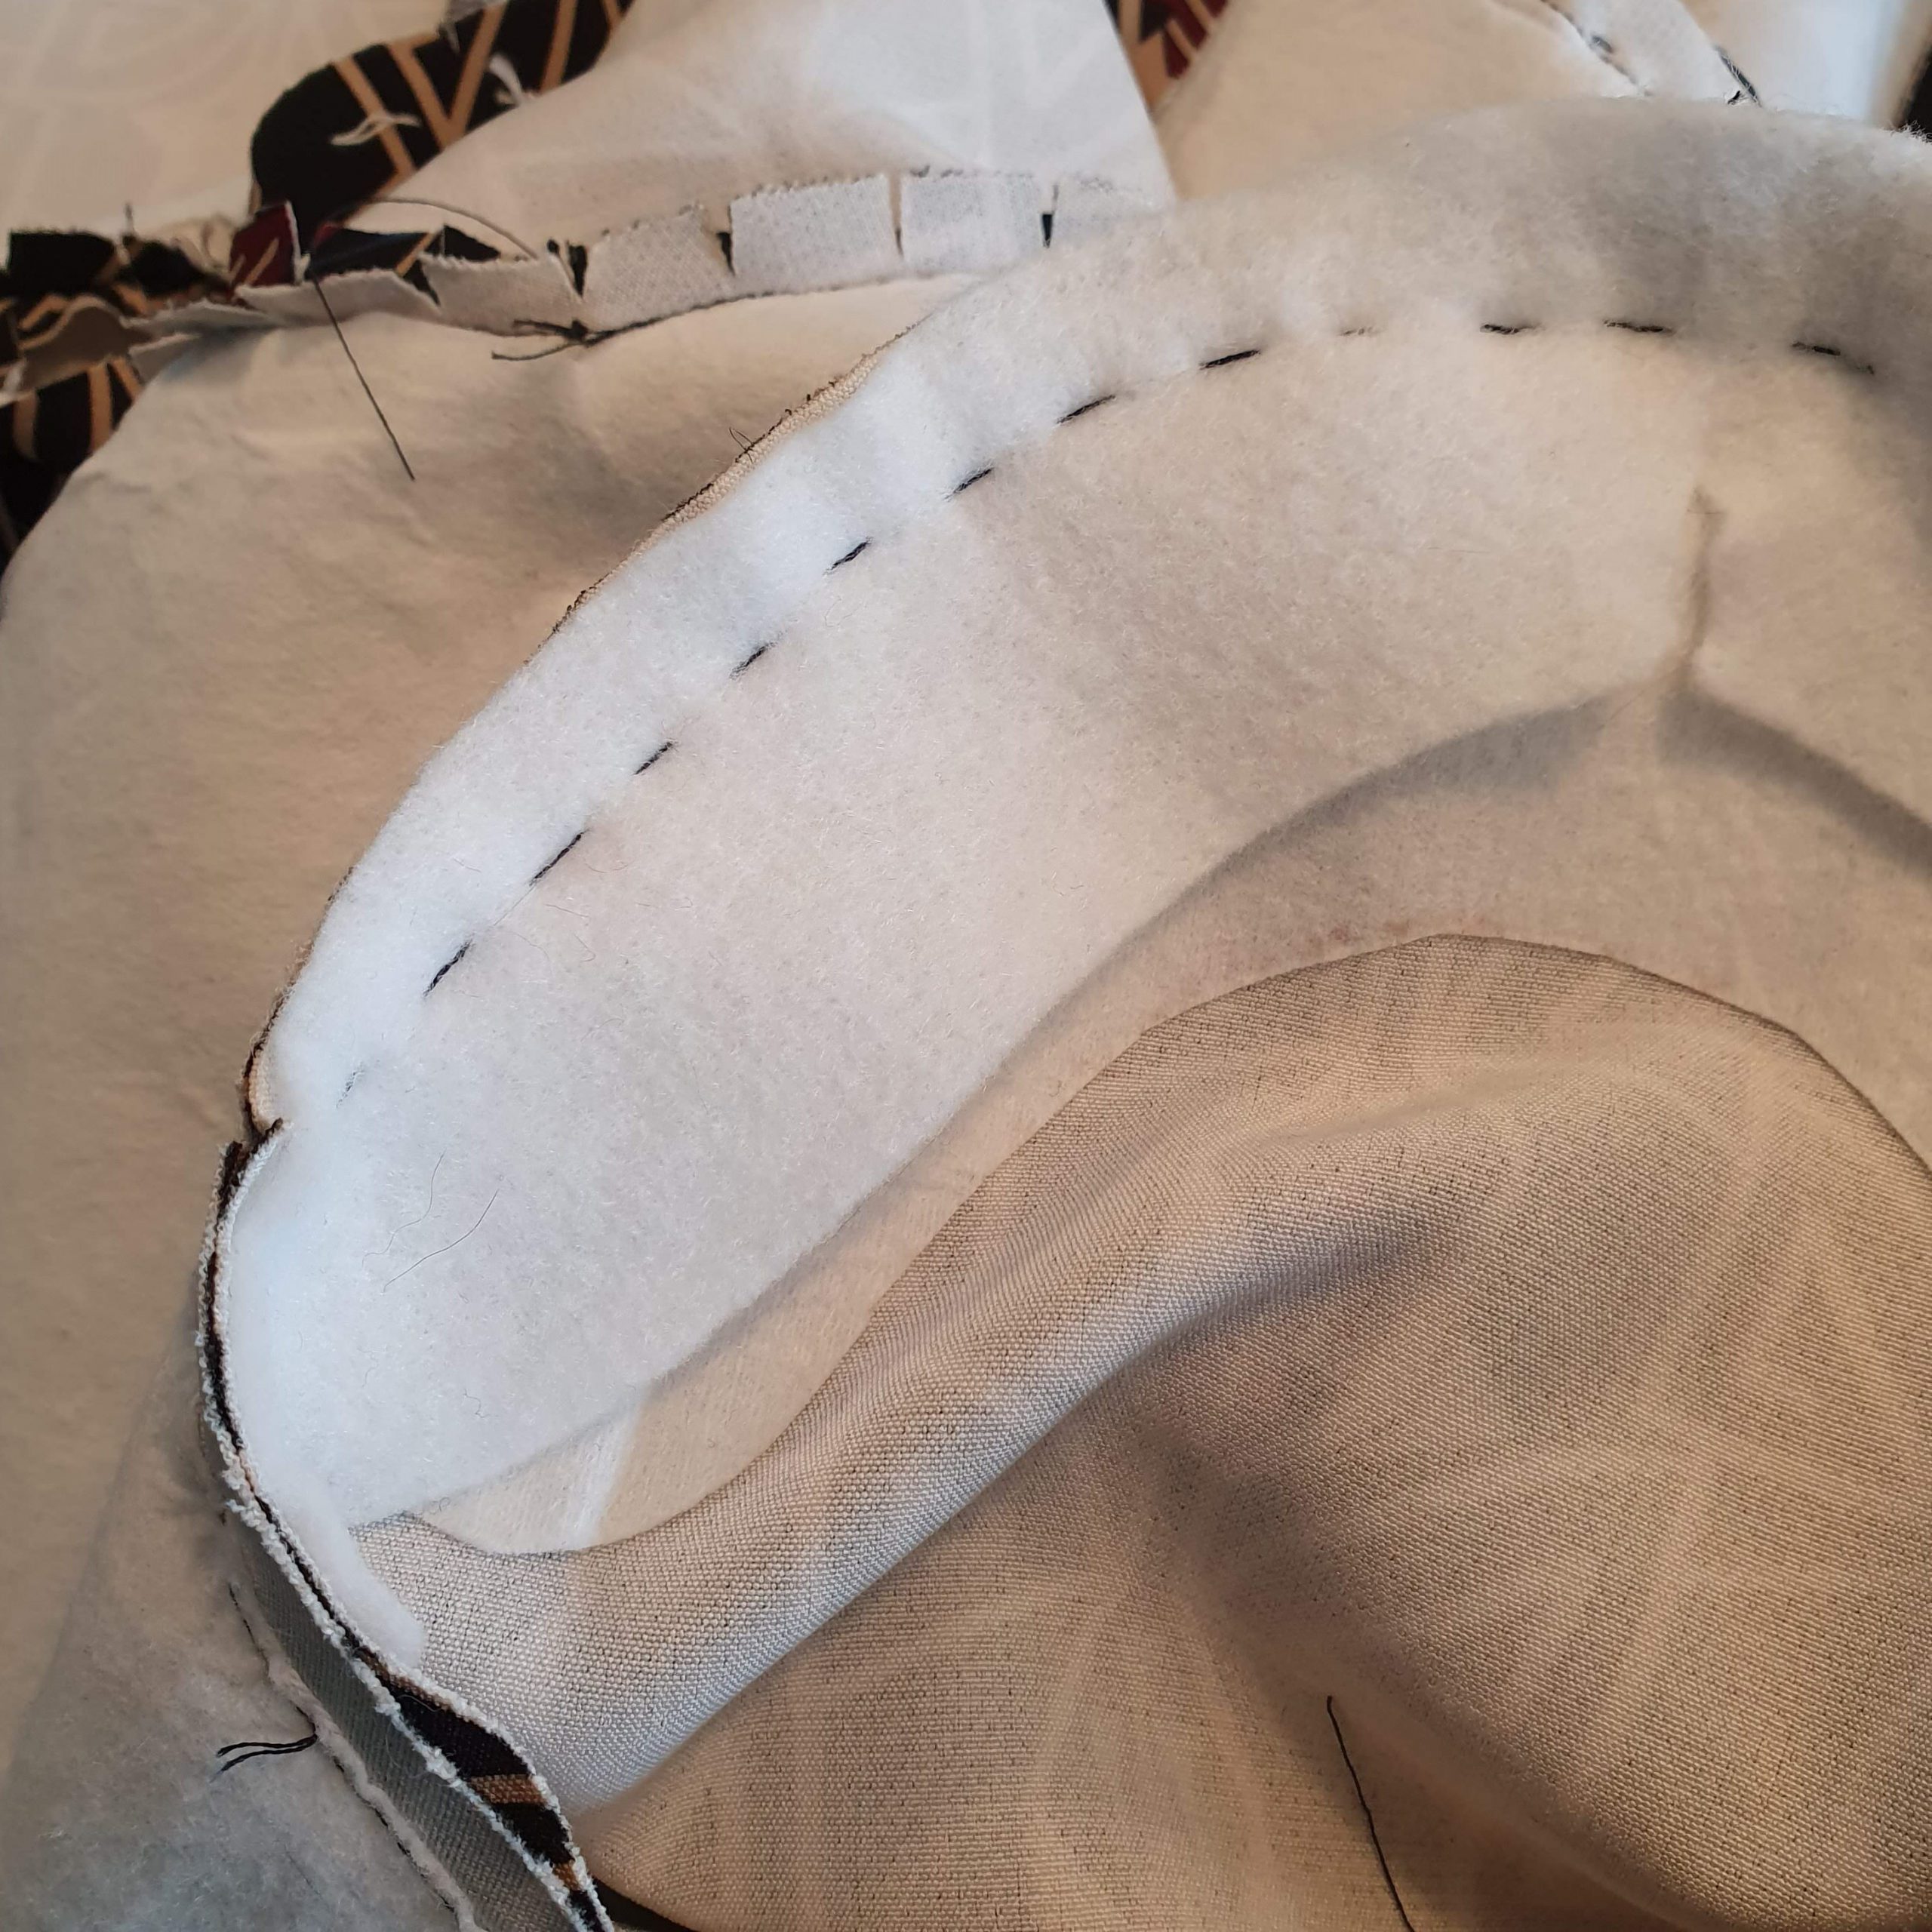
Fasten by hand, remove pin from split
Place the shoulder pad in the middle of the shoulder seam. (This if you use these straight shoulder pads like me. If you have special coat shoulder pads, place the side that slopes the most at the back. Place the thickest part of this shoulder pad on the shoulder seam).
Hand fasten the shoulder pad along the sleeve opening, at the shoulder seam and in the tip (near the collar). Do this loosely, so that you keep the thickness.

Centre shoulder seam aligned with shoulder pad

Hand-fastened at the shoulder seam
Loosely in the sleeve opening

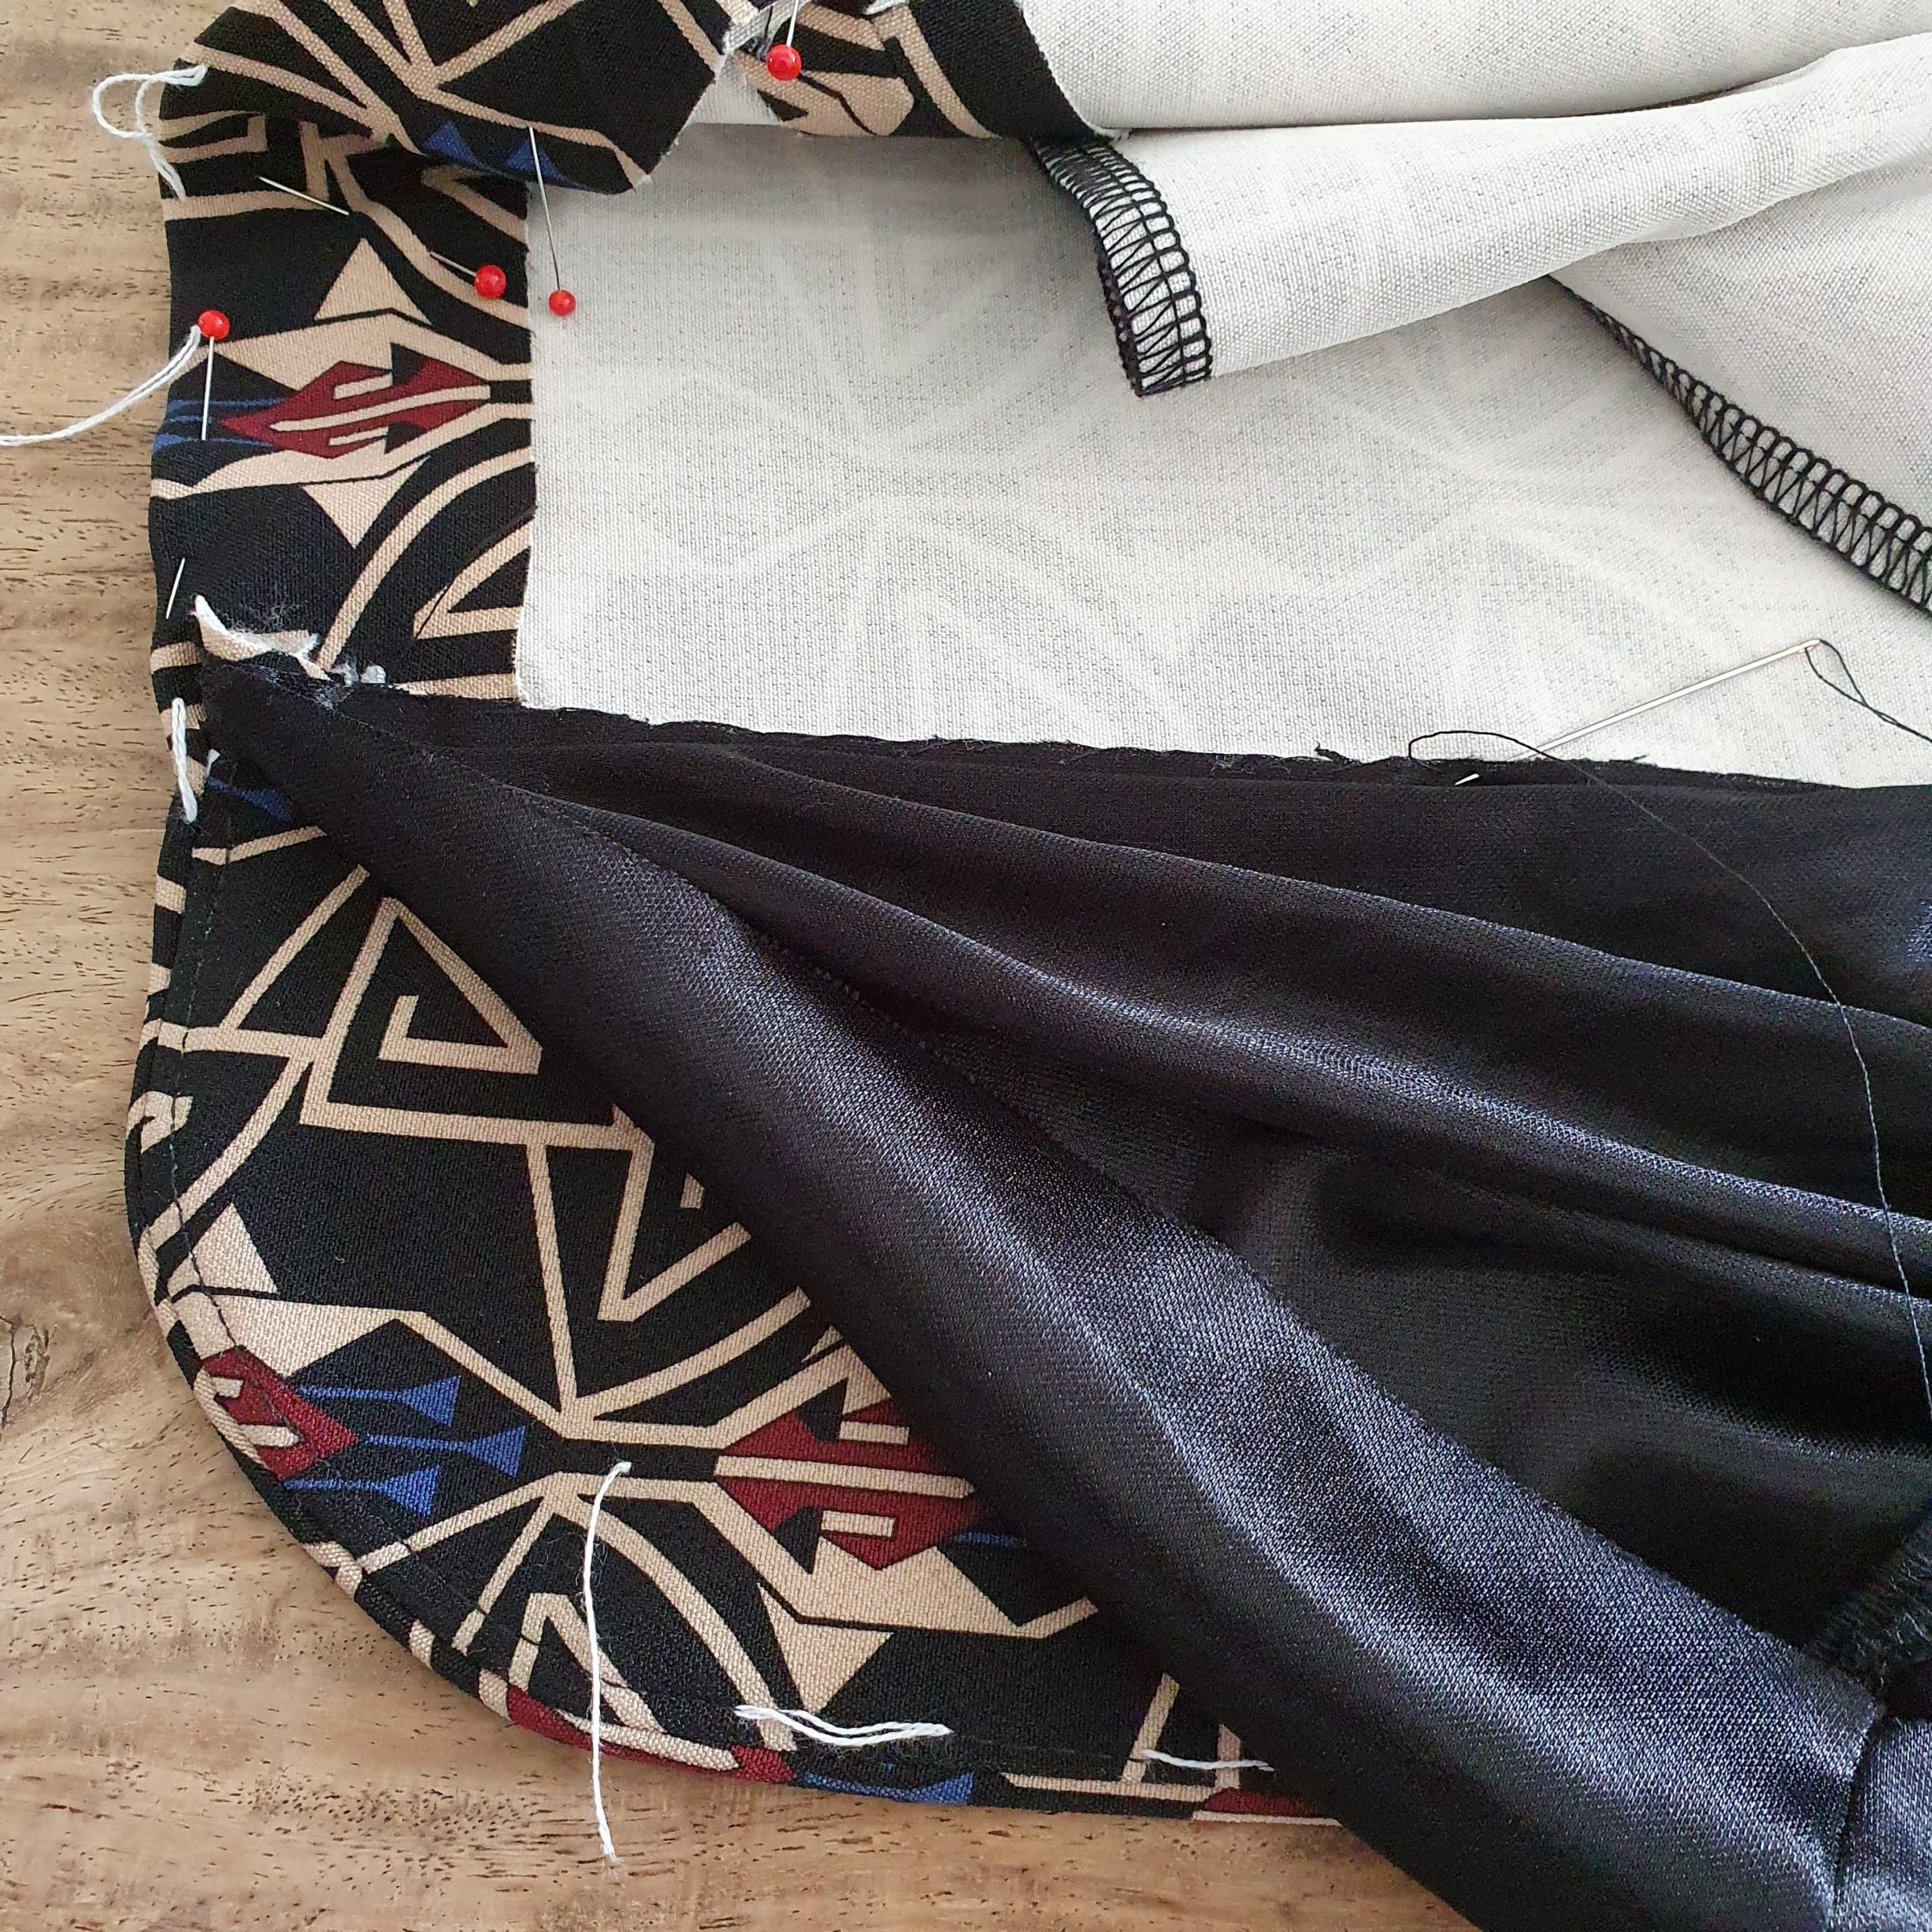
Lining
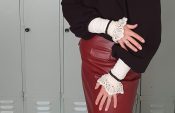
And when you’ve done all these things, you’re essentially making another coat: the lining coat. I like to pay attention to some fun details here. The lining jacket of this blazer consists of two colours. At the bottom of the sleeve I use a gold coloured lining that is visible when you turn the sleeves up. After all, we are still working on the Time to Shine! capsule wardrobe.
At the bottom of the upper and lower sleeve the golden touch
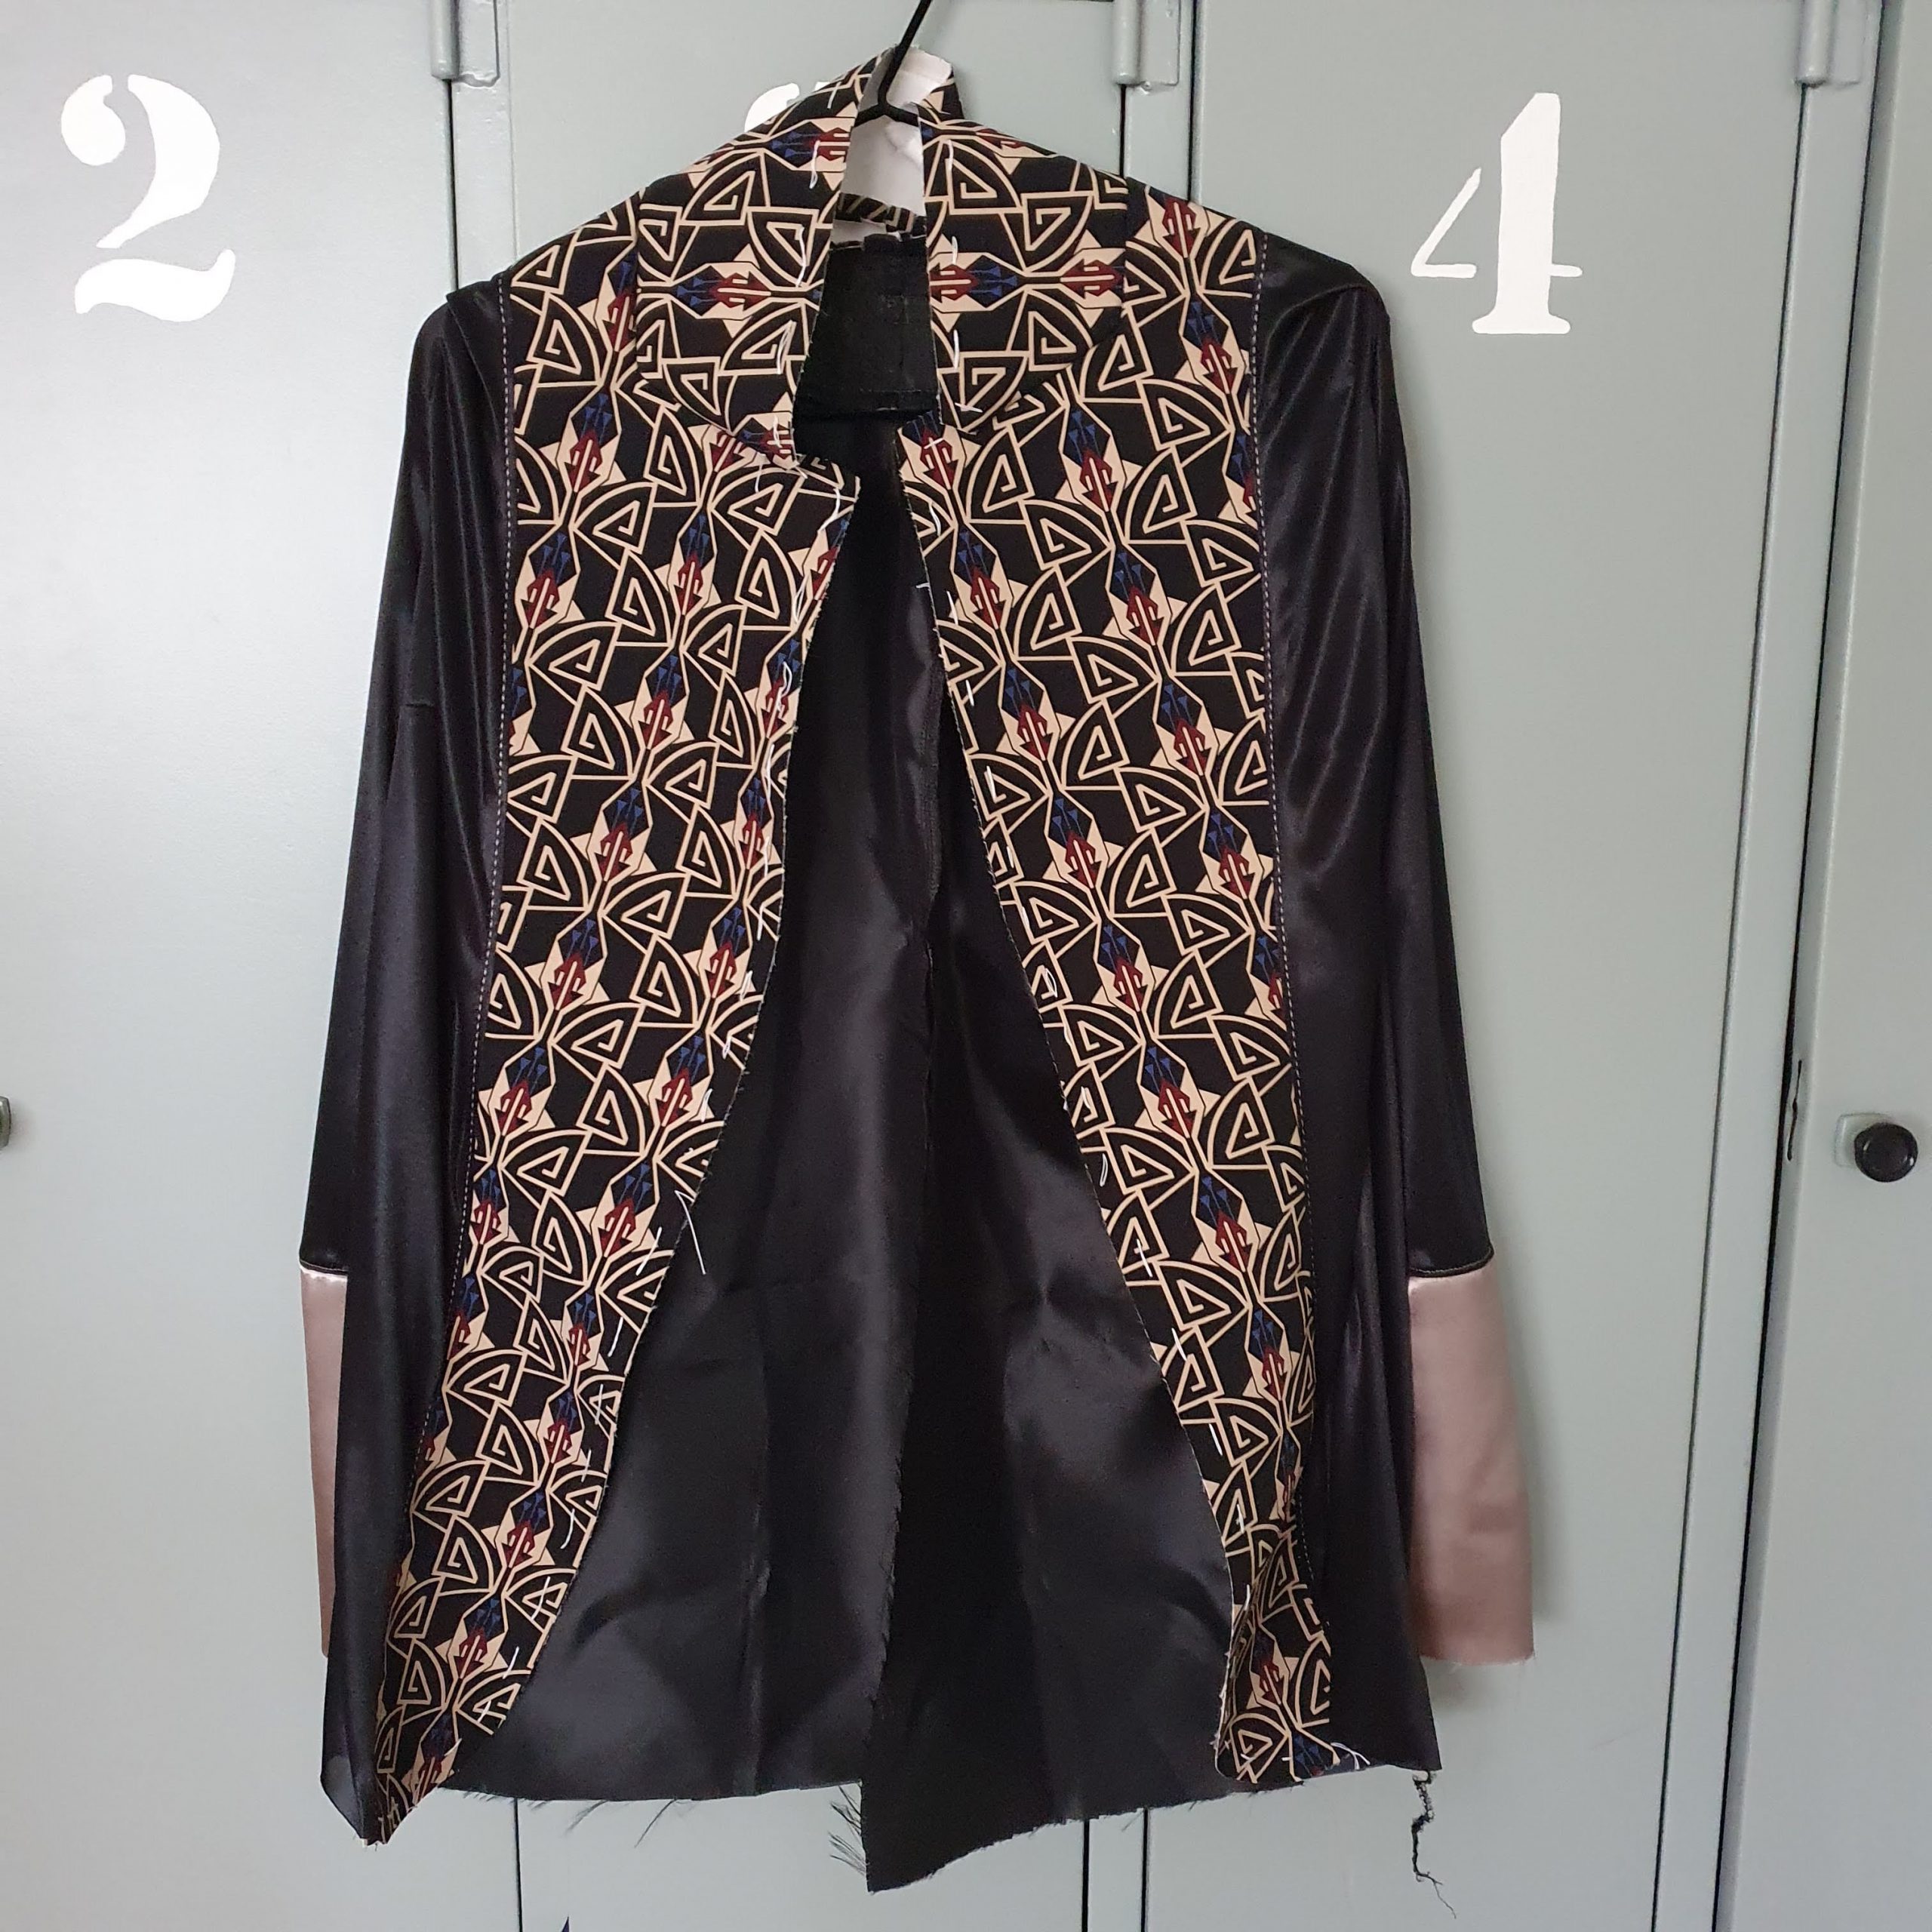
Lining coat

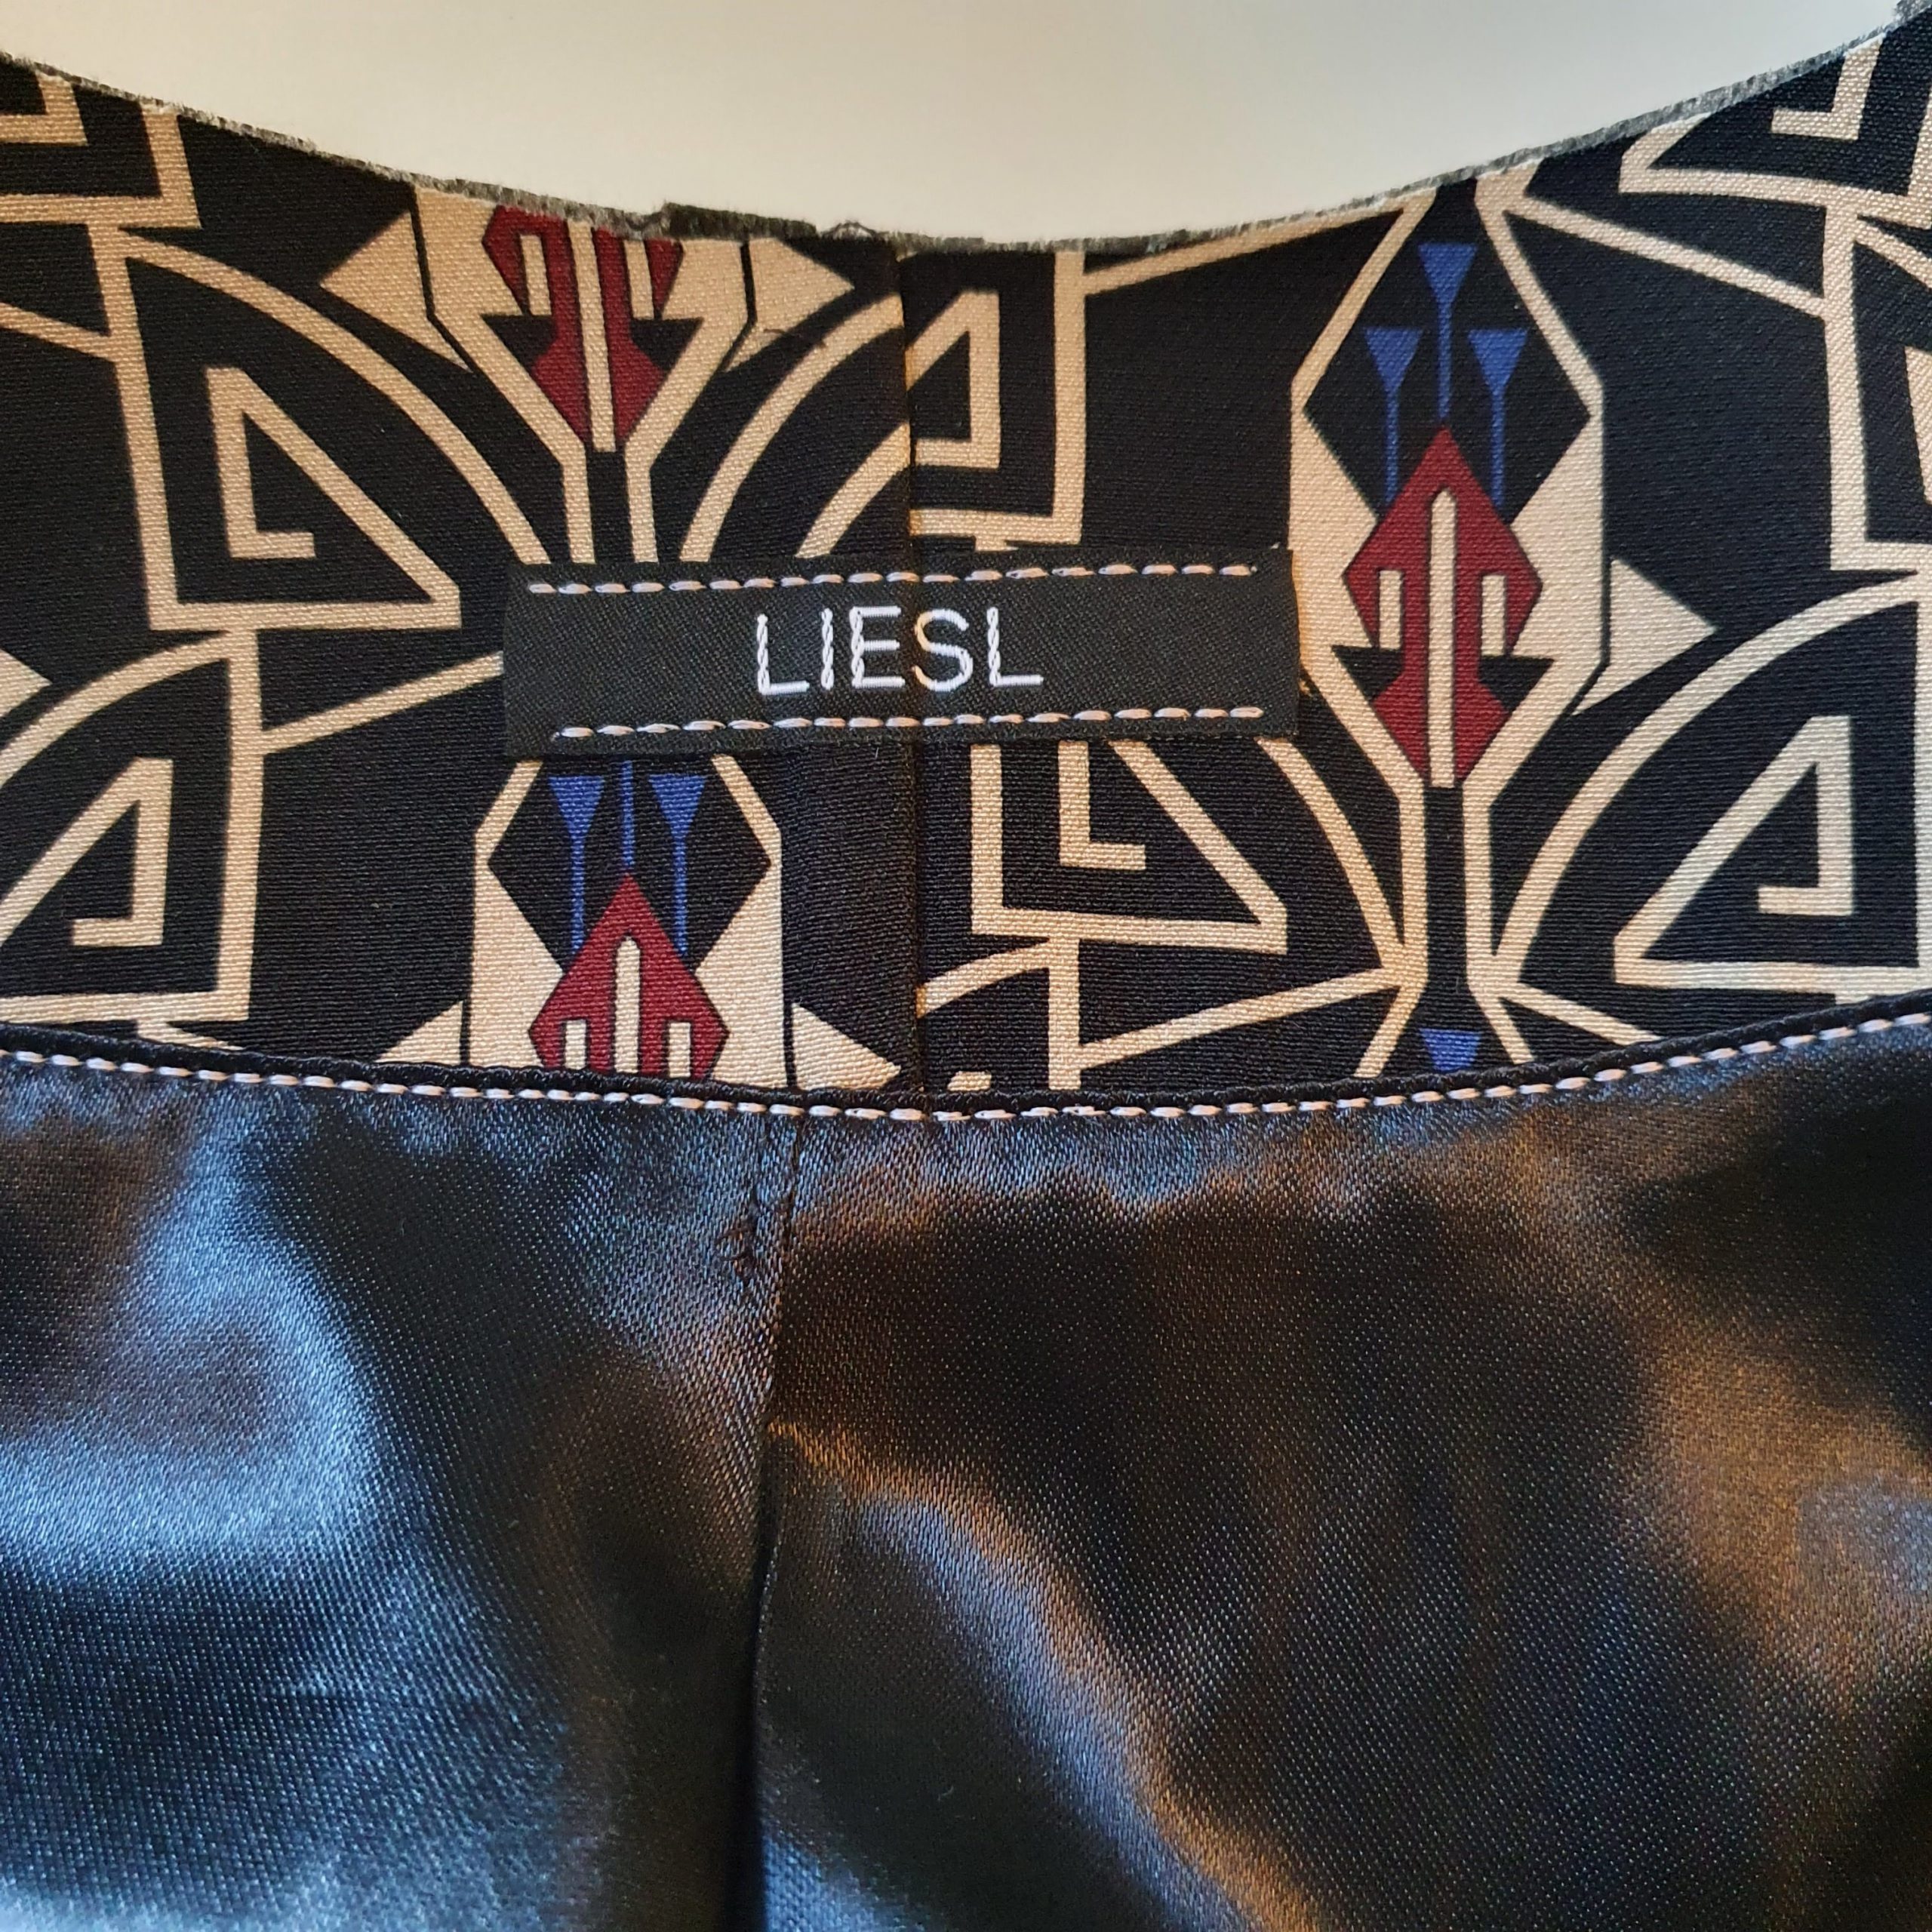
When the lining is stitched to the facings, I topstitch the lining with a gold beige stitch. I also do this with the label.
Before I sew the hem, I secure the facing of the front with invisible stitches on the inside. For this I fasten the front piece and the facing with large basting stitches.
Temporarily secure facing and front piece with basting stitches
Secure invisibly on the inside by hand
Last step is to attach the hem and the lining. Curious how I did that? Watch in this video how I did that with the gold blazer I made before.
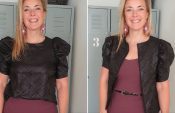
And so the blazer is ready to mix within the capsule wardrobe. Of course with the pants of the suit, but also, for example, with the pink velvet dress…

Back view
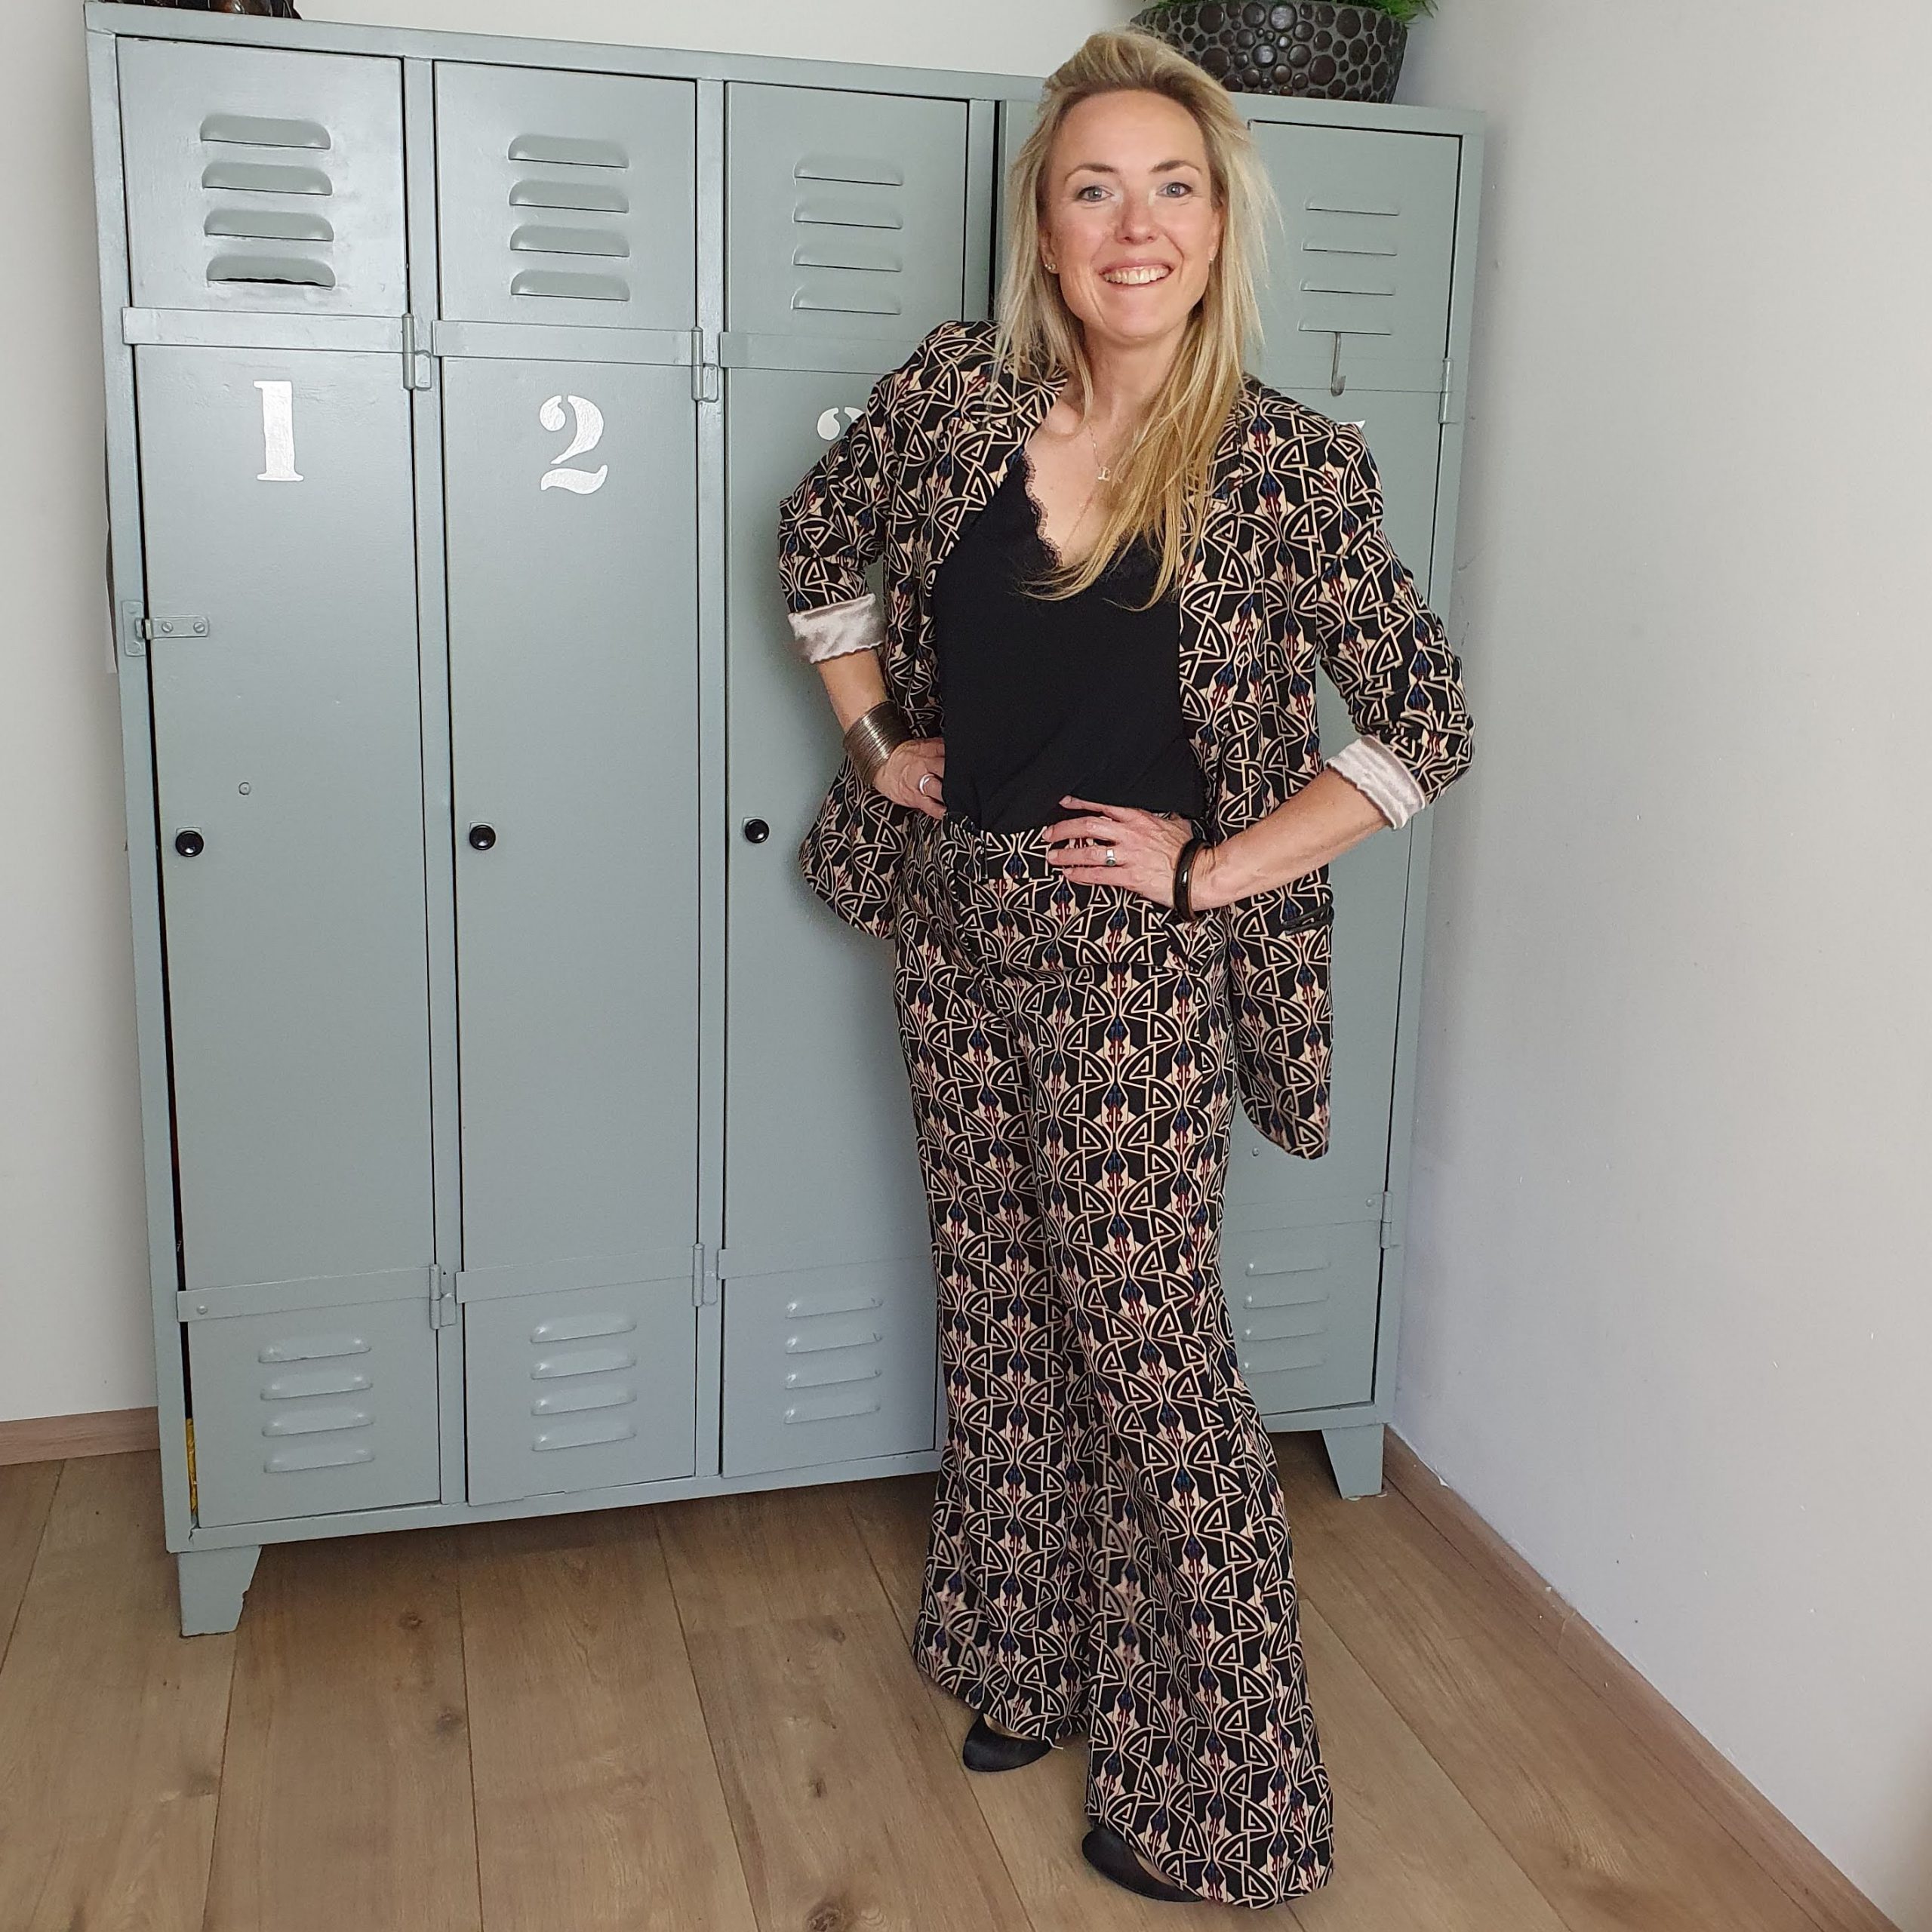
Power suit

Mix
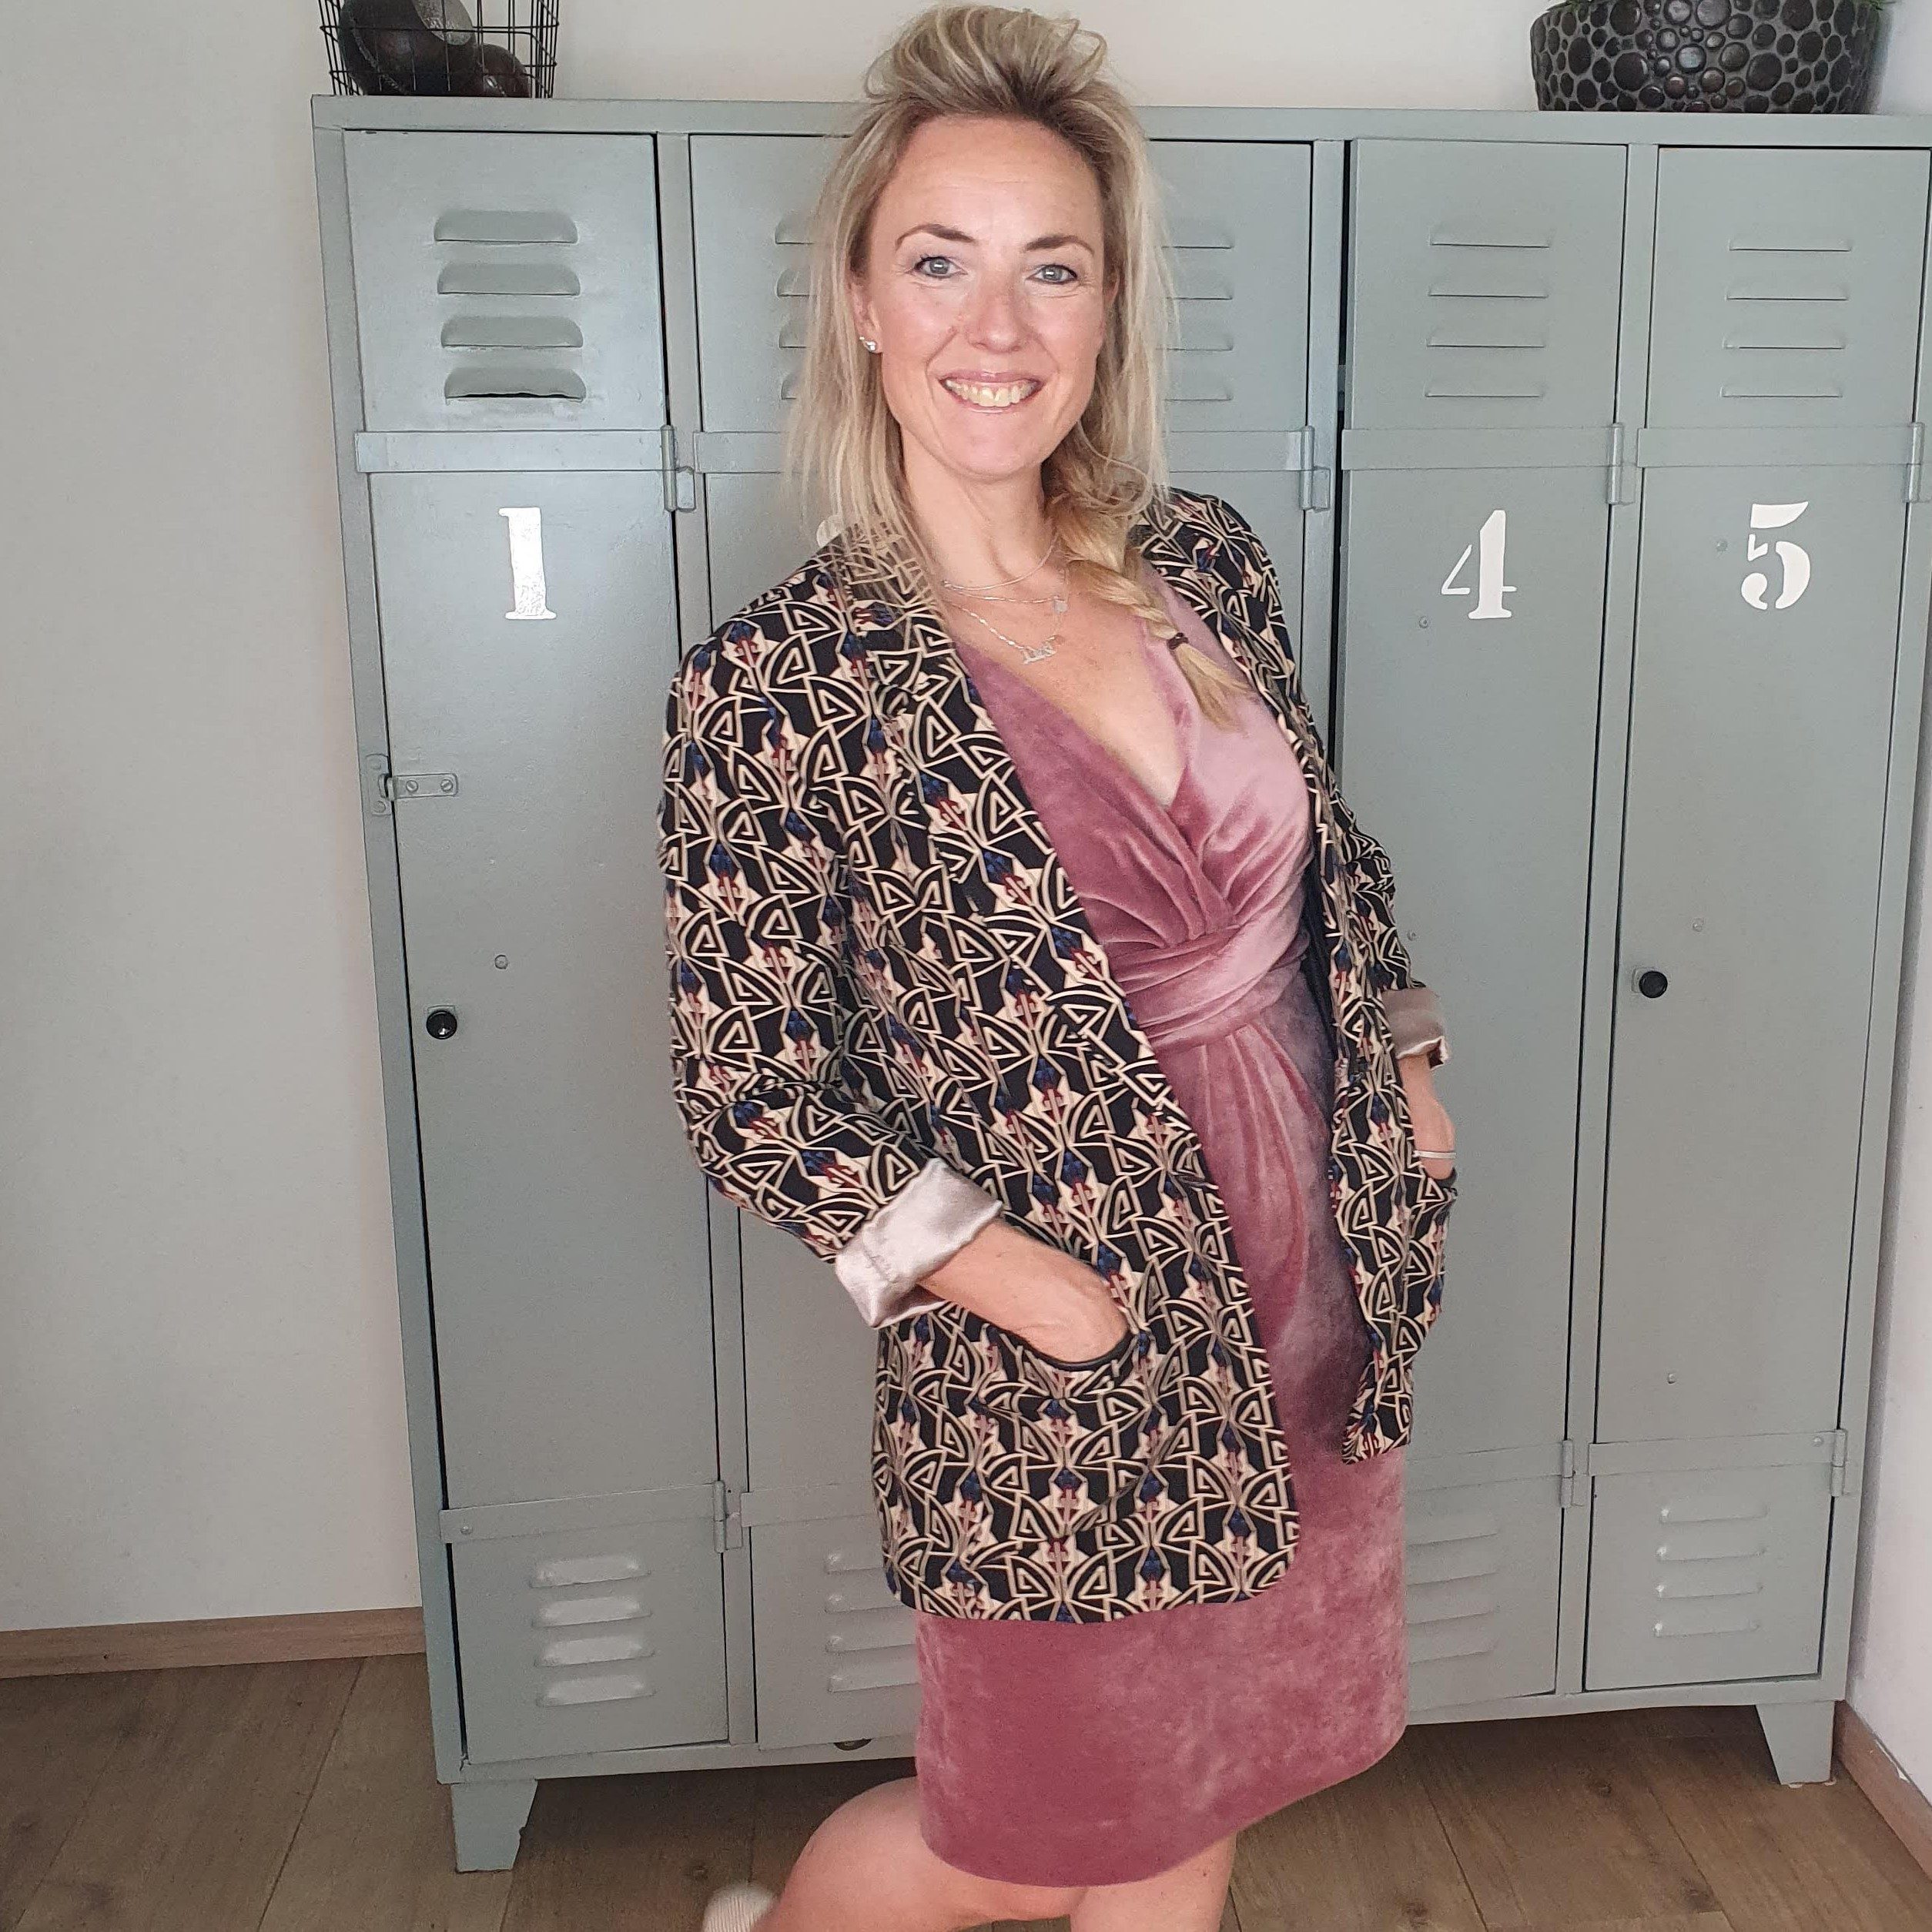
Match
My next Time to Shine capsule wardrobe project is a refashion project! Yay! Something to do with sequins and embroidery. Will I see you here again?
All items I’ve made so far in this capsule wardrobe can be found here.
Love,
Marlies

0 Responses