 BERNINA Corporate Blog -
Hello sewists, and welcome back to the long-awaited part 3 in the making of my Summer Haze quilt!
If you missed it, part 1 was all about piecing the quilt top, and part 2 featured quilting it in the hoop with the BERNINA Clamp hoop – so much work, but so much fun!
Today, I’m finishing the quilt with a machine embroidered label, and adding the binding. This quilt is a gift for my sister’s new baby, and I ended up waiting until he was born so that I could add his name to the label, and then of course life got in the way a little bit and it took me an extra month after he was born to get all my ducks in a row!
Adding the quilt label
I started with the BERNINA Embroidery Software 9 – this was my first time playing with the text feature and it was very intuitive.
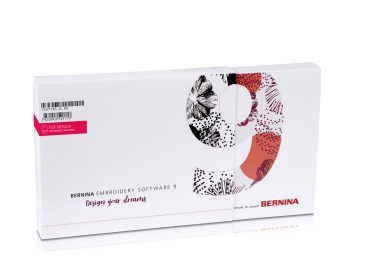
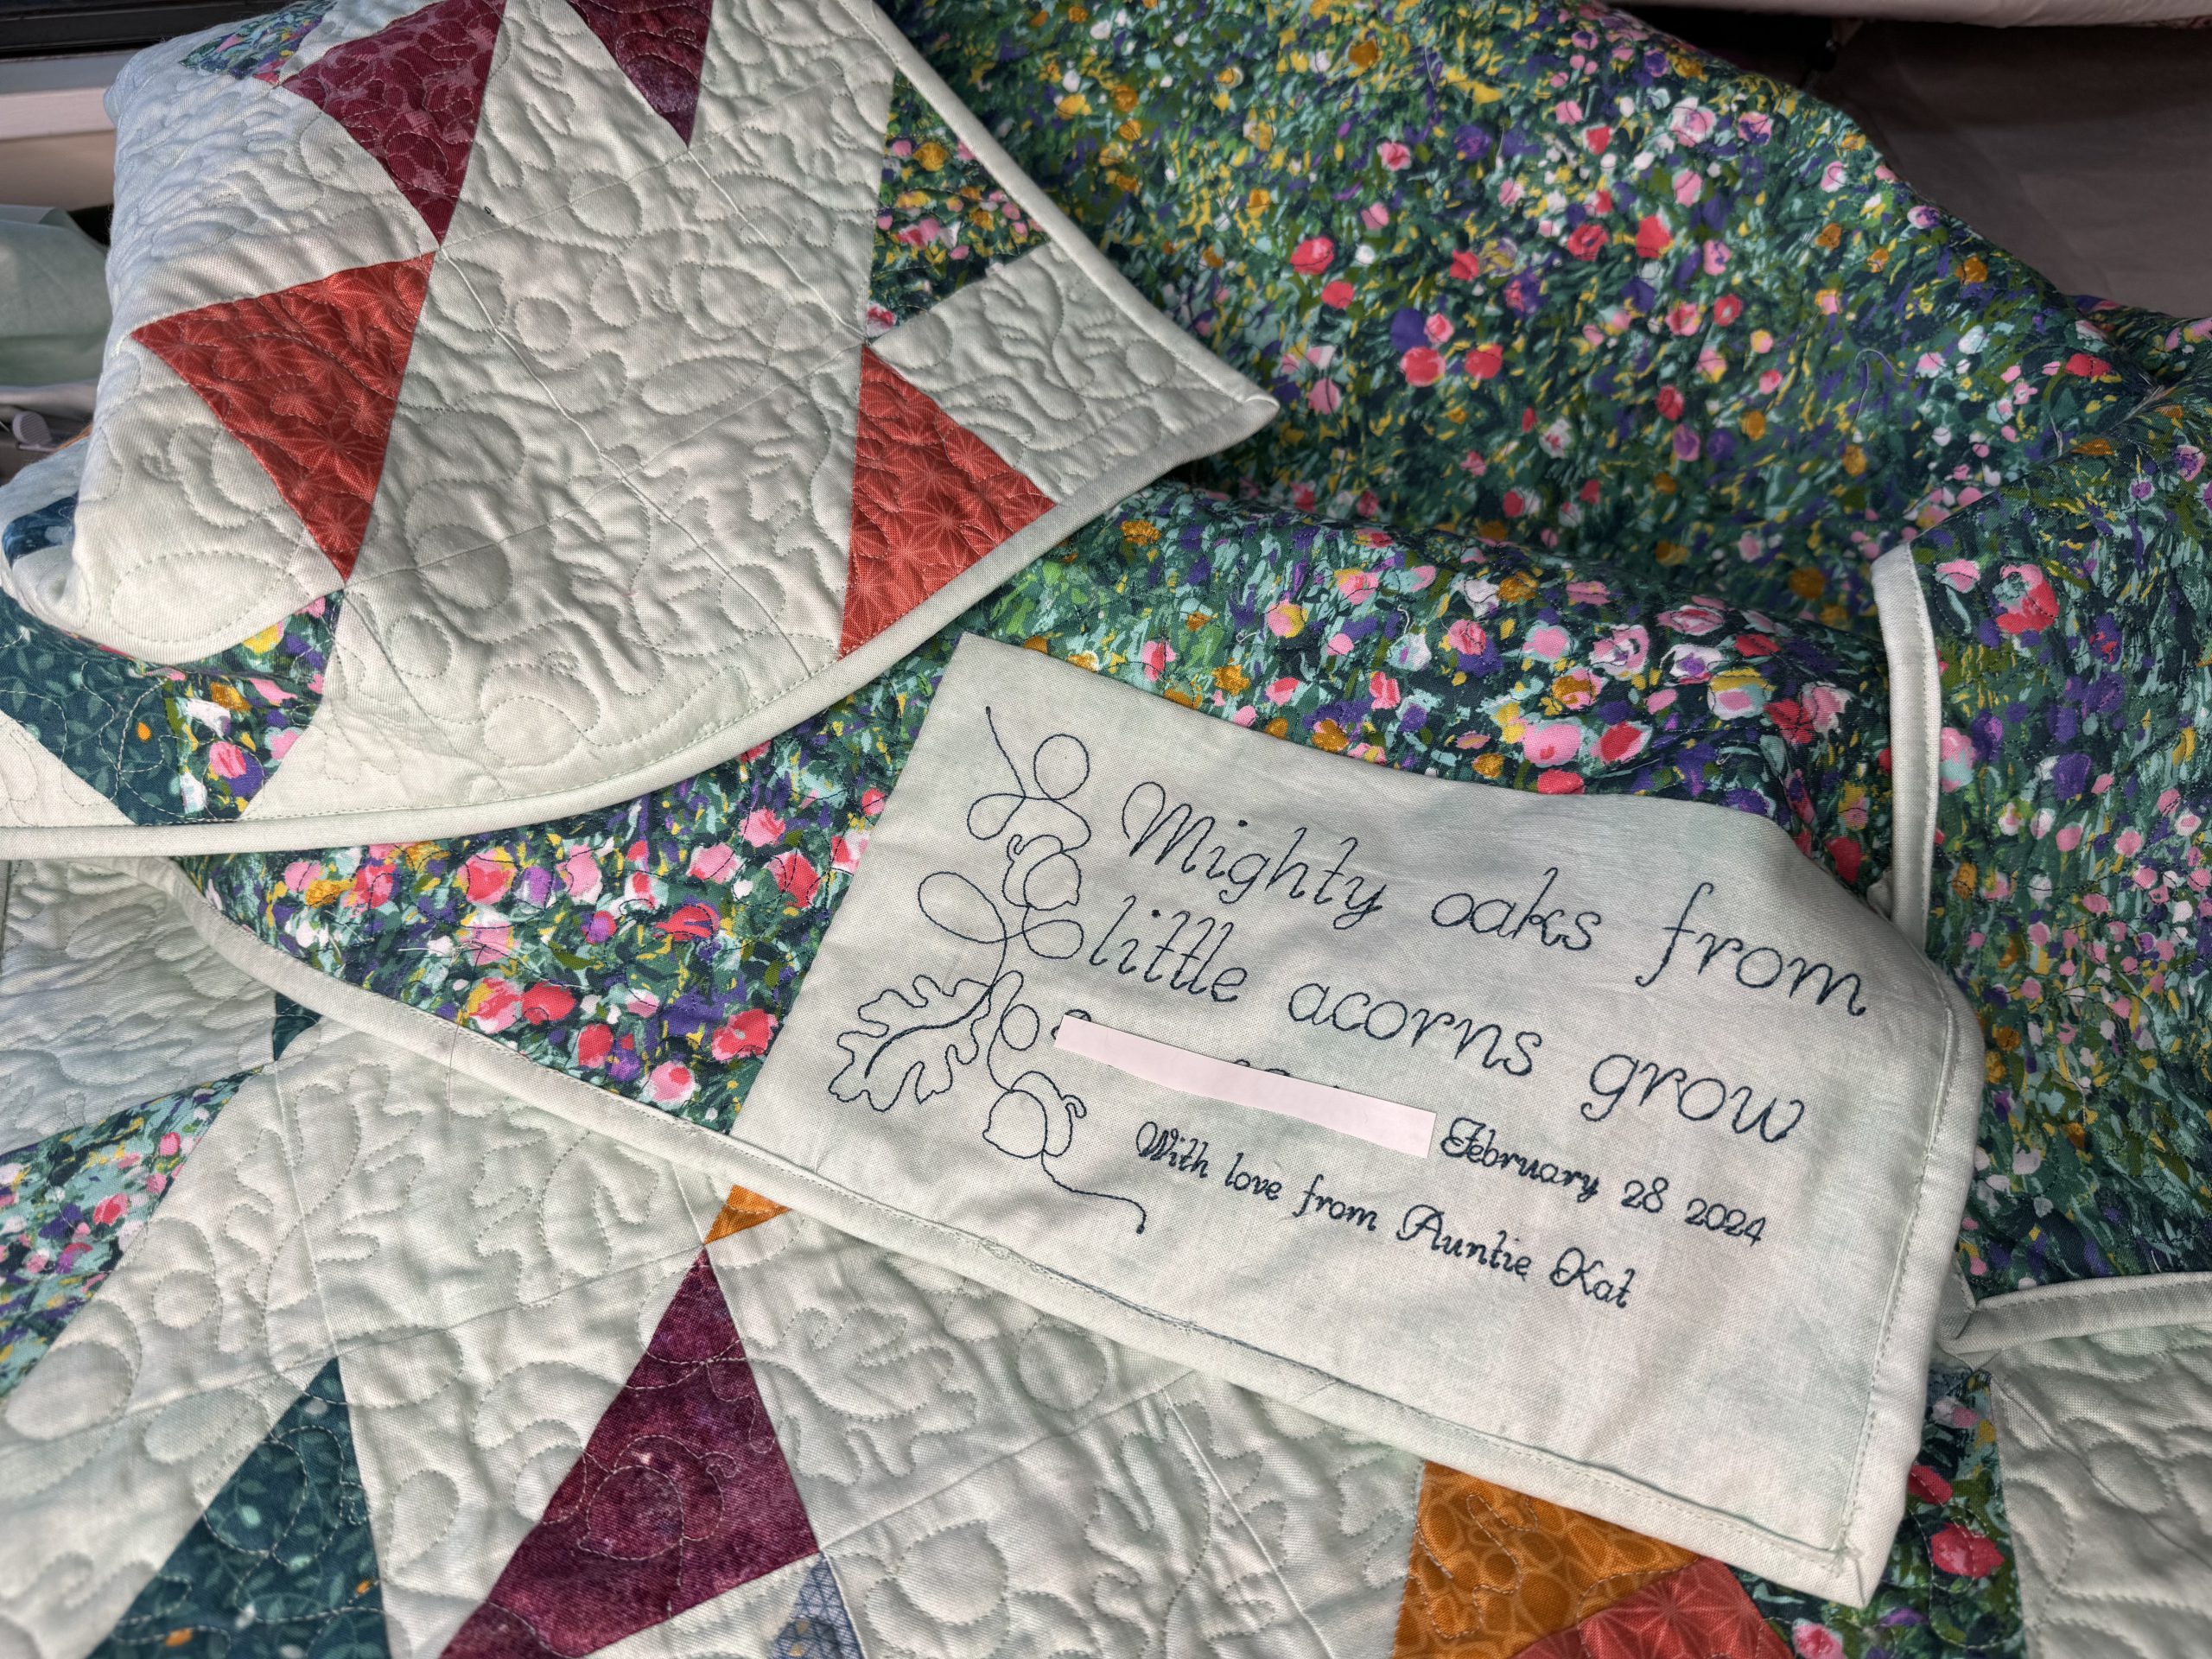
I chose the “Run Liberty” font, and added each line of text separately. This allowed me to nestle them in nicely next to the oak and acorn motif, which I added on the left. I’ve changed the kiddo’s name out for some placeholder text, but you get the idea!
The properties dialog box or the text allows you to change the letter spacing, height, and alignment – and each font has different recommended minimum and maximum sizes. Run Liberty’s range is 5-12mm, so I tried to make sure my text fit within that range.

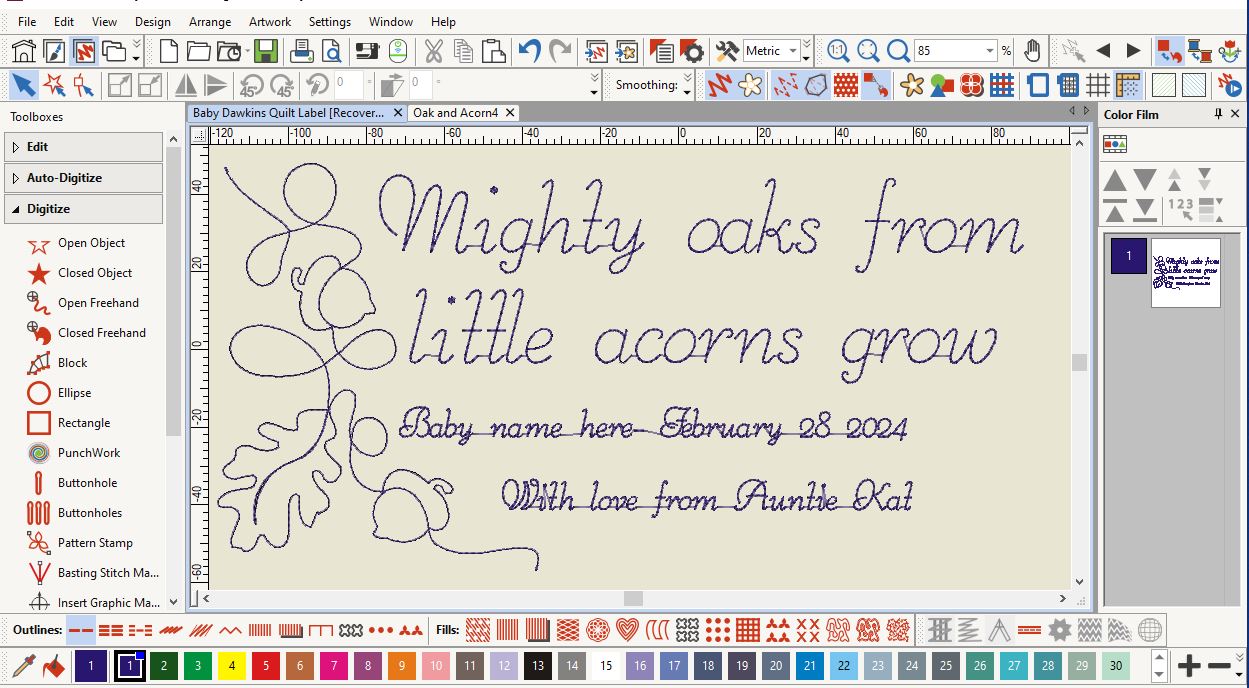
When I was happy with the layout, I rotated the design and turned the hoop view on to make sure everything fit the way I expected. It all looked great, so off to my machine for stitching we go!
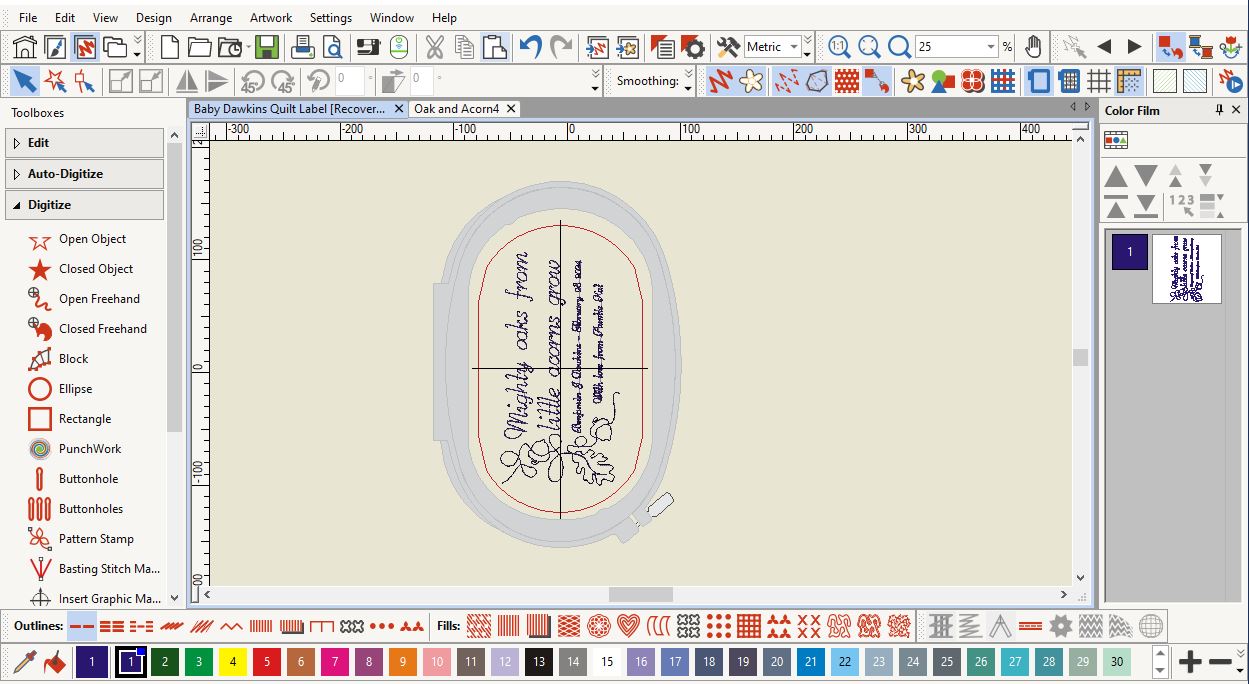
I hooped the fabric with some tearaway stabilizer and made no adjustments to the design at my machine. I did, however, use the Yellow high-tension bobbin case and my usual 60wt bobbin thread to get a neat result!
The software automatically decides which letters will have thread cuts between them, and which are too short to warrant cutting. Either way, the machine backstitches at the end of each letter. You can modify these settings but I left it as-is, so I had some floats left after stitching was complete.
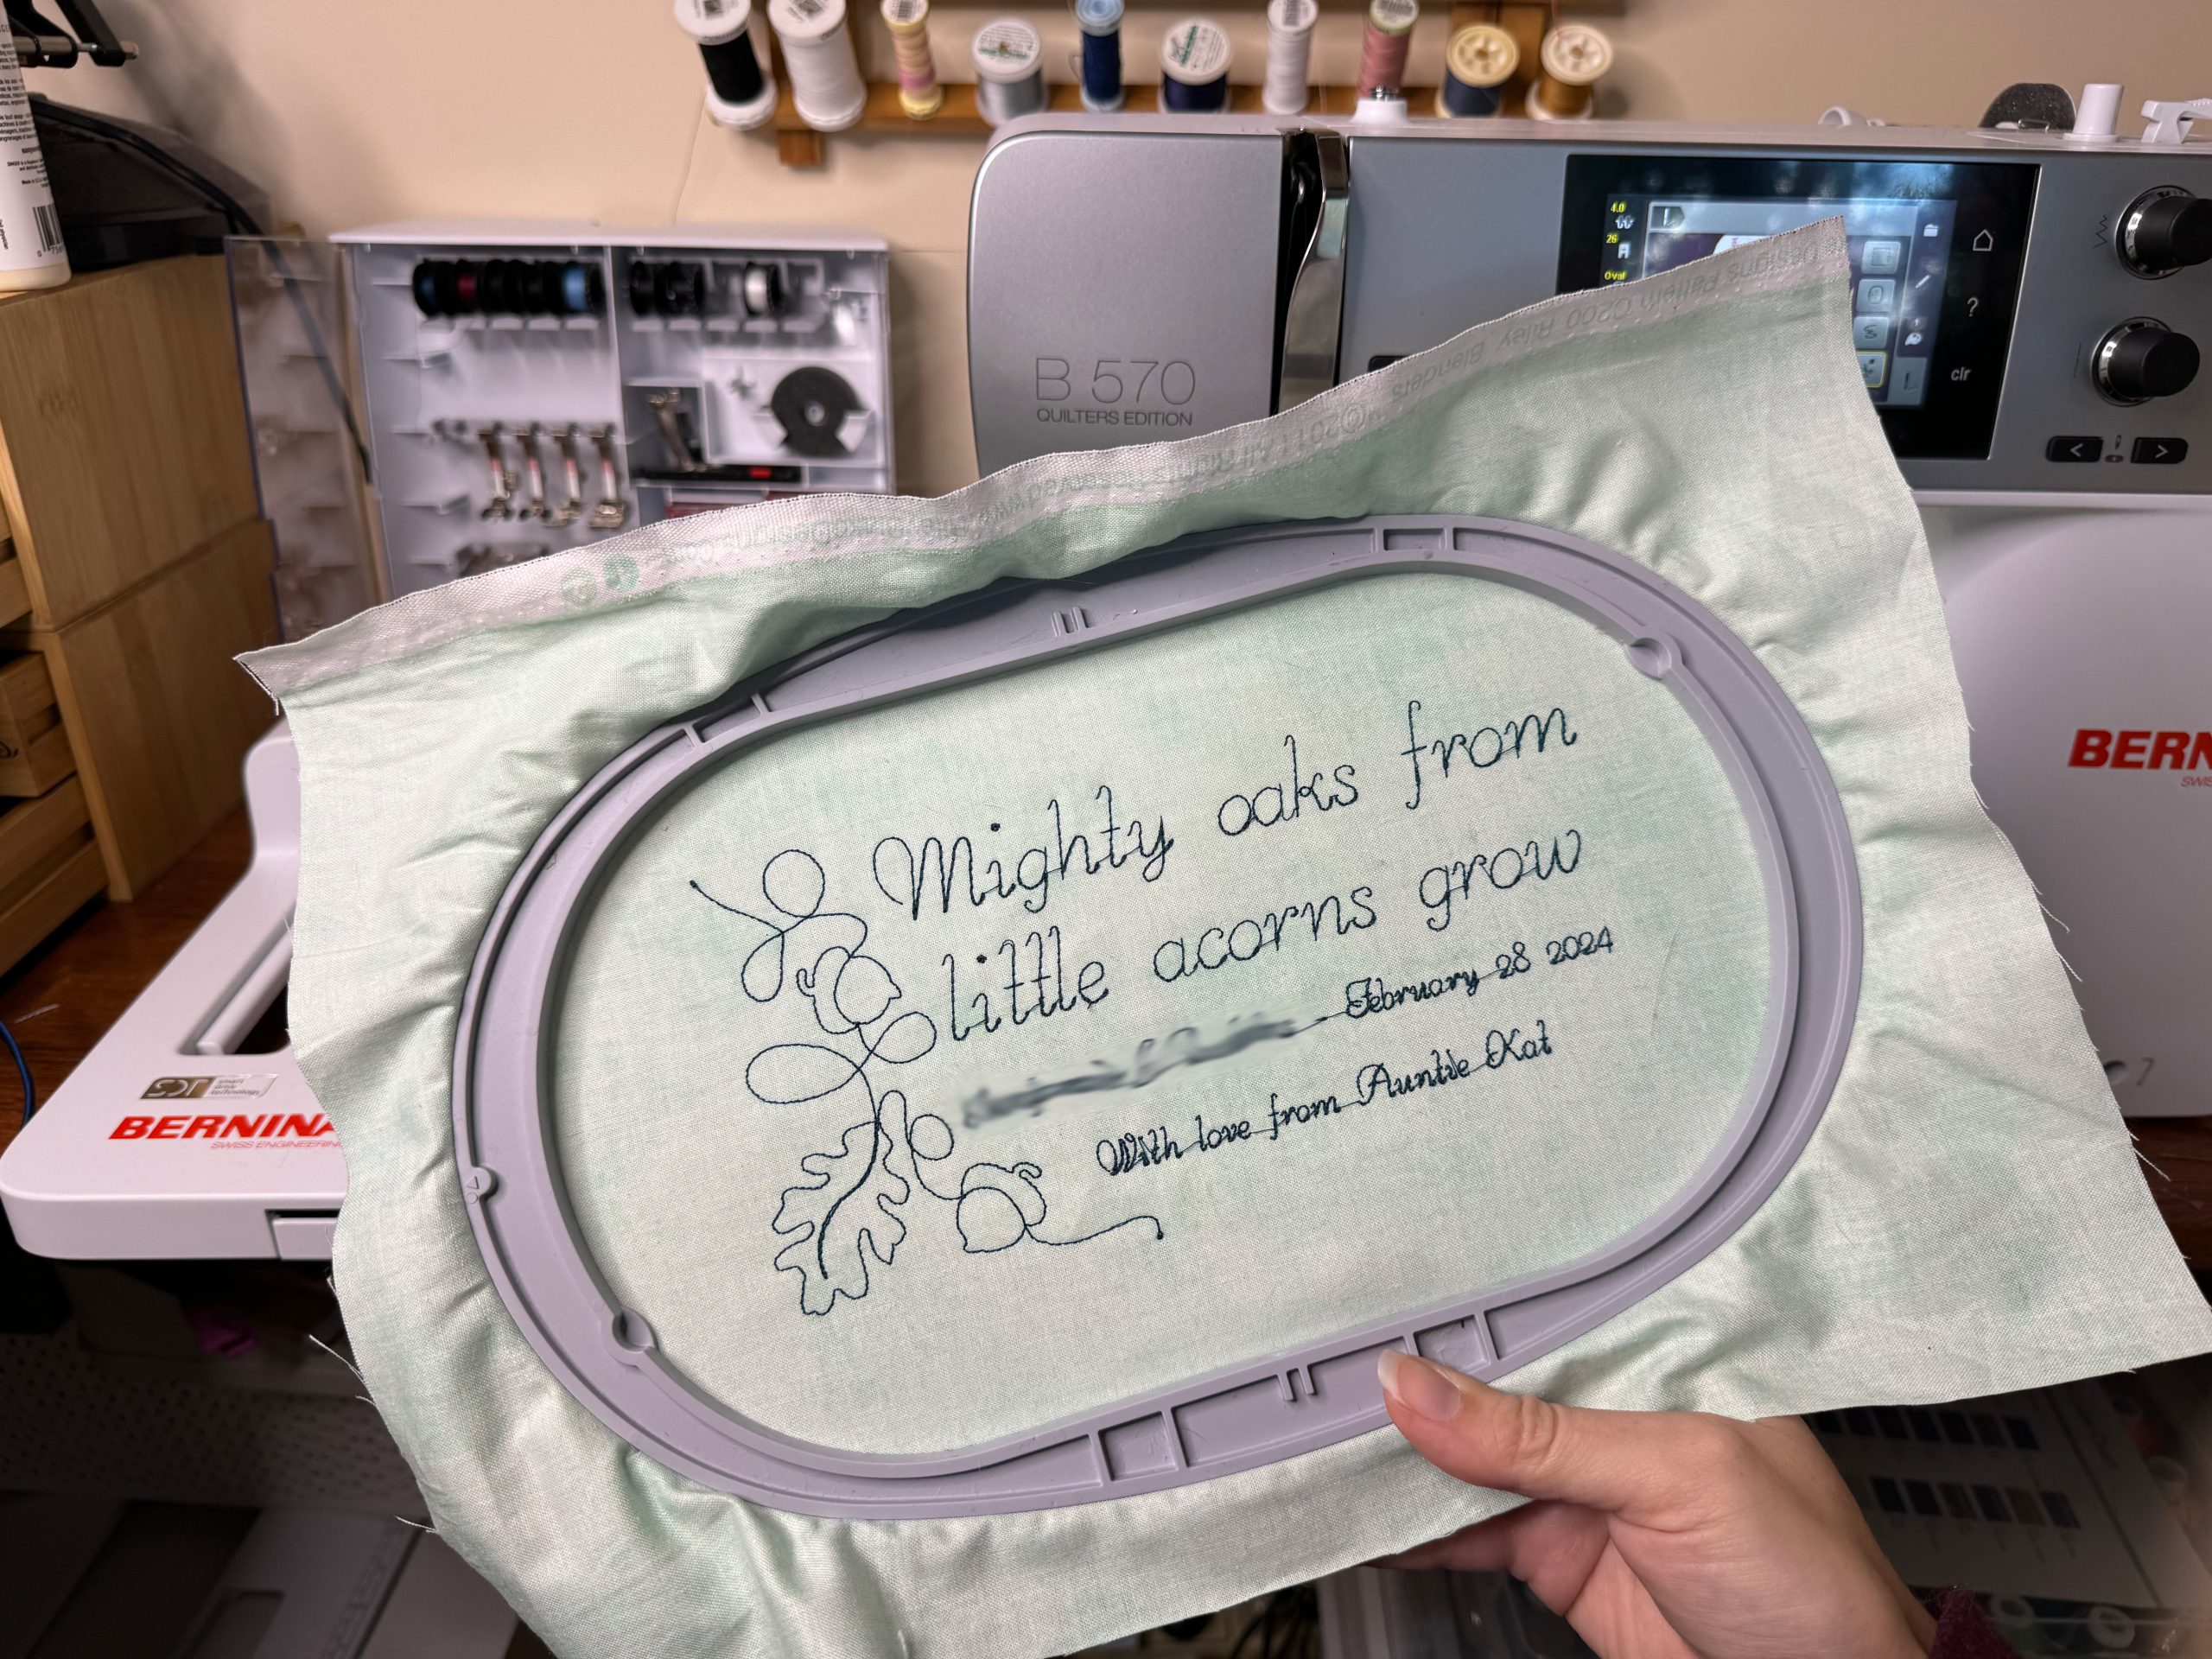
My preferred pair of thread snips for this task isn’t actually a pair of thread snips at all! They are cuticle scissors (made for manicures) and I love them SO much – the tip is needle-sharp, as are the blades. The blades also have a gentle curve that is absolutely perfect for trimming threads extremely close to the embroidery surface. I used these scissors plus a pair of tweezers to trim all the floats.
Once that was done, the label was complete! I pressed the edges under, cut off the excess, and hand stitched it to the back corner of the quilt.
Binding the quilt
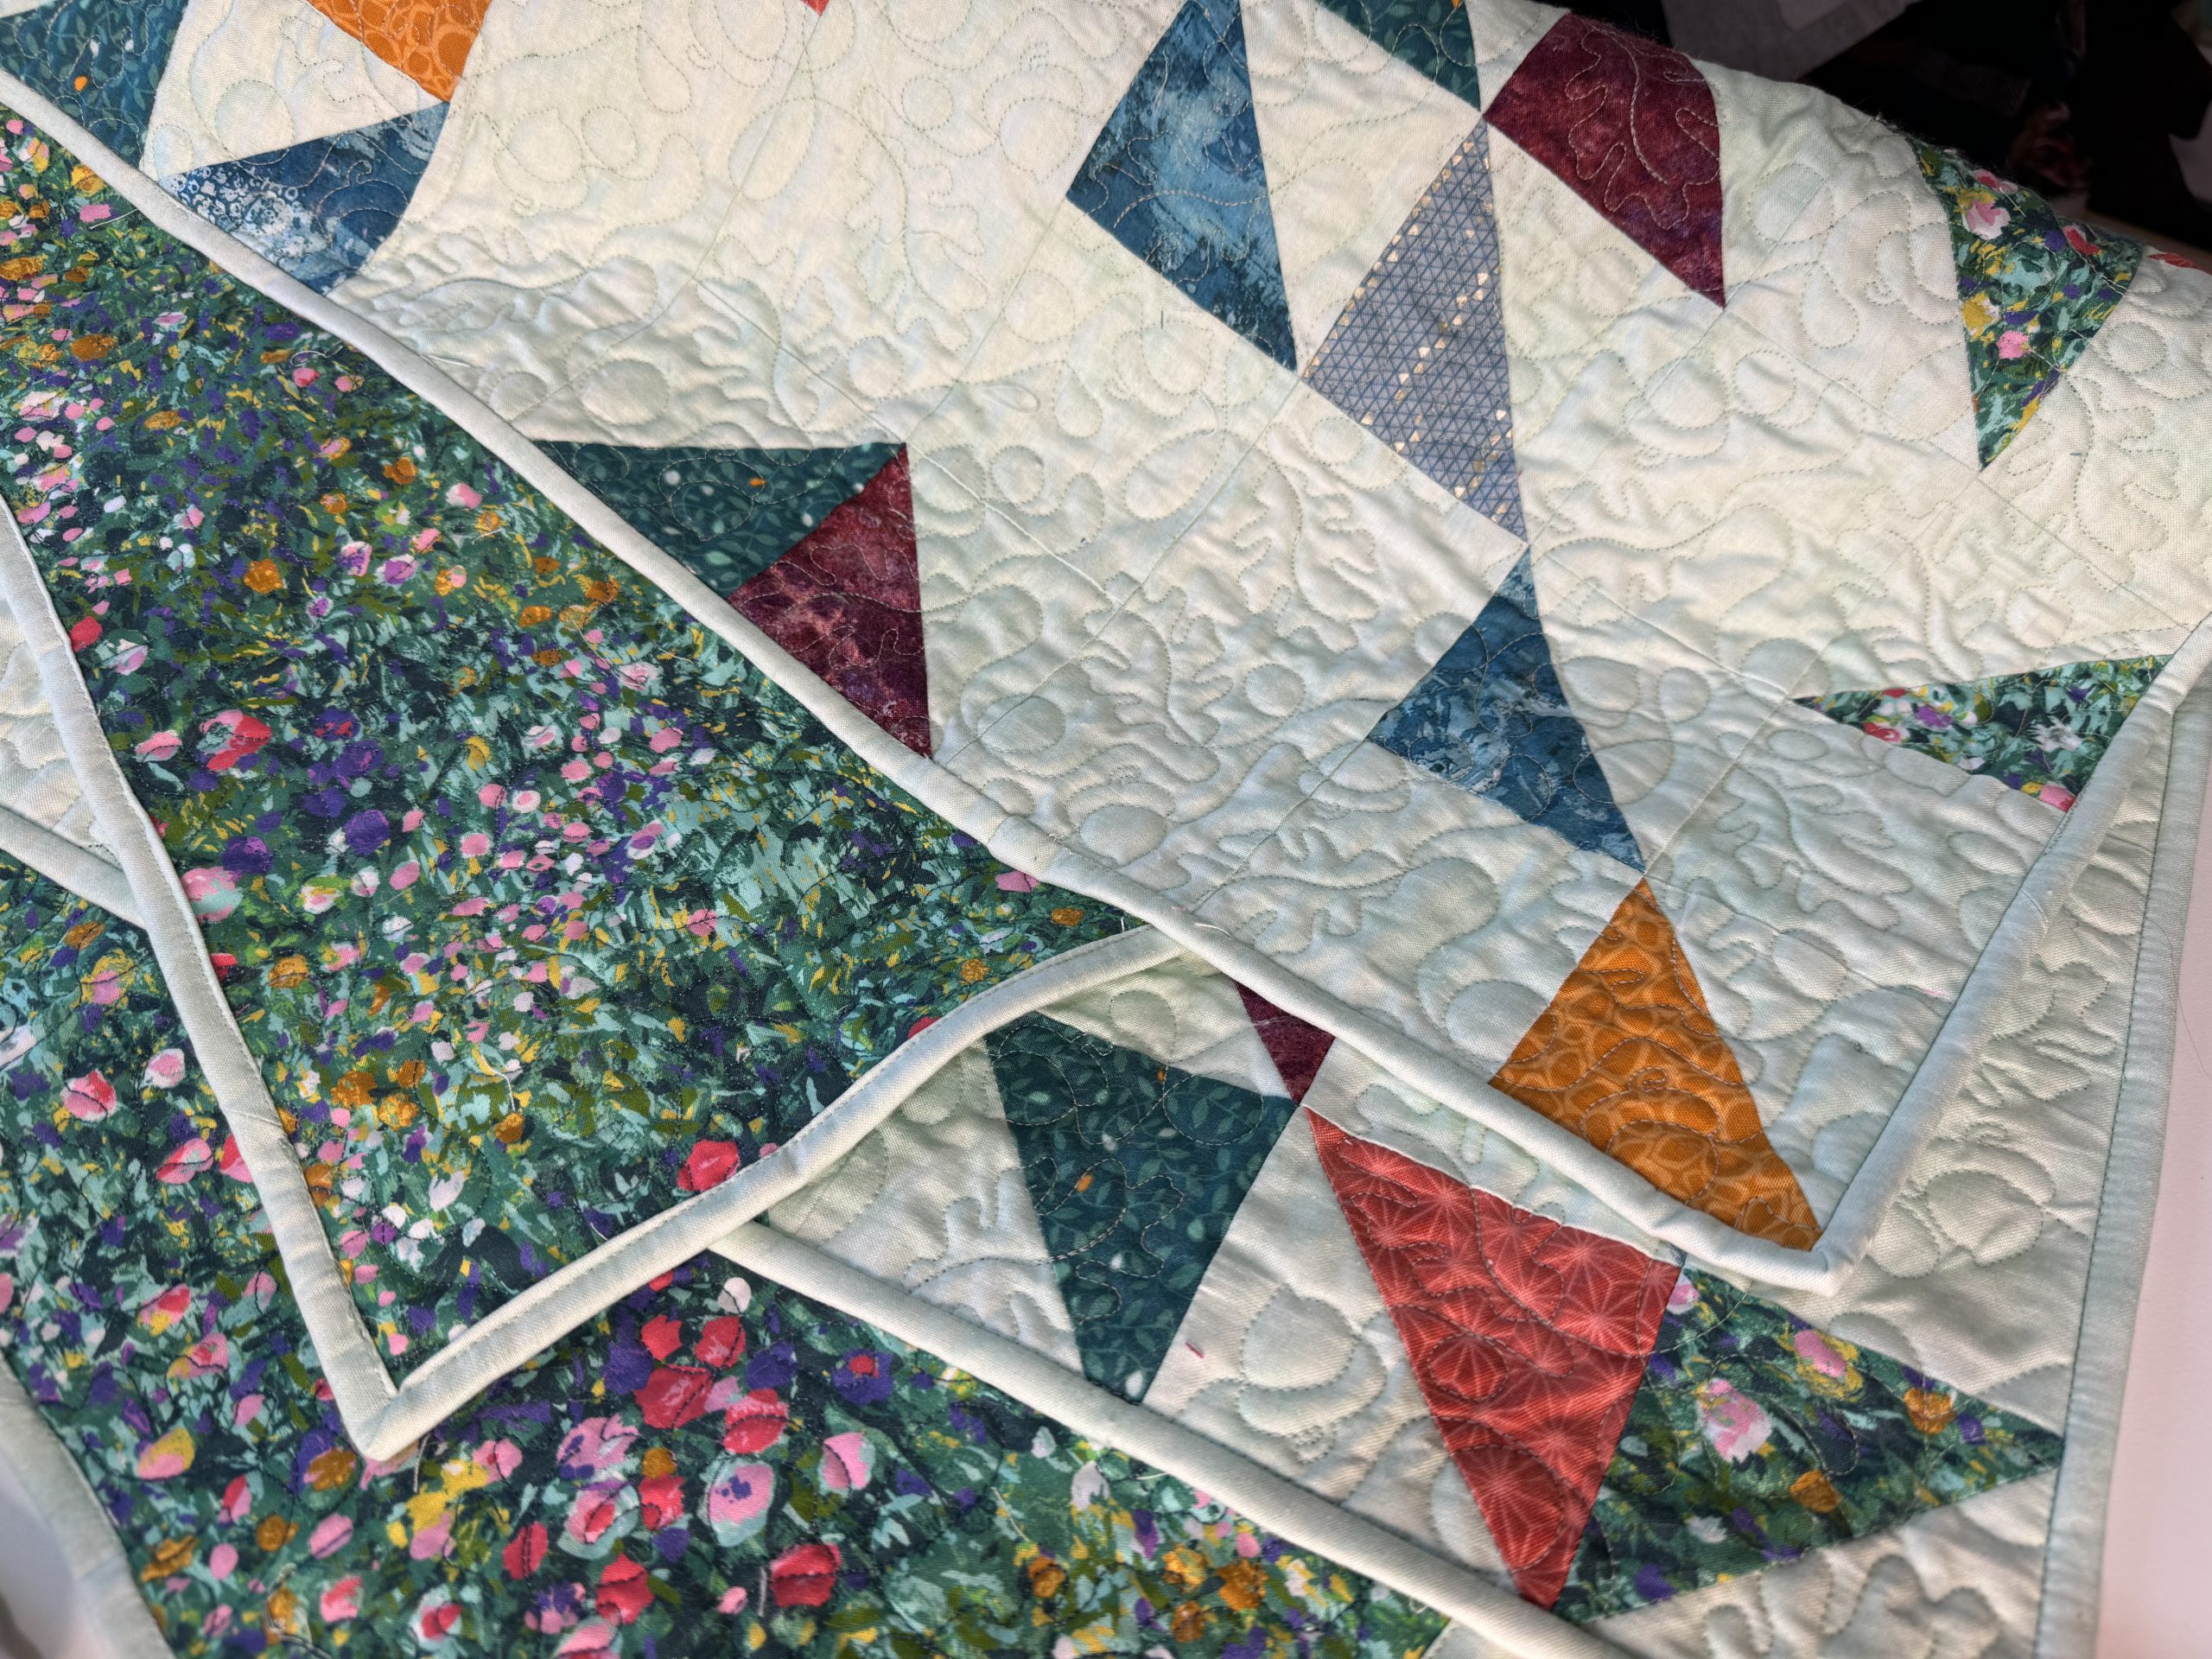
I generally prefer to hand bind my quilts – I like the finish, and I like to spend a bit of extra time with them. Since this is a baby quilt and I would like very much for it to be used and loved to death, I decided to machine bind it instead. I’ve read that this is stronger, and less likely to need repairing.
To be completely honest, I’m not sure I’ll be doing this again. Since it’s my first time machine binding there’s a solid chance I just need more practice, but I don’t particularly like how the back of the binding looks. It’s a bit uneven in places, but hey – at least the kid won’t mind.
My bias tape maker came in handy for the quilt binding – 2” straight grain strips folded in half to make a 1” binding. Then I attached the first pass at ¼” seam allowance, setting up for mitred corners. The Reverse Pattern Foot with Clear Sole #34 was perfect for this so I could clearly see what was going on.
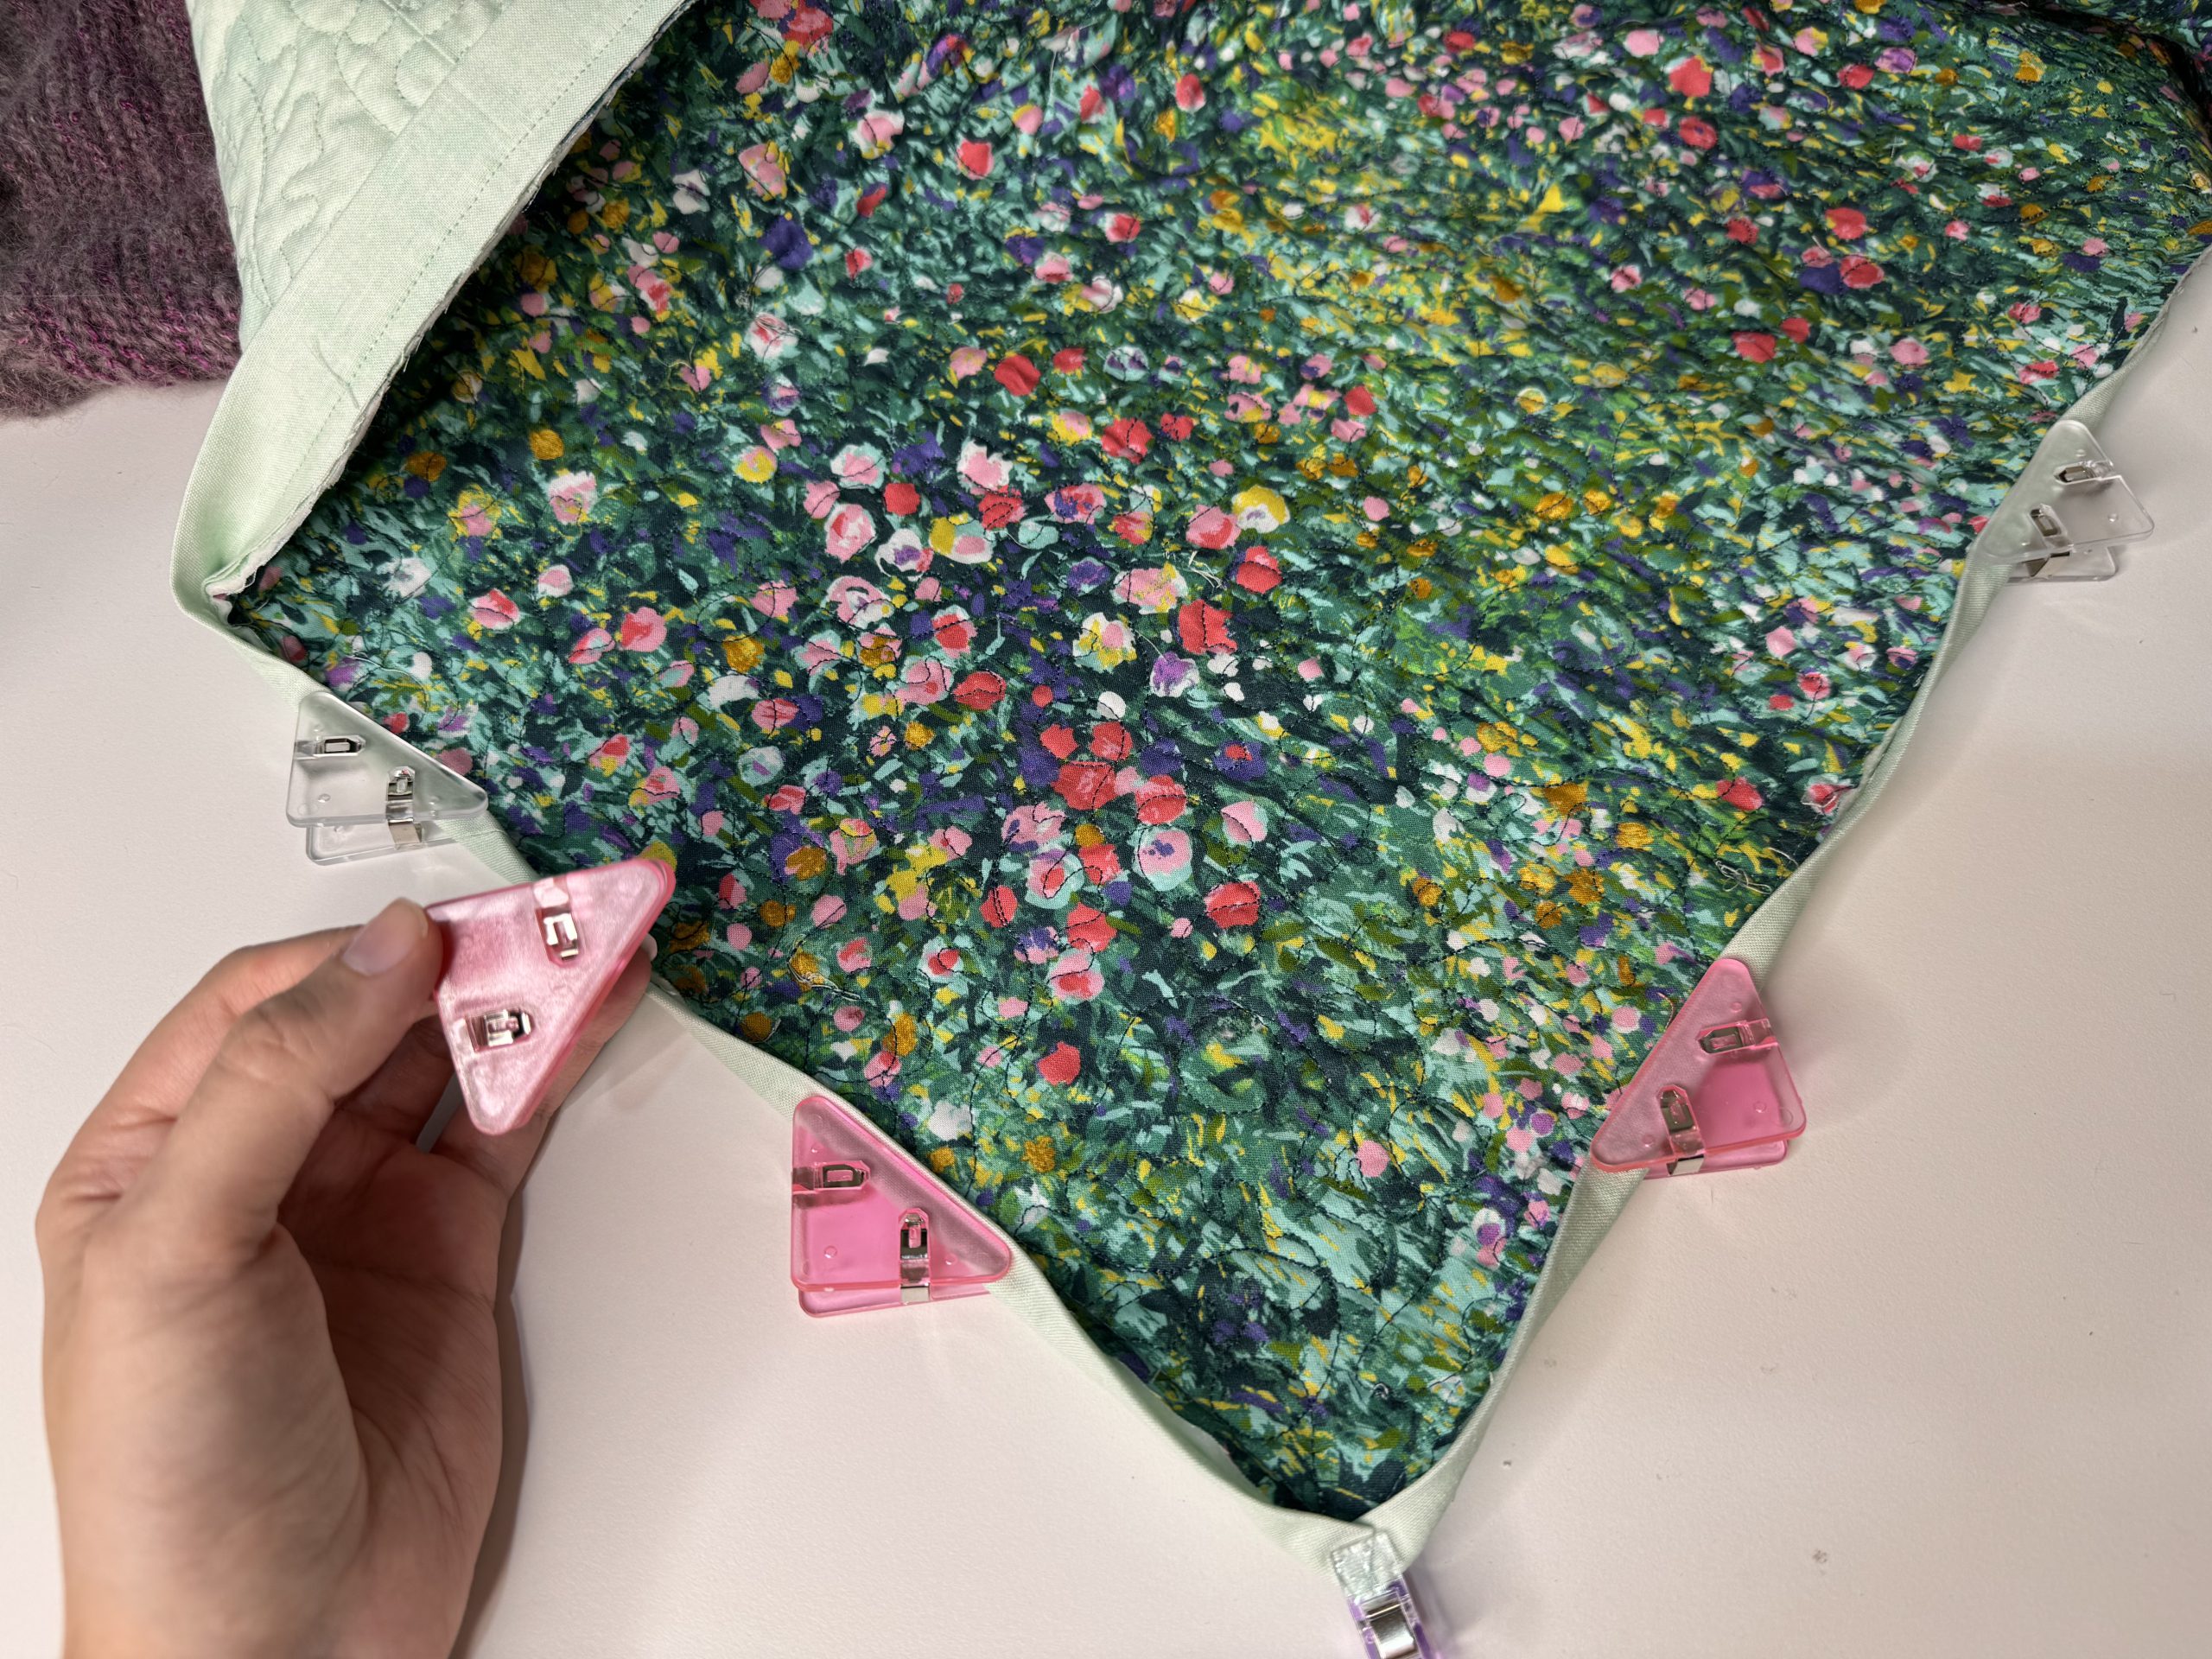
I found these wide fabric clips recently, and have been enjoying them on my garment projects – they’re perfect for this sort of application as well, with a very firm hold! I clipped the binding in place, and then stitched from the top using the edgestitch foot, catching the binding on the underside. Like I said, it’s not as even as I’d like, but it’s certainly sturdy, so I hope it stands up to years of love and washing! That said, I really DO like the running stitch quilt label – I wanted something that wouldn’t feel too stiff, and I’m quite pleased to say that it’s really very hard to tell which corner has the label by scrunching up the front – it’s not stiff at all, and I think it blends in quite nicely.
The finished quilt needs a wash before it heads off to its new home – my cats have been so involved with this whole process, and it’s more than a little bit covered in fur! I have plans to make one for them as I’m sure they are going to miss this one when it’s gone.
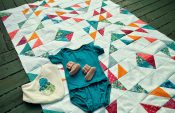
I love how this turned out, and I hope my sister and her kiddo love it too!
As always, you can catch me on Instagram, TikTok, and YouTube to see what I’m currently sewing!
thanks for sharing such designs and information.
Hallo, wo kann man diese breiten Stoffklammern kaufen?Herzlichen Dank für deine Bemühungen voraus.Mit freundlichen Grüßenroesmart