 BERNINA Corporate Blog -
Dear community,
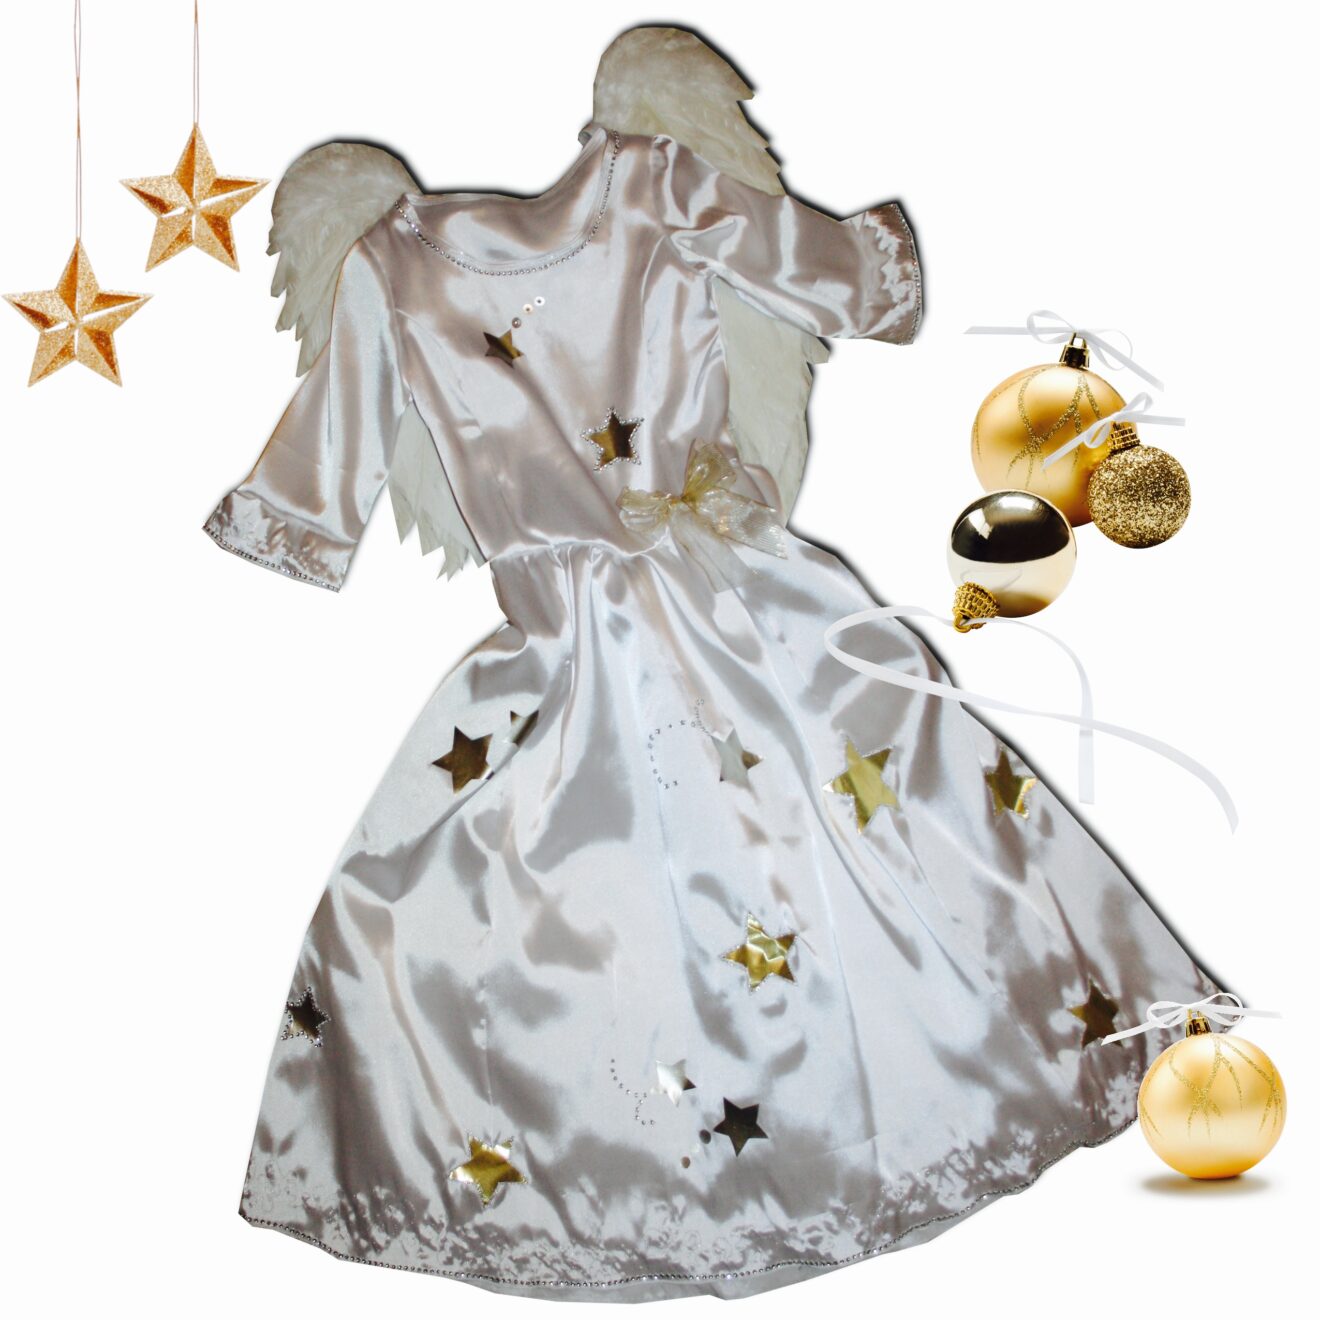
in this blog post you can find easy instructions on how to sew an angel’s costume with wings – perfect for Christmas Eve!
I am a mother, wife, housewife, businesswoman, cook, and designer, and because I have such a variety of duties I am sometimes a little bit forgetful. To make sure as few things as possible slip from my memory, I organise my life on little 10 x 10 cm slips of paper that I keep in my trouser pocket. All of the important information is on them – separated, of course, according to each area of my life – : what do I still really need to get in the shops, who do I have to call, what orders need to be sewn urgently, and that I still urgently need to bake a cake for the children’s kindergarten party! Often if something is especially important to my girls, they say ‘Mama, you’d better write it down!’.
For many years I have been trying more or less successfully to avoid picking up my mother’s quirks as I get older – I’m sure some of you will know what I mean. In the meantime, my eldest daughter has already lost that battle. Just as she has has seen me do, she writes down everything that crosses her path on little notes…
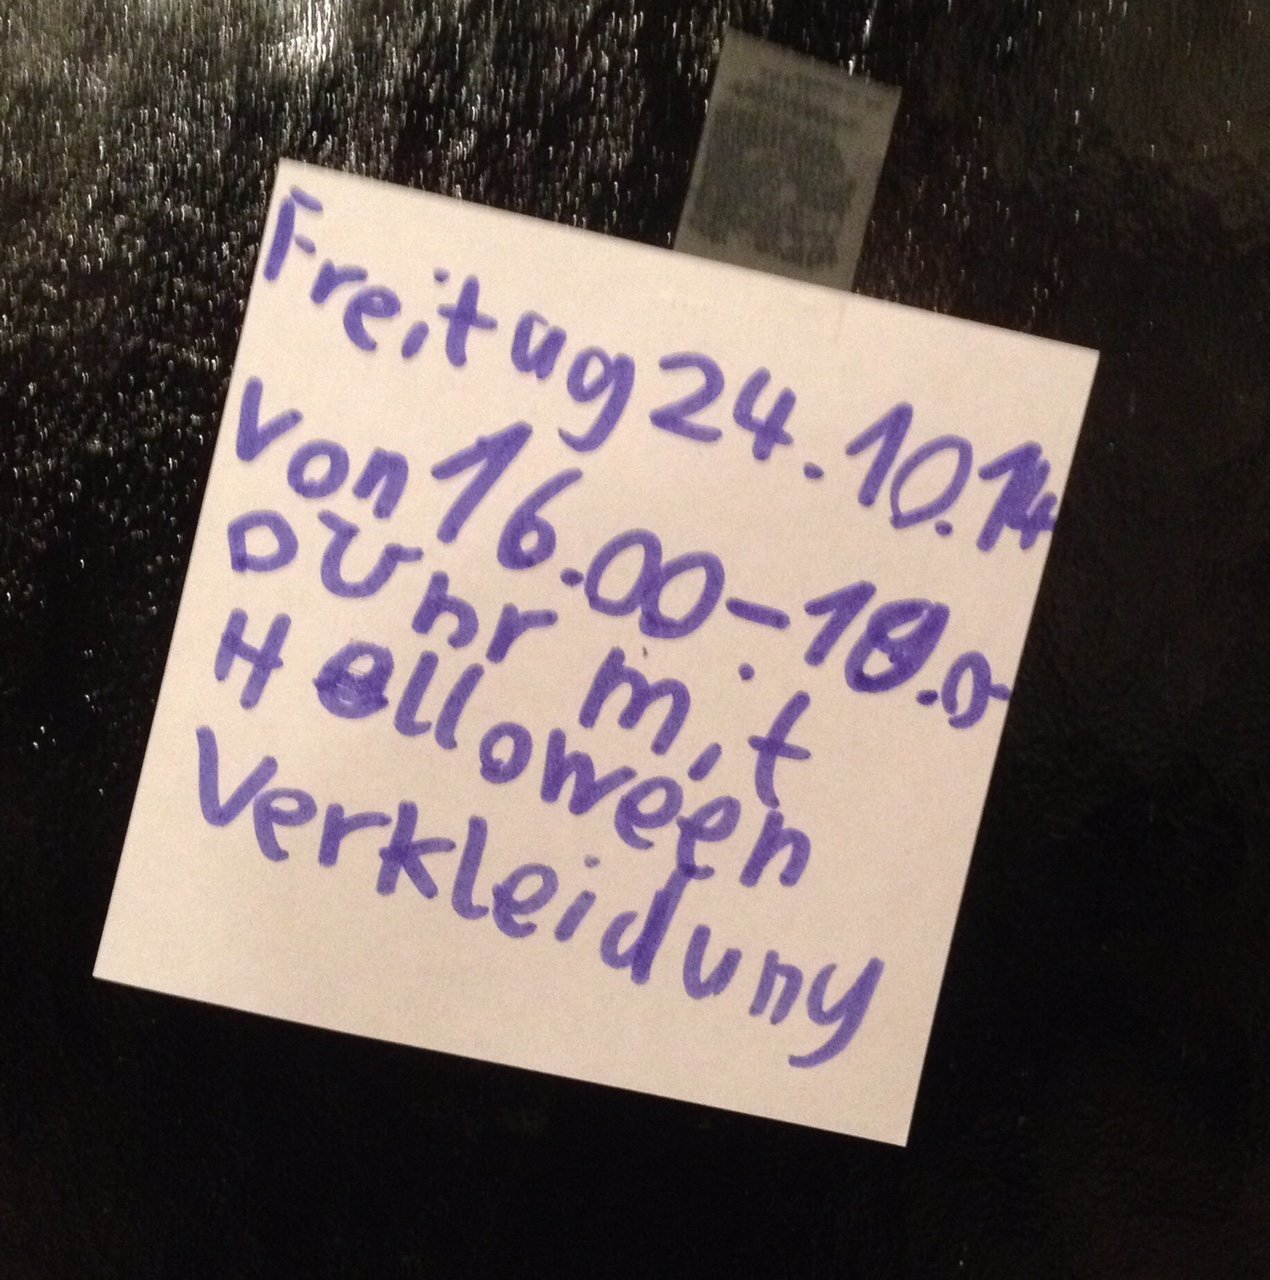
So one day she came home from school with this one:
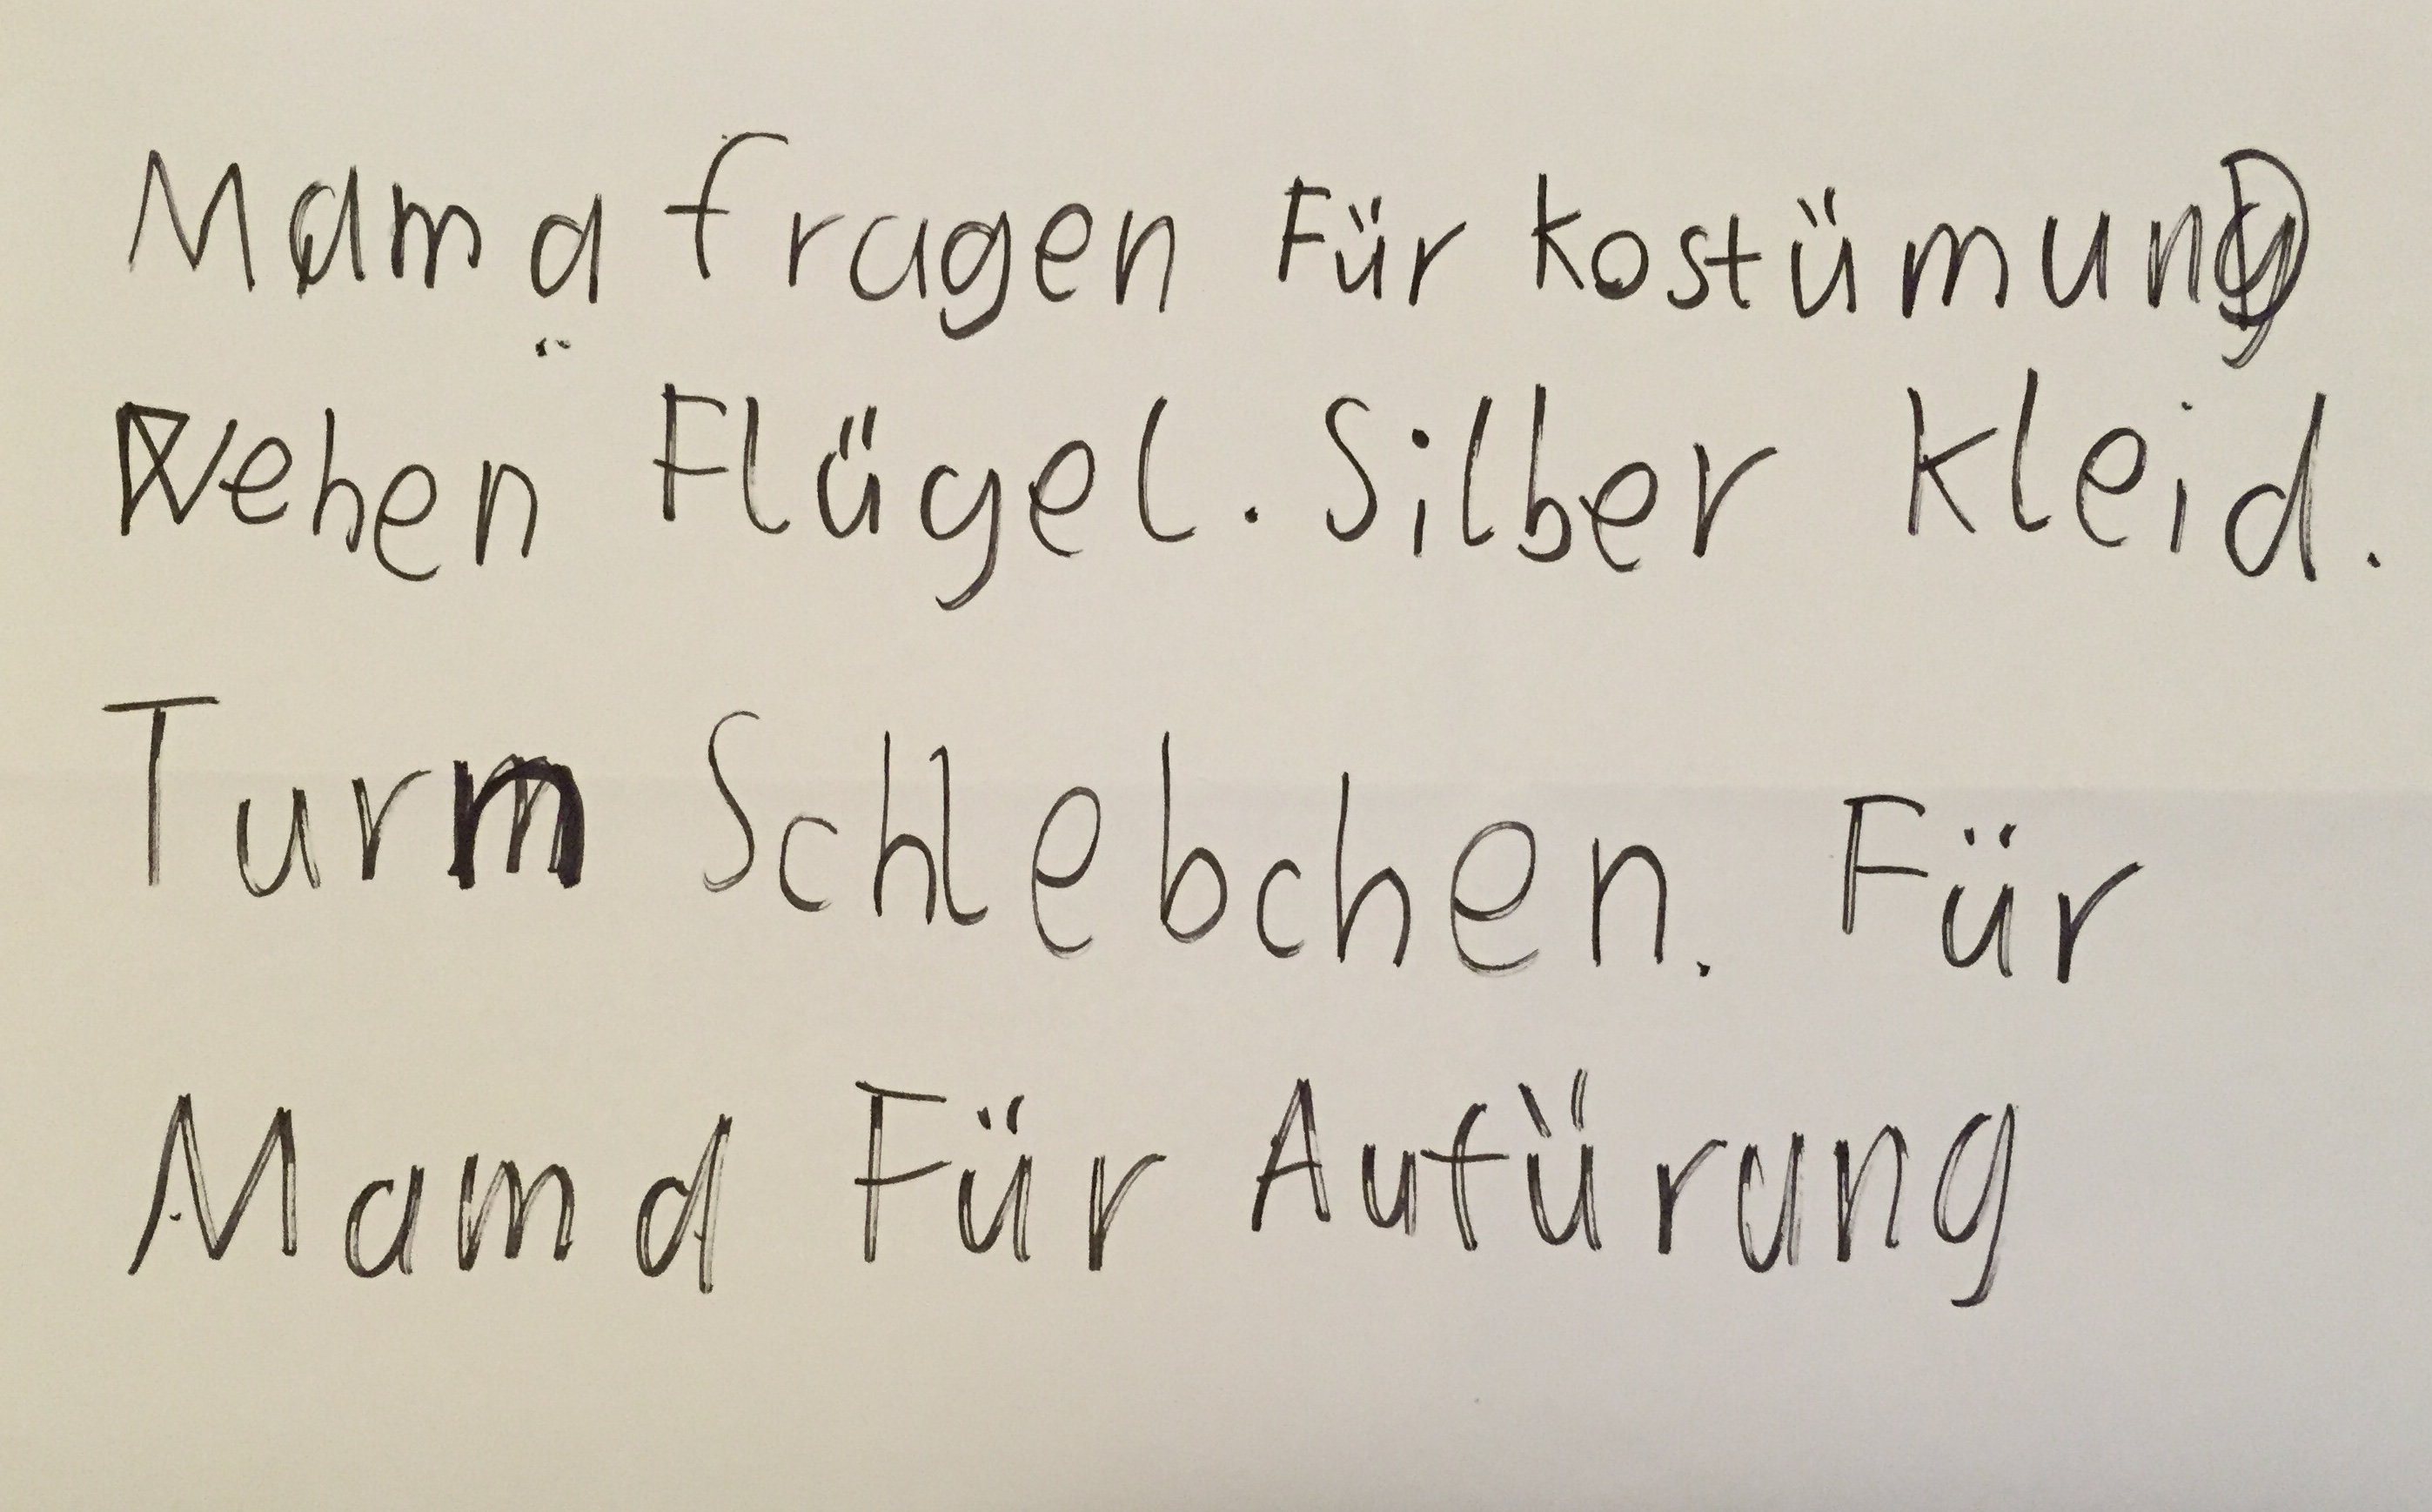
We need an angel costume for a school play, part of which must be silver and glittery, with proper little wings and white sneakers. Why did we need the white sneakers? Well, because we didn’t have any other white shoes, according to my daughter!
But where could I get a decent pattern for a floor-length angel’s gown at short notice? The middle of the Christmas season is no time for experiments!
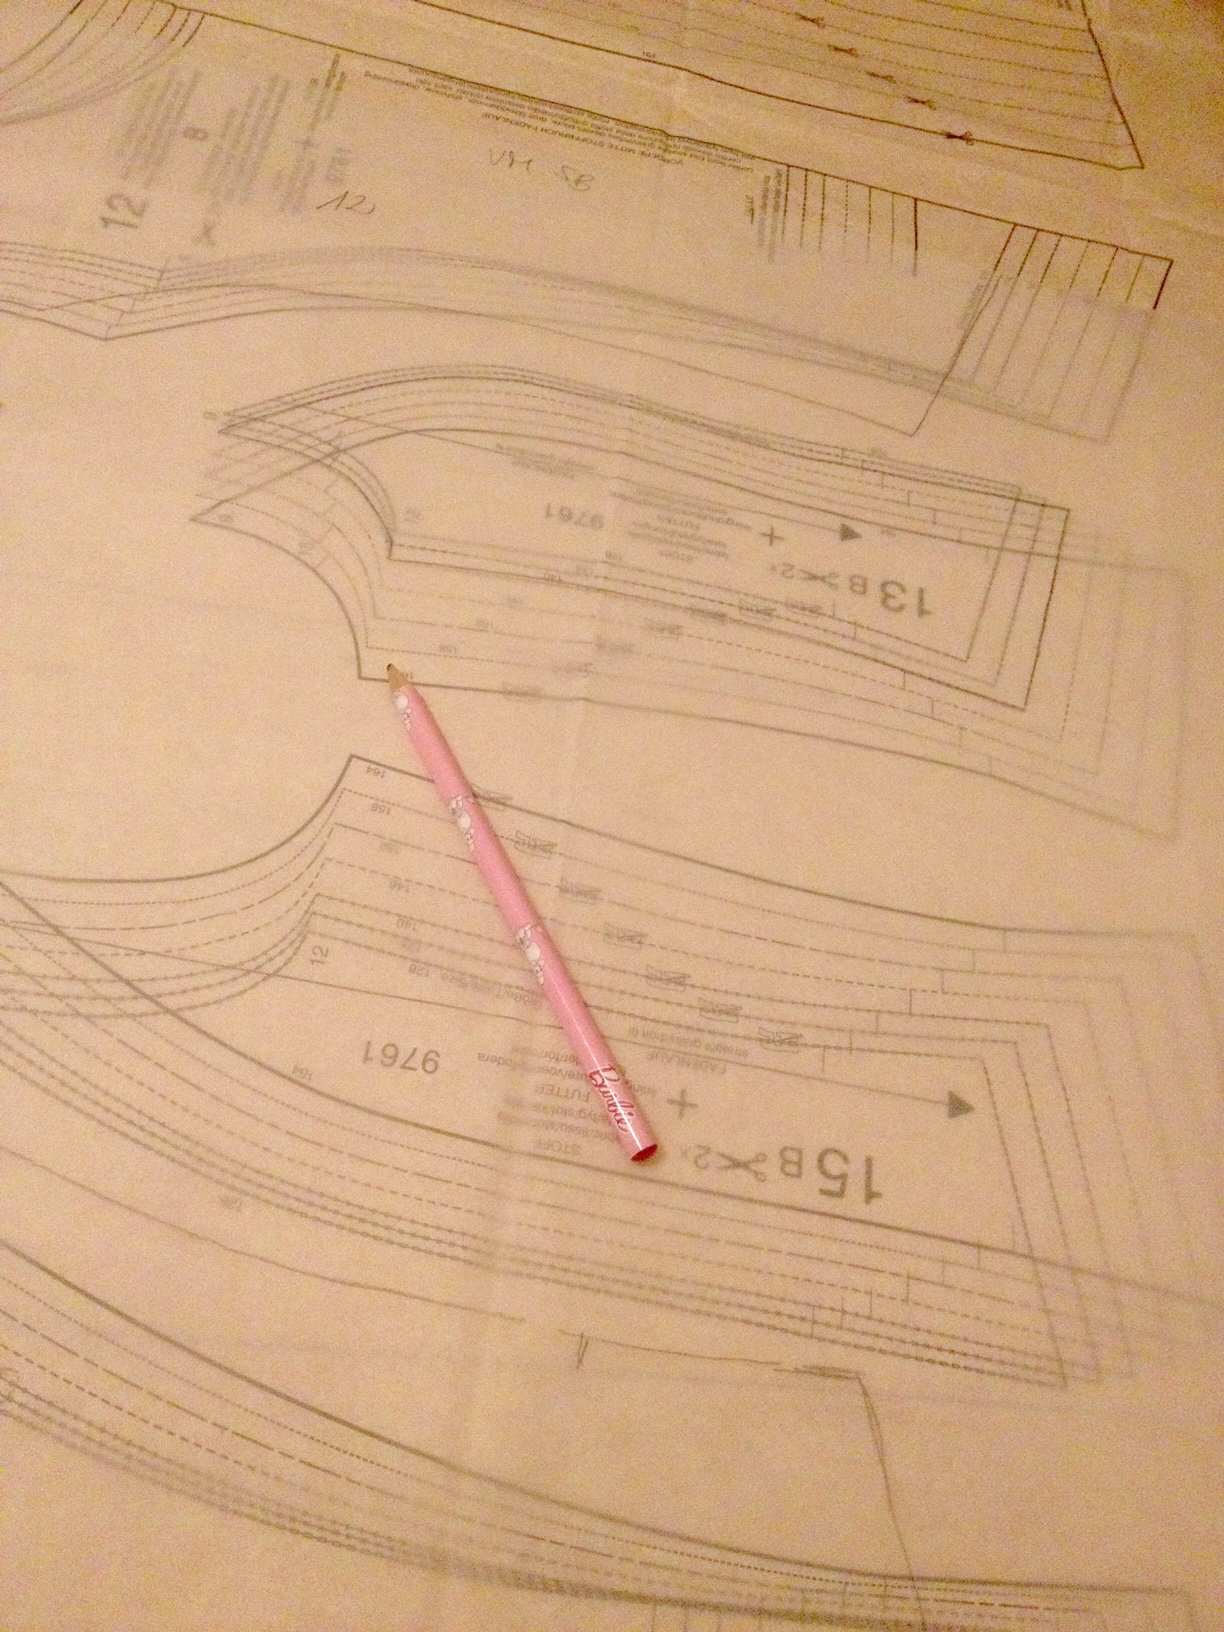
I decided on Pattern Number 9761 from Burda Style. With a few small alterations it made a perfect angel costume!

First I transferred the pattern pieces onto transparent pattern paper… I wanted to keep the original pattern in one piece in case we needed the angel costume in another size some other time.
I cut the very slippery satin fabric with a ruler and rotary cutter. This way I was able to cut two layers precisely in one process.

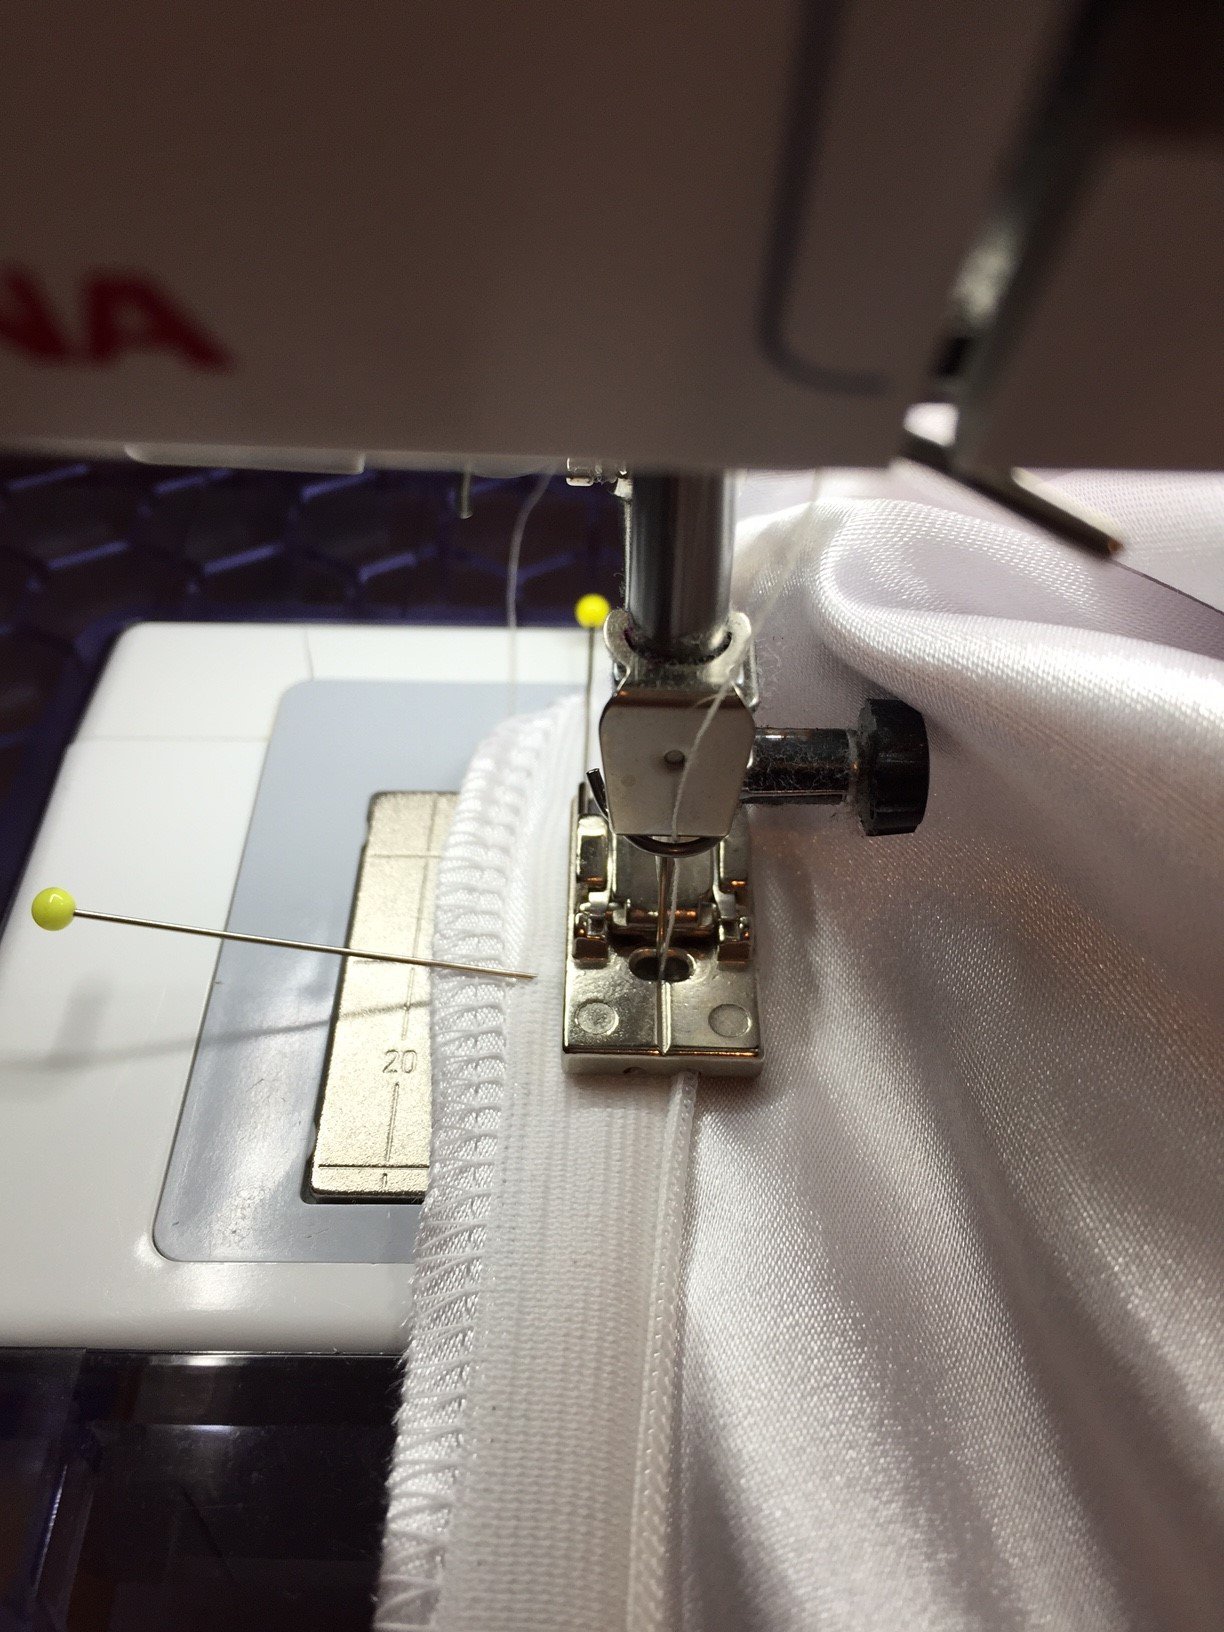
In the original pattern, the zip fastener is in the middle behind, i.e. on the back. However, because I planned to attach the wings there, I sewed the zipper into the side instead. I used an invisible zipper. A lot of people get very nervous about using these. But it’s really very simple; you just need the right foot. Also, you can find out from one of my previous entries how to achieve perfect results with the invisible zipper foot #35.
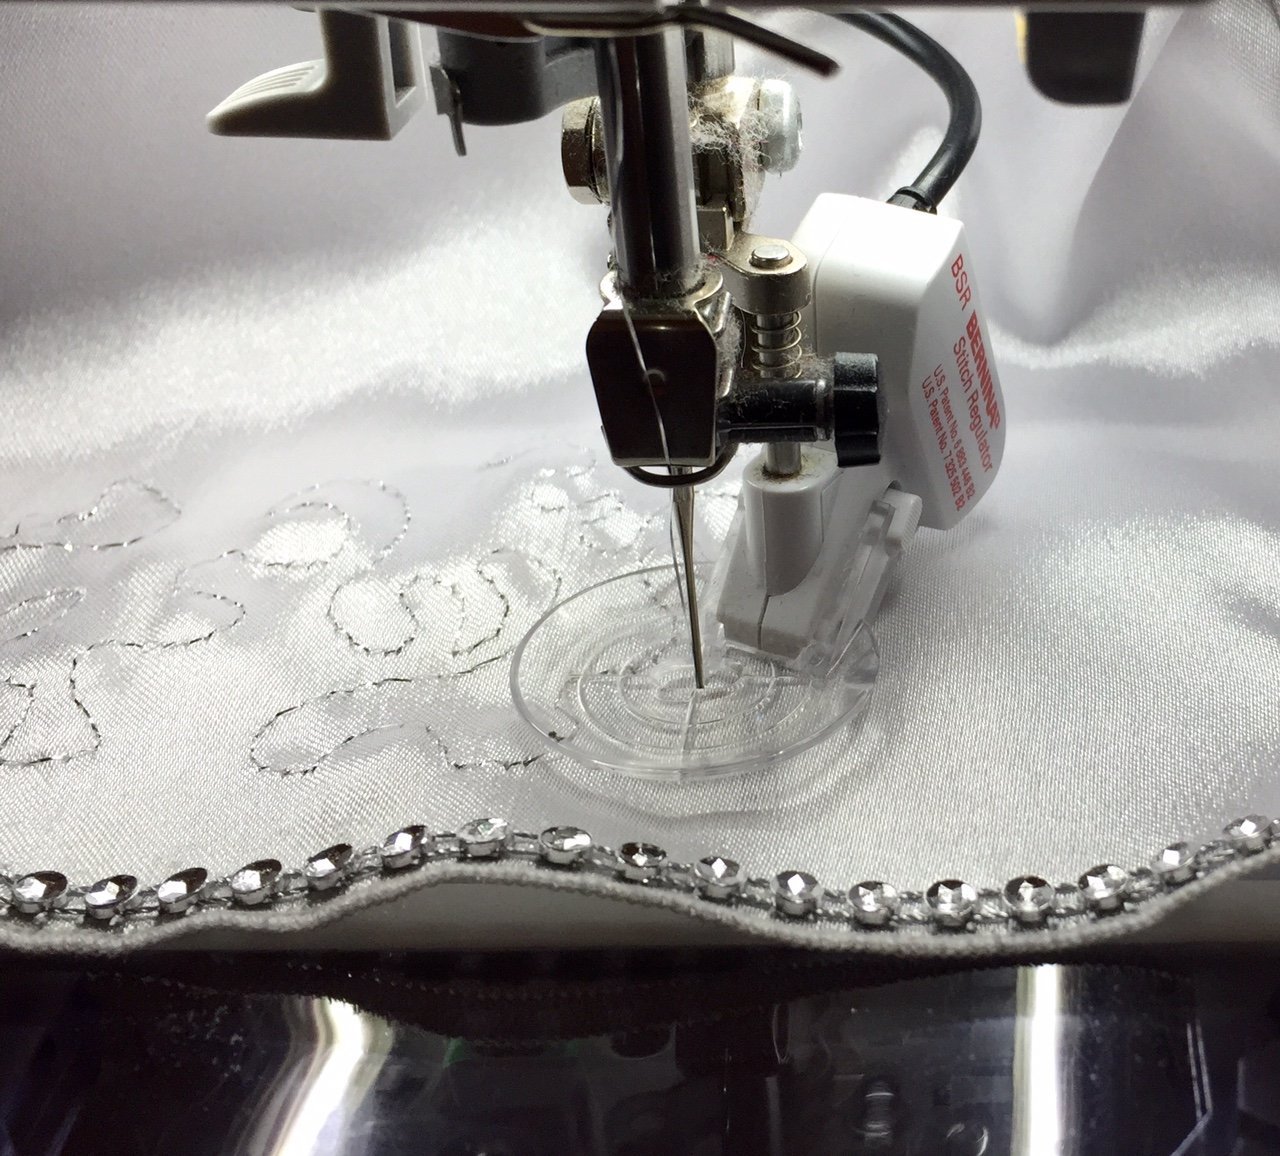
I trimmed the skirt and sleeve seam with a lovely rolled seam using my overlock sewing machine. You can see how good this looked in the picture after the next one, with the BSR.
I discovered a packet of glittery string in a stand of Christmas decorations next to the till in my supermarket.
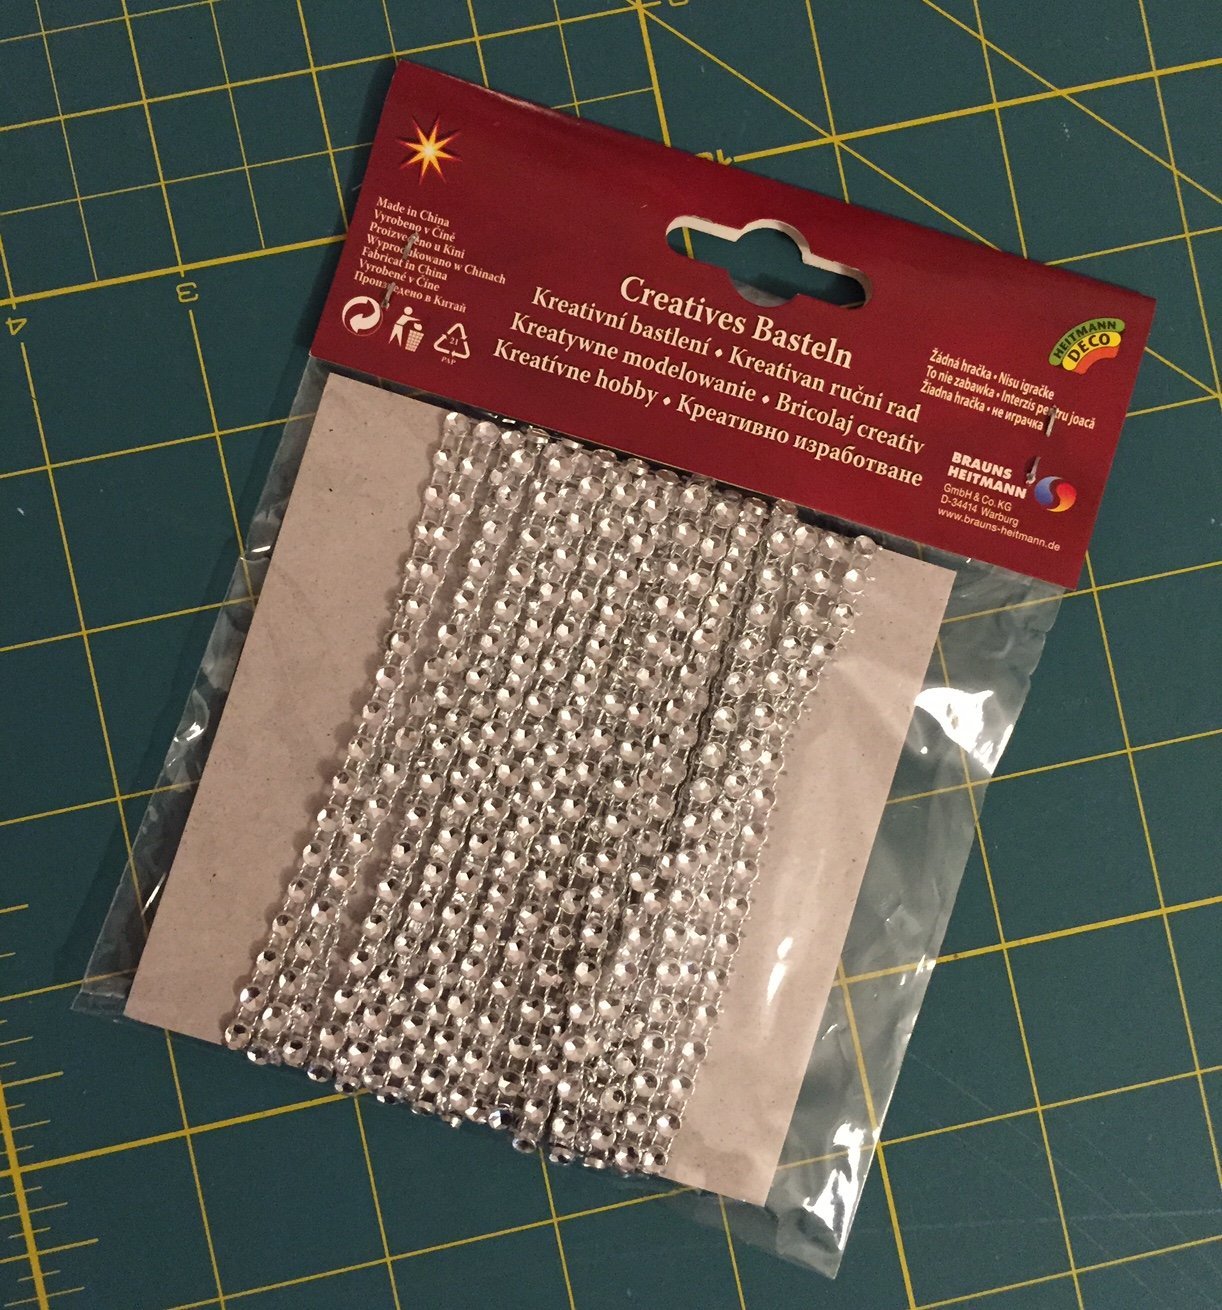
I attached this to all the seams and the neck cut-out using textile glue. Let’s hope that it makes it through the performance… I also decorated the hem and the cuffs with lines of freehand stitching in silver thread and the BSR .
I drew individual stars onto a piece of silver-coloured iron-on foil. There is a layer of transparent protective foil on the decorative foil that is later removed. This meant the stars could easily be drawn on with a waterproof foil pen. Also, the foil is available in a huge variety of colours from the Neptun Kreativshop.

Finally, cut all of the stars out carefully.
Iron on the sections with strong pressure, but without causing anything to slide out of place. To prevent the fabric and foil from burning, place a piece of baking paper or the silicon paper included between the iron and the stars. To make sure the foil sticks smoothly to the subsurface, I lay a breadboard under the fabric. The ironing board would be too soft for this purpose. Creases and bubbles would occur in the foil.

Finally, the transparent protective foil can be pulled off. Leaving a wonderful glittering star!!
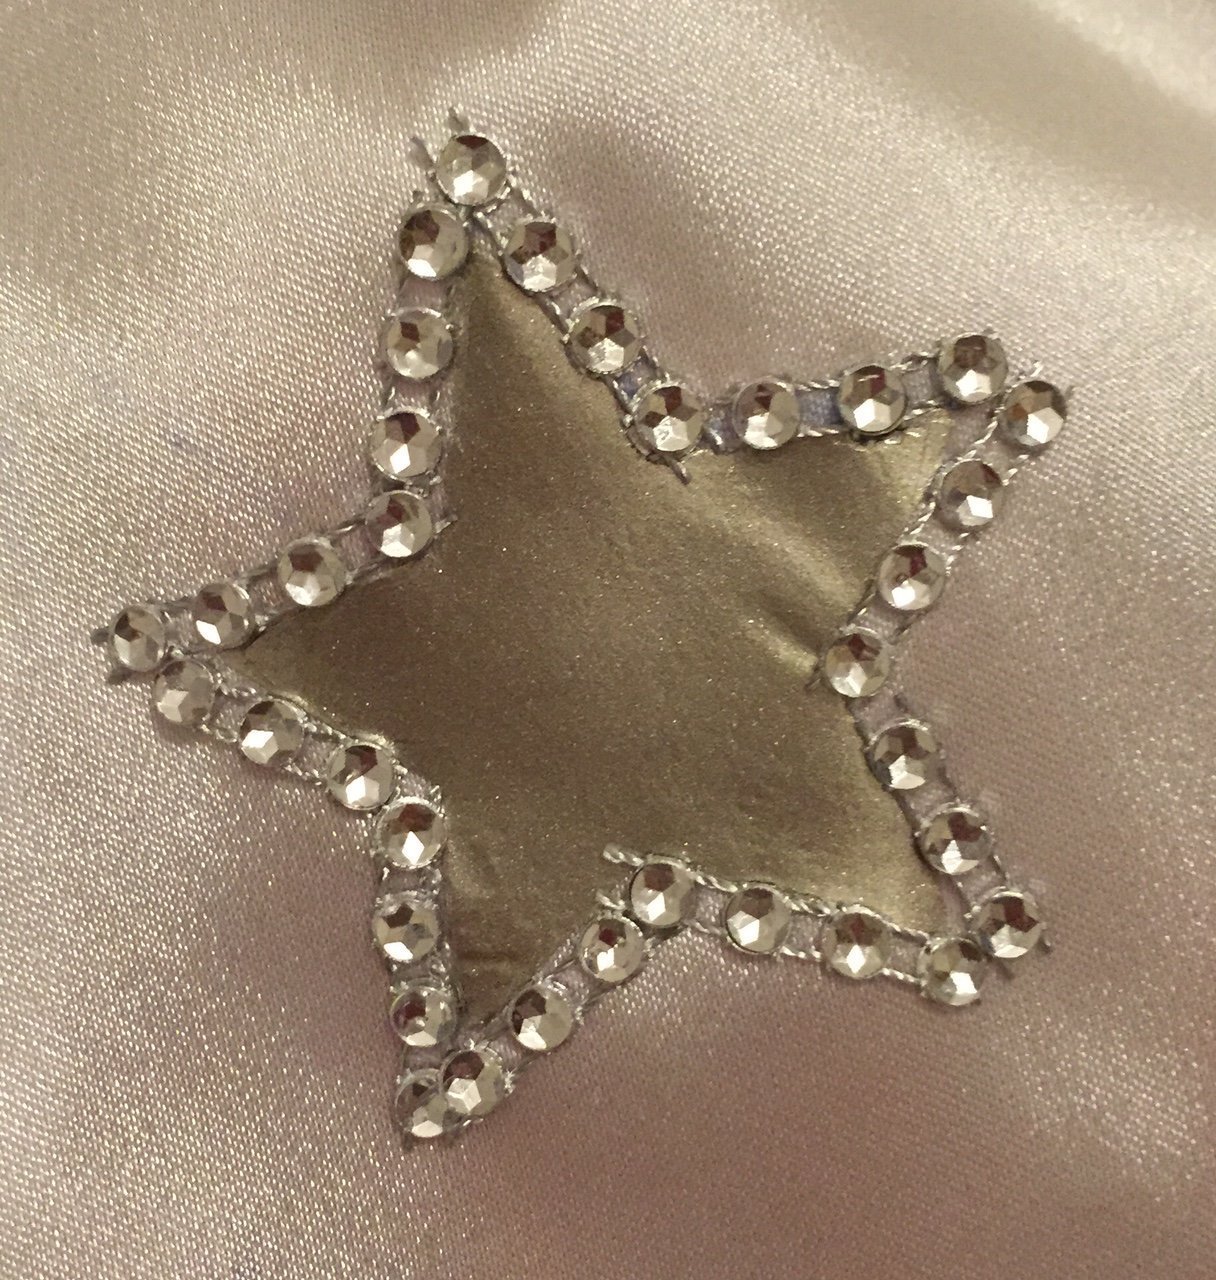
I stuck sections of glittery ribbon around some of the ironed-on stars with textile glue.
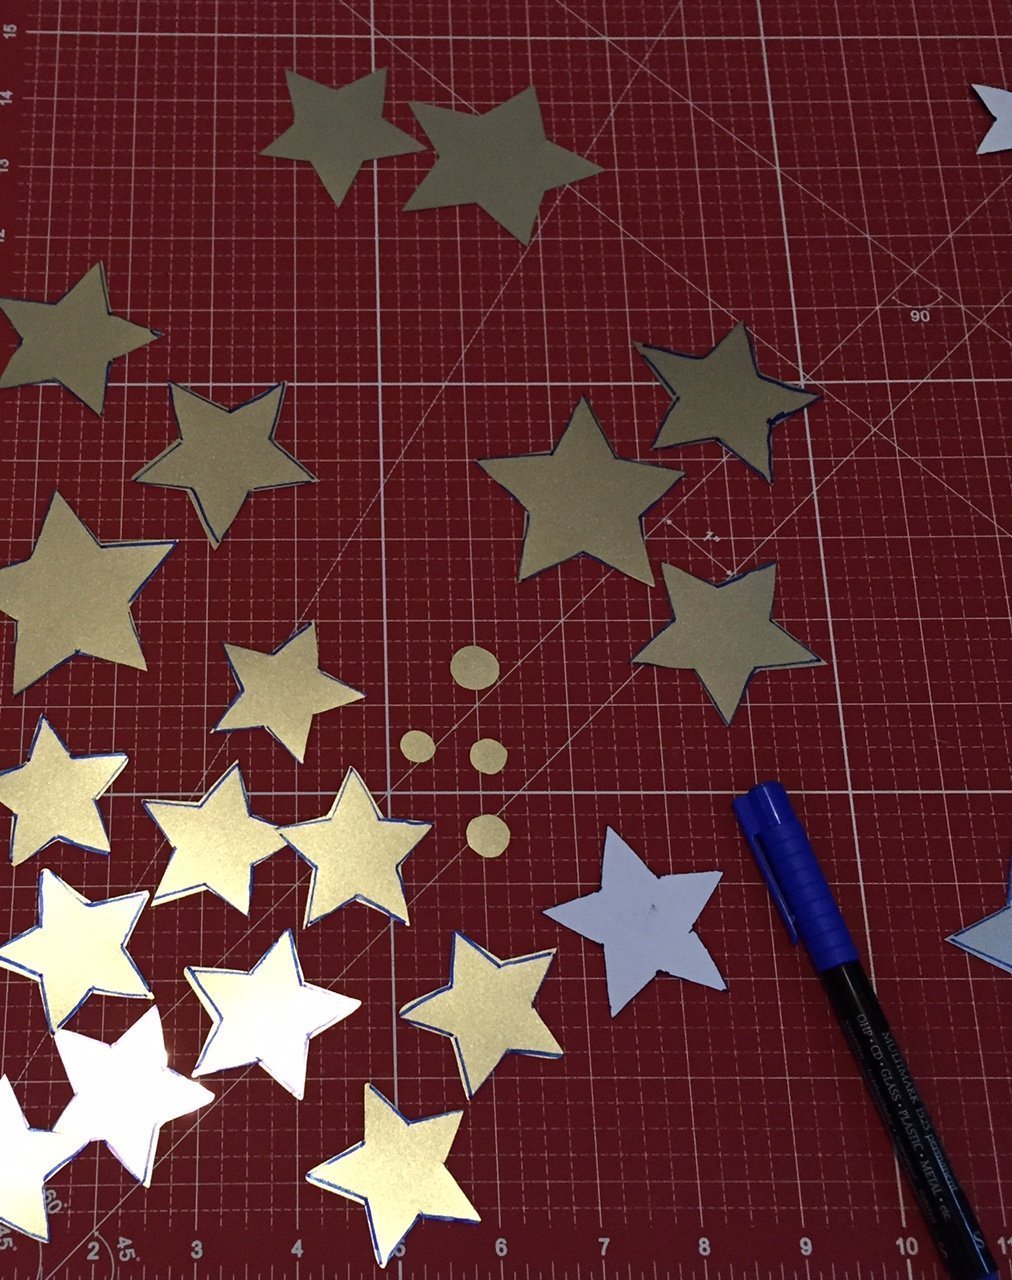
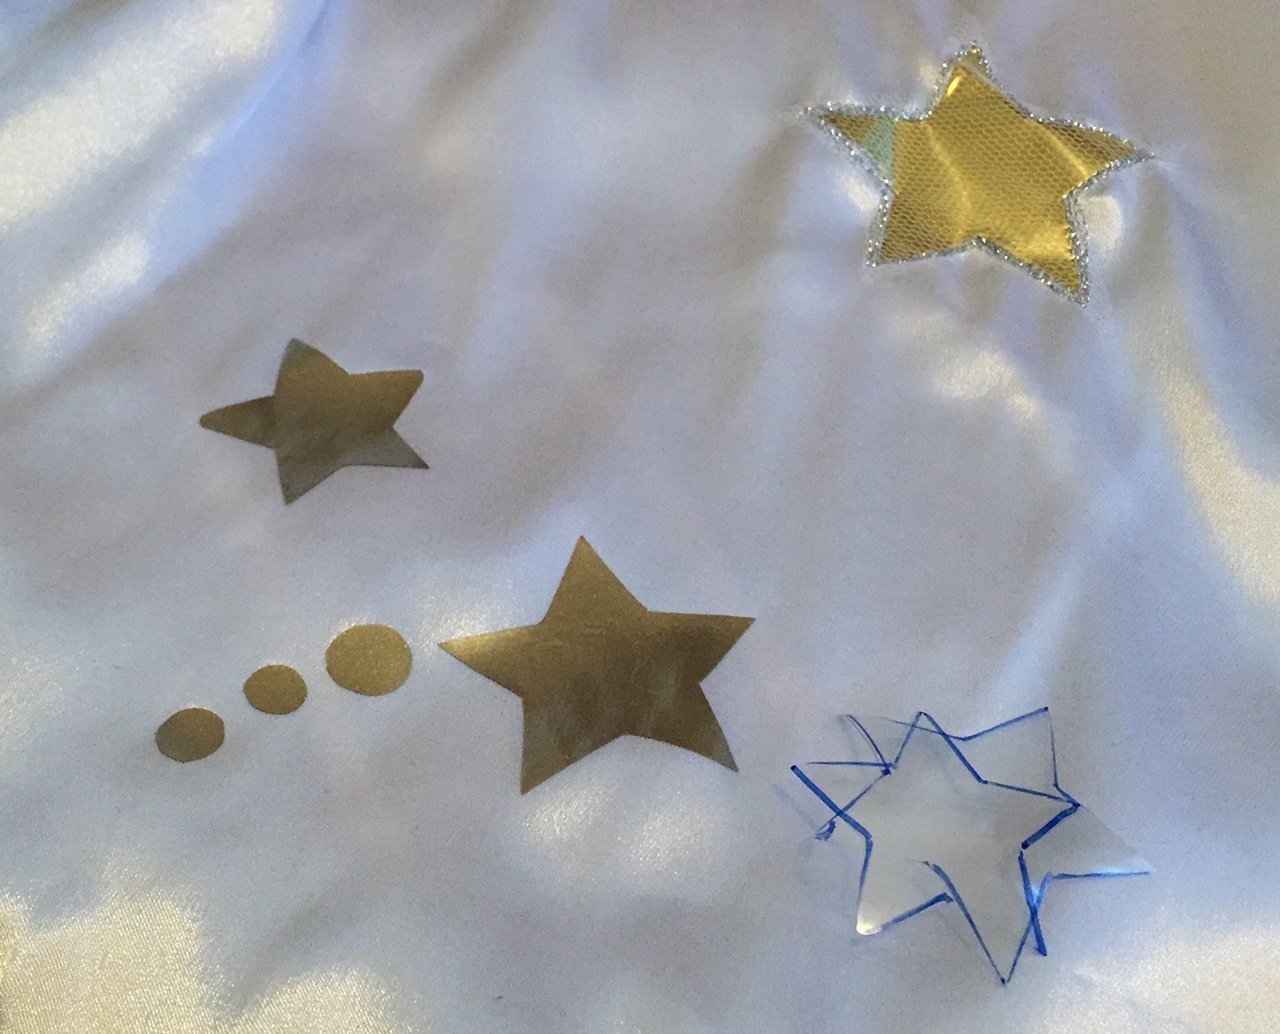
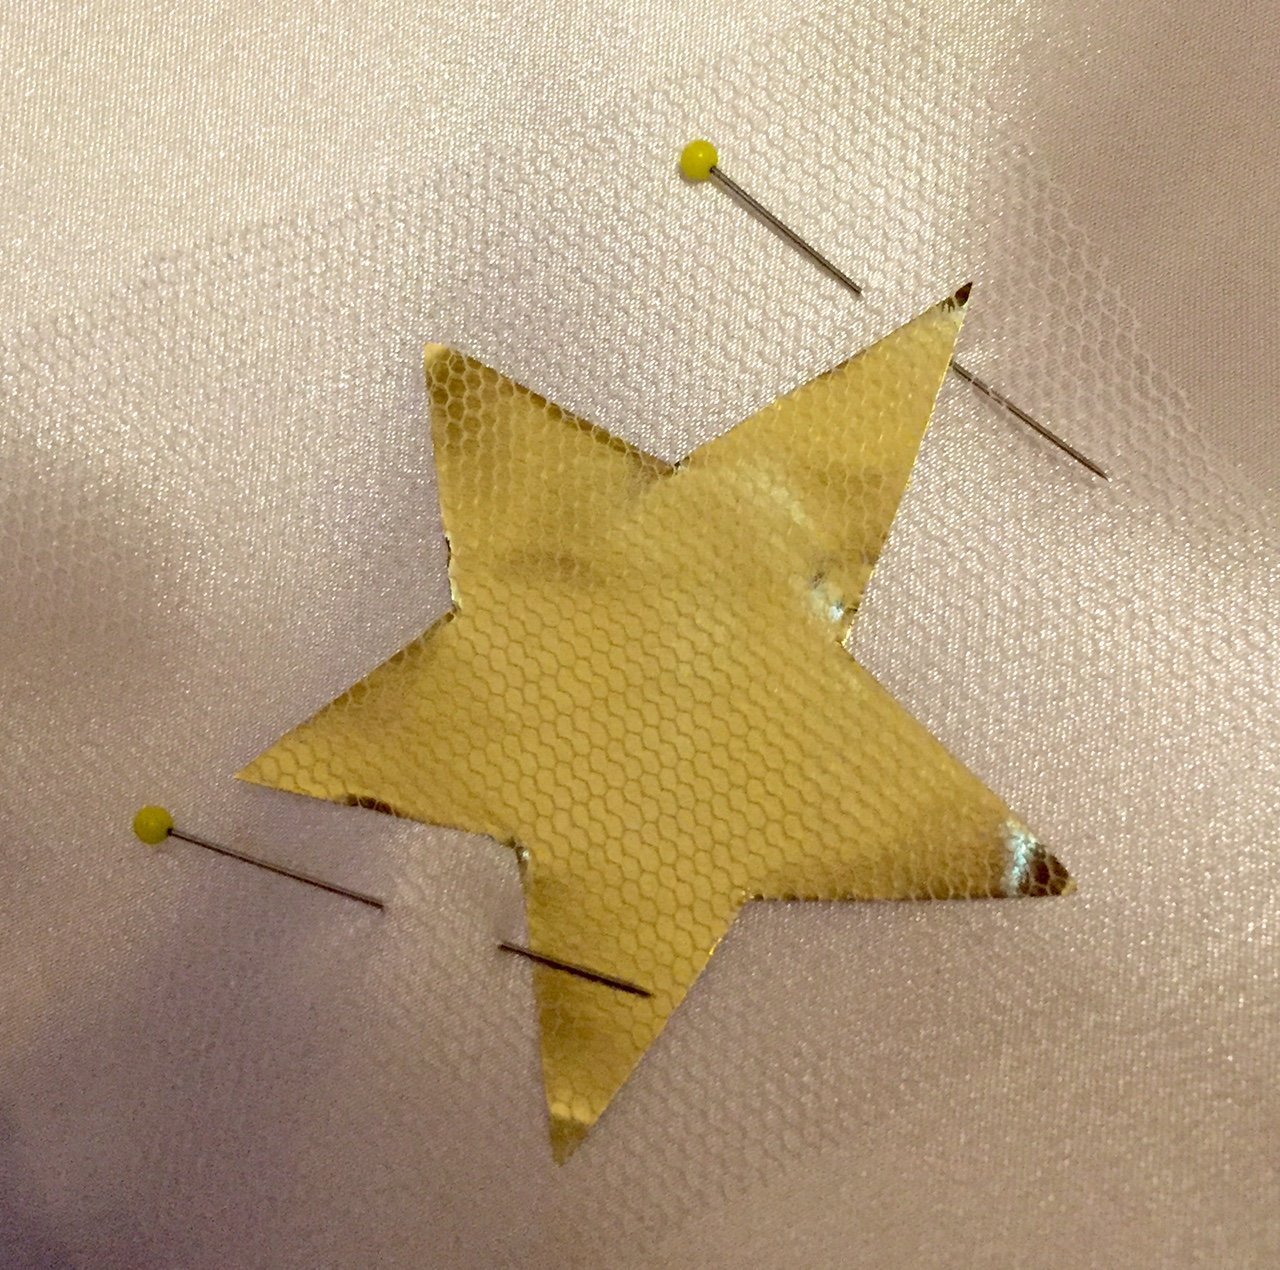
I made some more stars out of gold foil and tulle. For this I cut gold stars from arts and crafts foil – the kind you will recognise from Christmas crafts – and placed them on the skirt. Over this I laid a big enough piece of tulle, which I fixed in place with a few pins.
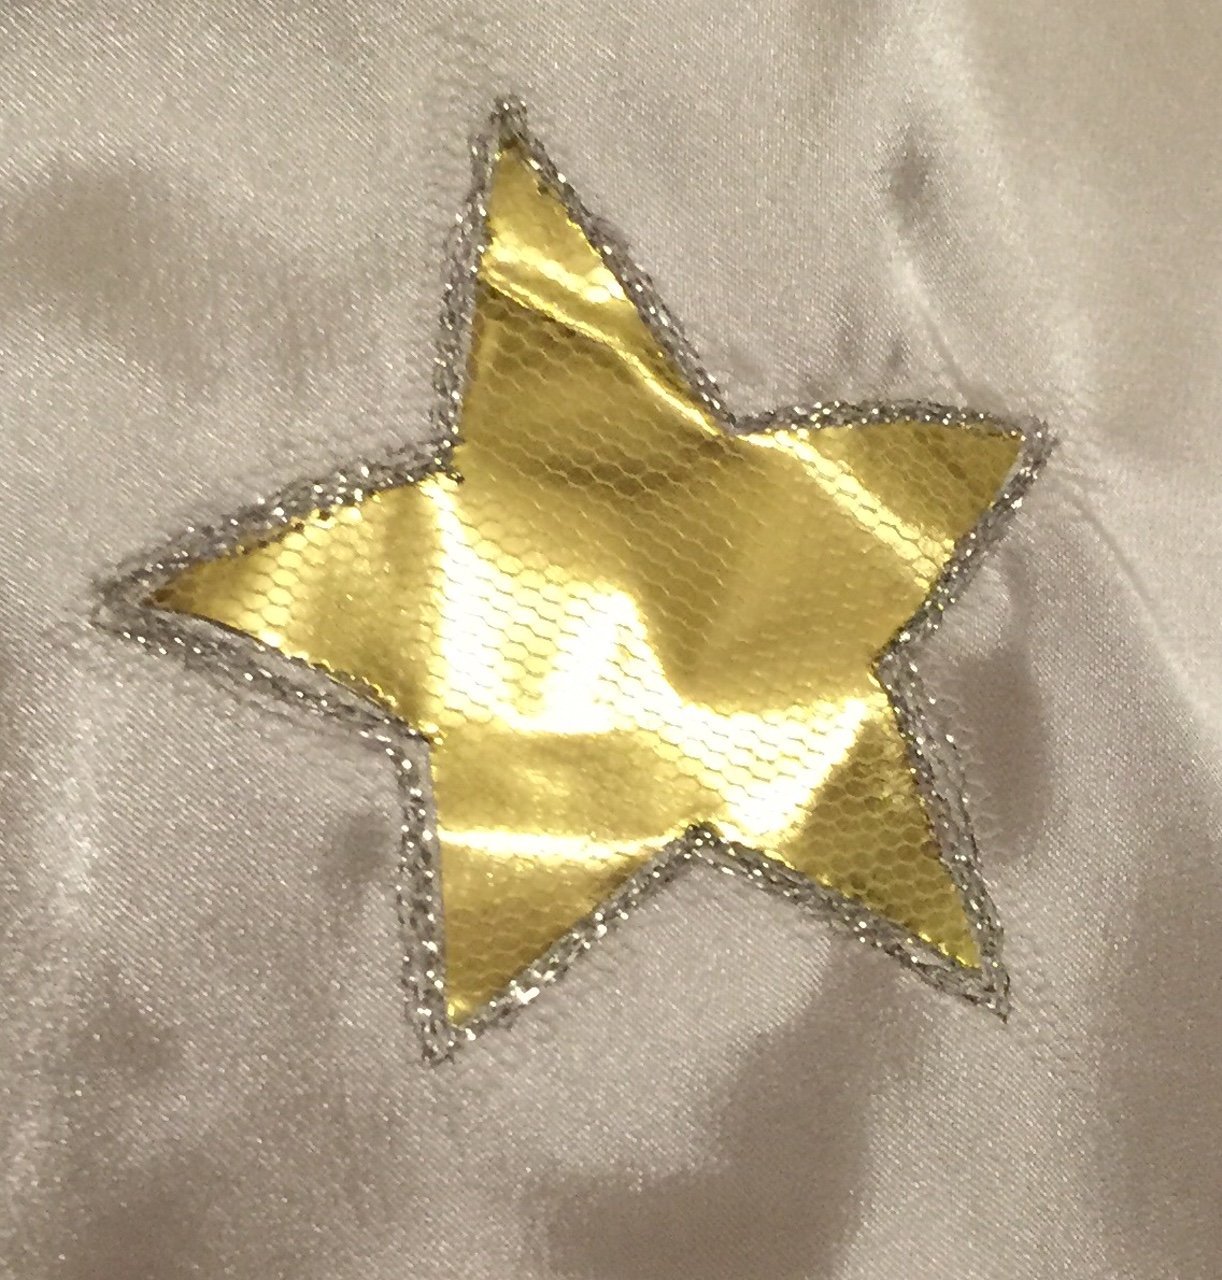
Now I put silver thread into the machine and attached the tulle with the BSR or stitched the outline freehand.

I trimmed back the excess tulle after finishing the seam.
A lot of sewing beginners are apprehensive about stitching in sleeves. This is easiest if the sleeve is inserted into the bodice right side to right side. When stitching, the sleeve part should be facing up. Slippery materials work best with the top feed foot. This ensures that all layers are pushed through the machine at the same time.

I purchased a halo on a headband from a costume shop and a large silver-coloured star from a decorations shop, and, once again, my arts and crafts foil came in handy.
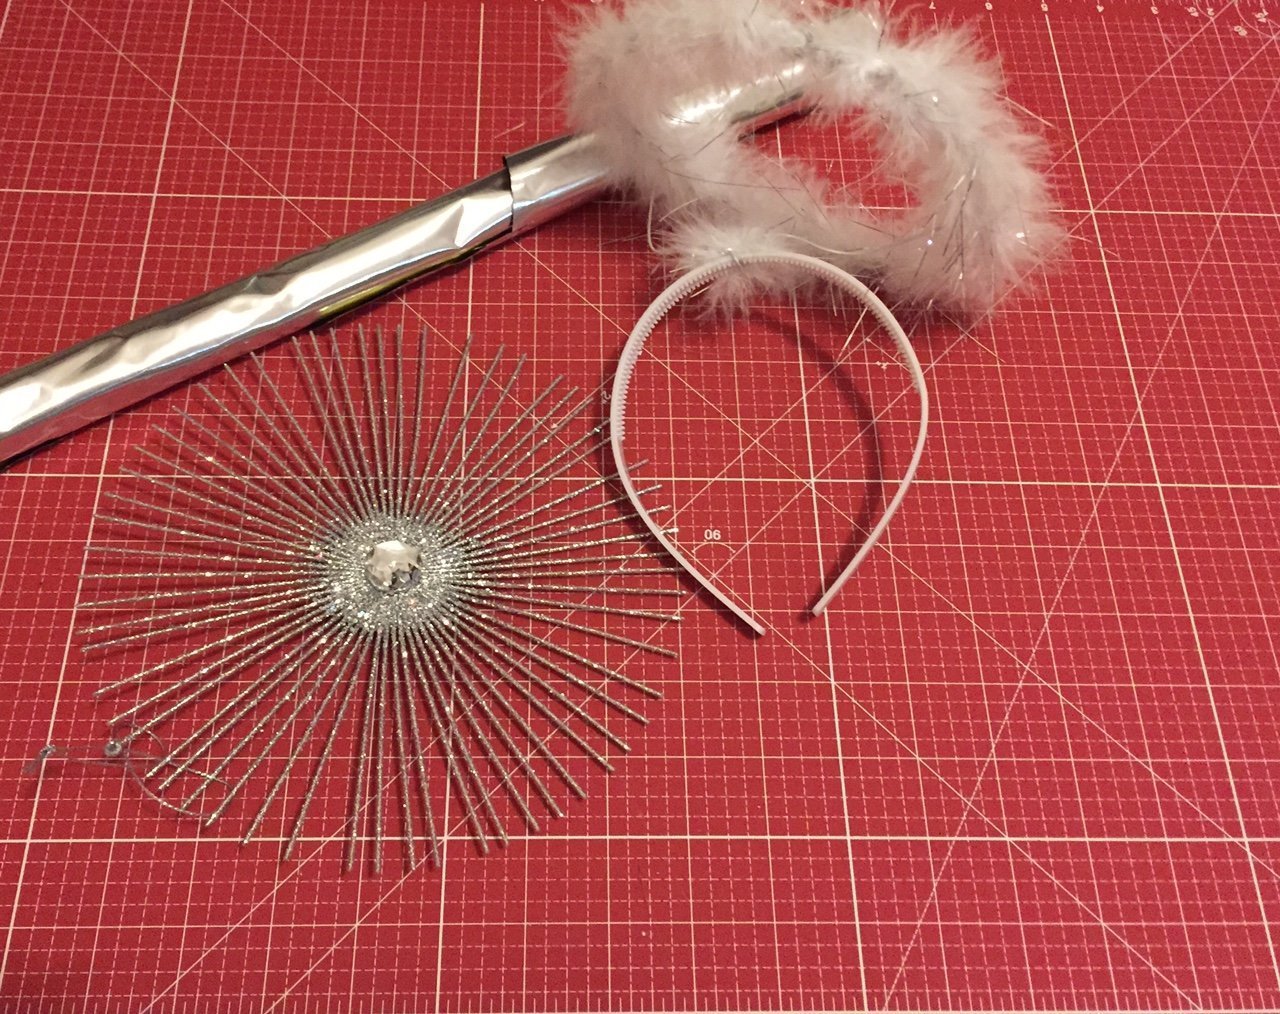
I glued the star to the feathered circle of the halo and stuck each of the golden stars onto separate wire strands of the silver star. I thought that this made the angel costume a sure-fire hit.

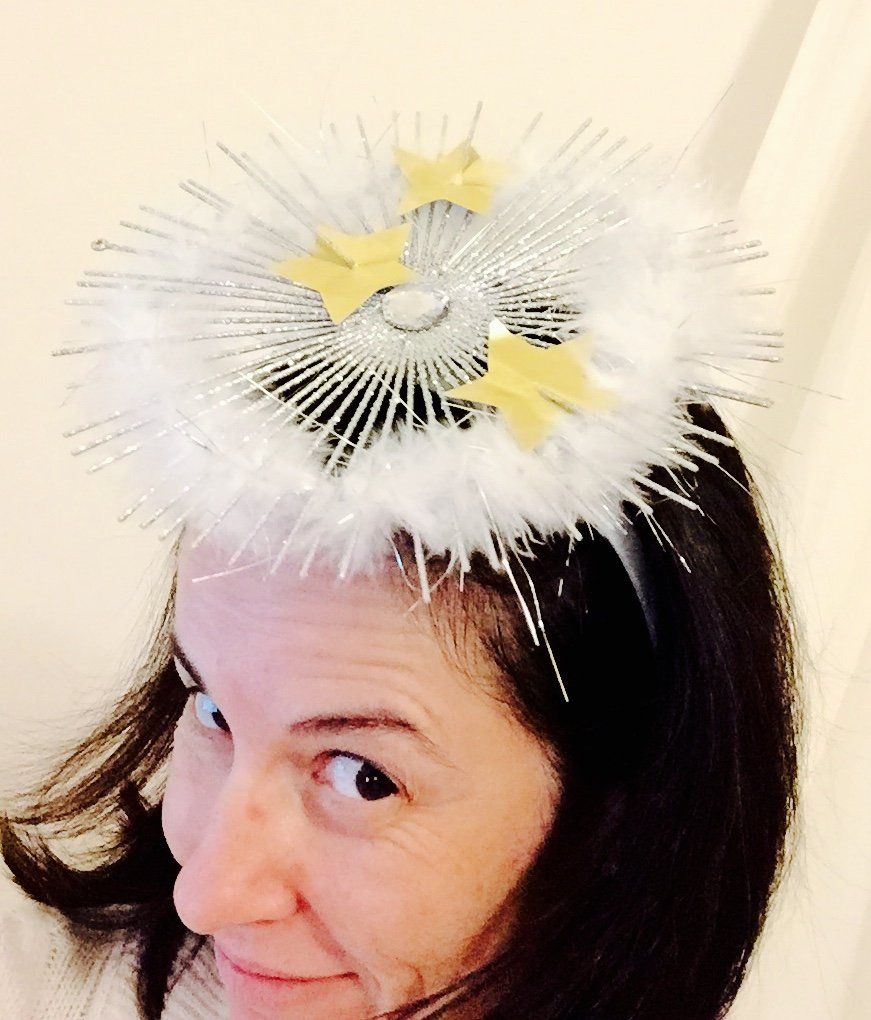
However, because my husband said to my daughter that my work of art looks a bit odd sitting on a child’s head, she isn’t willing to wear it. She is also unfortunately unavailable for photos… So I can only offer you this heavenly selfie of my fabulous accessory:
So, now only the wings are left, which I also purchased in a costume shop. For the requisite touch of glamour, I again cut stars out of my gold foil and stuck these on. I put a border onto the elastic straps of the wings using leftover fabric from the dress, so that the straps wouldn’t contrast too much with the dress later. The left strap looks a lot better than the right one, doesn’t it?

And it’s finished! The heavenly costume is ready. Perhaps my daughter can still be persuaded to wear the halo. In any case, I am very much looking forward to the play on 22nd December. I’ll have to write that down on a note…
Wishing you a wonderful Advent period
Yours,
Claudia Geiser


Beautiful dress Claudia and any little girl would be very proud to wear it for any dressing-up occasion.