 BERNINA Corporate Blog -
Liberation skirt
(Lees de Nederlandse versie hier)
This year on May 5 we celebrate 75 years of liberation. In The Netherlands we normally celebrate this with festivities and several festivals around the country. Due to Corona the celebration is very different. Many museums and social media accounts invited everyone to make a celebratory liberation skirt instead like as the were sewn after the war.
Lees hier in het Nederlands
Back in May 1945 the idea of the National Liberation skirt arose by Mies Boissevain-van Lennep. The skirts consists of old clothes and fabric scraps with special meaning and was embroidered with special dates to remember and celebrate on the skirts hem that consist of several triangles. Read more about the skirts background here.
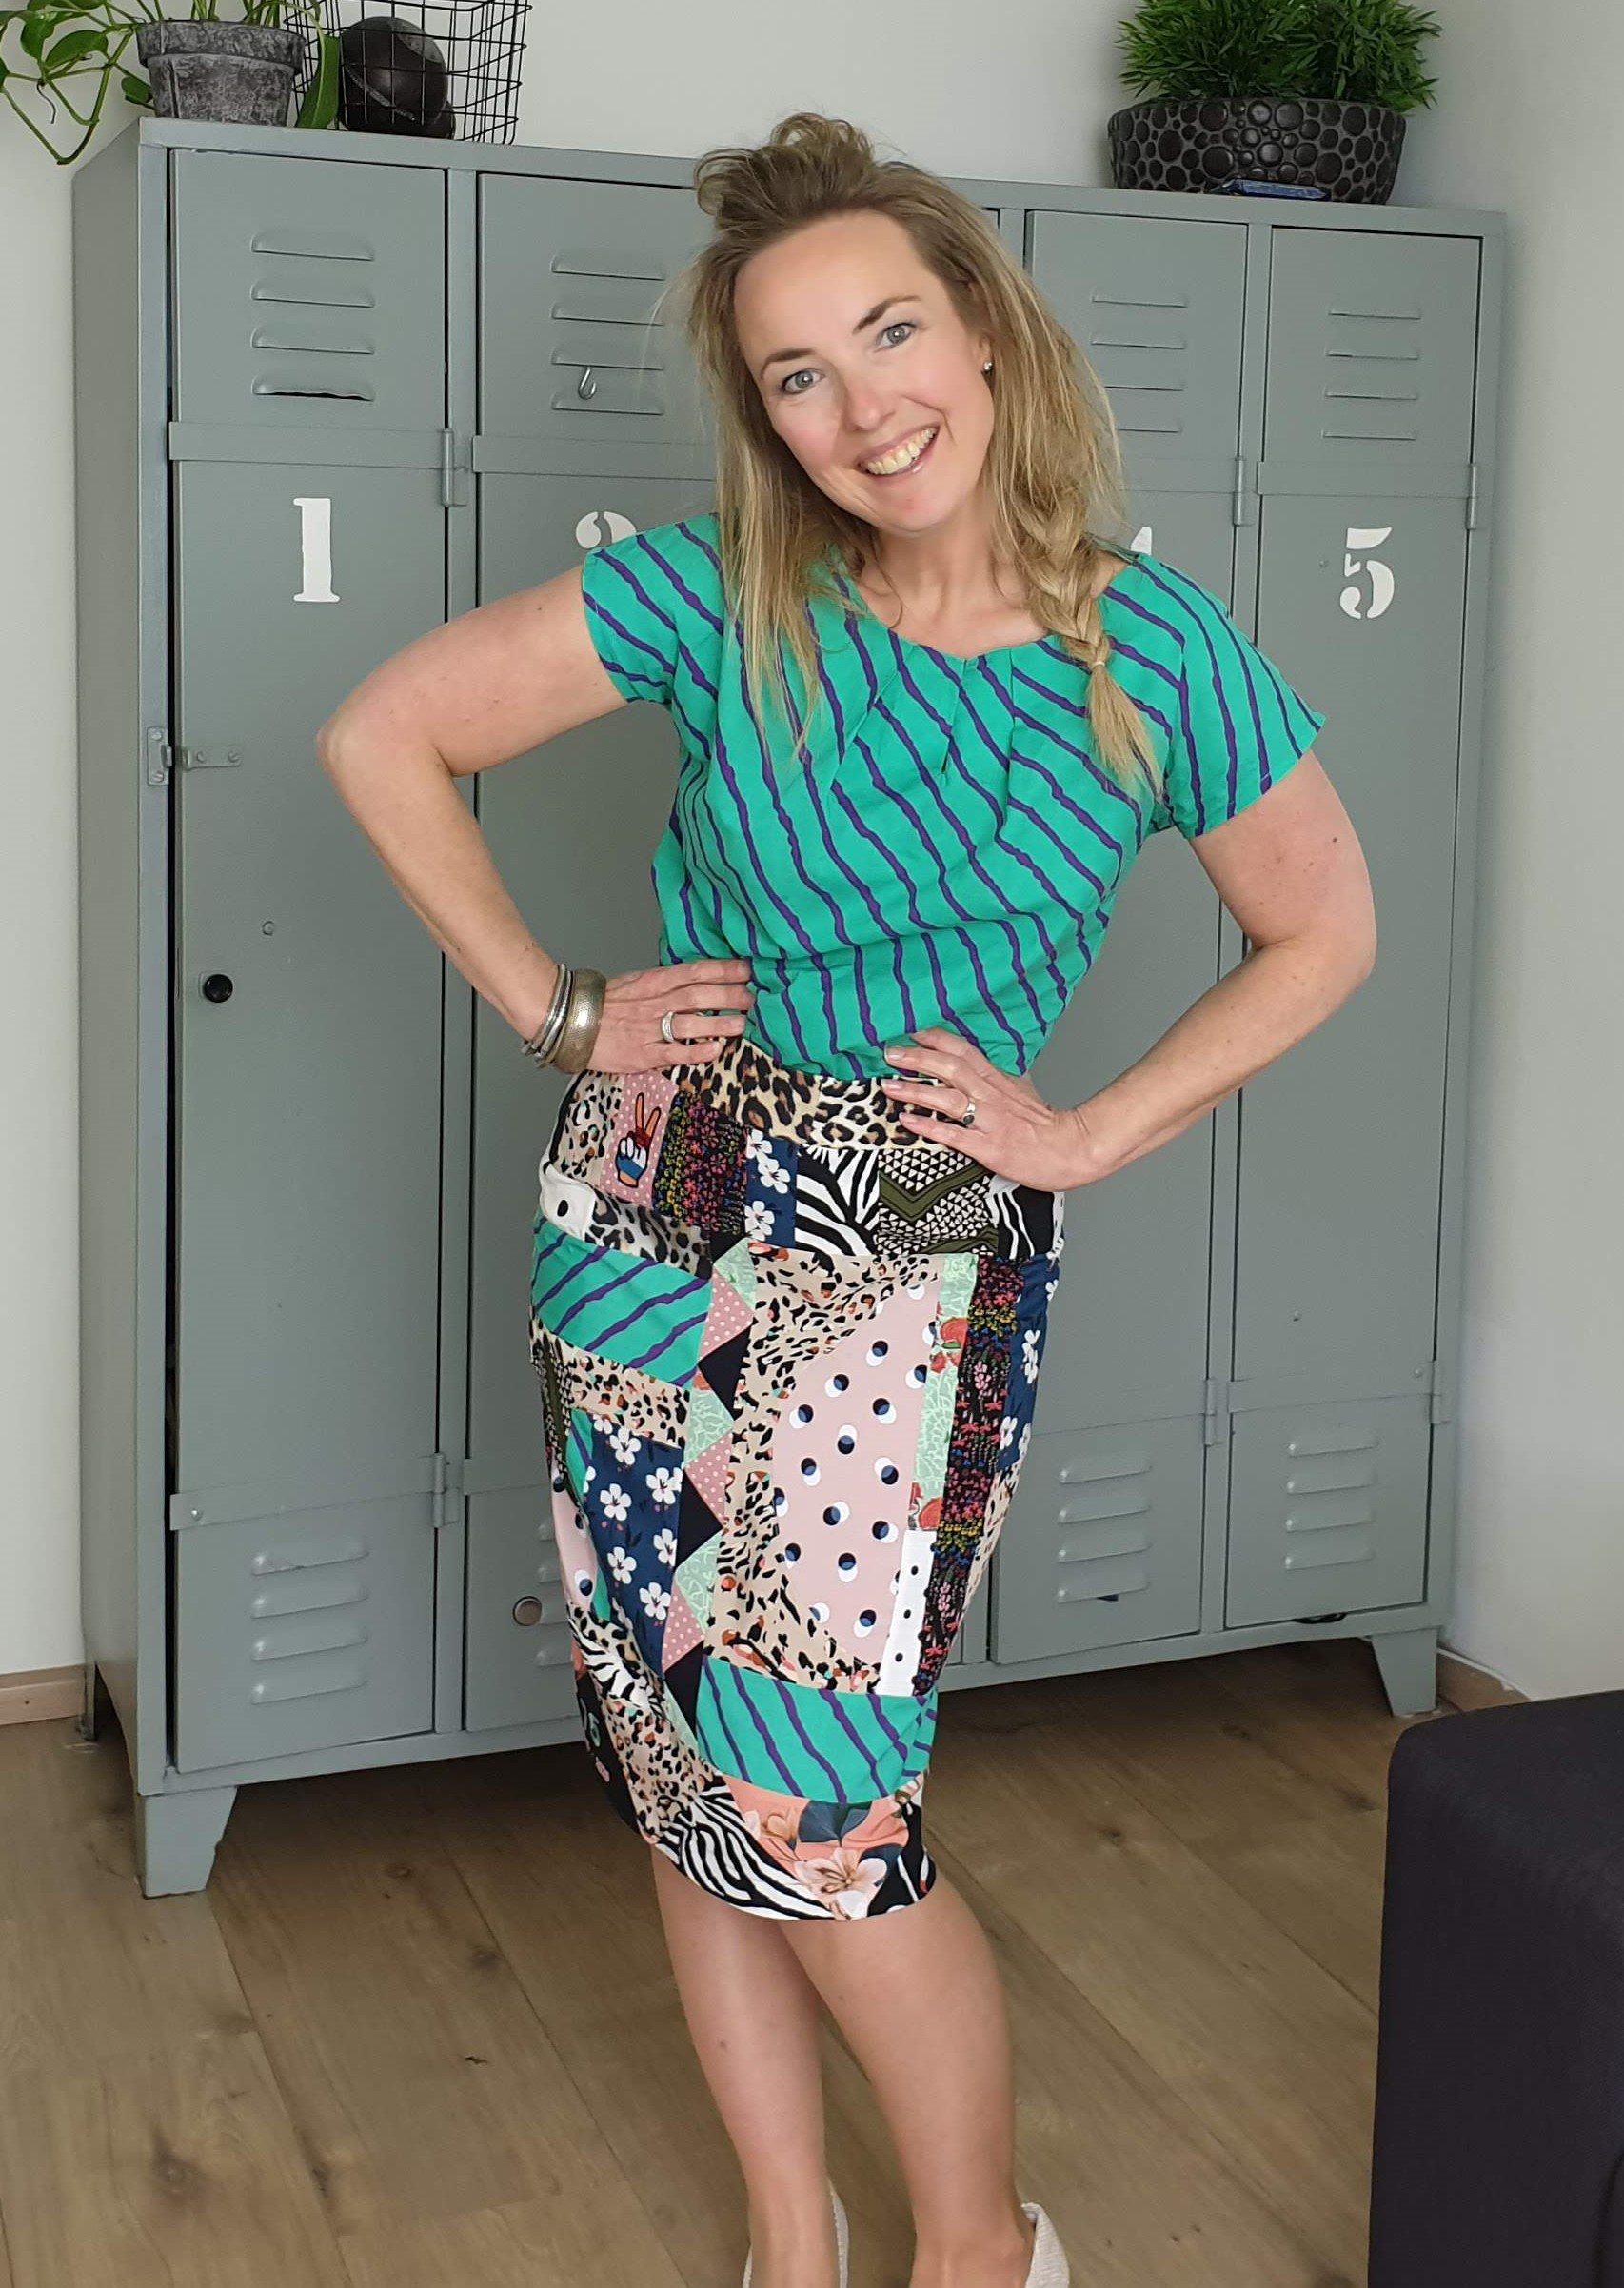
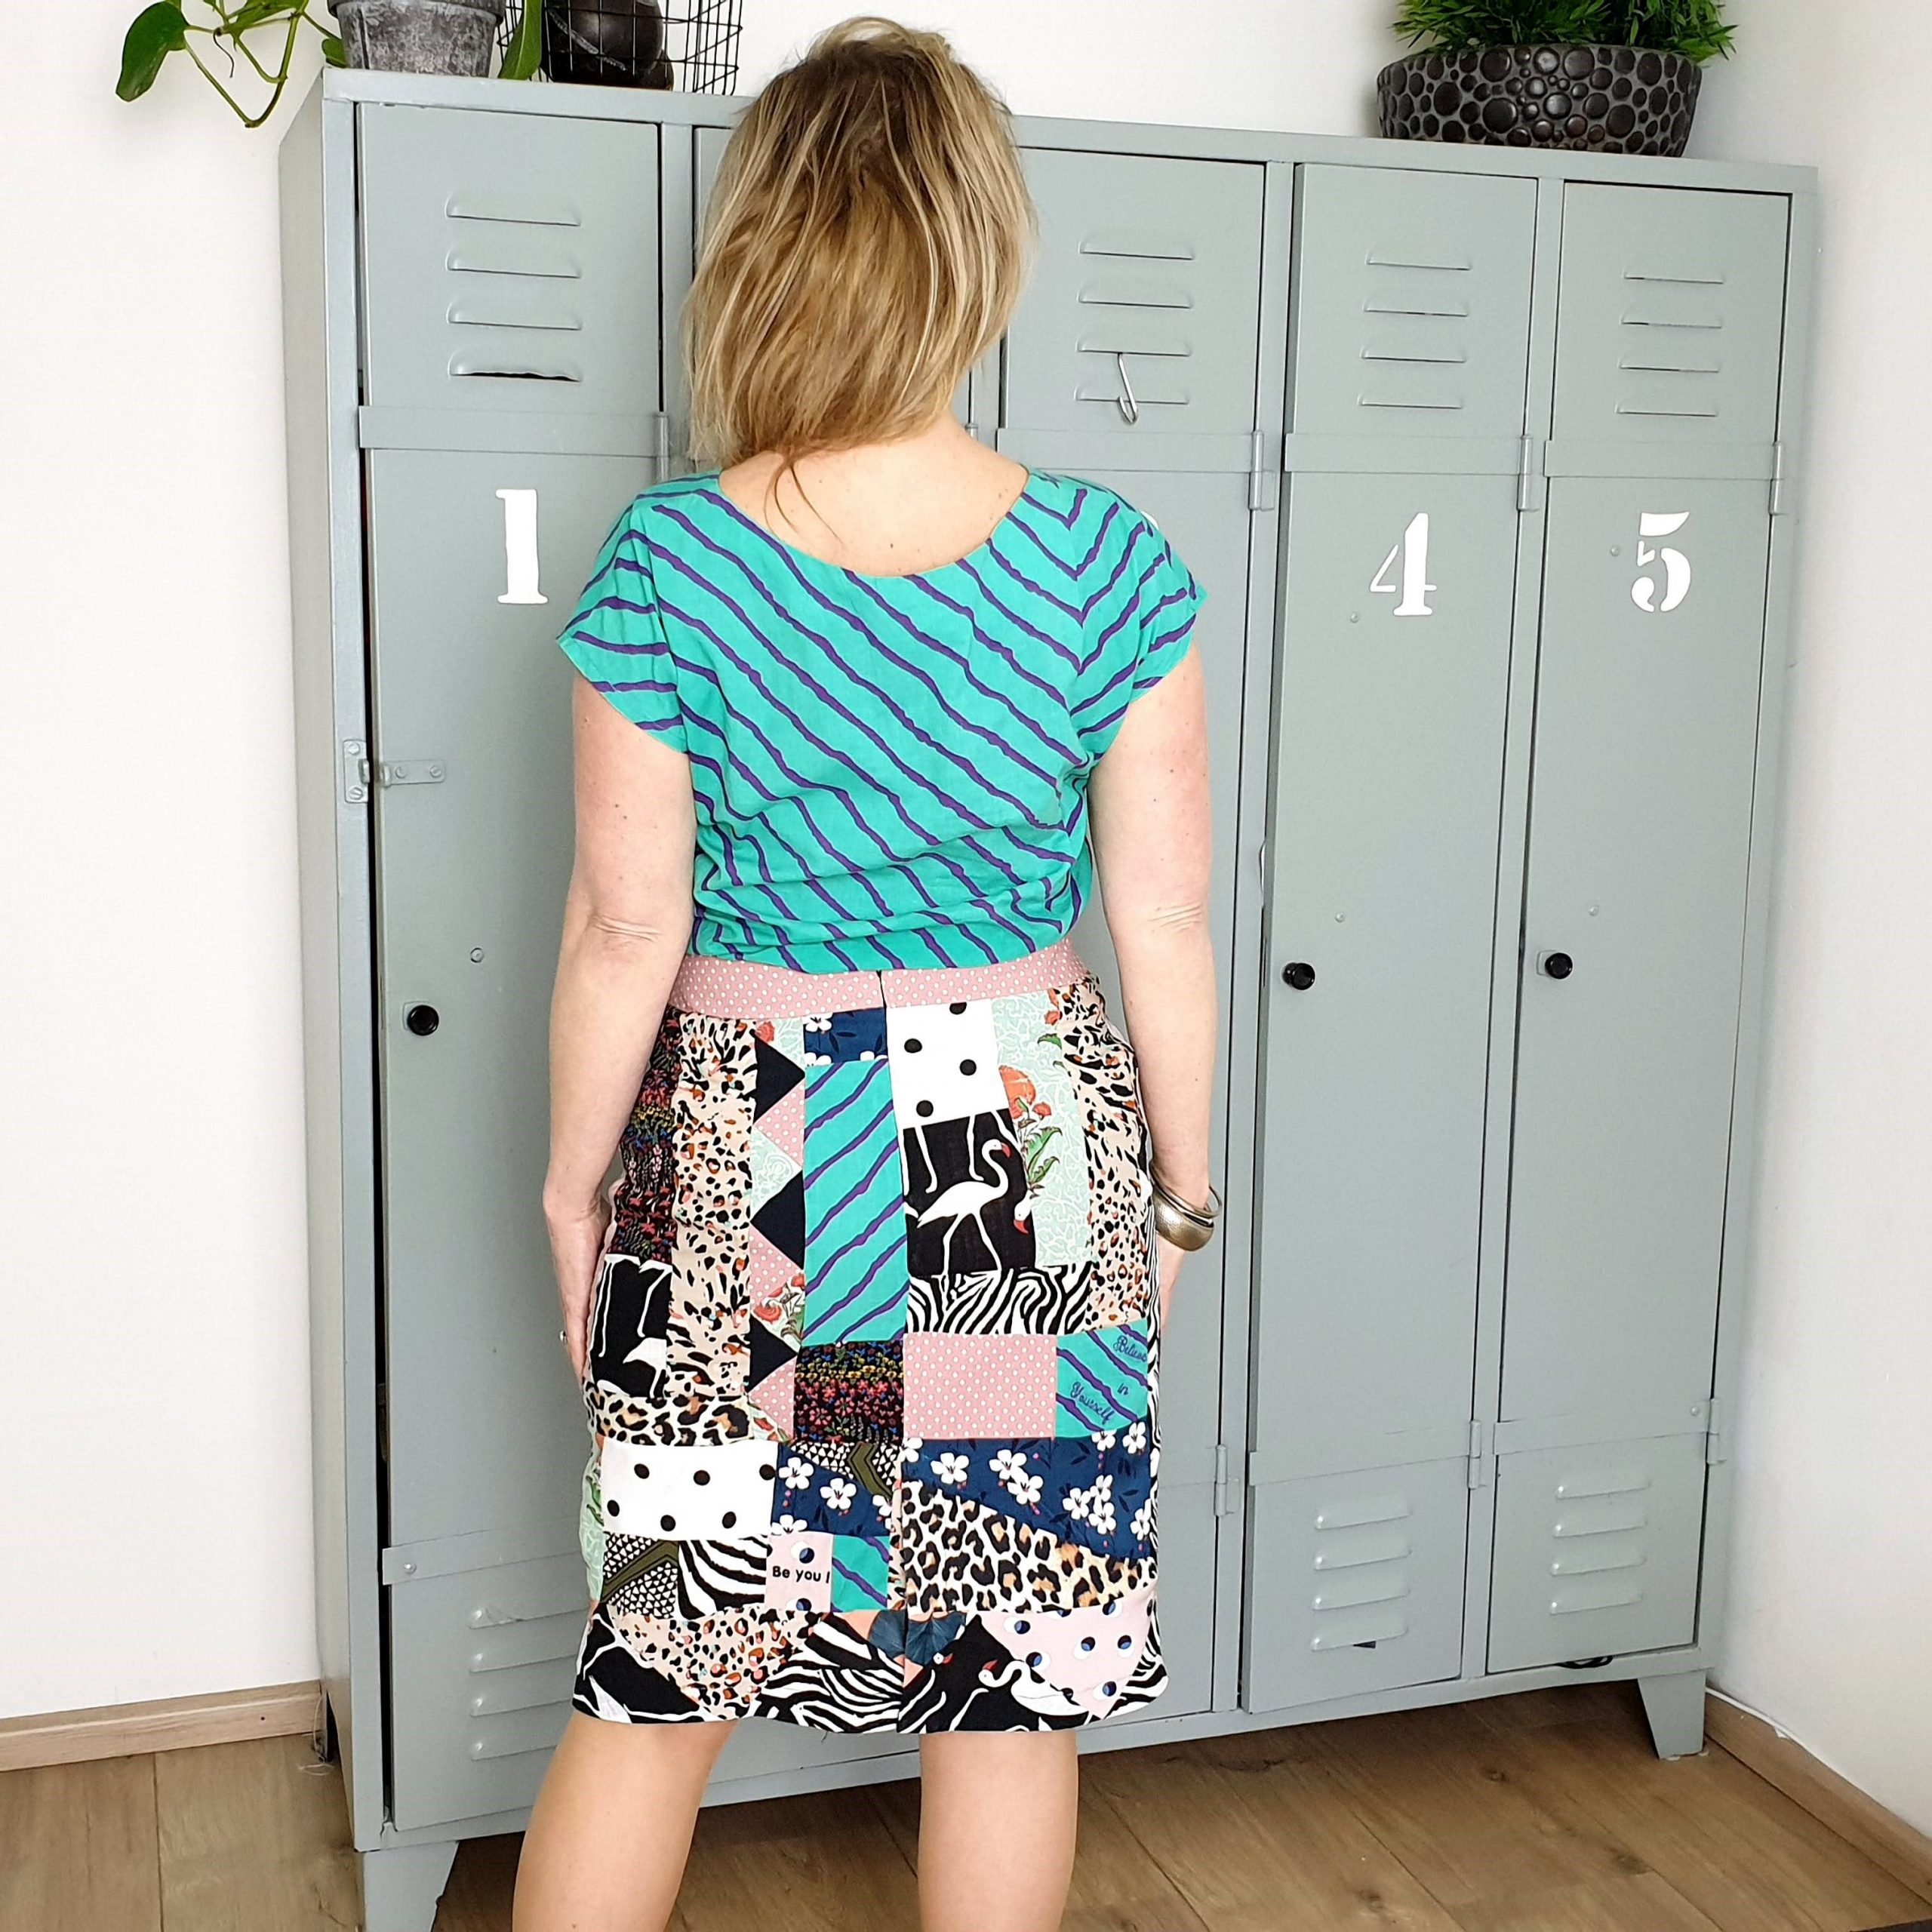
I have taken it upon me to make a 2020 version of the liberation skirt made of fabric remnants, with embroidery and the typical triangles that also can be worn after 5 May.
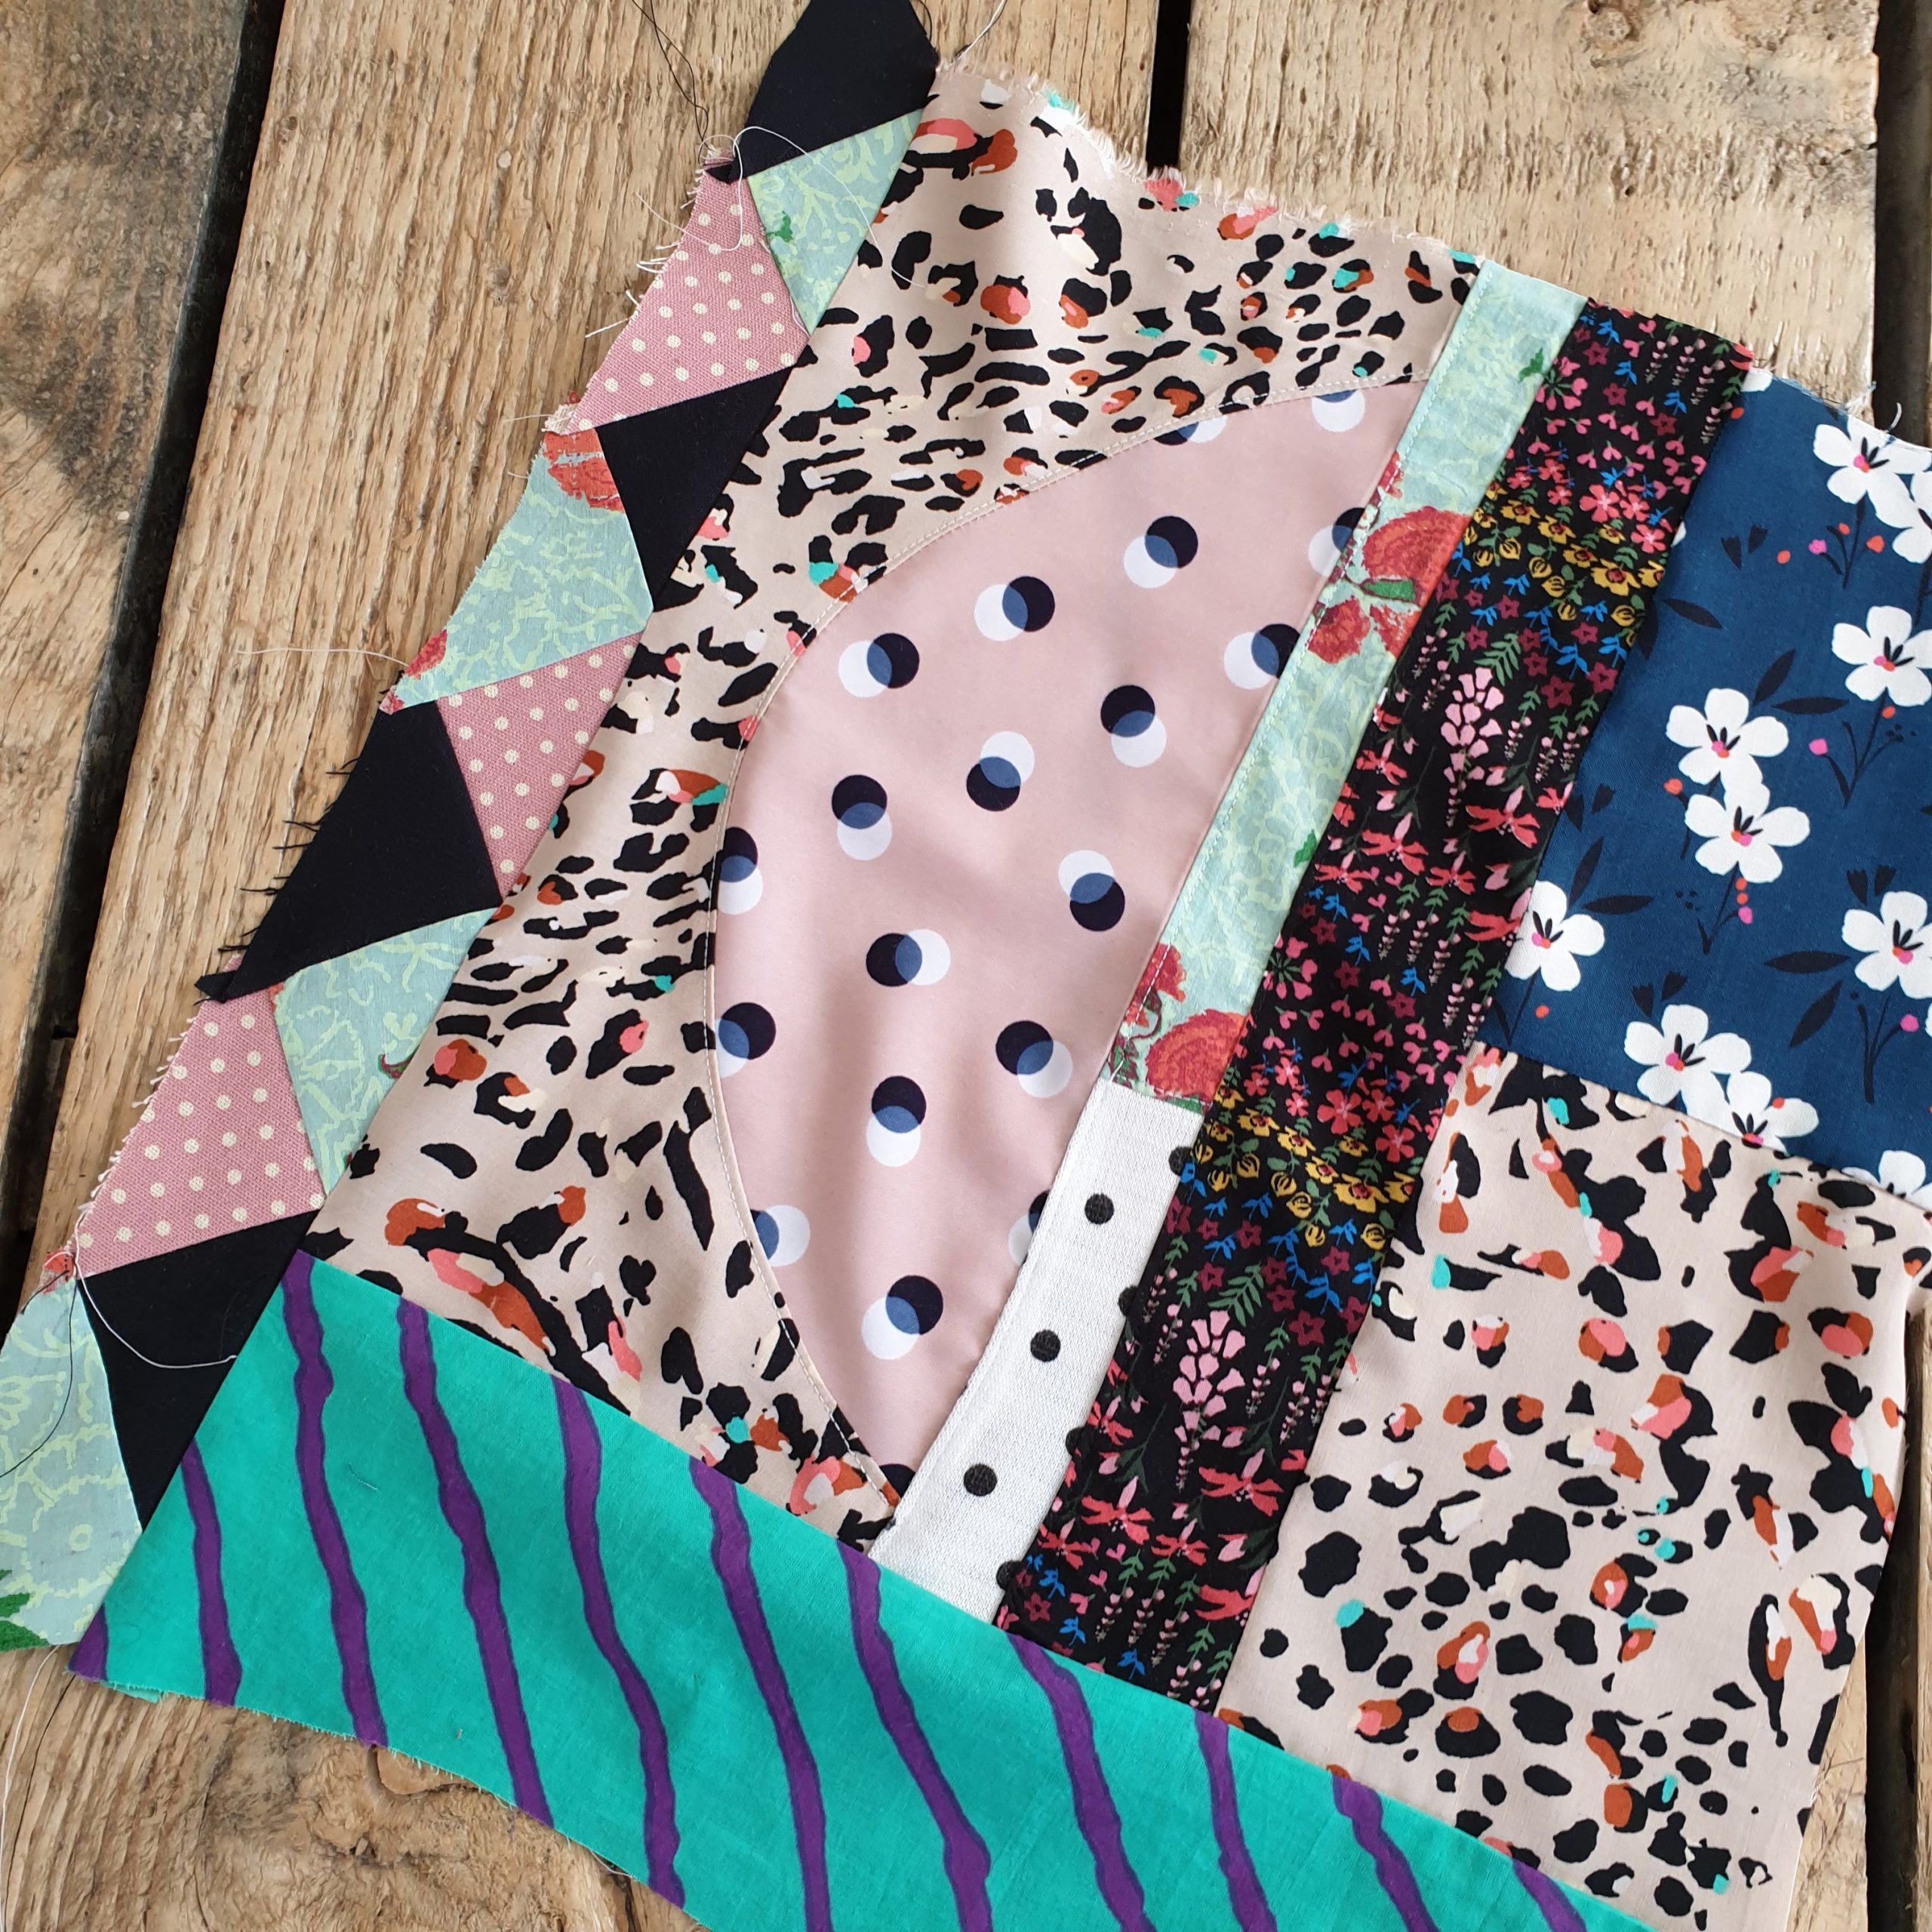
Freestyle colour block
My contemporary version of the liberation skirt starts with seeking a bundle of fabric remnants which are sewn together via the ‘freestyle colour block method’. With a dive in my remnants stock, I found enough nice fabrics that together would make a festive skirt. The fabrics I chose were mainly cotton fabrics from projects that I have done in the past 3 years. A lot of cheerful colours and prints! Love it!
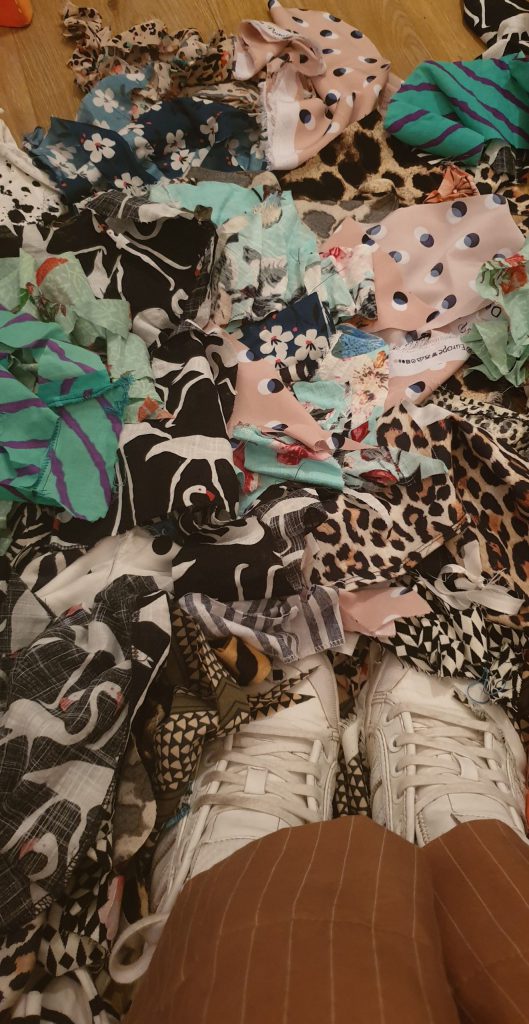
Amid the options! So I could see which fabrics would go well together.
I let the existing shape of the remains mostly determine the patchwork. You will also see round shapes in the skirt, caused by the frills of this wrap skirt.
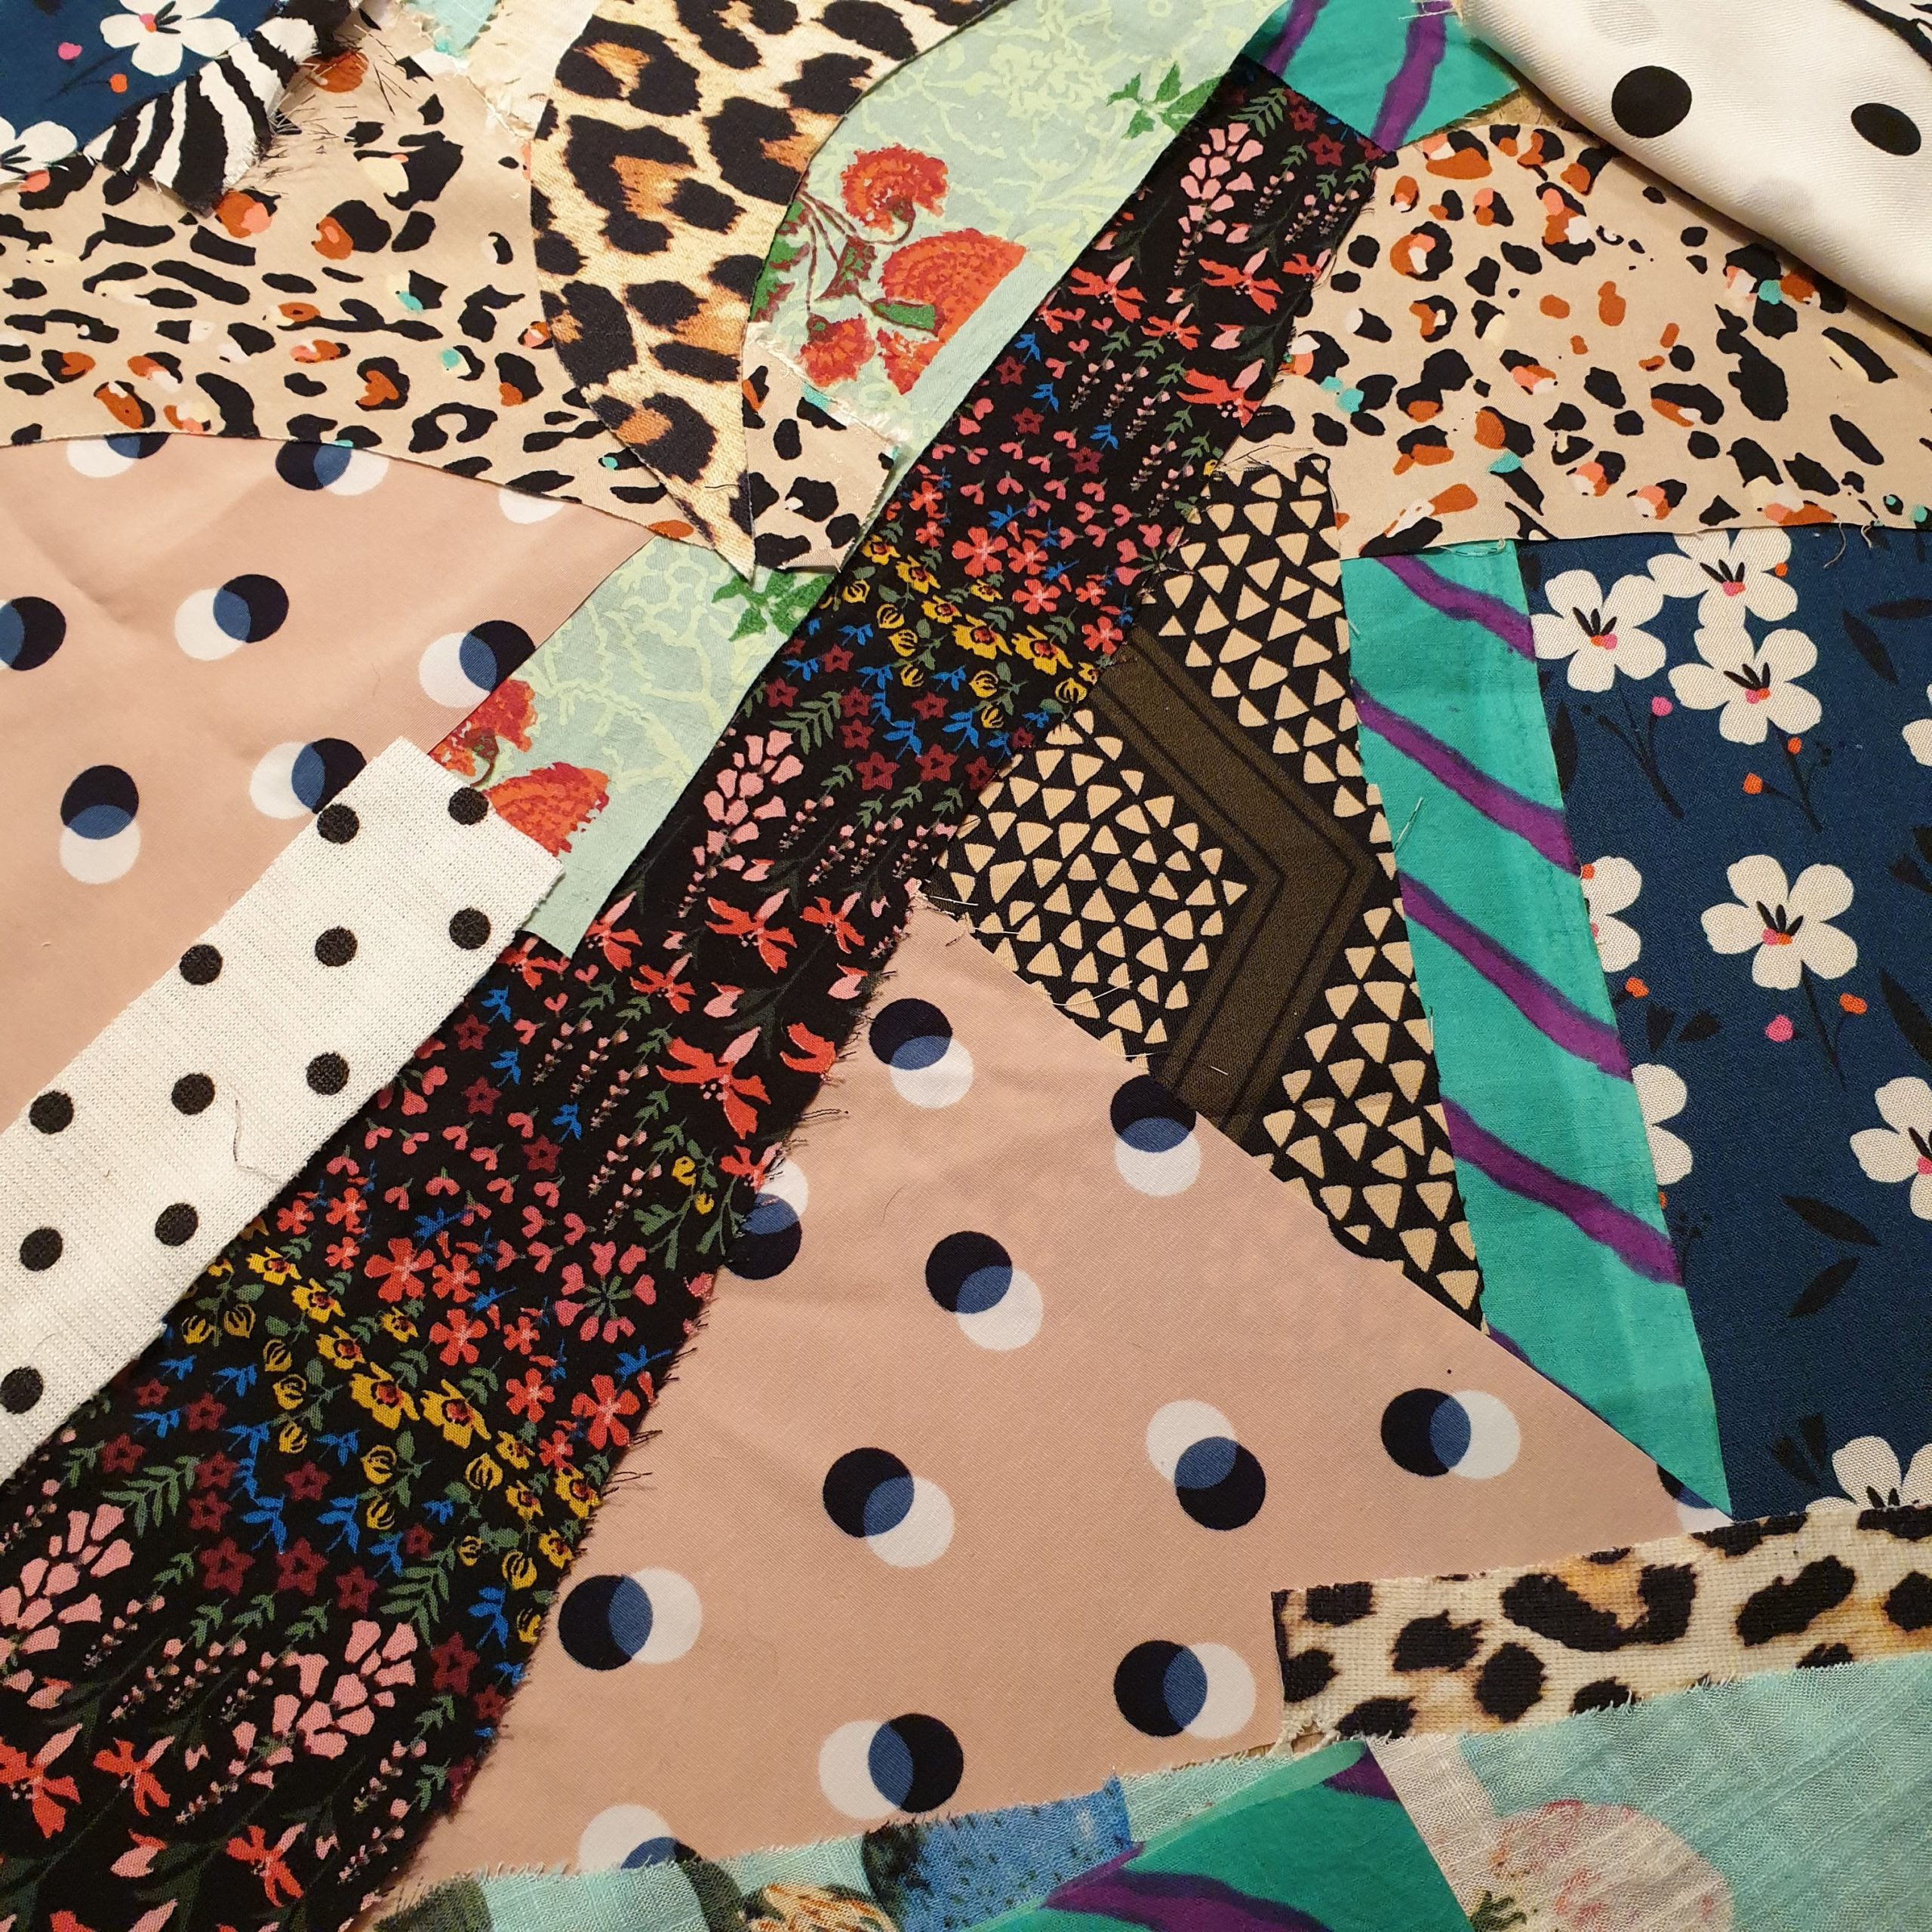
Puzzling with the original shape of the remnants

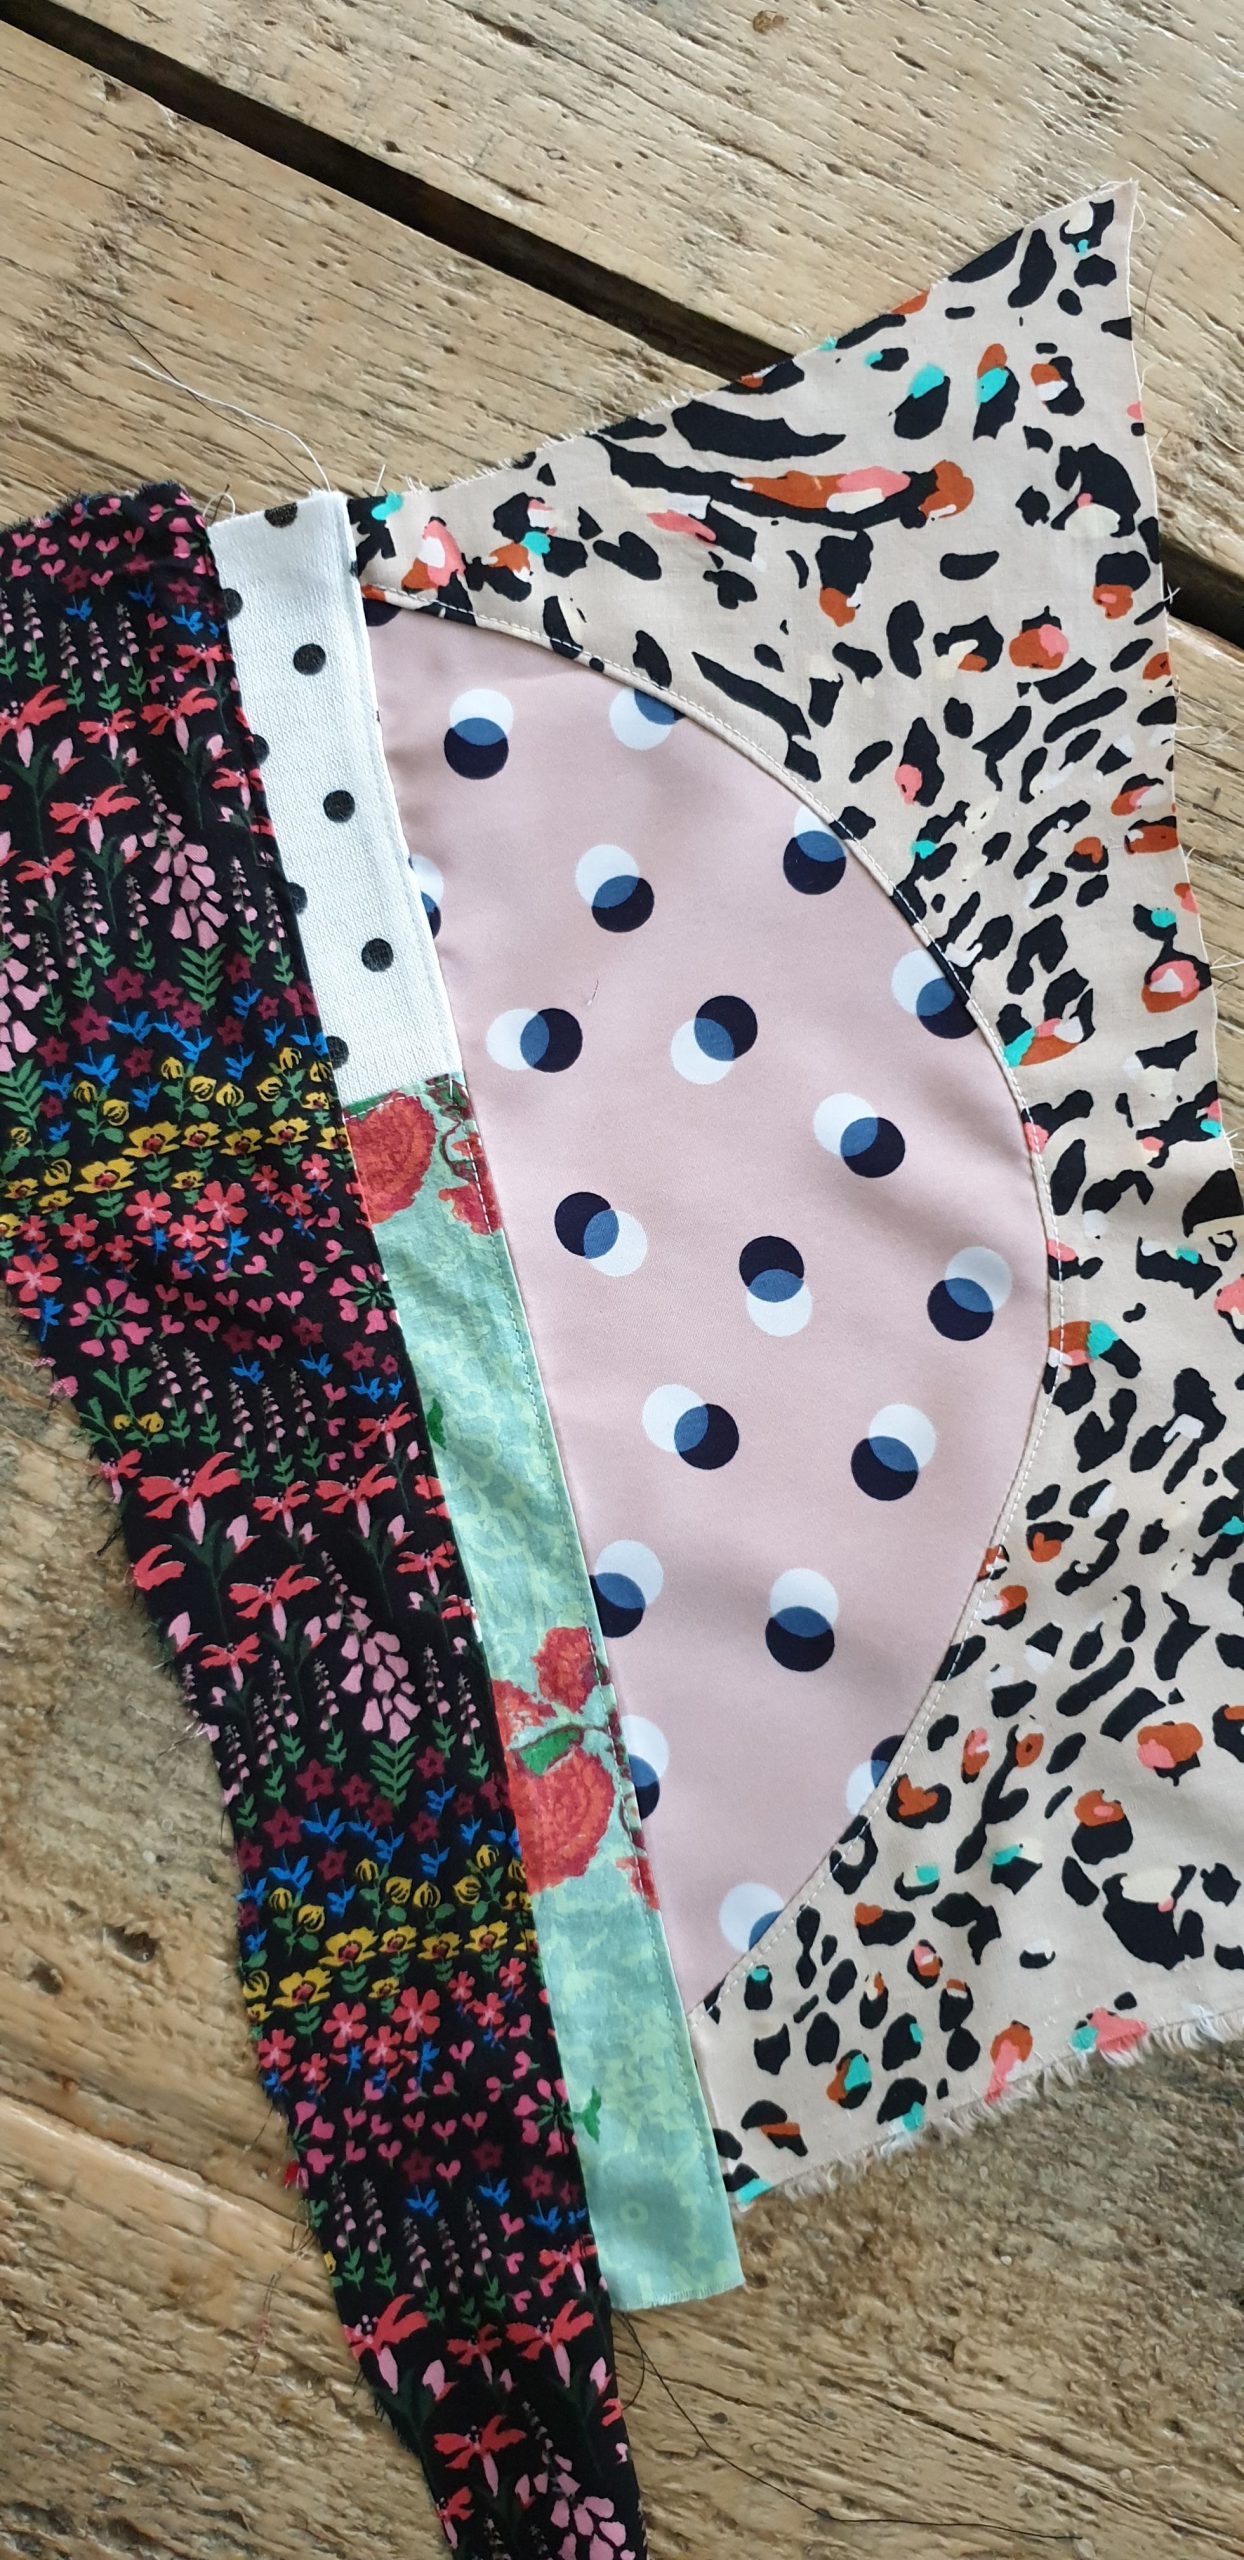
‘New’ fabric is created
Embroidery
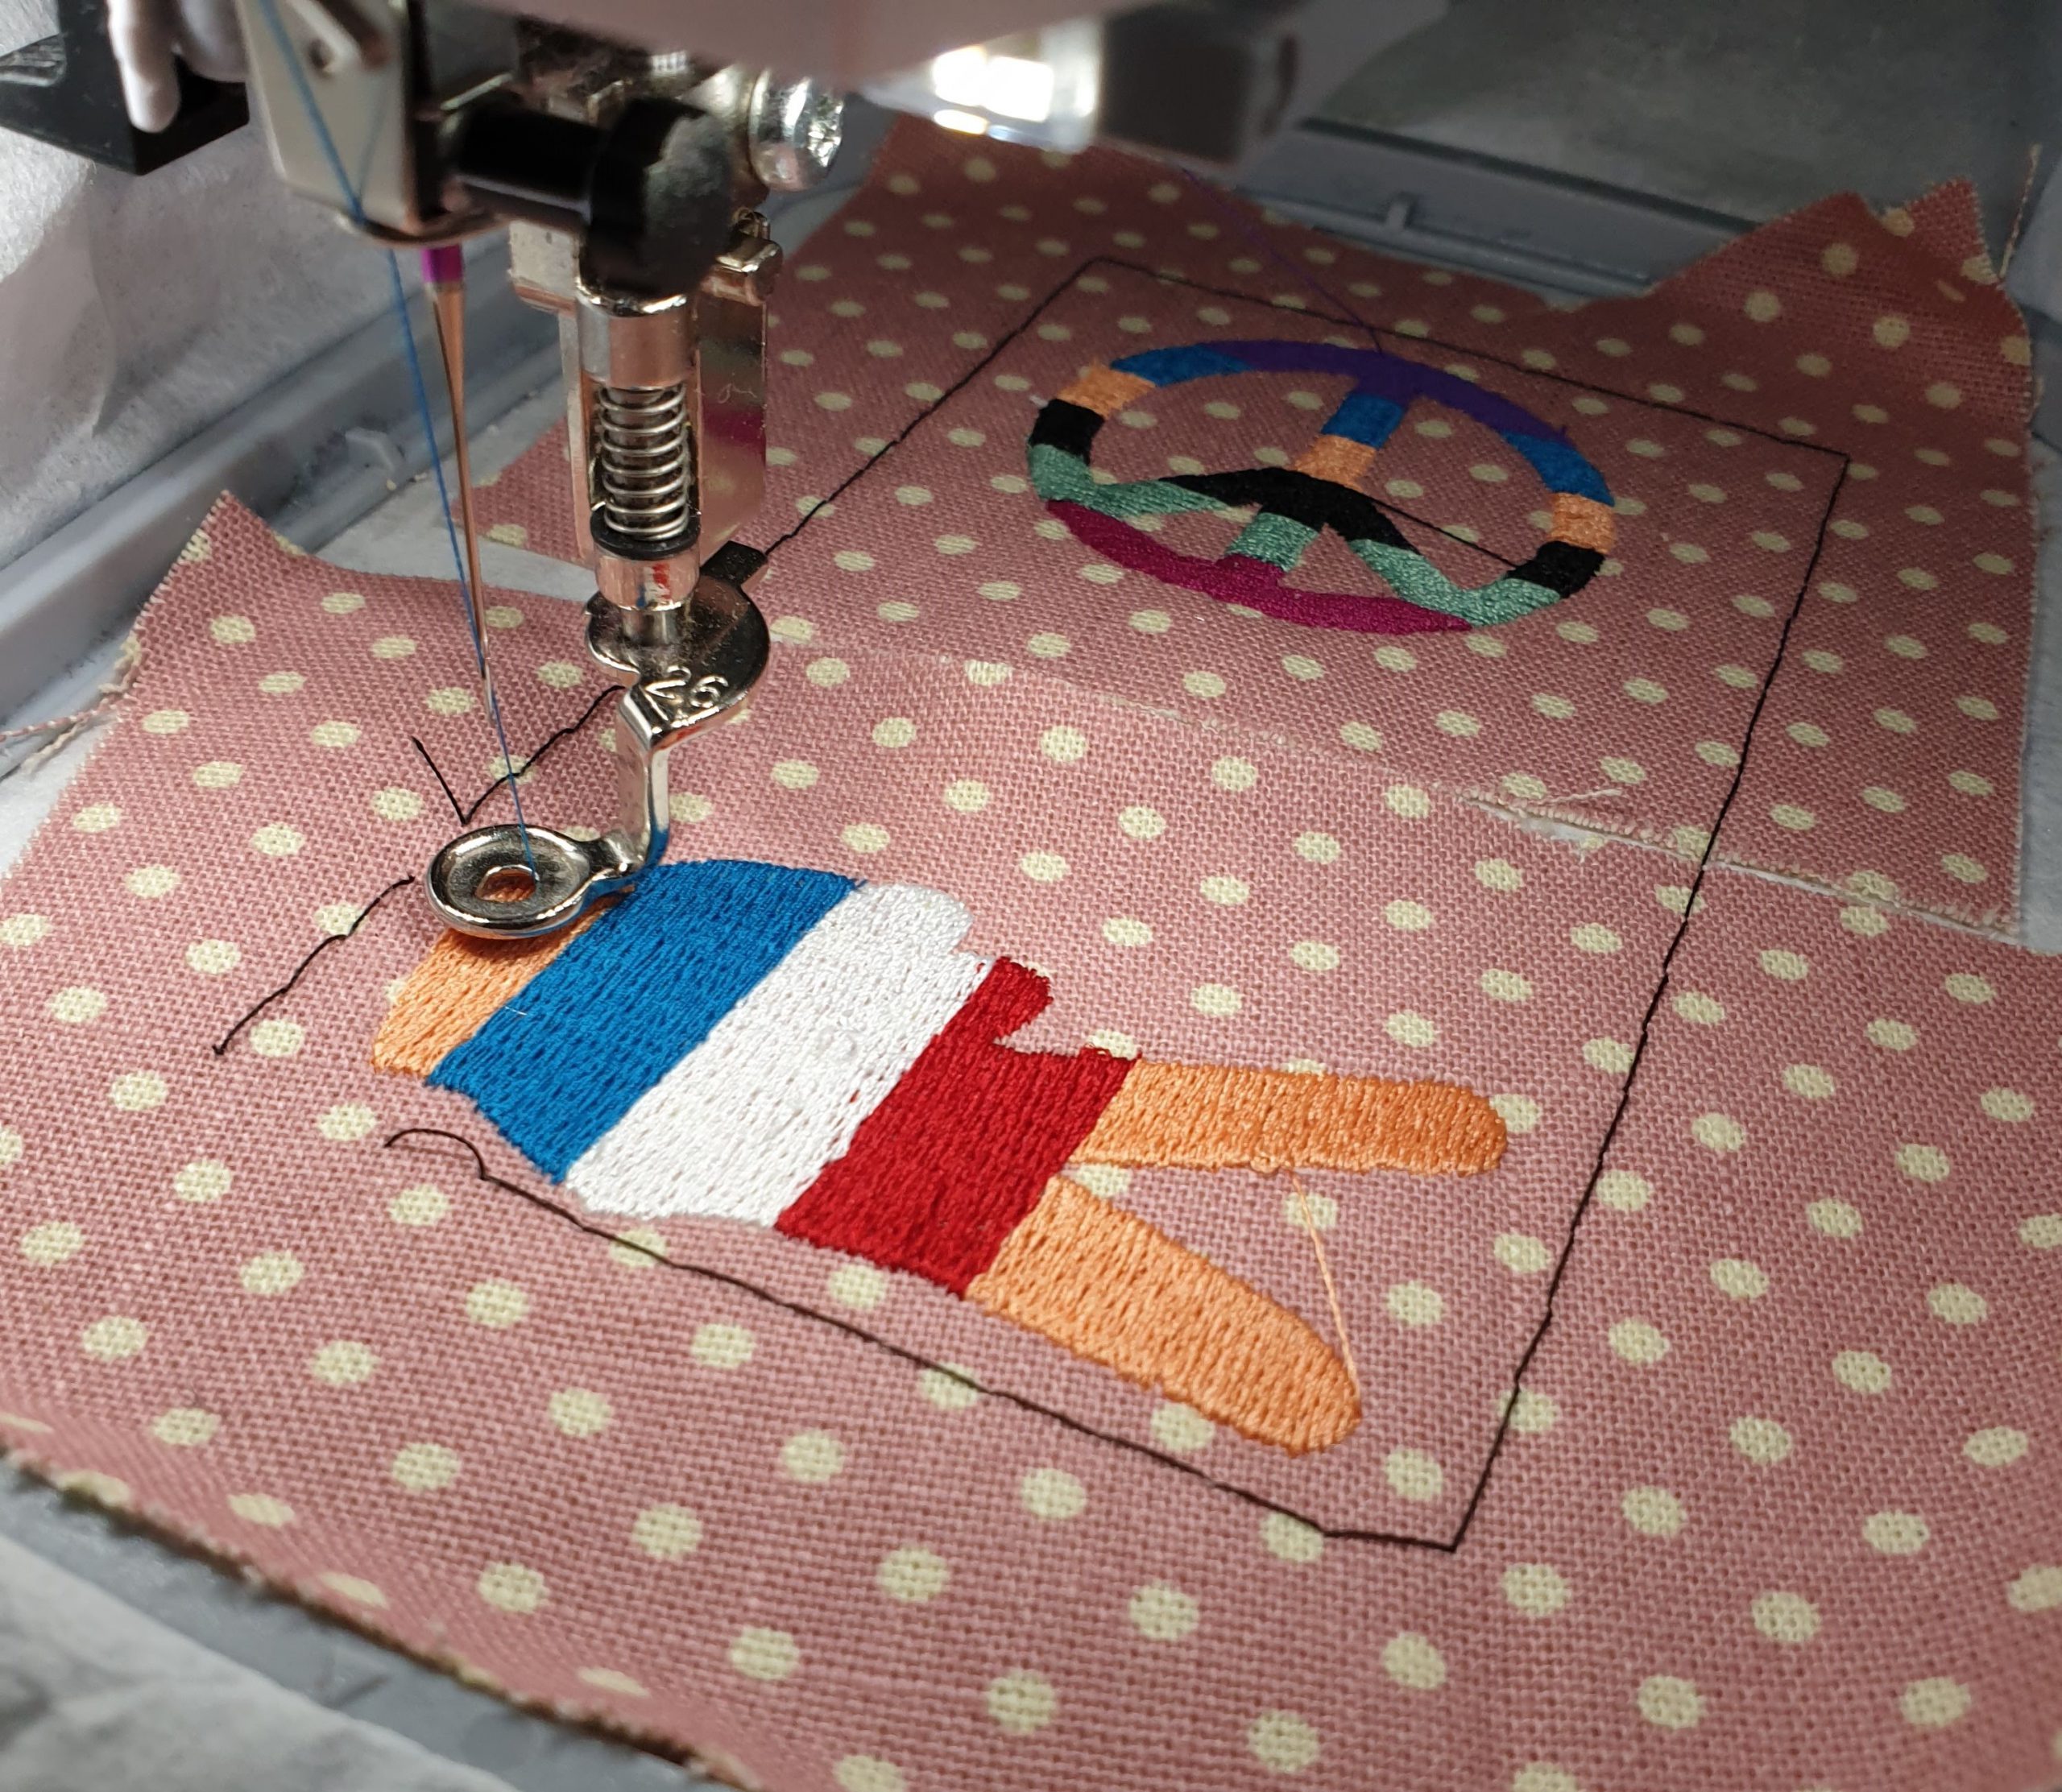
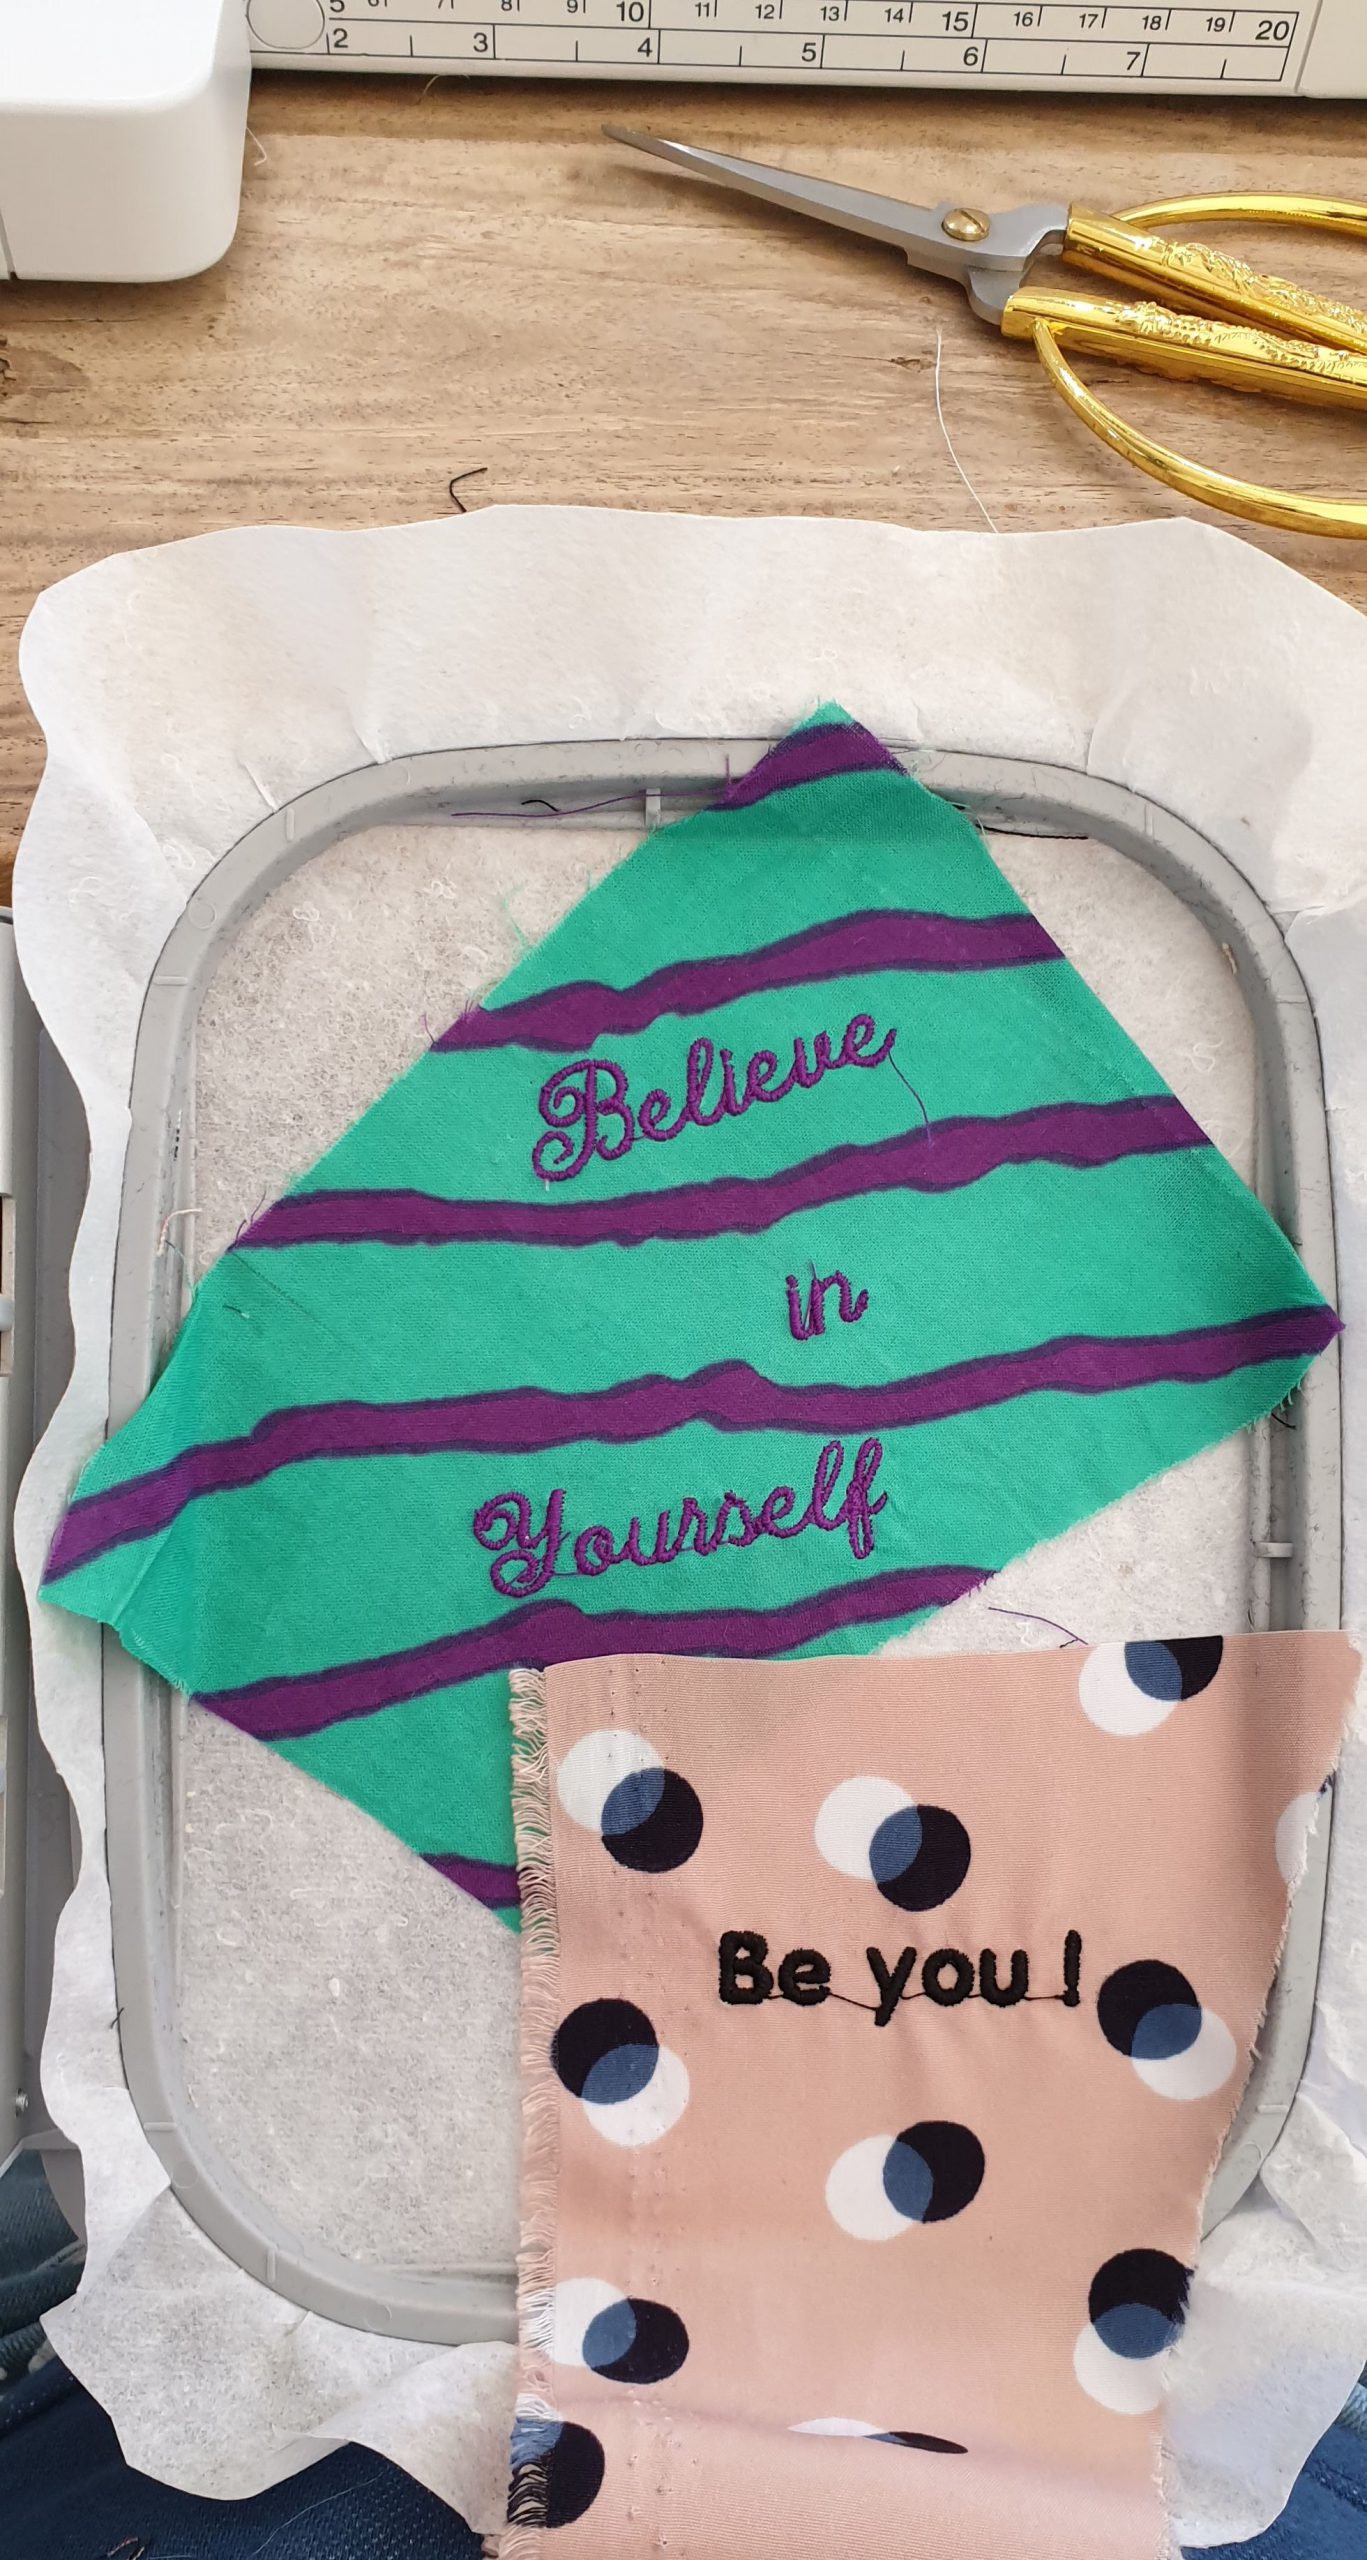
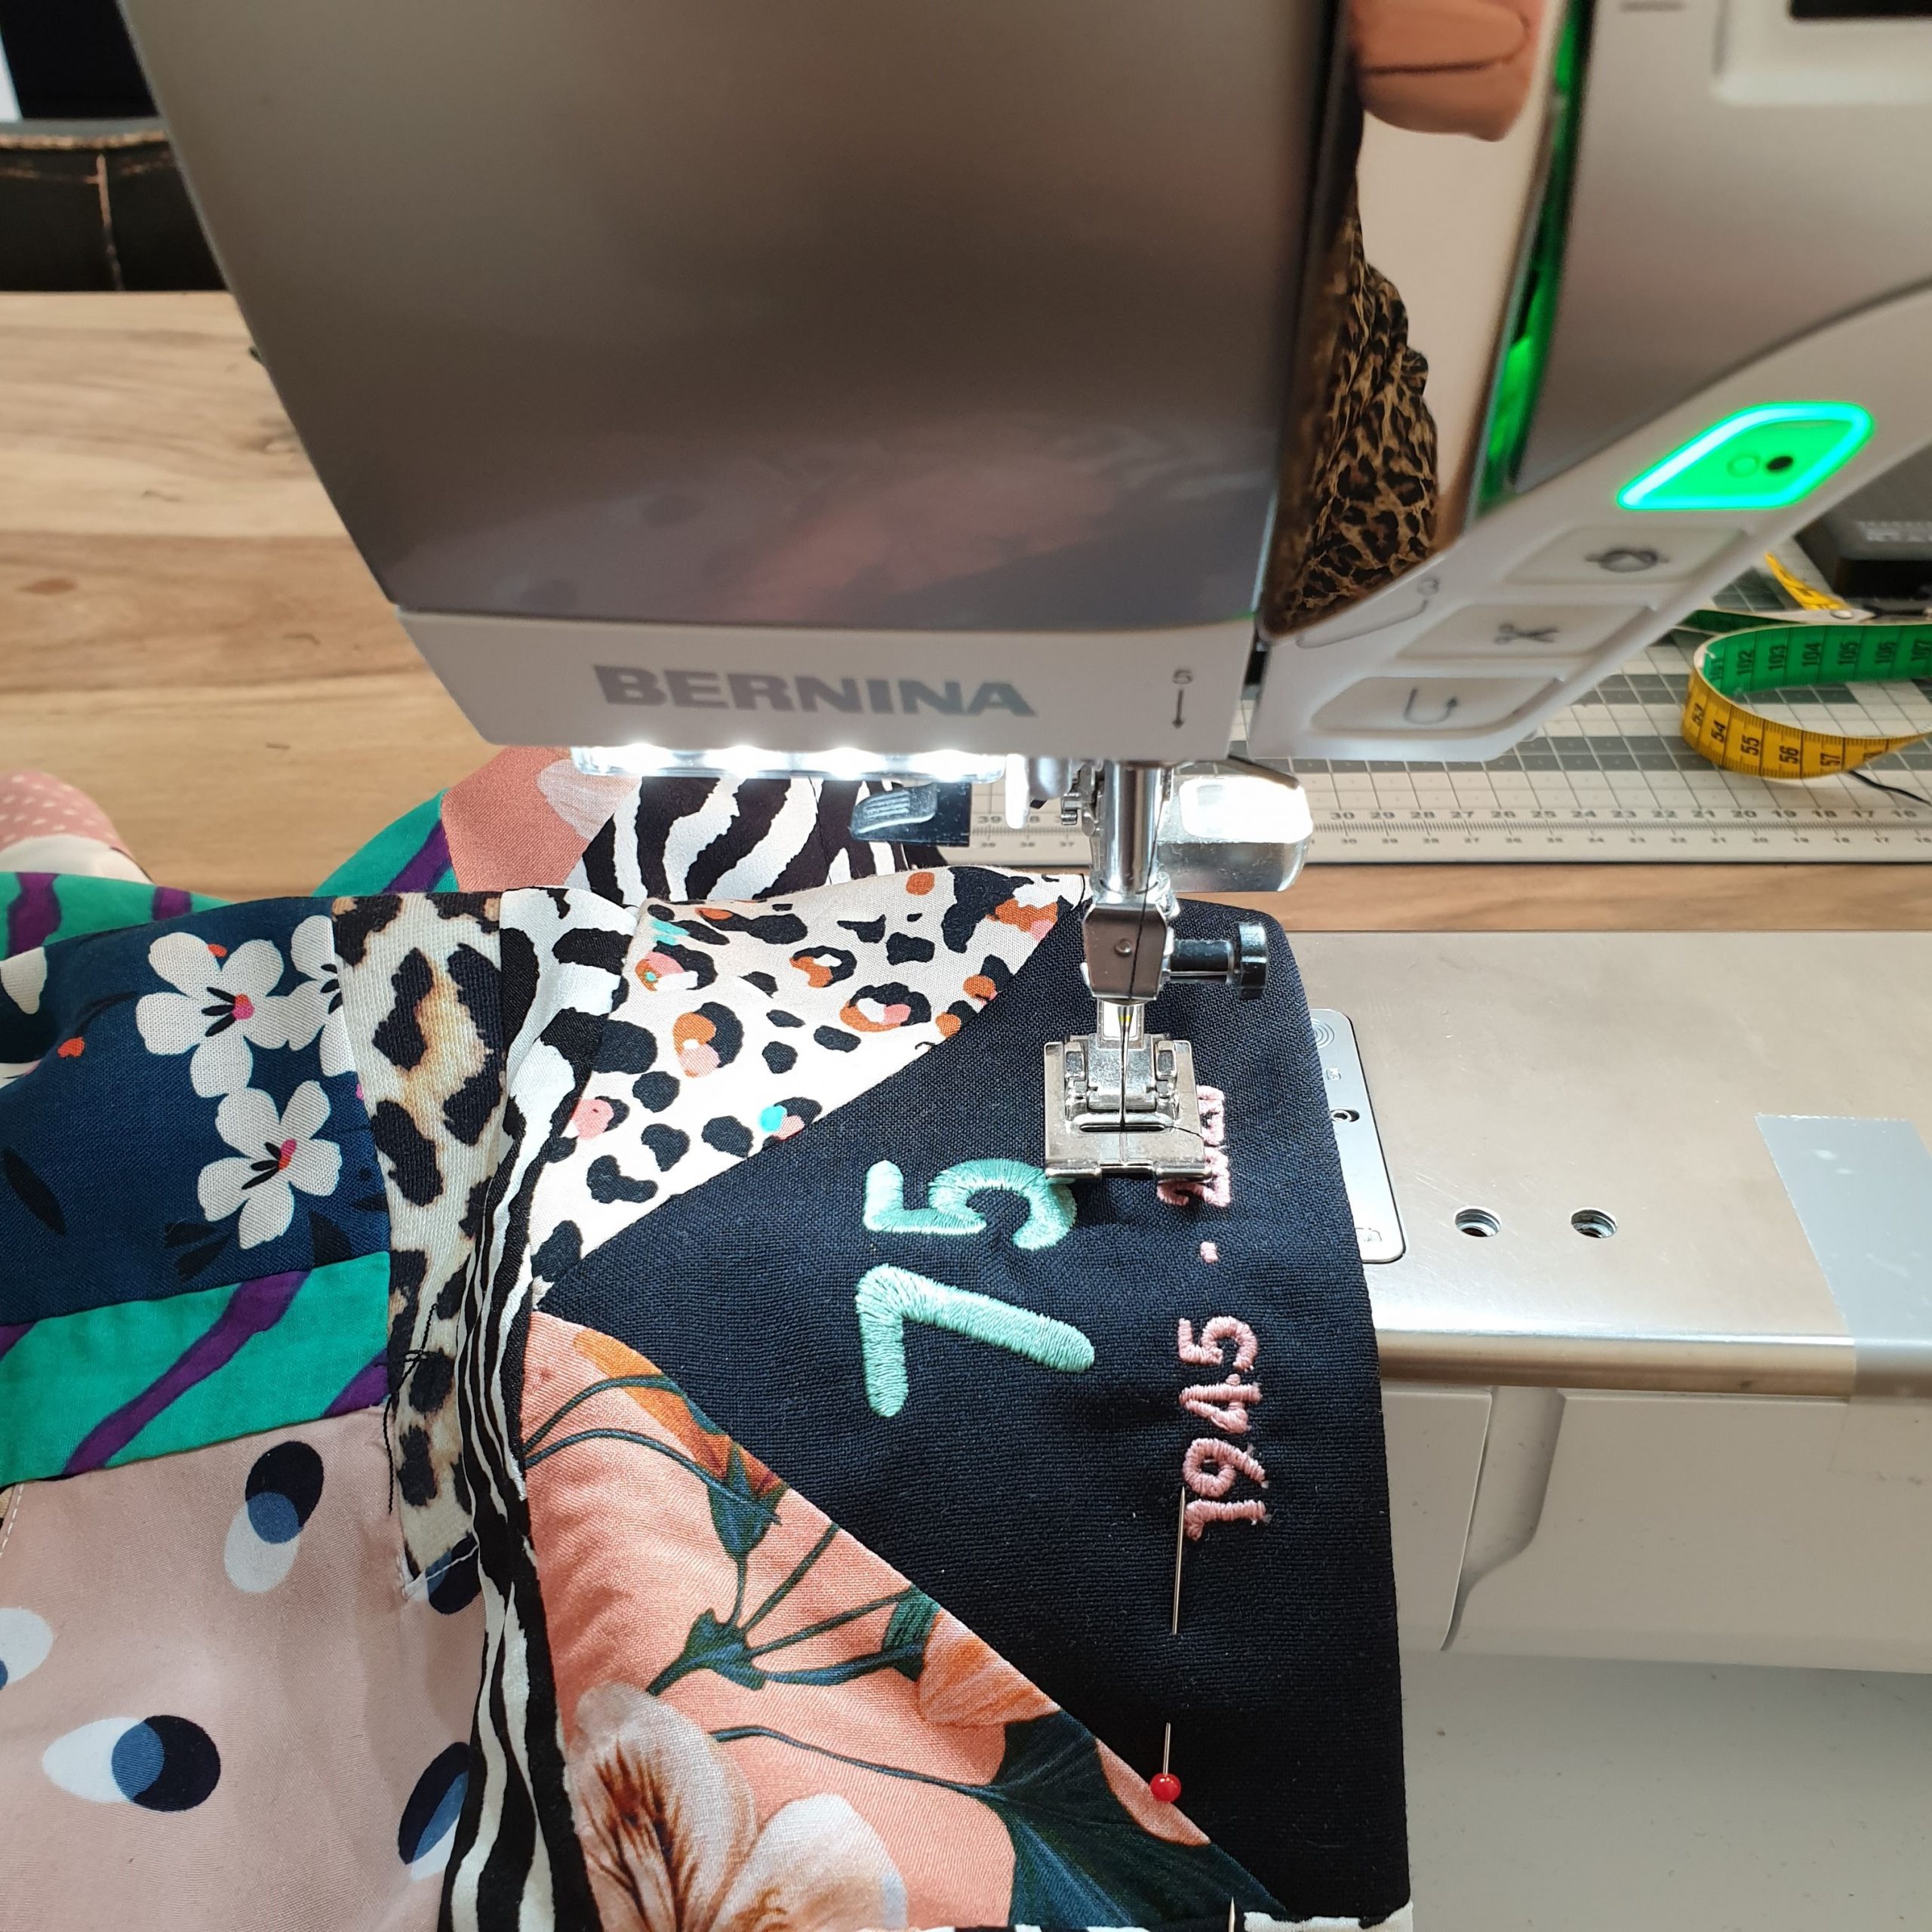
In my research into the newer liberation skirts I saw a lot of embroidery. In the original skirt the embroidery was done by hand. I’ve used my BERNINA 540 embroidery module for it. I searched online for a few appropriate embroidery designs and chose threads that would go well with the colours in the skirt. I incorporated some phrases that are very liberating to me in the creative process (and also in life) ‘be you’ and ‘believe in yourself’. A personal symbolisation of freedom.
Before sewing the fabrics together some pieces were embroidered. With temporary spray adhesive the pieces of fabrics were attached to the stabilizer and secured with a basting stitch. Then the embroidering could begin.
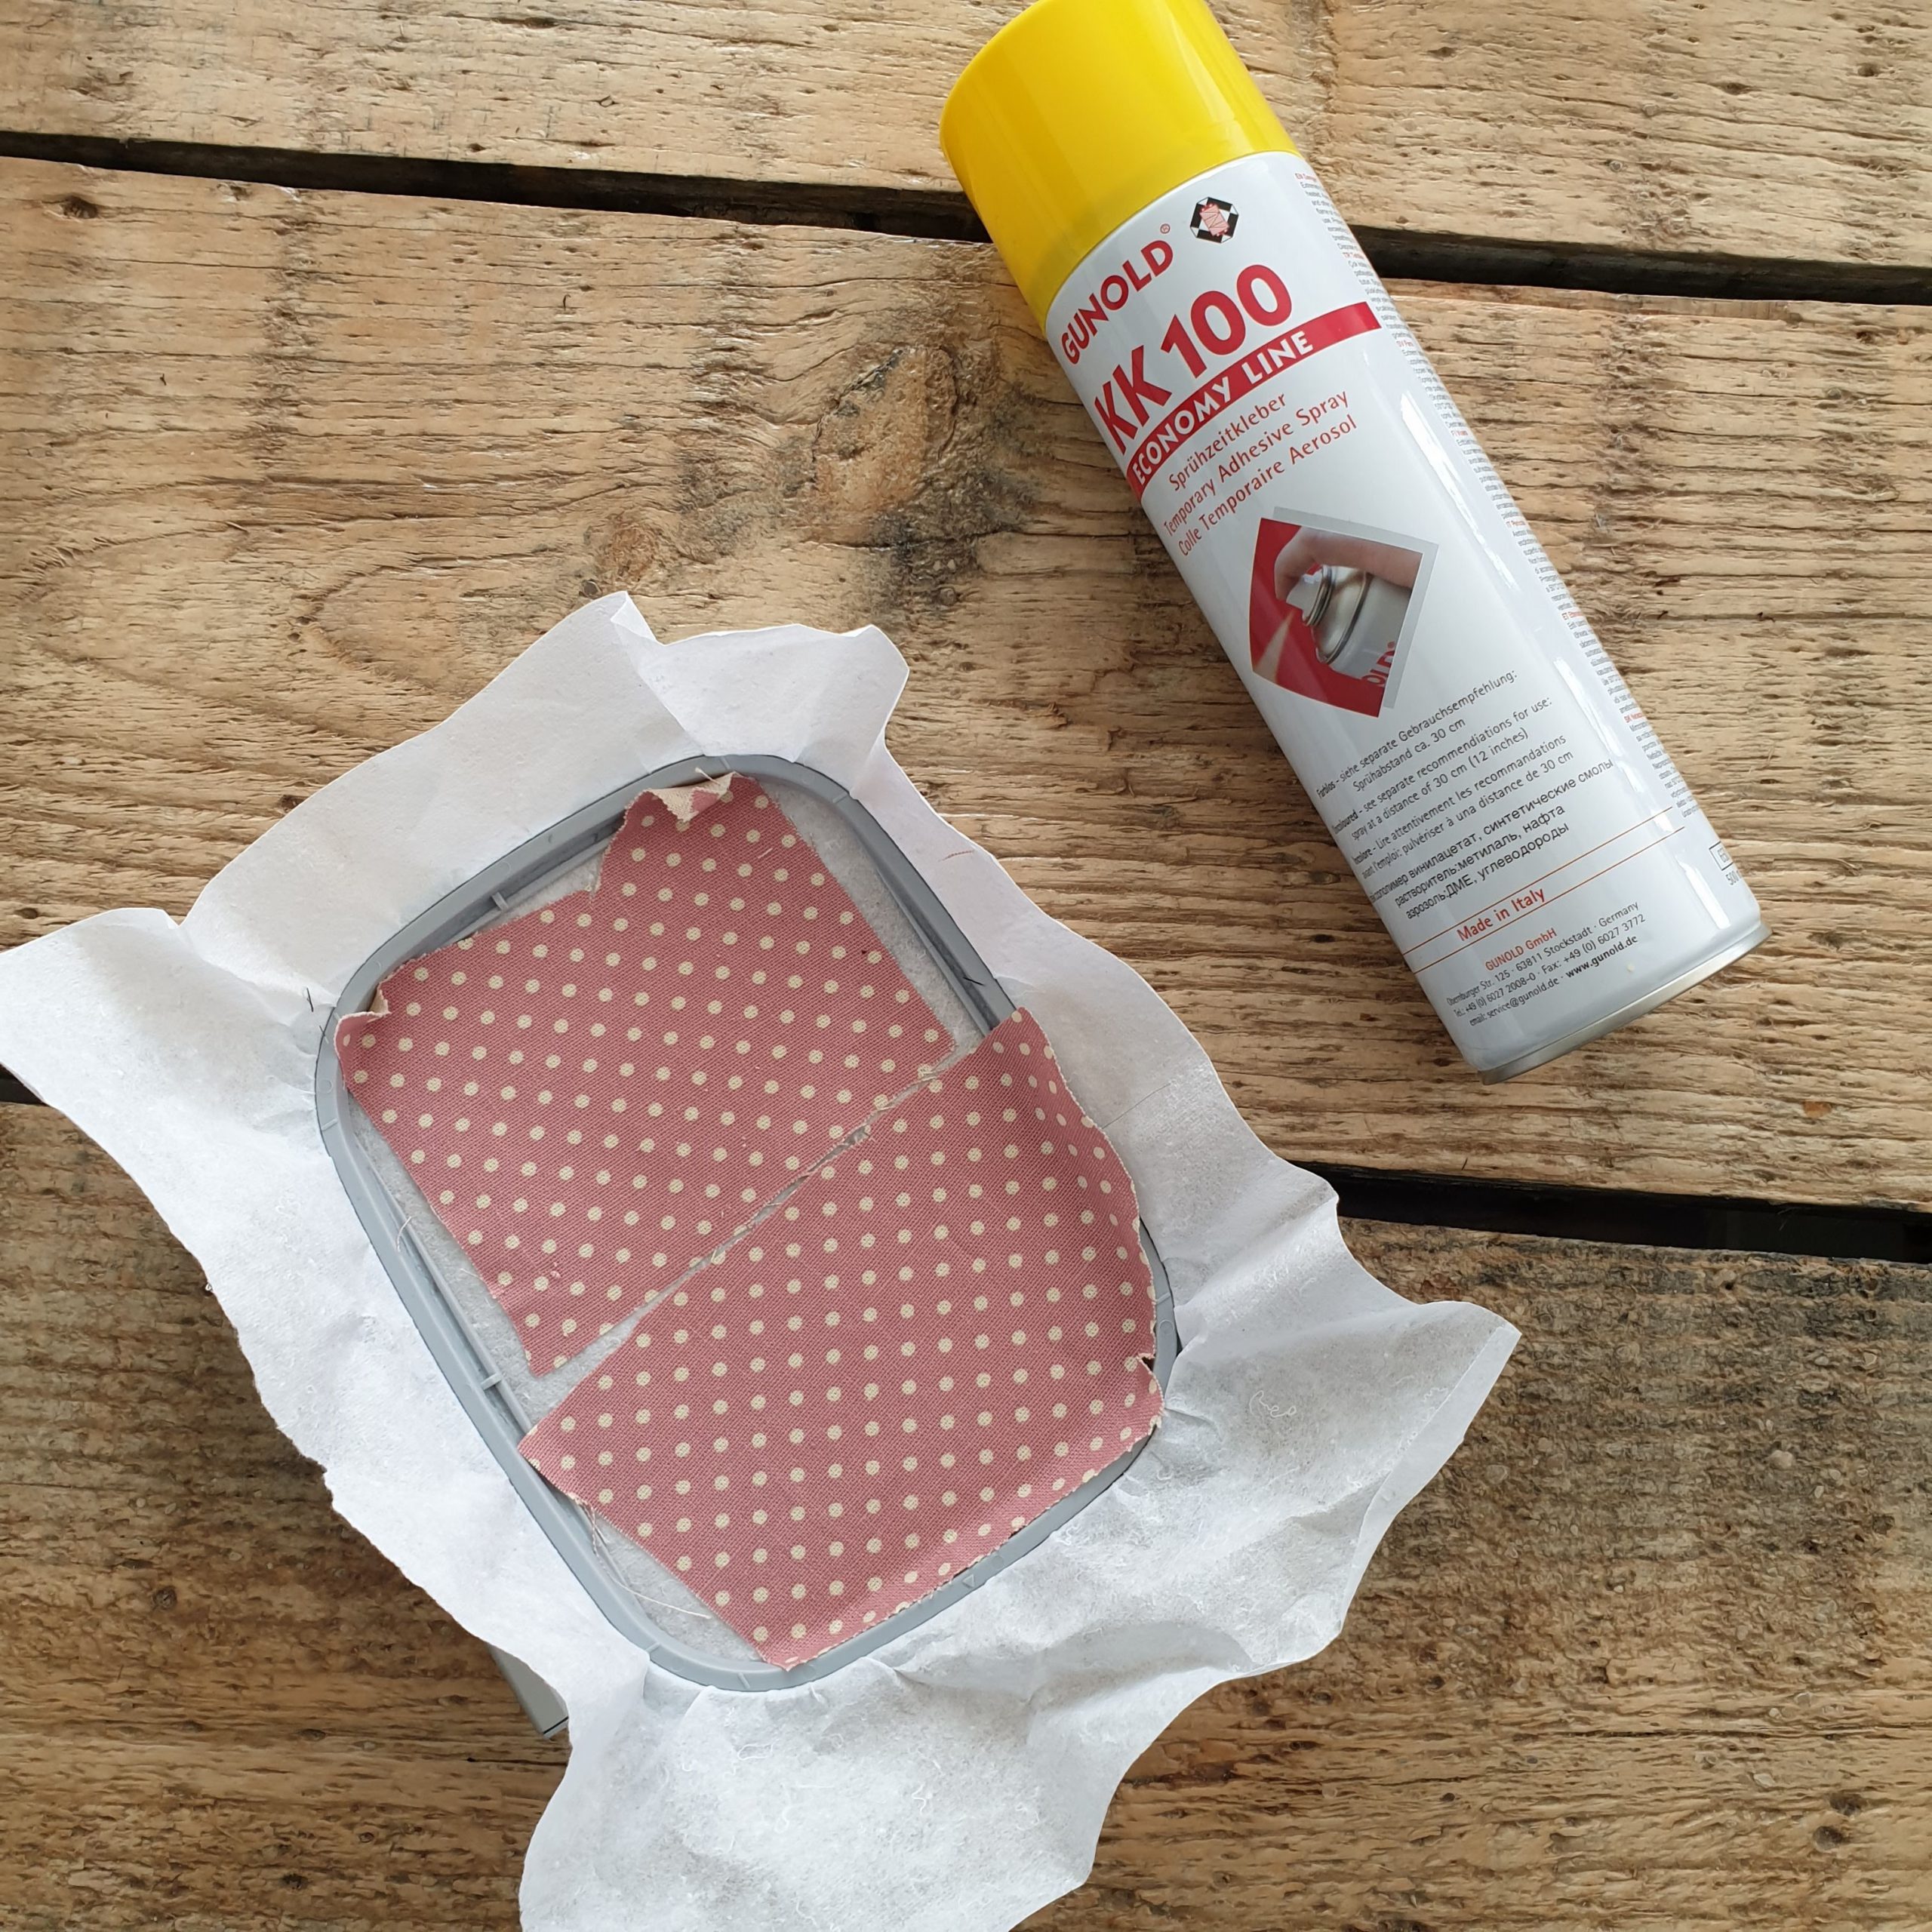
A little thicker cotton from the trench coat I made is an ideal base for embroidery
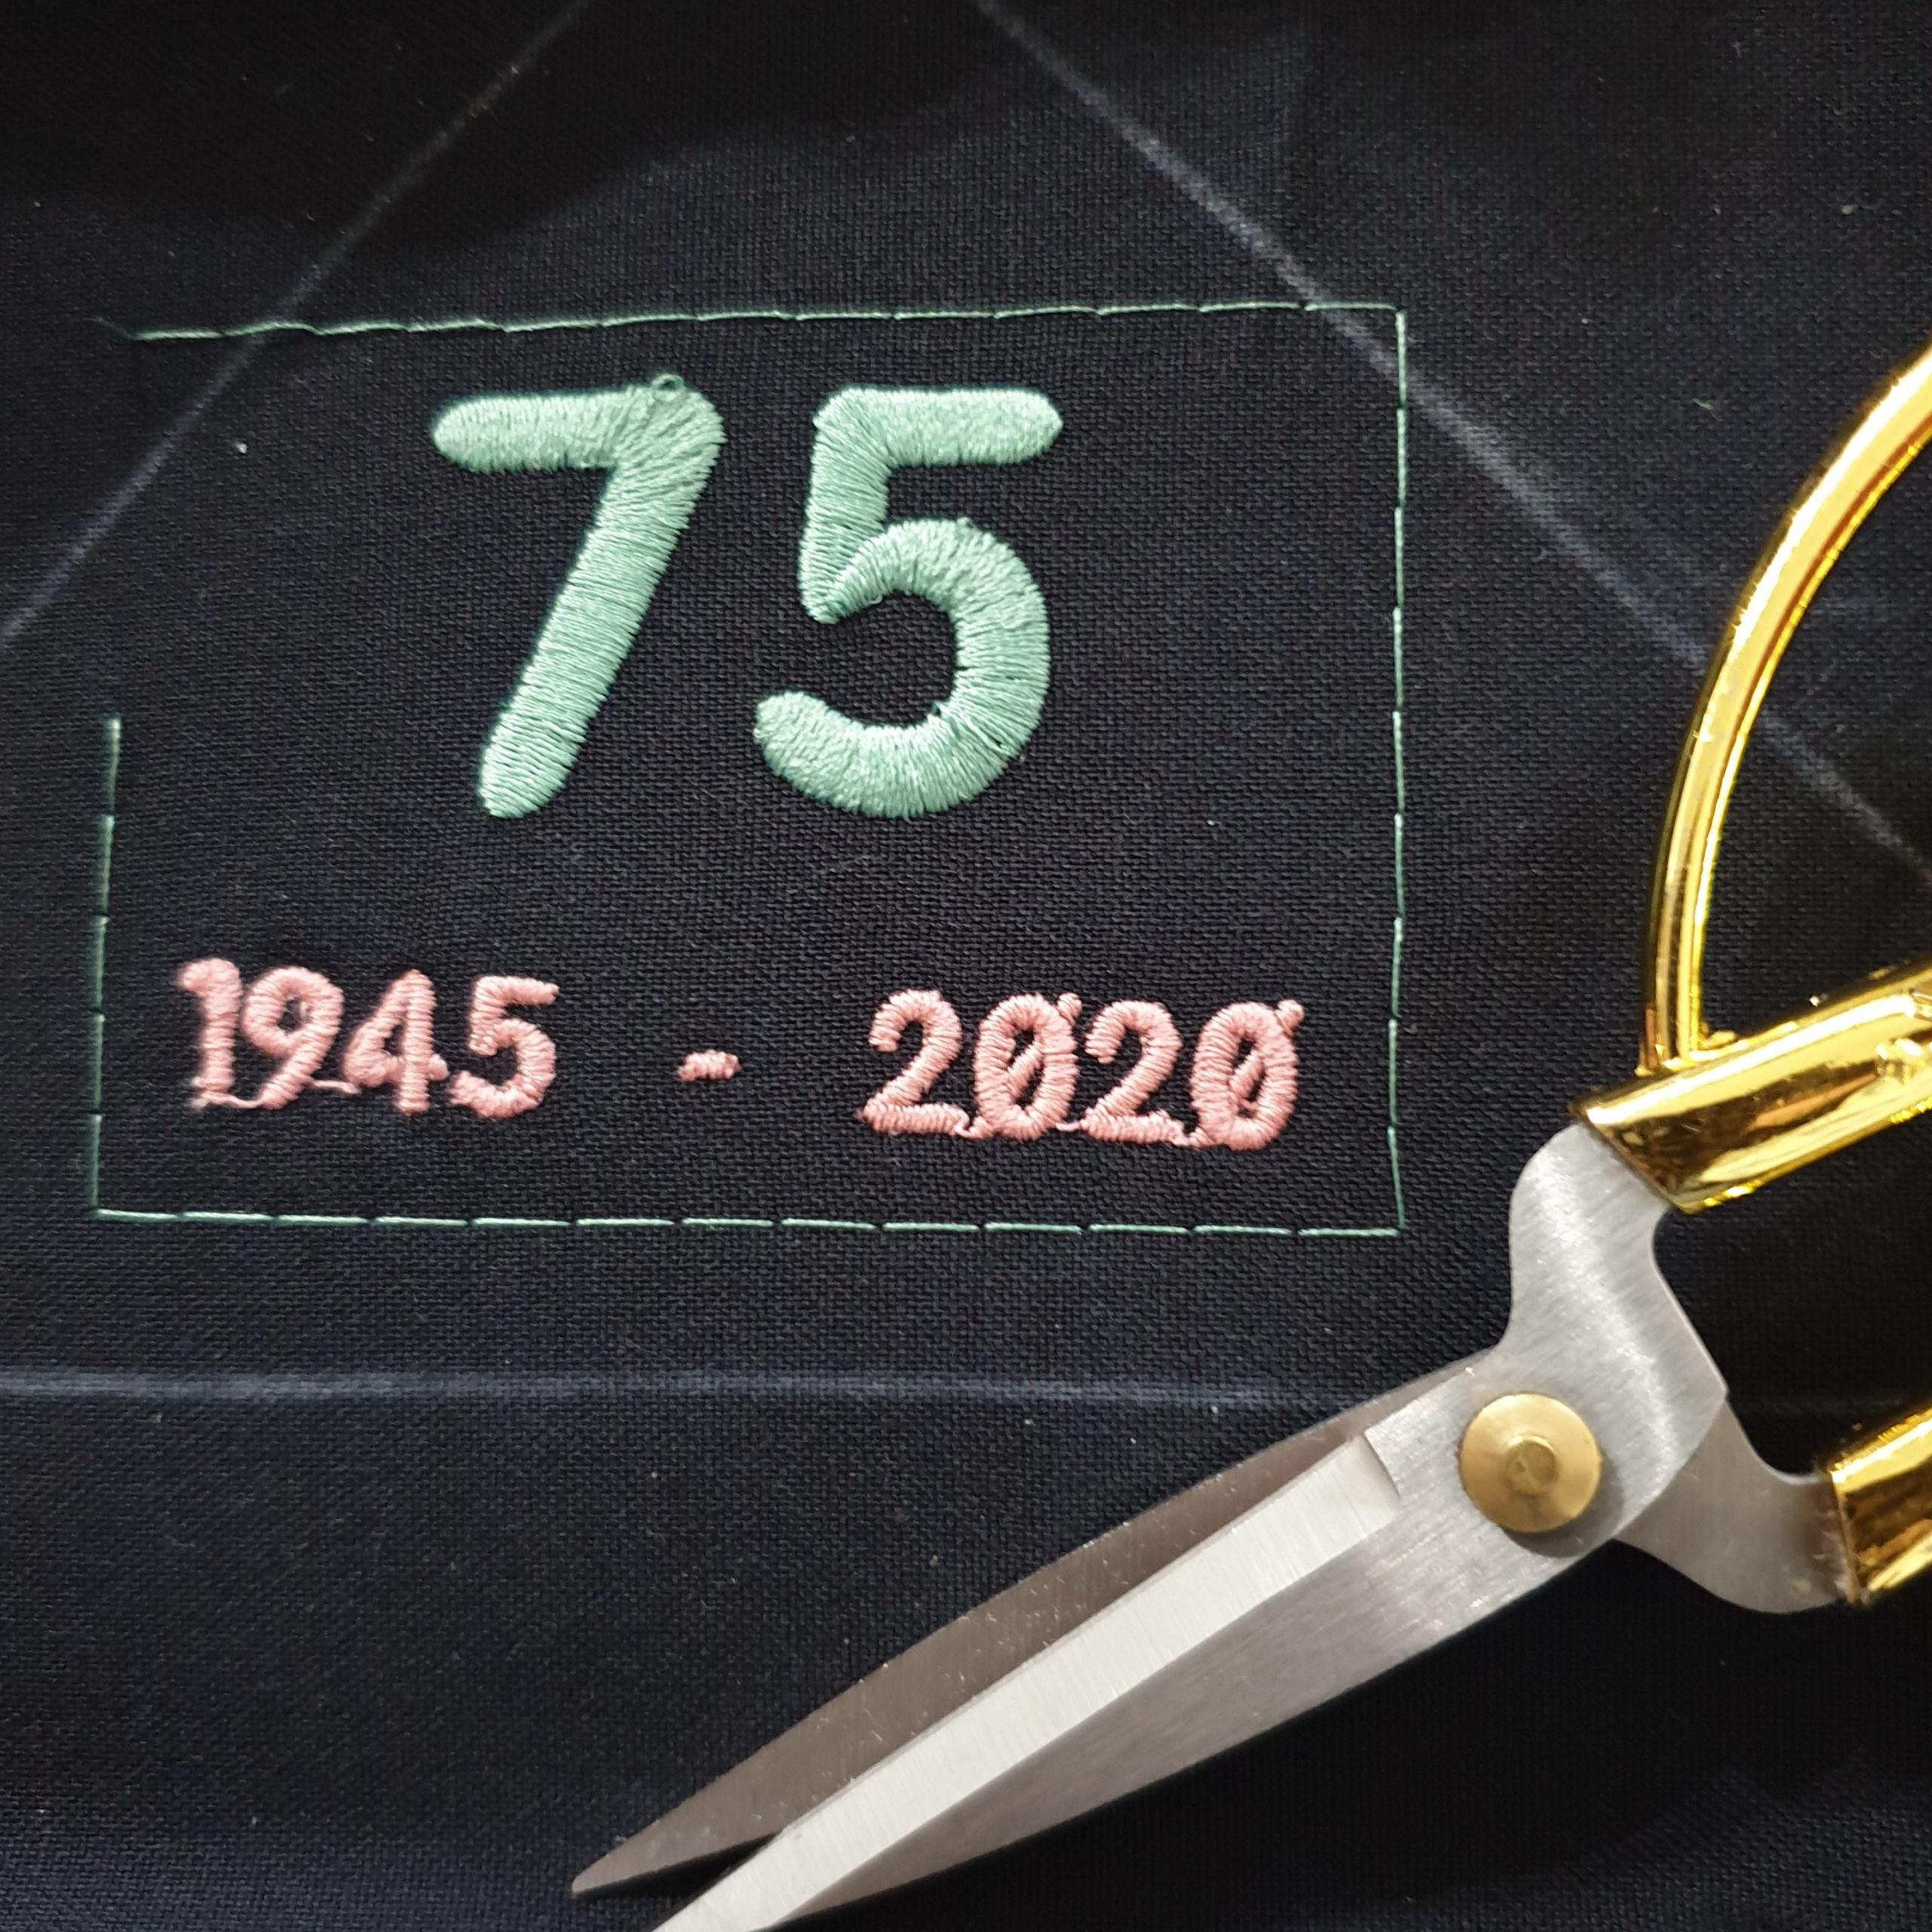
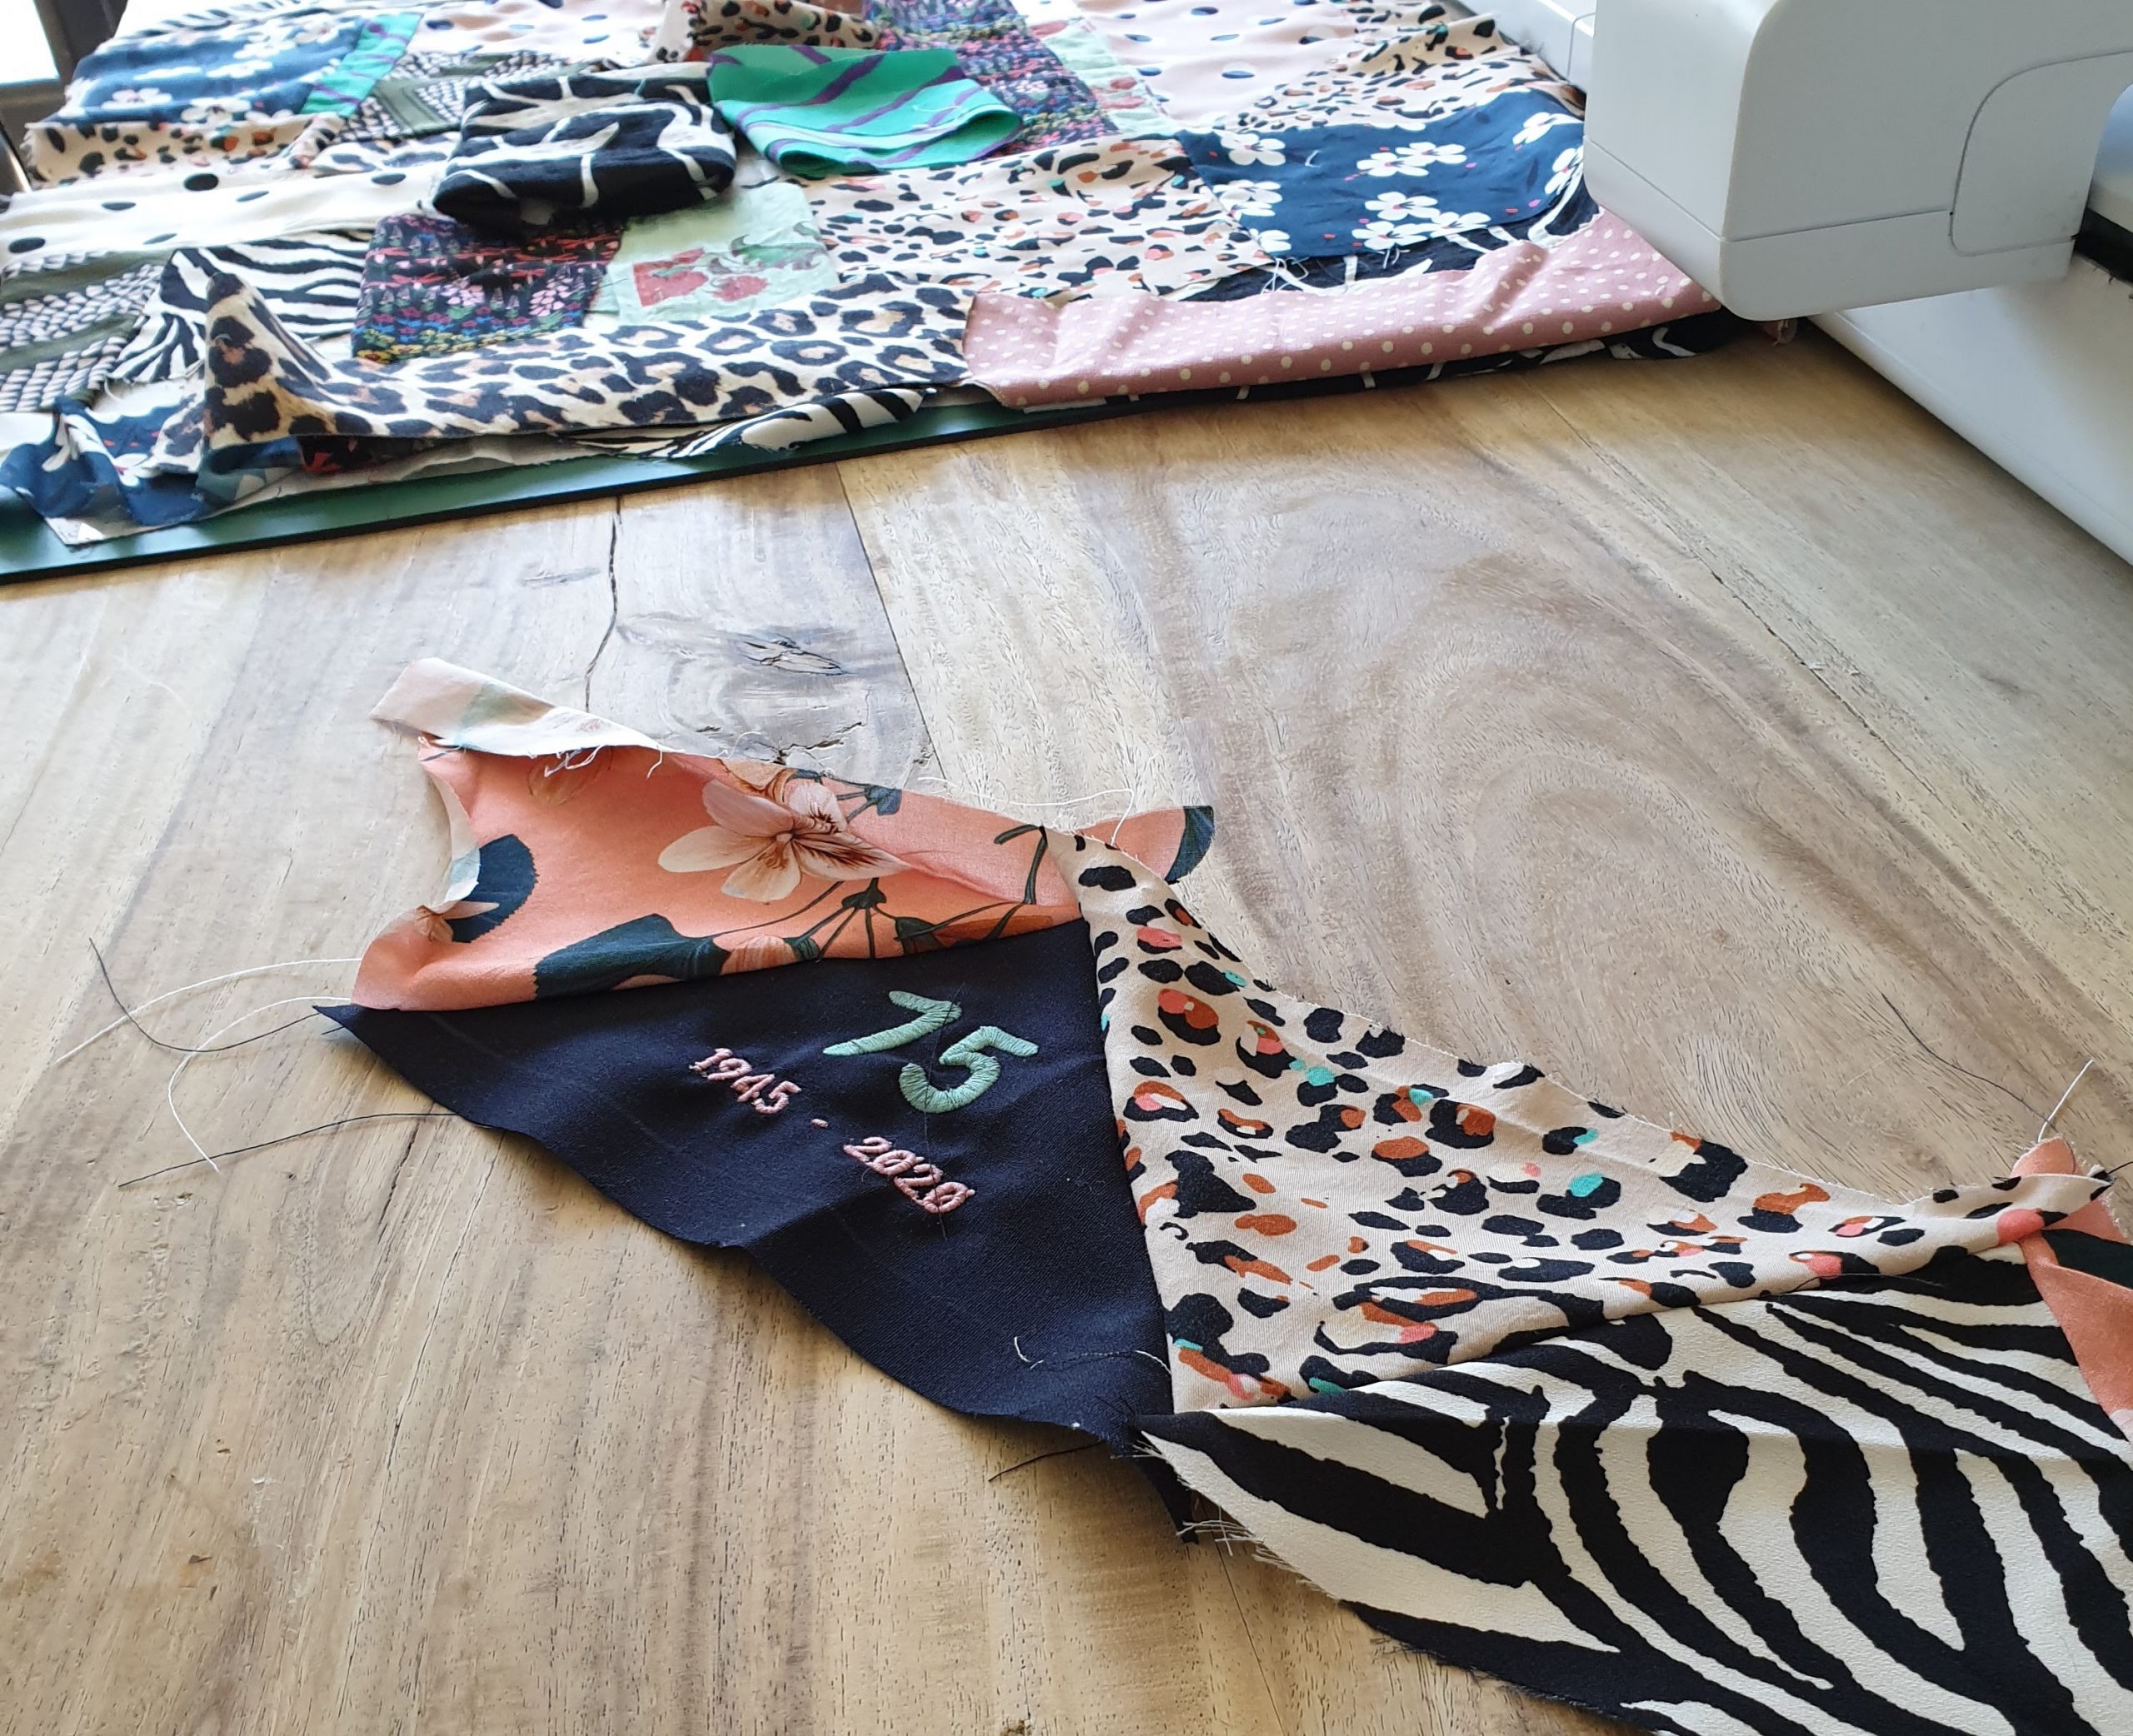
As mentioned in my version of the liberation skirt I have incorporated the characteristic bottom edge with triangles. On one of the triangles I embroidered the reference to the 75 years of liberation. With chalk I outlined the shape of the triangle. I tilted the text 90 degrees. I double checked whether the embroidered text would fall in the triangle with the ‘check’ option in the embroidery module. 
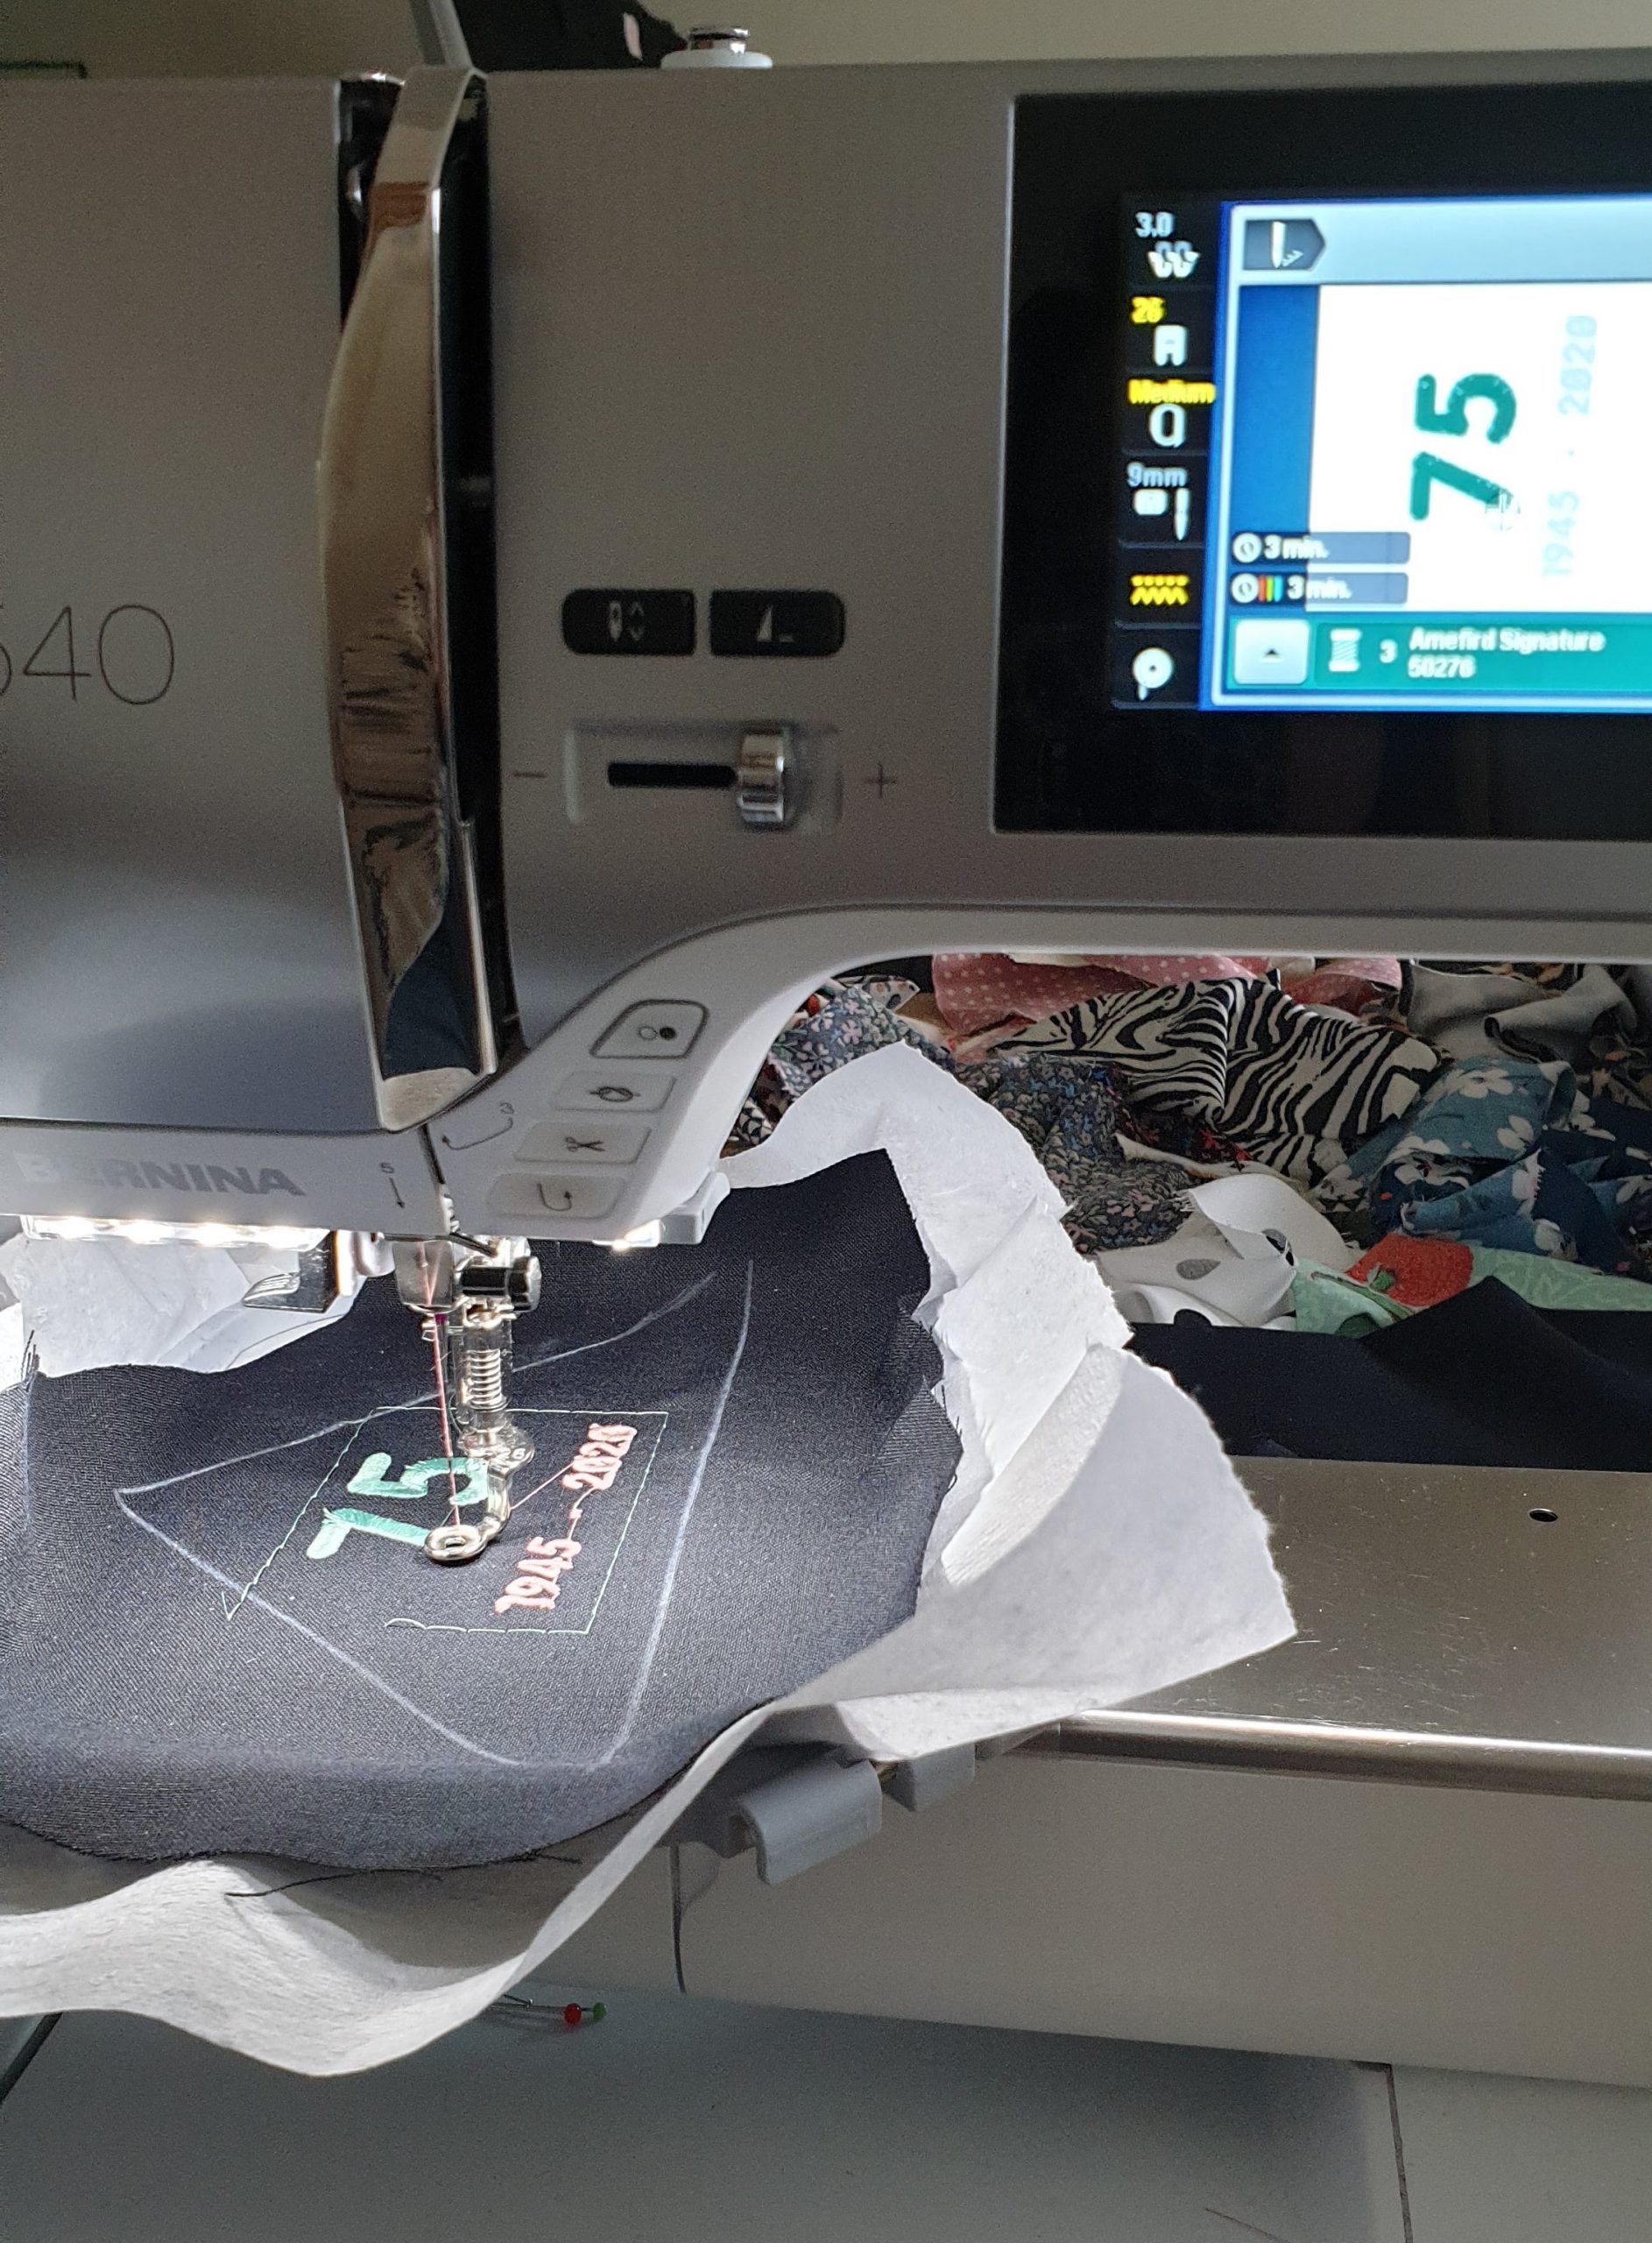
Checking the location of the embroidered phrase was also important, as I didn’t want them to blend in with the print. So again it was check, check and double check.
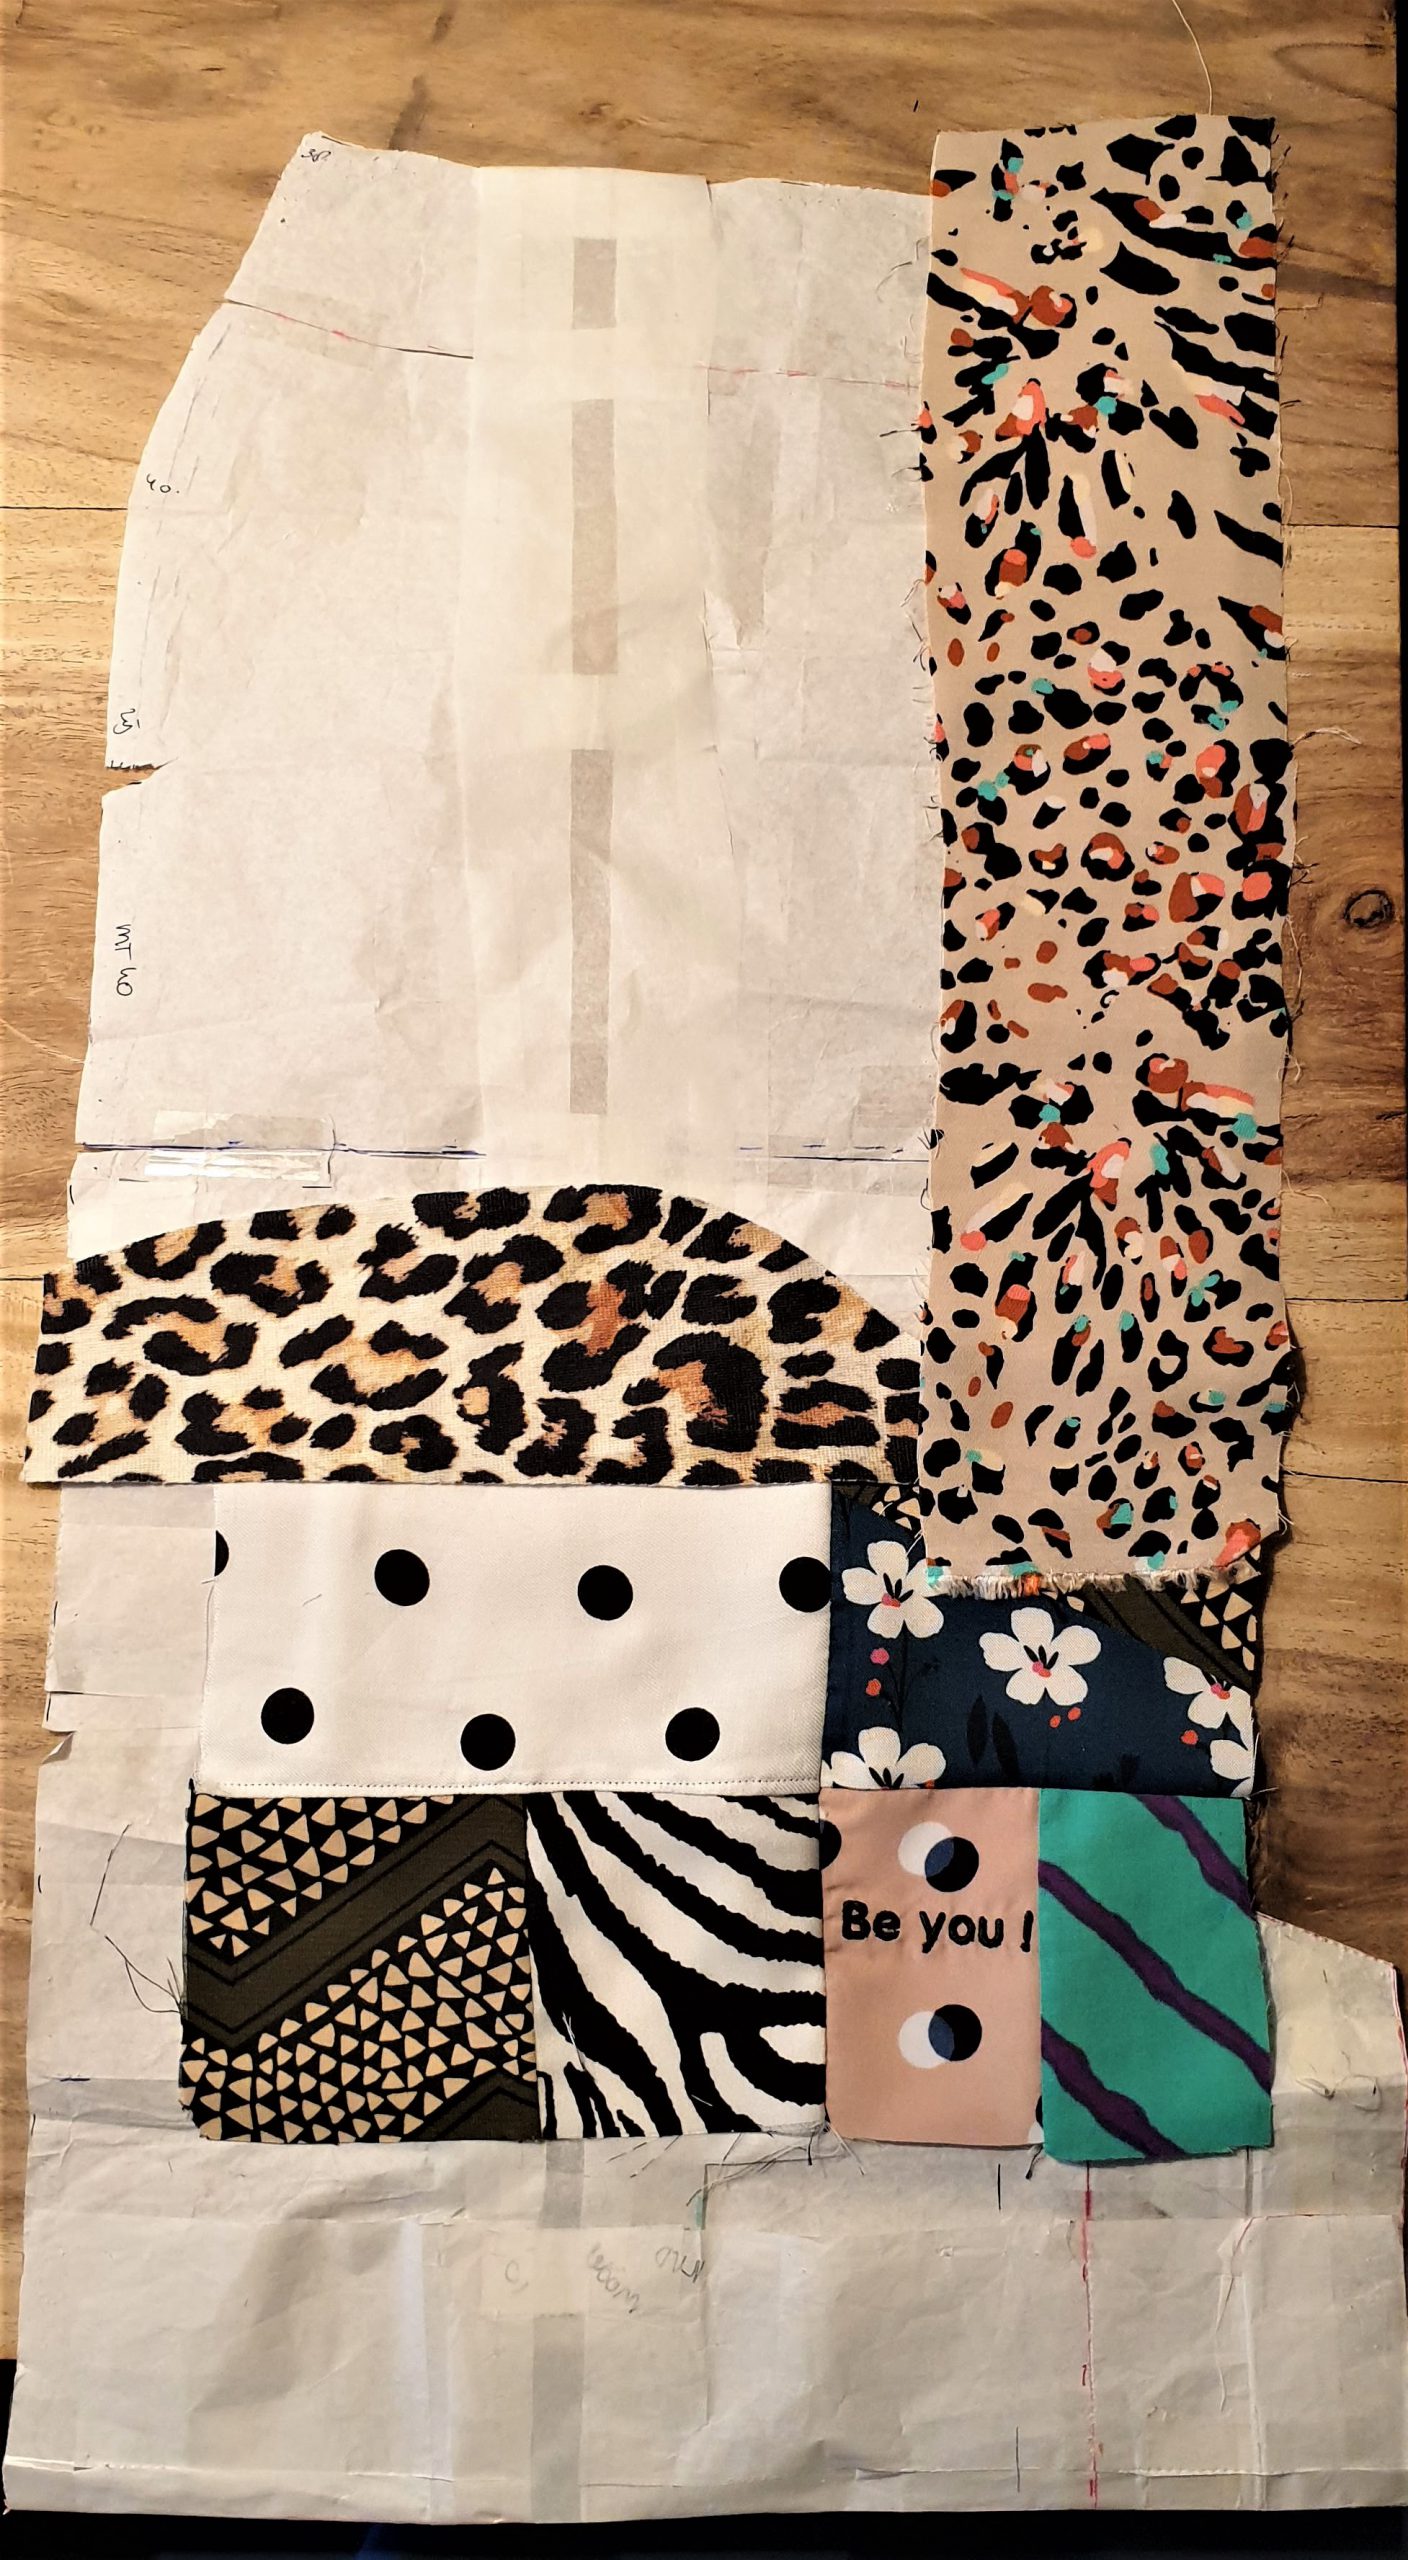
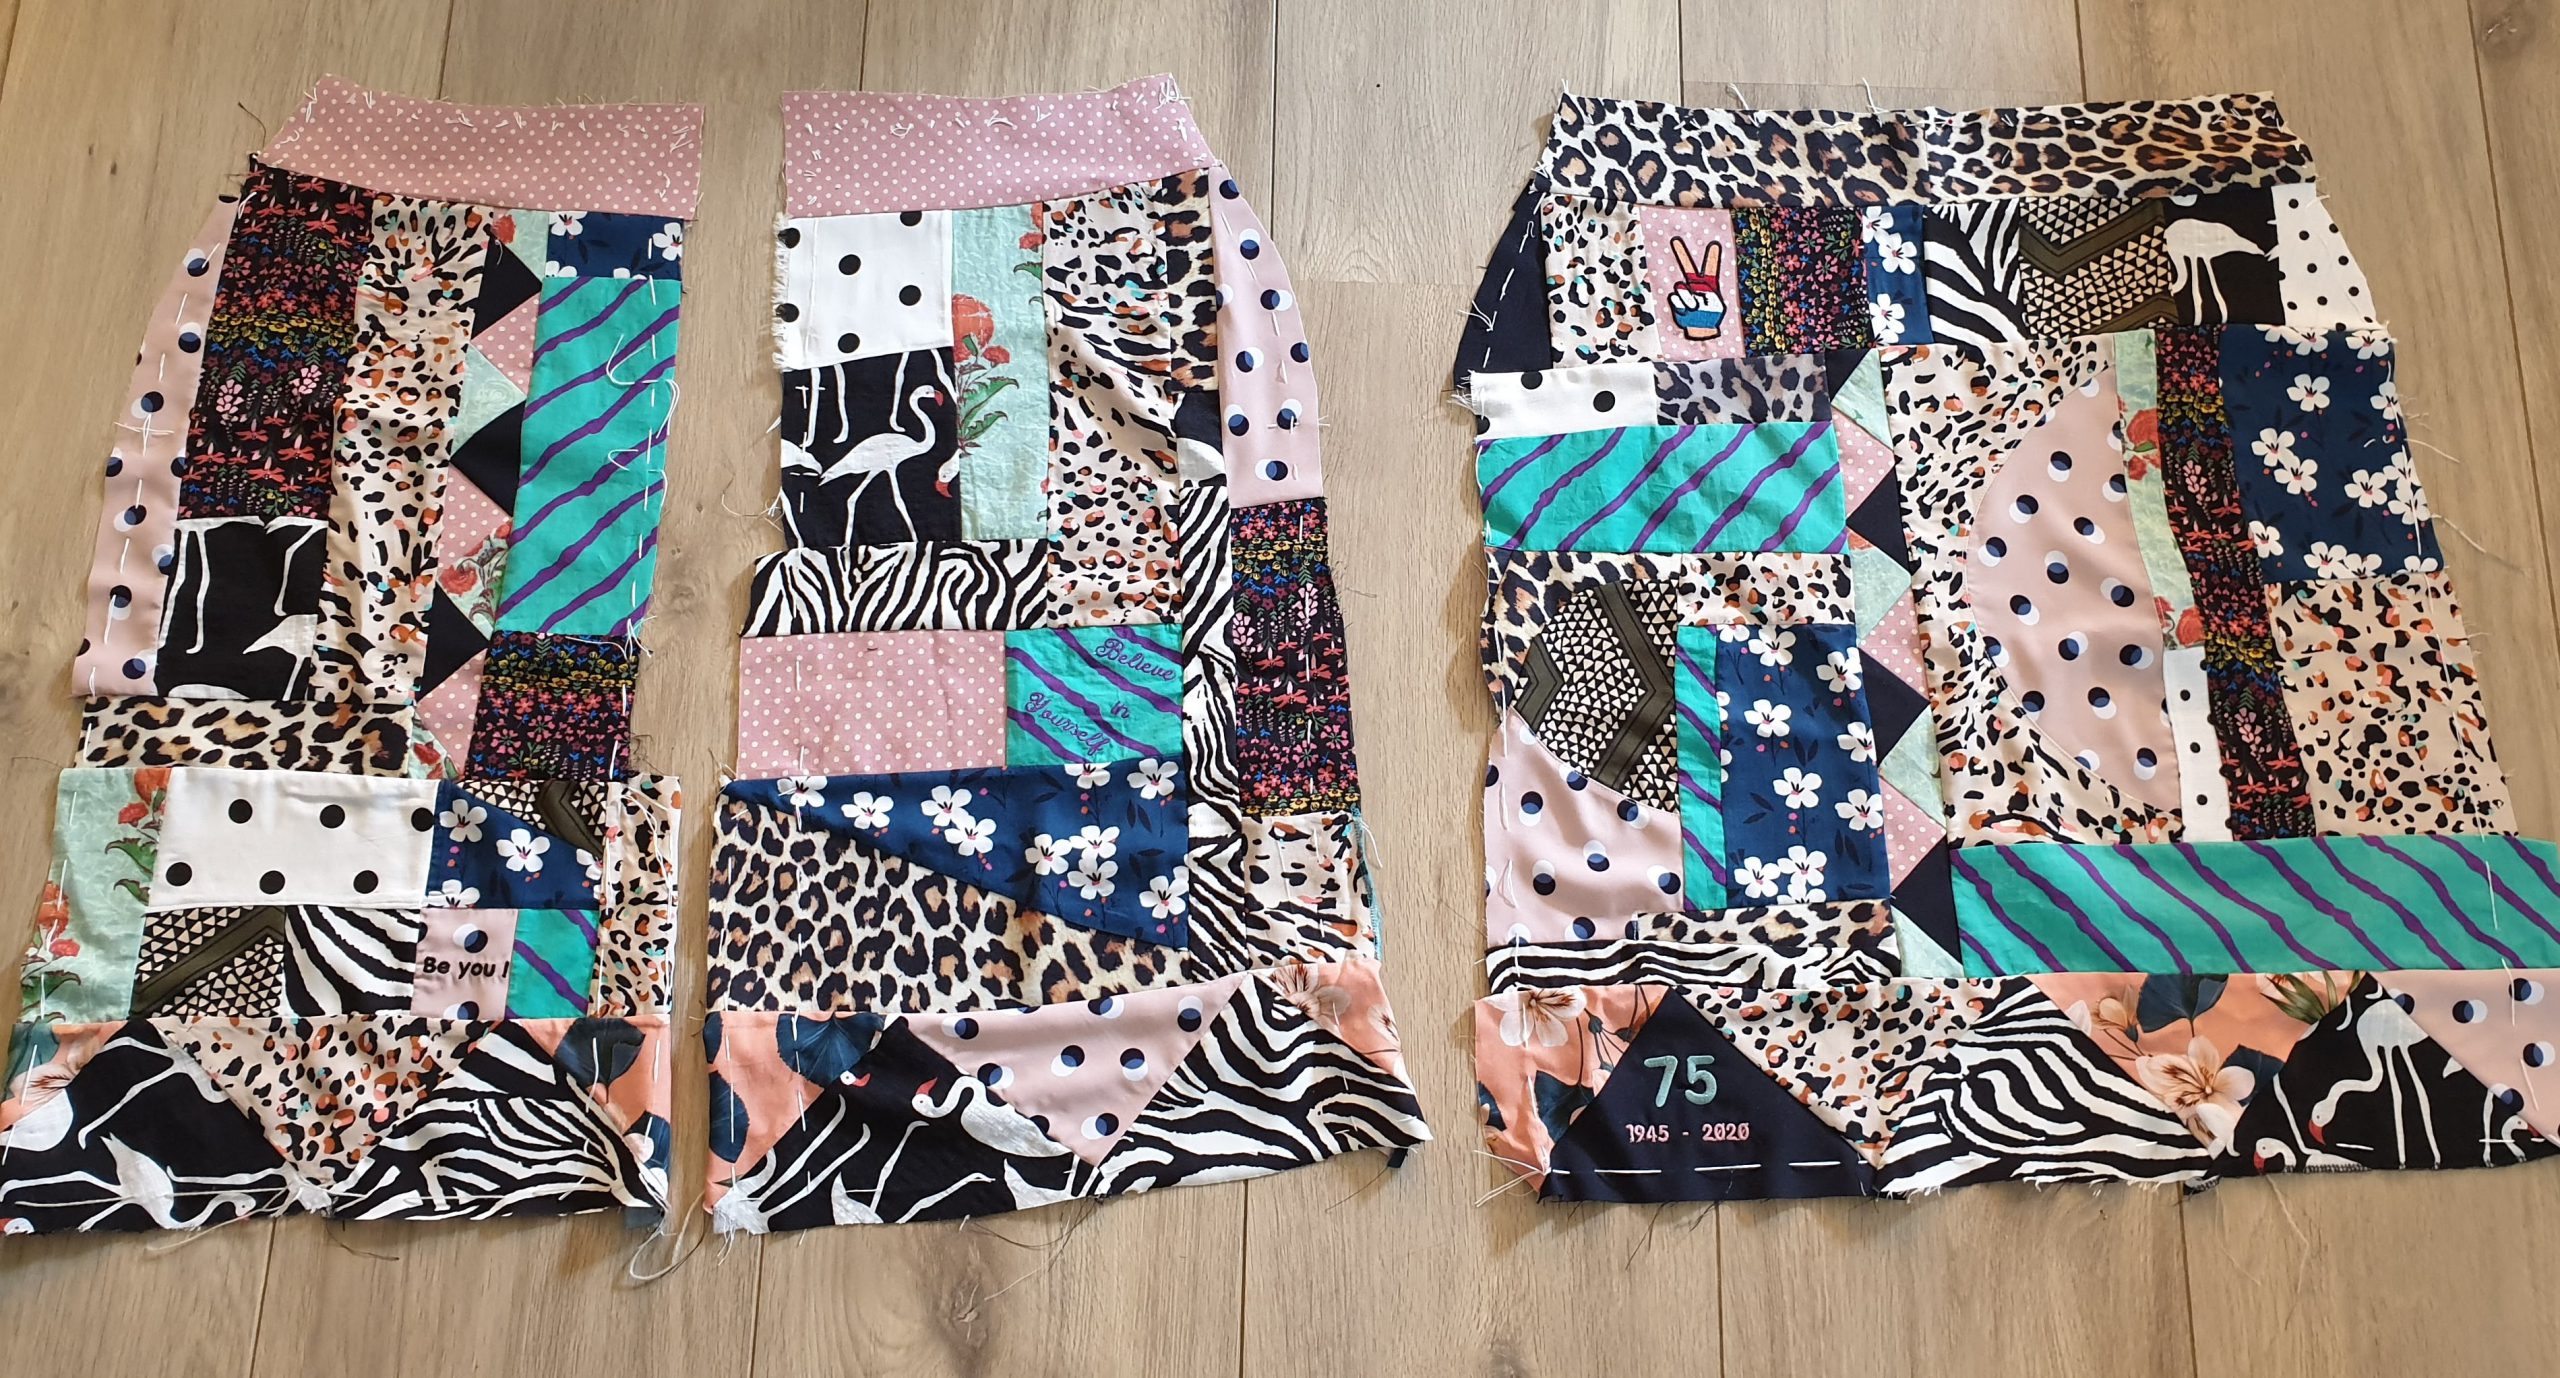
Pattern
A circle skirt pattern is mostly used in this type of garment, but I had to stick with my favourite pattern: a pencil skirt. This particular pattern includes a waistband, a back spit and an invisible zipper at the back. By placing the fabrics on the paper pattern pieces, I could easily see which fabric had to go where. So the different fabrics are evenly spaced and I knew how much fabric I had to be ad further. I also took into account the fabrics that would be adjacent to the side seam. After I had enough fabric for the pattern part, I marked the pattern with basting thread.
In retrospect I could better have attached the bottom row of triangles after assembling the skirt. Then the series of triangles should not have been interrupted. Oh well, maybe next time. 😉
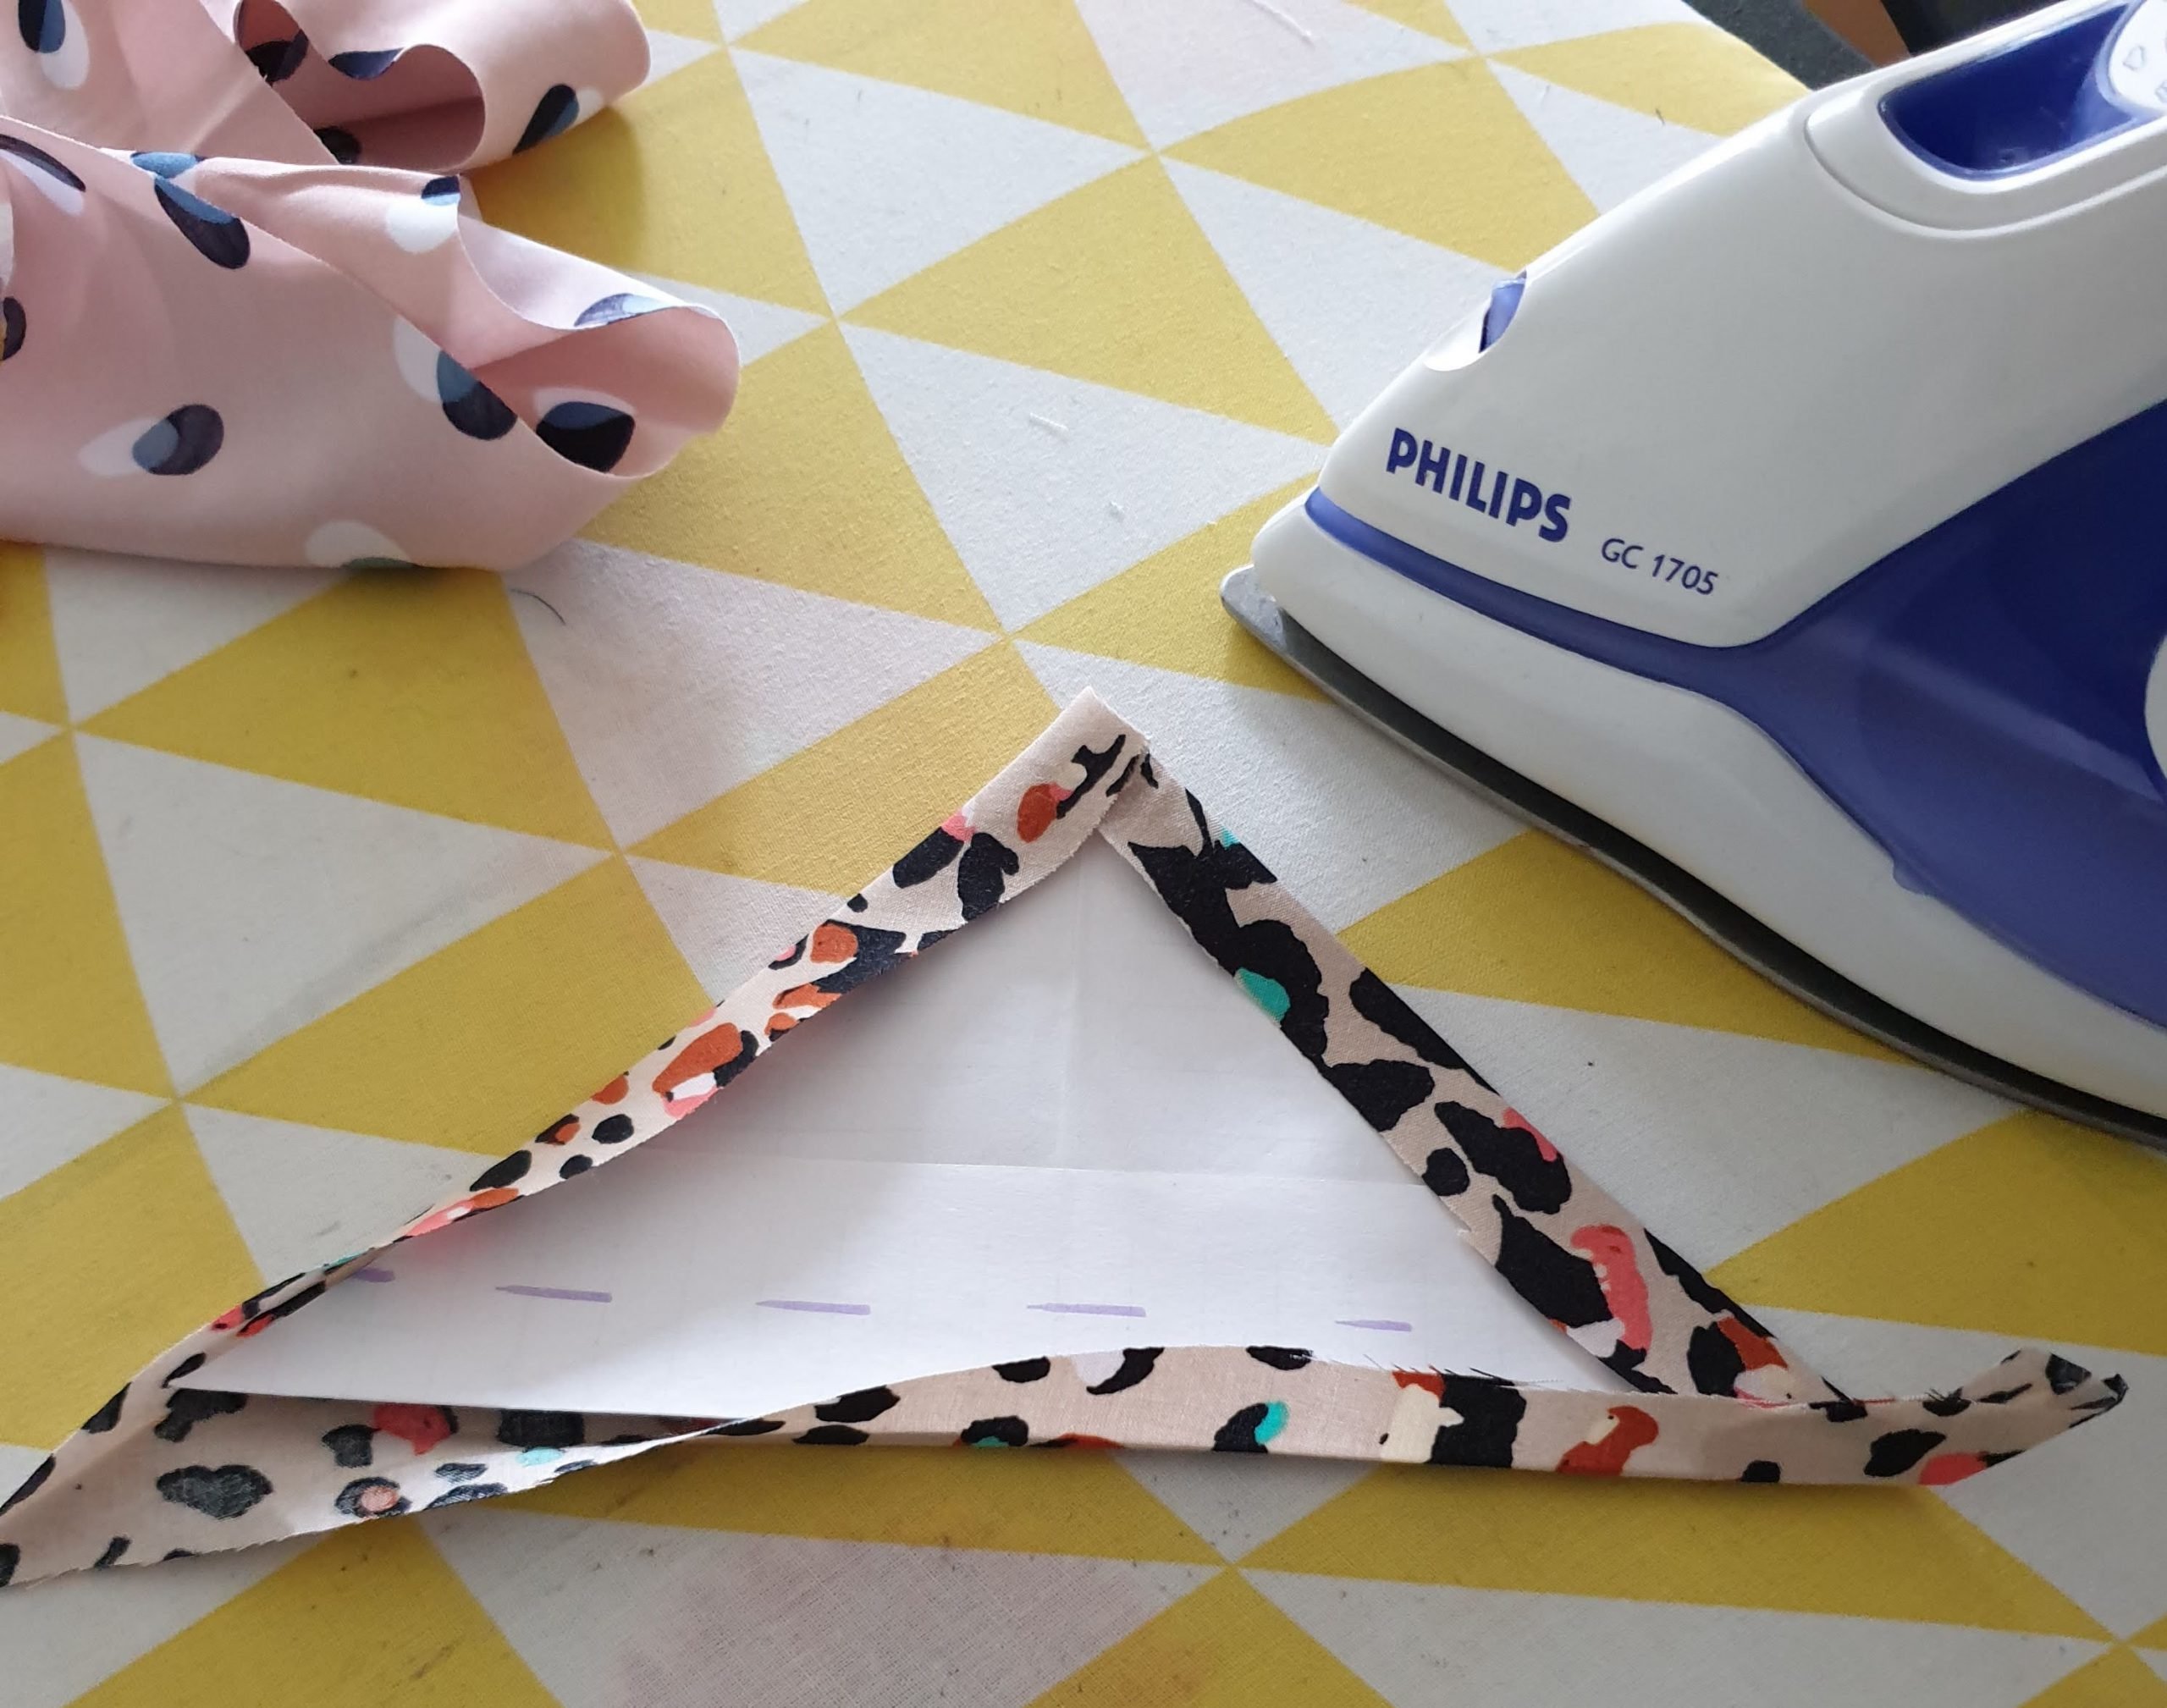
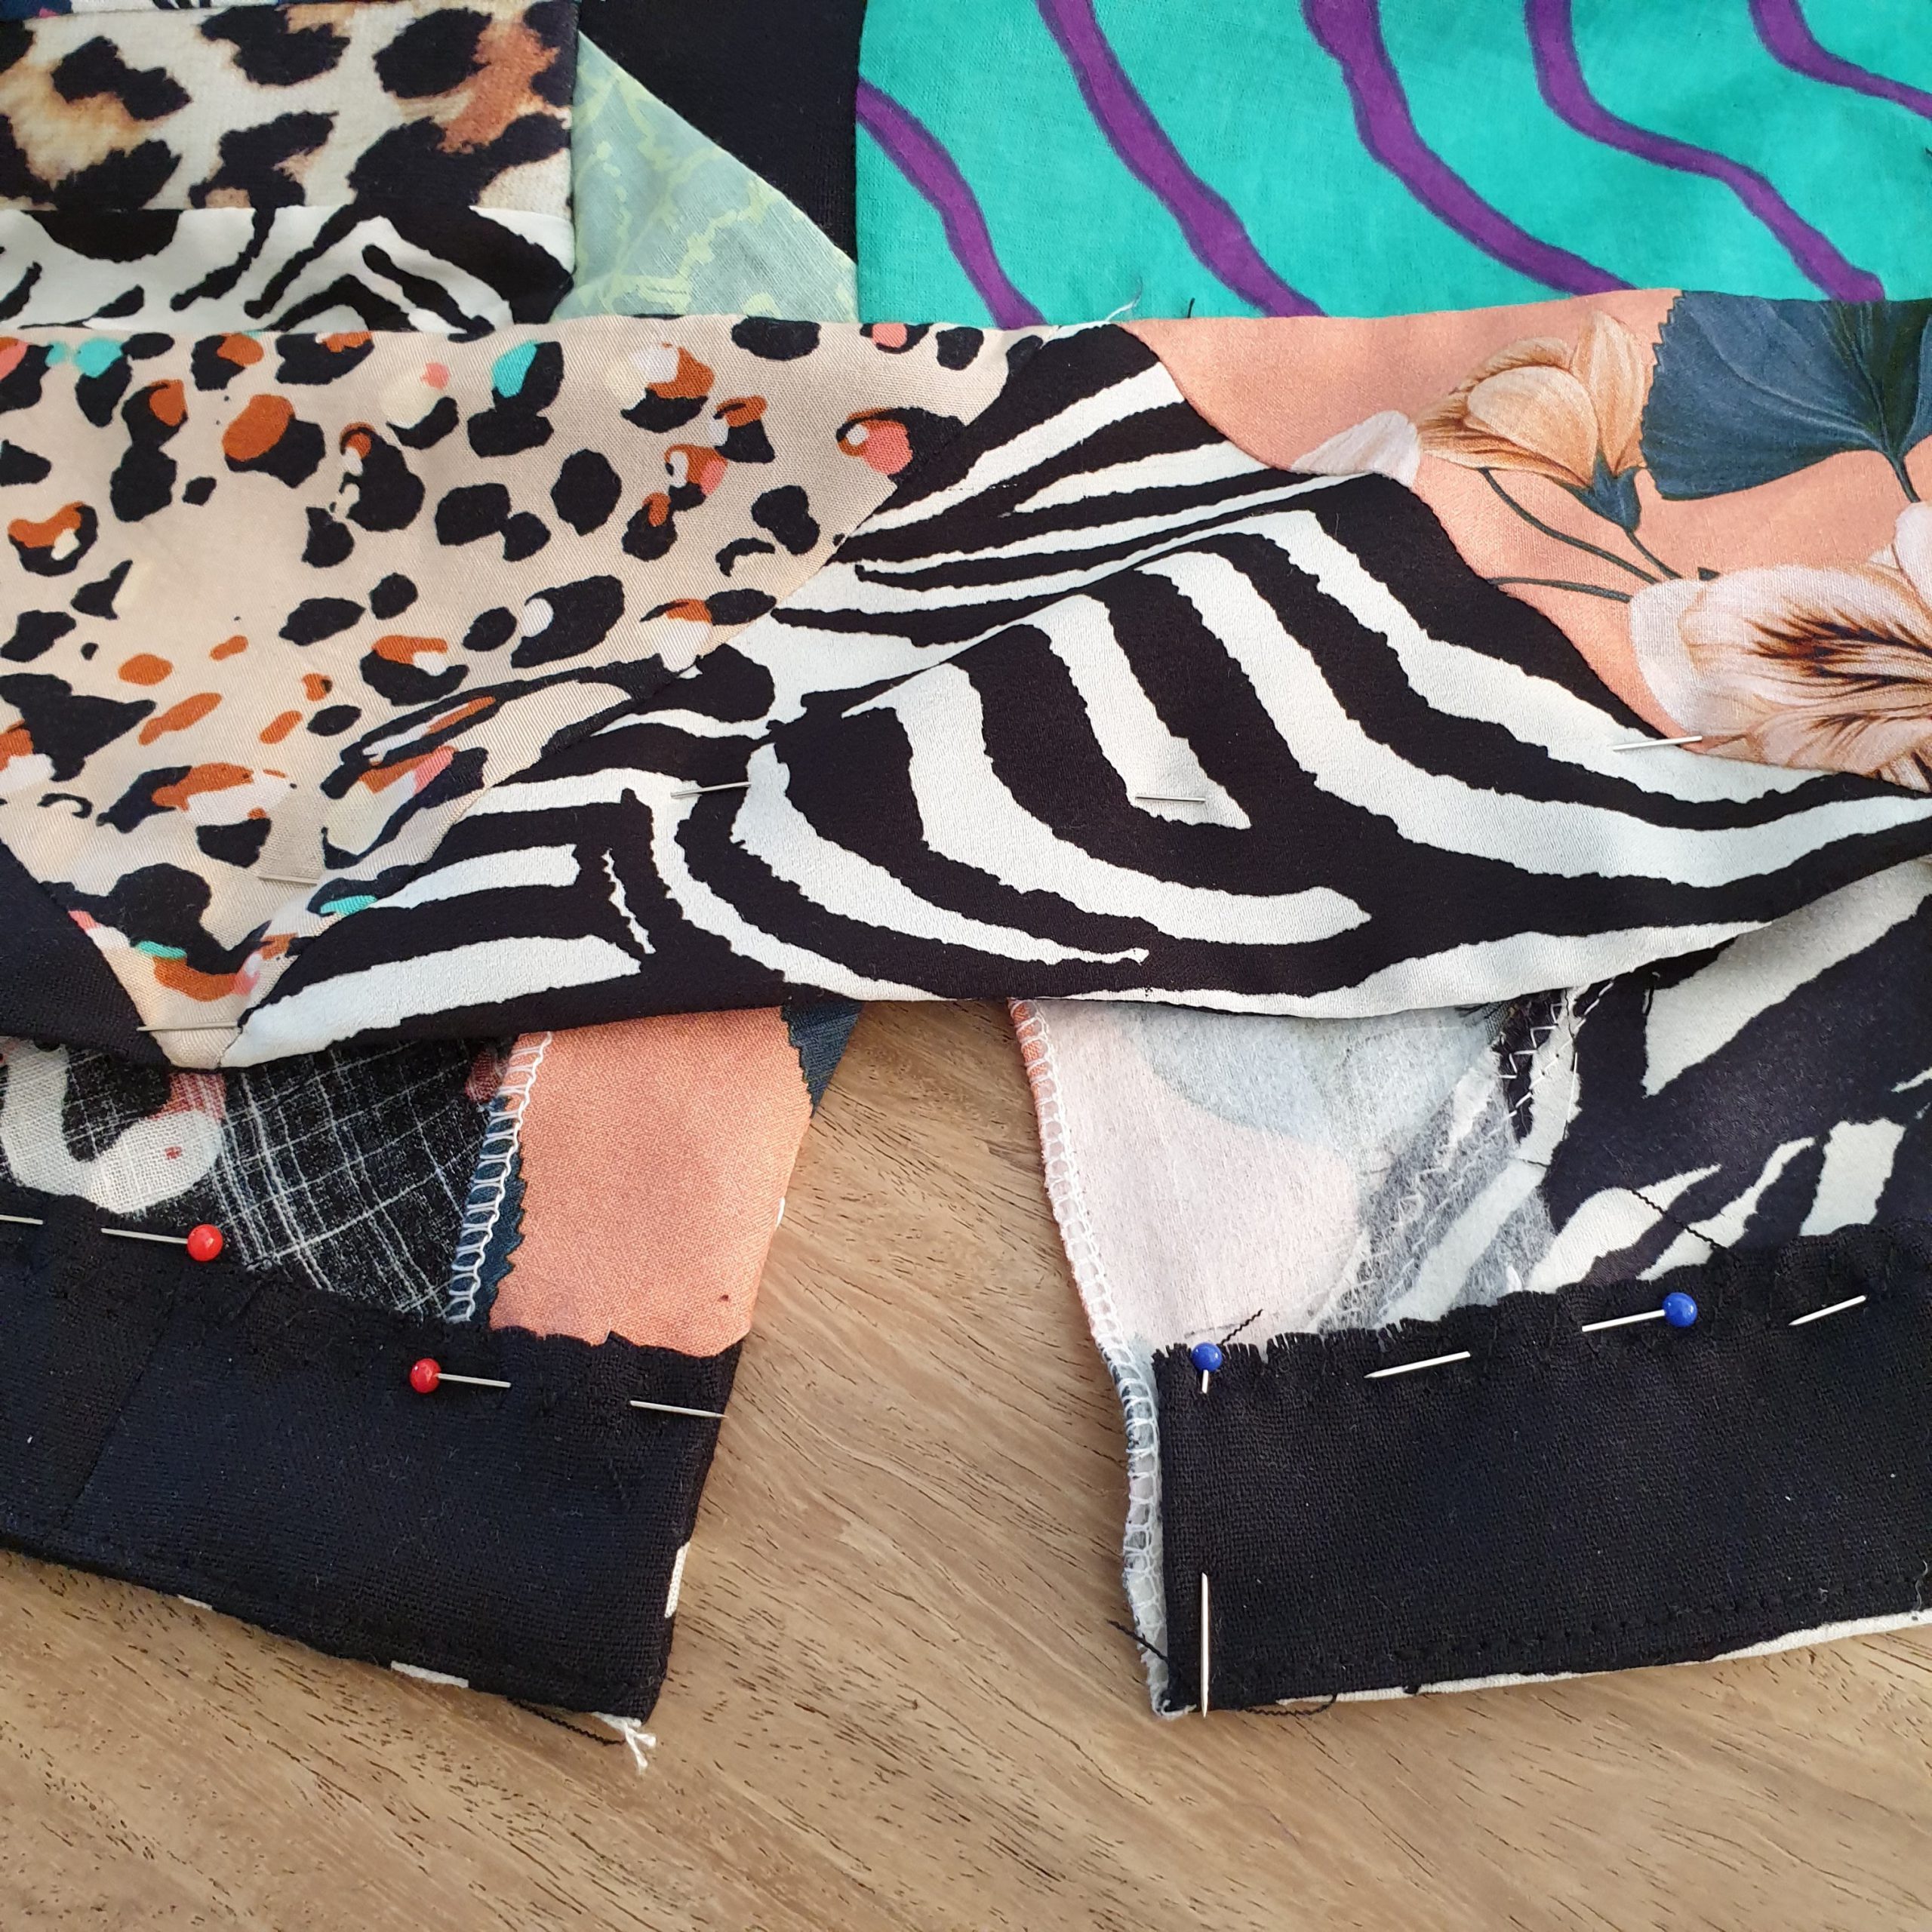
It was easy to iron the triangles around a mould, so that assembling was easier
The triangles series inspired me to copy it as a mini version in the skirt, so that I could also use smaller pieces of fabric.
All pattern parts ready? … Start assembling.
I didn’t have enough leopard print so it became a waistband in two prints
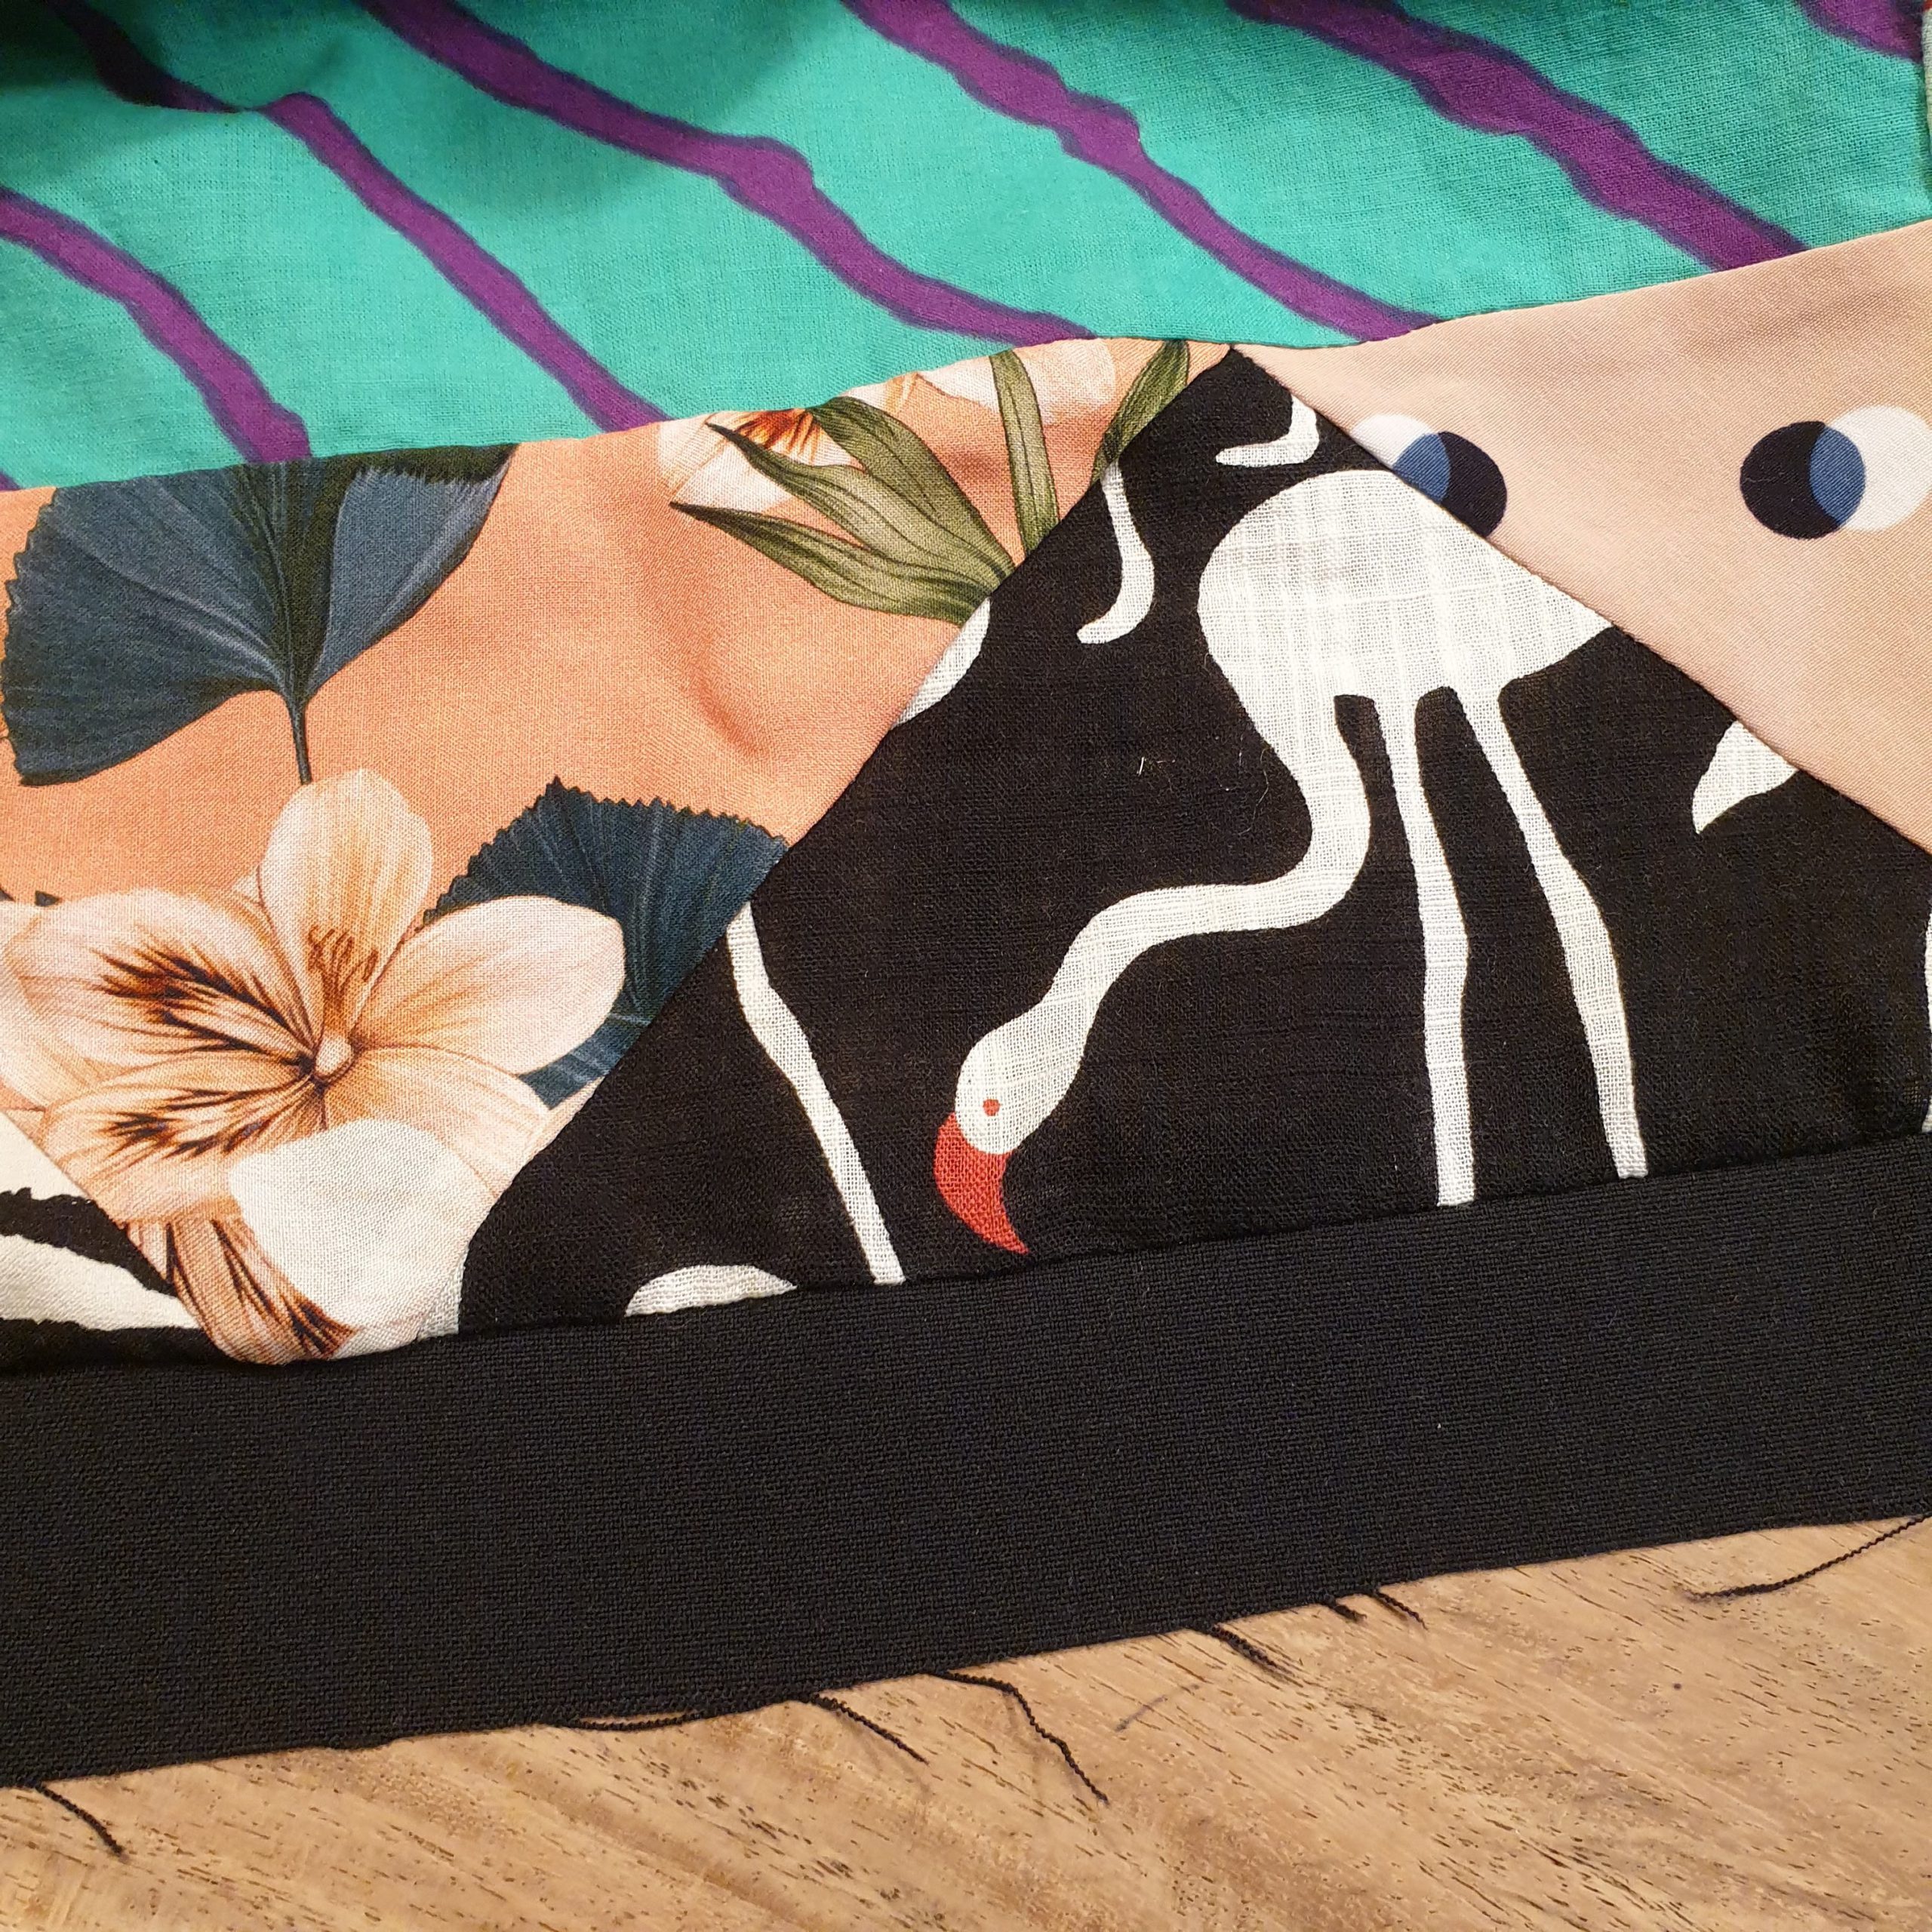
The hem
The split at the back is reinforced with fusible interfacing. I stitched an extra facing on the hem, so that it would sit nicely. I stitched the hemline with different colours threads; matching the surface, so that the stitching would hardly be noticeable.
Right between the embroidery … pfieuwww
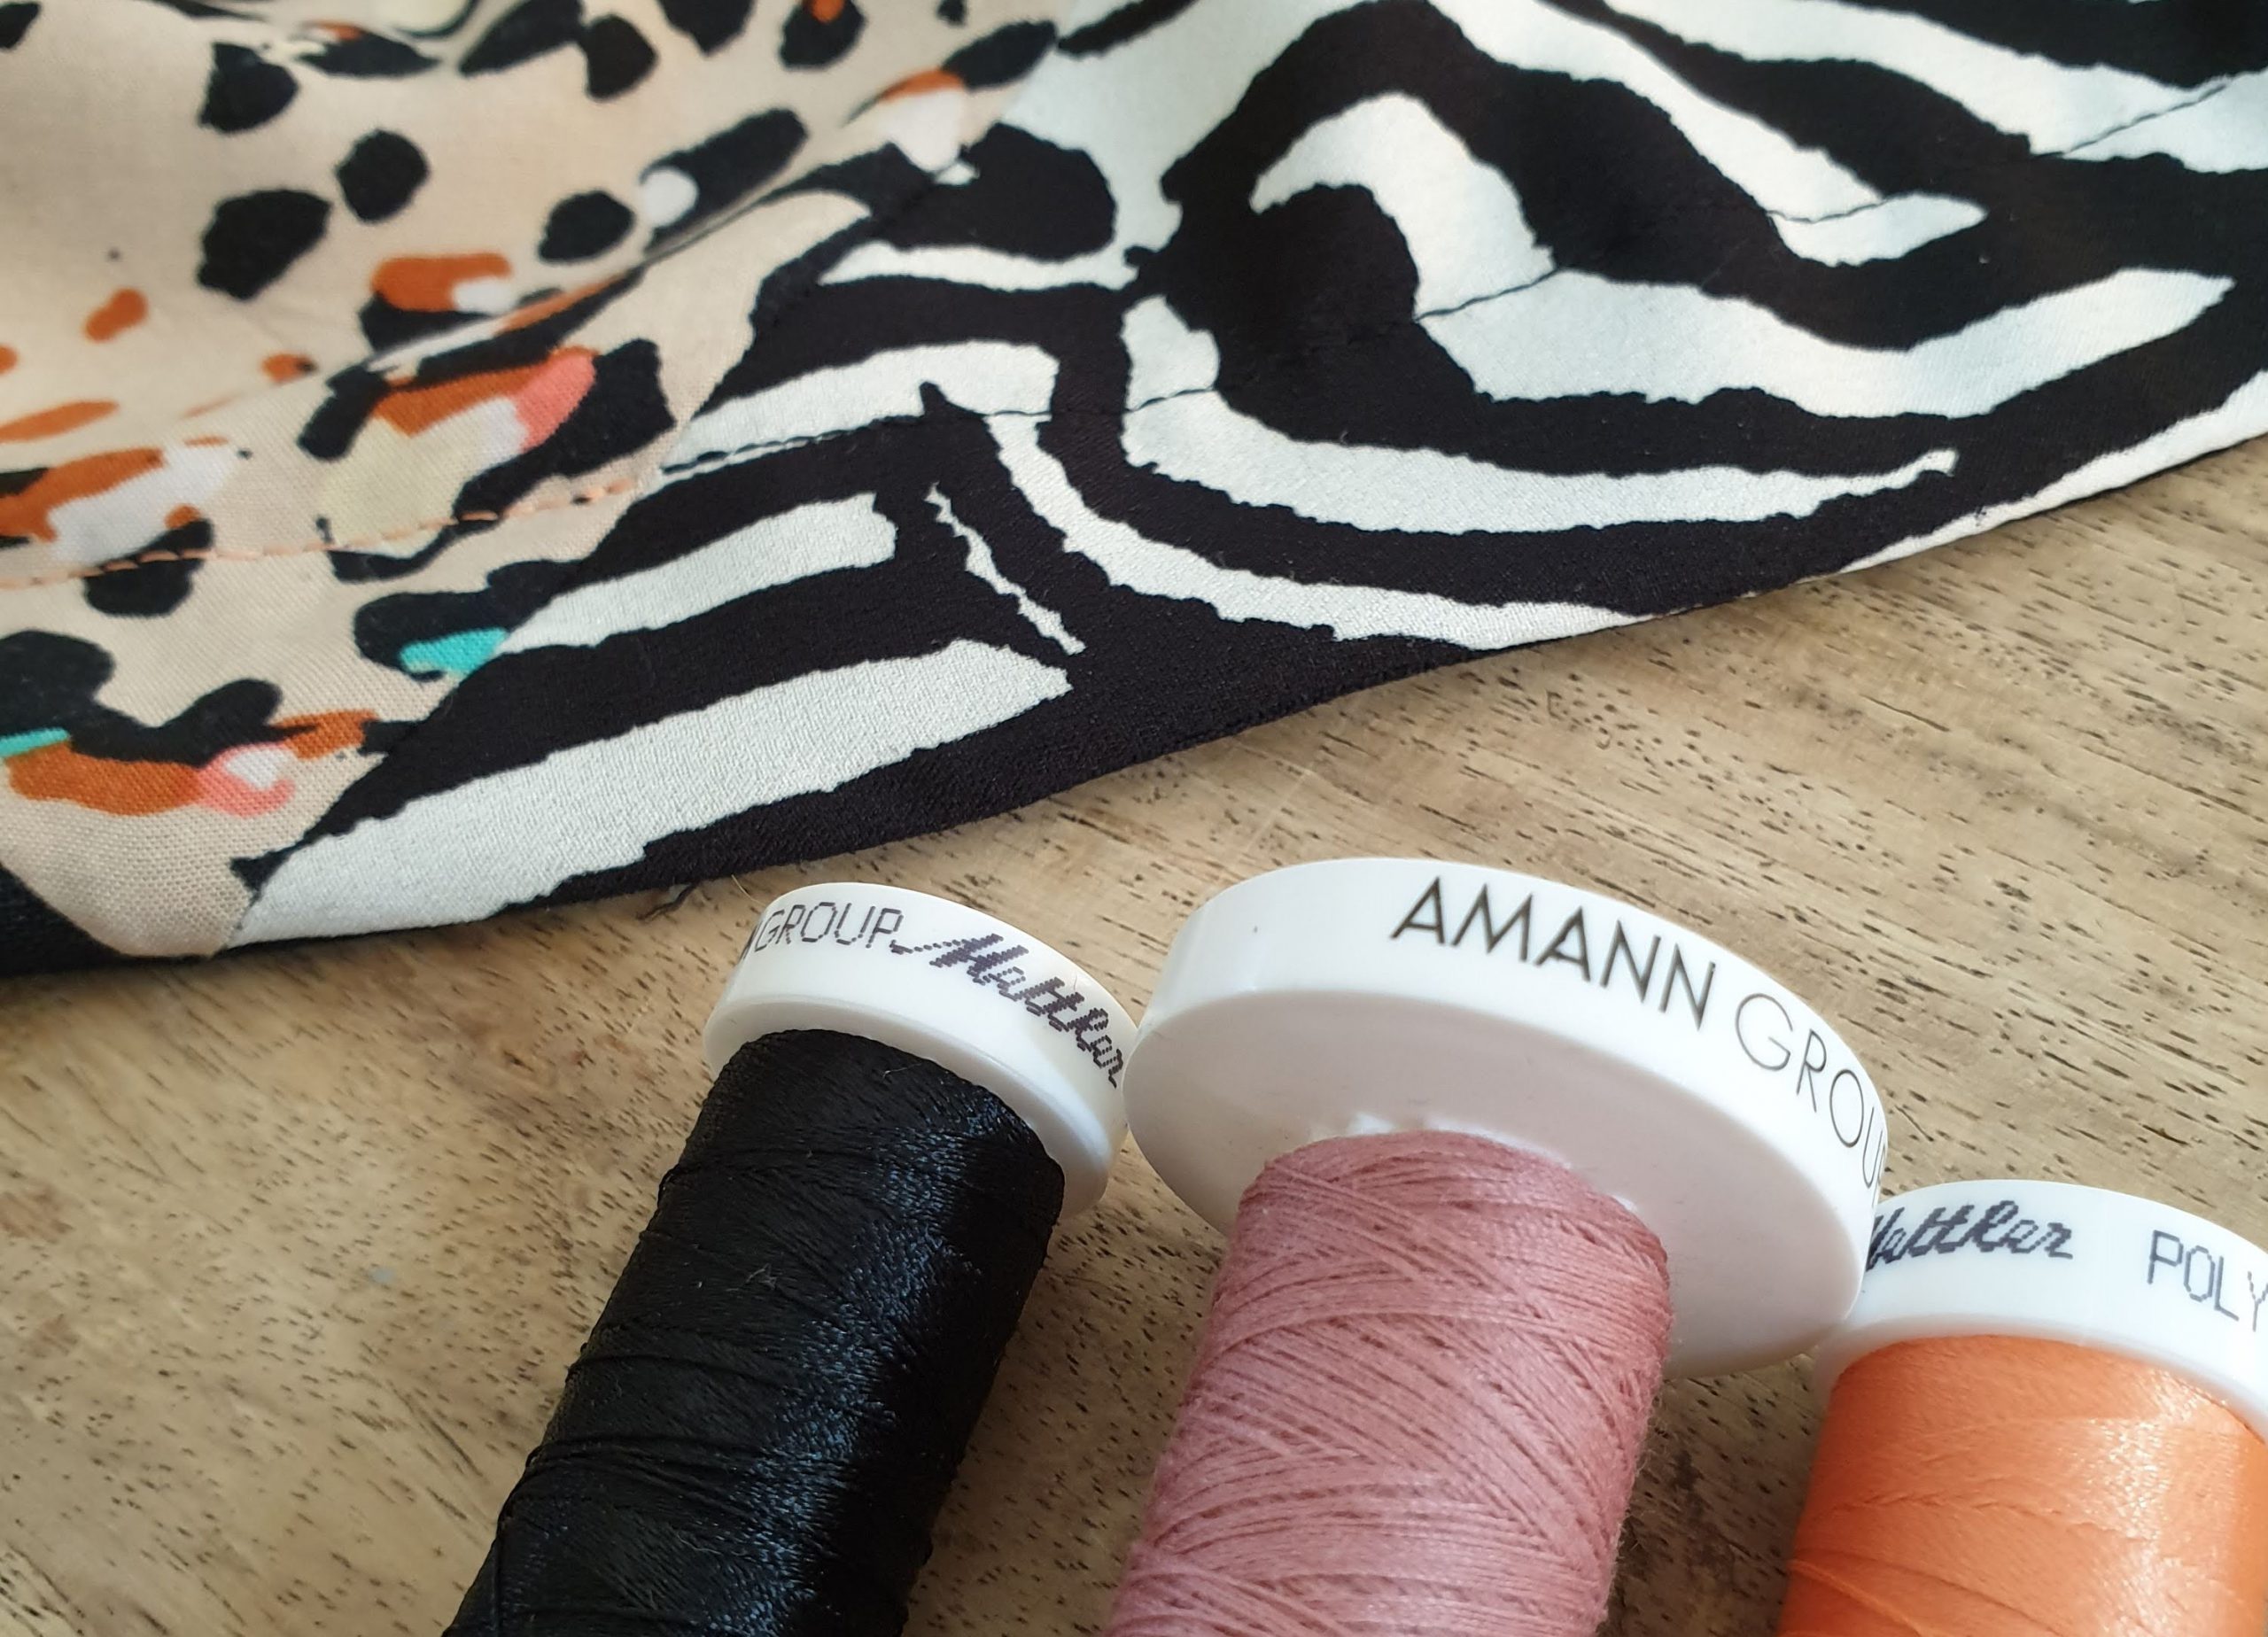
Matching threads
And there you go… a contemporary celebratory liberation skirt with cool embroidery for May 5 and beyond! I can combine it well with the previously made items. 😉 Watch:

Love,
Marlies


Genial! es una falda muy bonita y con historia… 🙂 Me ha encantado
Wat super leuk ! Dit inspireert me om dit ms te proberen met kleding van mijn overleden oma. Leuk dat je ook op de Amerikaanse (?) website post !