 BERNINA Corporate Blog -
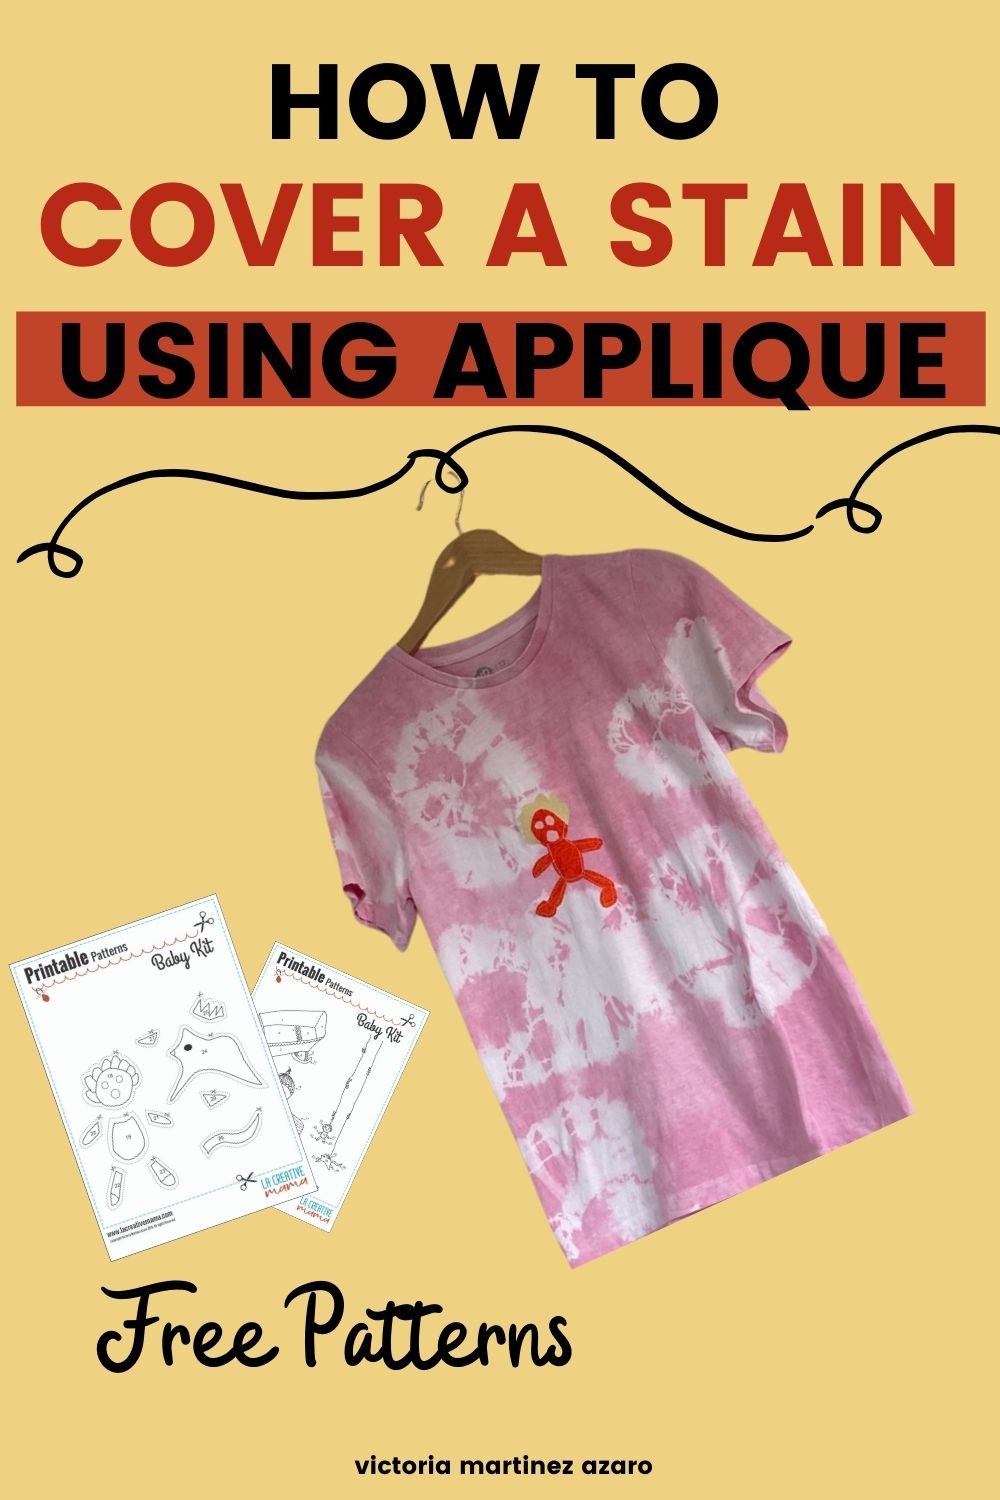
I am super keen to share with you my latest little trick to cover a stain using fabric applique! There is nothing worse than making or buying a beautiful garment, wearing it for the first time and staining it so badly that you can’t use it again! Has this happened to you? It has certainly happened to me in many occasions and the stained garment ends up on the FIX IT pile in my sewing room ready to be up cycled, recycled or repurposed.
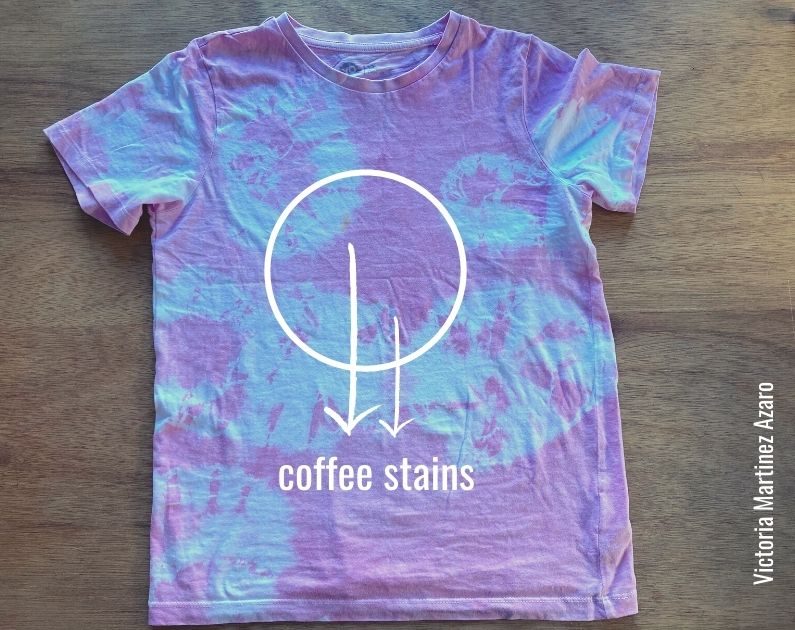
Let me tell you about the latest stain which caused a lot of grief in my home. A few weeks ago my daughter and I made these cool tie dyed t-shirts using natural dyes. We wanted to have matching tie dyed t- shirts in a soft pink color to wear with light blue jeans and white sneakers. We devoted a whole afternoon to natural dyeing and we created a beautiful circular pattern design on the t-shirts. We were both super happy with the result.
But, much to my horror, the first day that I wore it I managed to spill coffee all over my t-shirt. Even though I rushed to clean the stain straight away I couldn’t remove the whole thing. So after all that trouble my beautiful tie dyed t-shirt was ruined! That night I couldn’t sleep. After a restless night I got up and went straight in to my sewing room. I saw all my baby applique patterns on my sewing table and that’s when I came up with the idea to cover the stain using one of the applique patterns. Let me show you how I did it 🙂
How to cover a stain using applique – TUTORIAL
Equipment and Materials:
- Sewing machine (I use a 475 QE)
- Regular sewing cotton thread
- A stained t-shirt (or any stained knit fabric garment)
- 100% cotton fabric scraps (make sure that they are pre washed)
- Free Applique Patterns. Click here to download
- Fusible adhesive (for fabric applique). I like the brand Heat&Bond and for this project you need the LITE weight.
- Fusible stabilizer (to sew applique on knit fabric).
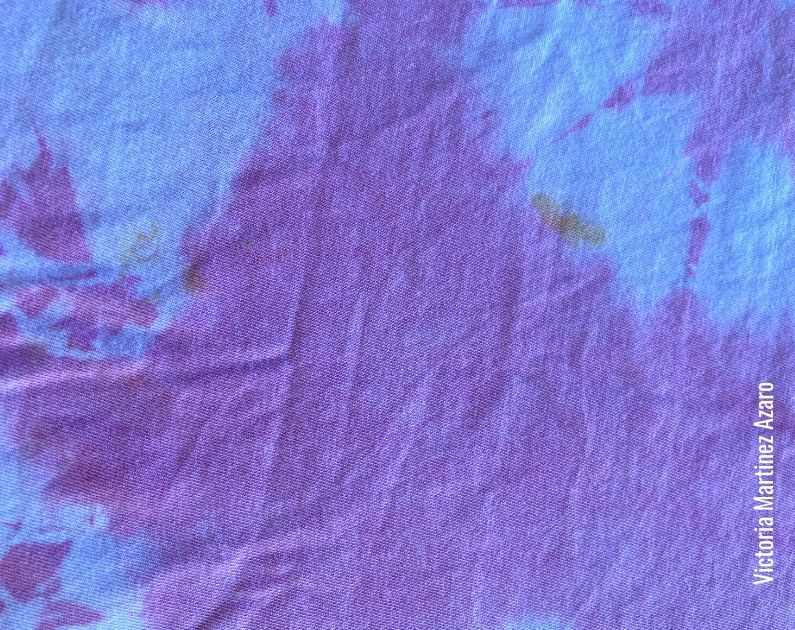
Step 1:
Place your stained t-shirt or knit garment on your working table. Identify the areas that you need to cover. In this case I had 2 coffee stains 7 cms apart.
Step 2:
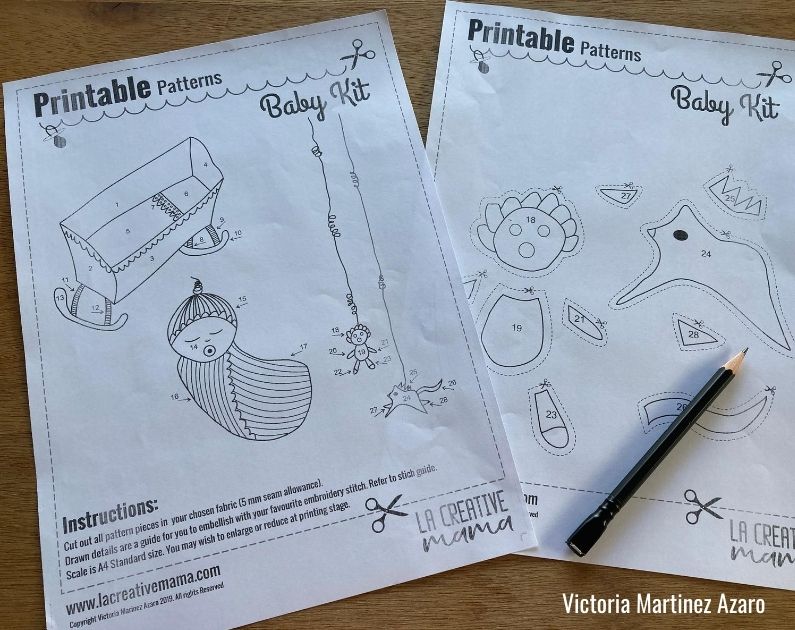
Print out the free patterns and prepare the fusible adhesive. You will need one sheet. The fusible adhesive has a paper side and a glue side.

Step 3:
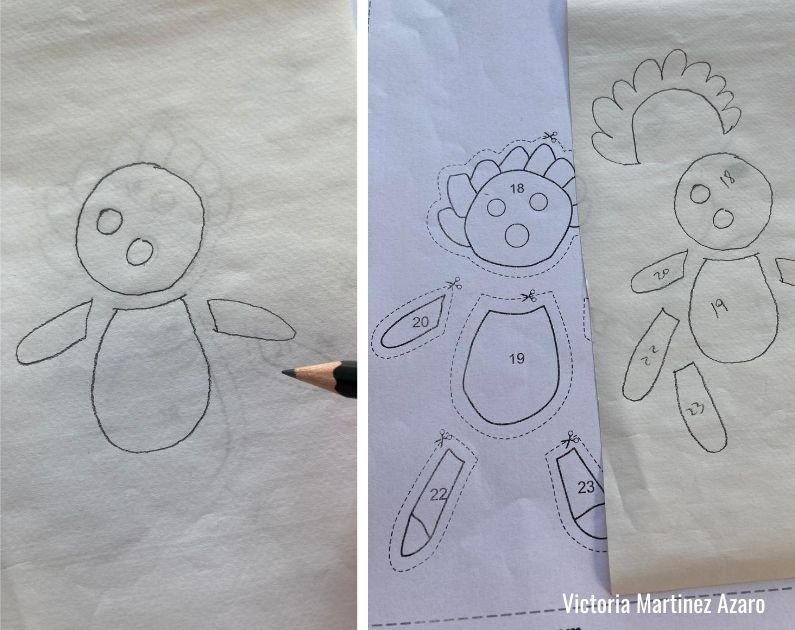
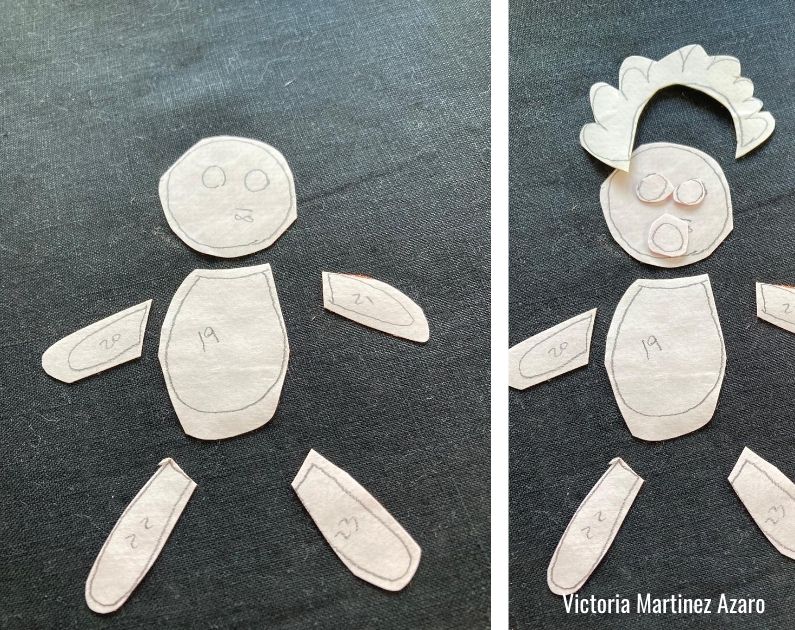
Trace the little applique patterns onto the fusible adhesive on the paper side. You can do this by placing the fusible adhesive straight on top of the paper applique pattern. It’s see through enough to trace without a problem. Make sure to mark the pattern numbers on your tracing parts so that you can keep track of the design when you are applying it on the t-shirt.
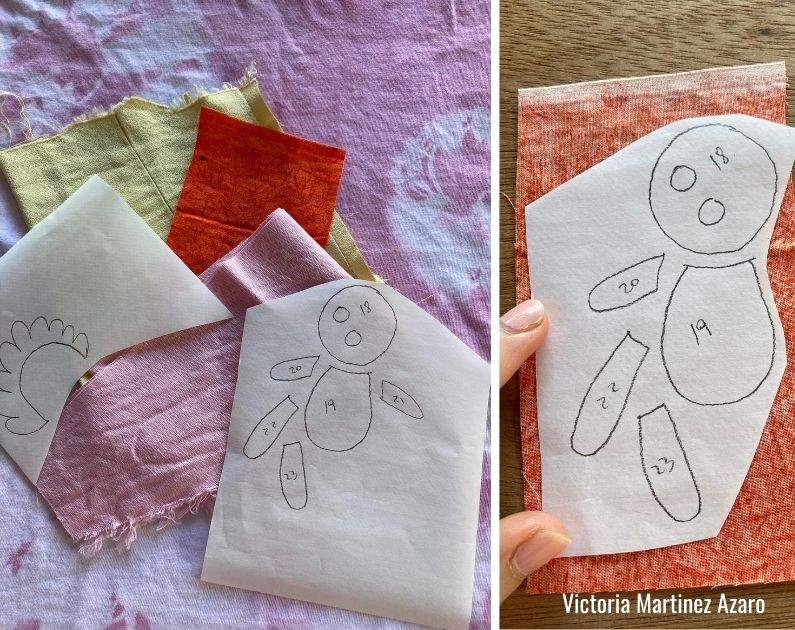
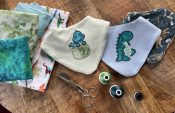
Once you have traced all the parts you must decide which fabrics you will use for each applique piece. In this case I am using one color for the whole body, another fabric for the hair and another fabric for the eyes and mouth of this little critter.
Step 4:
Place the traced fusible adhesive parts on the back of the fabric scraps to be ironed on. The paper side which is the smooth side should be face up and the glue side should be touching the wrong side of the fabric.
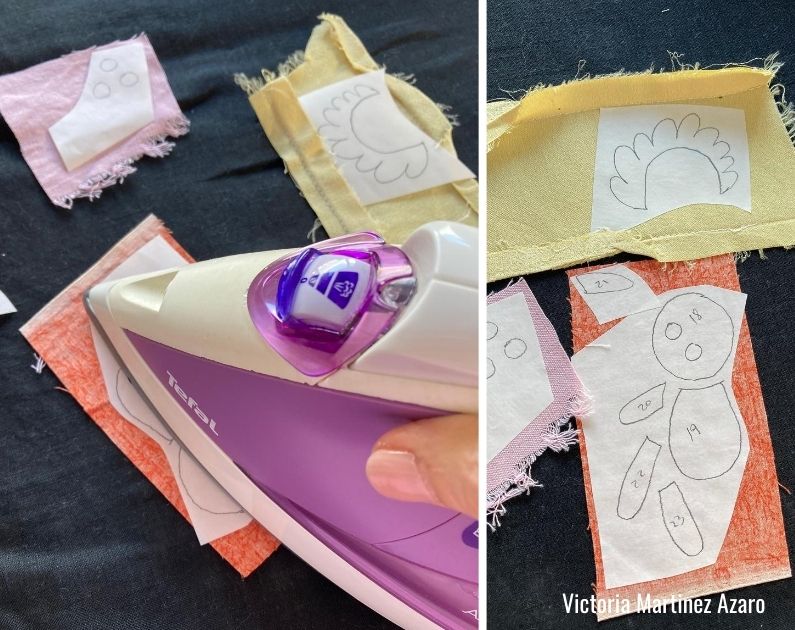
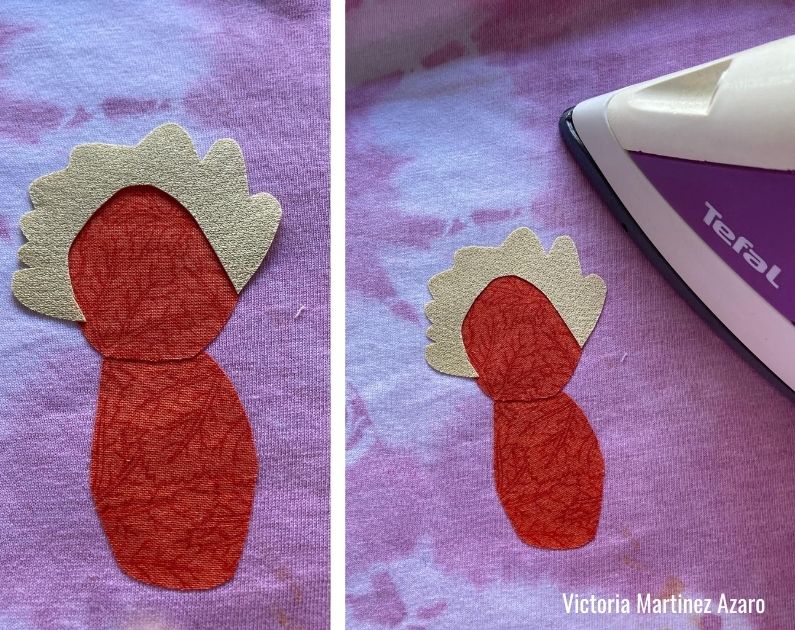
Preheat iron into a medium heat with no steam. Place and hold iron on the paper side for 2 seconds. Repeat a few times until the fusible is totally bonded to the fabric. Repeat this process with all the different color fabrics. Allow to cool.
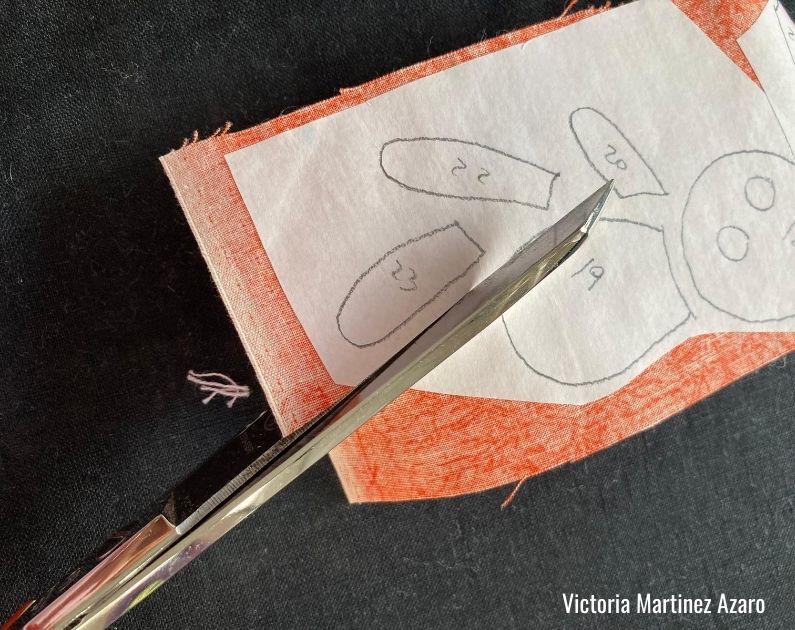
Cut fabric following your traced line. Make sure you have all the little parts ready to applique on t-shirt.
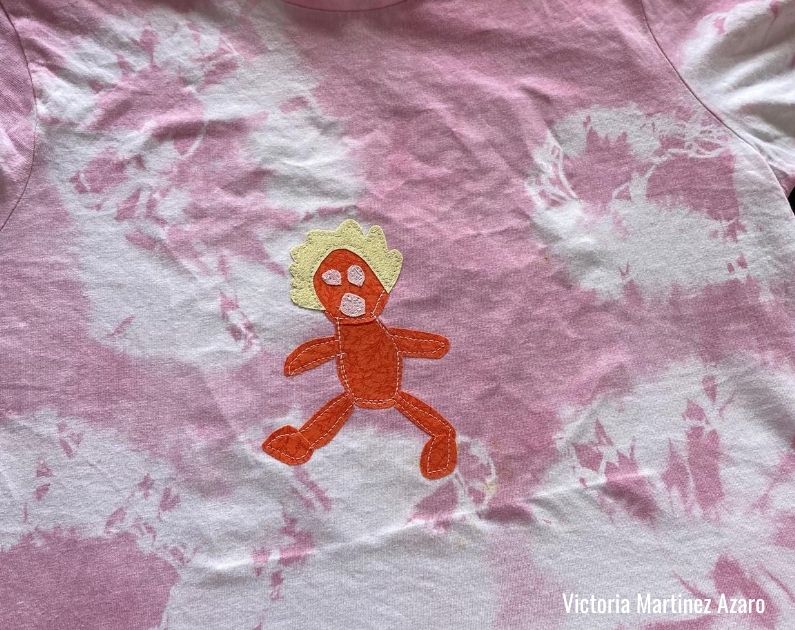
Step 5:
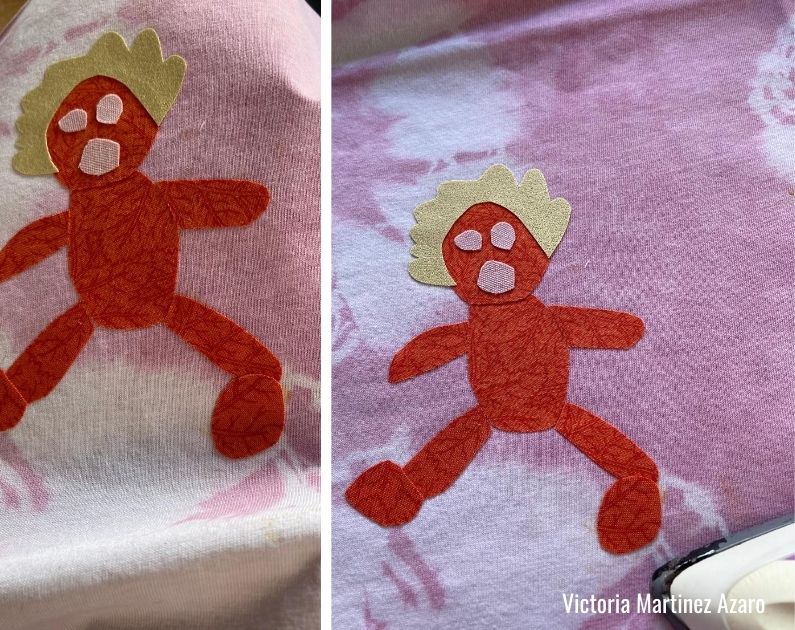
Peel off paper liner and place little applique parts on top of the stained area. Iron on the different applique parts in order to create your shapes, in this case the little critter. To create a good bond against the t- shirt make sure to press and hold the iron for 6 seconds on each section, overlapping slightly until entire shape is bonded.


In order to cover the last little stain I had to add some little shoes to my critter. Feel free to recreate the applique pattern as needed in order to cover as many stains as you need 🙂
Step 6:
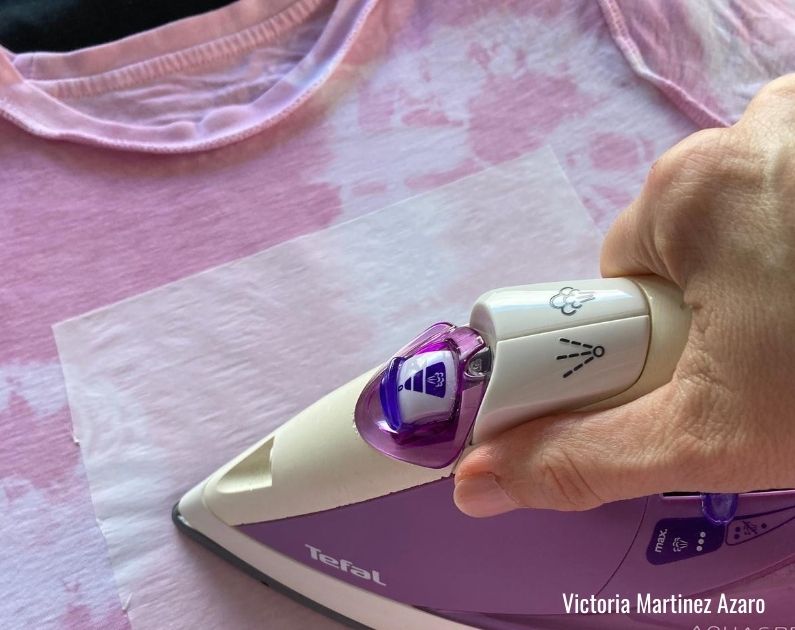
It’s now time to apply the fusible stabilizer in order to be able to sew the applique onto the knit fabric. This is an important step because unless we add a stabilizer the knit fabric is going to stretch as we sew it and the result will be a wavy mess.
Cut a square that measures approximately the size of the applique. Turn the t shirt inside out and iron the stabilizer on. Make sure the glue part is facing the inside of the t-shirt otherwise the glue will end up on the iron.

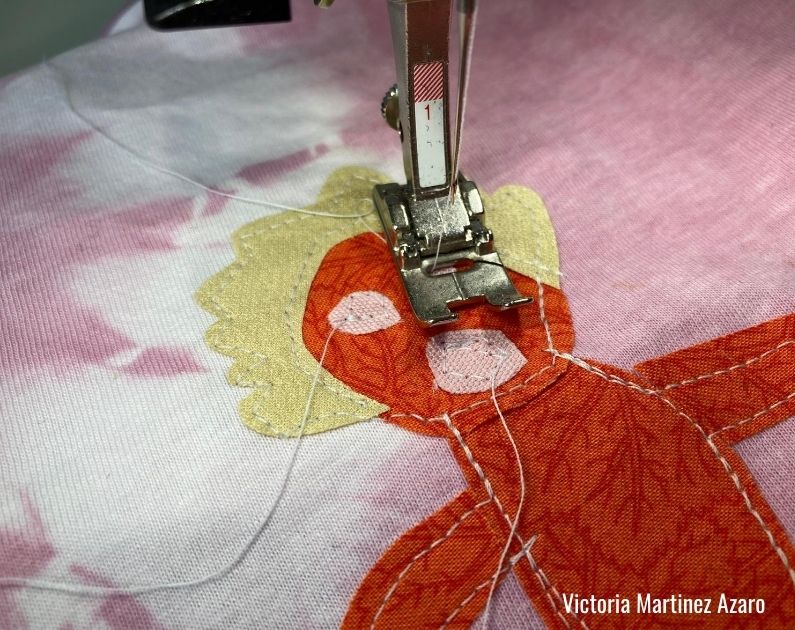
Step 7:
Place your t shirt (which has the stabilizer on the inside and the applique on the outside) on your Bernina machine. Sew around the applique making sure to top stitch all around the critter. I have used my default stitch length and my regular sewing cotton but you can use heavier top stitch cotton if you prefer.
You can also go around the applique critter as many times as you want. If you go around the critter a few times you can create a cool cartoon effect which can be delightful. You can also use a very contrasting thread. In this case I used a white thread to match the colors of the t -shirt.

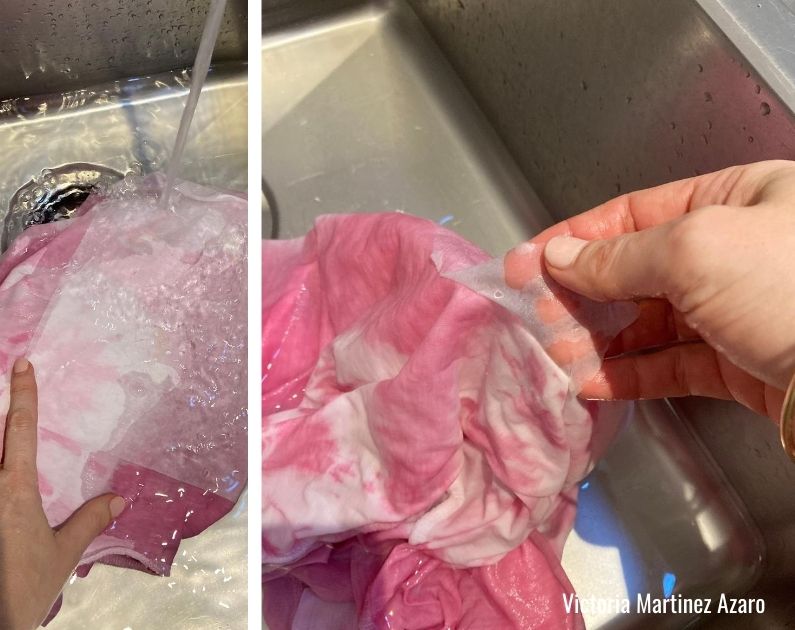
 Step 8:
The final step is to remove the stabilizer on the back. I placed my t-shirt inside a bucket with cold water and left it there for 10 minutes. After that time the stabilizer just peeled off really easily.
Dry the t-shirt and voila!
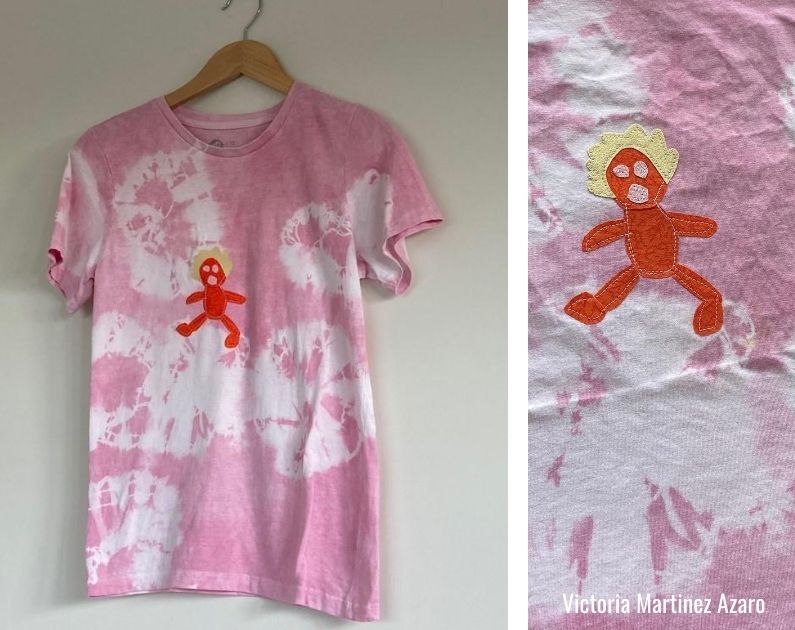
You can have a lot of fun combining the applique patterns with cool embroidery ideas. Check out this great tutorial on how to get creative with embroidering in your Bernina.

0 Responses