 BERNINA Corporate Blog -
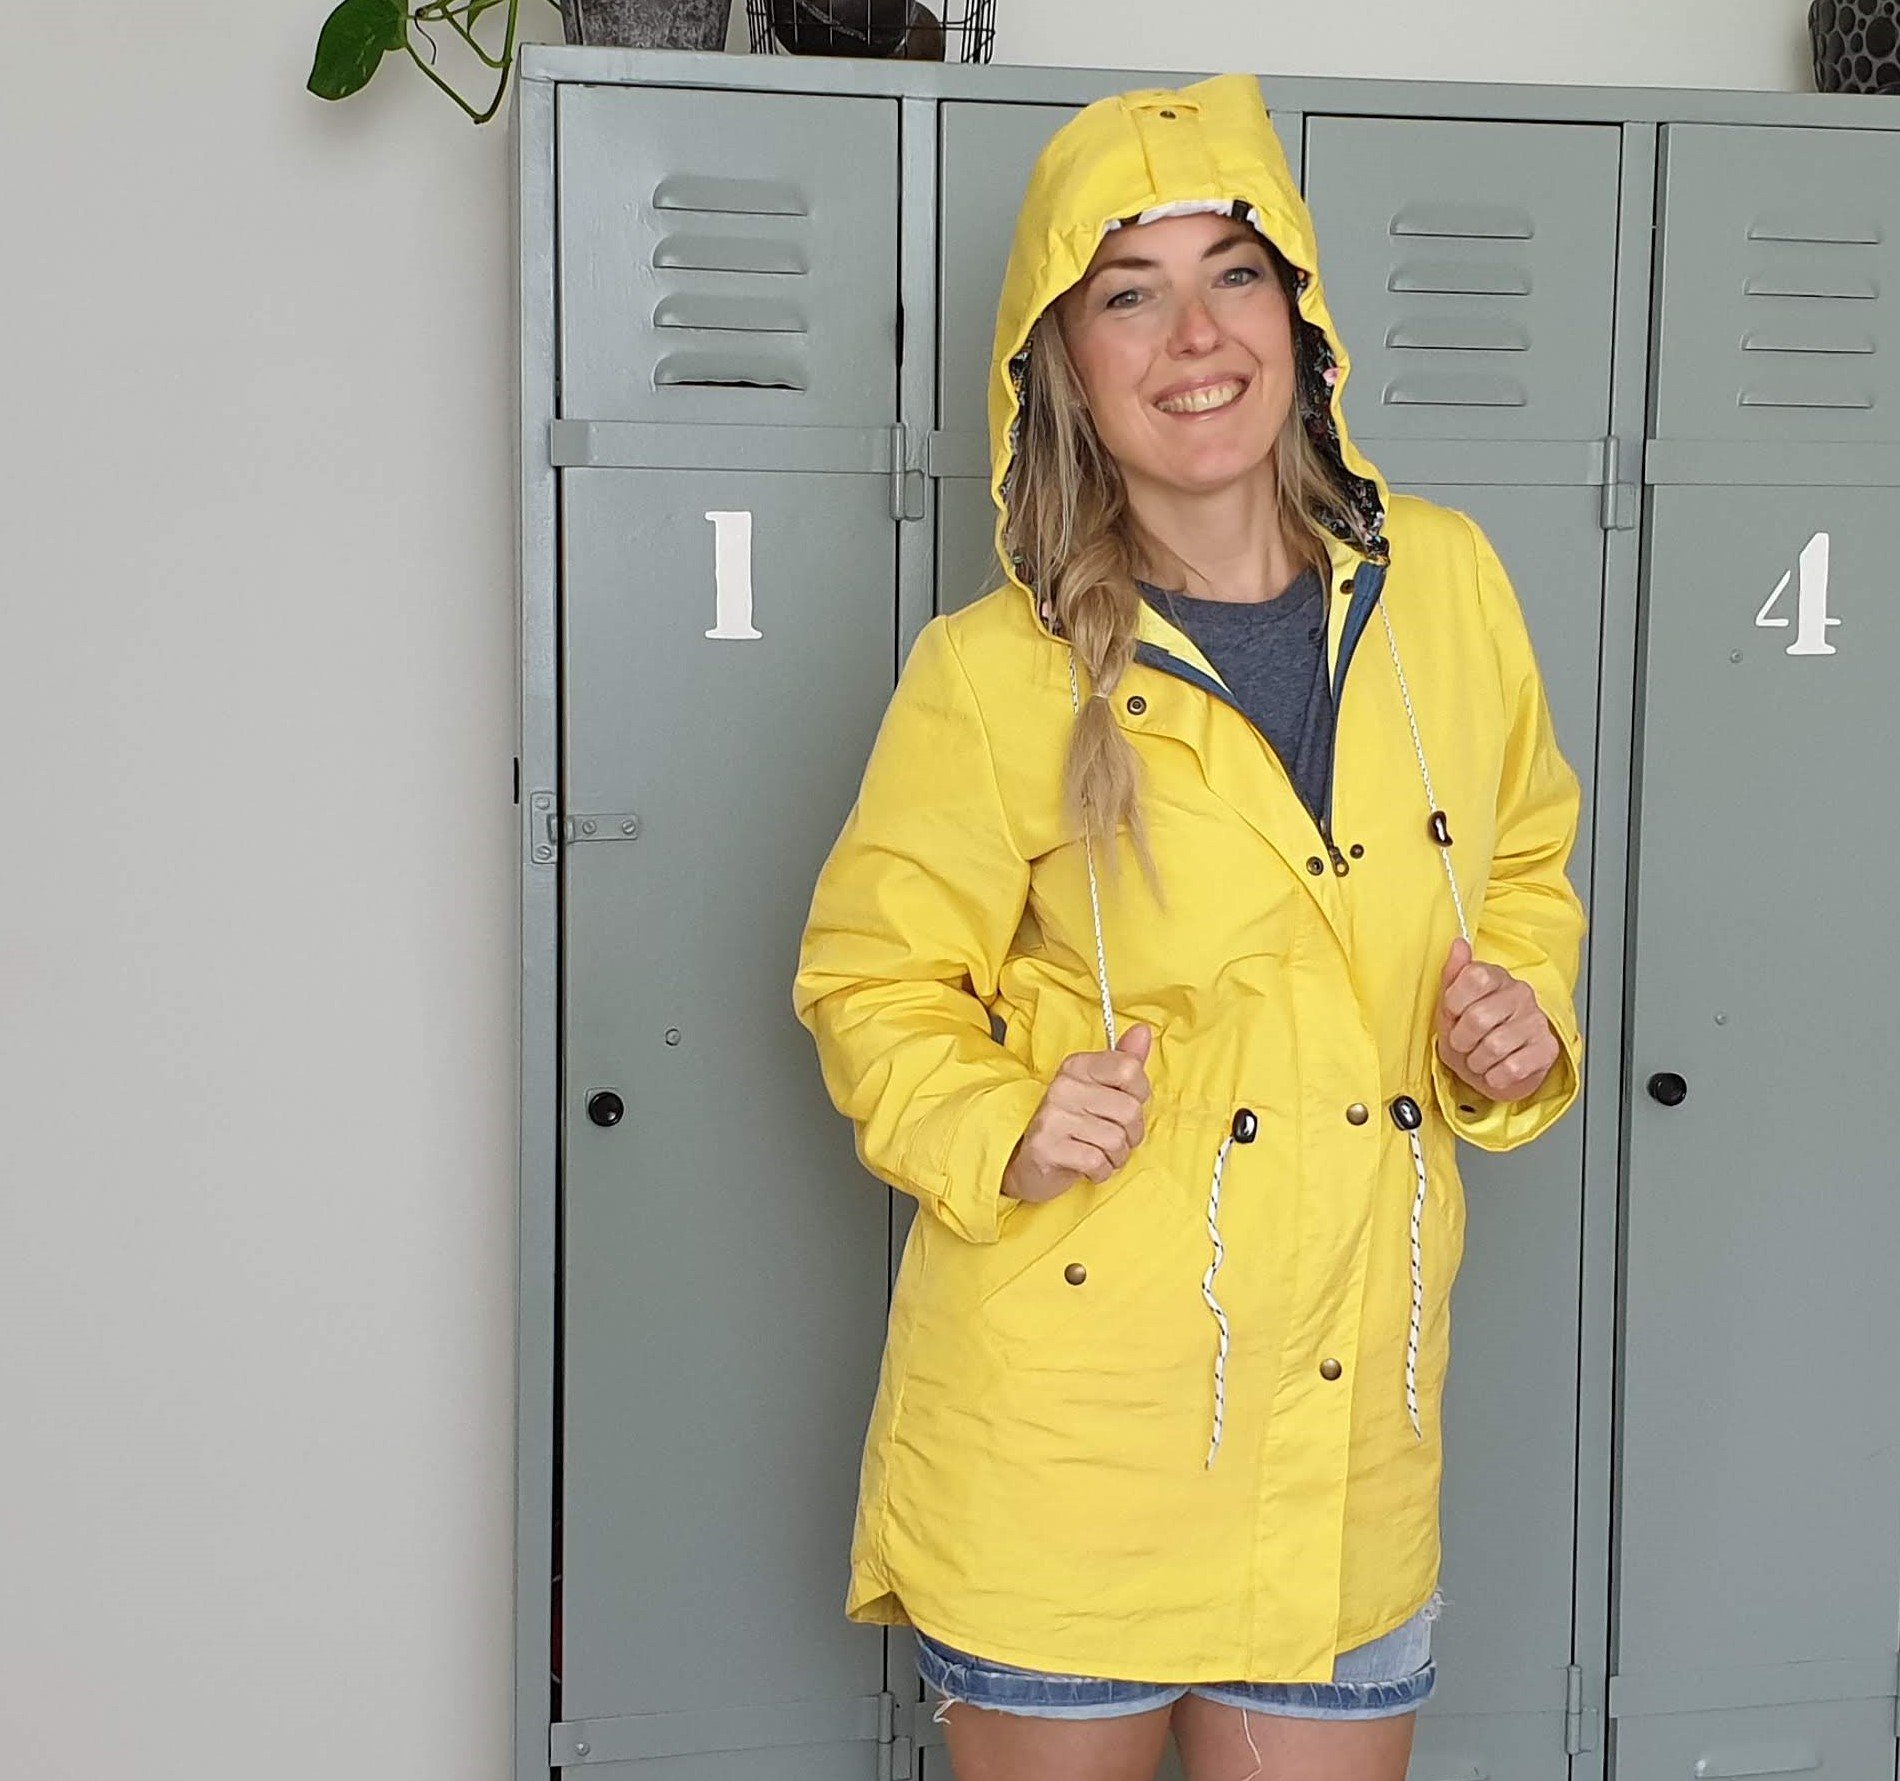
A summer parka, that’s what I need. A jacket that is not too warm, water-repellent and with a hood! I often walk in the woods with our dog and then exactly such a parka comes in handy. A parka with cool details.
Read the blog in Dutch here.

From inspiration till…
Inspiration 73 provided the perfect pattern for the jacket I had in mind.
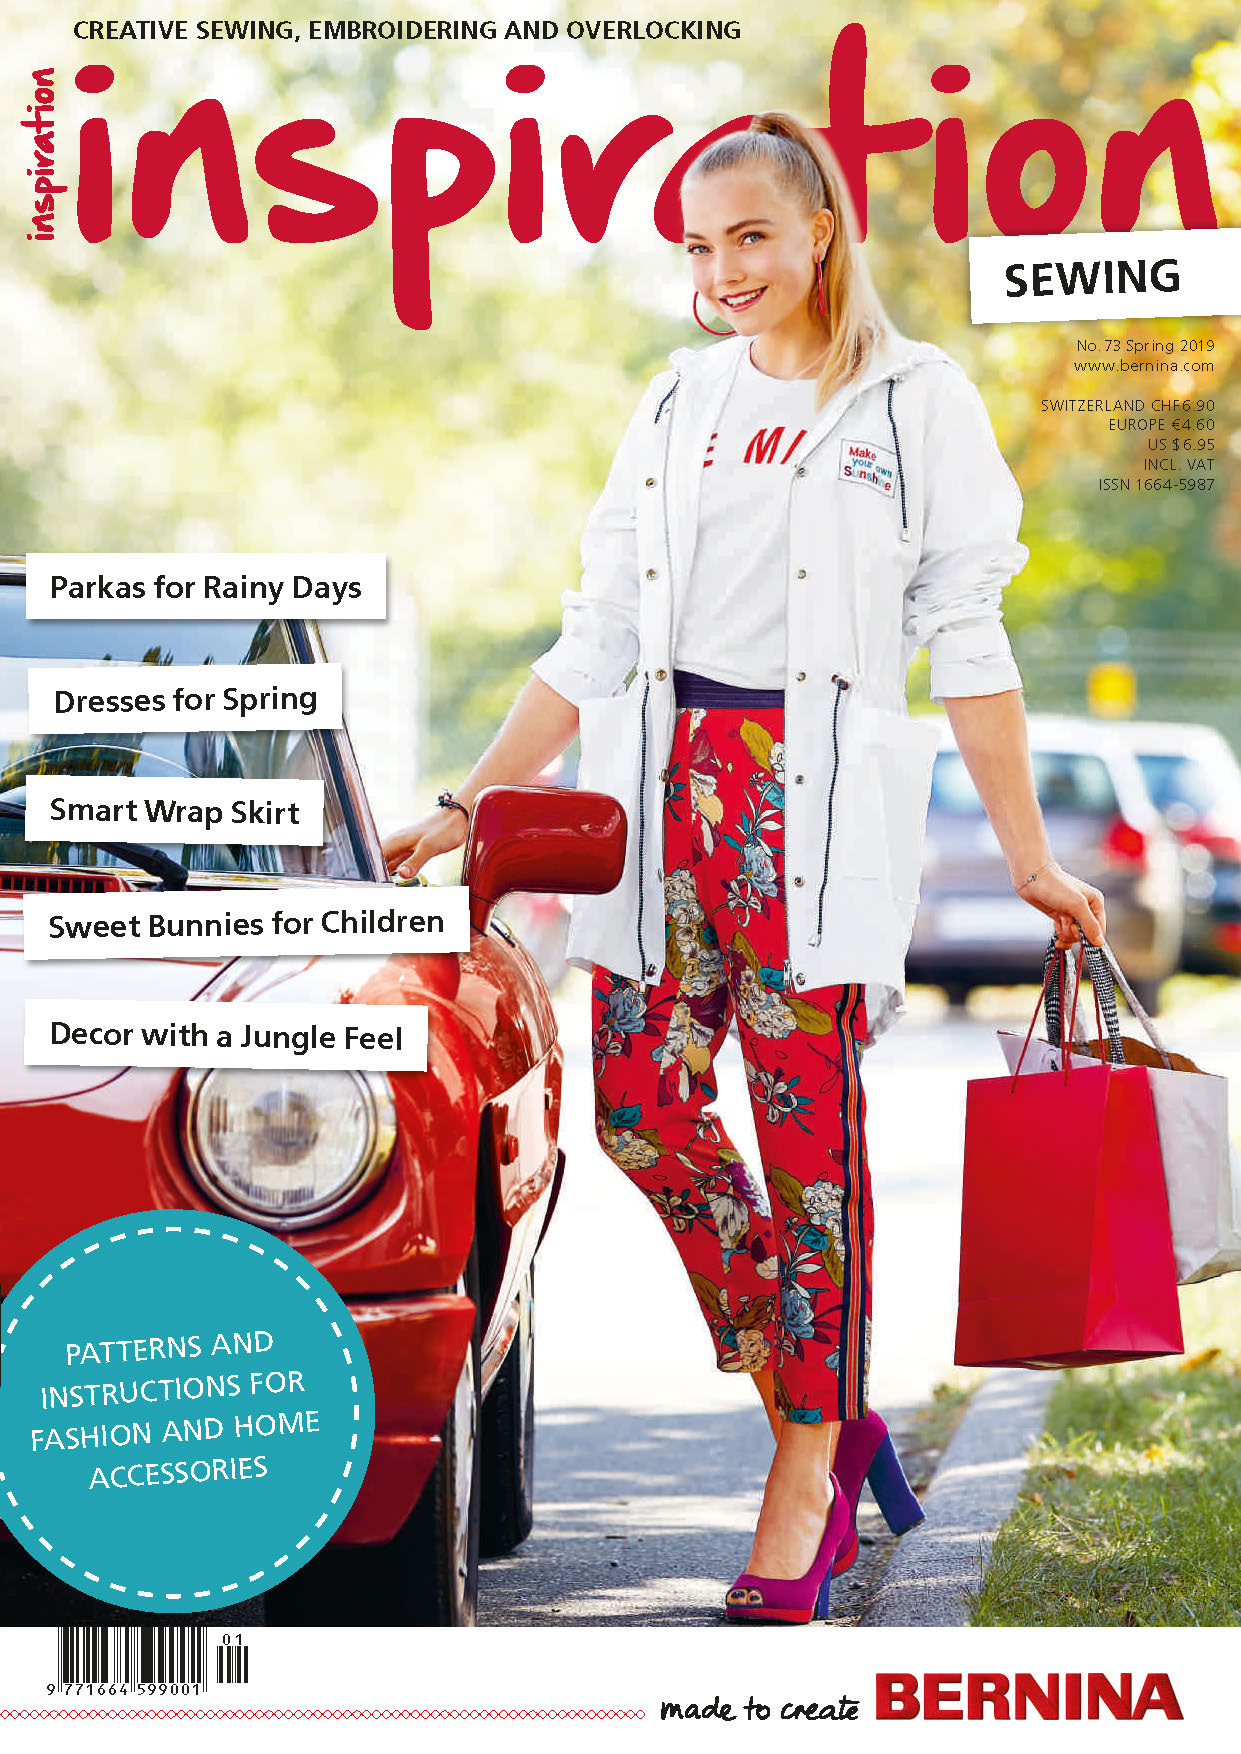
Did you know that you can order Inspiration and individual patterns via the BERNINA webshop?
The fabric
The yellow 100% nylon fabric is wind and water-repellent and lightweight (115 gr / m2). I ordered the fabric online. The description of the pattern indicates for my size: 2.5 meters. My plan was to make the inside of the hood of a different fabric, so I ordered 2 meters. The fabric turned out to be very translucent. So translucent that you could see the clothes through it. That was not quite my plan. Now what?

I didn’t want to line it. The solution: two layers of fabric. Before I started the parka I had just made my first bikini and I incorporated fabric and lining as a whole. In my fabric supply I had enough yellow cotton fabric that could be used as an inner layer. (Fortunately, because yes I wanted to start right away) For the inside of the hood, I selected left over fabrics. The floral fabric is from an old second hand pants that had been upcycled before to a bomber jacket.

The blue zipper inspired me to use denim and there is always room for dots. Am I right!?
Double
All pattern parts are double cut, including the hood to prevent the print of the inner hood from showing through. I first pinned the parts together so it would stay flat and then sewed them together with a large stitch outlining the pattern. I stitched the hood parts across several times and kept that as a nice detail.

All the seams are finished on the inside with a cap seam.

Cut one side of the seam. In this case both layers of fabric. Fold the other side of the seam over it. I have secured it again with a large stitch. Then lay the seam flat and topstitch it narrow on the side.
I used bias tape along the armhole to finish that seam nicely.


The pattern has a patch pocket. I prefer a slit pocket with a placket. The two layers allowed me to process the bag in such a way that you cannot see it on the inside. The bag was made in the nylon fabric before the two layers were stitched together.

Tunnels
On the outside of the coat there is a tunnel on the waist through which you thread a cord. Before attaching the tunnel I basted it. So much easier.


Blind hem foot 5


At the back there is also a kind of tunnel at the bottom that is created by the hem. You have to do this before closing the side seams.

By stitching the outer and inner hood at 3 cm from the front, the last tunnel in this jacket is created.

The details
The parka is even more fun because of the many details: straps, loops, metal rings and snaps. It is important to reinforce the parts with (fusible) interlining or extra fabric. Topstitching the straps ensures holding the shape better and gives extra strength. In addition, it looks cooler.


By adding extra pieces of fabric, you ensure that the fabric in which the ring is clamped is thick enough.
I added an extra strap with over the hood. I saw this in one of the preserved examples of Pinterest.

Cord
In my search for cord in my supply, I had enough for the hood and waist. One cord is from an old sweater from one of the kids with the fun leather stoppers and the other is a shoelace. For the back I thought an already broken charging cable would fit well. Recycle!

I took the cable out as far as I could, because it was very stiff. Only at the end is still a piece. As a gimmick, I leave the ends as they are. I already posted this photo on my Instagram. The photo received a lot of response. One of the reactions was whether I could wash it. Good thinking! I made it so that I could remove the cable before washing the jacket.


Again what a fun project! Challenging to work with two layers of fabric and ensure that it also looks nicely finished on the inside. Love it!

And our dog too.

Time for a new adventure.

Happy Summer Holidays!
Love,
Marlies


0 Responses