 BERNINA Corporate Blog -
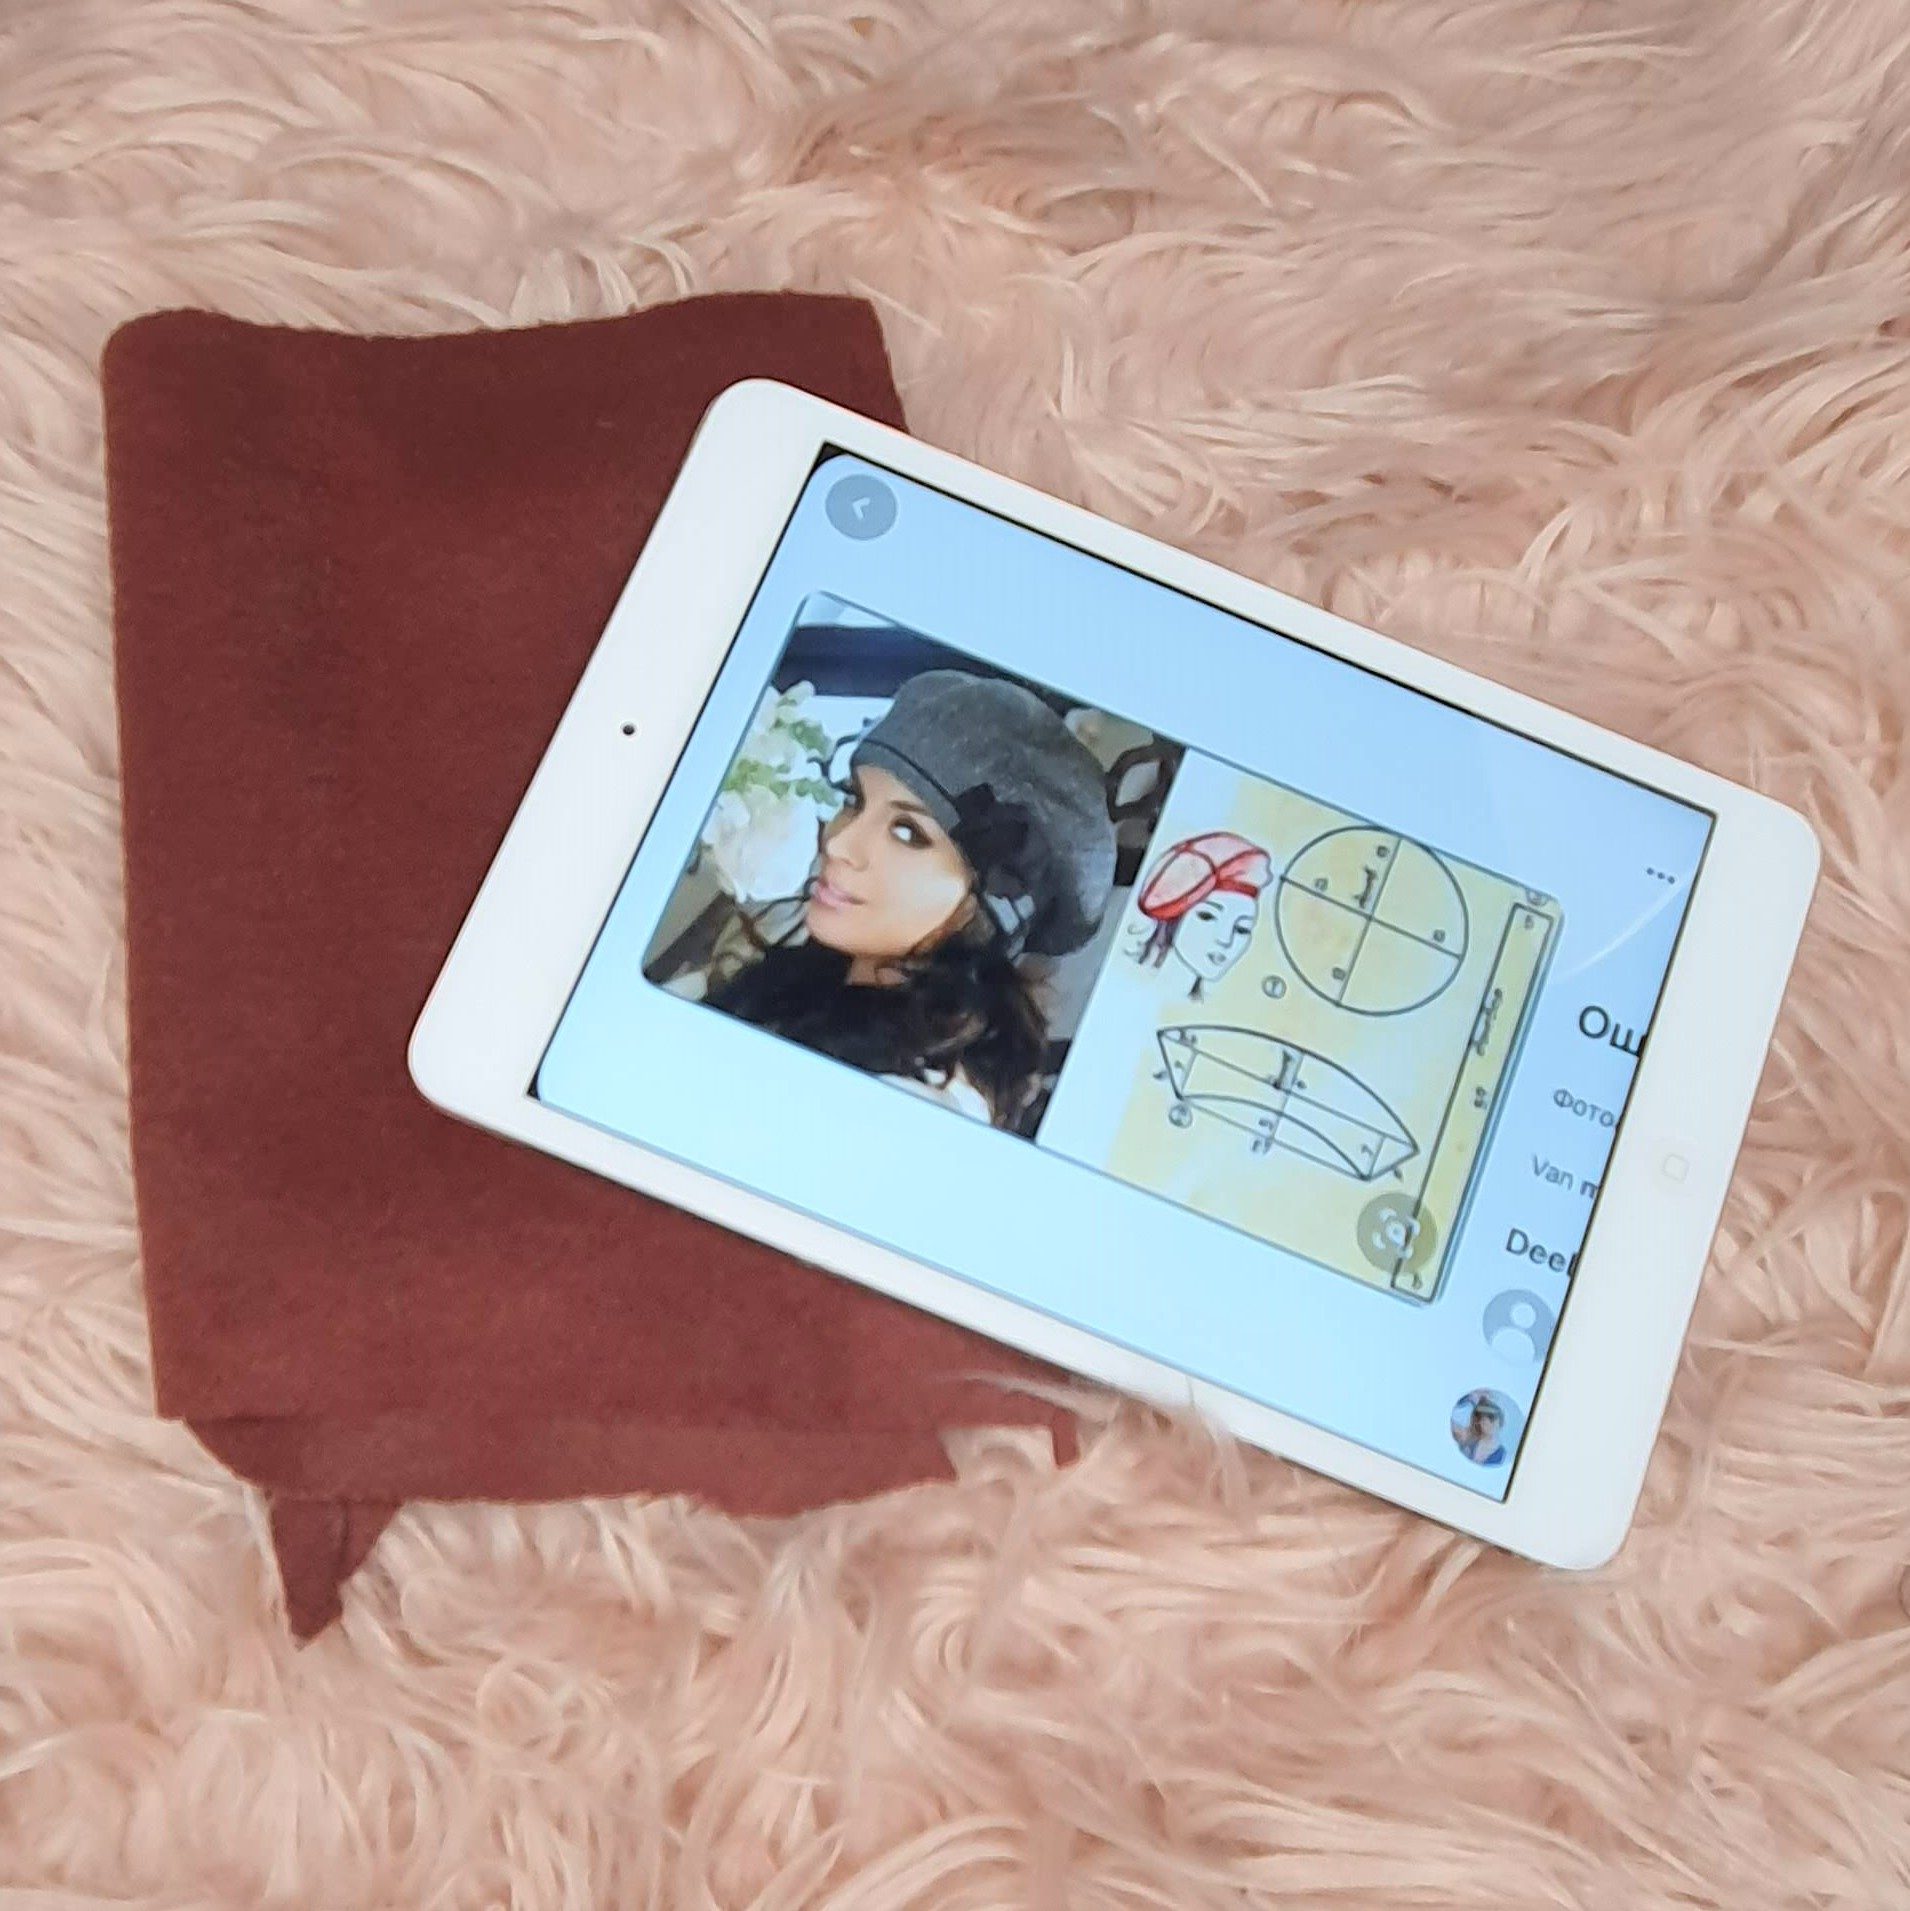
Time to shine! DIY wool winter beret
Use your leftovers and steal the show with a cool beret. Decorate the DIY wool winter beret with a nice bow, flowers or with bling-bling brooches. This addition to the Time to shine! capsule wardrobe matches many items and is also nice and warm
Klik hier om naar de Nederlandse blog te gaan

Pattern and fabric
You can make this nice beret from, for example, wool, rib or denim. You need a piece of approx. 65 x 45 cm (folded 32.5 x 45 cm). I found the pattern on Pinterest and it’s free. You draw the pattern yourself with the indicated measurements, completely DIY!
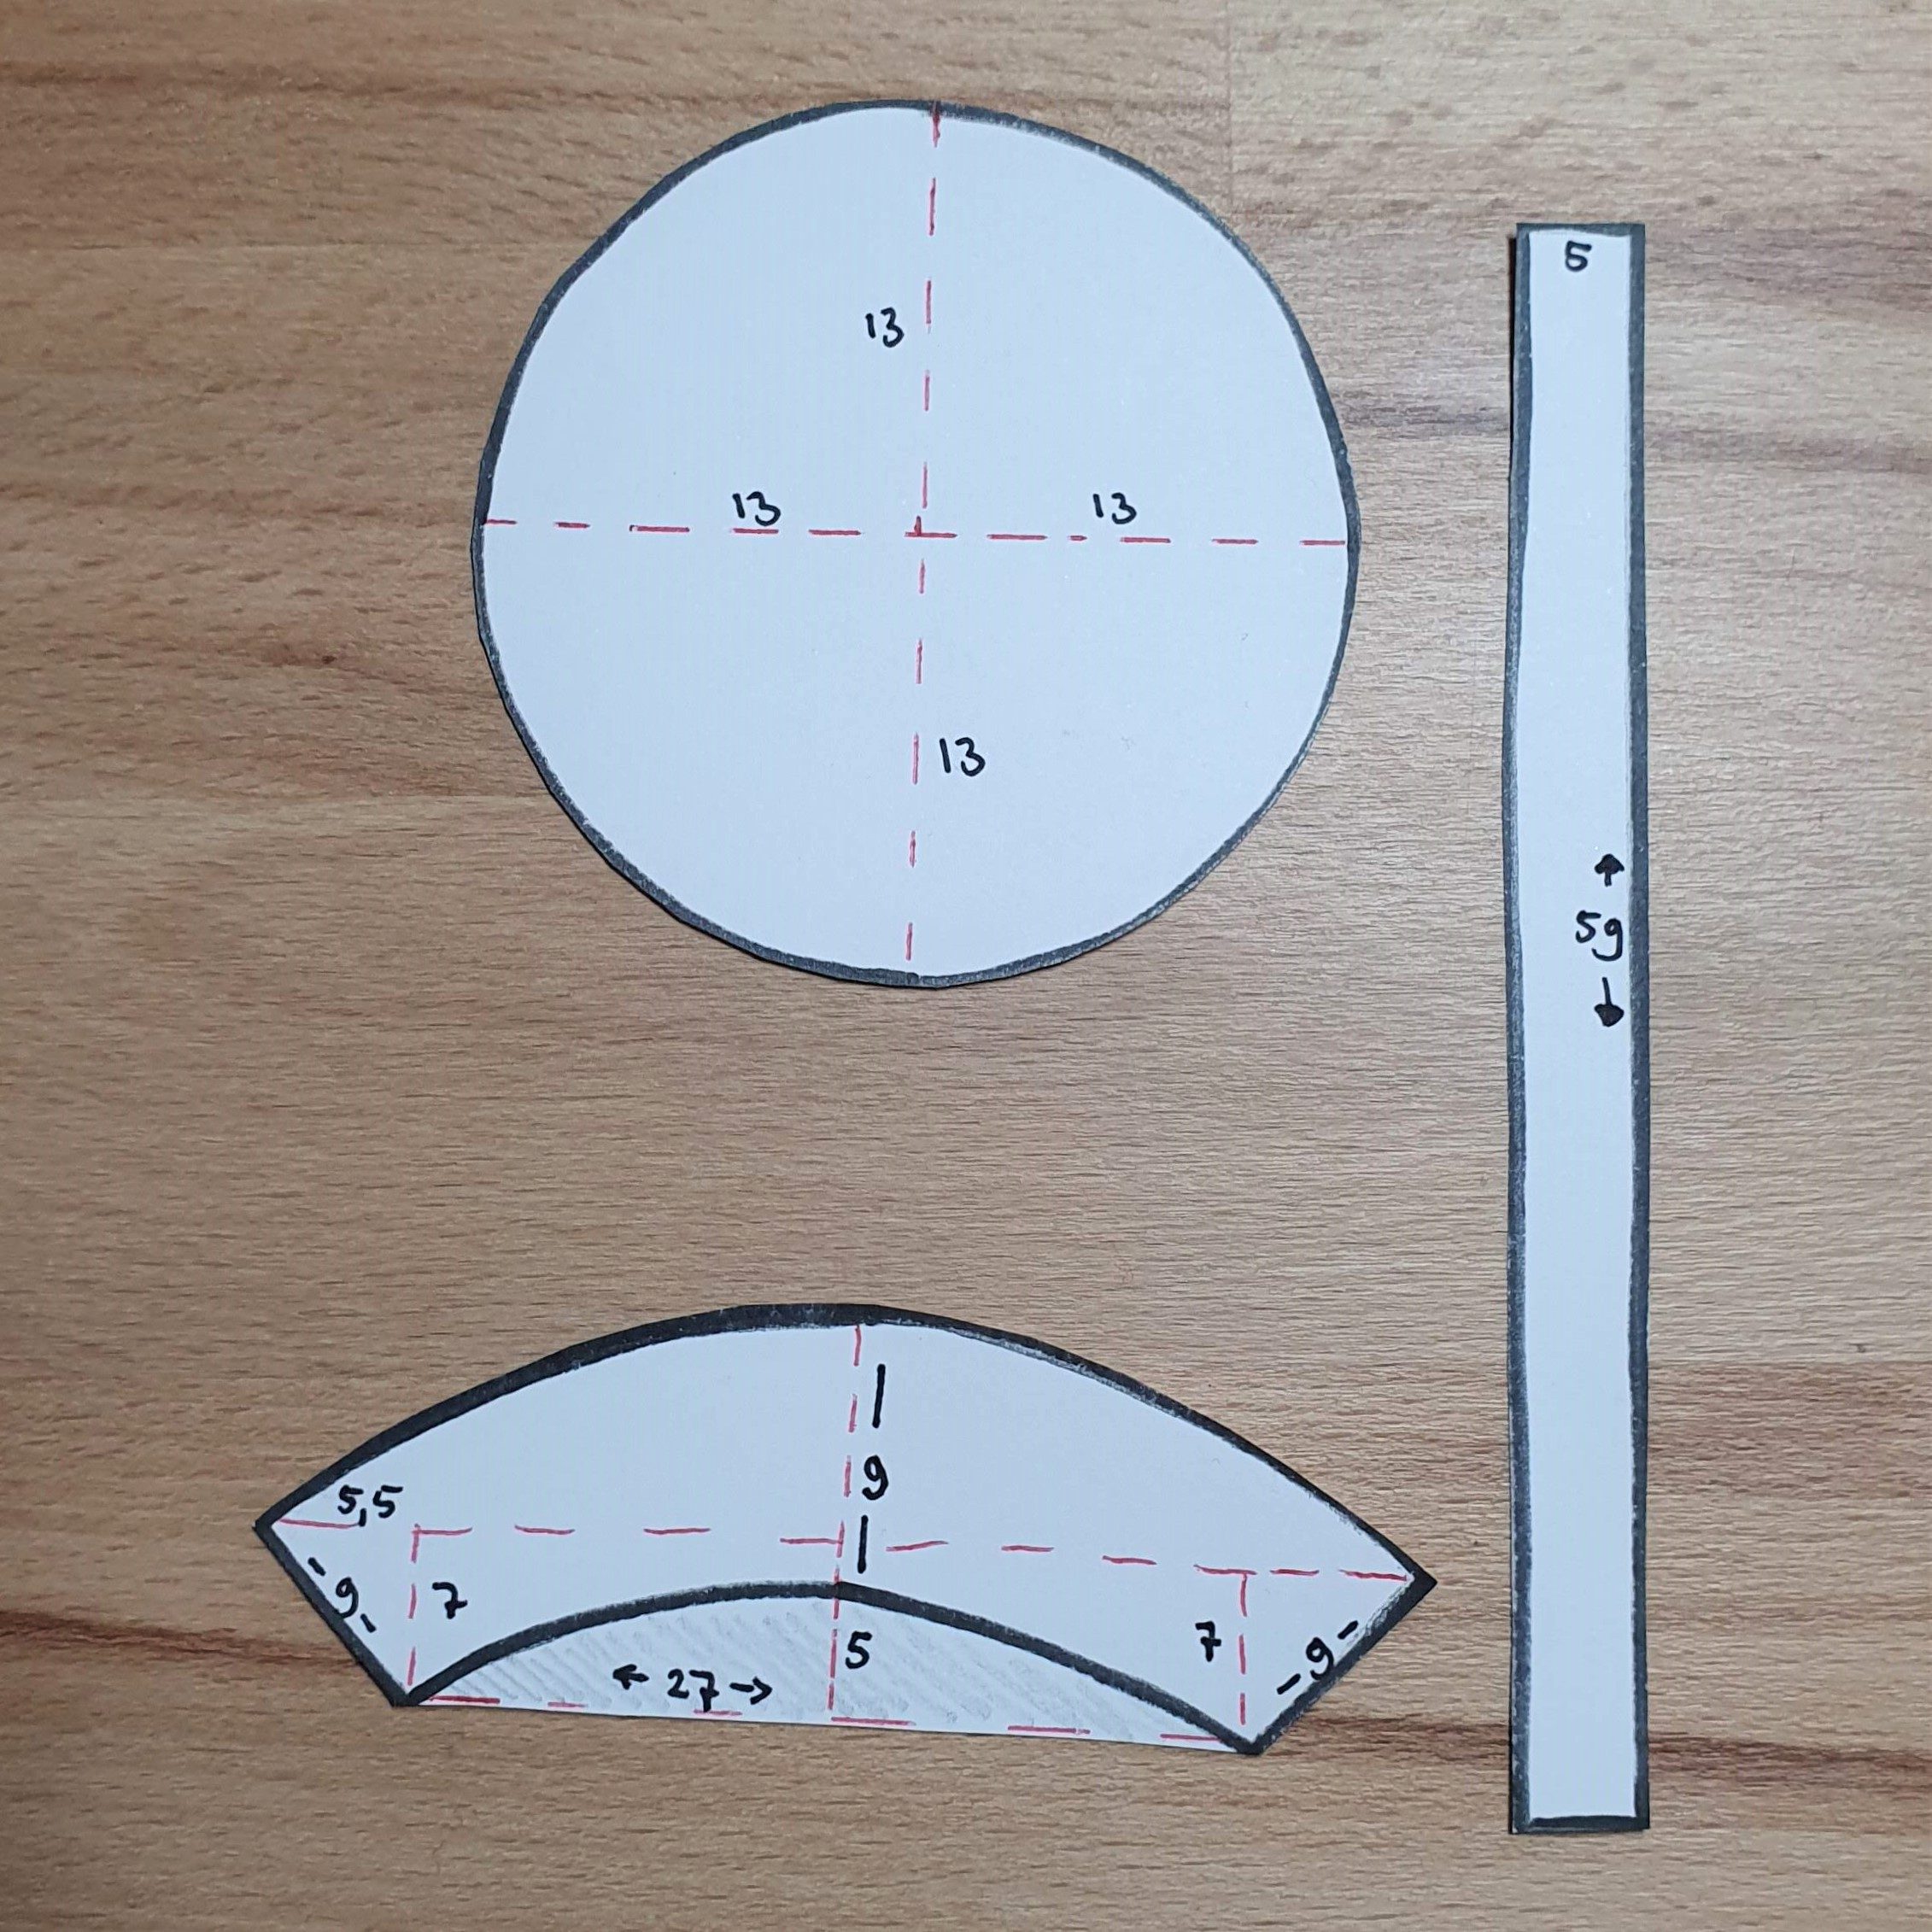
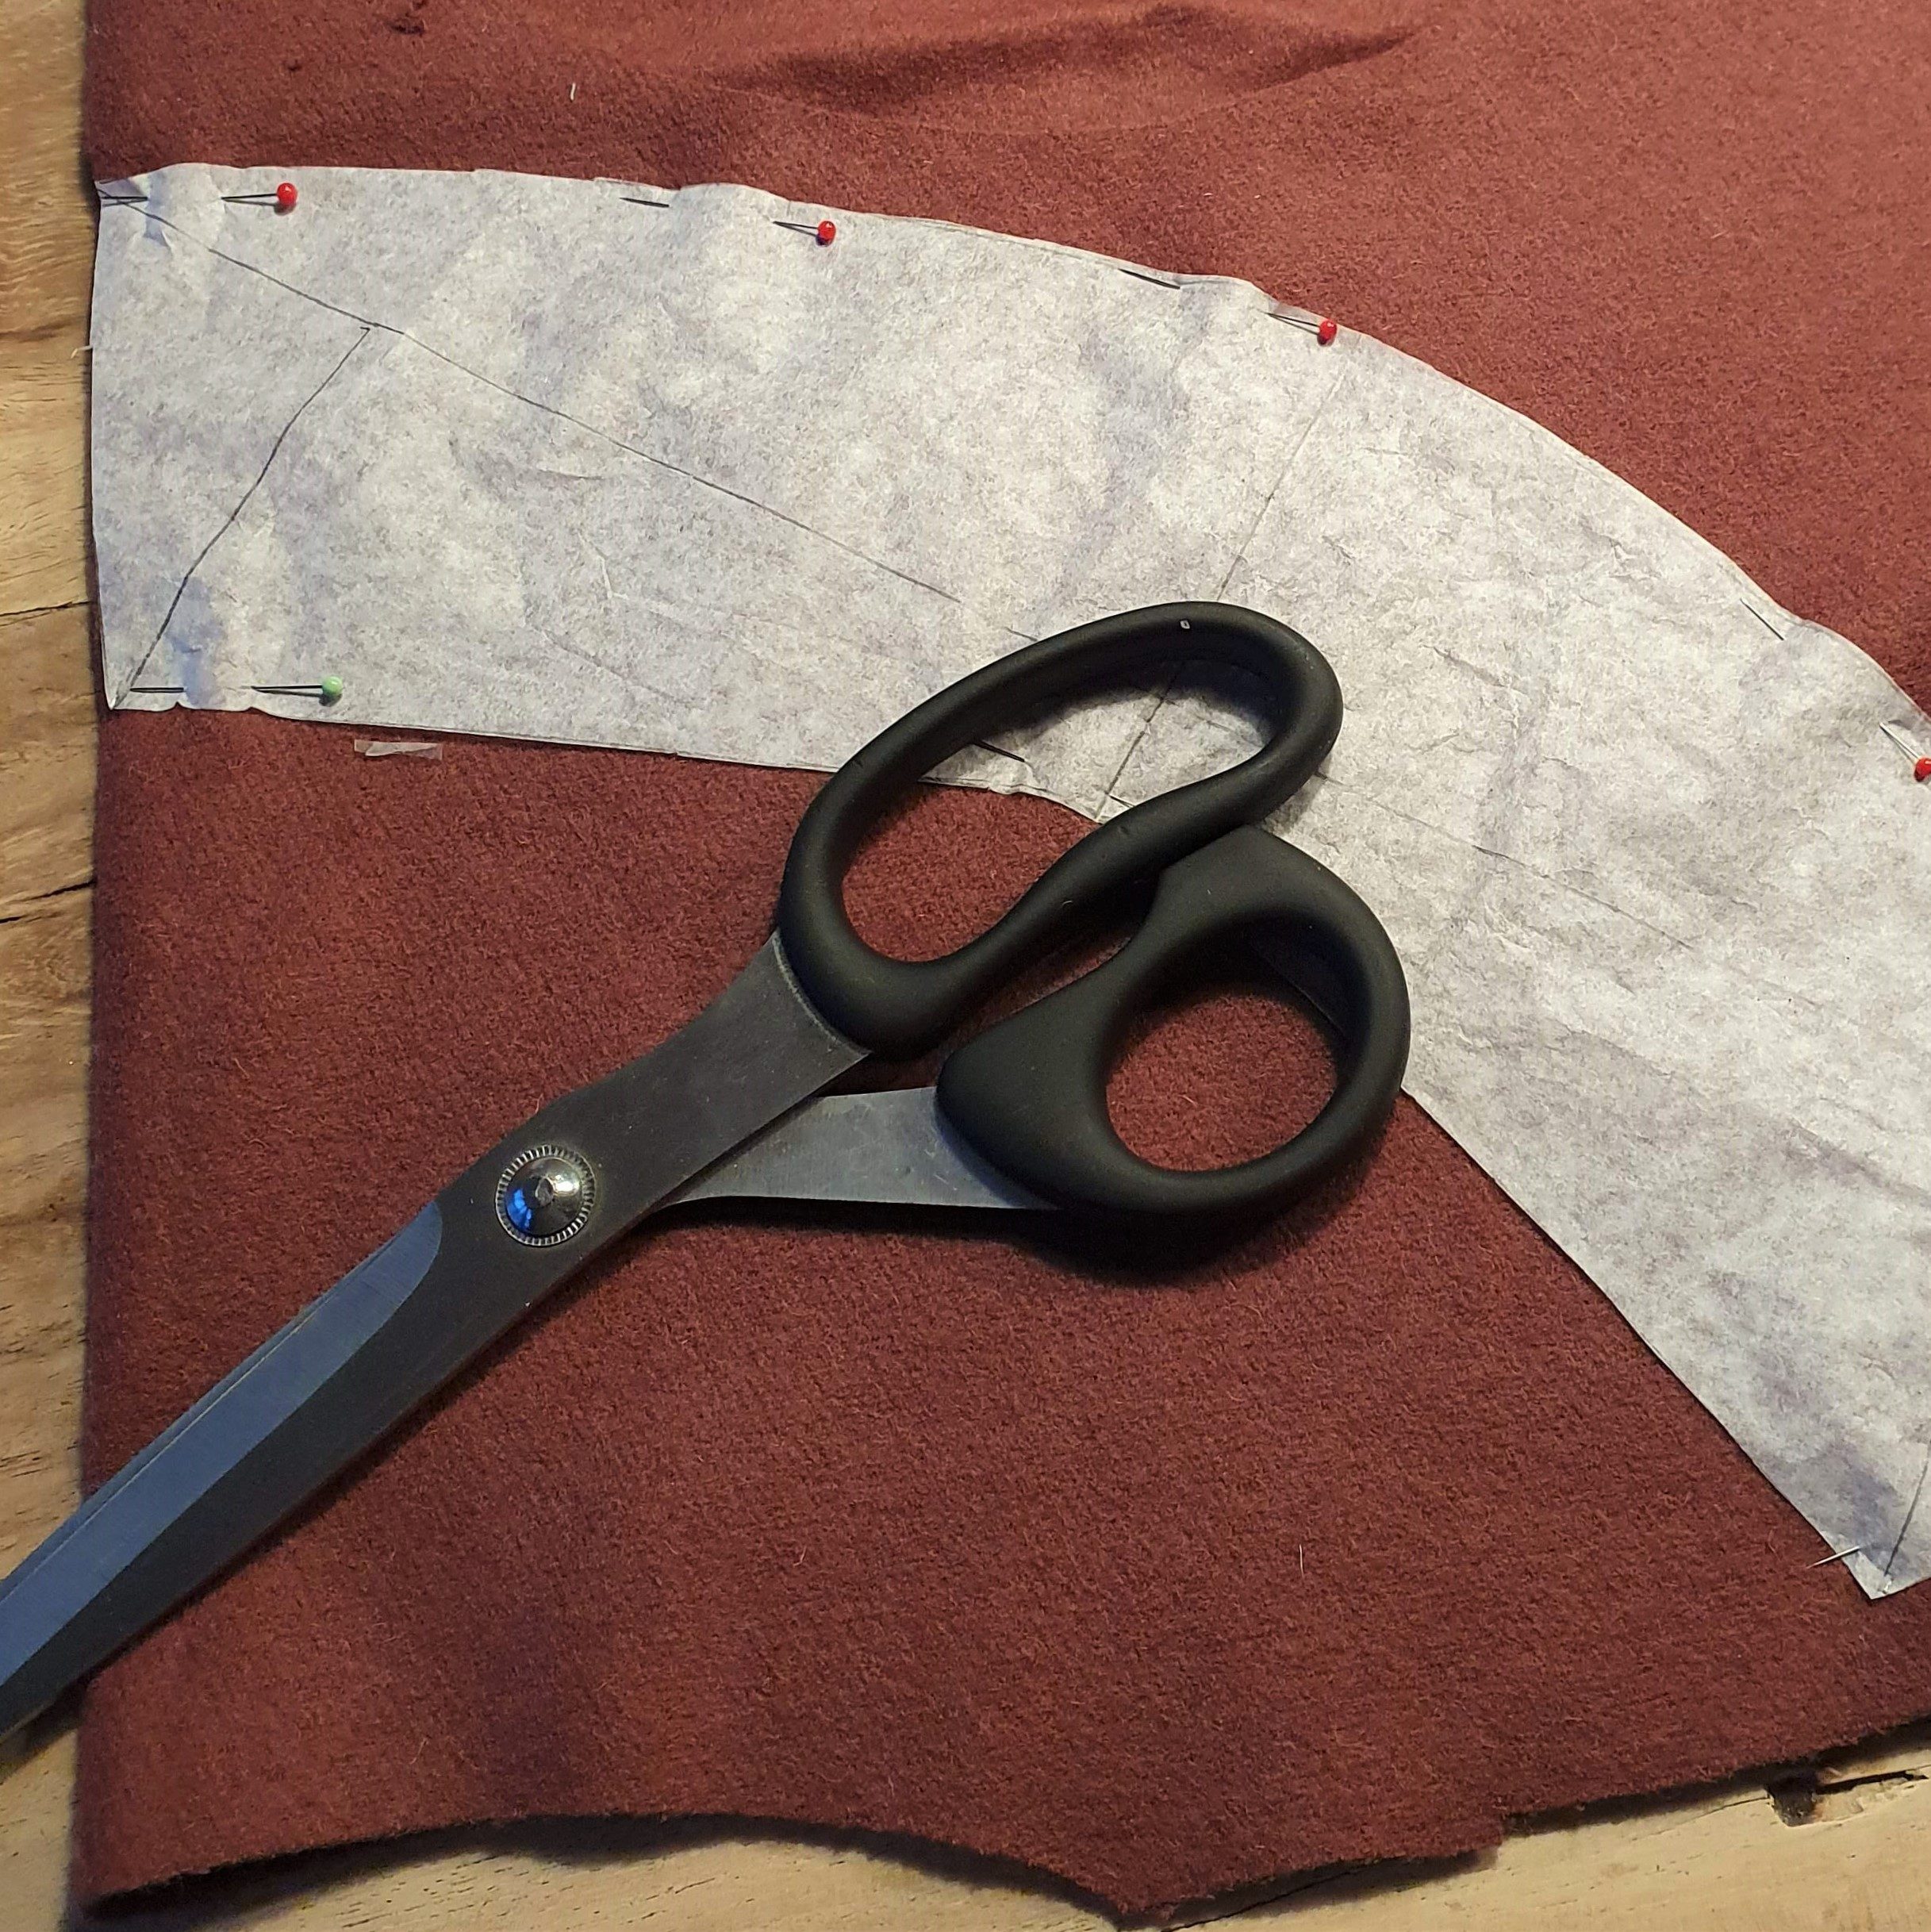
Draw (see example)
Part 1: You draw a circle with a radius of 13 cm. This will be the top of the wool beret.
Part 2: Then you draw a kind of wide band with rounding. You start with a horizontal line of 27 cm. In the middle you draw a line of 14 cm and at the ends a line of 7 cm, all perpendicular to the first horizontal line.
Draw a line at 7 cm parallel to the first horizontal line that is 5.5 cm longer on both sides. Now connect the two horizontal lines with a diagonal line of approx. 9 cm. Finish this pattern piece by drawing two smooth semi-circular lines. The bottom cuts at 5 cm from the middle perpendicular line, you draw the top line parallel to the bottom one at 9 cm.
Part 3: The last pattern piece is a 5 x 59 cm rectangle. This part is the smaller band that goes around your head.
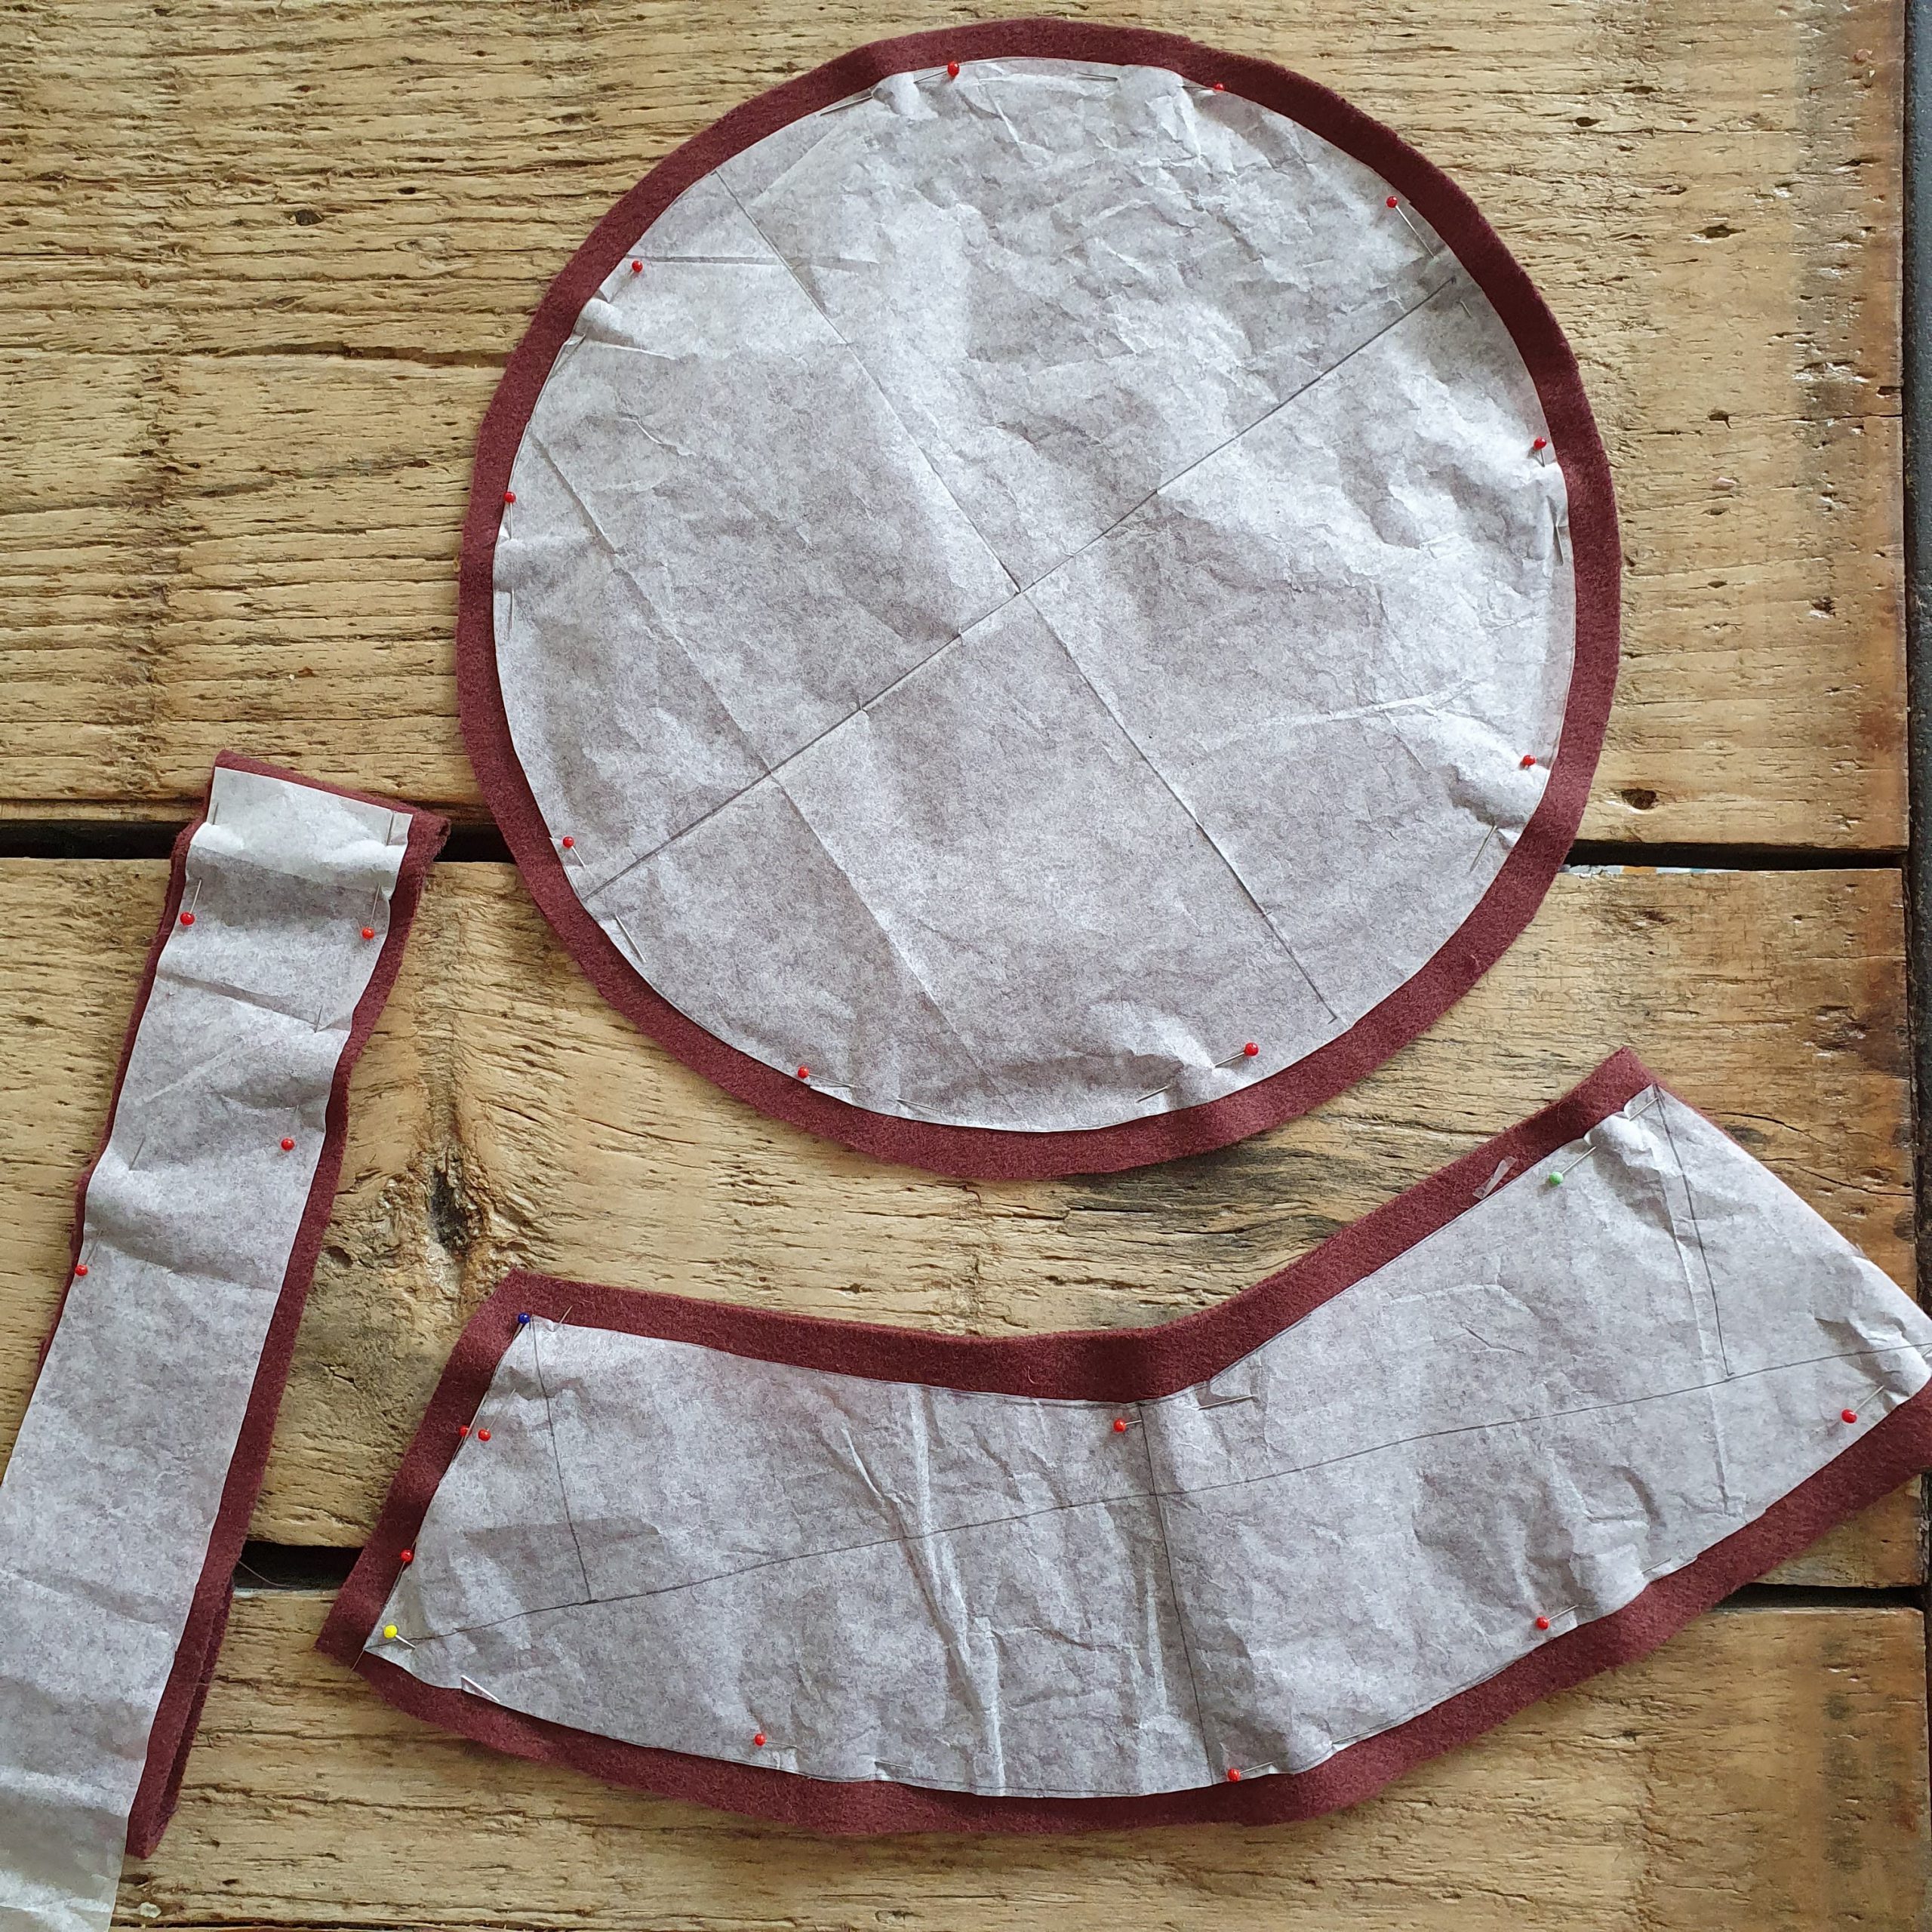
Depending on the size of your leftover fabric, you can cut the pattern pieces from single or double-folded fabric. As the pattern pieces are shown above, cut part 1 and 3 once and part 2 twice.
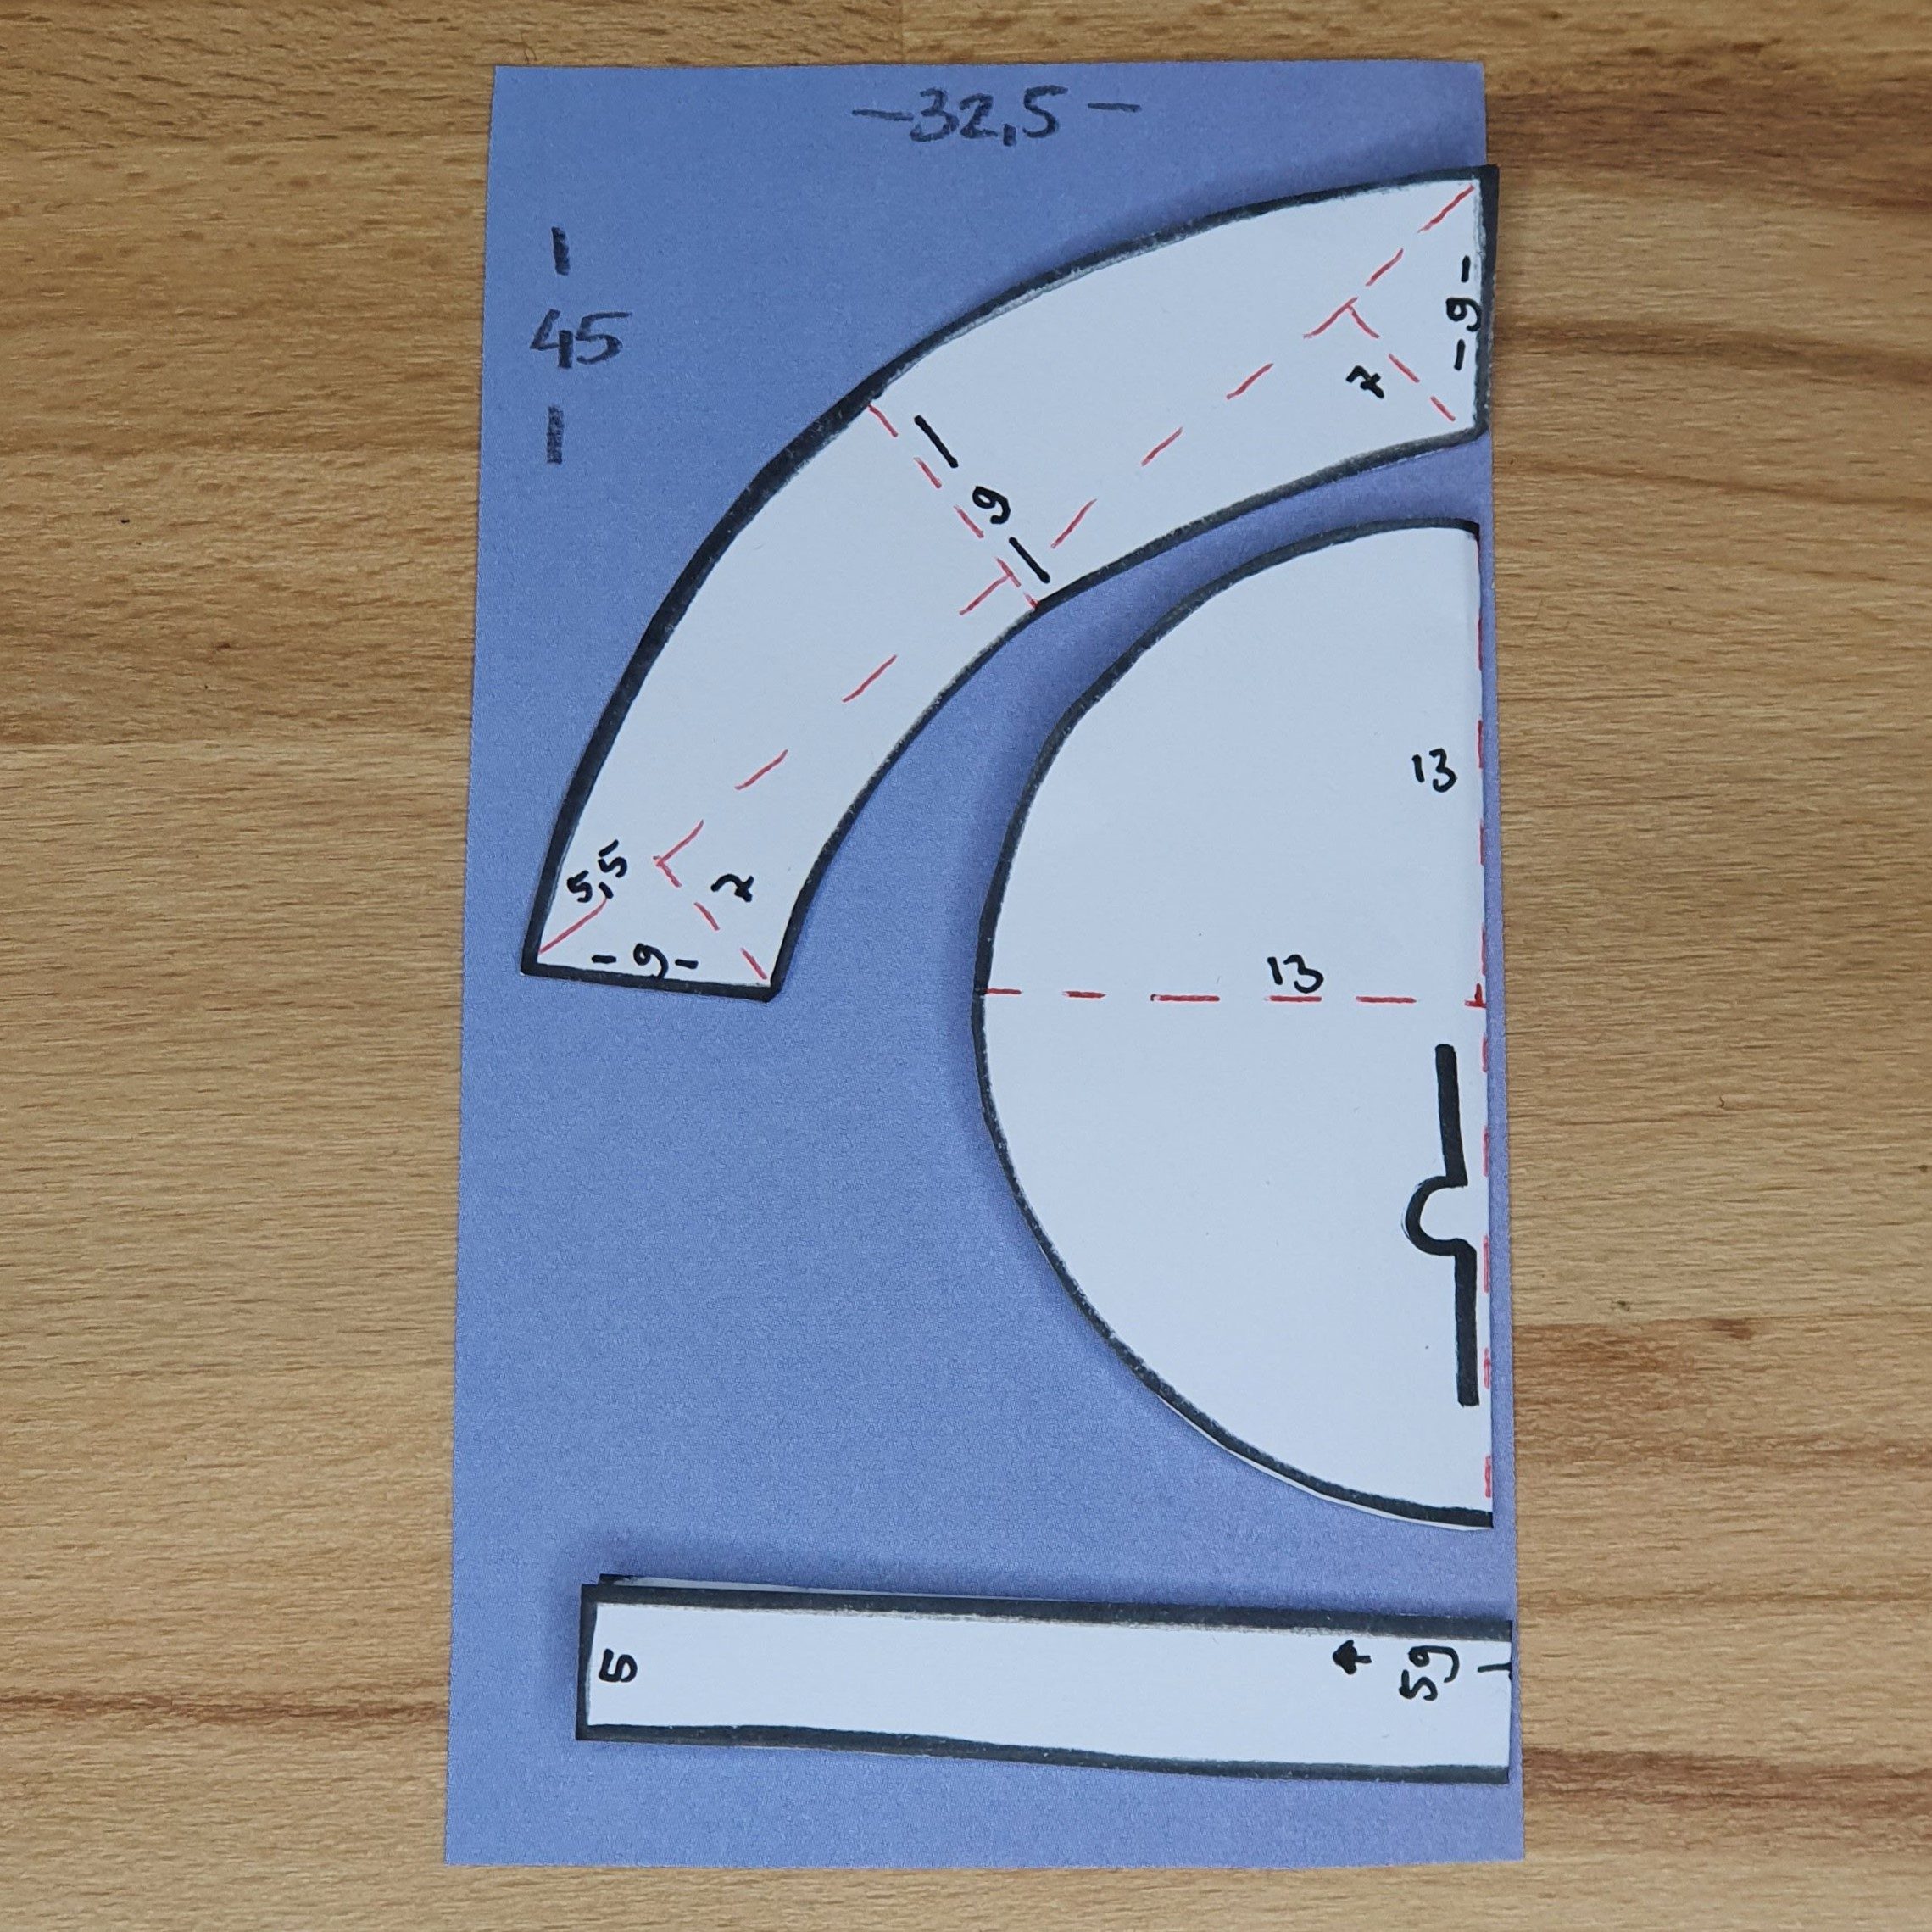
Cutting example folded fabric. Fold part 1 and part 3 in half first and then place them at the fabric fold.
If, like me, you have smaller pieces of fabric, you cut the fabric partly single and partly double. Make sure you have the right amount of pattern pieces😉.
Pattern part 1 cut once
Pattern piece 2 on the fabric fold
Construction
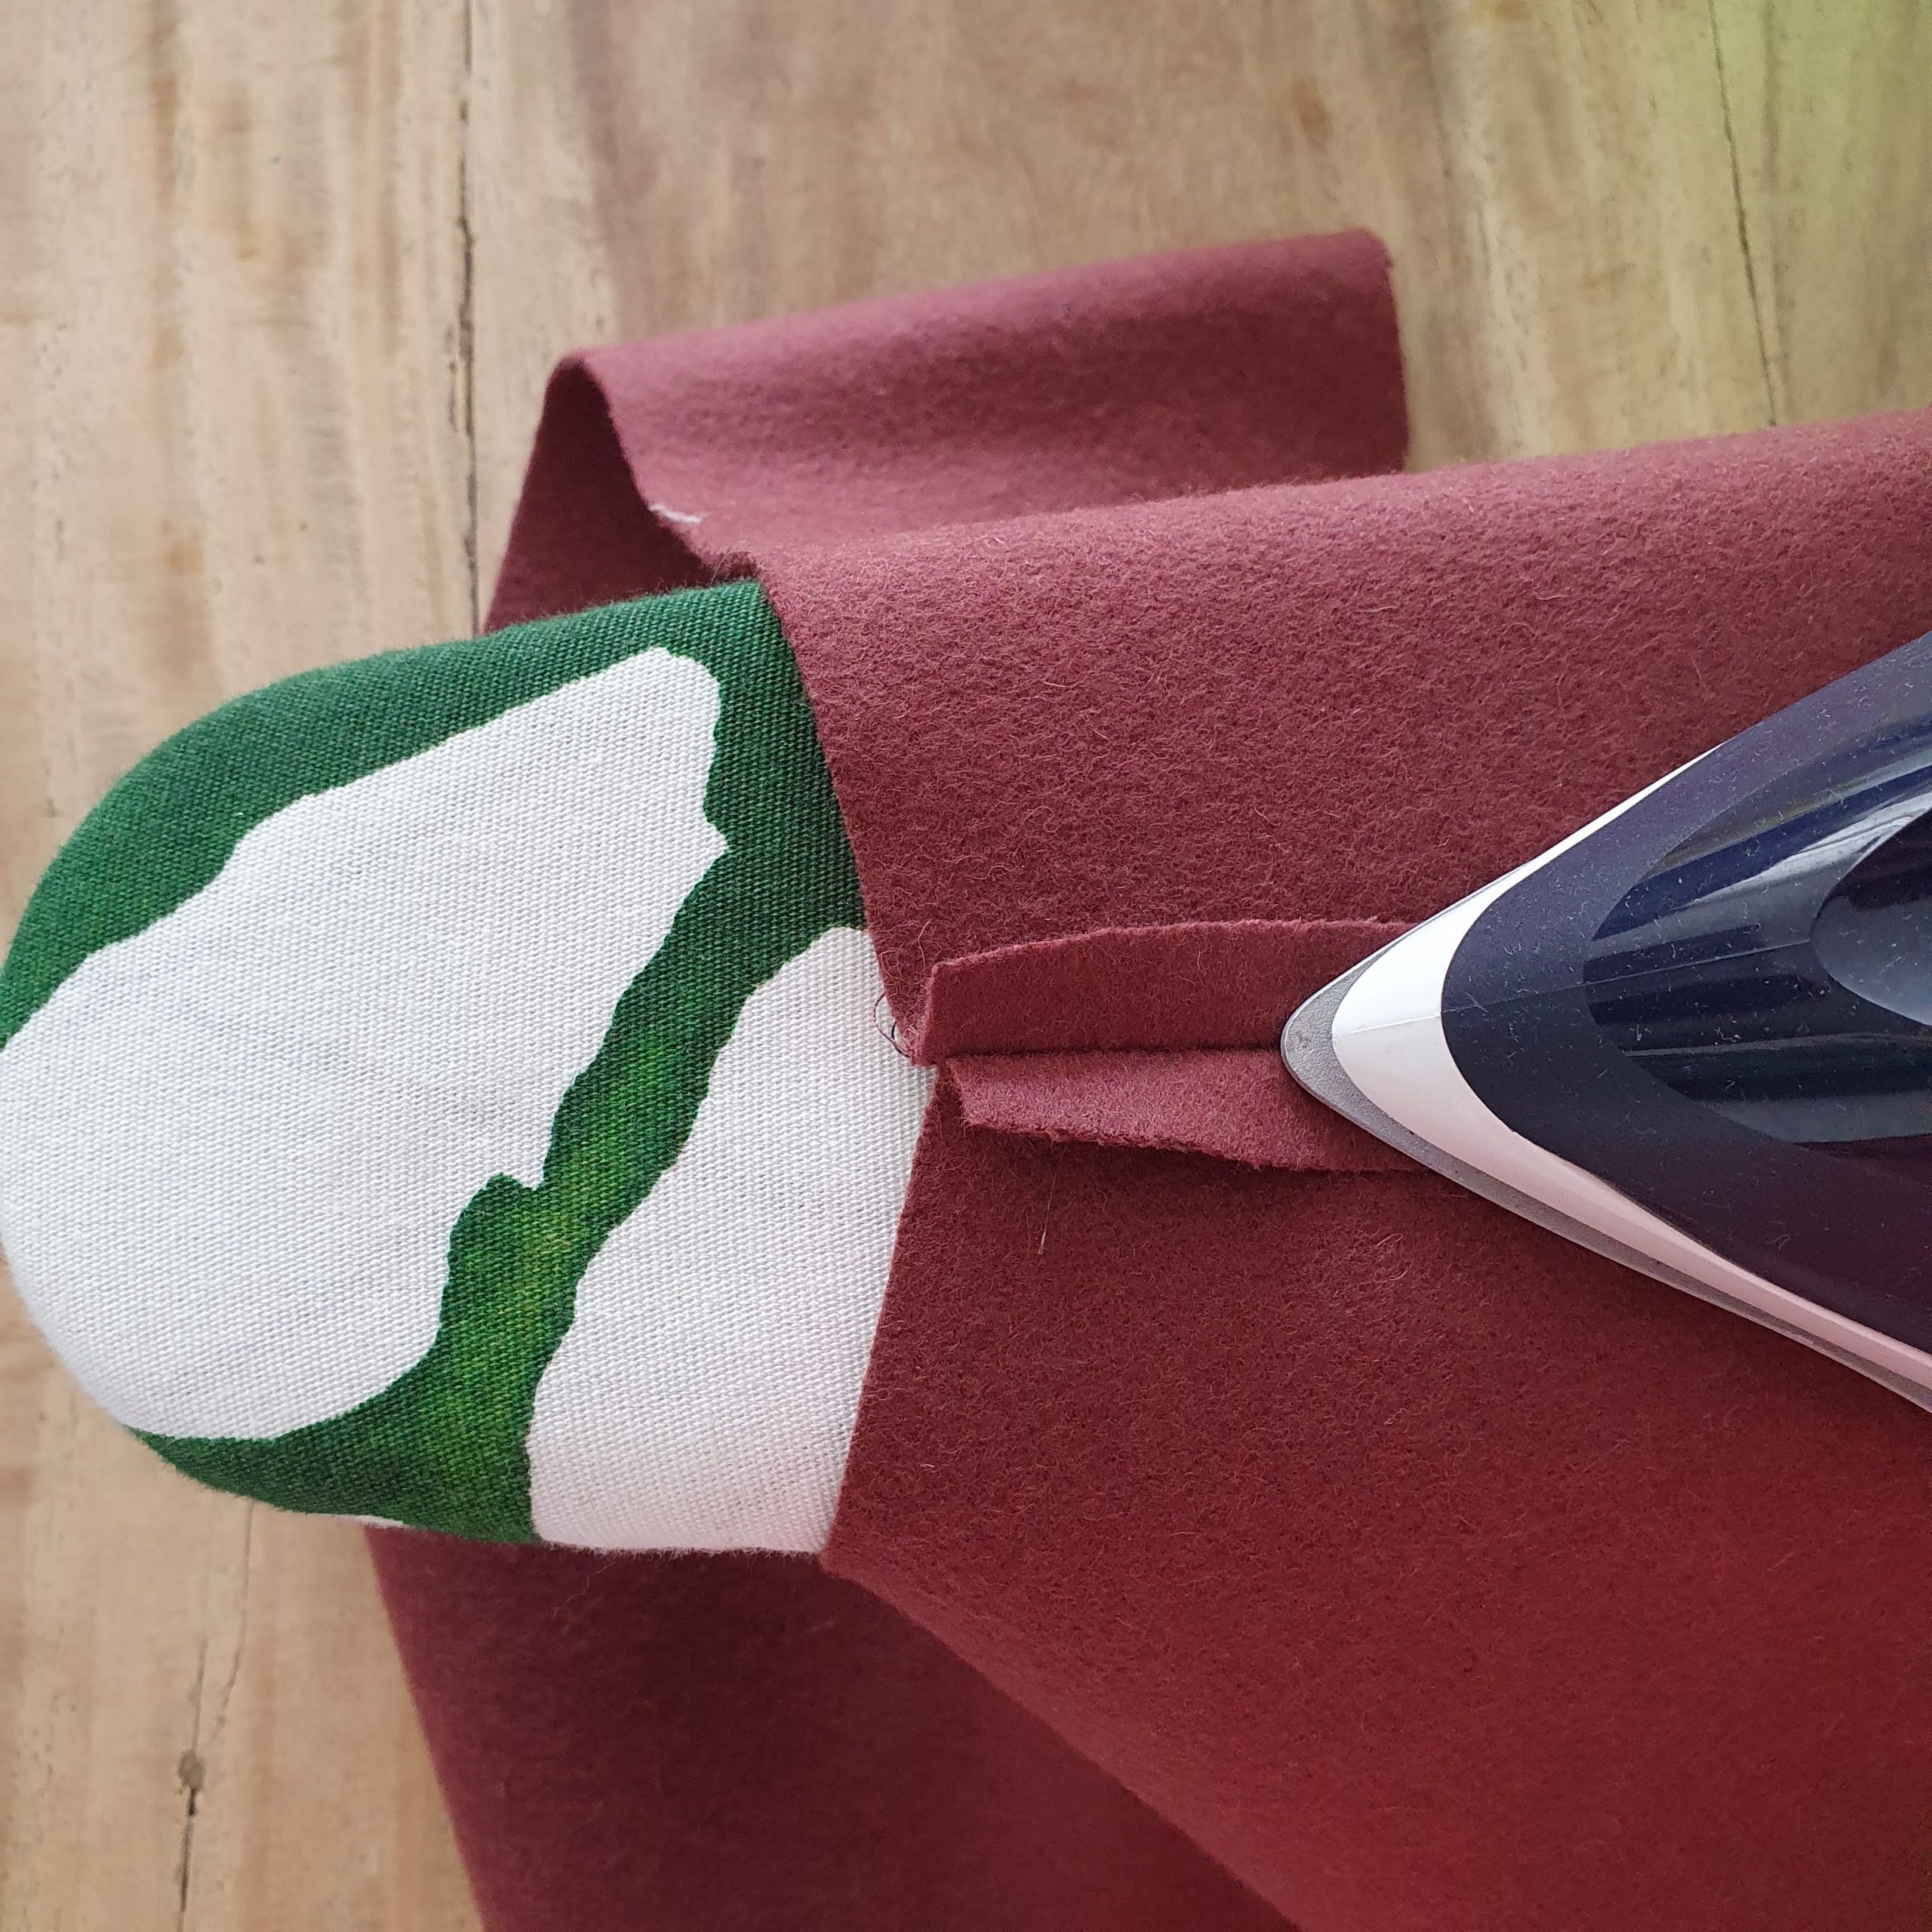
Sew the two short sides of pattern piece 2 (wide band) together to form a ring. Iron the seam.
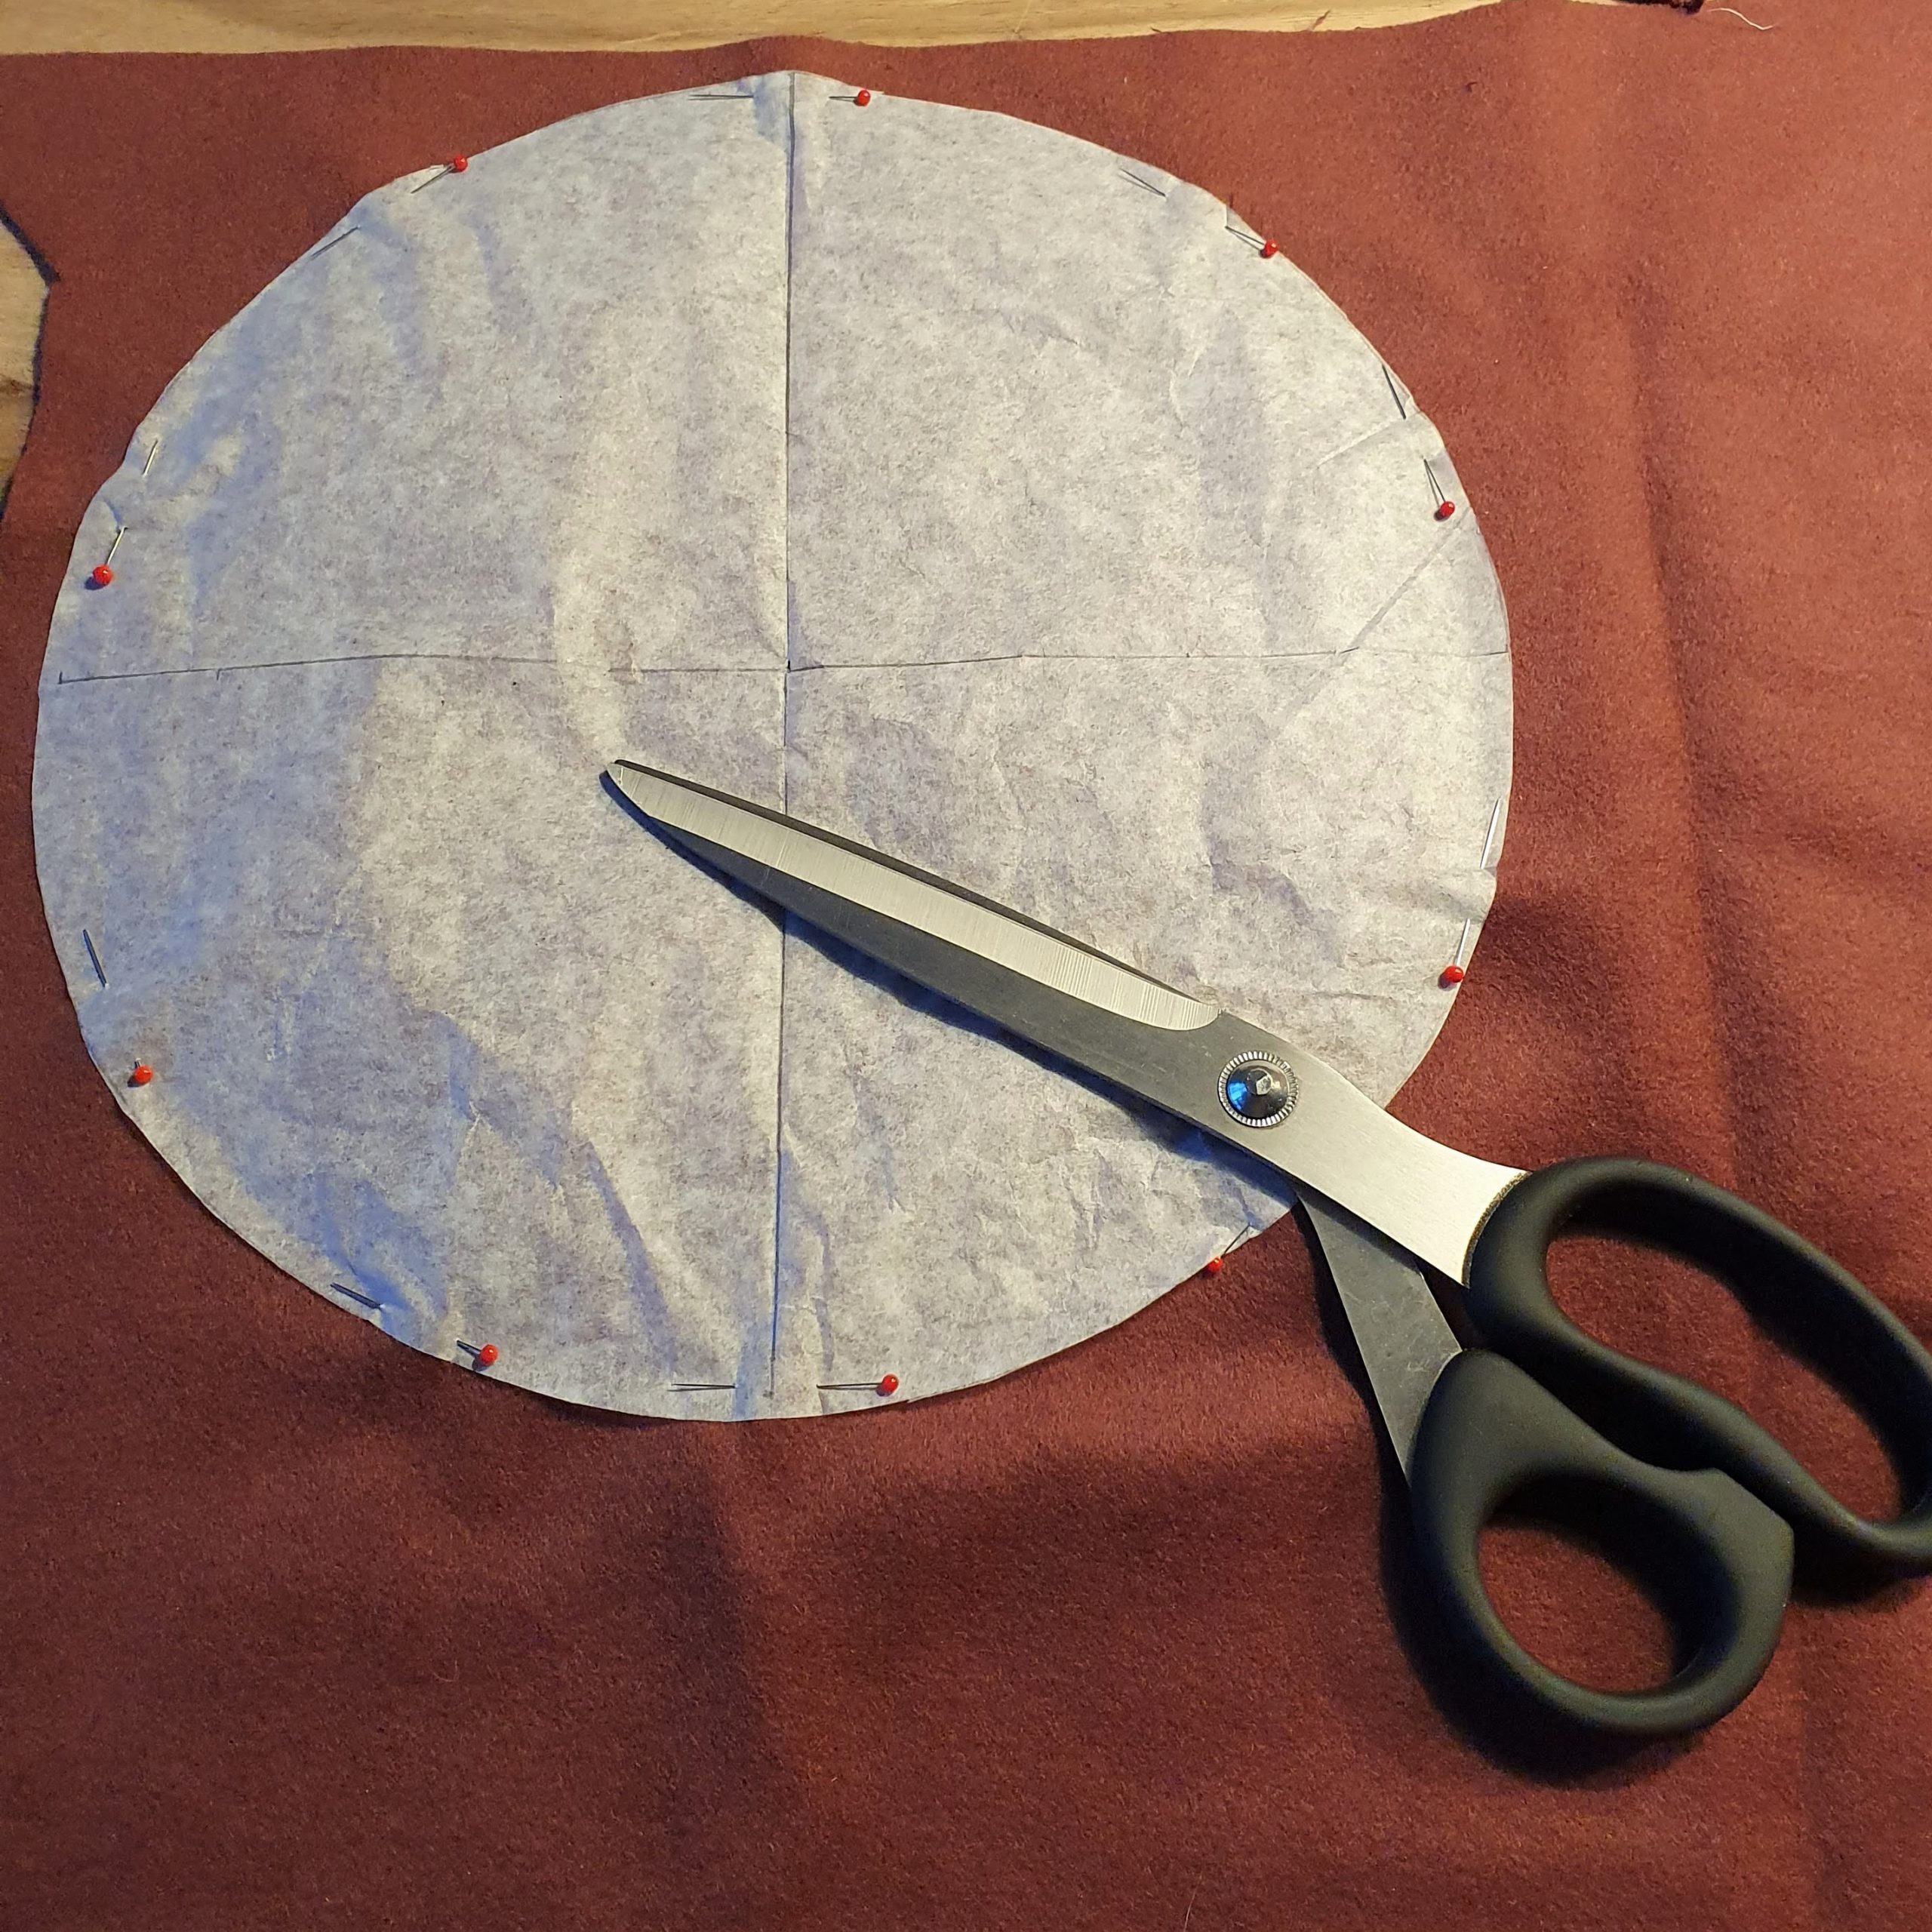
Divide both pattern piece 1 (the circle) and pattern piece 2 (the wide band) into four equal parts. Mark this with pins. Pin the pieces together and match the marker pins. Sew both parts together.

Mark four equal parts
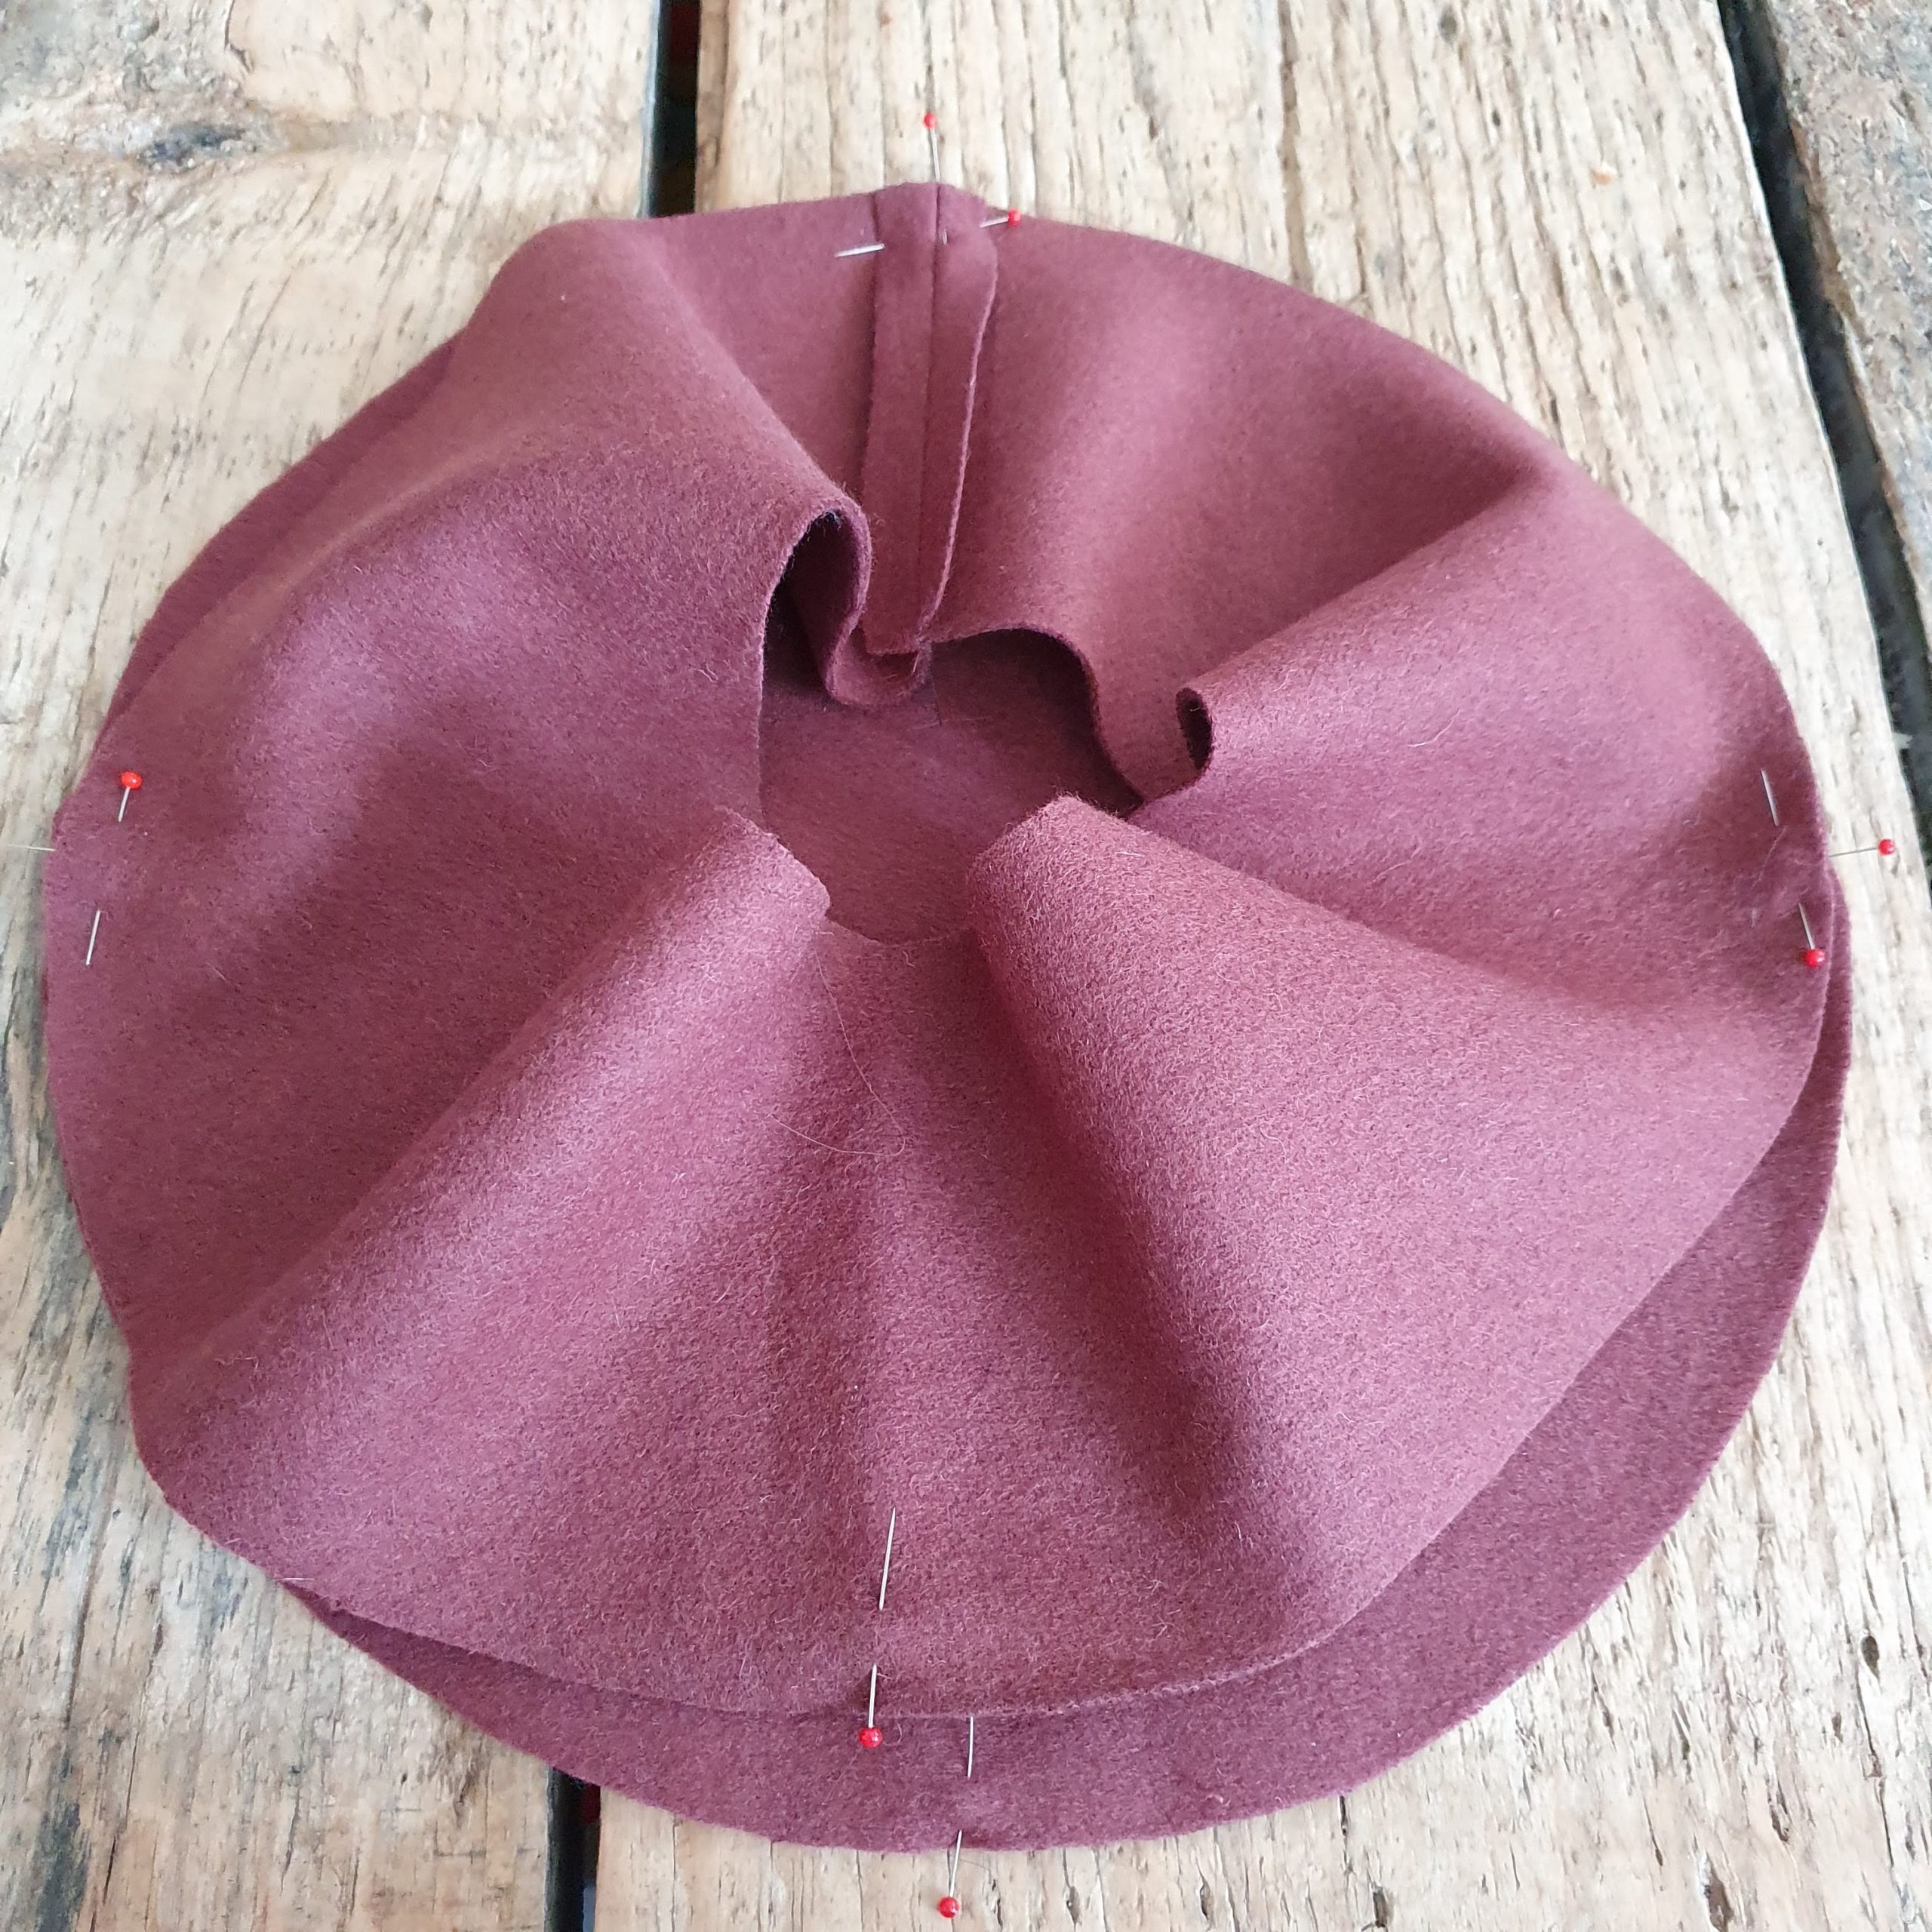
Match markings
Iron the seams. I don’t have to finish the woollen fabric used for this beret and I simply cut the seam narrow. If your fabric does fray, finish it with a zigzag stitch, over locker or bias tape.
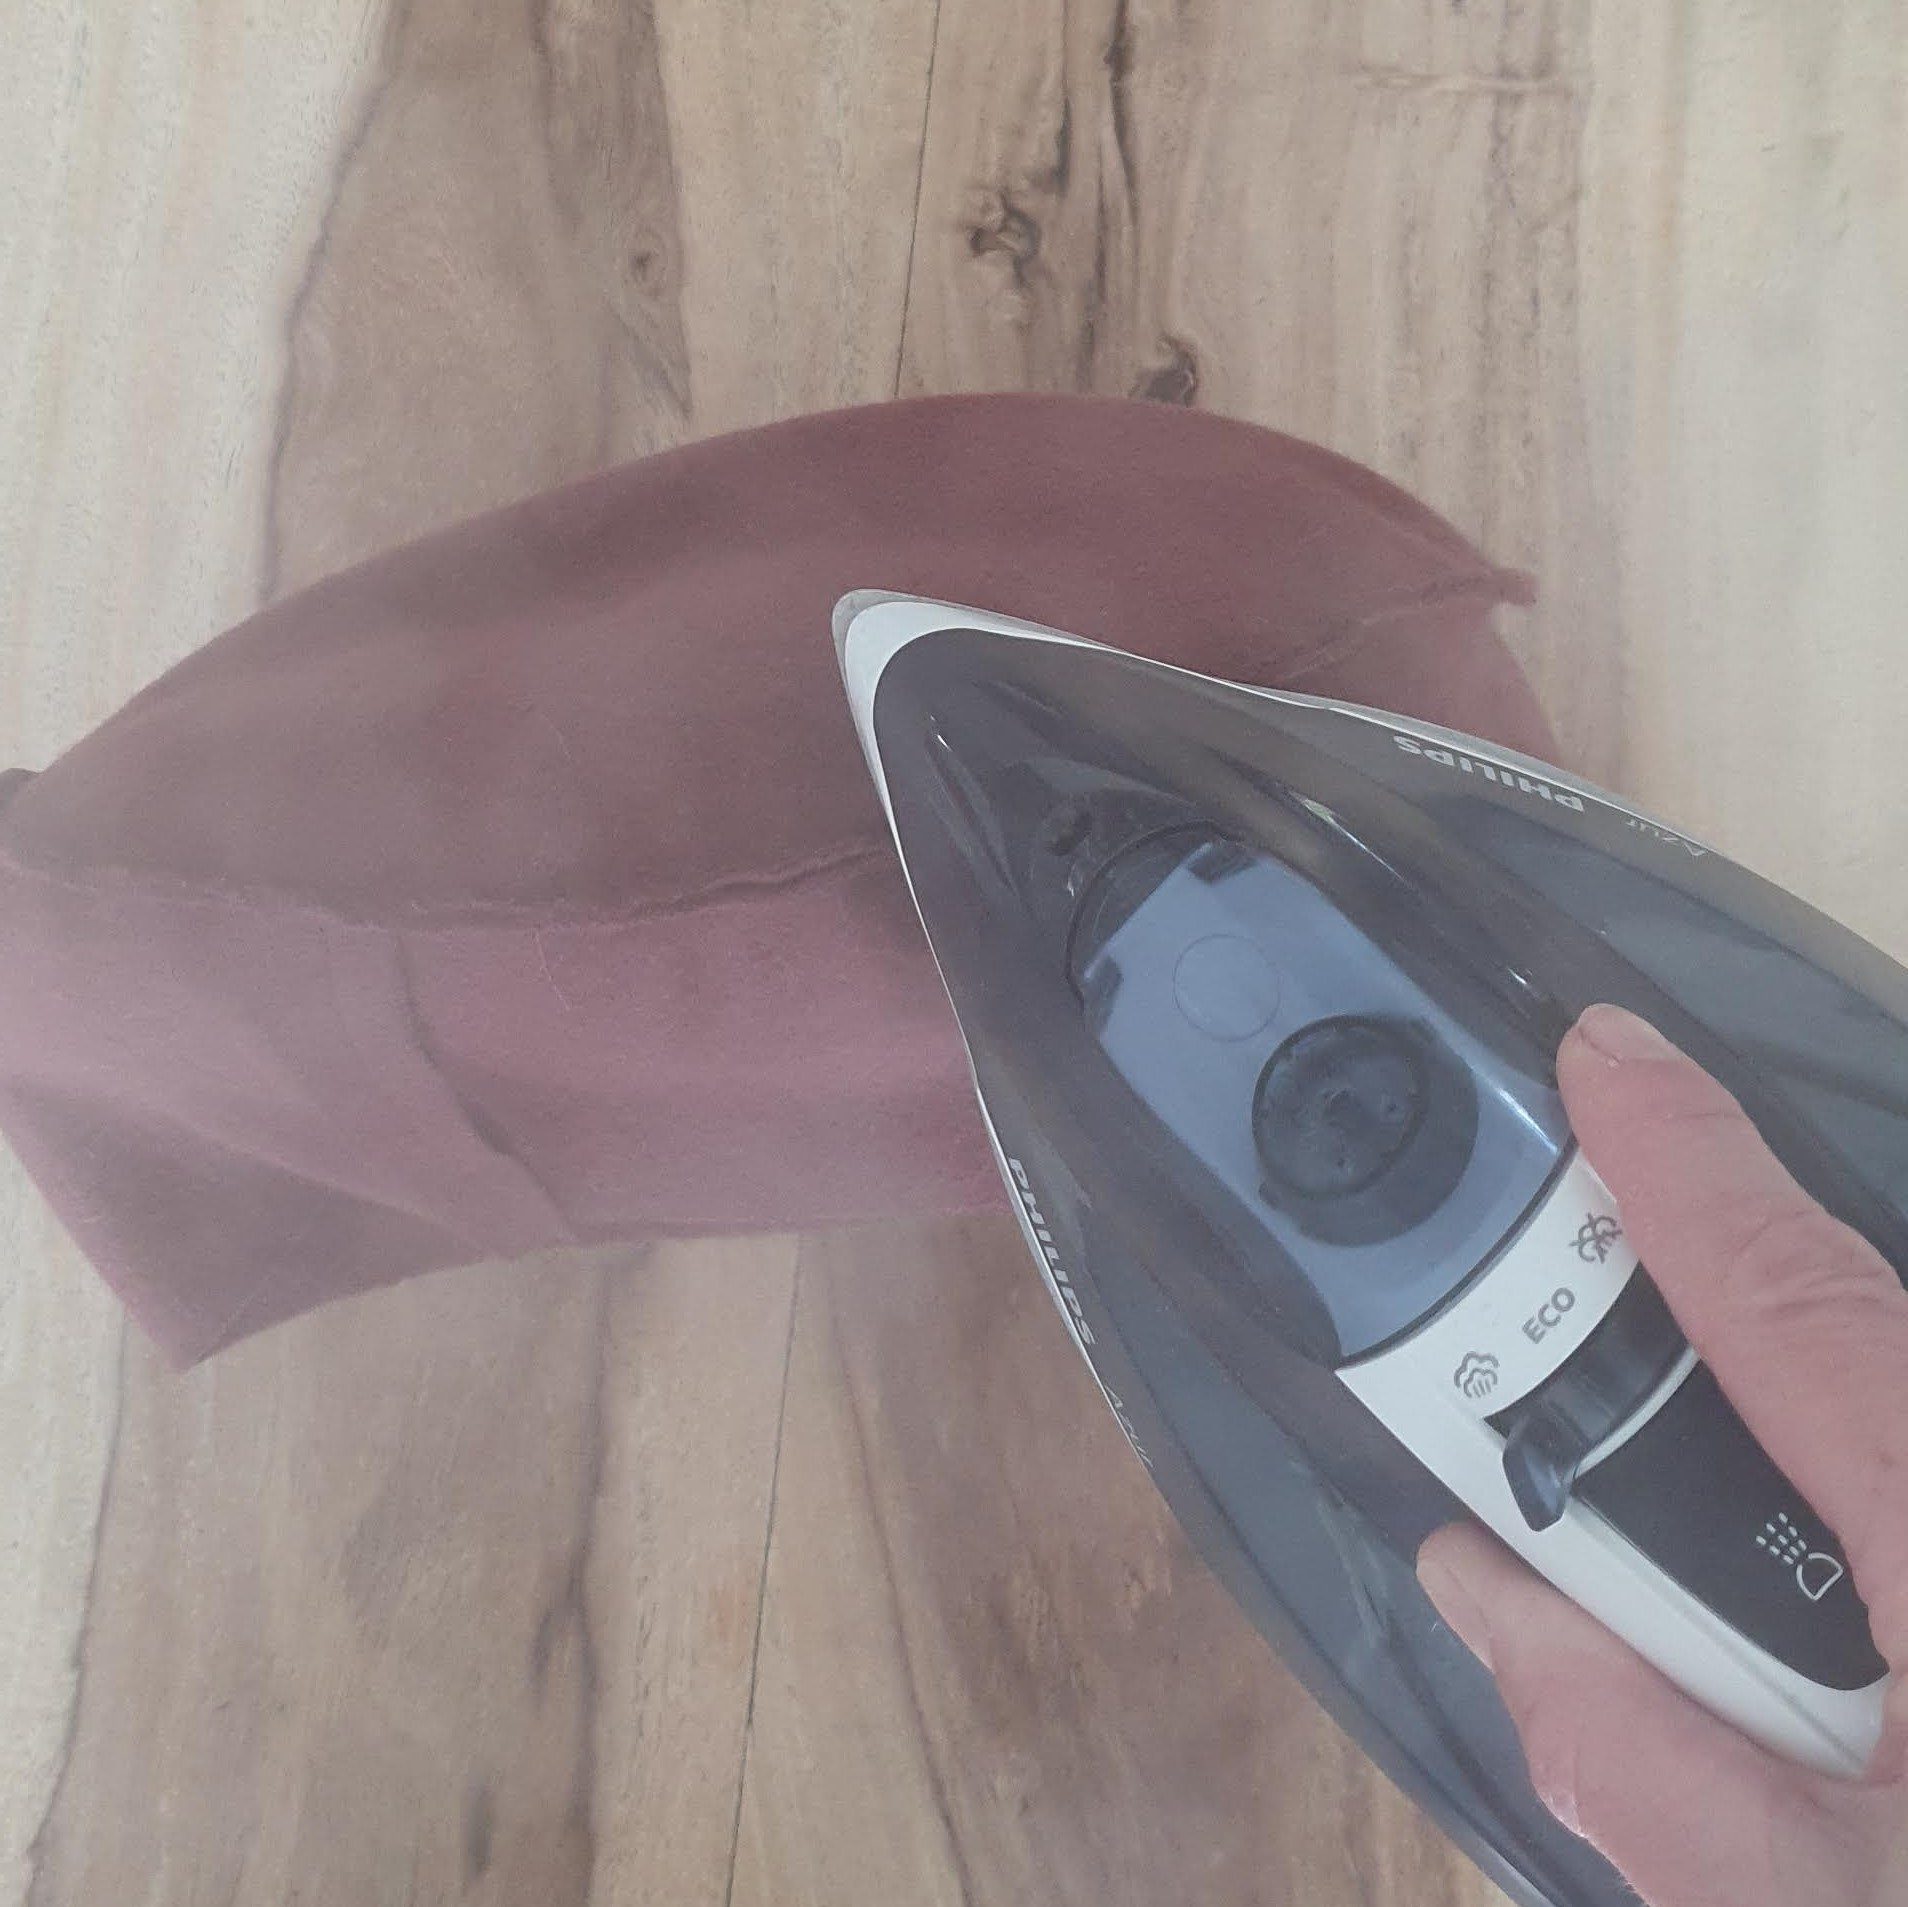
Iron with steam
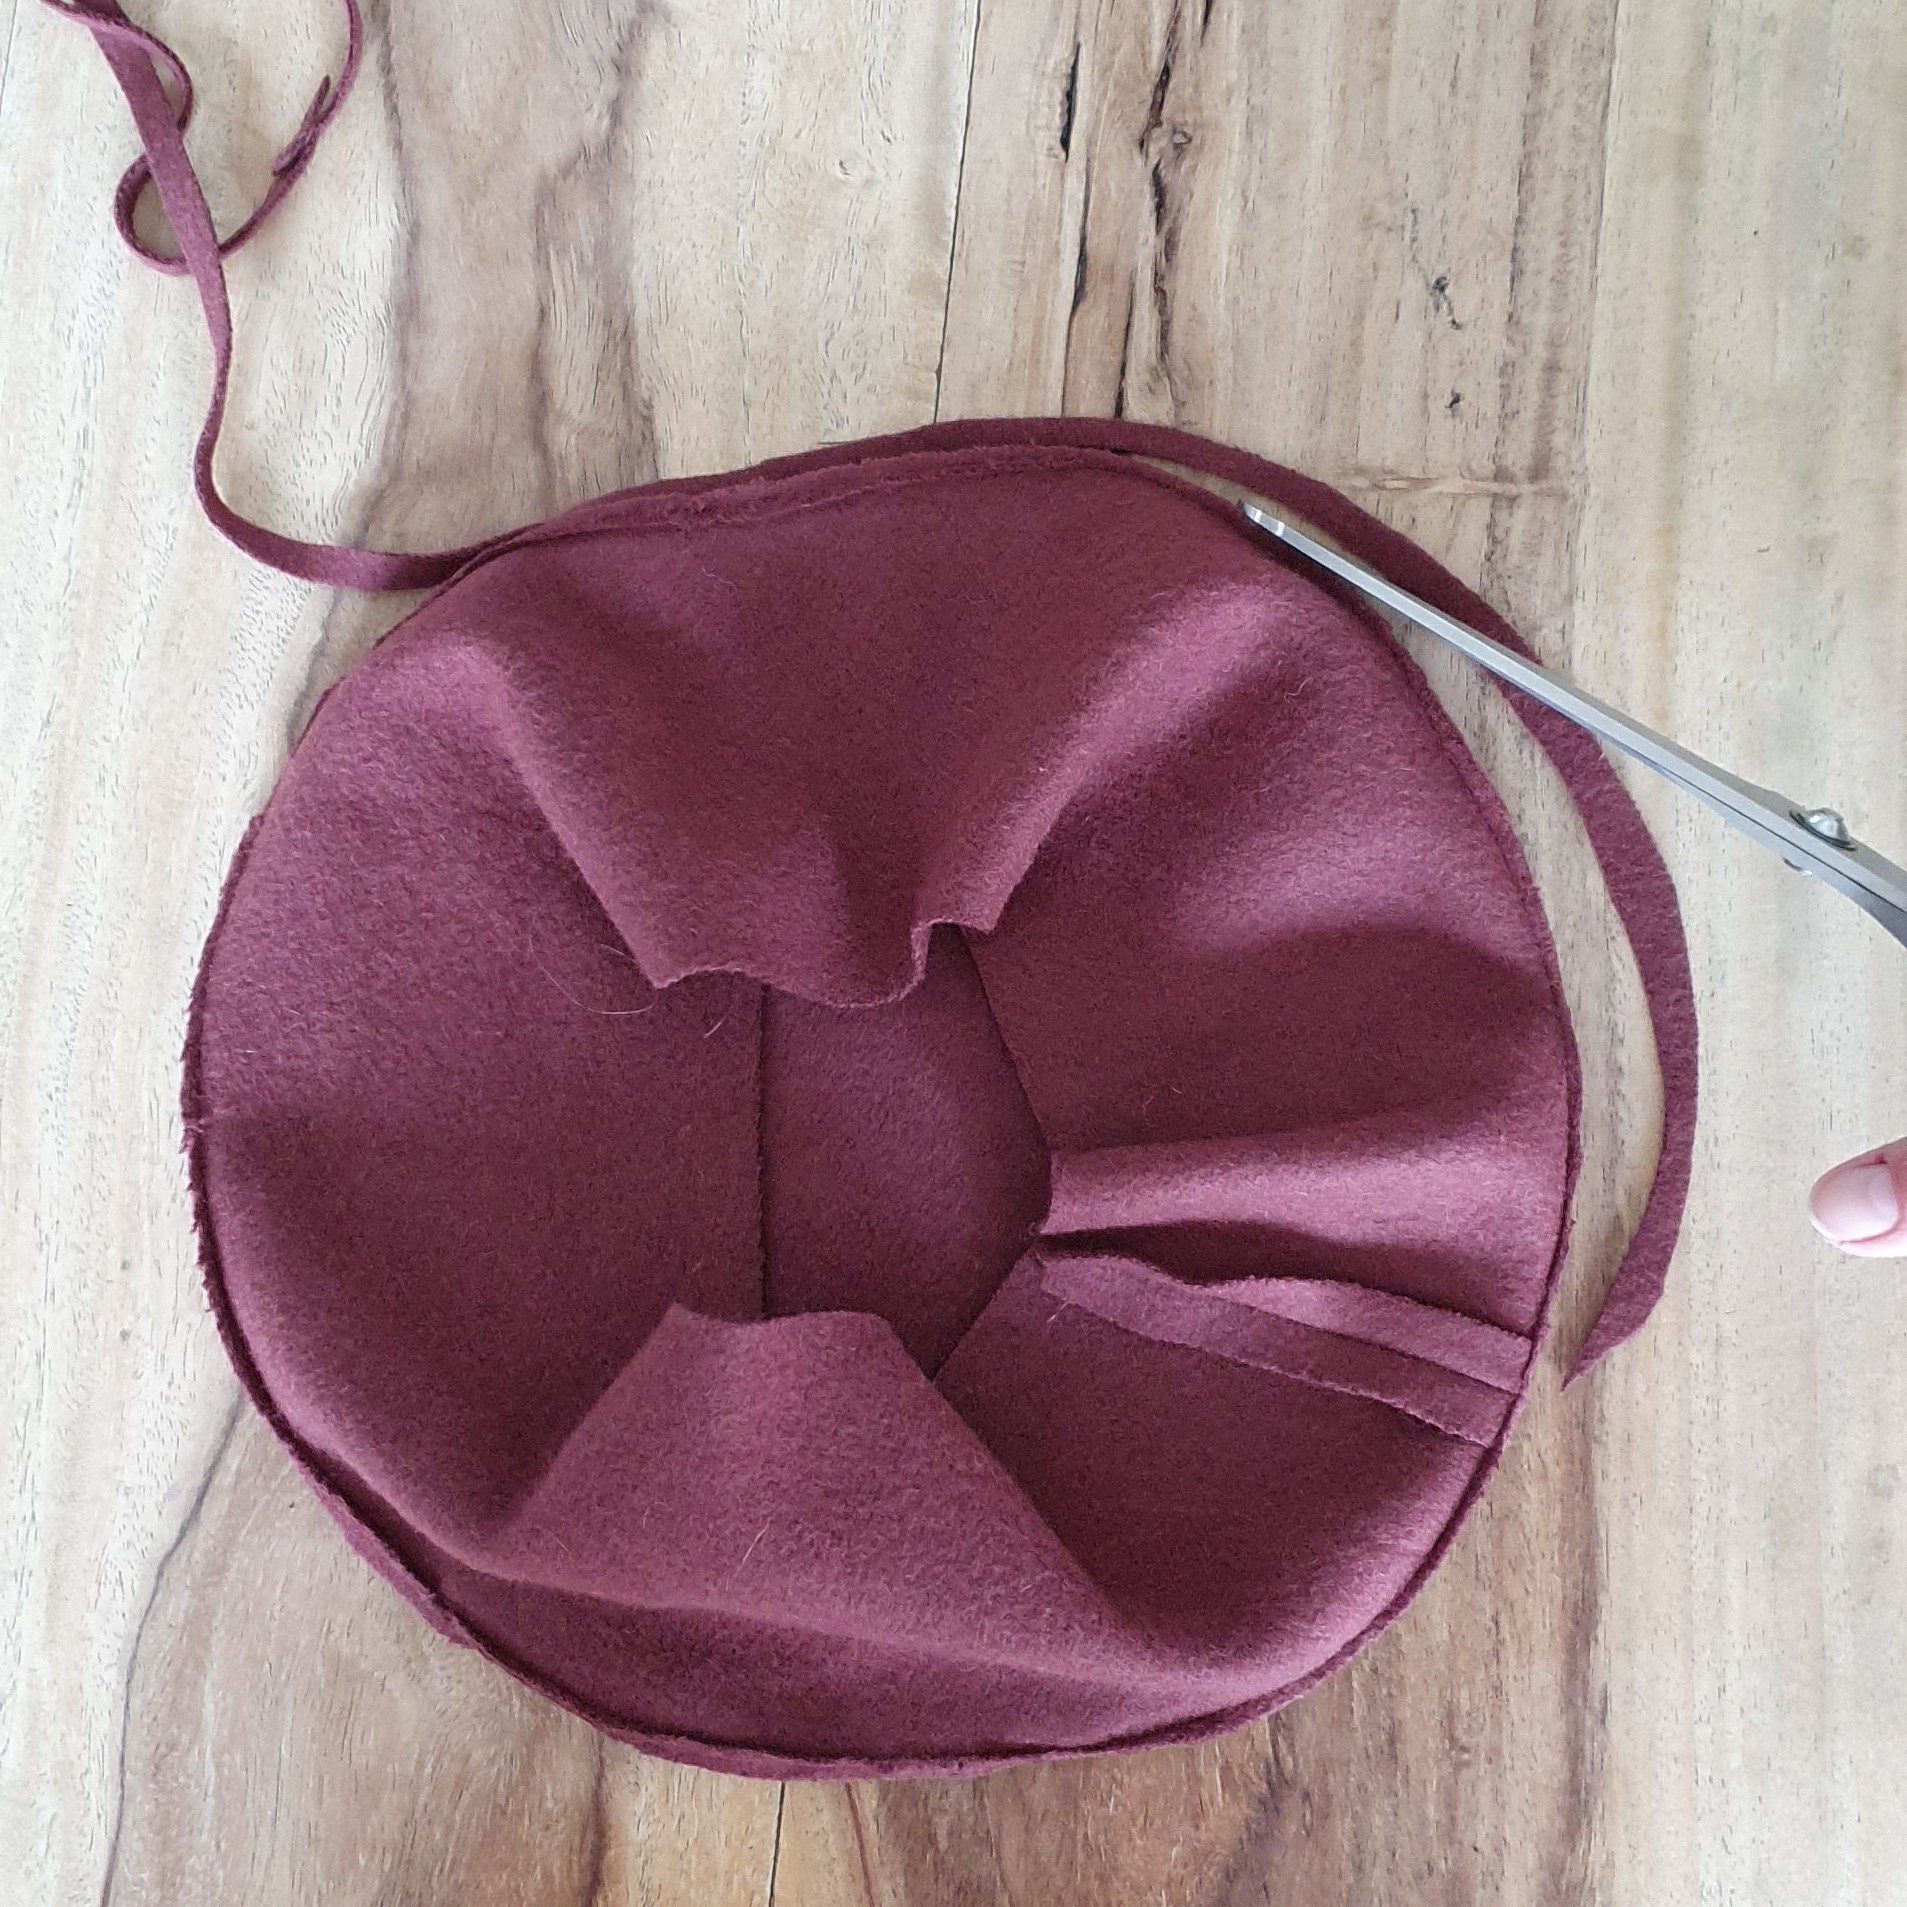
Cut the seam narrow
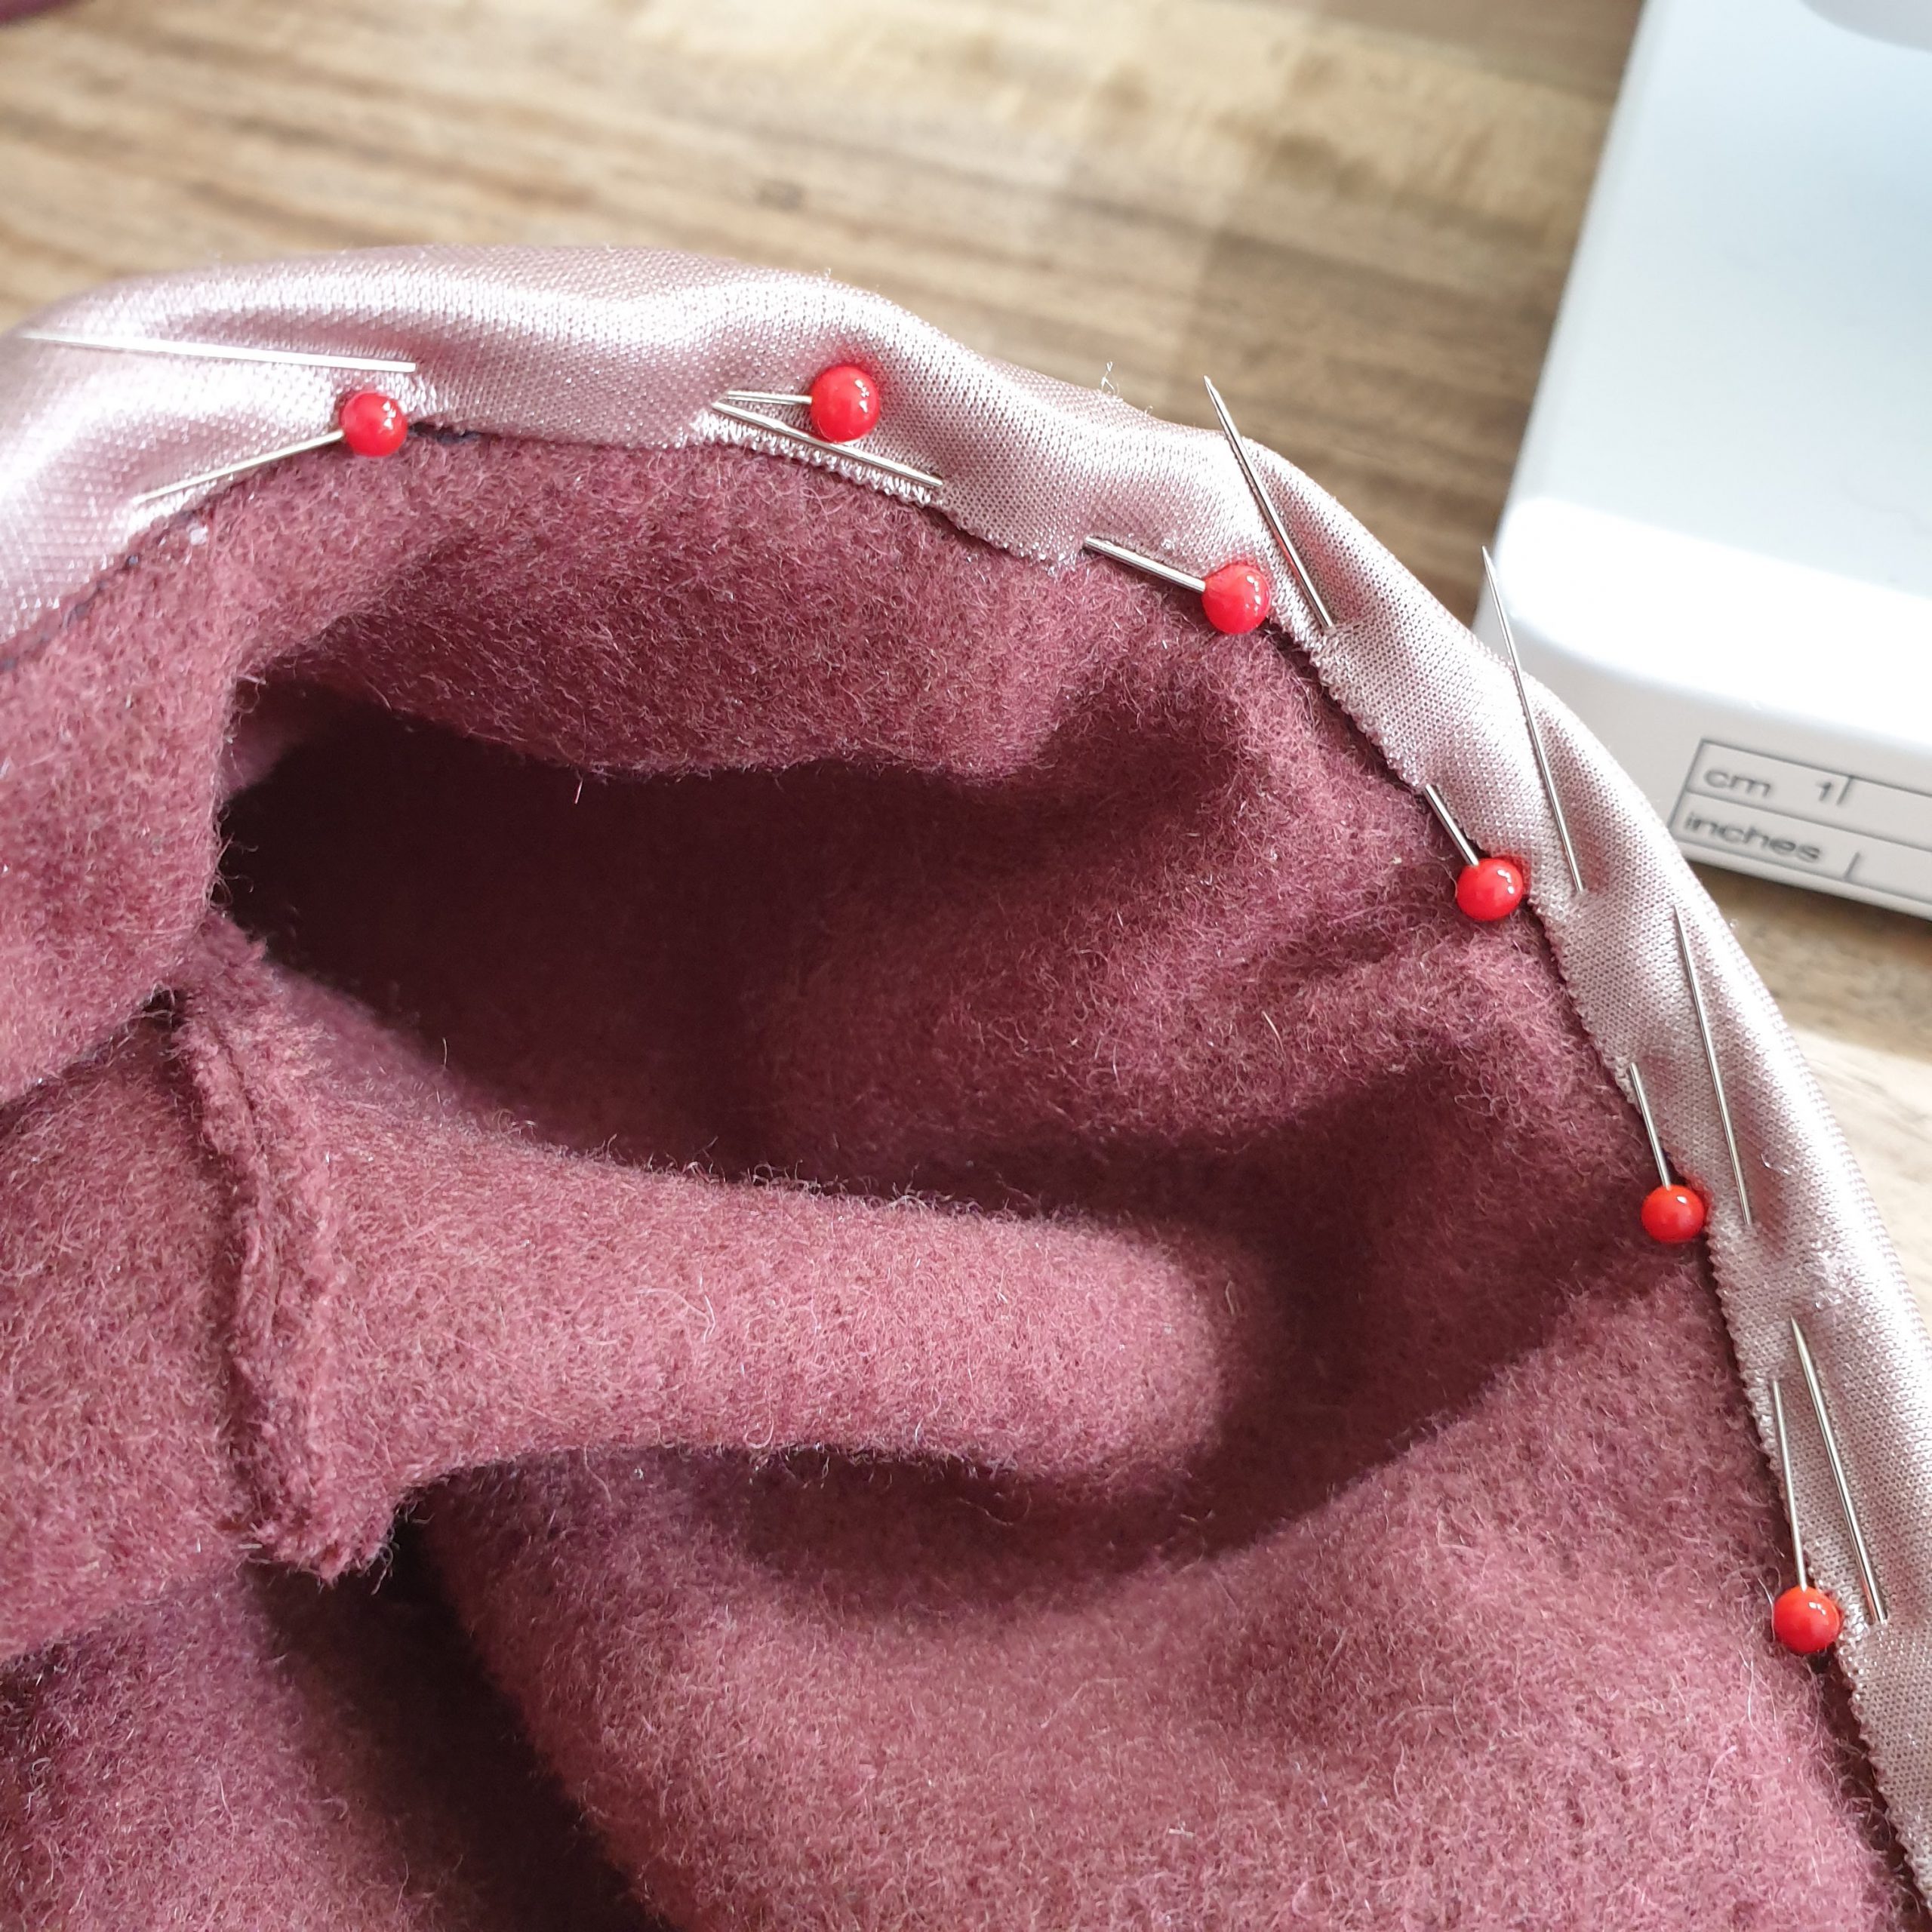
The next step is the narrow band at the bottom of the beret. Sew the short sides together to form a ring. Fold the long sides wrong sides together and iron the fold. Divide into four equal parts. Do the same with the bottom of the beret. Pin and stitch.

Beret and band
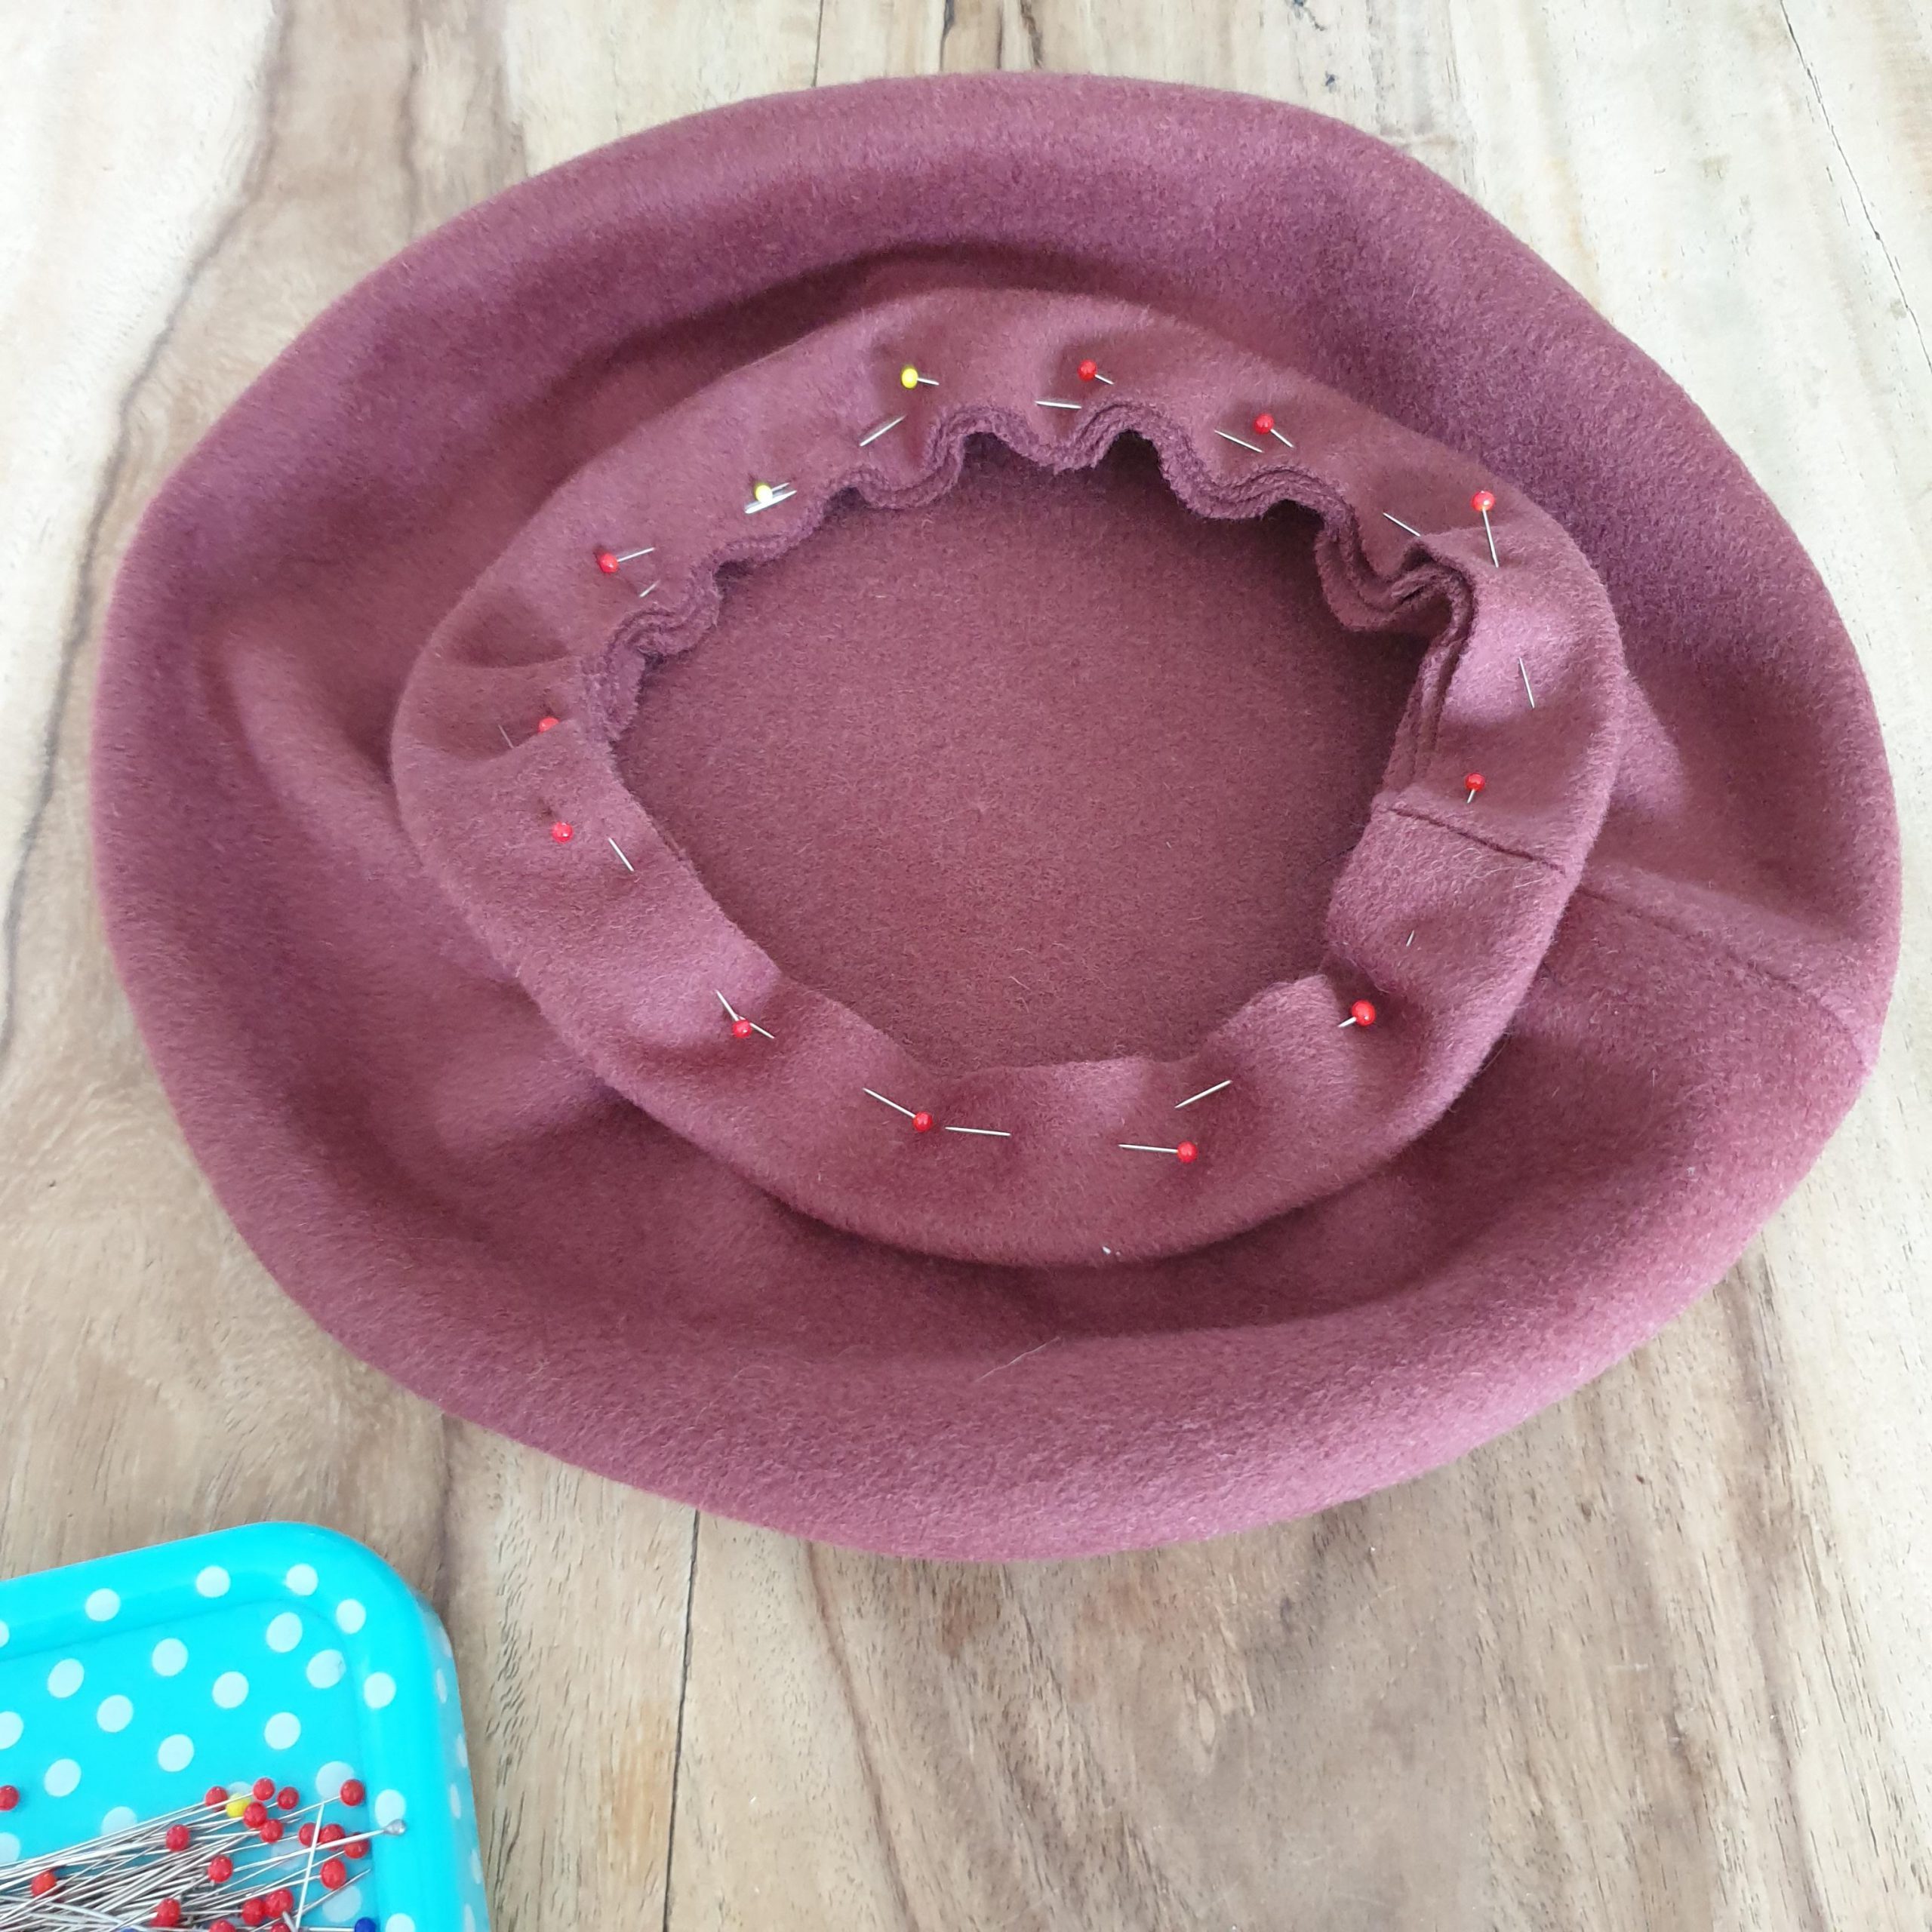
Pin the band folded in half to the beret
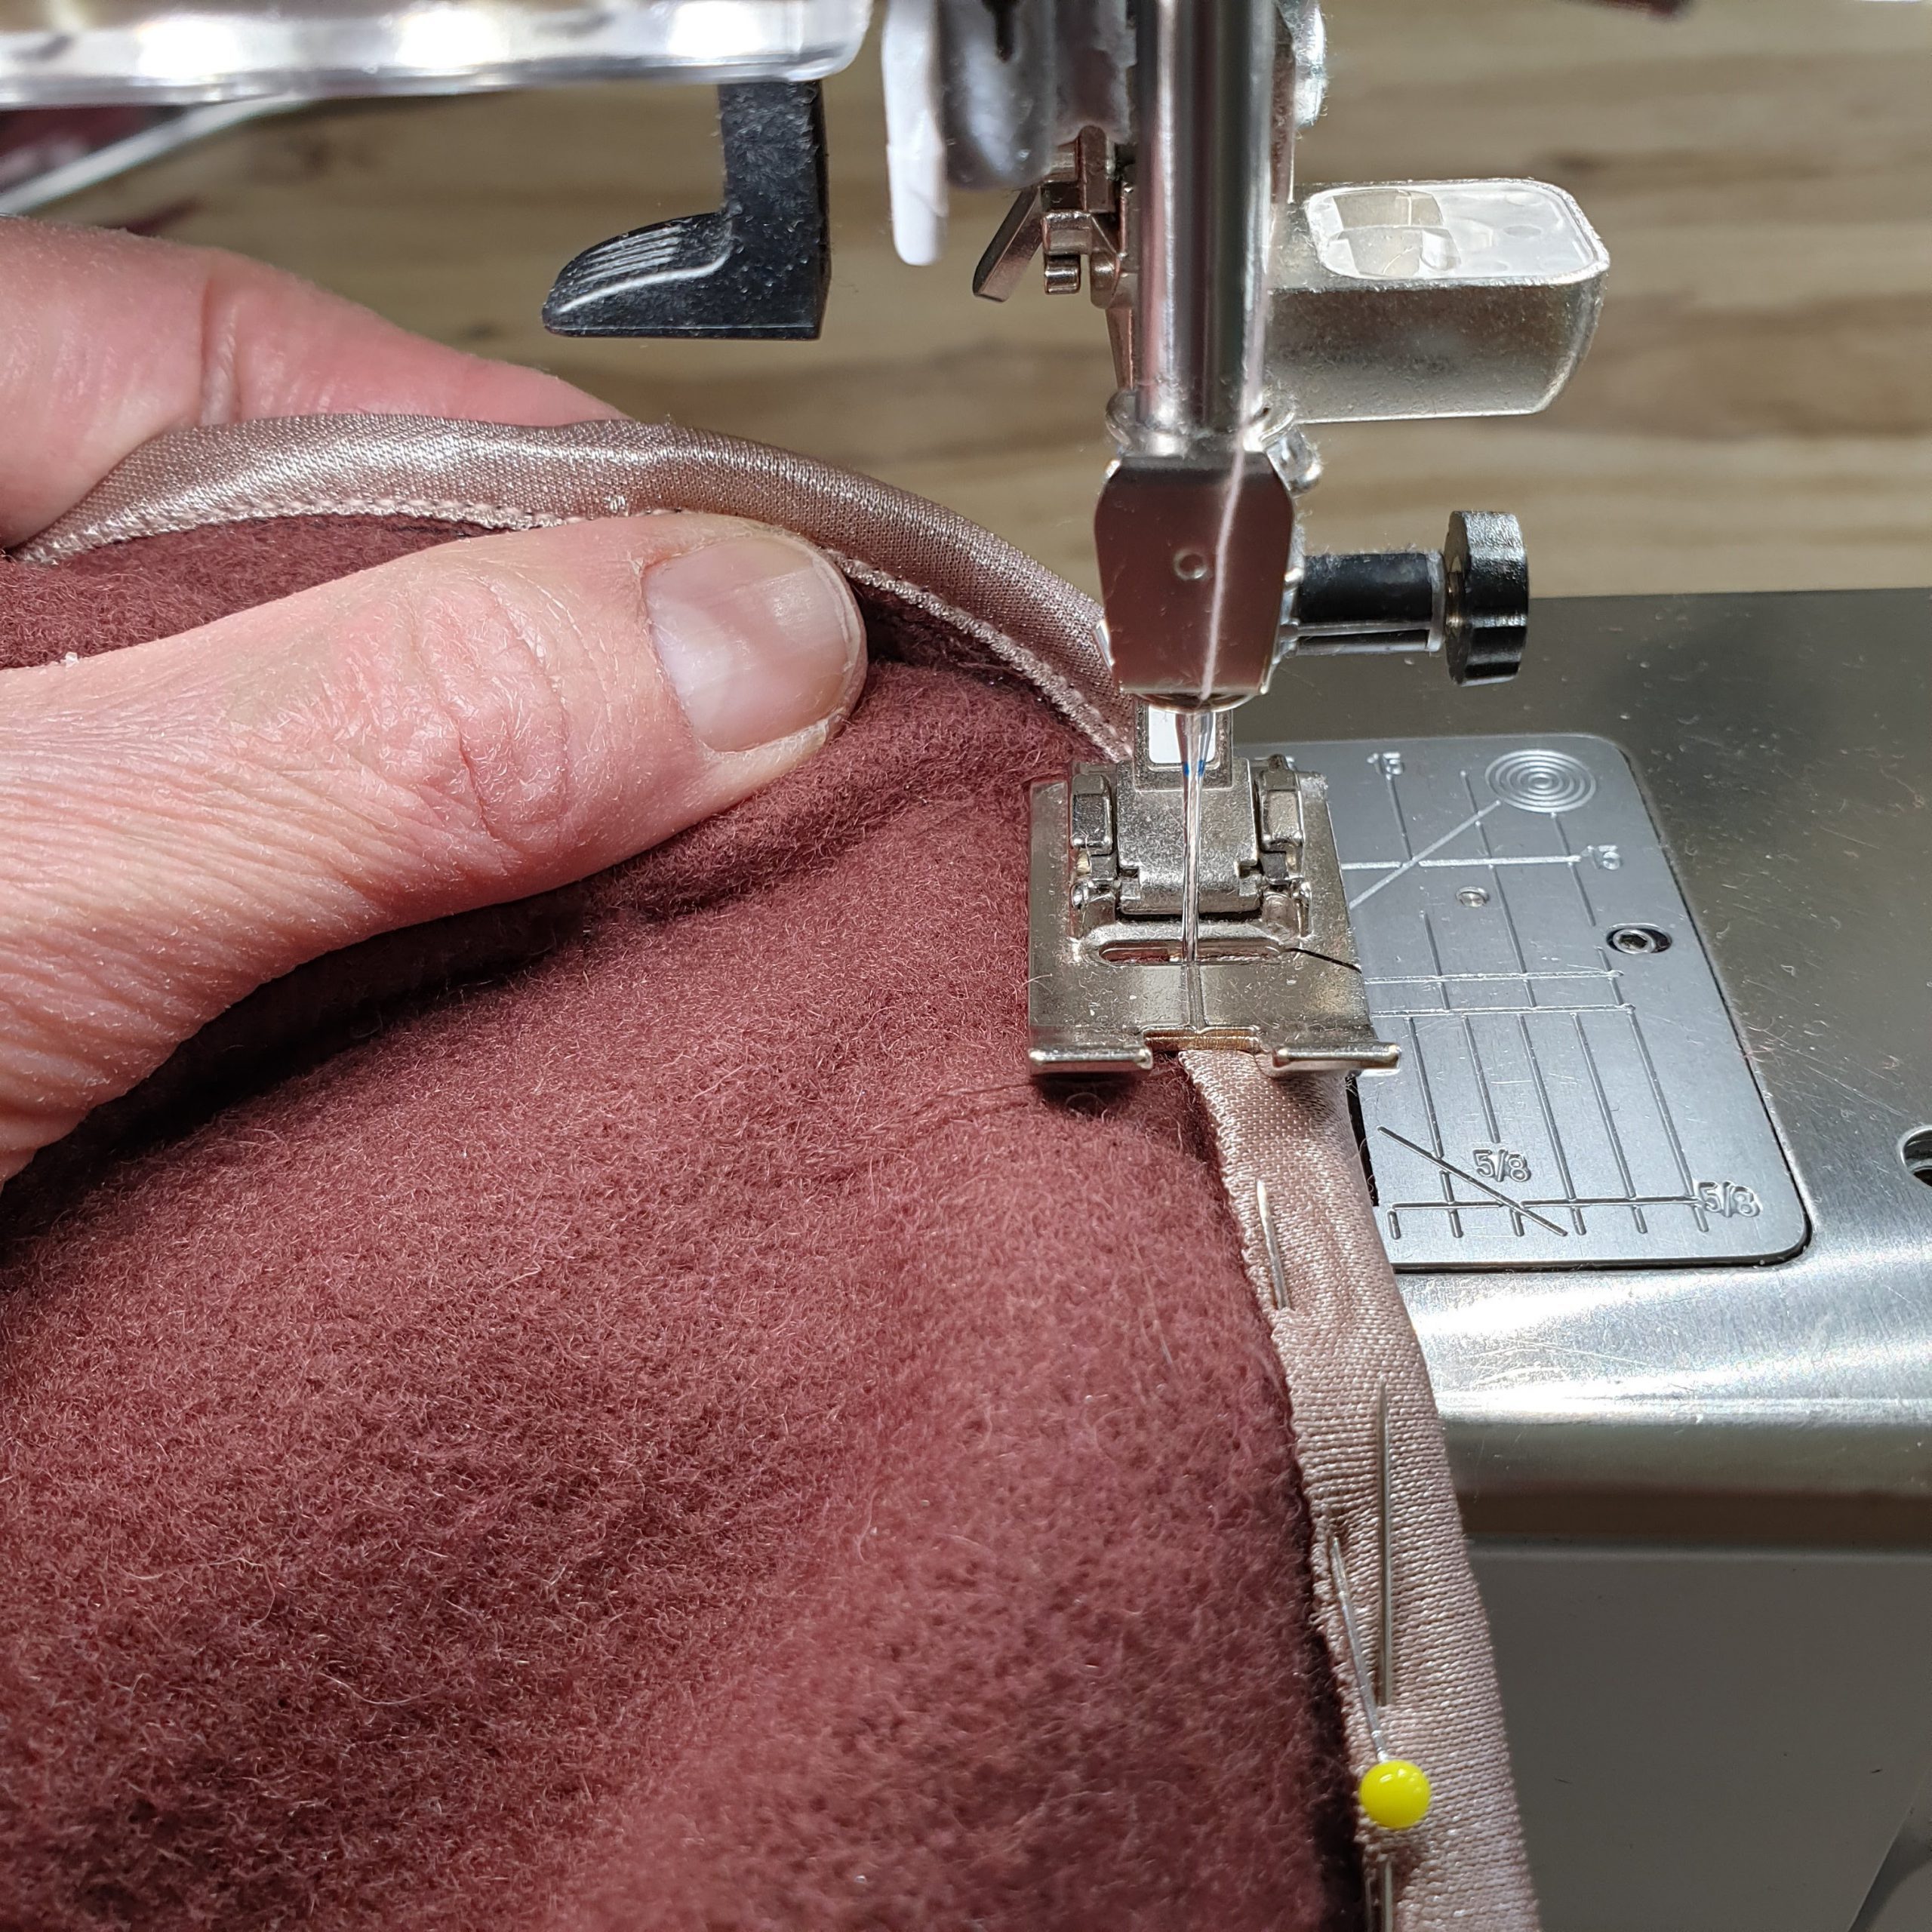
Finish the seam with a zigzag, overlock or bias tape. I did the latter with some leftover lining fabric.
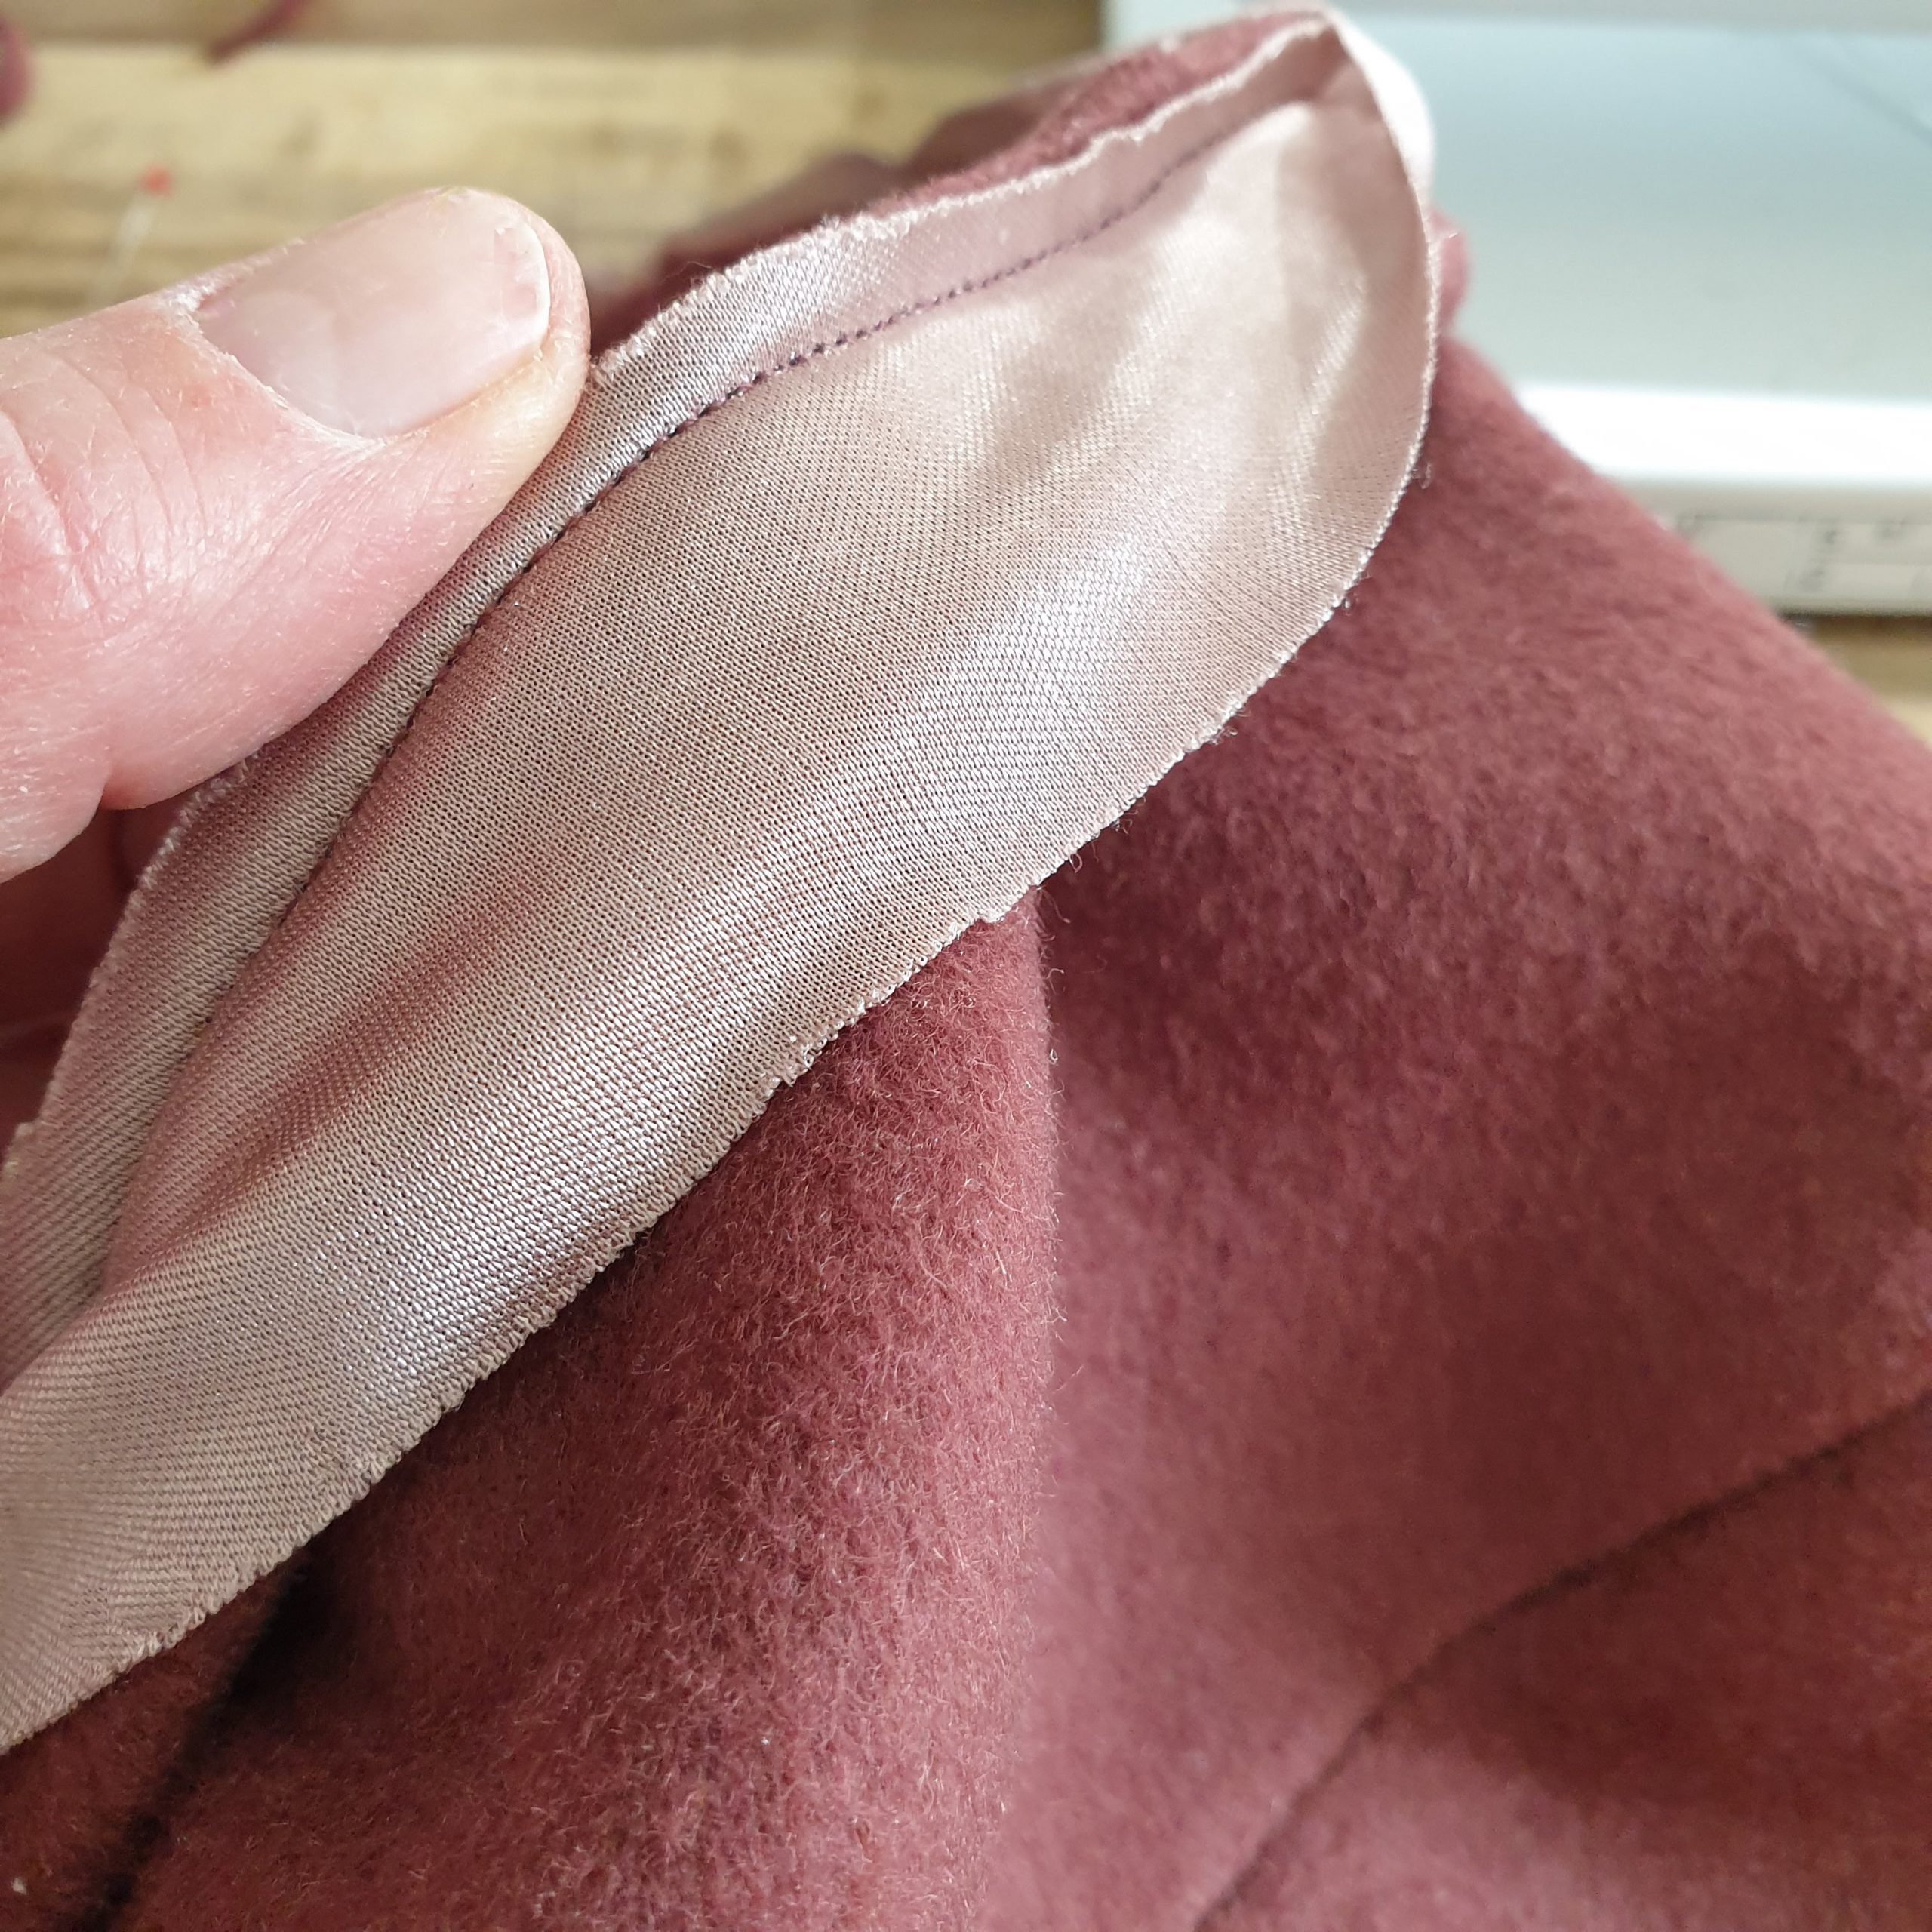
Stitch bias tape to the seam
Fold over the seam allowance with a weft
Stitch
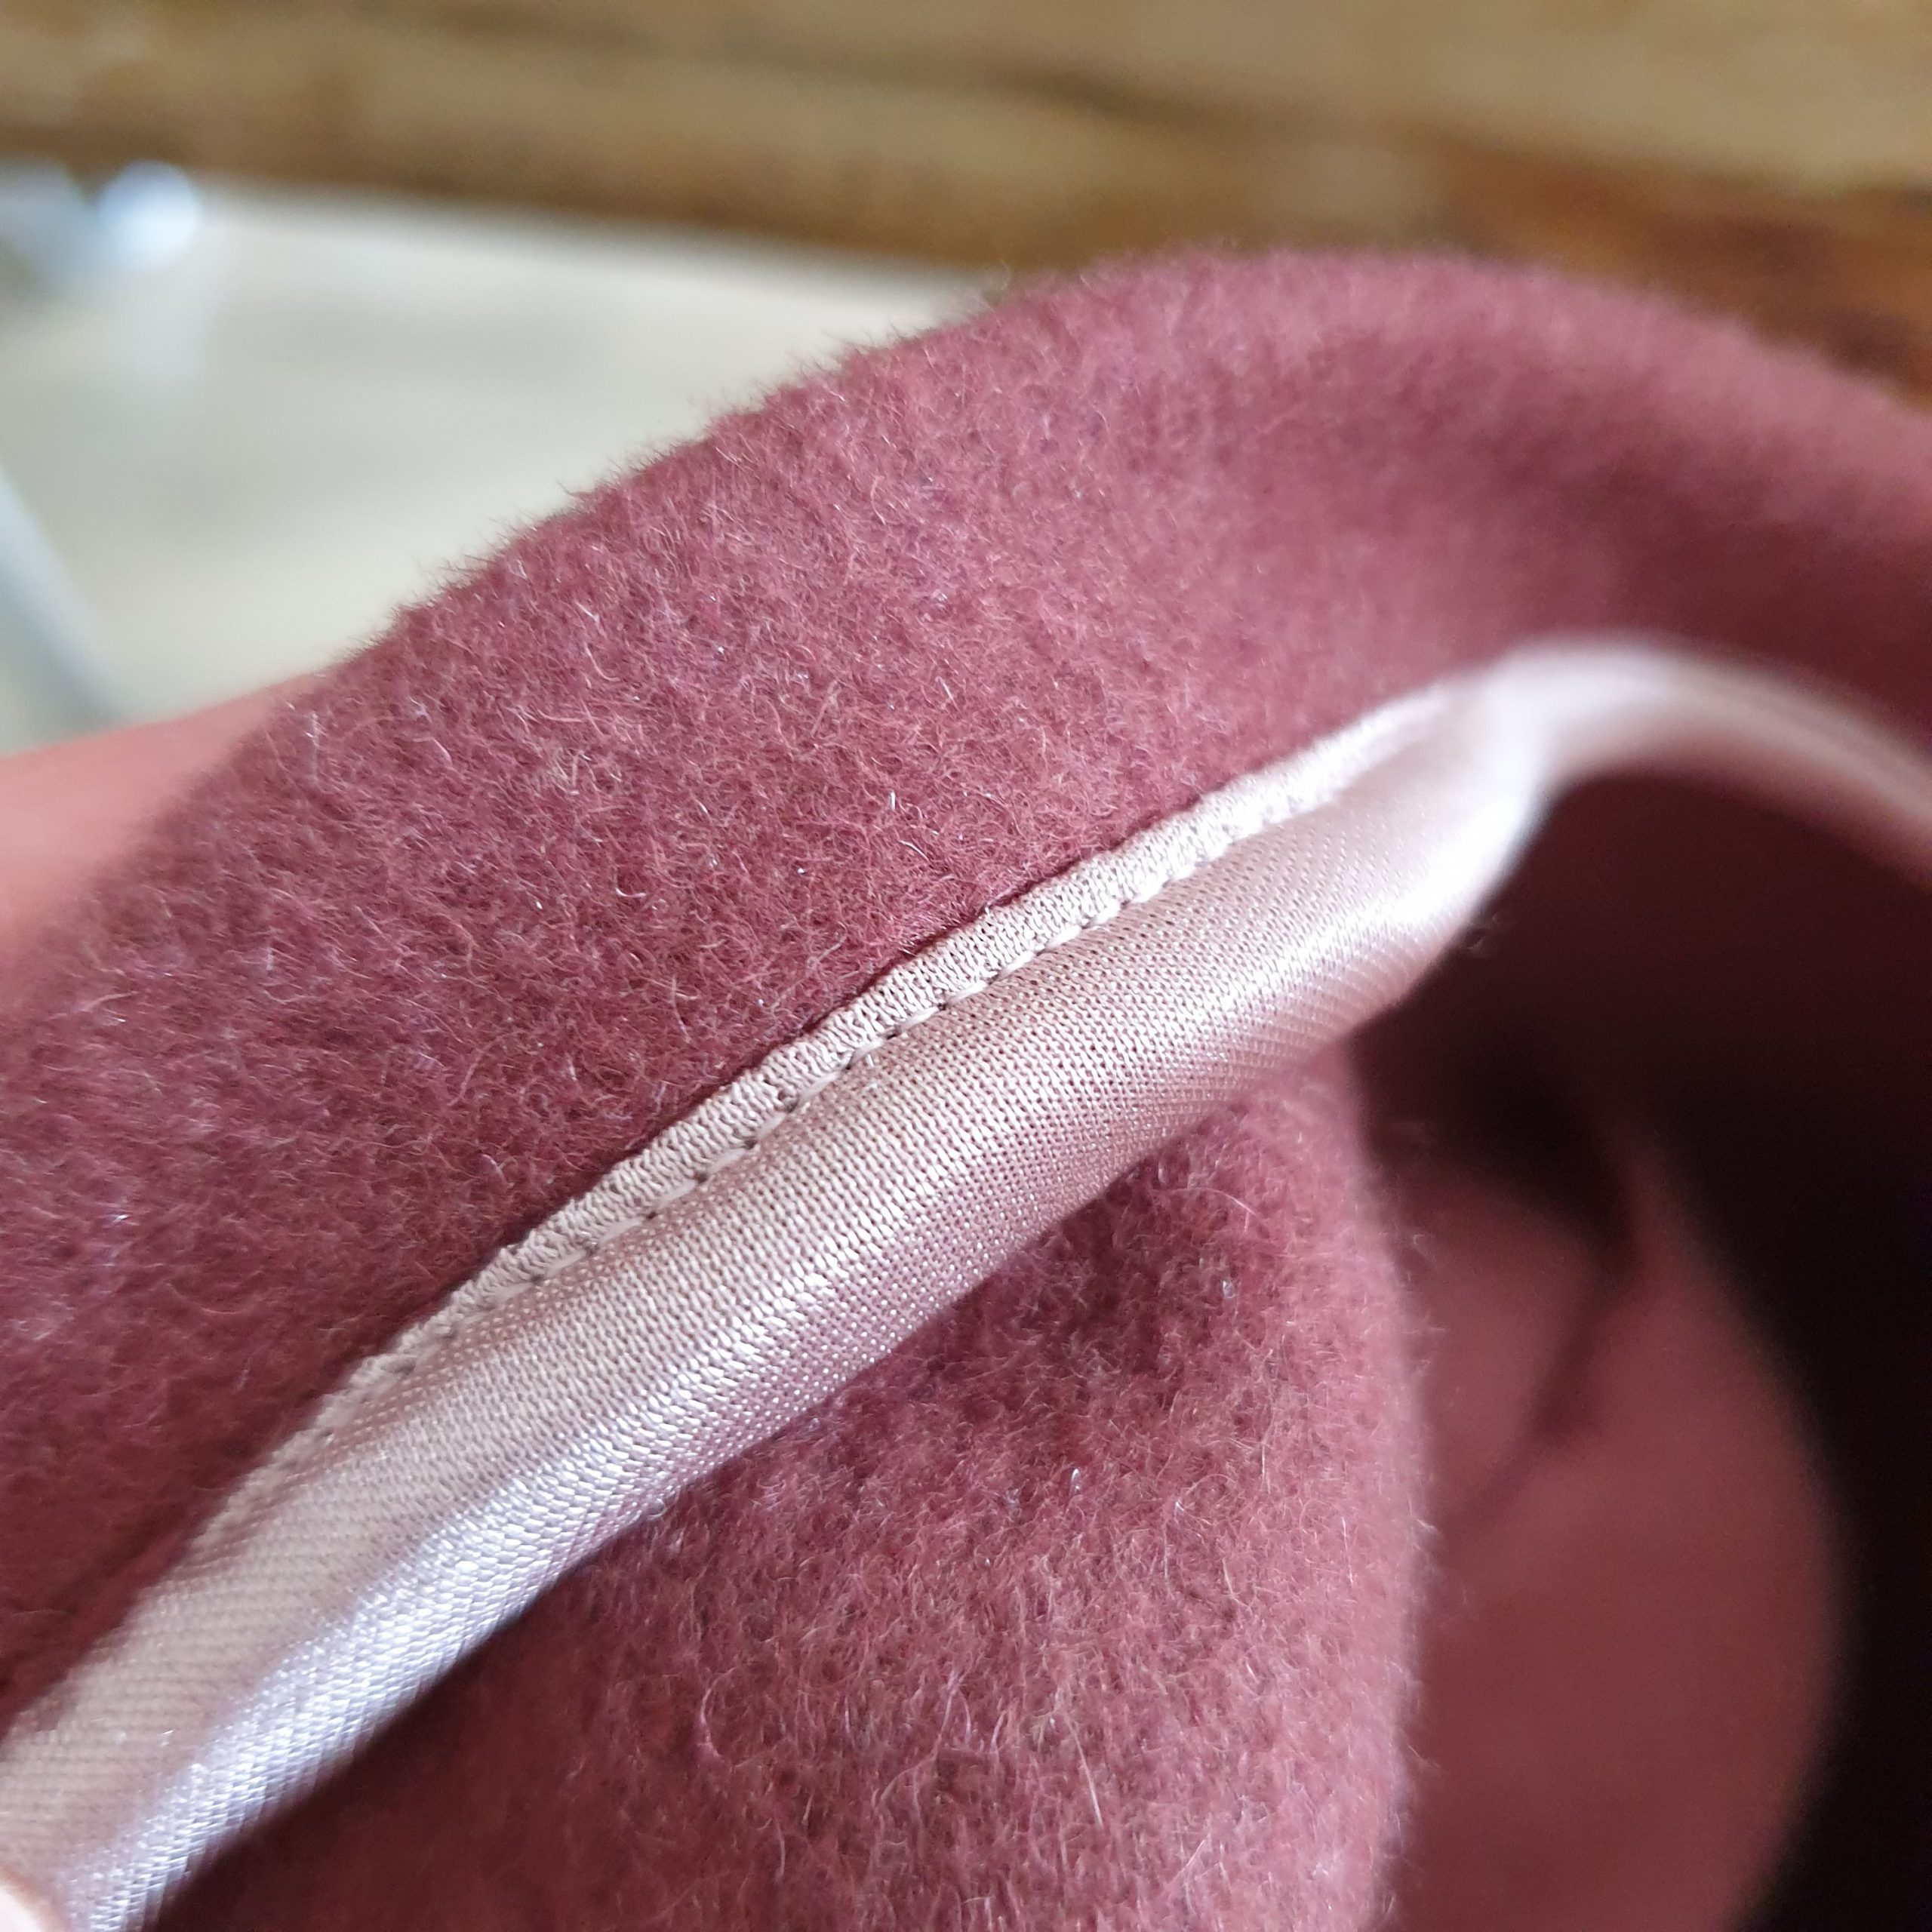
Neatly finished
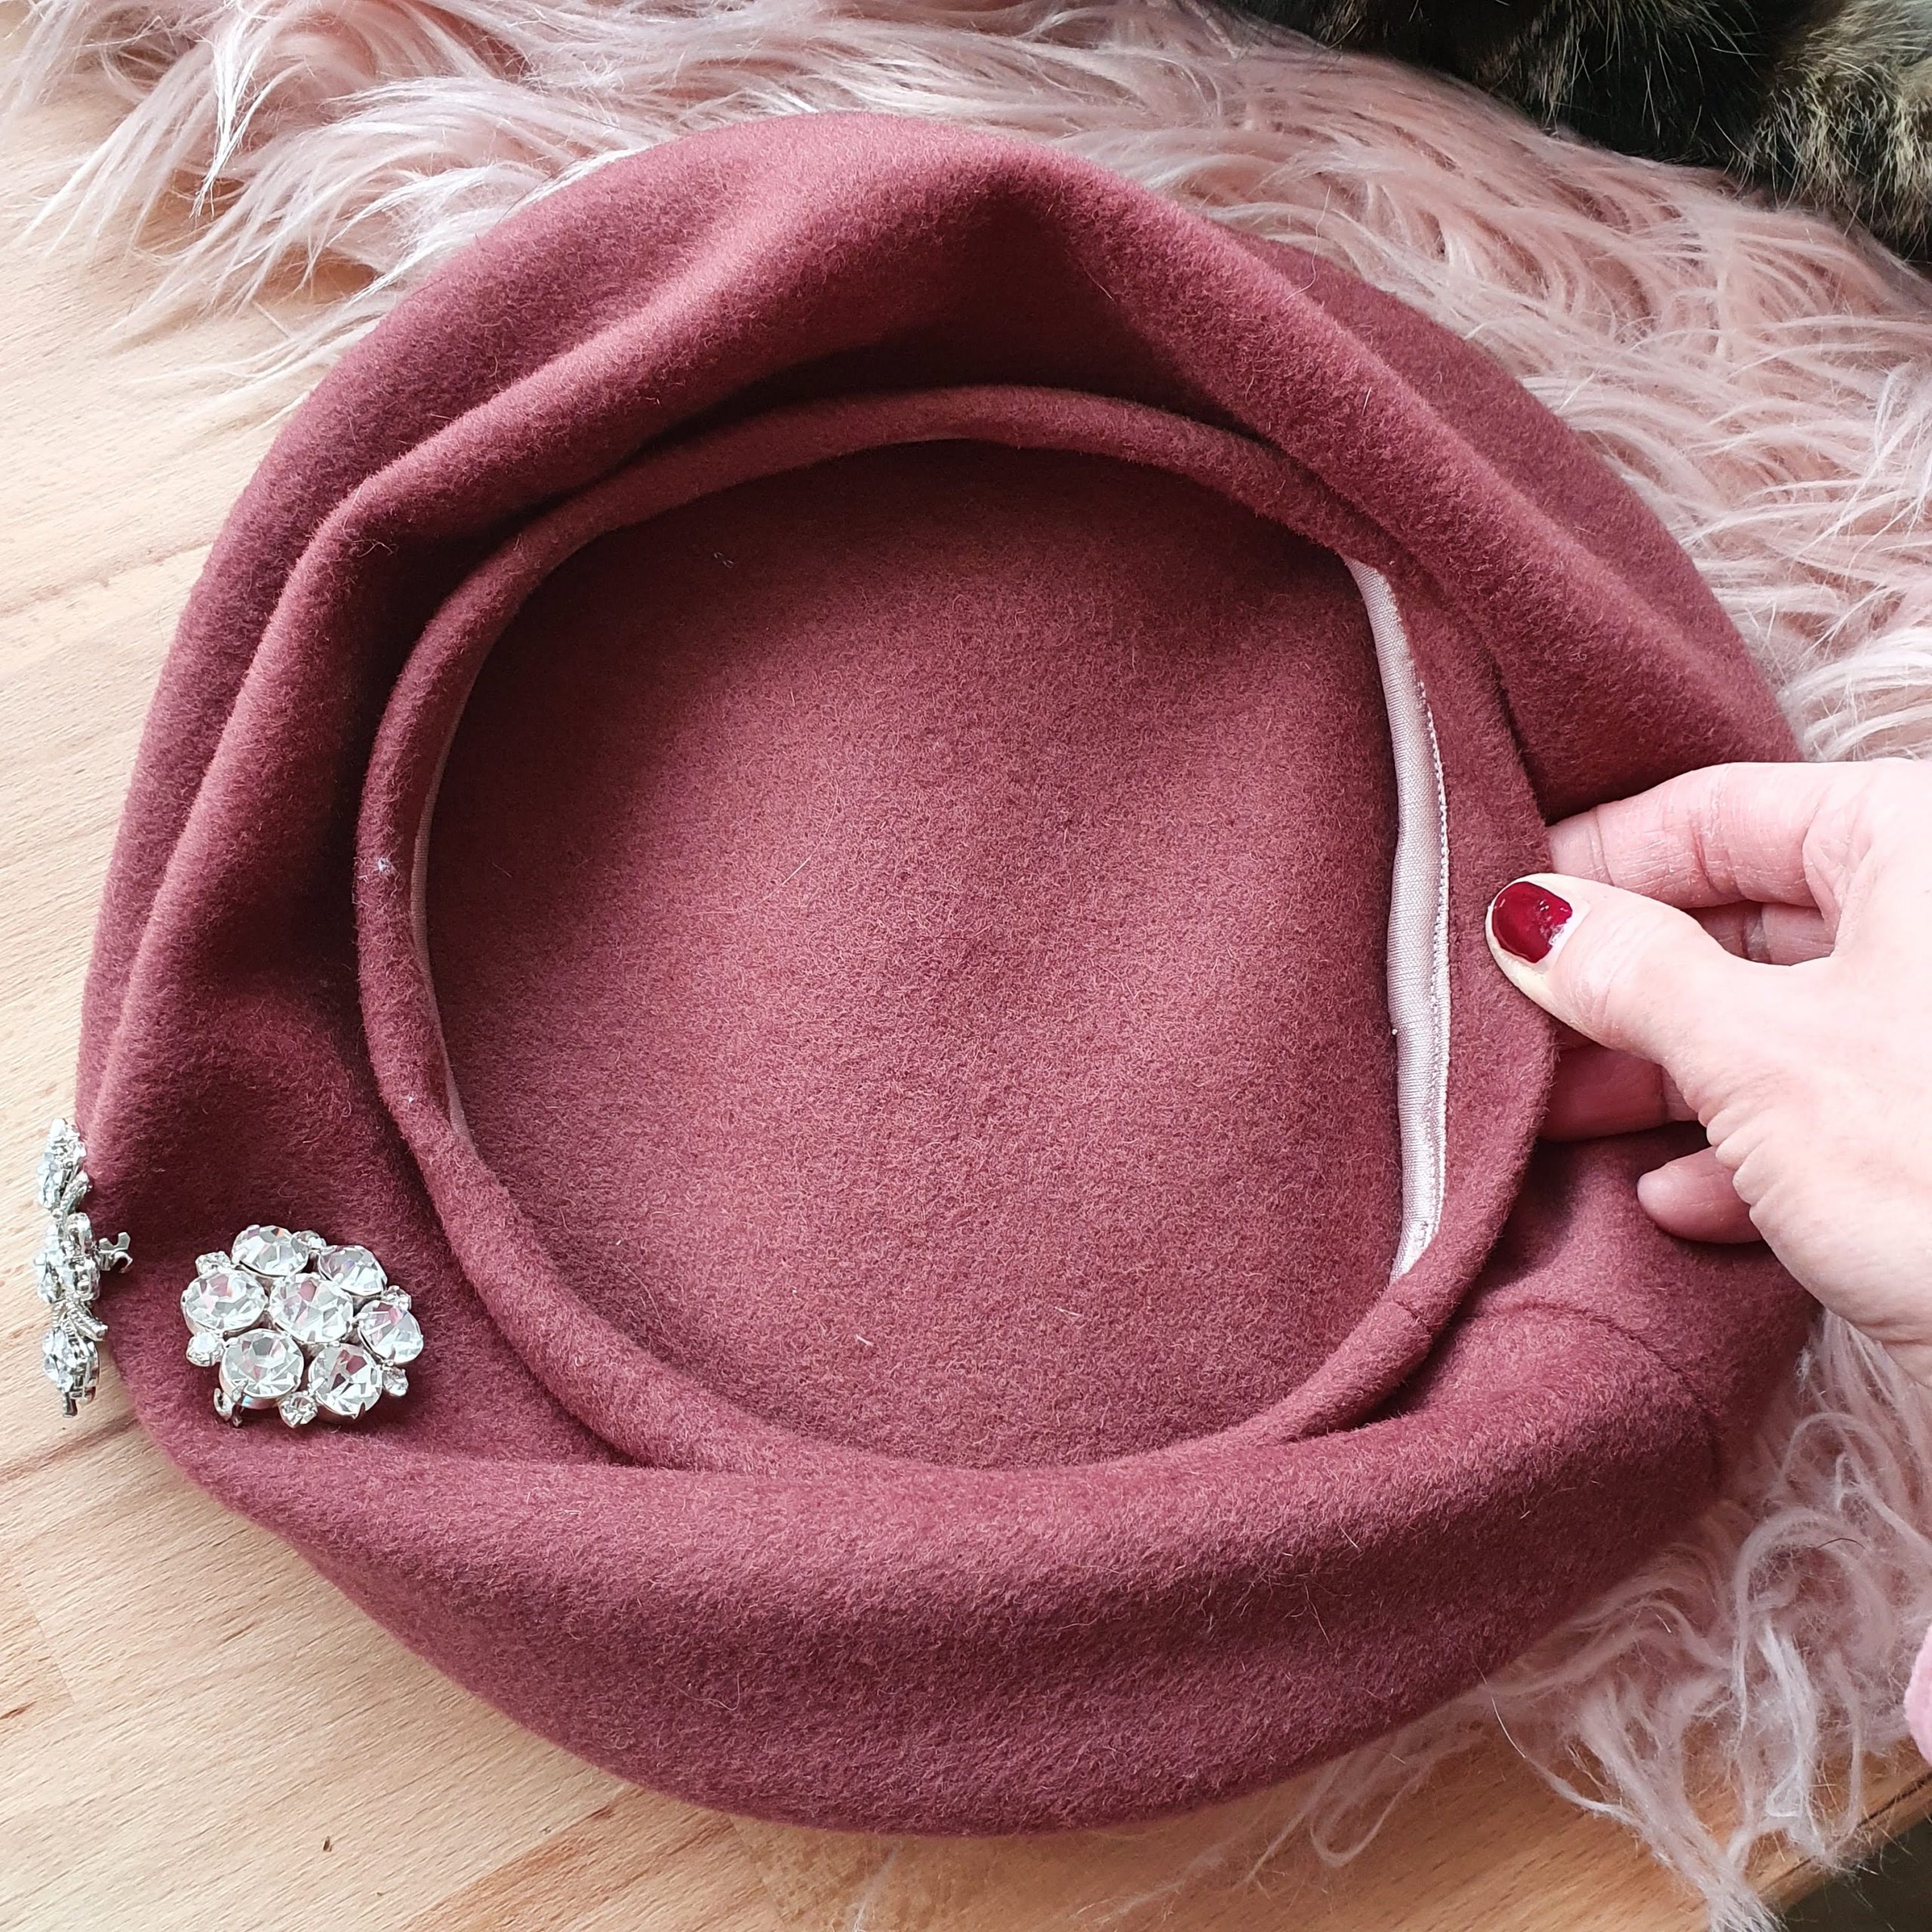
Finishing touch
You can leave the beret as is or decorate it with a bow, flowers or beautiful brooch. Completely in style with theBERNINA 590 Crystal Edition I made this beret with, I decorated my beret with bling-bling brooches that I found at the thrift store. It’s Time to shine!

Bling-bling brooches

In case you are curious what I used the woollen fabric for before? Check it out here 😉.
Love,
Marlies


What is the seam allowance and is it included in the pattern pieces? Thank you.
Dear Ruth,
In the photo above the titel “Construction” I can see that after drawing the pattern, she added the seam allowance around it to cut. So you have to add the seam allowance, it is not included 🙂
Shout measurements say inches rather than centimeters?
Dear Allison,
If you need the measurements in inches, you can use an online converter like this one:
https://www.inches-to-cm.com/
Kind regards, Ramona from BERNINA International