 BERNINA Corporate Blog -
Yayy! It’s week two. Time to quilt the next three trees. How did it go with the first two? Did you manage to quilt them? Please know that these blog posts and videos will stay online for long after the QAL. So take your time if you need to.
But if possible, I would encourage you to try to keep up with the quilting and quilt two blocks each week. It’s easier to learn a new skill when you get consistent on your practice. You will start to remember the settings on your machine, you will get the hang of moving your quilt around and you will start to build muscle memory for your quilting.
Are you ready? Let’s quilt some trees!

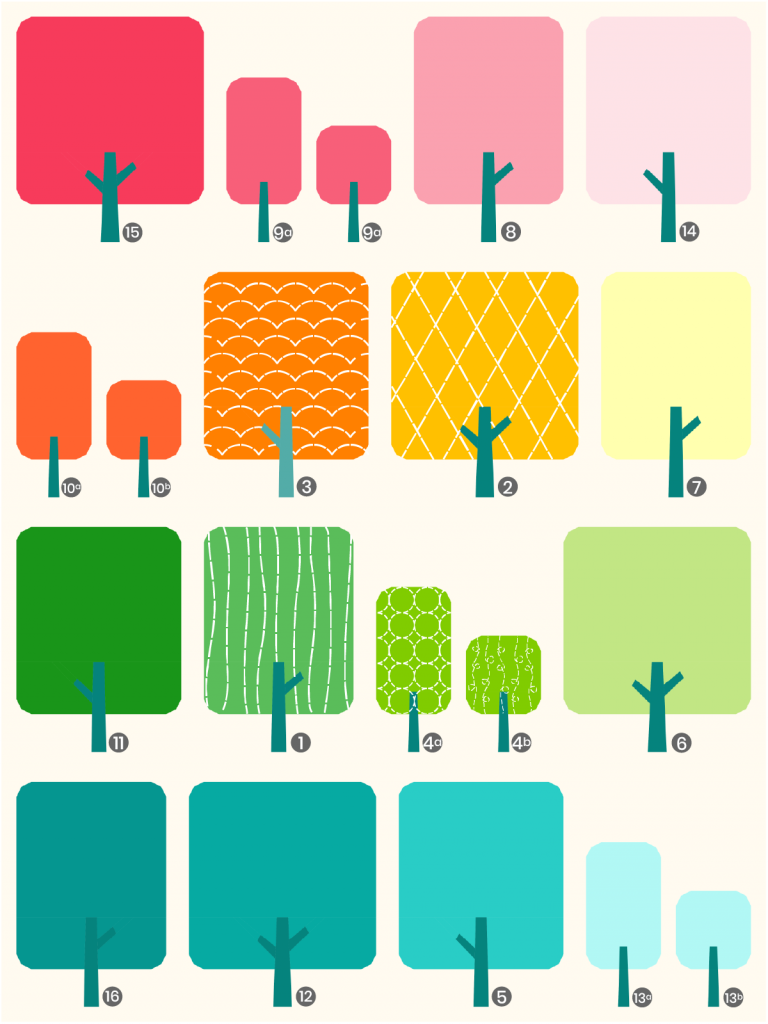
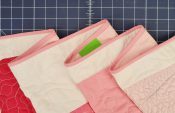
Here is the overview of the first four trees. I just can’t wait to see all those trees filled in.
 Video instructions

In the video you will see me quilting all the designs for this week. I’ll give tips and tricks and instructions on how to move your rulers.
Below in this blog post you will find pictures and illustrations of the quilted designs as well of the alternatives that you could pick for your trees.
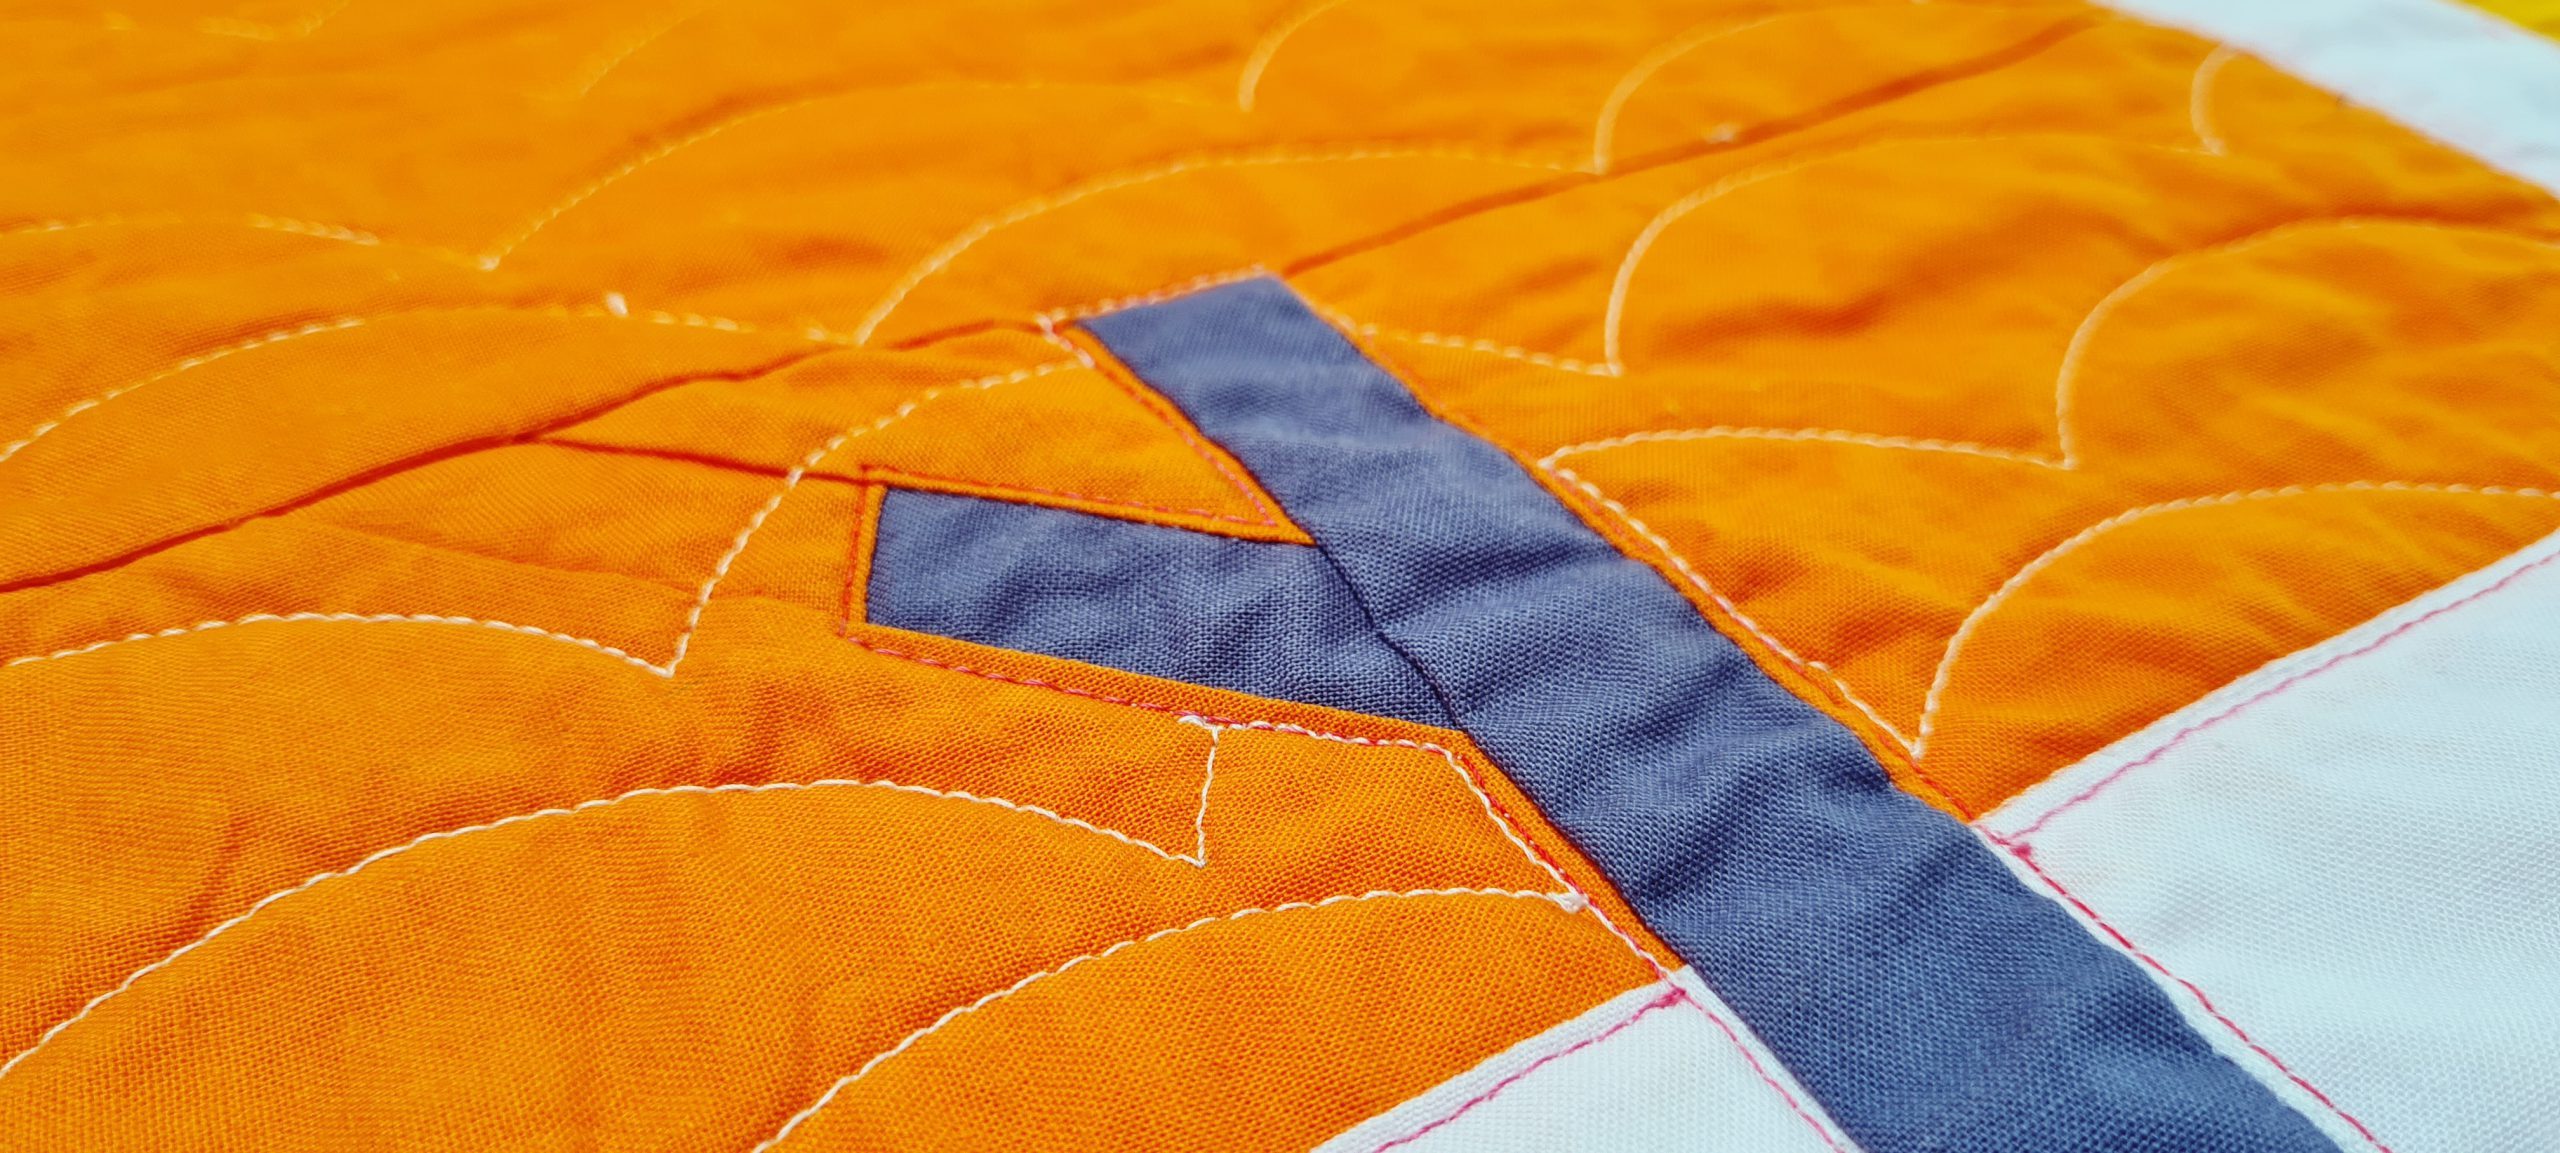
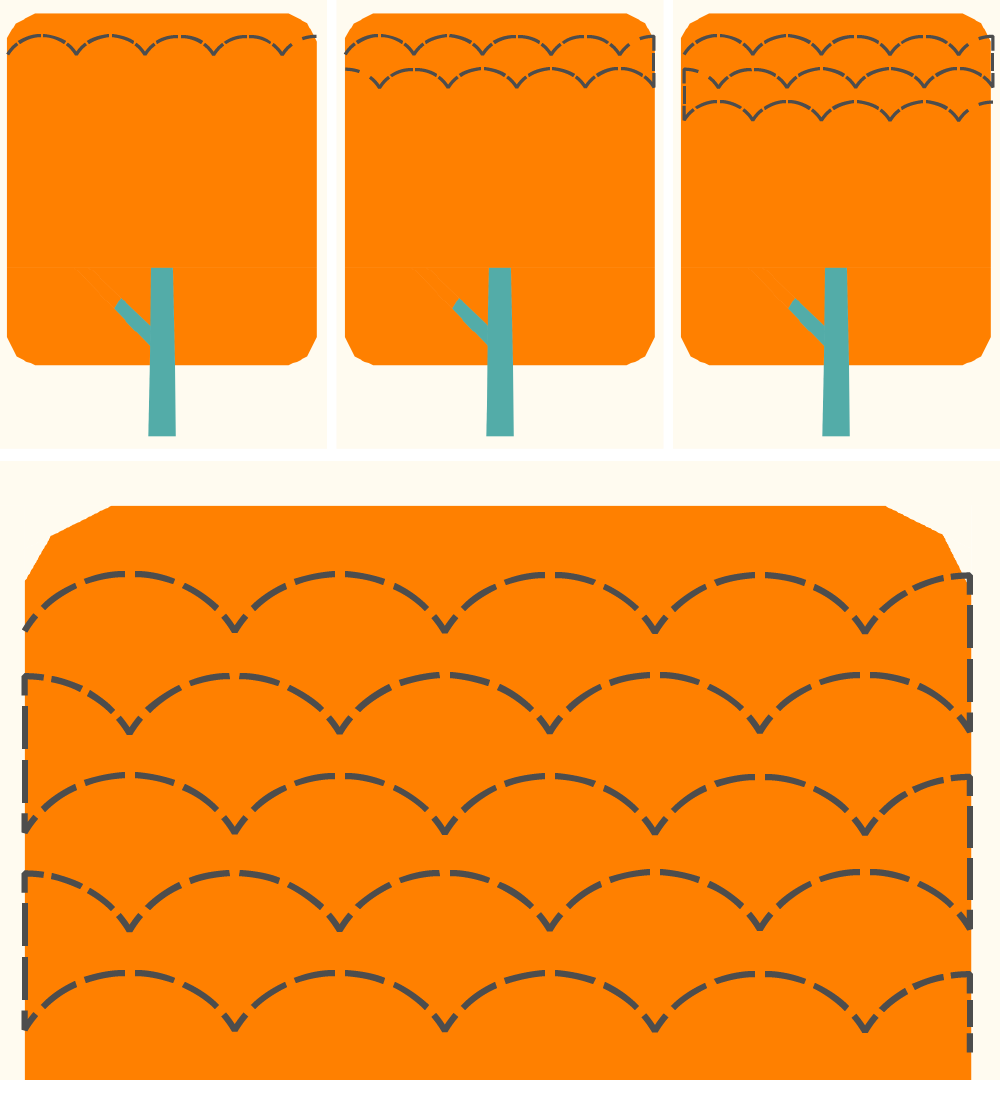
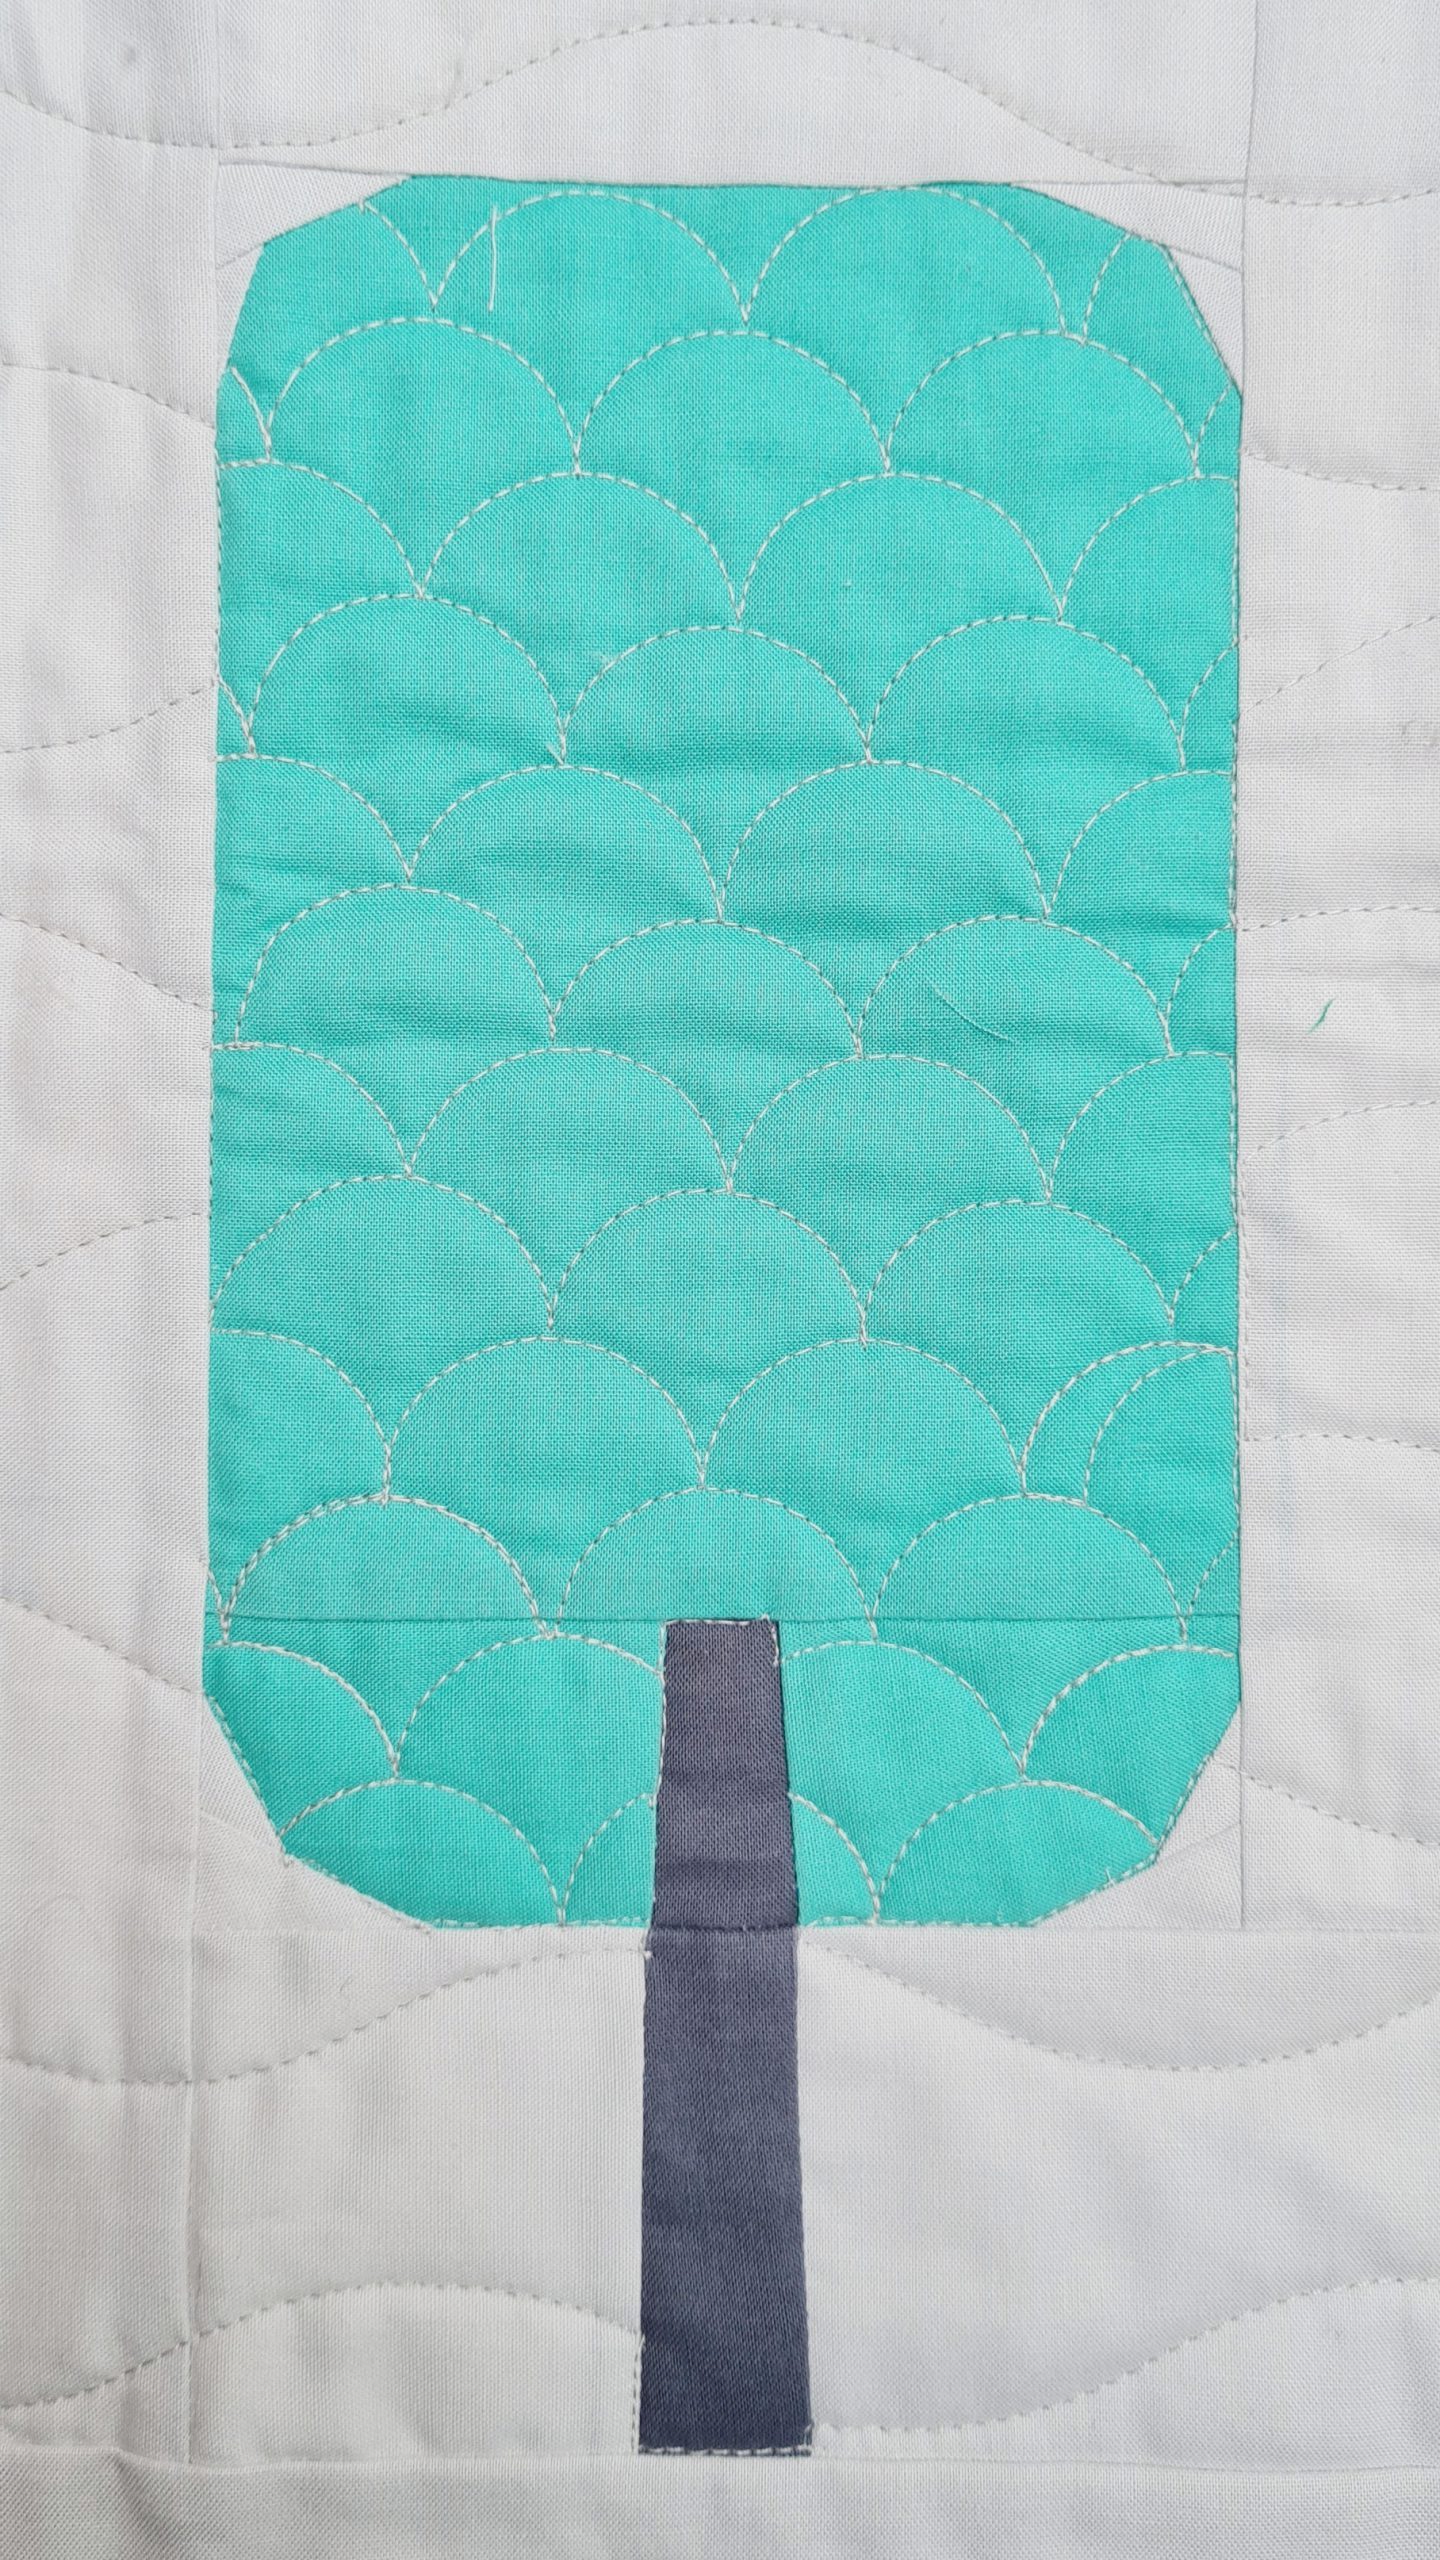
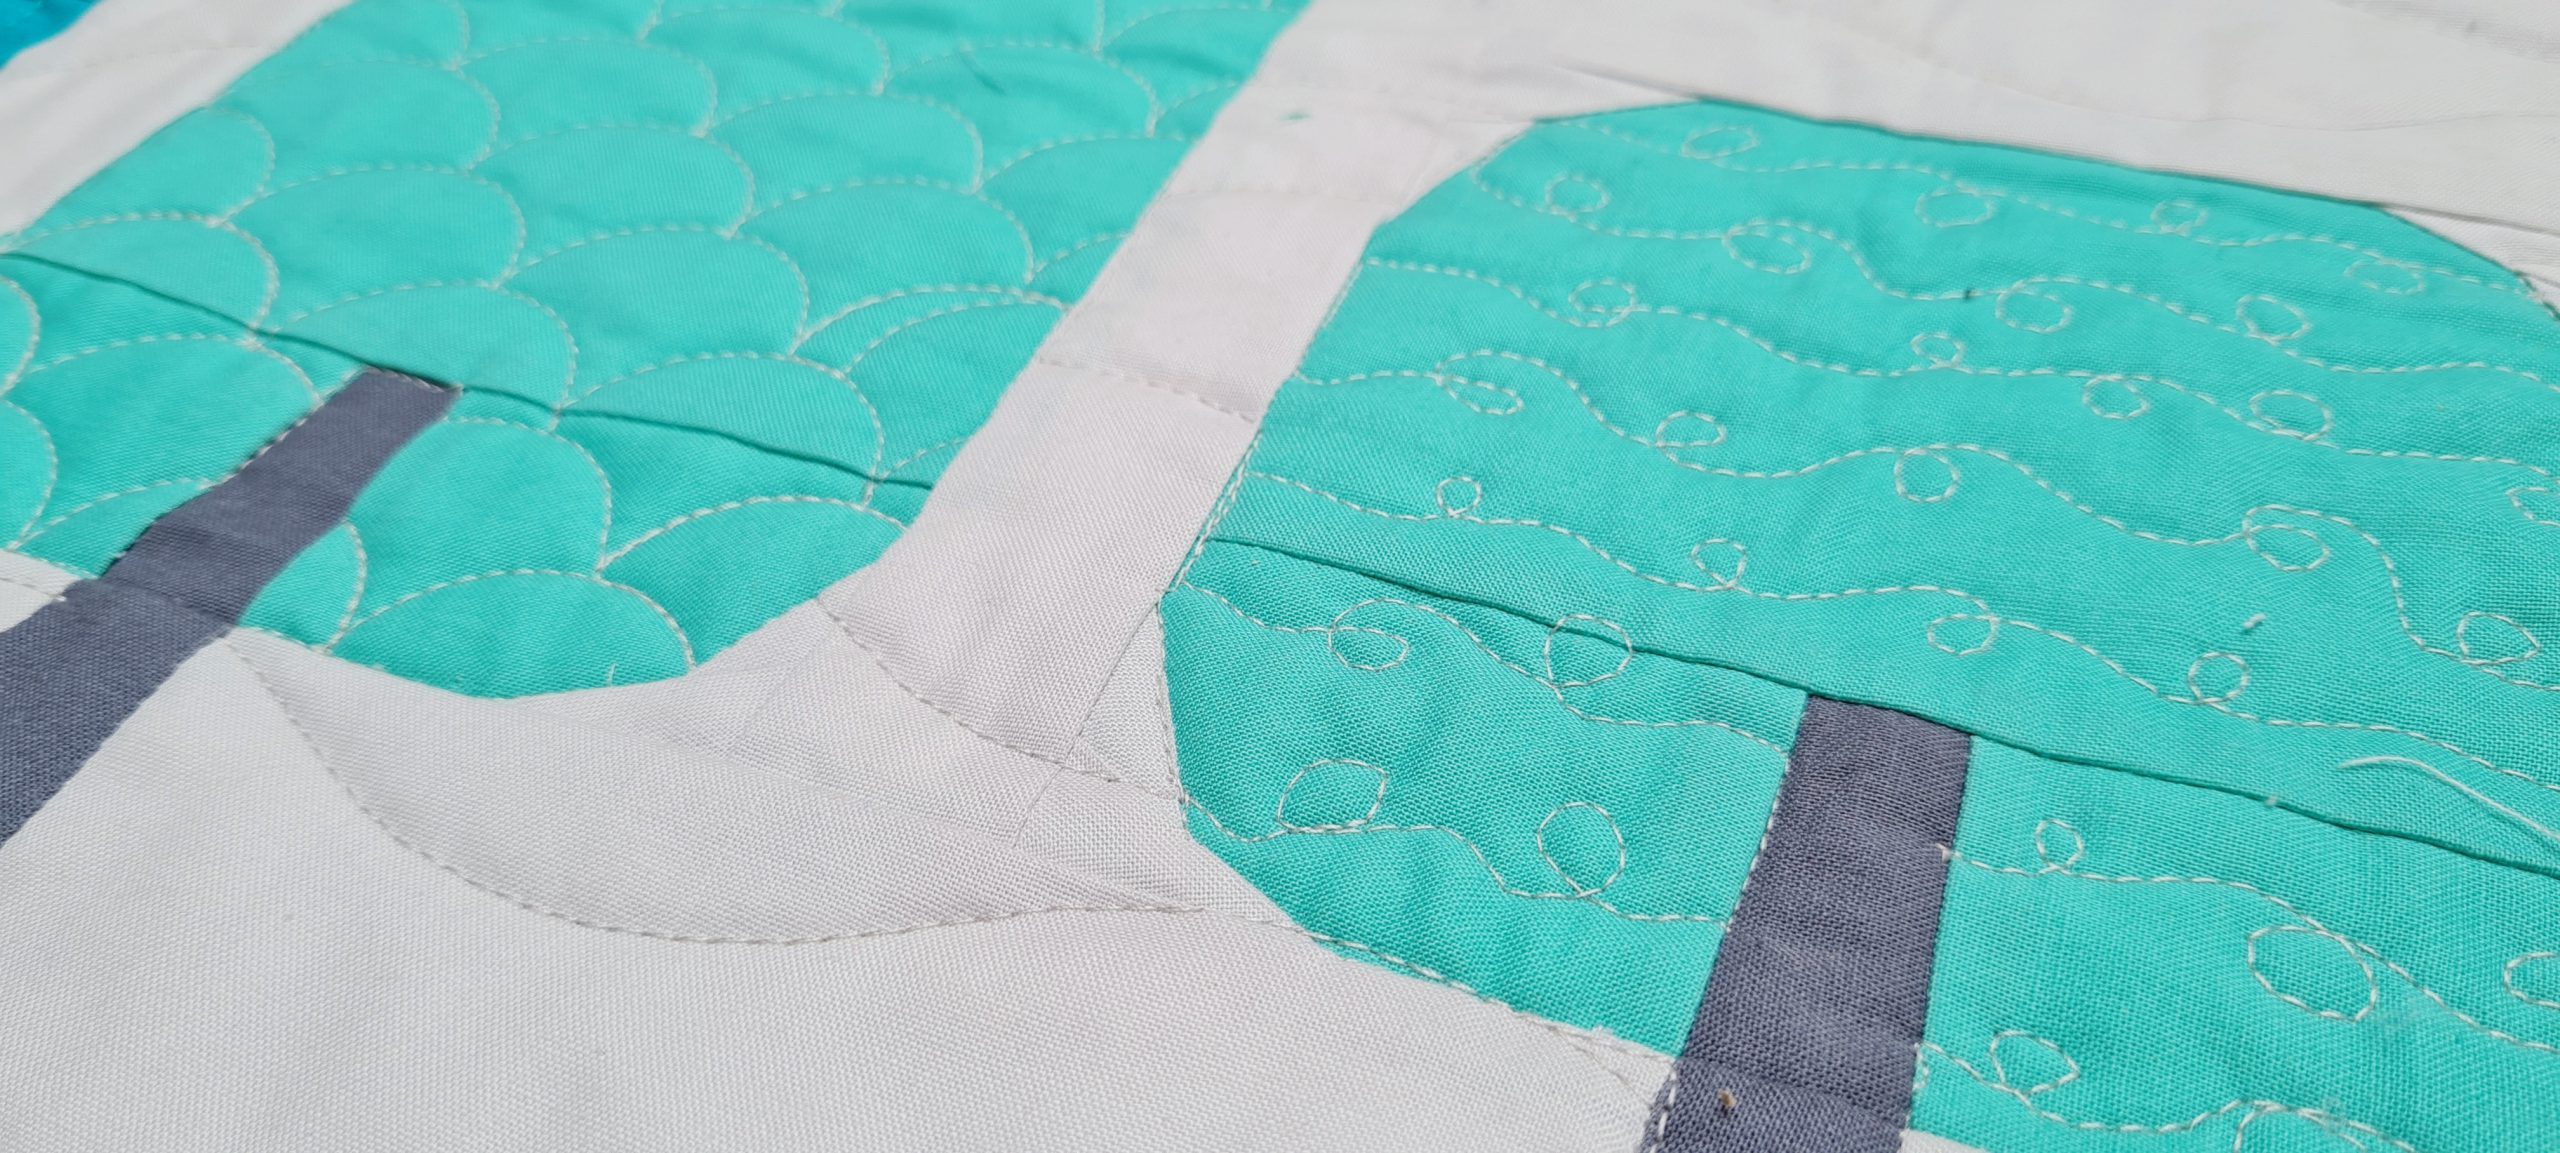
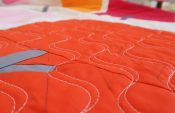
Quilting Tree 3
Today we start with a circle ruler. For tree 3 I used a 4 inch ruler from the Every Circle ruler set by Amanda Murphy. We will only quilt a partial circle to get used to the feeling of not quilting in a straight line.
Check out this weeks video for all the tips on how to hold your hands on a circle ruler.
Alternatives
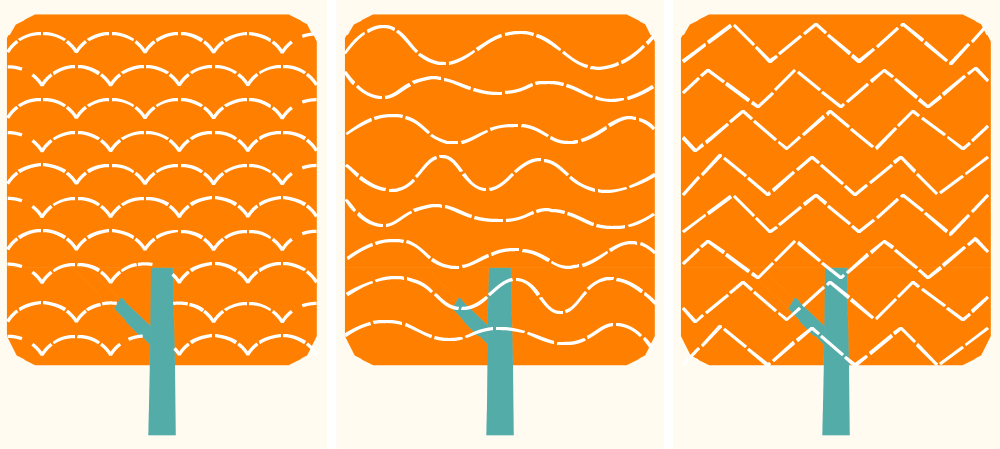
On the left in the image below you see the completed design with scallops. When you don’t want to quilt with rulers, you could make wavy motions with free motion quilting. Or an organized or a random chevron pattern with straight line quilting.
Quilting Tree 4a
In our fourth block there are two trees and we are going to quilt two different quilting patterns in them. Let’s start with a circle ruler on tree 4a.
Mark a vertical line on the center of your tree. This will help you center the circles. In the video you will see me position the ruler and give tips on how to go from one circle to the next.
The idea is to start at the top. Quilt one full circle. And then quilt a half circle, to end at the bottom of the circle. Then you can move your ruler and quilt the next circle. So you will create first one string of circles from top to bottom. Then you move to the side and quilt another string of circles from bottom to top.

To create this circle pattern I used the inner circle of the 5 inch circle ruler from the Amanda Murphy circle ruler set.

Alternative
As a alternative to quilting whole circles you could practice some more on the design from tree 3.
You could practice with making half circles that are stacked nicely on top of each other. This creates a clam shell pattern. The idea is the same as with tree 3, you quilt from left to right, from right to left.
Whit out a ruler you could make some horizontal markings and try free motion quilting this pattern.

Quilting Tree 4b
For the design in tree 4b we are going to practice our free motion quilting. This design is a variation on the organic straight lines we made on tree 1. Now we will add a little loop in the line every now and then.

You will make lines from top to bottom, just like with tree one. But make them a little more wavy. At the ‘belly’ of a wave you can move in a small circular motion to make a little loop. Try to make them to left and right to mix it up.
In the video I’m showing you how I quilted this and there i also give some tips on what to pay attention to.
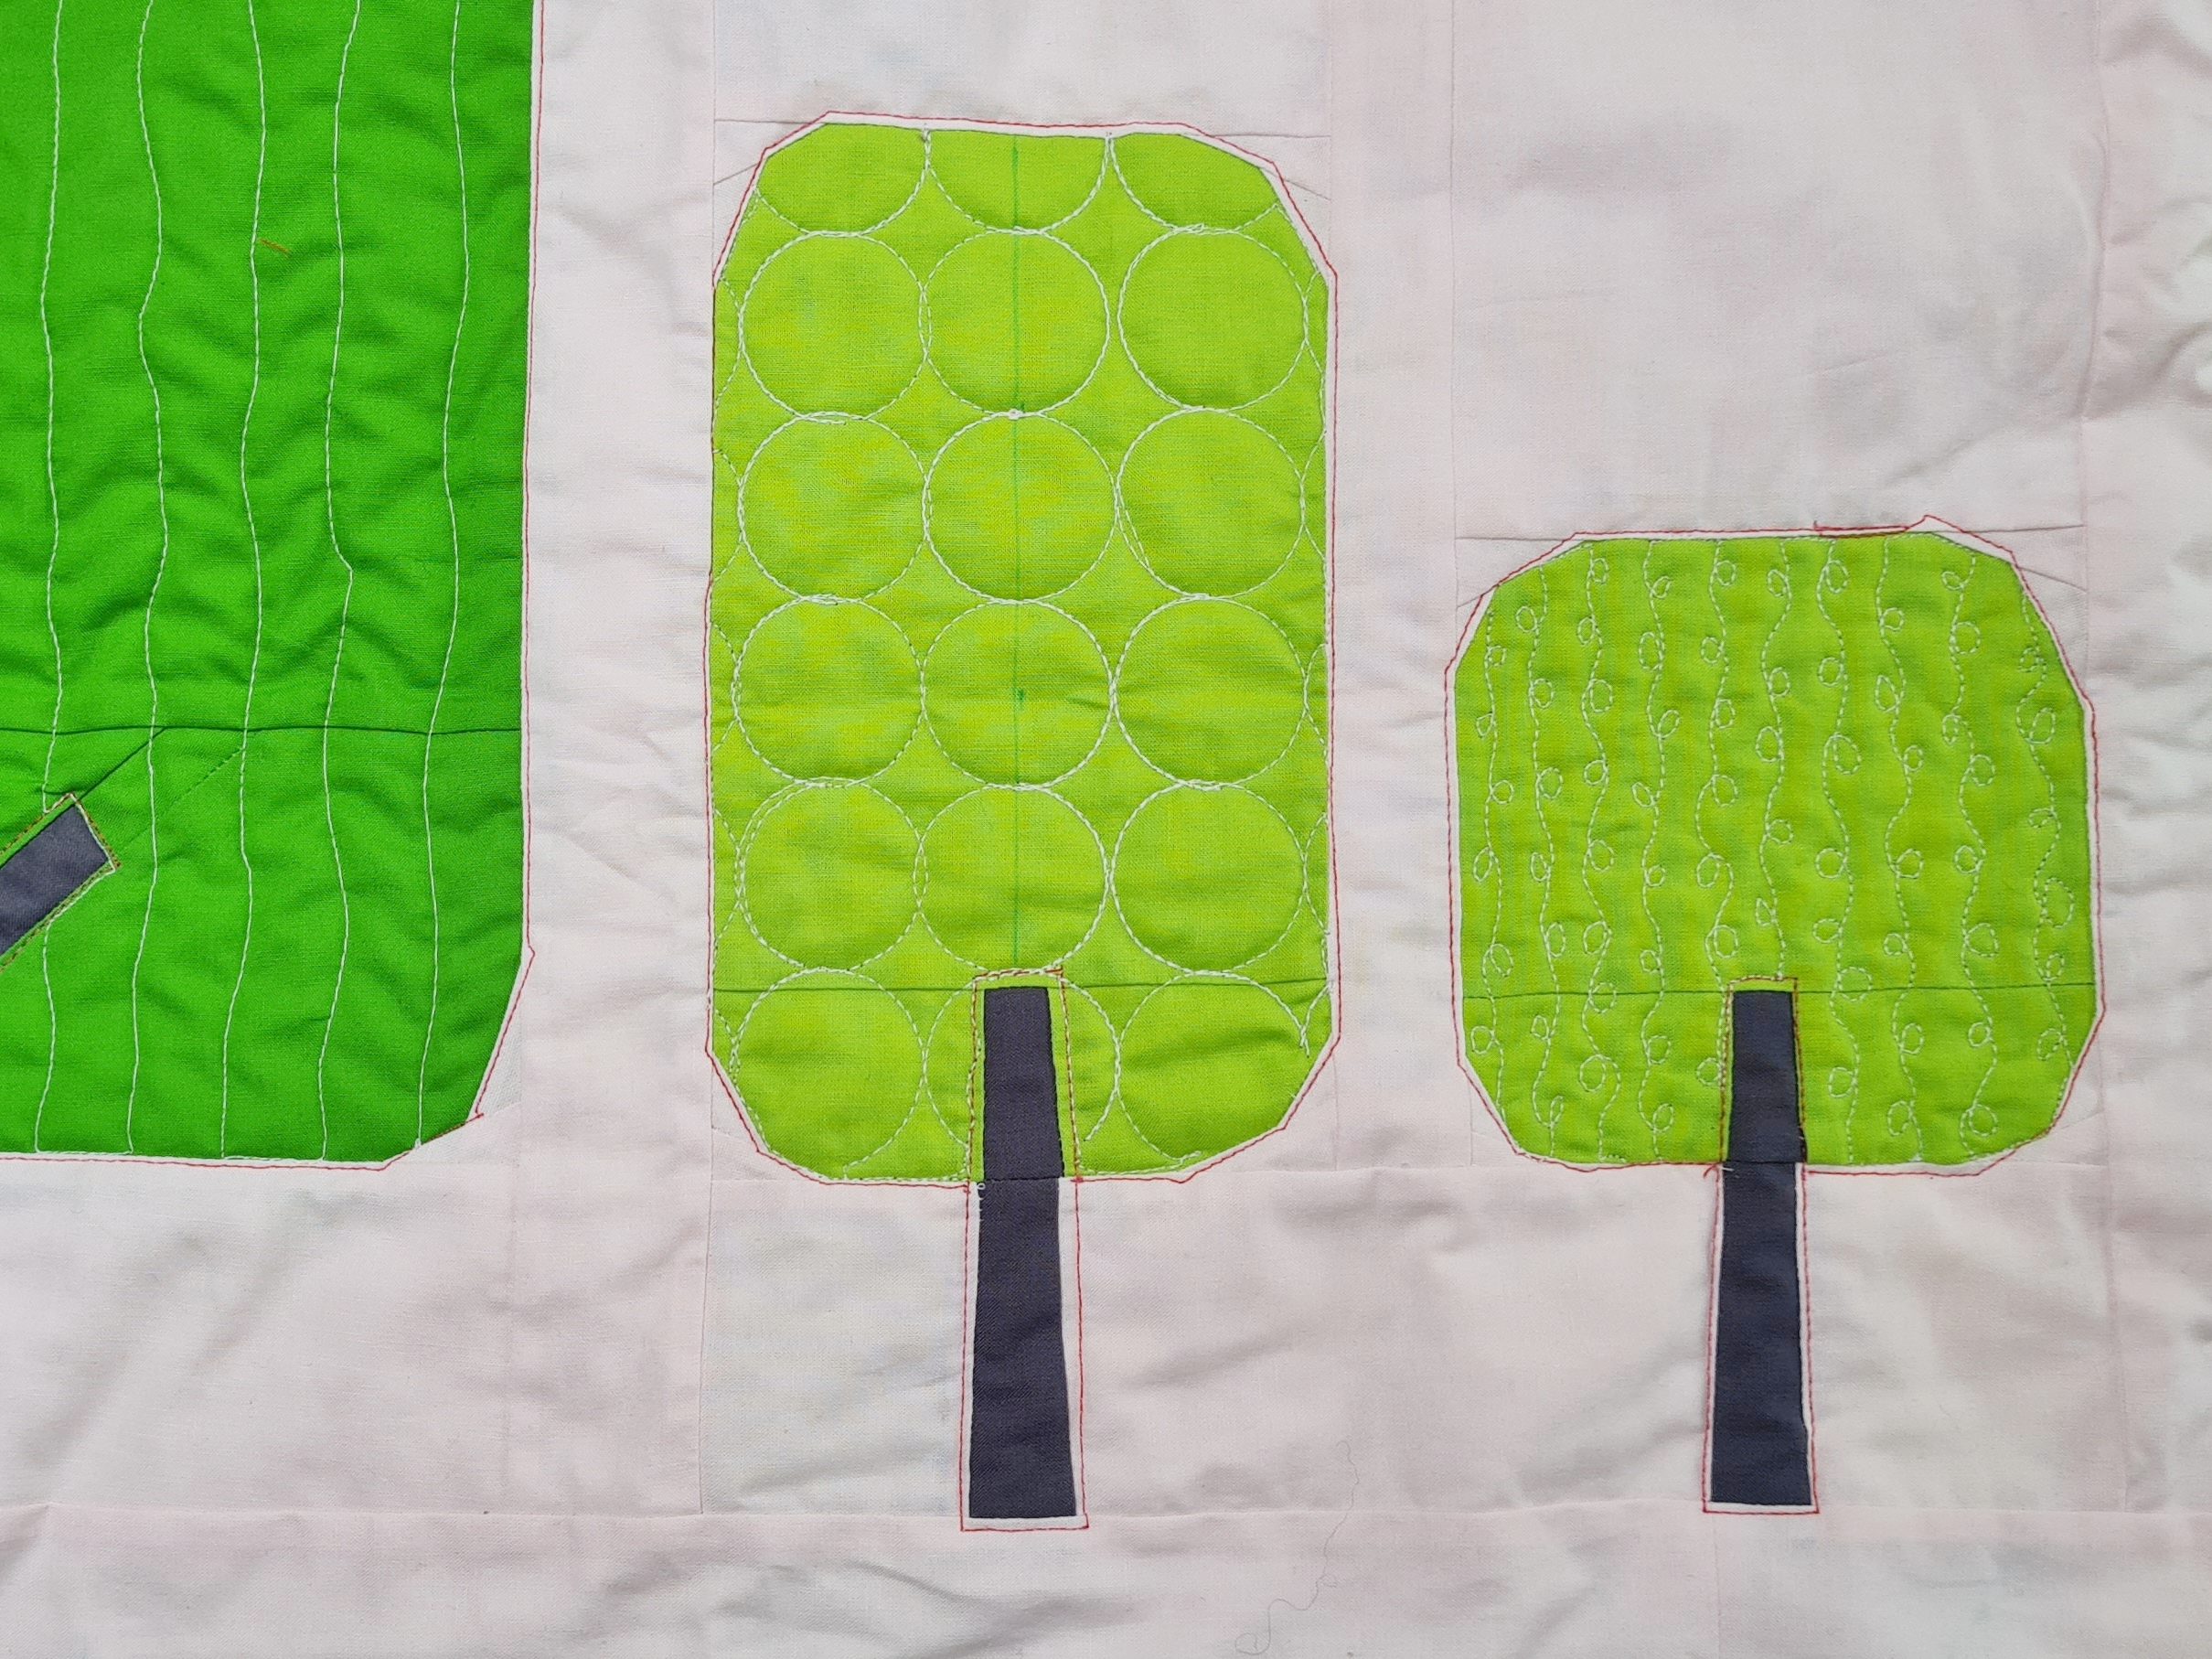
These little loops on a string also look great on the horizontal.
Alternative
When you’re not ready yet for loops in your free motion quilting you could try a variation on the pattern we made in tree 1. Maybe you could practice quilting in a different direction or making the lines closer together.
Want to quilt with straight lines? Maybe you can practice ‘matchstick quilting’ in tree 4b. That are straight lines quilted very close together. Give it a google to see some examples 🙂
Perfect stitching
When you look at other peoples work, it sometimes looks like it is just perfect. I would love to remind you that we all started somewhere. The more you practice, the more consistent your stitches will look. The easier it will get to maneuver your quilt. The better you will get at stitching over a specific line. 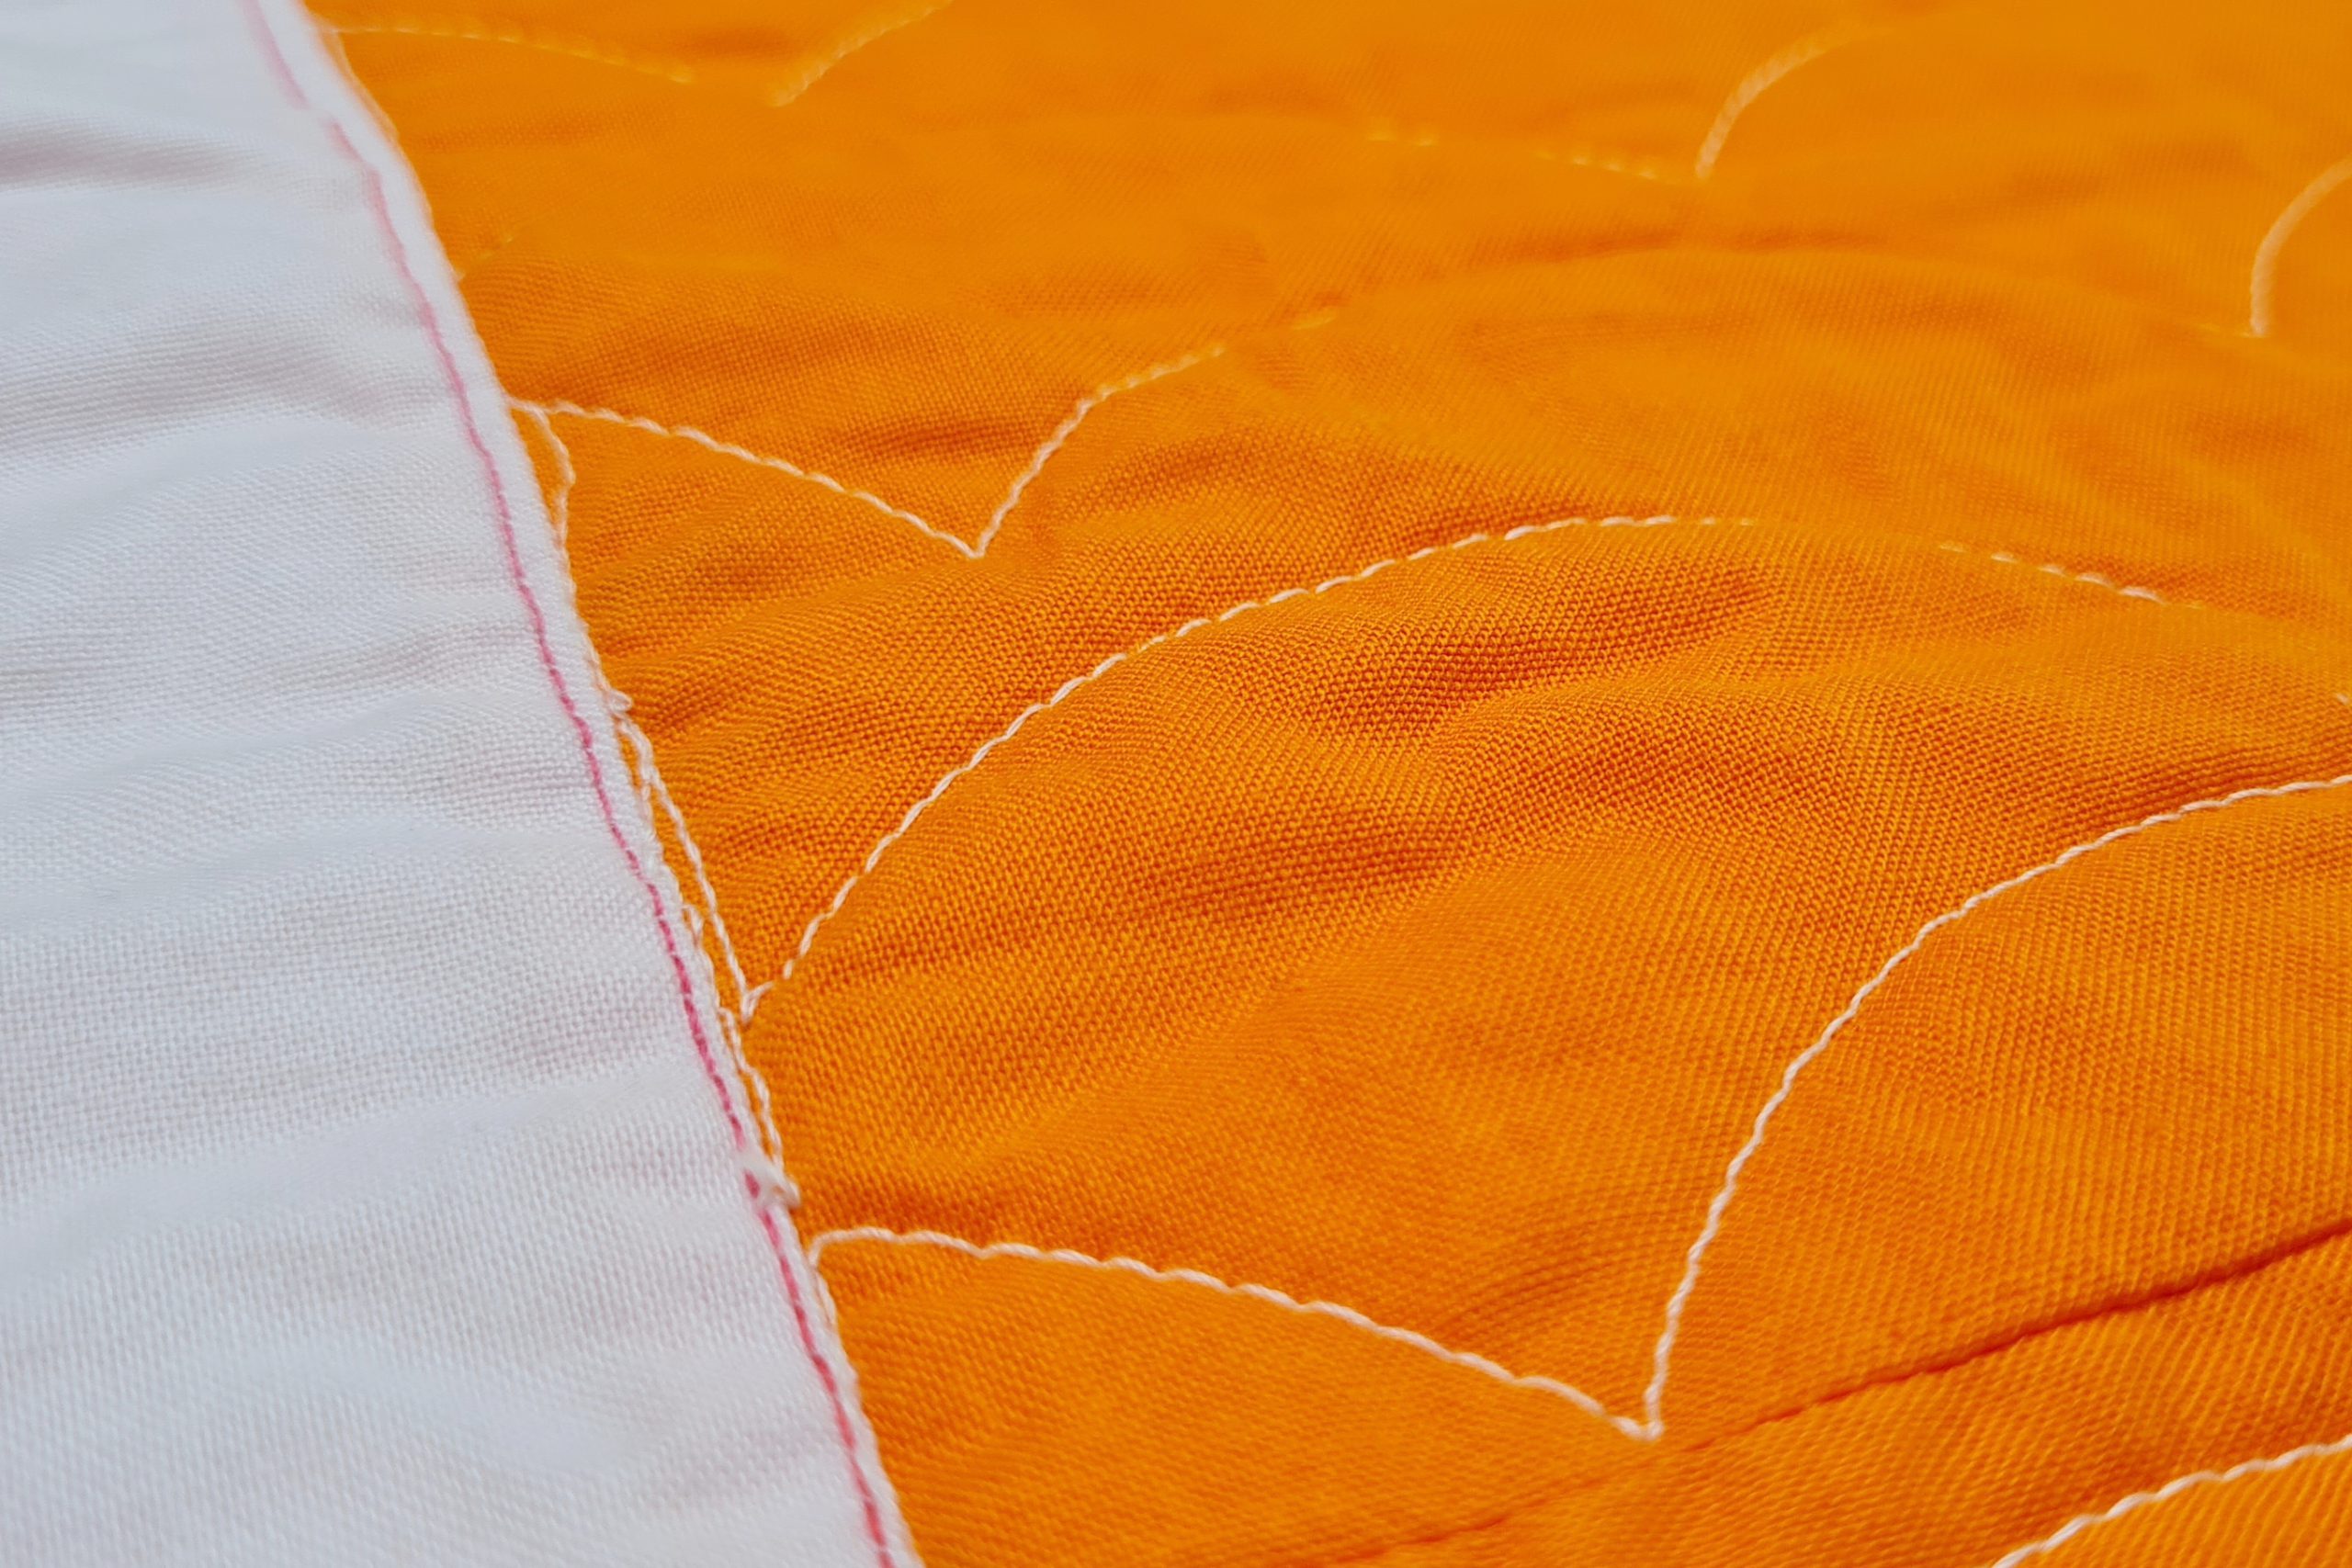
My work isn’t perfect. The Q16 does a very good job at keeping my stitches consistent, but i still have to steer and move my quilt in the right directions. I don’t think perfection should be the goal. Try to let go of perfection, try to go for learning and progress. And most of all, don’t forget to have fun!
Next week
Next week we will quilt with the Taj ruler and also fill a tree with an overall free motion design.
See you next week!
Irene
Lovely work Irene! Hope your family is well.