 BERNINA Corporate Blog -
For a nice and accurate result of your embroidery projects, it is recommended to calibrate new embroidery hoops before use. As I’m starting to embroider with the new Large Freearm embroidery hoop, it’s time to take a look at settings! Find more information on the BERNINA UK site on the Large Freearm hoop.
Read the blogpost on the new BERNINA embroidery hoops to read more about the new hoops.
How to calibrate the hoop?
The sizes of the Large Freearm Embroidery Hoop are the same as the Large Oval hoop are. Be sure to install the latest firmware update for a quick hoop recognition.
When you attach the hoop to the machine, you might notice the hoop is not calibrated right. This means the needle does not drop in the hole in the middle of the template.
Calibrate new embroidery hoops before use.
Watch the instructions in this movie:
I will show you some pictures of how it worked for me:
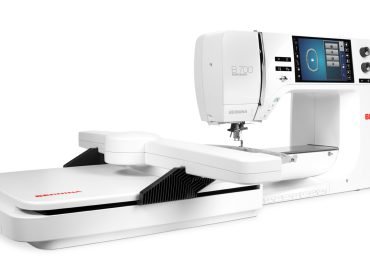
I use the stand alone embroidery machine BERNINA 700
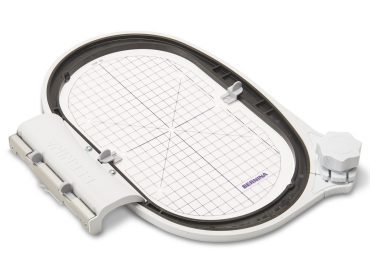
Put the template in the hoop:

Use the template to find the center of the hoop
Start the embroidery machine, attach the hoop when asked in the animation, just like you do for embroidering.
Go to the setup program for settings, click on the symbol of the hoop.

This is the next screen you will get, click on the hoop. It’s the first one of the second line.

This is the calibration screen. When the needle comes exactly above the hole in the center of the template, you don’t need to calibrate. If the needle does not drop in the hole, you should remove the previous calibration by hitting the bin. Then move the hoop with the arrows untill the needle drops in the hole. Then confirm by hitting the green check mark.

That’s how easy it is to calibrate a hoop.
You are ready to start a new project!


0 Responses