 BERNINA Corporate Blog -
Party Season
Party season is fast approaching and I have decided on, and already sewn my Christmas day outfit! I would say dont tell anyone but this will sort of let the cat out of the bag!
My Pattern choice
I fell in love with the Stay Stitch Pattern Company, Coco Bias Skirt pattern. I’d been inspired by the High street, Zara, Mango, H&M to create my own Satin Bias skirt and stumbled across the pattern on my Instagram feed
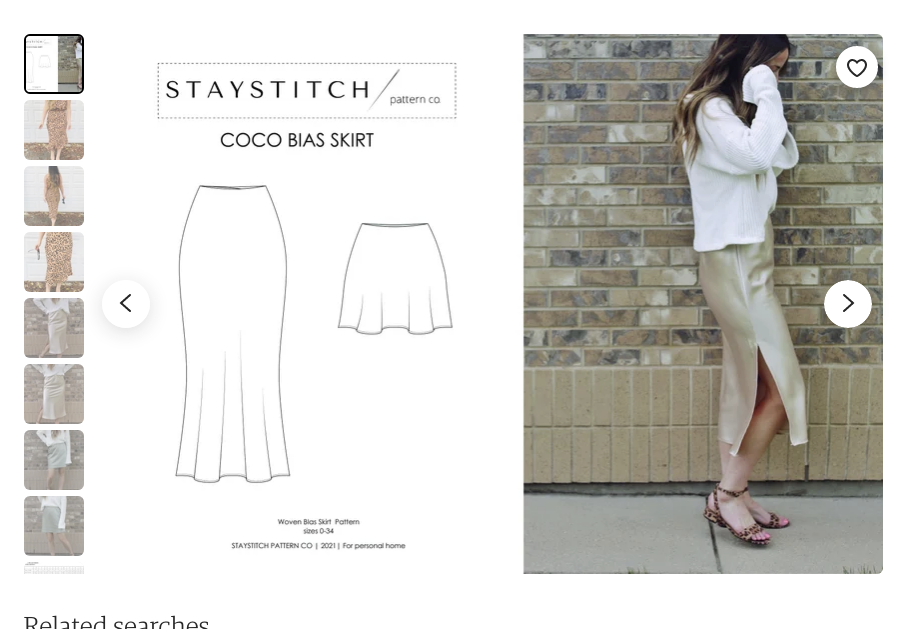
Coco Bias Skirt pattern as pdf.
I used the longer length pattern and reduced the length at the markings shown in the pattern to create a midi, just below knee length skirt. I also did without sewing the vent as I didn’t think it was necessary for this length of skirt.
Bias Skirt Tips
Fabric cut on the bias places the pattern at a 45° angle on the fabric. At this angle, the ‘warp’ and ‘weft’ threads give the fabric more of an elastic ‘stretch. Because the fabric stretches, you must be very careful when handling your cut pieces, as they can stretch out of shape easily.
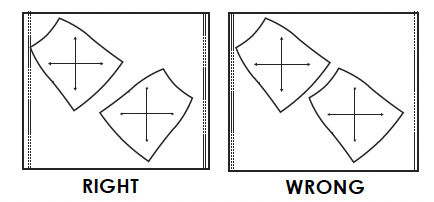
Correct layout of your pattern pieces on the fabric.
Pieces cut on the bias will also stretch length-wise, which is why it’s important to let bias garments hang for 24 hours prior to hemming.
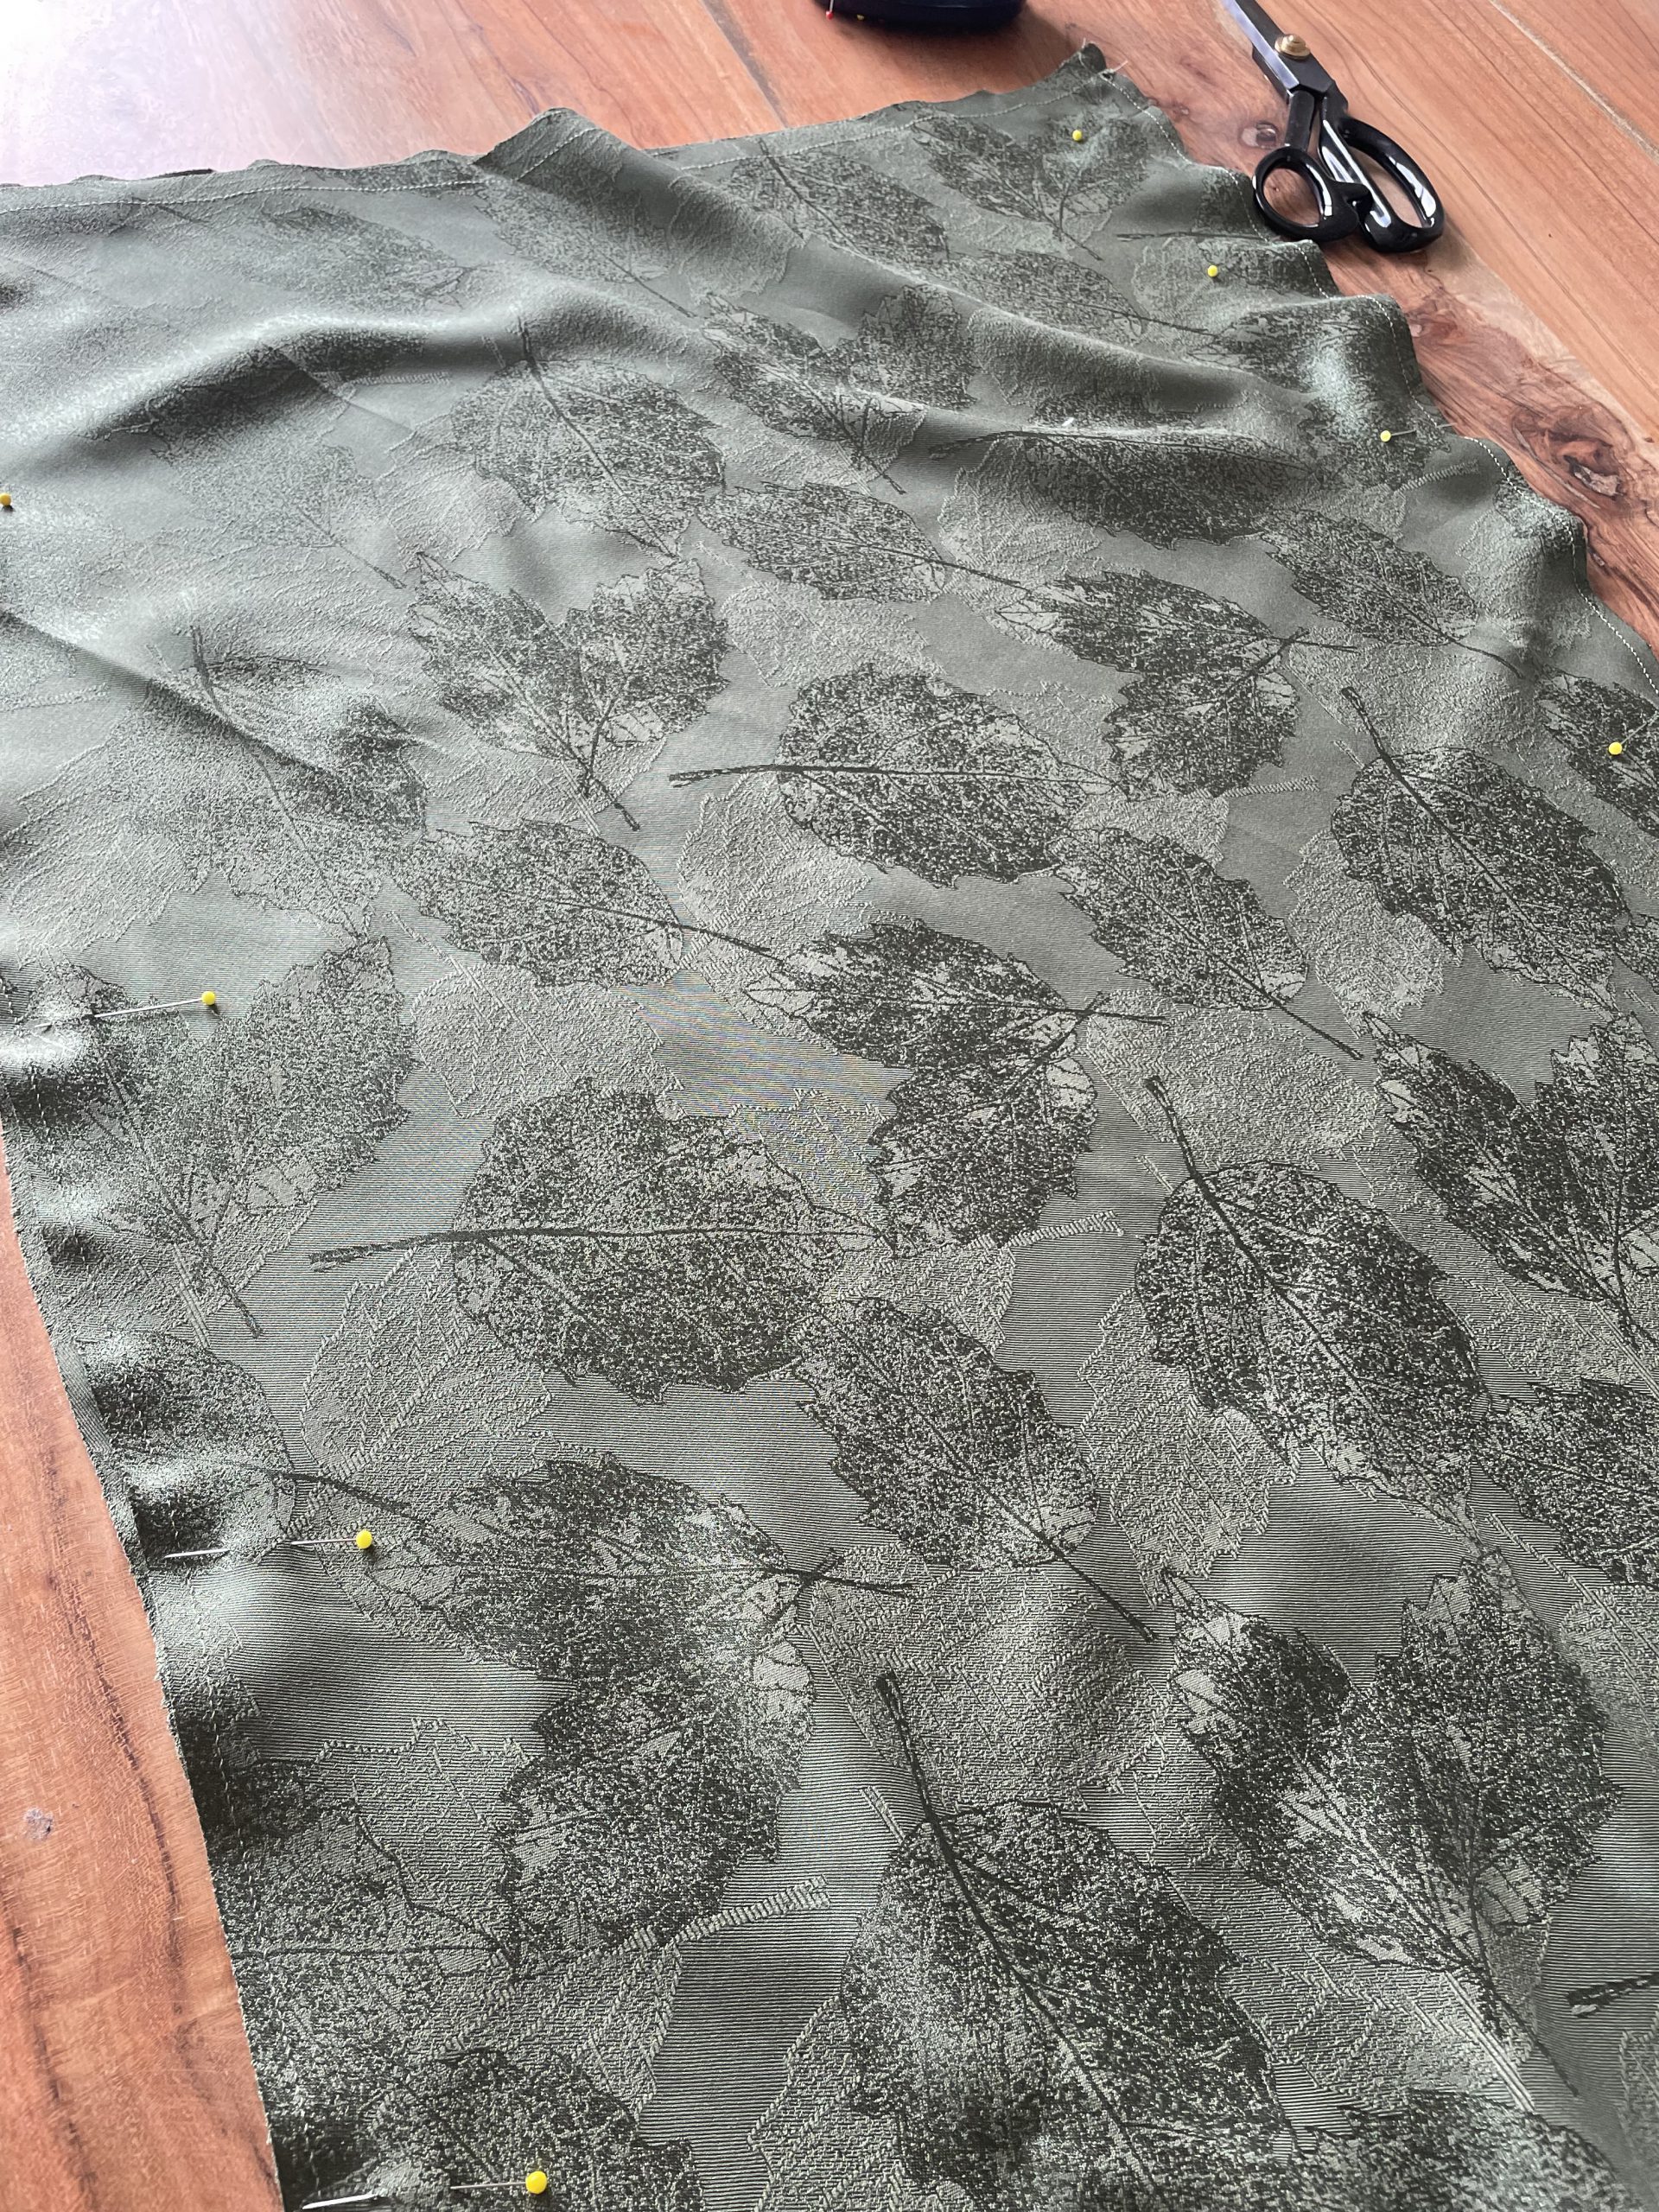
Also, once you have cut your pieces, fold your pieces gently and don’t handle them too much while constructing your skirt to avoid stretching, keeping them pinned to your pattern until using.
Stitch Type and Machine Settings
Bias cut garments have the tendency to stretch over time and during wear. If the seams do not stretch with the fabric, Set your machine for zigzag stitch, with a length of 2.5mm (or 2mm for finer fabric) and a width of 0.5mm. This will allow the stitching to move and stretch in the same way that a bias cut garment would. You may also need to lower your tension settings to avoid puckering if your fabric is very delicate and fine. Do a few tests before sewing your skirt!
Pressing
Do not pull the fabric while ironing as this will cause it to stretch and warp. Press the iron gently in one area, then lift and press gently on the next section instead of gliding across the fabric.
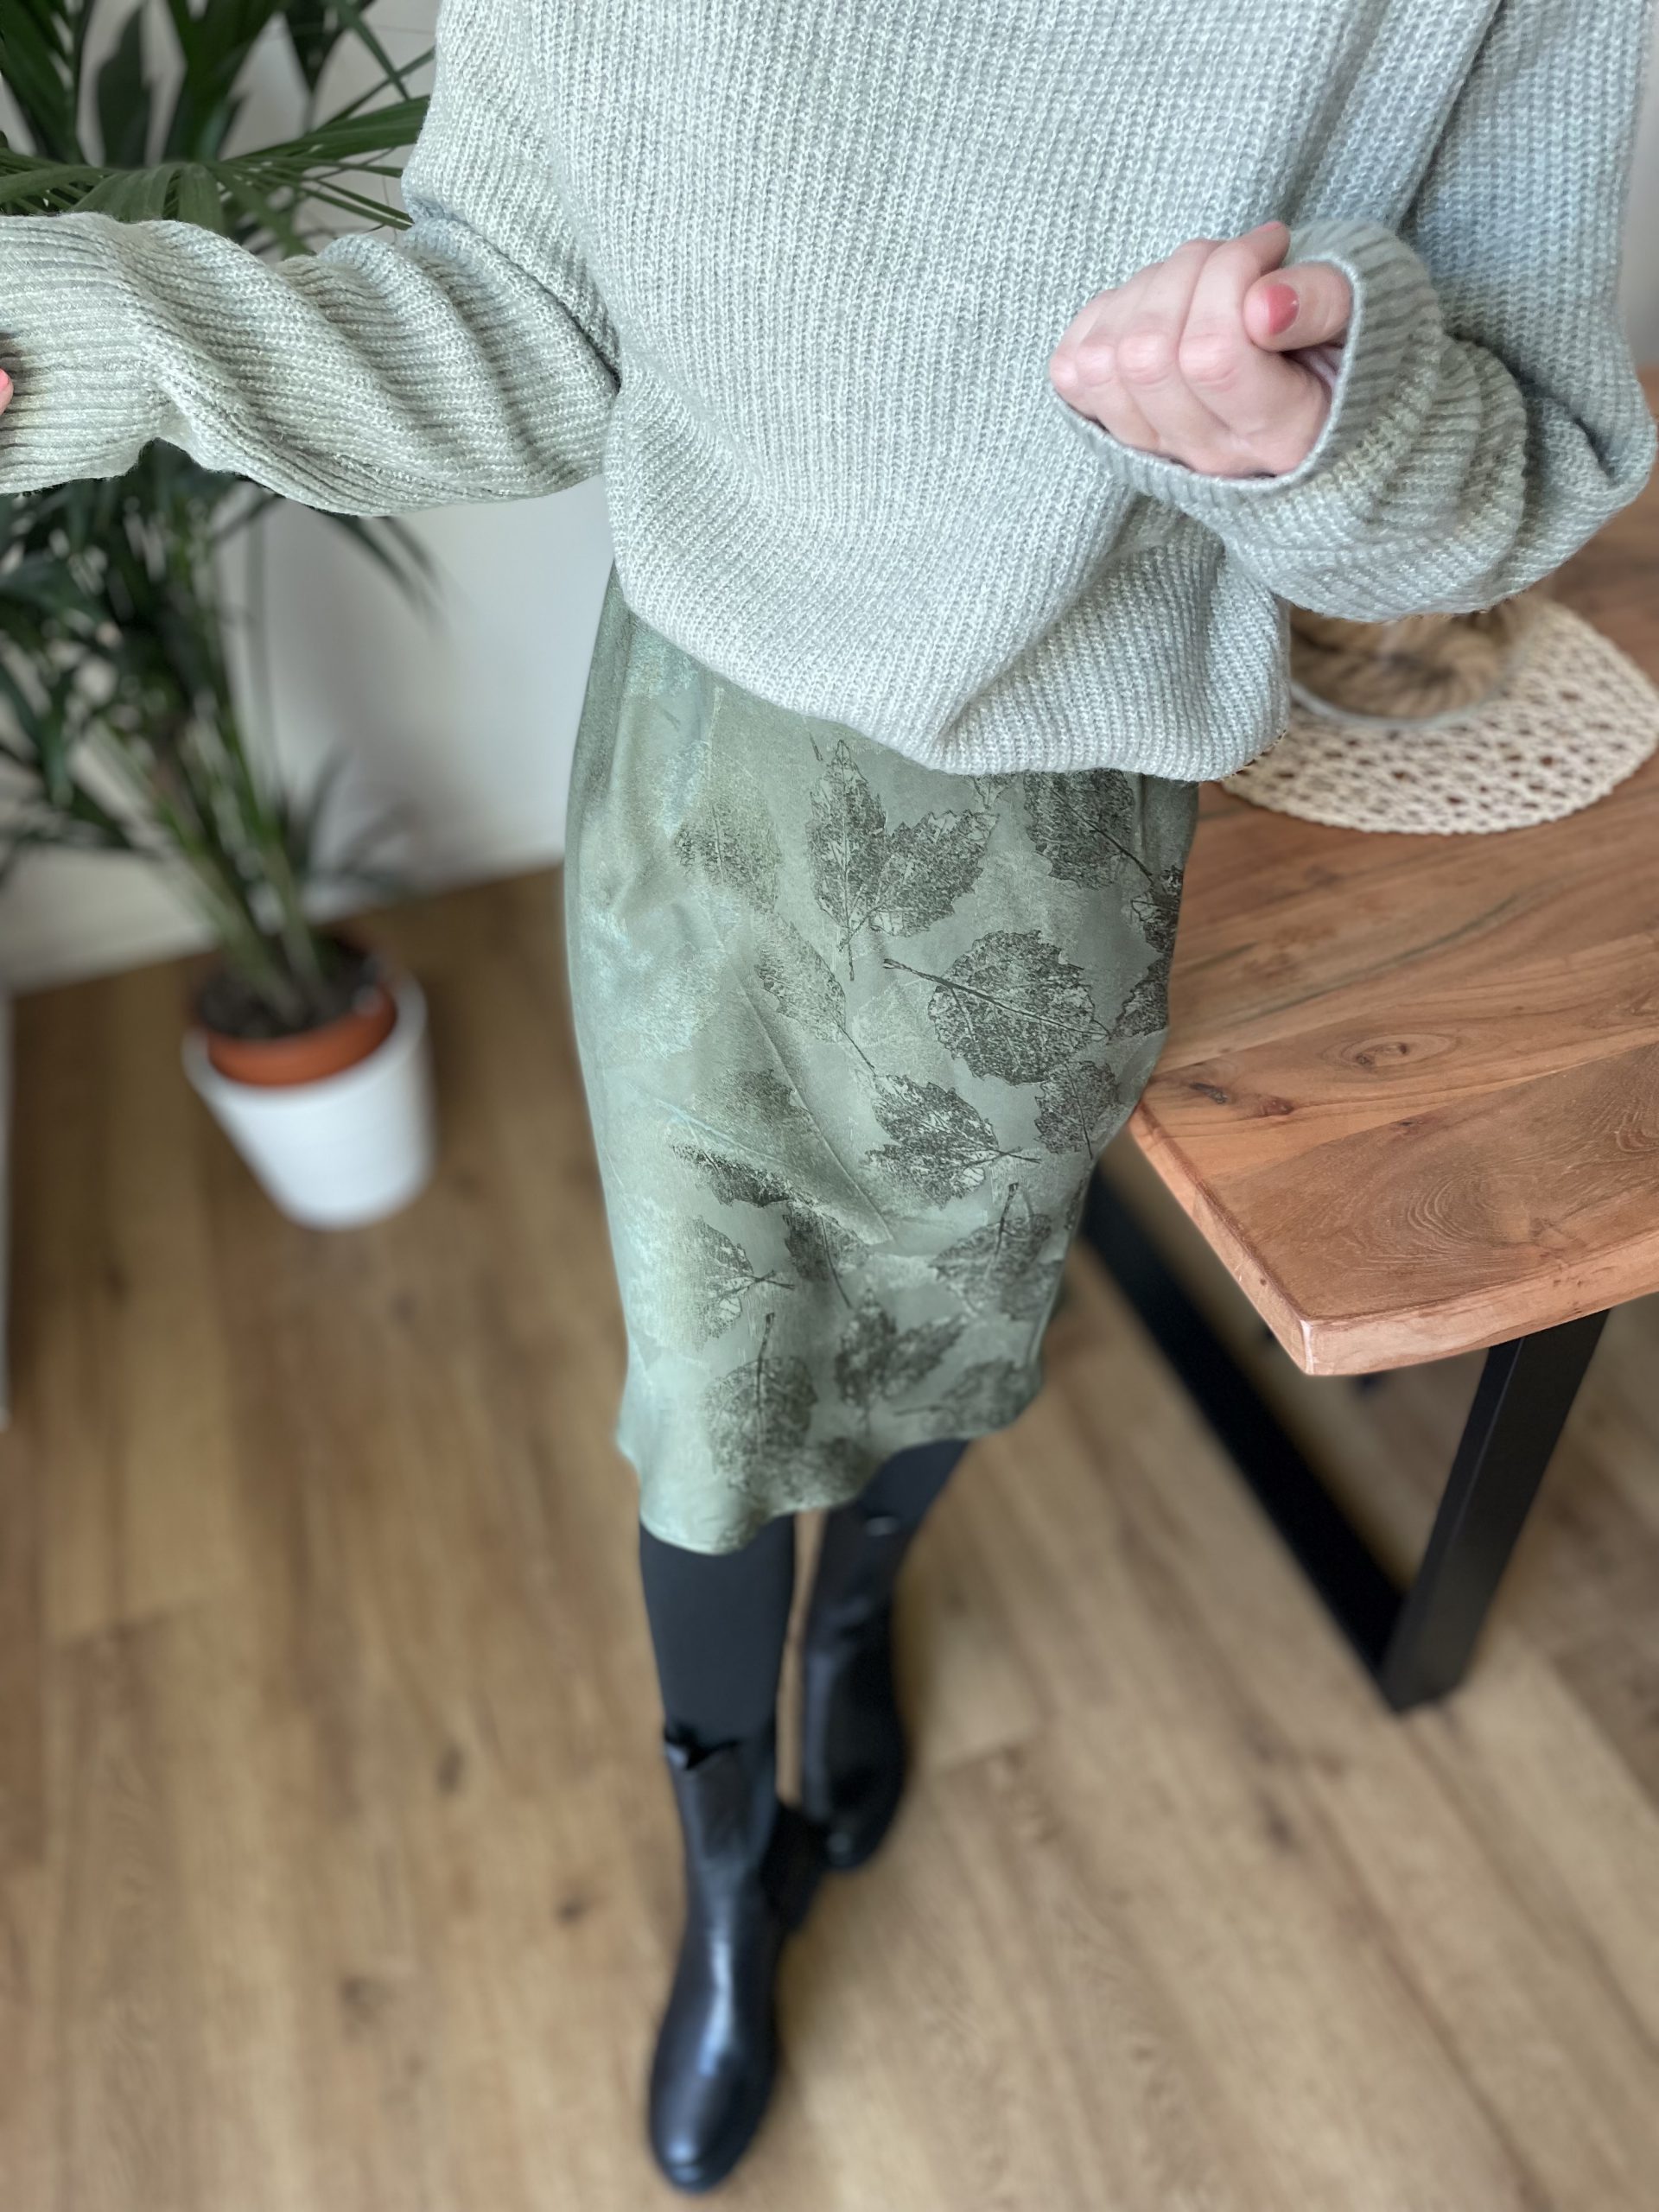
My Fabric Choice
I already own a big chunky green jumper so after some searching I found the perfect fabric. It wasn’t quite as satin and Shiny as I wanted but perfect for the pattern. Its a Viscose Jacquard from fibremood from www.der-buntspecht-shop.de
what else is required
Notions:
– matching thread
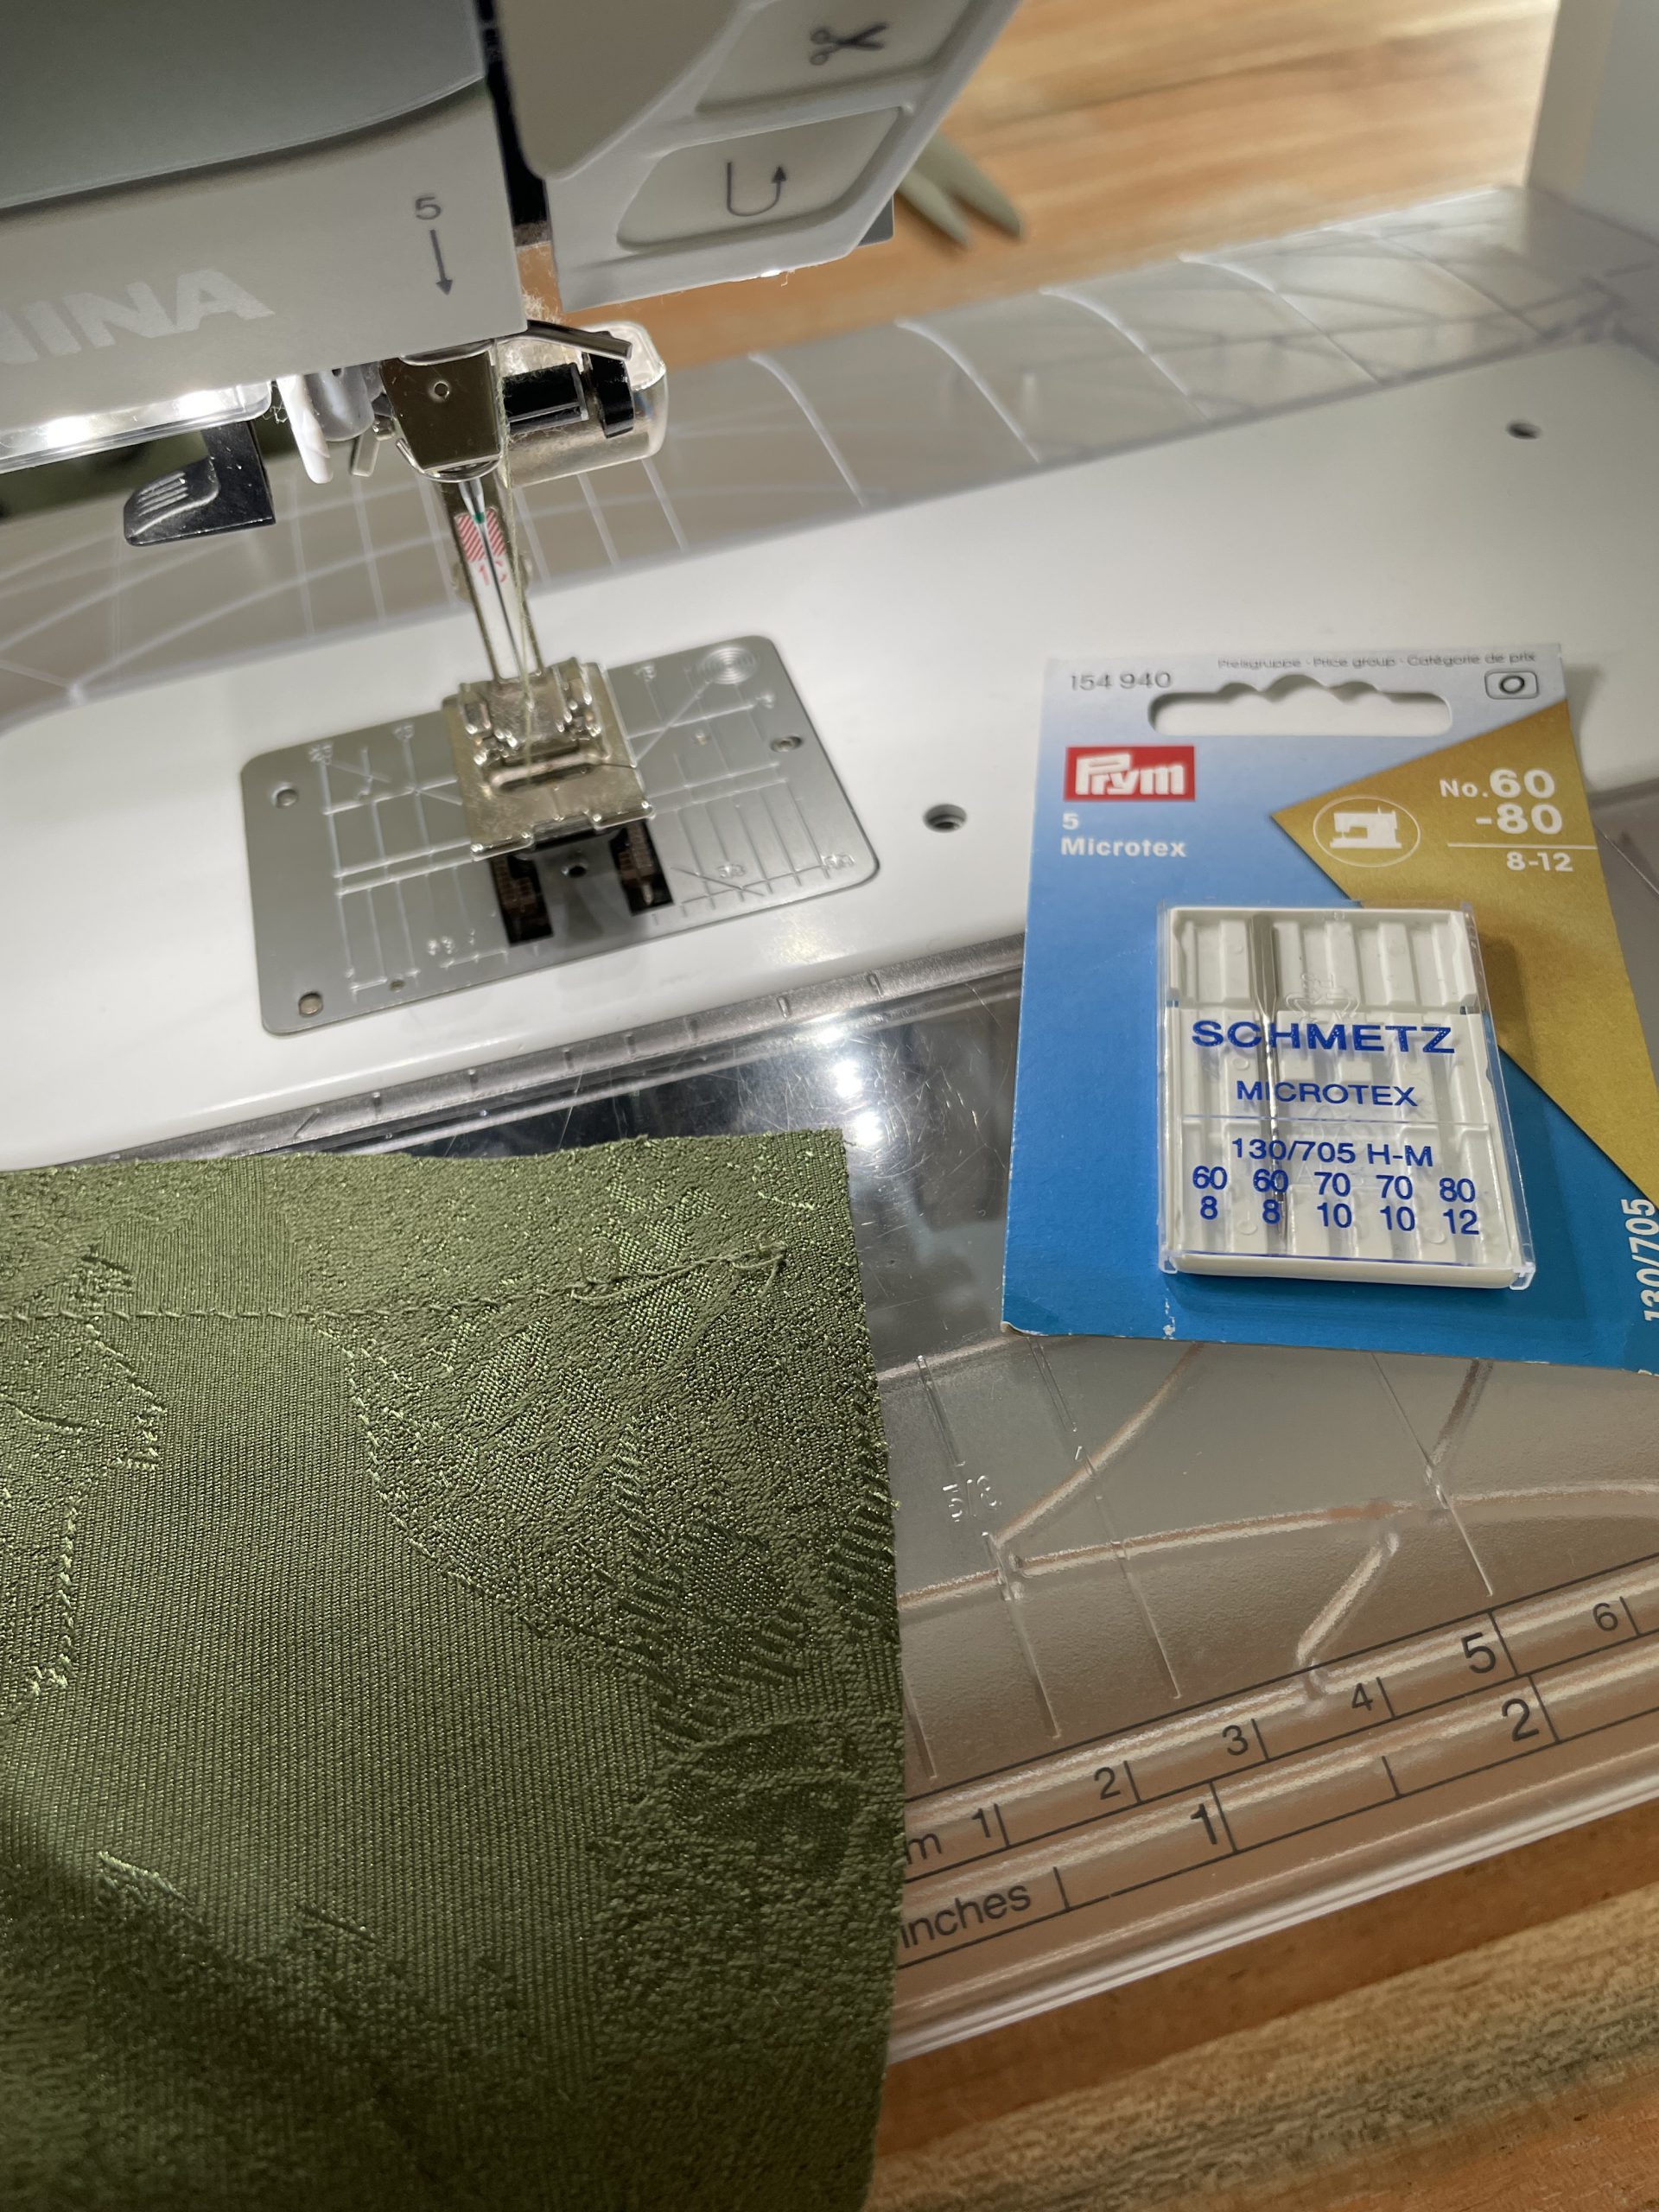
– microtex needle
– soft 2” elastic
Not only is the fabric and pattern required, but very importantly the correct needle size. Many forget to regularly change their machine needle or use the correct needle. For such a fine fabric, a super sharp needle is going to help me stitch through this fabric. I used a fine 60 Microtex needle.
To sew my skirt I used my Bernina B480 and my Overlock Bernina L850 only to finish the top edge. The whole skirt can be sewn without needing an overlock machine.
Lets start to sew!
So, with all the tips, fabric choices, and pattern pieces cut out, we are ready to sew.
Stay Stitching
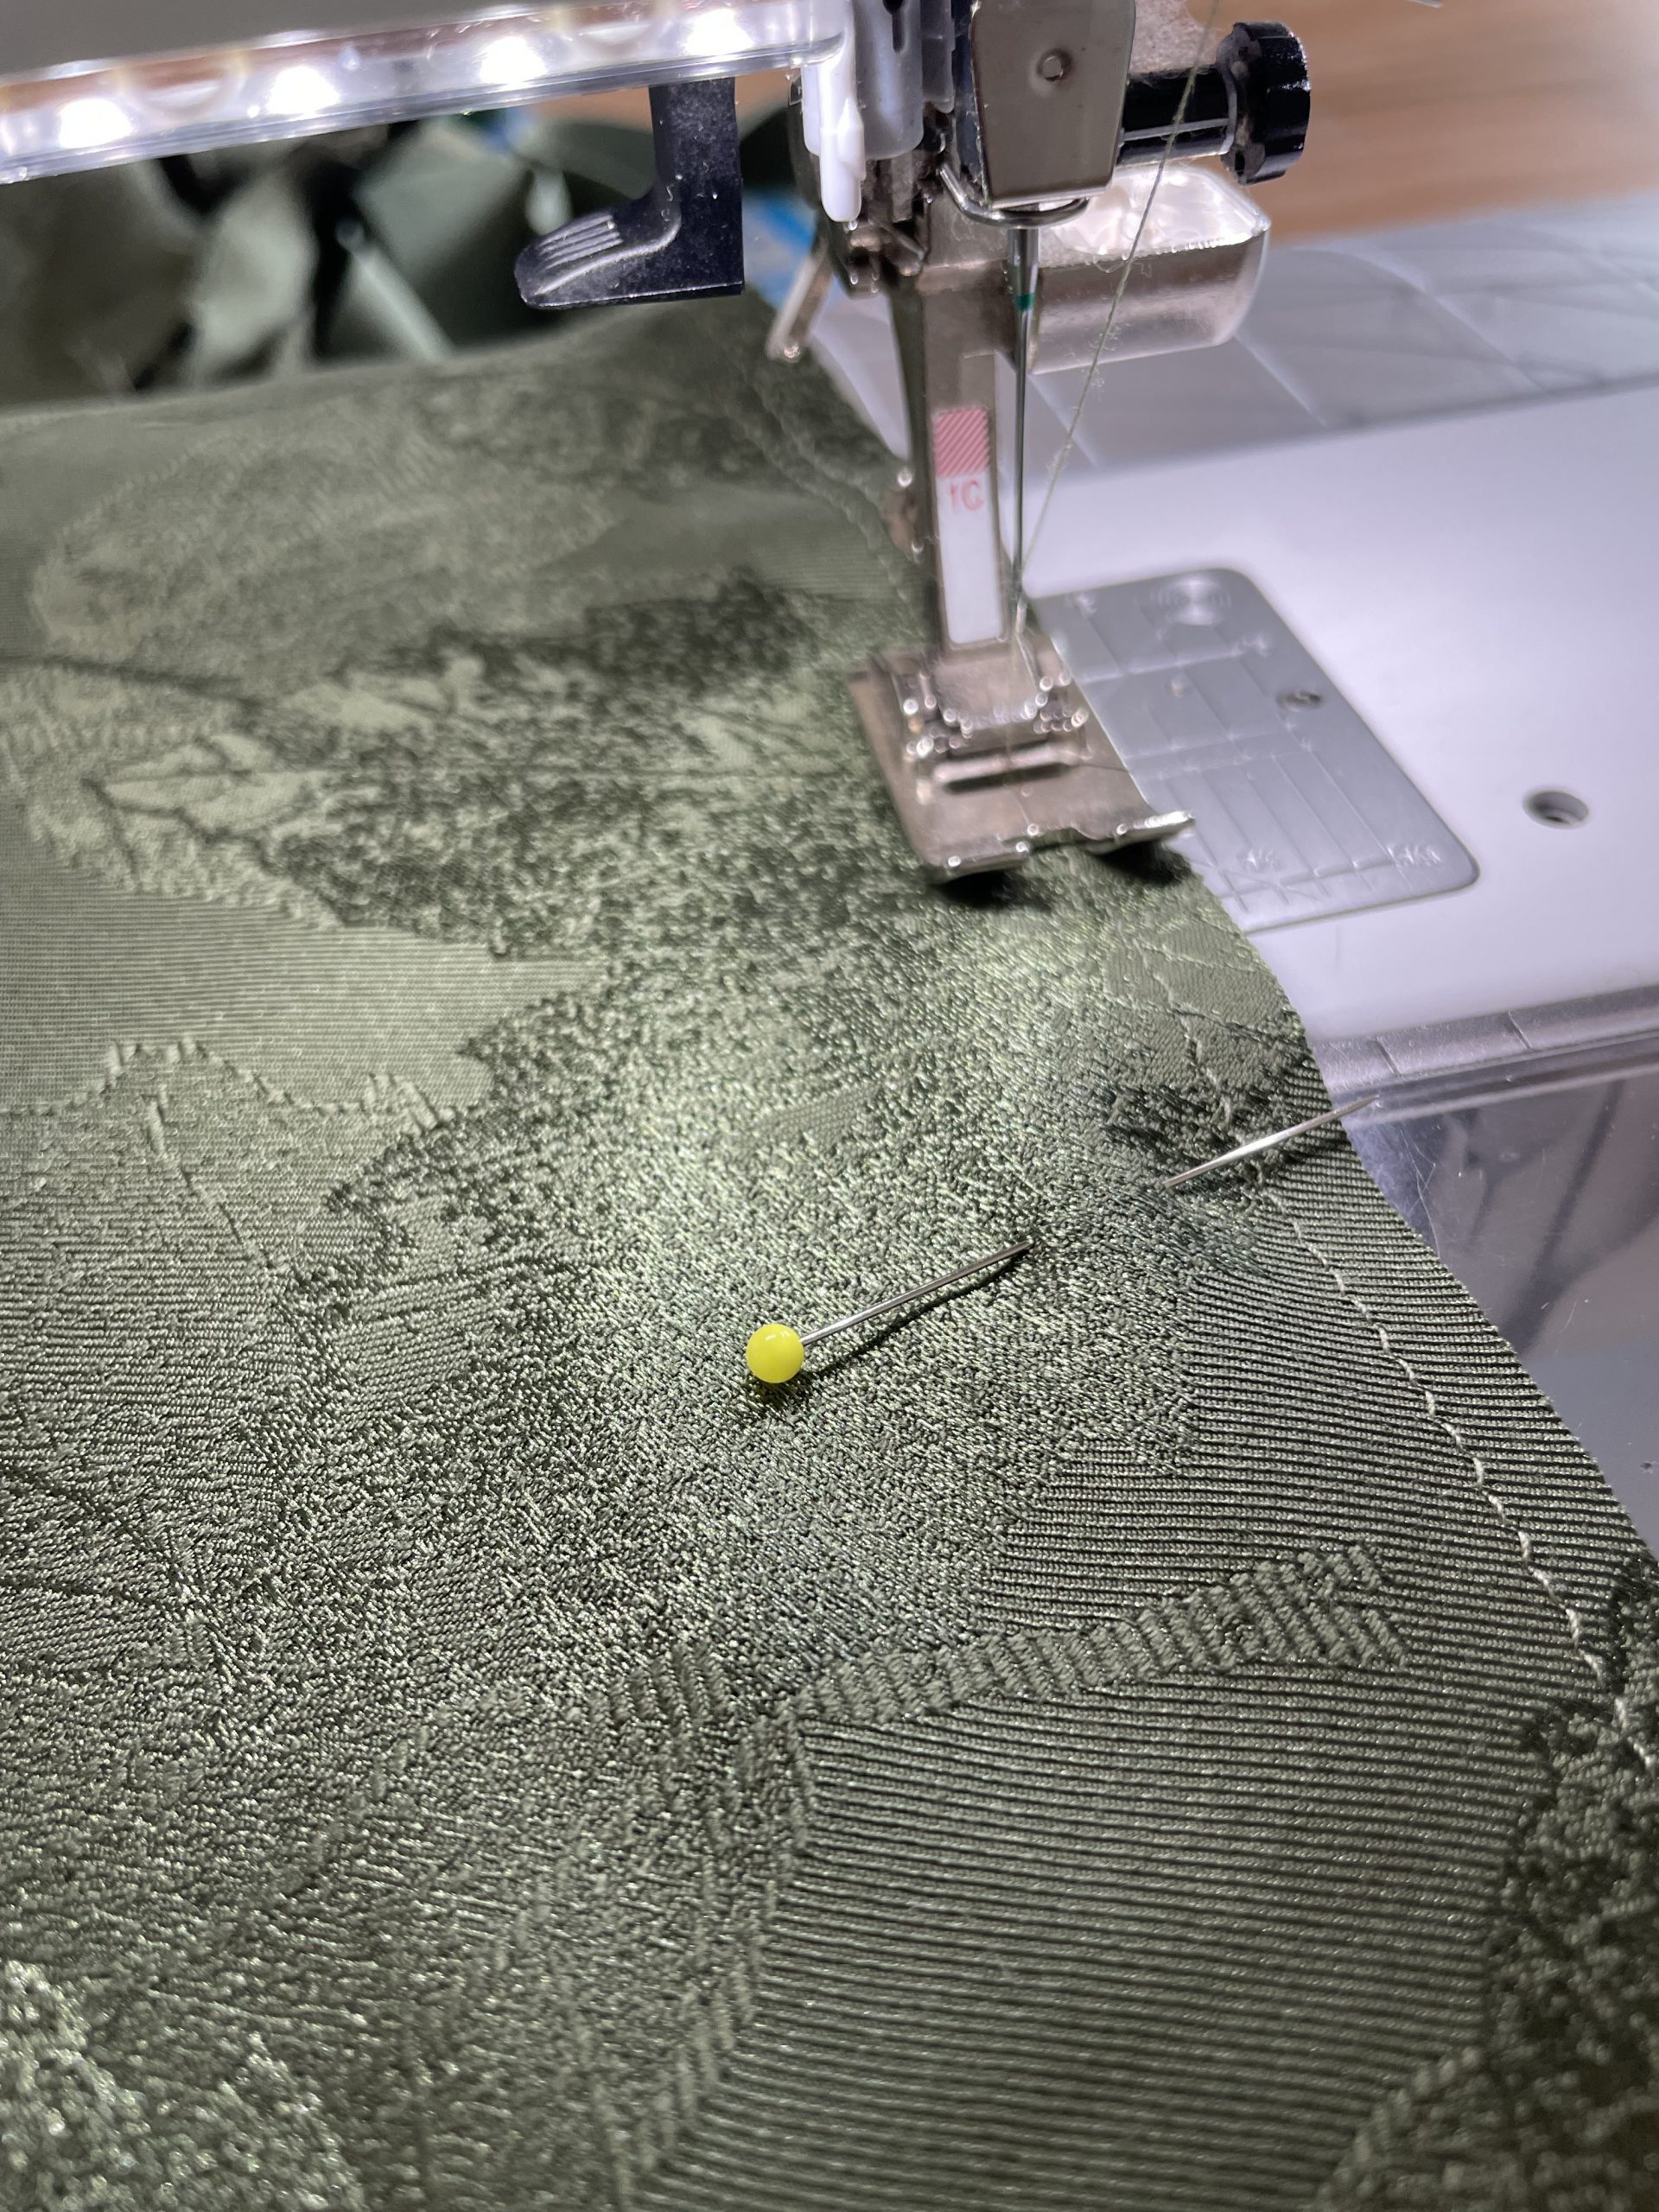
Firstly stay stitch the top of your skirt 1.3cm from the top edge and along both sides 3mm from the raw edges. This will help prevent the fabric from stretching out of shape.
French Seam side seams
The side seams are going to be french seams, they lay nice and flat and its an excellent skill to learn.
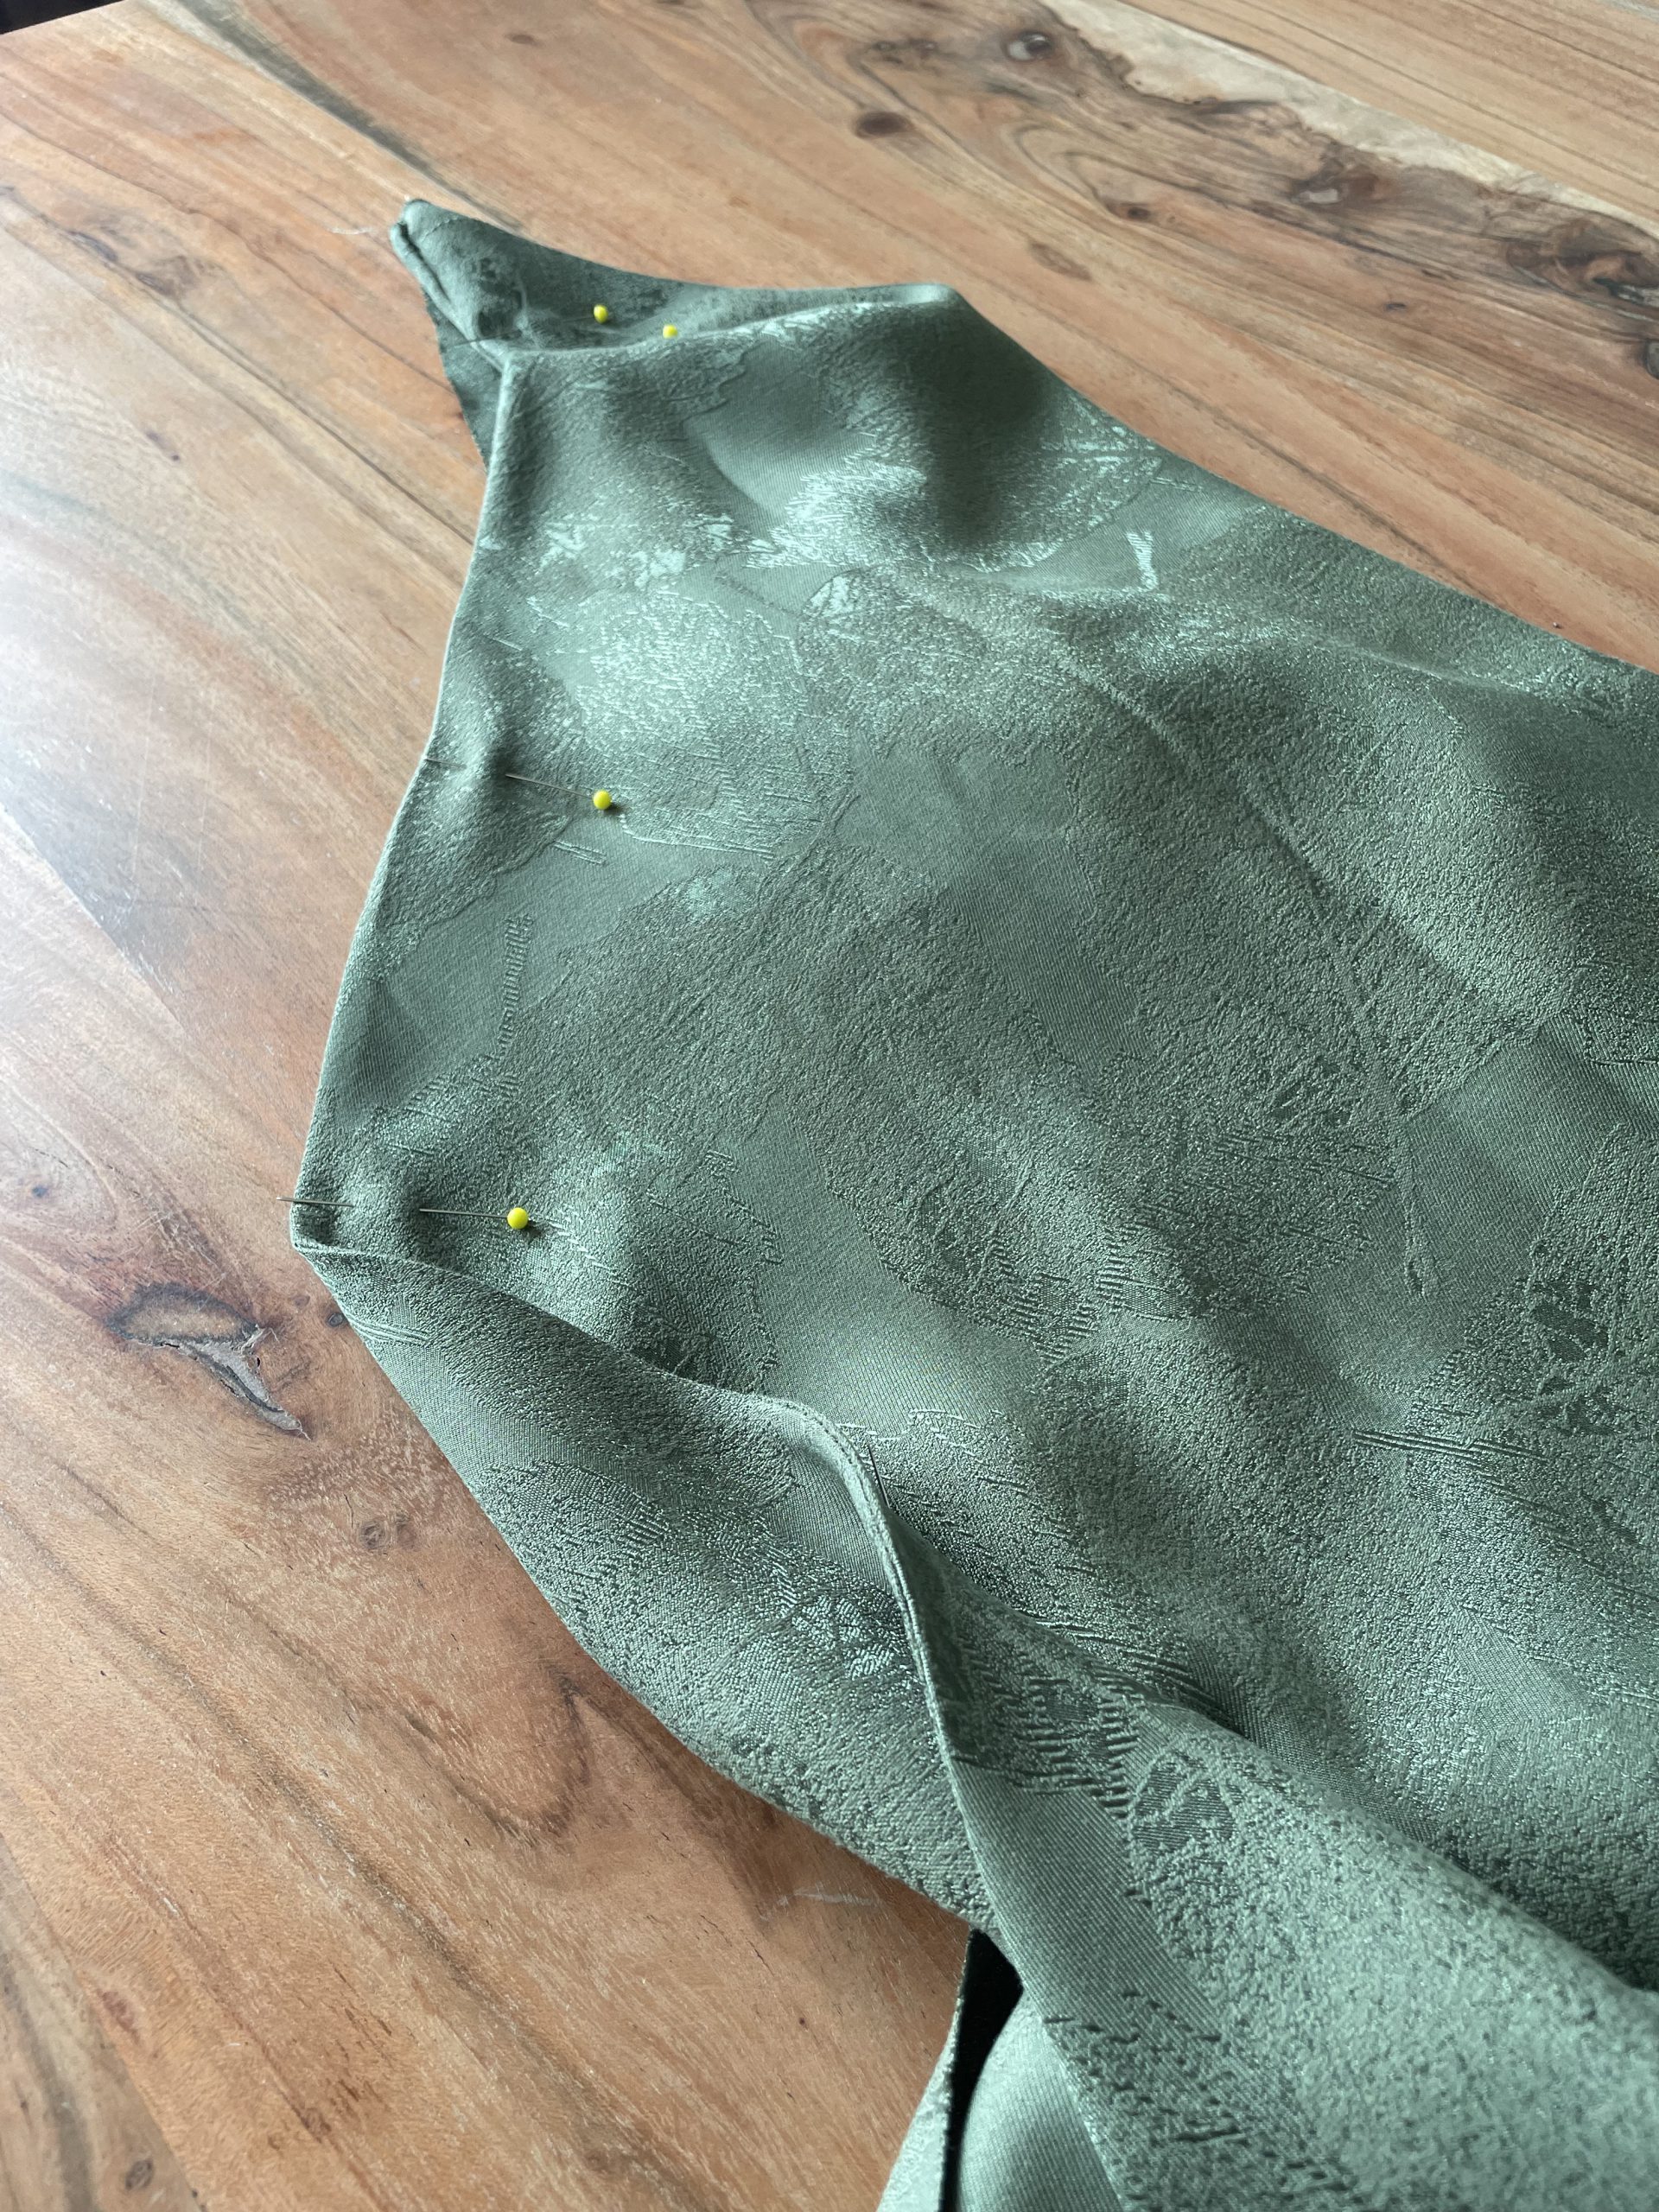
Place wrong sides of the skirt together and sew both side seams with a 7mm seam allowance using the narrow zig zag as mentioned above.
Side seams pinned and sewn
narrow zig zag
Next carefully trim the seam allowance on each side seam to 3mm, turn the skirt to the wrong side out and press the seam flat.
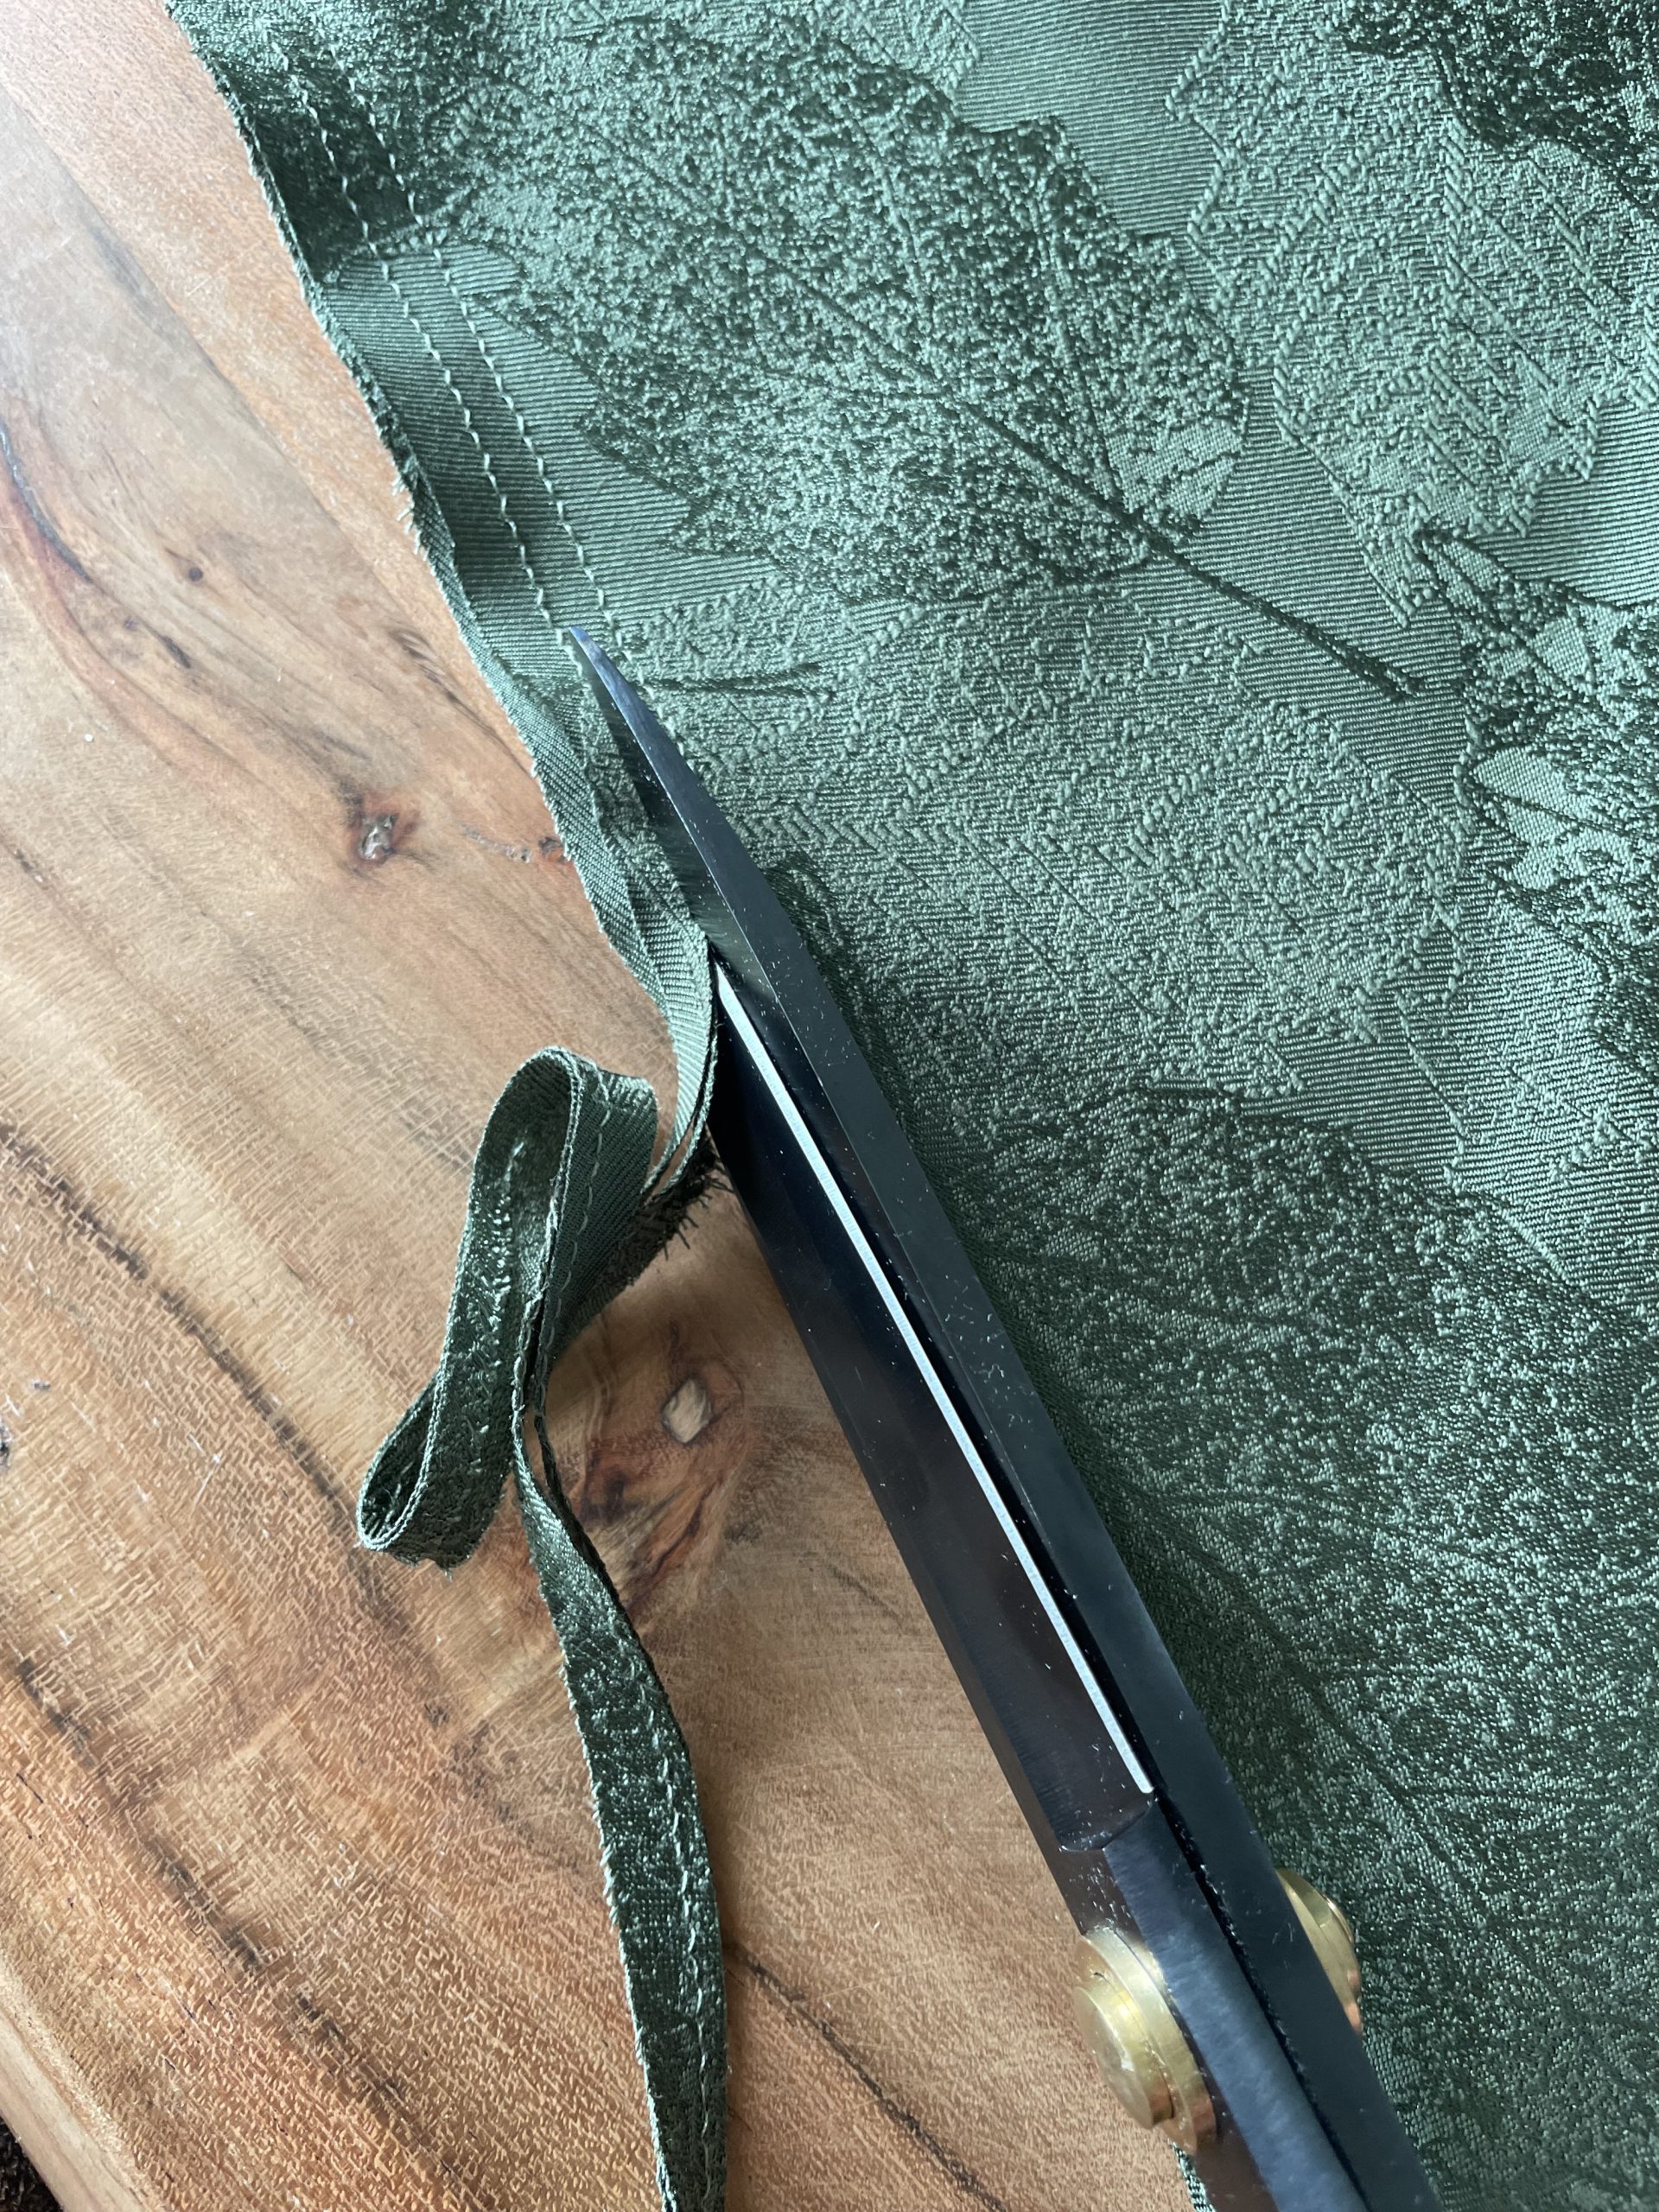
Trim Side Seams to 3mm
Next sew the side seam again 7mm from the side edge. and there you have a beautiful french seam!
Side seam pinned for the second time right sides facing
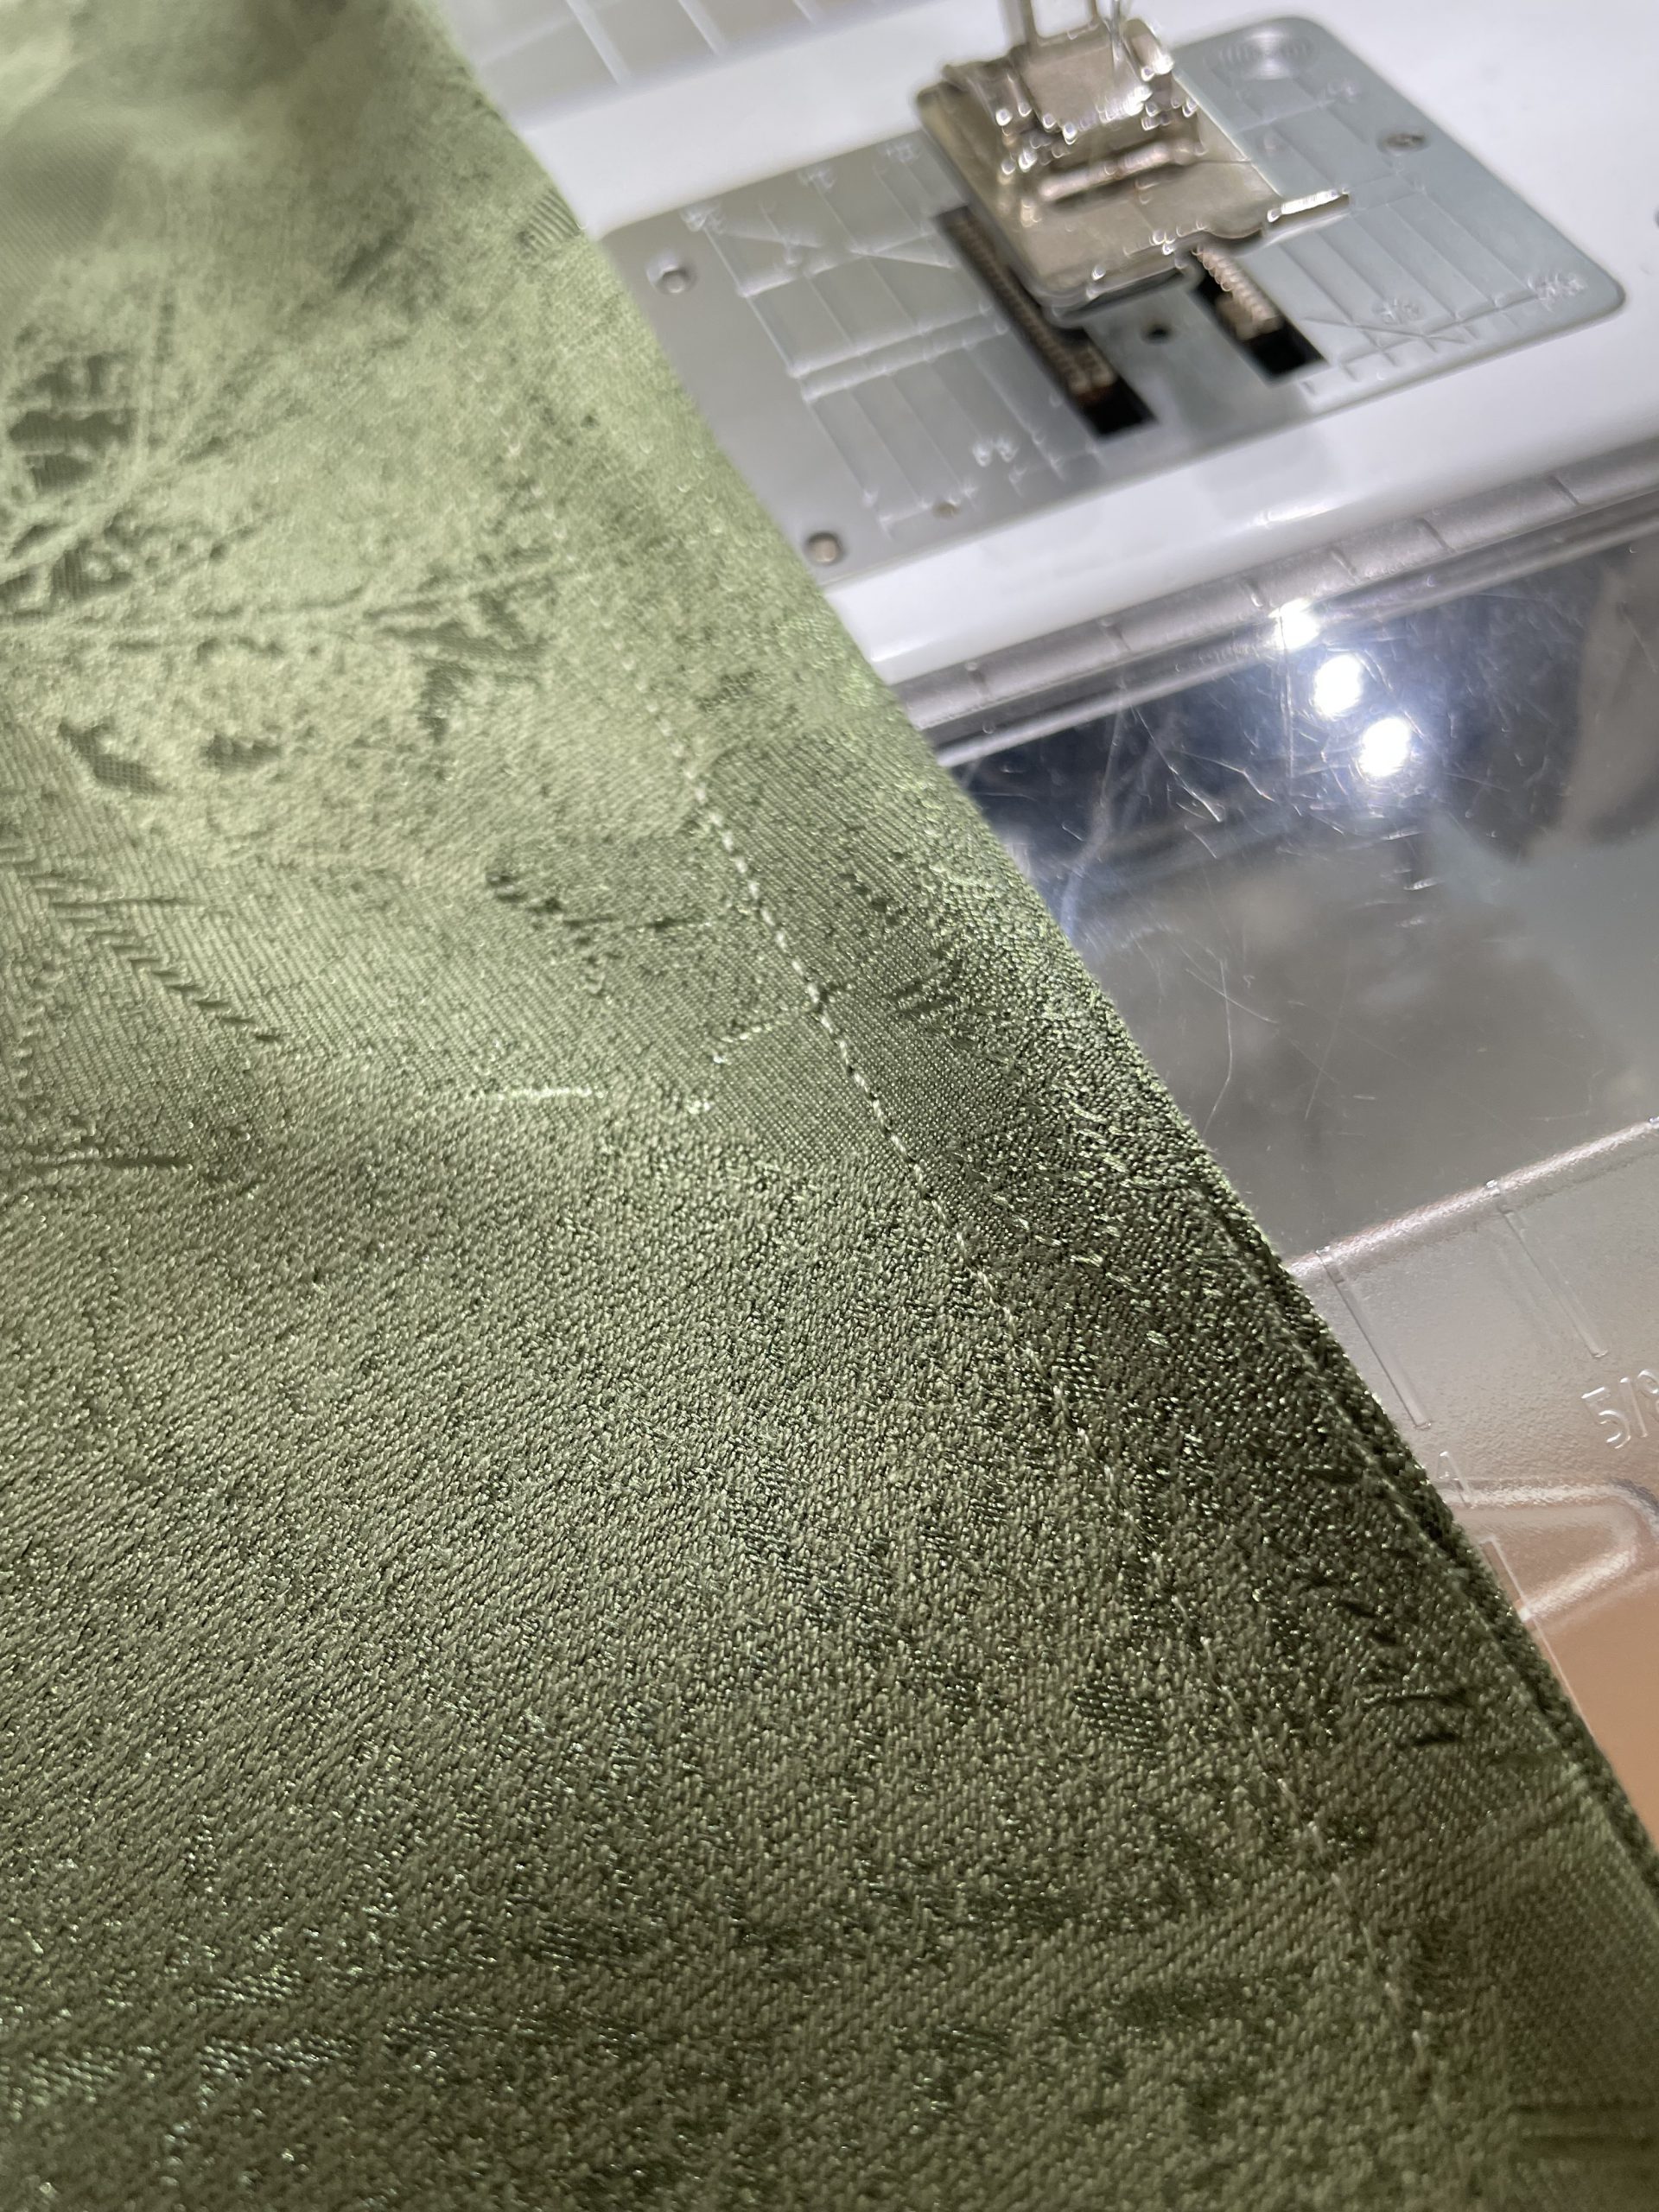
french seam ( view from inside the skirt)
Elastic Waist band
Cut the elastic to your waist measurement, when sewn it will be 2.5cm smaller due to the overlap.
Create a loop and overlap the ends by 2.5cm and secure using the sewing machine creating a box with an X through the middle.
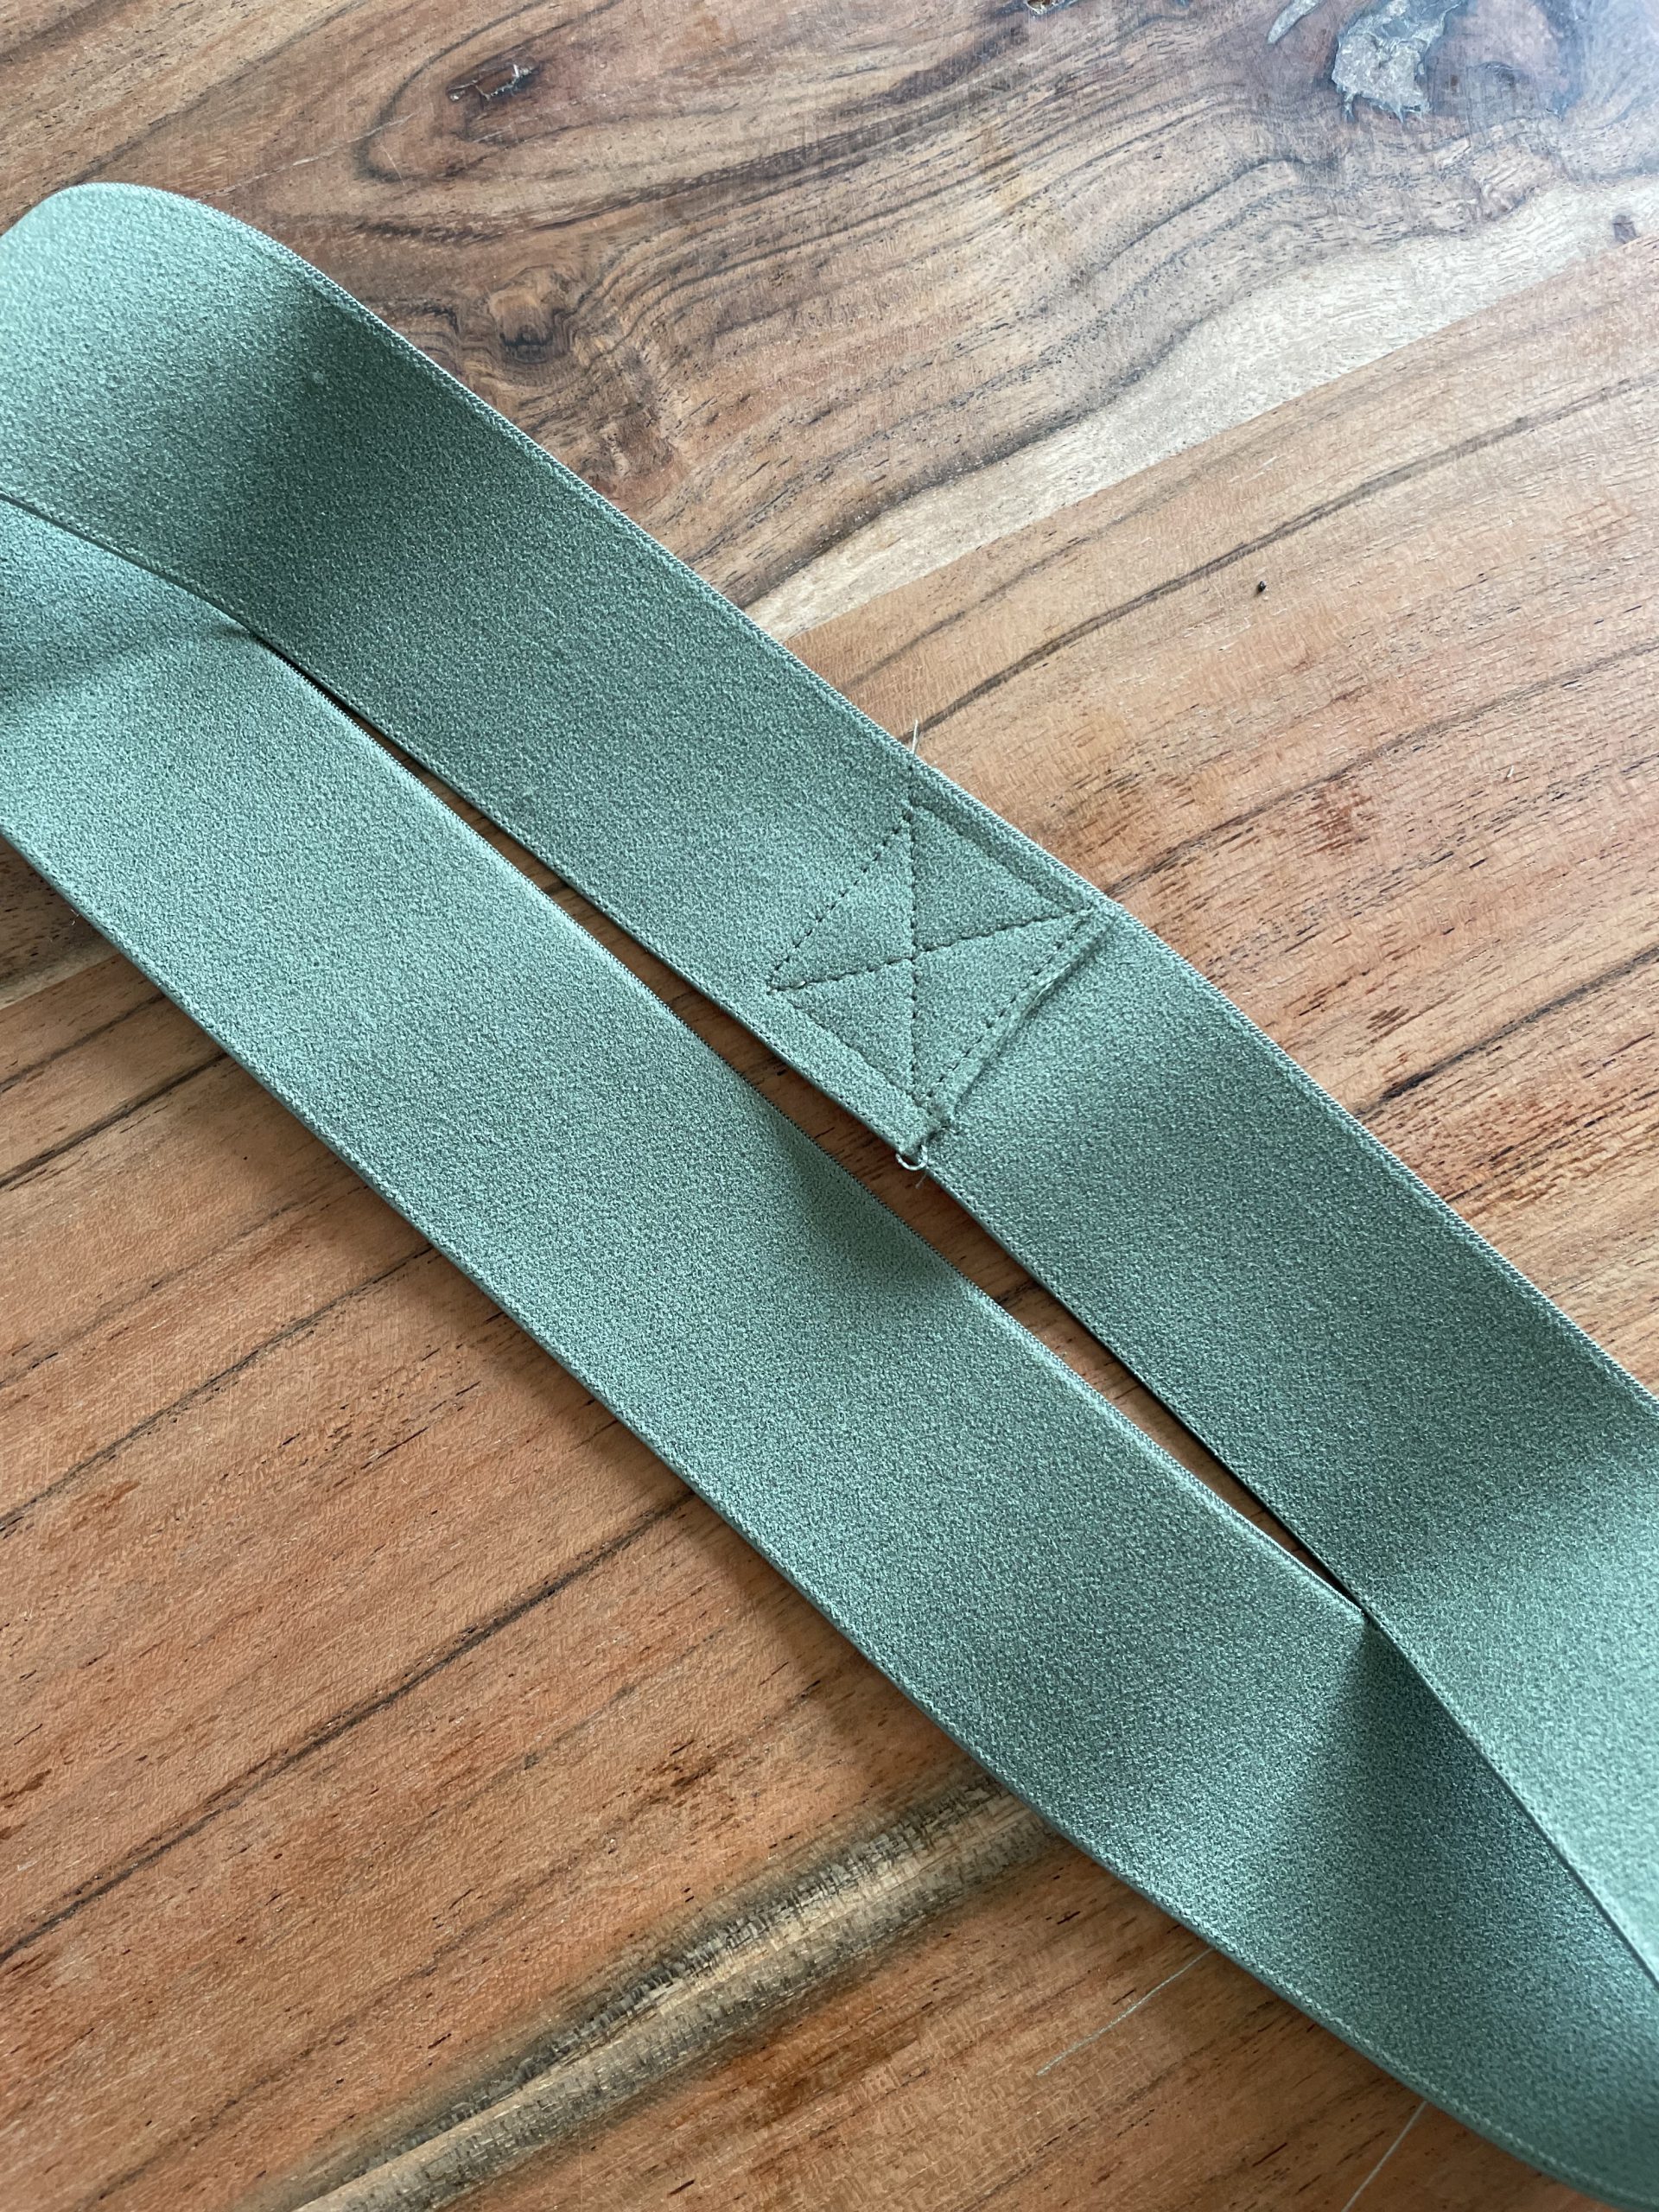
Finished waist elastic
Next mark the quarters of the waistband using pins, also the top waist of the skirt.

All 4 quarters marked
With the skirt the right side out, place your elastic loop over the waist of the skirt, lining up the bottom edge of the elastic with the stay stitching line we created in the first stage. The elastic should be overlapping the waist edge of the skirt by just 1.3 cm. Match the pins on the elastic and the skirt and pin the elastic to the skirt.

elastic pinned evenly to the skirt waist
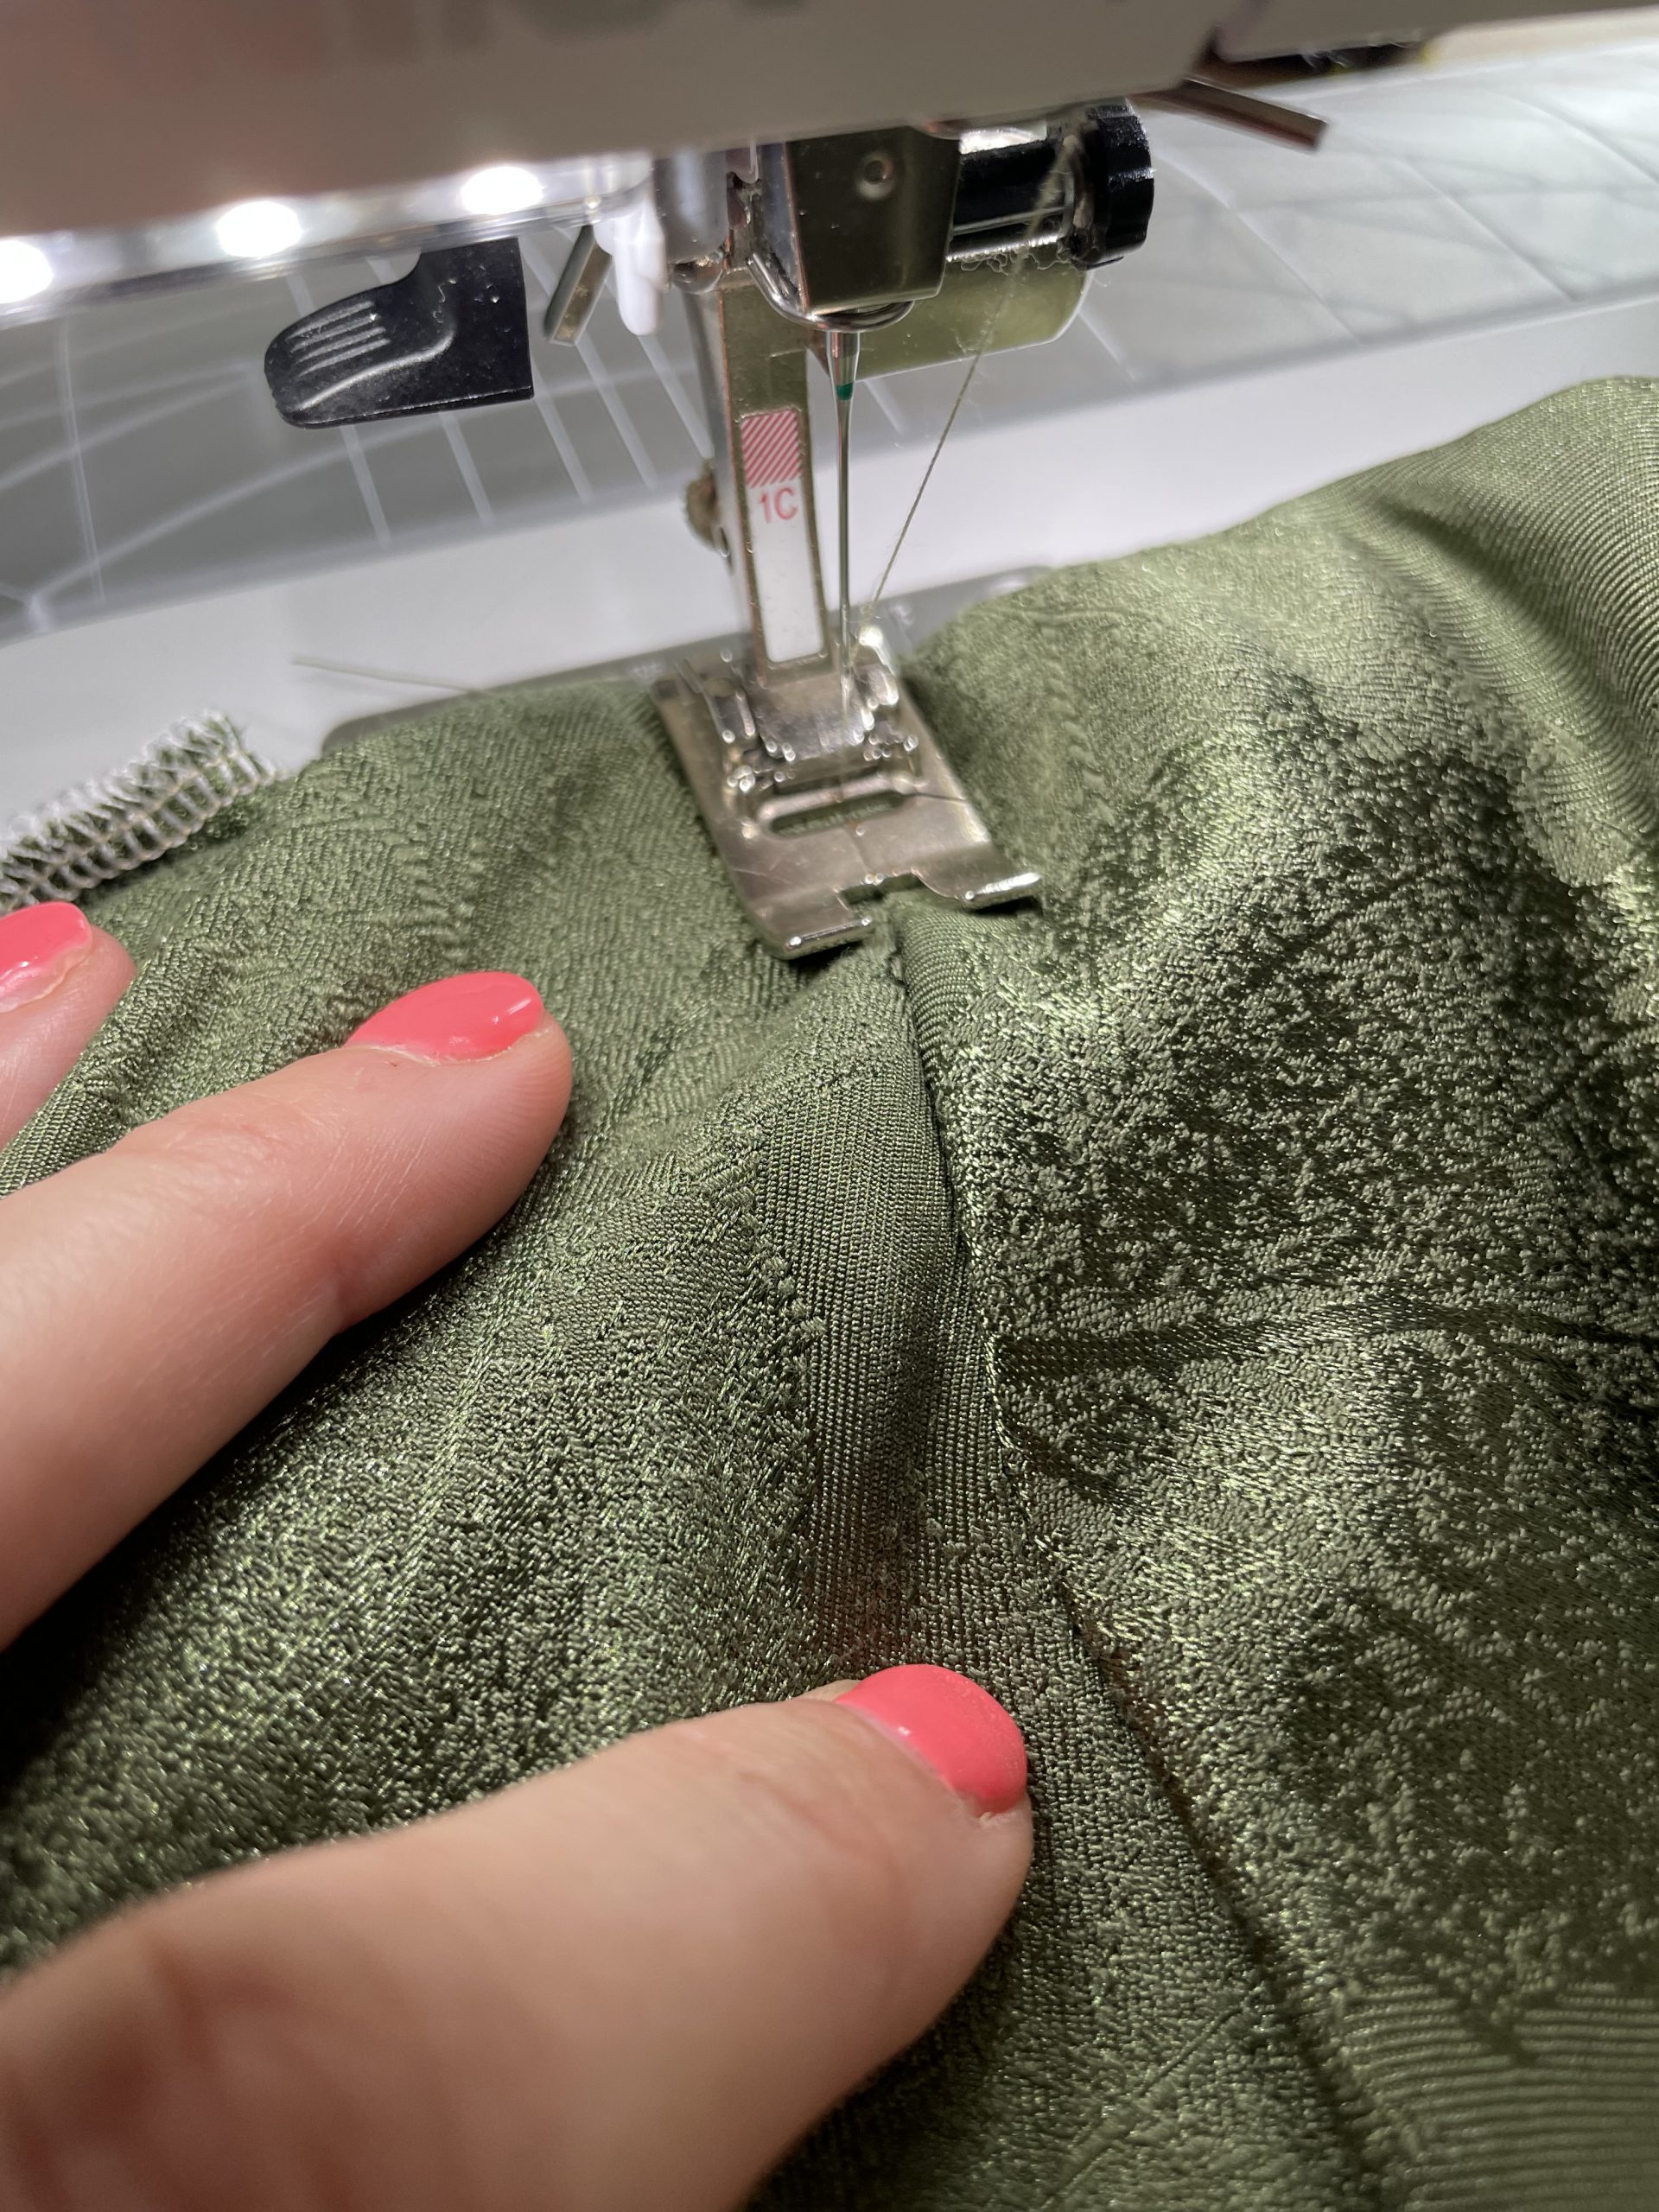
Sew the elastic to the waist edge of the skirt with a narrow zig zag stitch at 1.3 cm, gently stretching the elastic to fit the skirt as you go. You’ll want to make sure the left side (or bottom stitch) of the zig zag goes through the fabric only, just below the elastic. The right side of the zig zag will go through both the skirt fabric and the elastic. This will ensure the elastic doesn’t show once it is flipped to the inside.

Elastic sewn to the waist at the stay stitch line ( 1.3cm from the waist raw edge)
Flip the elastic to the inside of the skirt, and stitch in the ditch off each side seams to secure the elastic and prevent it from flipping out.
Elastic stitched in the ditch of the side seams to secure
Baby hemming your skirt
your next step will be to hang your skirt up on a skirt hanger for the next 24 hours to allow the hem to drop.
After a long 24 hour wait you can try your skirt on and check and adjust the length and the drop, and cut to the correct length
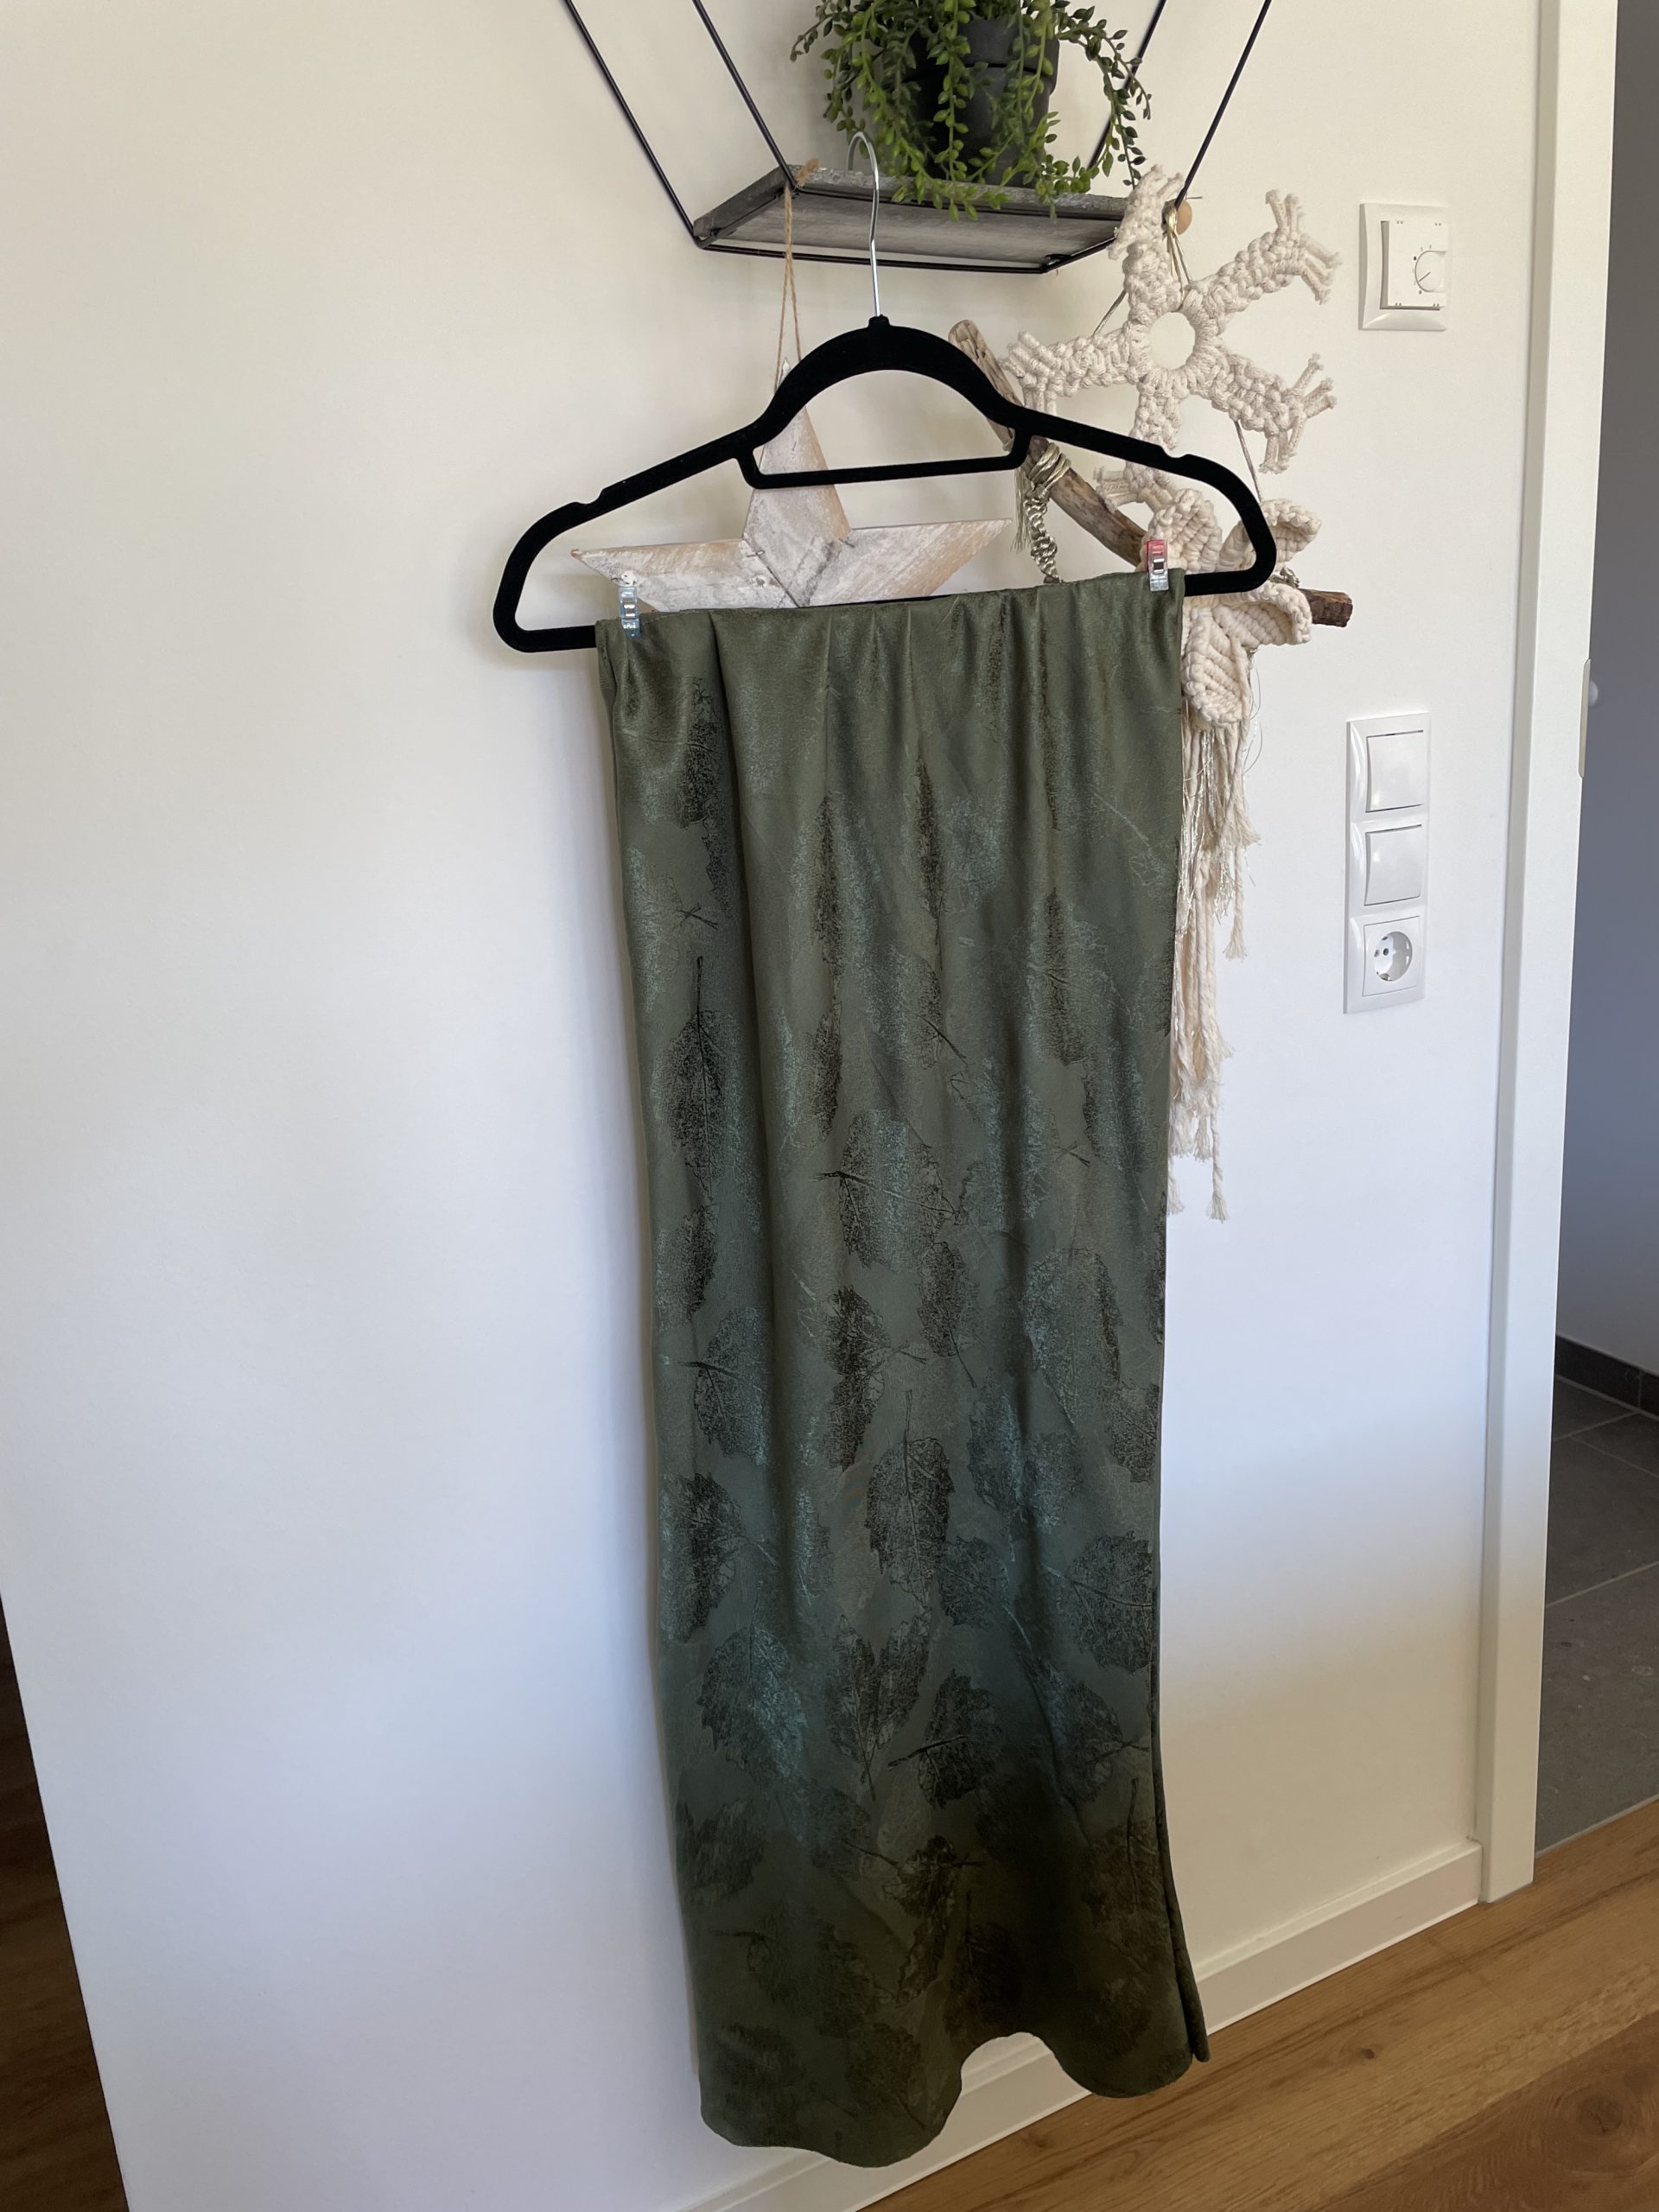
24 hour wait! but worth it
To Baby hem you skirt, press the bottom edge up 3mmm more than your would like your finished hem. Edge stitch at 2mm or as close as your can get and carefully trim the excess away. Fold the hem again to the wrong side, press and edge stitch along the top edge as close as your can.

Baby hem seam
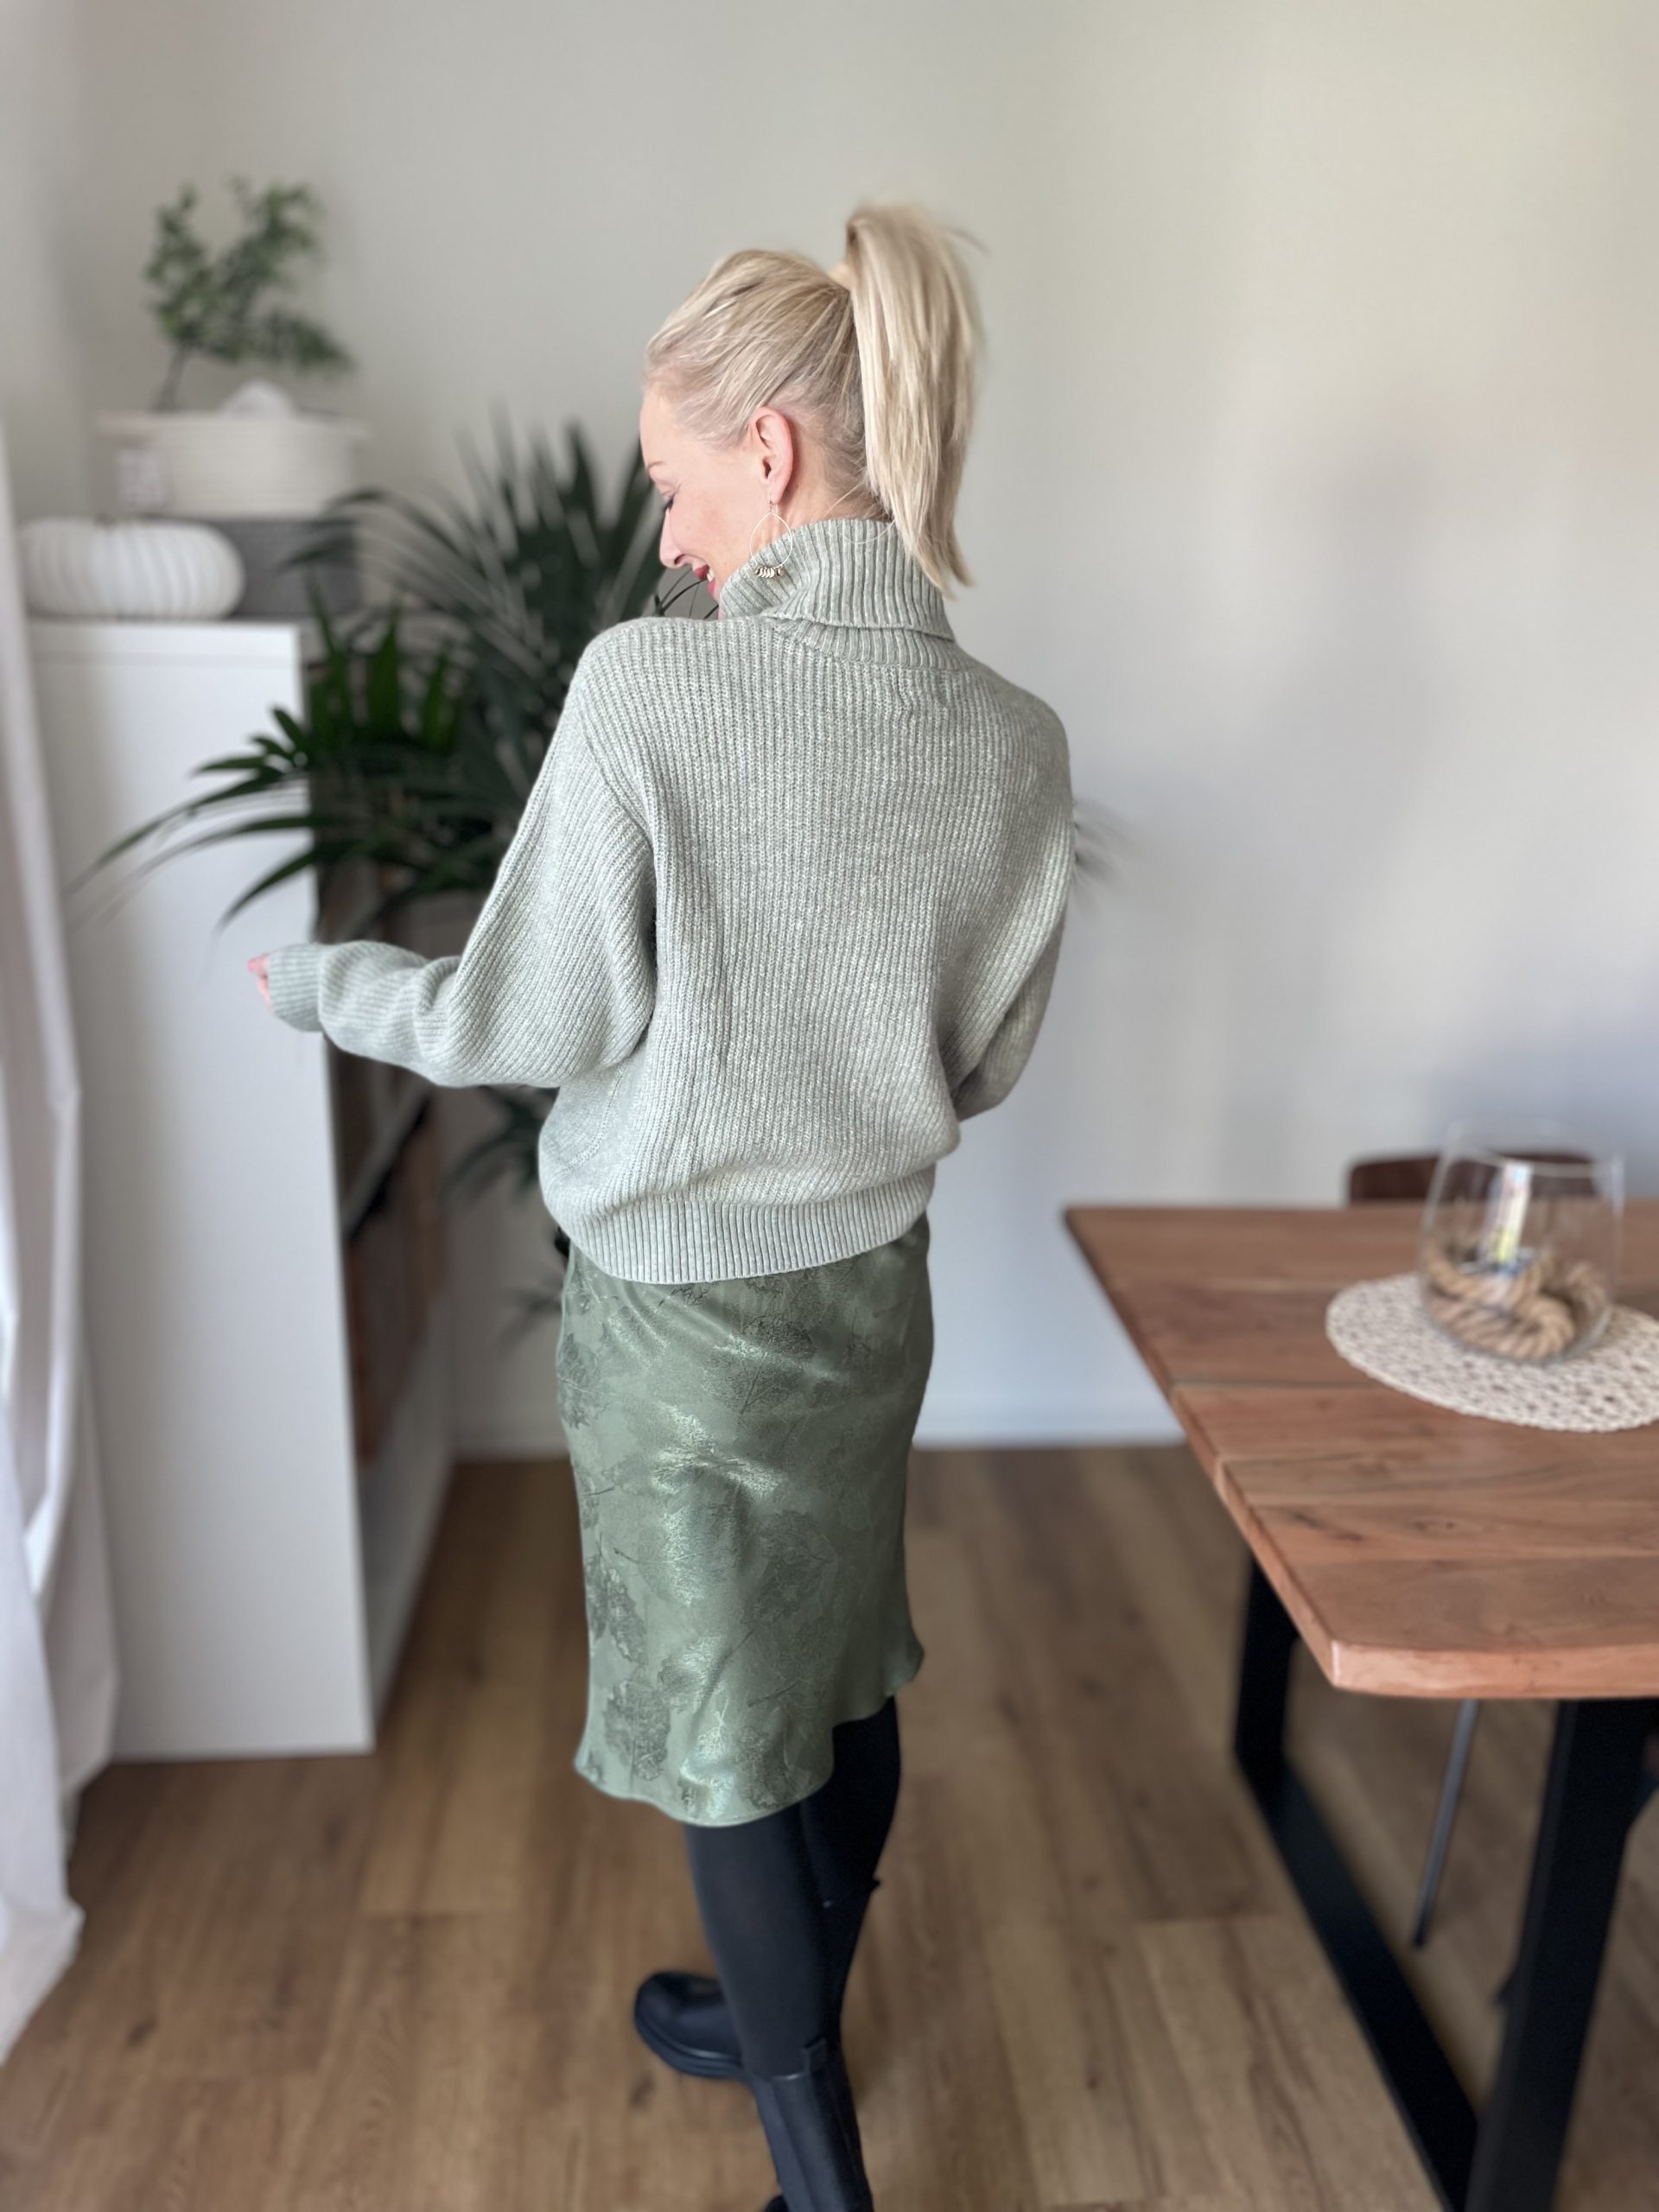
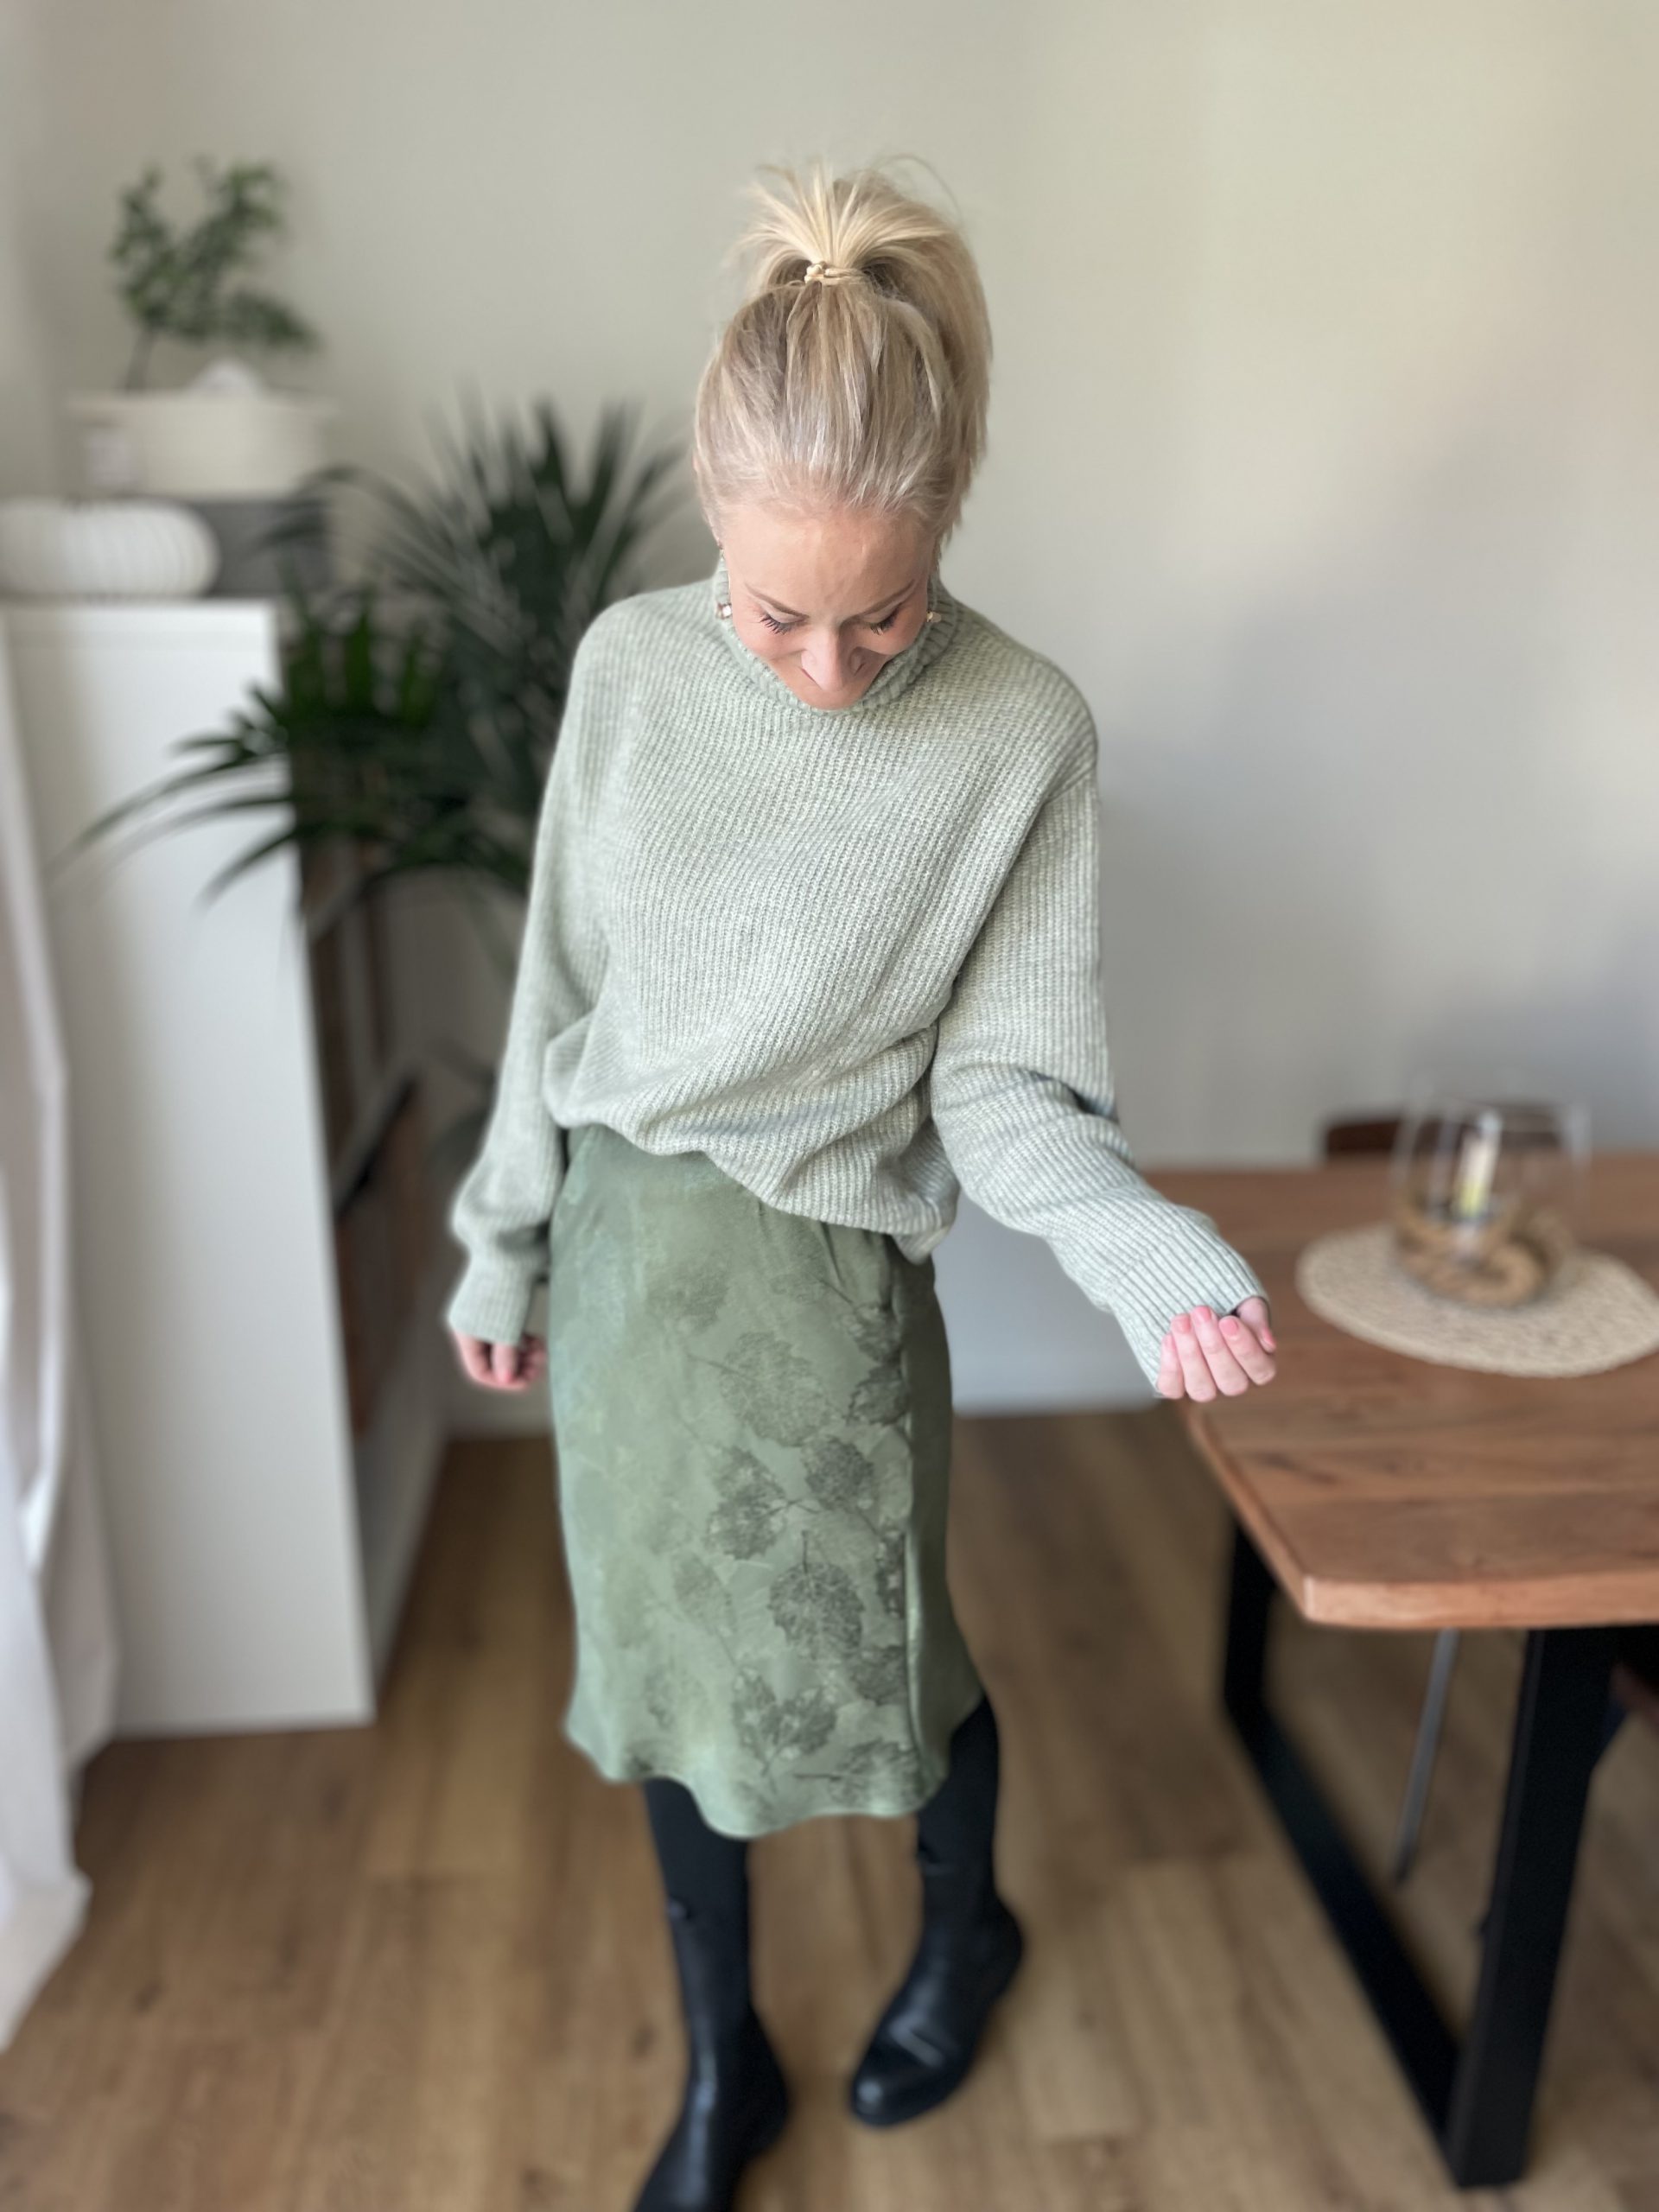
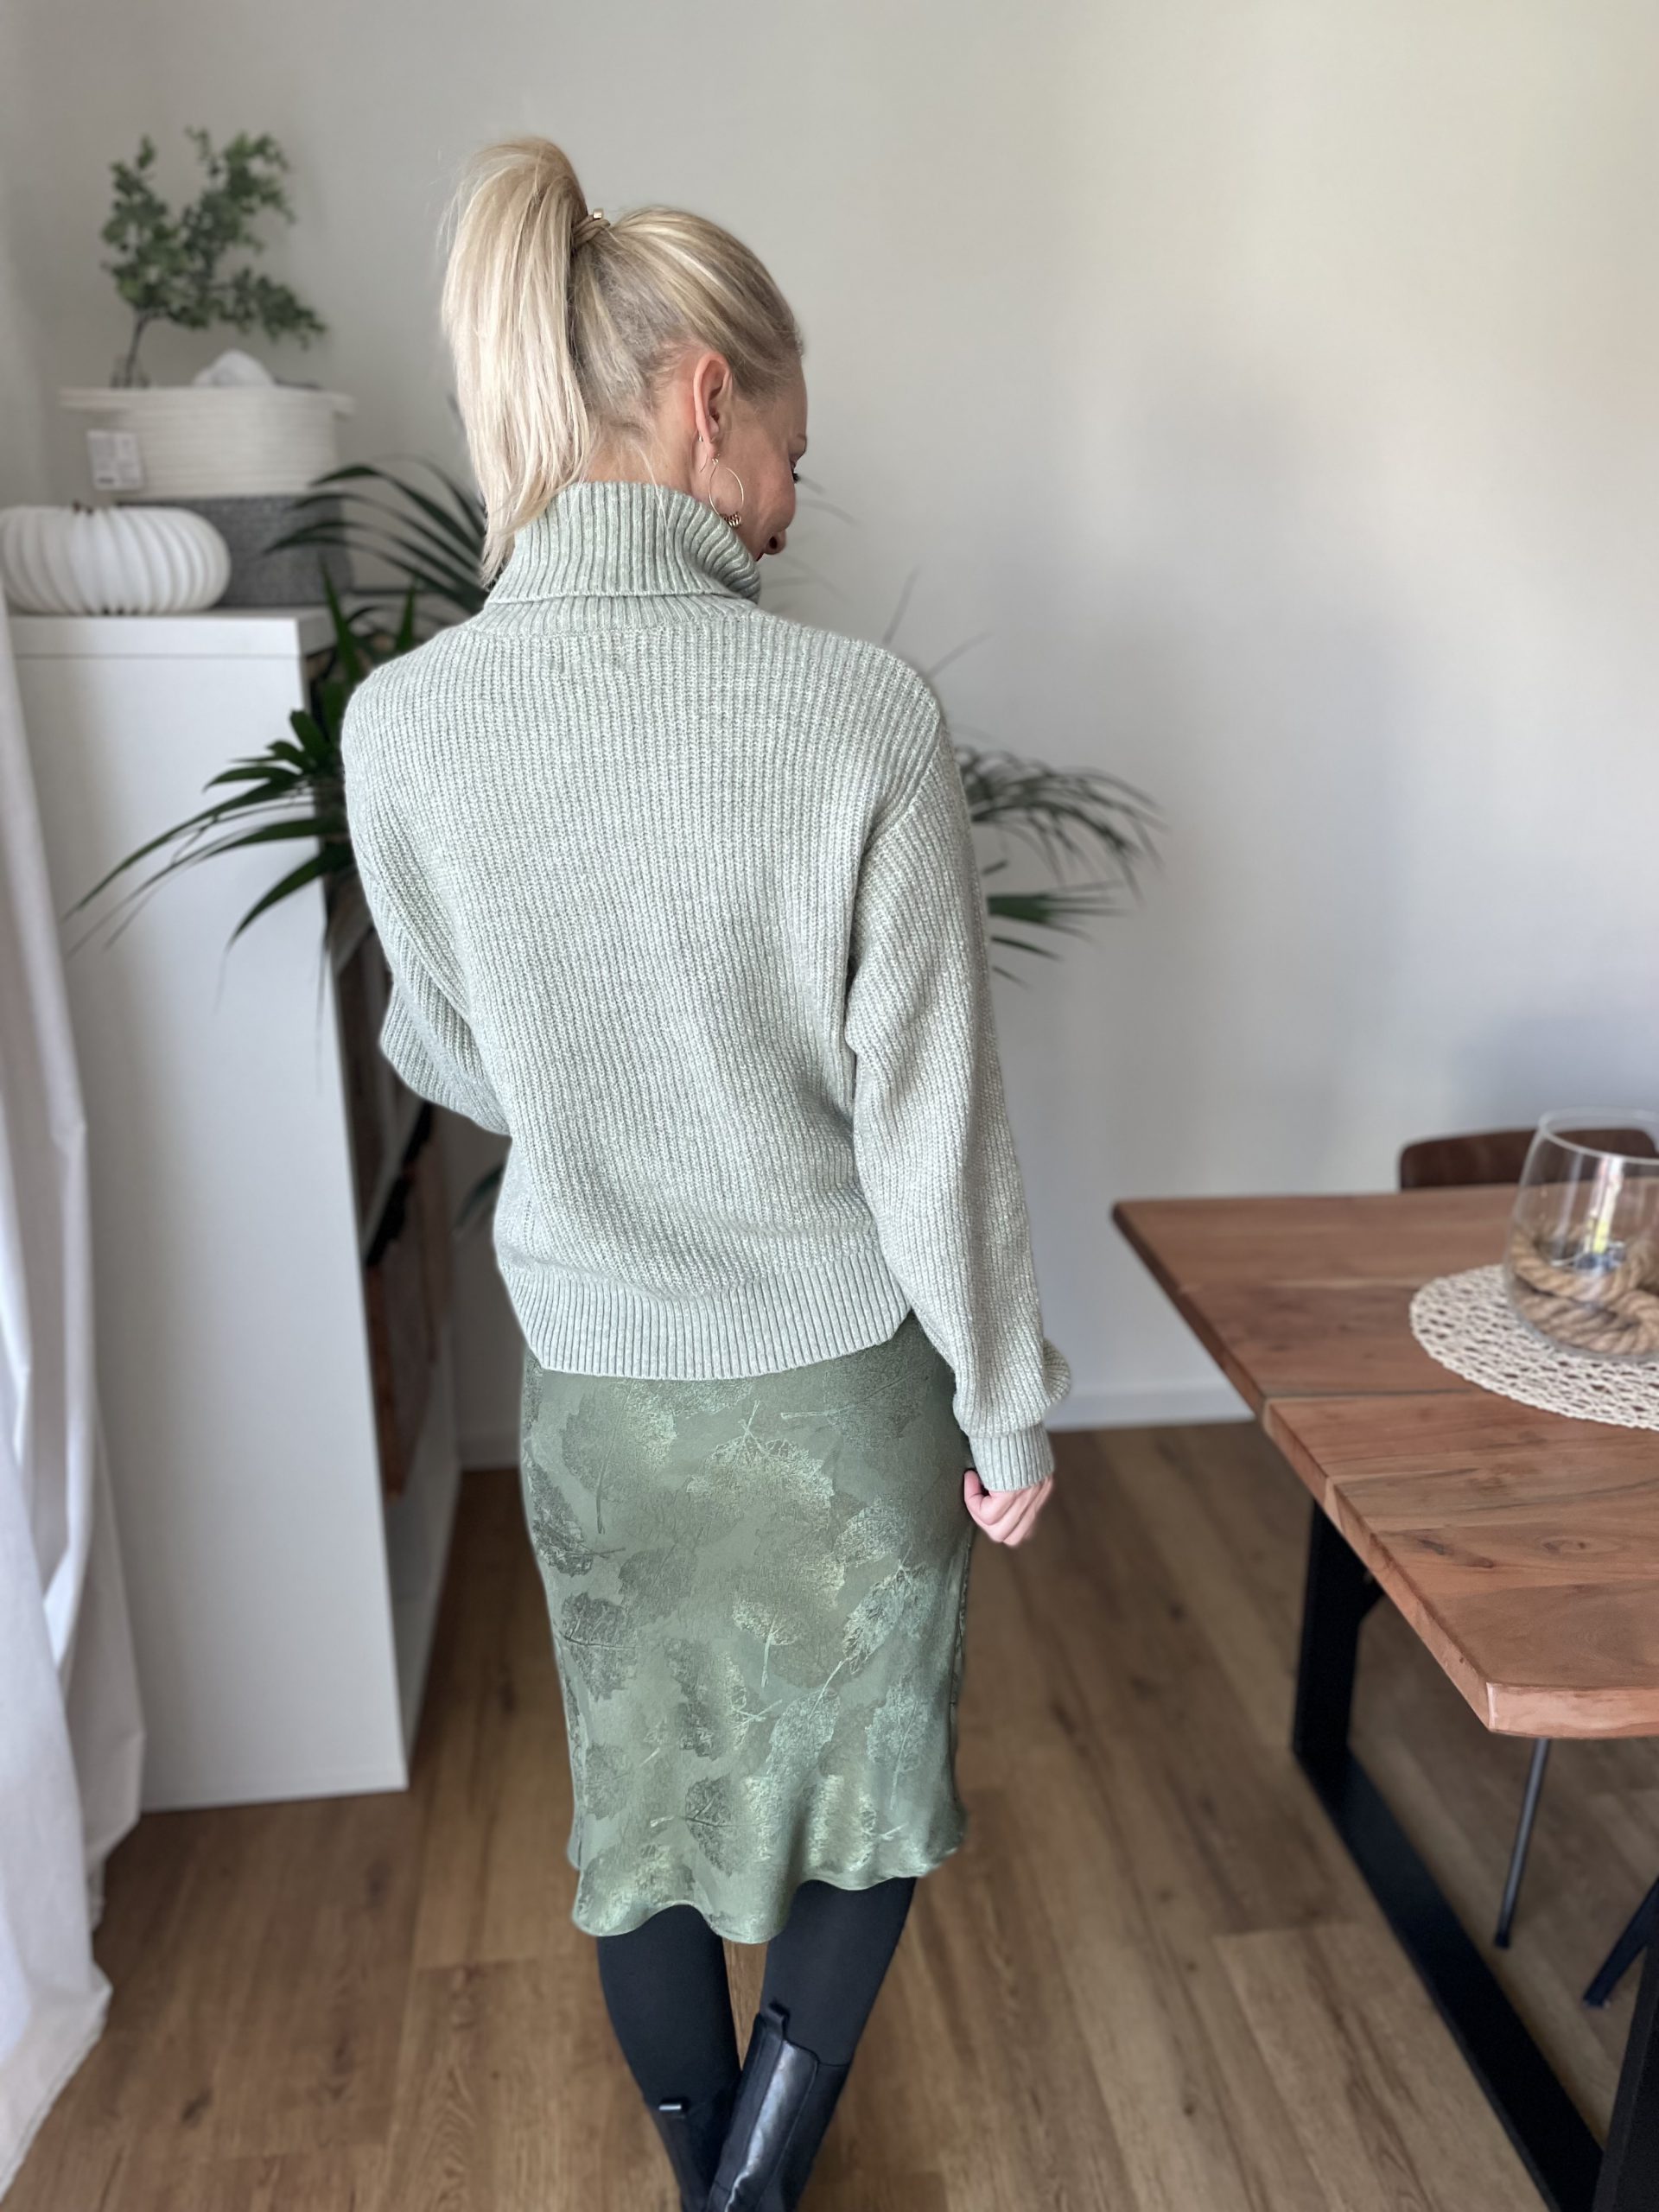
Final Press
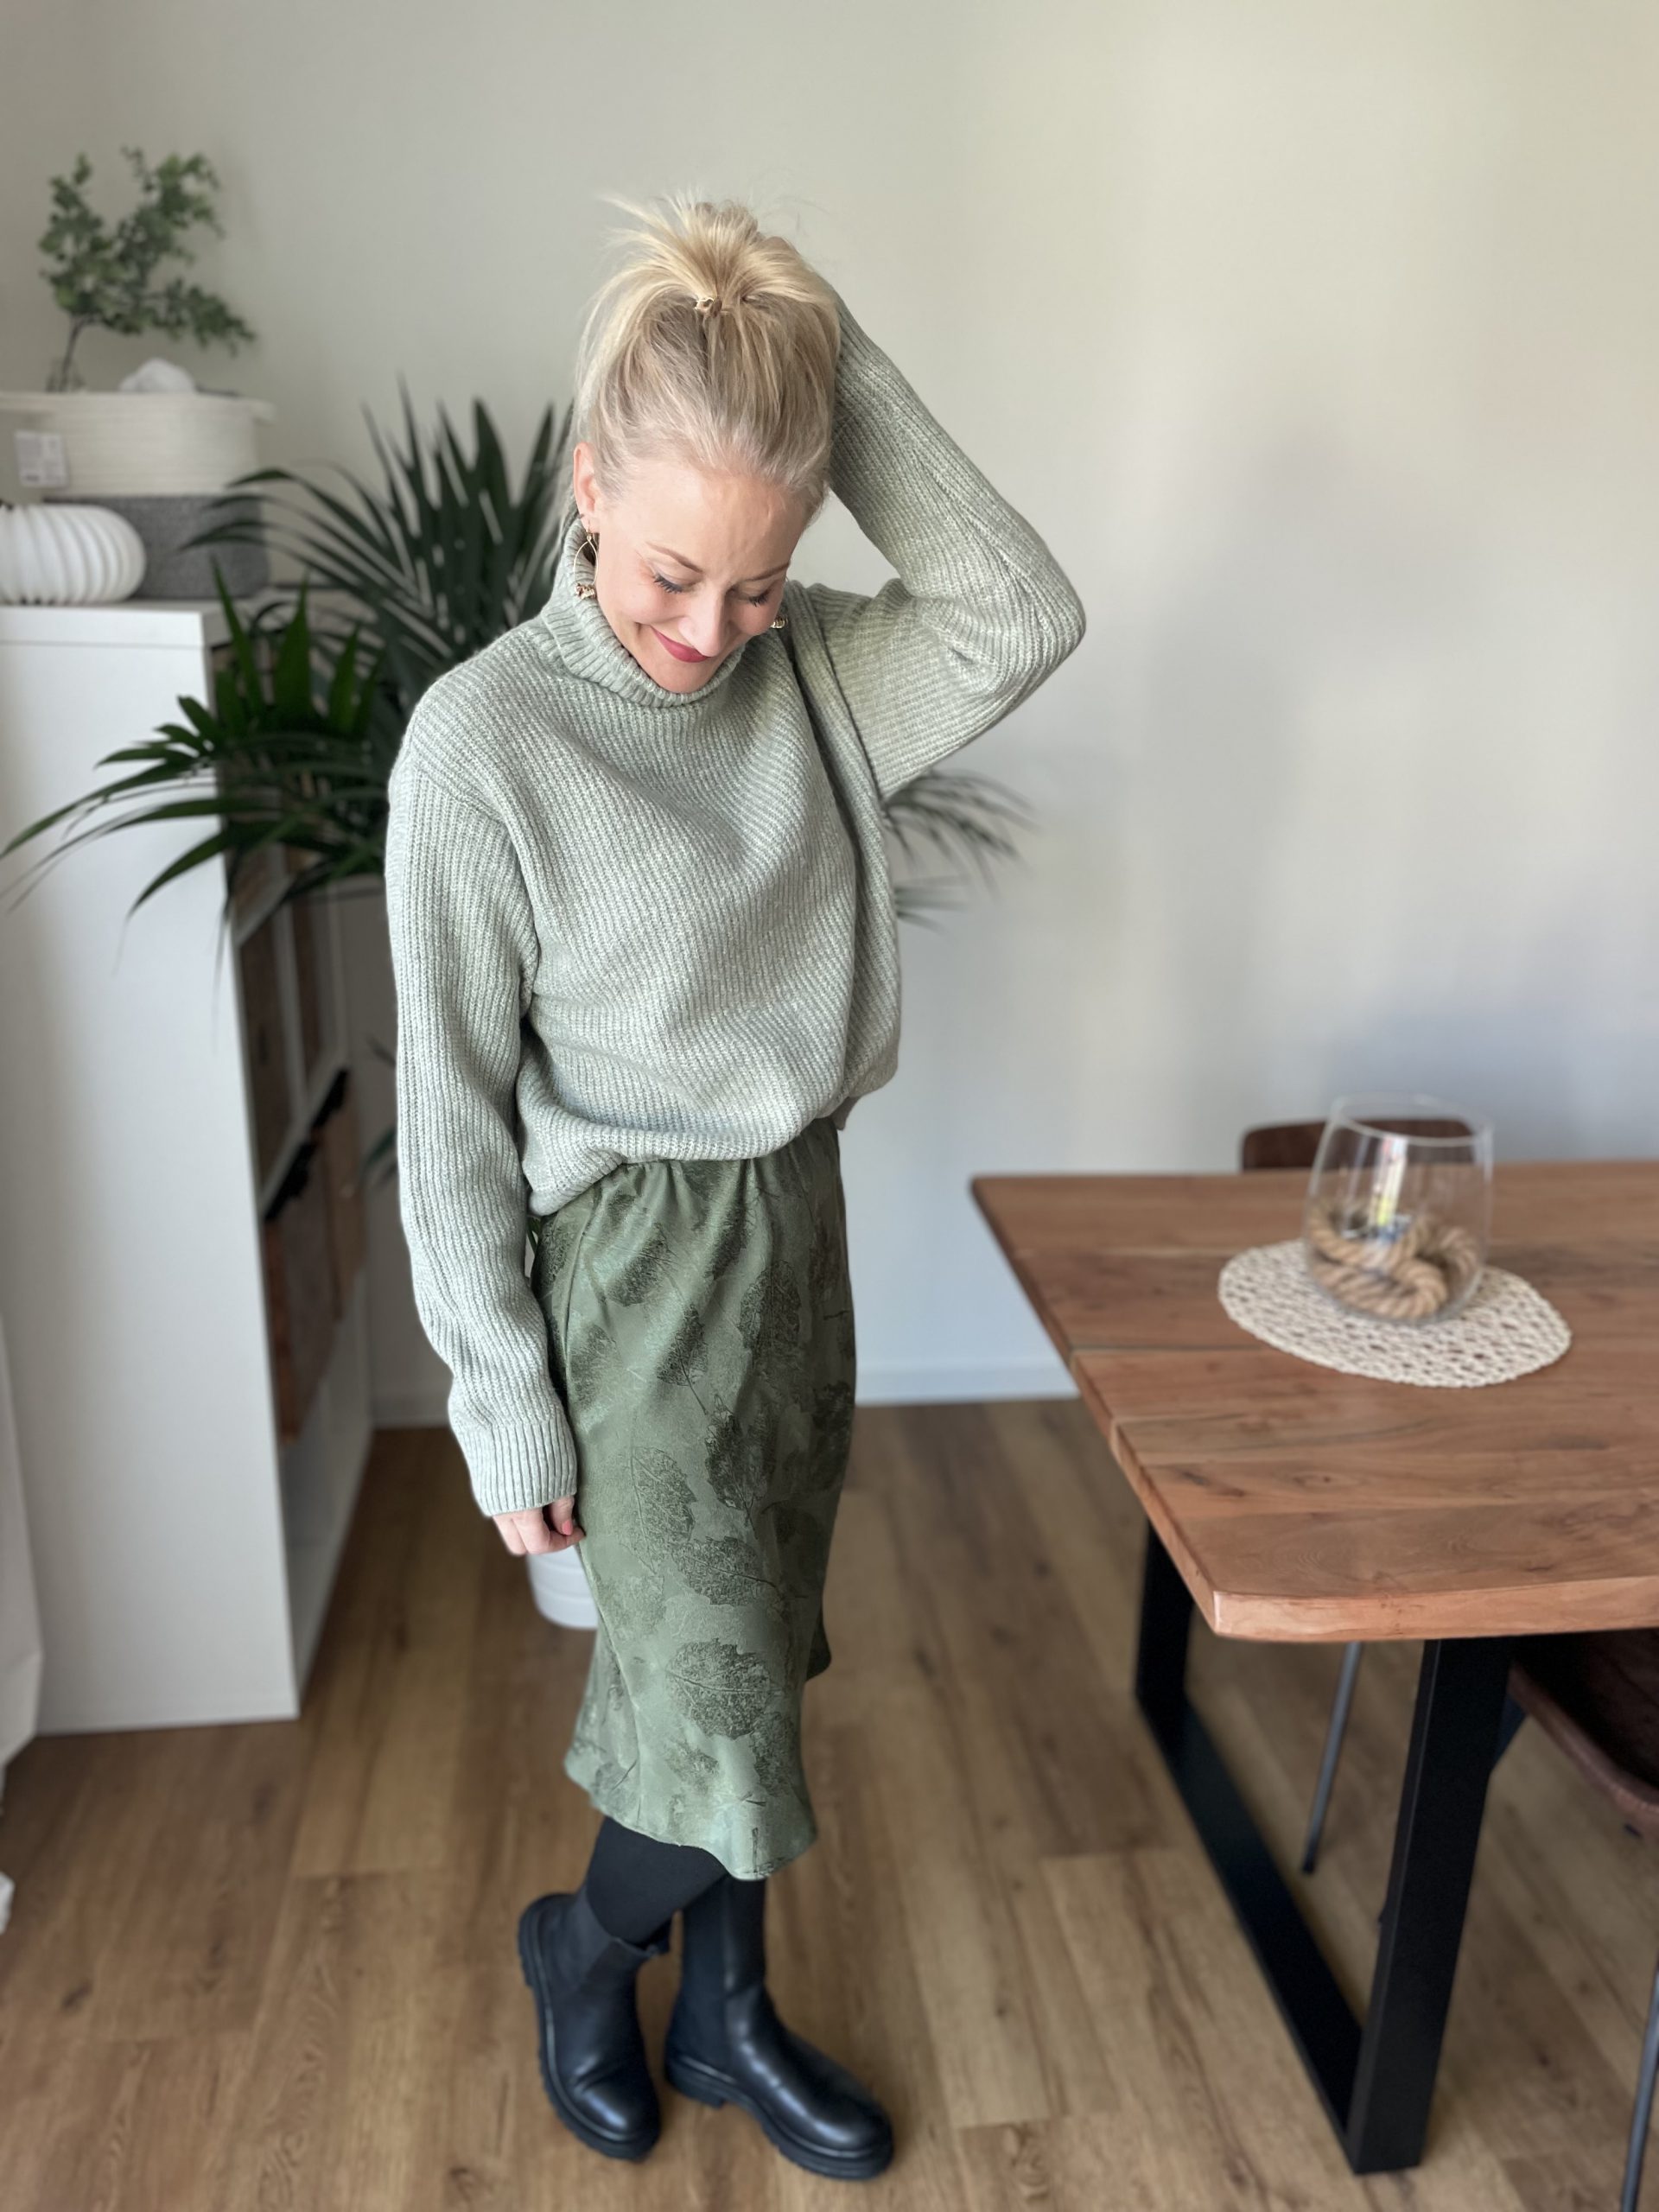
Finally press your gorgeous creation and you are finished to team up with an equally slinky top, or in my case a big chunky jumper and boots.
Have fun sewing yours, send me any final pics, I’d love to see them and have a wonderful Christmas, I will see you all in 2023.
lots of love
Katie
@eversewme


0 Responses