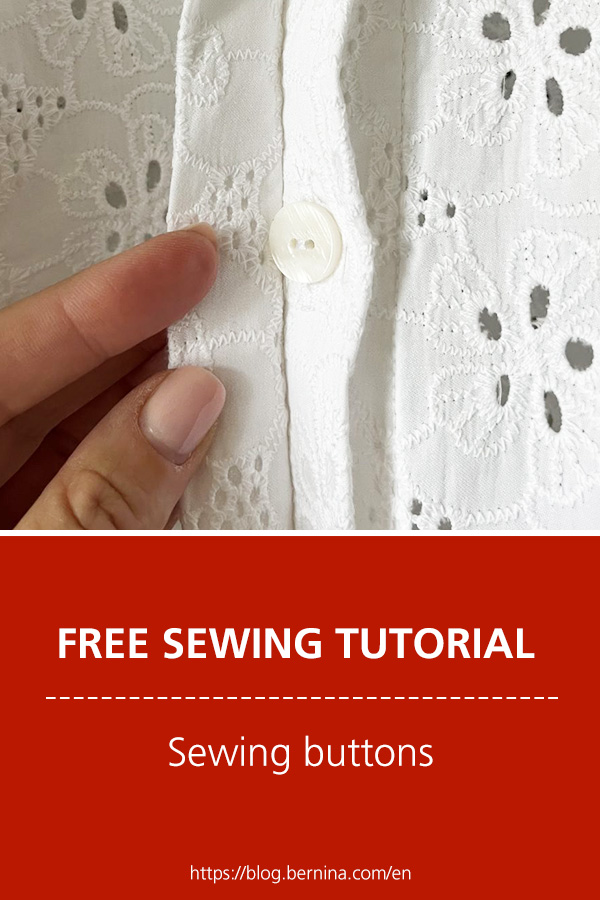
I have become the very proud owner of several new sewing machine feet for my Bernina B480 Over the next few weeks, ill be blogging about how to use them and my thoughts.
Button Sew-On Foot #18
I have always sewn on buttons by hand, I actually dont mind hand sewing but on a summer buttoned dress or a blouse this can be a little tedious! and this!!! is one of the best inventions EVER!
I watched a short youtube video as I was a little nervous that I’d go through hundreds of needles! how on earth does the machine know what to do!! keep reading below and I’ll go through how this super star foot works.
How it works
1. After sewing your buttons holes, mark exactly where you need to position the buttons. You can use a tailors chalk, I used pins, as I was nervous to mark my crisp white fabric.
2. Select stitch number 60 on your screen, this is, just like the button holes, a specific stitch that automatically with the press of the foot sews enough stitches to attach your button.
Did you know that every button has the exact same spacing between the holes! I#m sure I should have known this!
3. Attach your 18# button Foot, and position the button on the marked fabric.
Slowly drop and position the foot on the middle of the button, with the middle spoke exactly in the middle of the holes.
4. Guide the needle down into one of the button holes. Making sure that it doesn’t touch the button. If needed nudge the button and re-test the needle.
5. Once in position, press your foot and your machine will sew automatically. When finished carefully lift the fabric away from the foot.
6. I left my threads long, re-threaded them and fed them through to the back side of the fabric.
If you have a 4 holed button, tuen the fabric and repeat the process.
Finito !!
Watch out for my next blog, discovering new feet for the Bernina B480
See you next time… Katie
@eversewme

 BERNINA Corporate Blog -


Hi there, I absolutely love my button sewing foot- I think it’s more accurate and much quicker. I have come across buttons with slightly wider or narrower holes so it’s important to check the stitch width fits or you’ll break your needle (or button). The best tip I found is to hold the button in place with a piece of clear sticky tape and stitch through it, the tape can be gently peeled off and used several times.