 BERNINA Corporate Blog -
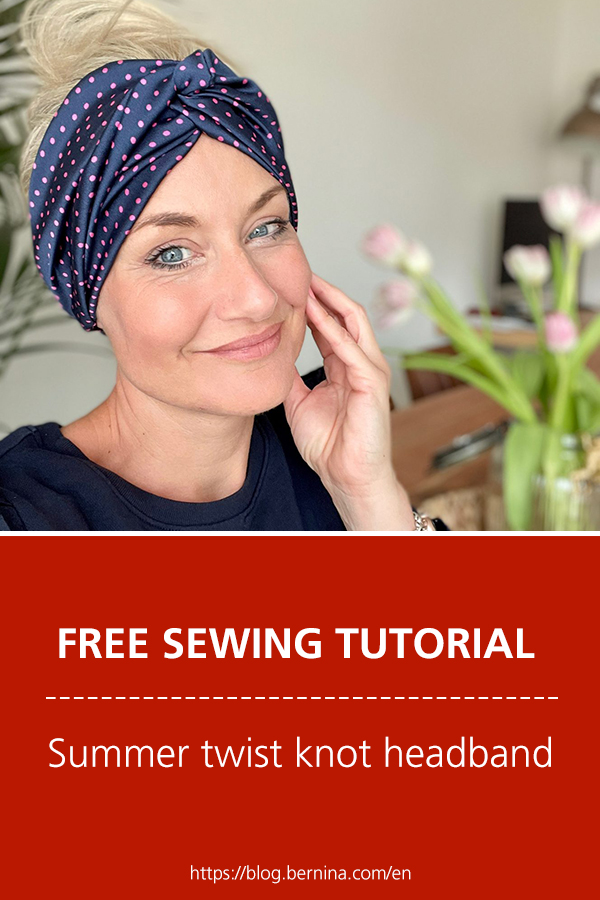
Before my summer holiday to Mallorca, I really wanted to sew myself a wider hairband thats comfy to wear and protects my hair colour from the sun-rays! ( unfortunately my hair colour doesn’t fair well with UV light! )
der Buntspecht have the perfect pattern for this is and is available as a pdf to download
The Twist knot Headband…
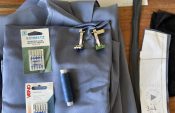
To make this hairband, you will need 52cm of either woven or jersey fabric, a 2cm wide piece of elastic, 13cm long, thread a sewing machine! and of cause the printed pdf pattern.

whats needed
Fabric
I used a beautiful piece of navy blue with pink spots satin. I felt this would be comfortable to wear and wouldn’t necessarily pull my hair. To create this pattern , you do need quite a bit of fabric, but as many Sewists have, its a great scrap buster!

The Pattern
There are only 2 pattern pieces, you will need 4x pattern piece 1. and 2 of the pattern piece 2.

Sewing the Headband
Once all the pieces have been cut out, lay two of the pattern piece 1, right sides together and sew both long edges together. Do the same with the 2 other pieces.

lay right sides together and sew along both long edges.

use a straight stitch with a 1cm seam allowance.

both finished pieces, remember to leave the short ends open for turning.

once turned you can press these, I have not, as I want a soft bouncy finish
Turning
Next step is to turn the pieces through one end to the correct side.

Elastic channel
Next stage is to create a channel for the elastic. Take both pattern piece 2 and lay them right sides facing. Once again sew along the longer parallel sides and turn the tunnel to the correct side.
Cut 13cm of the 2cm wide elastic and thread through the tunnel you have created. sew both ends closed, making sure to include the ends of the elastic. I would then suggest a zigzagging the ends to prevent fraying.

13cm long, 2cm wide elastic

thread the elastic through the tunnel and sew secure at both ends
Creating the Twist-knot
To create the twist knot of the hairband is easier than you would think! i have added many photos to help explain the process.
- Lay out the 2 longer piece ( pattern piece 1. ) on top of each other like a cross.
- Fold the right over to the left and pin the ends together.
- Fold the other 2 ends together and pin the ends.
- you will have created a twist in the middle ( 2 loops intertwined )

1. Lay out the 2 longer piece ( pattern piece 1. ) on top of each other like a cross.

2. Fold the right over to the left and pin the ends together.

3. Fold the other 2 ends together and pin the ends.

4. you will have created a twist in the middle ( 2 loops intertwined )
Adding the enclosed elastic
Next we need to add the elastic channel. Lay one end of the elastic to the one end of the pinned loop ends. The loop is wider than the elastic, so fold the fabric inwards and use a clip to keep it all in place.

place one end of the elastic to the end of the twist loops.

centre the elastic and fold the remaining fabric left and right of the elastic channel inwards.

Hold in place with a clip.

repeat this process to the other end of the elastic channel to the other pinned end of the loop.
Sew both ends secure and finish off the end with a zigzag to prevent the fabric from fraying.
Pull the loop open and the ends of the elastic / hairband will fold in on themselves leaving a neat end.

pull the elastic and the hairband away from each other.
Turn the hairband elastic to the correct side and there you have it a brand new hairband!

fold over the elastic to reveal the neat ends and hidden seams.
Finished.

summer ready!
I hope you enjoy your new hairband as much as I do, now bring on those summer rays!!
follow me on instgram / Facebook for more sewing inspiration…
@eversewme


I can’t find the pattern. Could you please advise where I can download it?
Hy Mary,
Here is a direct link to the pattern: https://www.der-buntspecht-shop.de/wp-content/uploads/Twist-Headband-Naehtutorial.pdf
How do I download this pattern?
I can’t find the pattern either despite the advice given below. I’ve looked on YouTube and blogs.
What fun!!!
so how do I get hold of the pattern?The der Buntspecht website has a list of items, mostly in German – which one is it?
You can find it here: