 BERNINA Corporate Blog -
3 ways to attach bands and cuffs: tutorial
My teenage girl loves sweaters,
and preferably wide sweaters,
and preferably not too flashy sweaters,
and preferably sweaters you can buy on Shein, uhm, but as a sewing mom I don’t do that easily ;-).
So I went to work with her demands in mind, although I always give try to give it my own touch.
Did you know that you can personalize and make a unique sweater or other garment just by attaching your bands and cuffs (neckline, sleeves, hem) in different ways?
I’ll be happy to show you how later in this blog post.
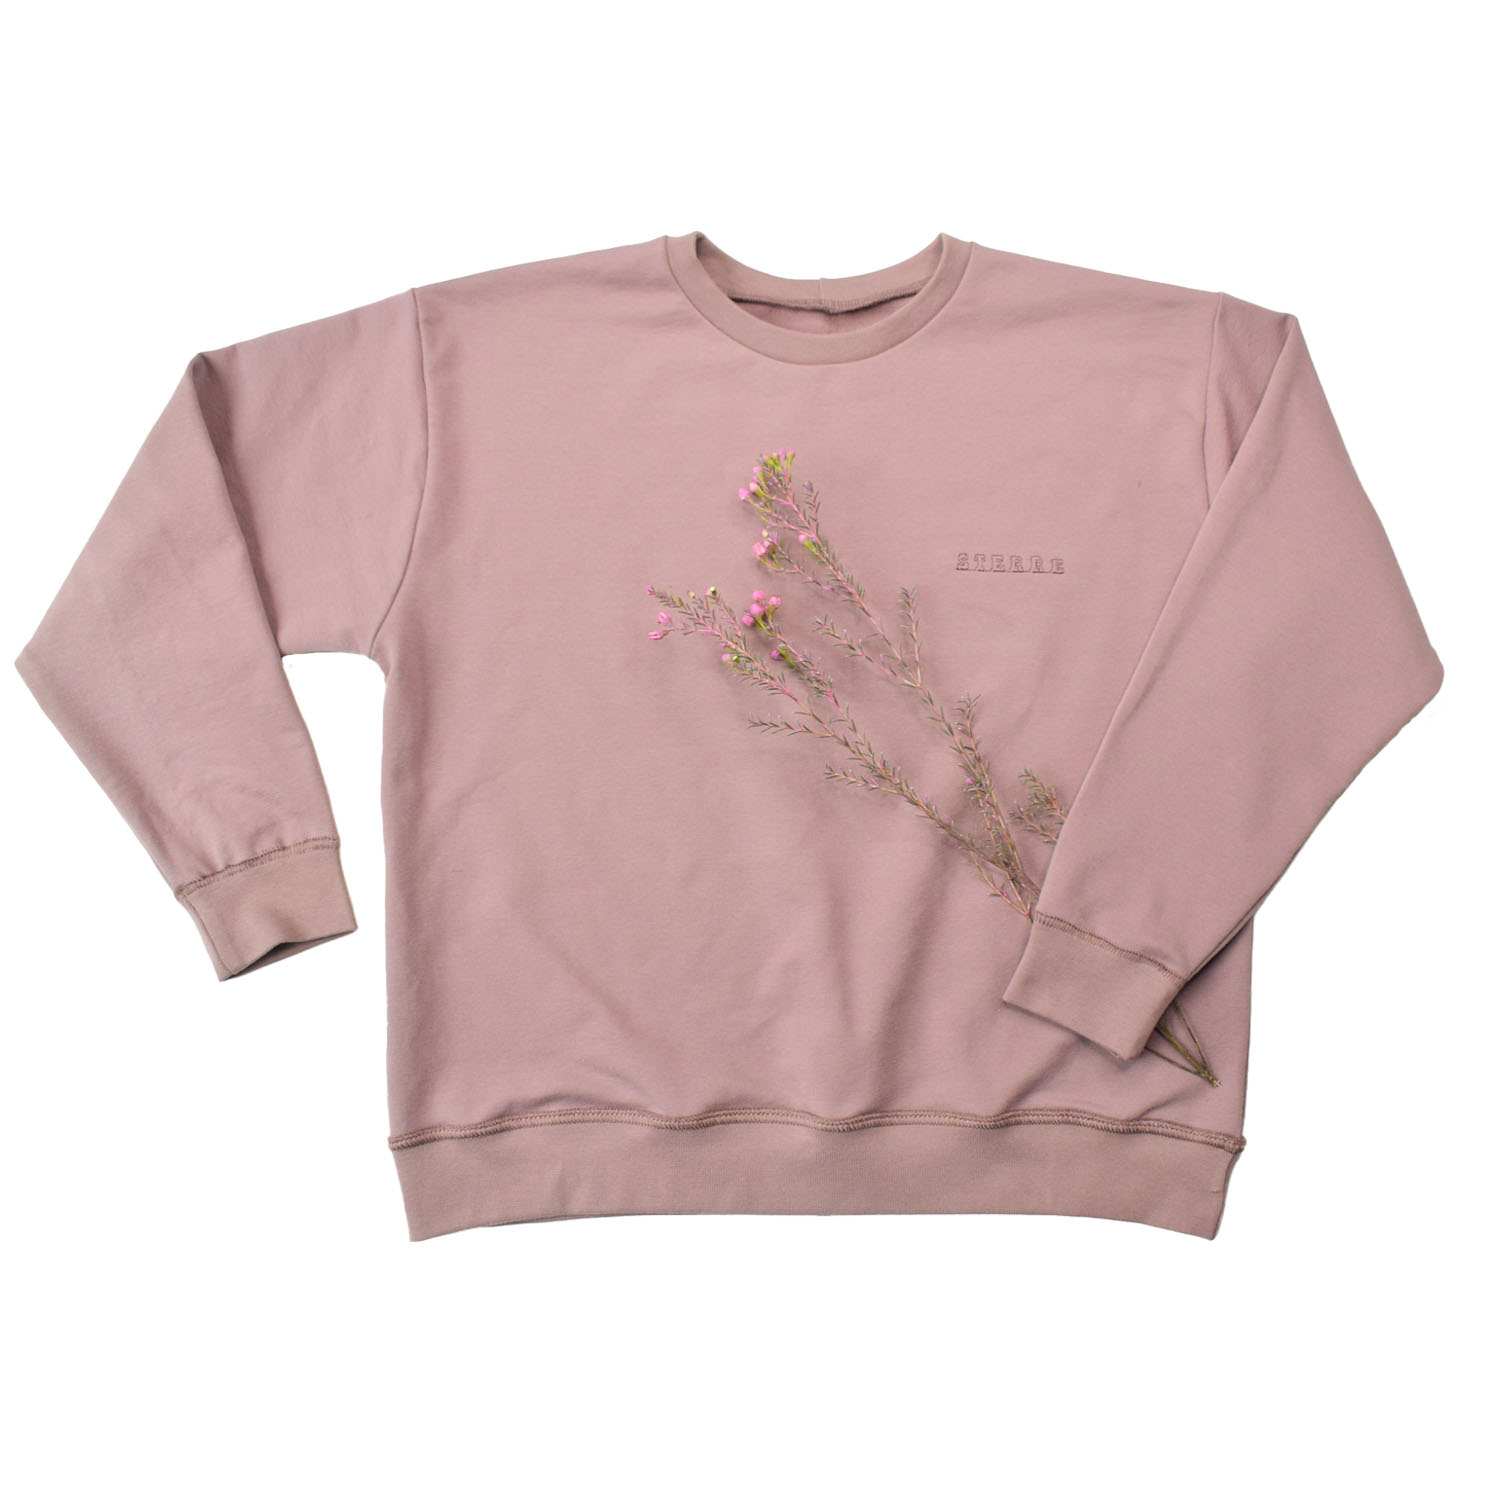
But first, I also wanted her name on the sweater and after consulting my girl, she approved.
1.Name on sweater
My BERNINA 480 offers a nice selection of fonts, so Sterre and I went to take a look.
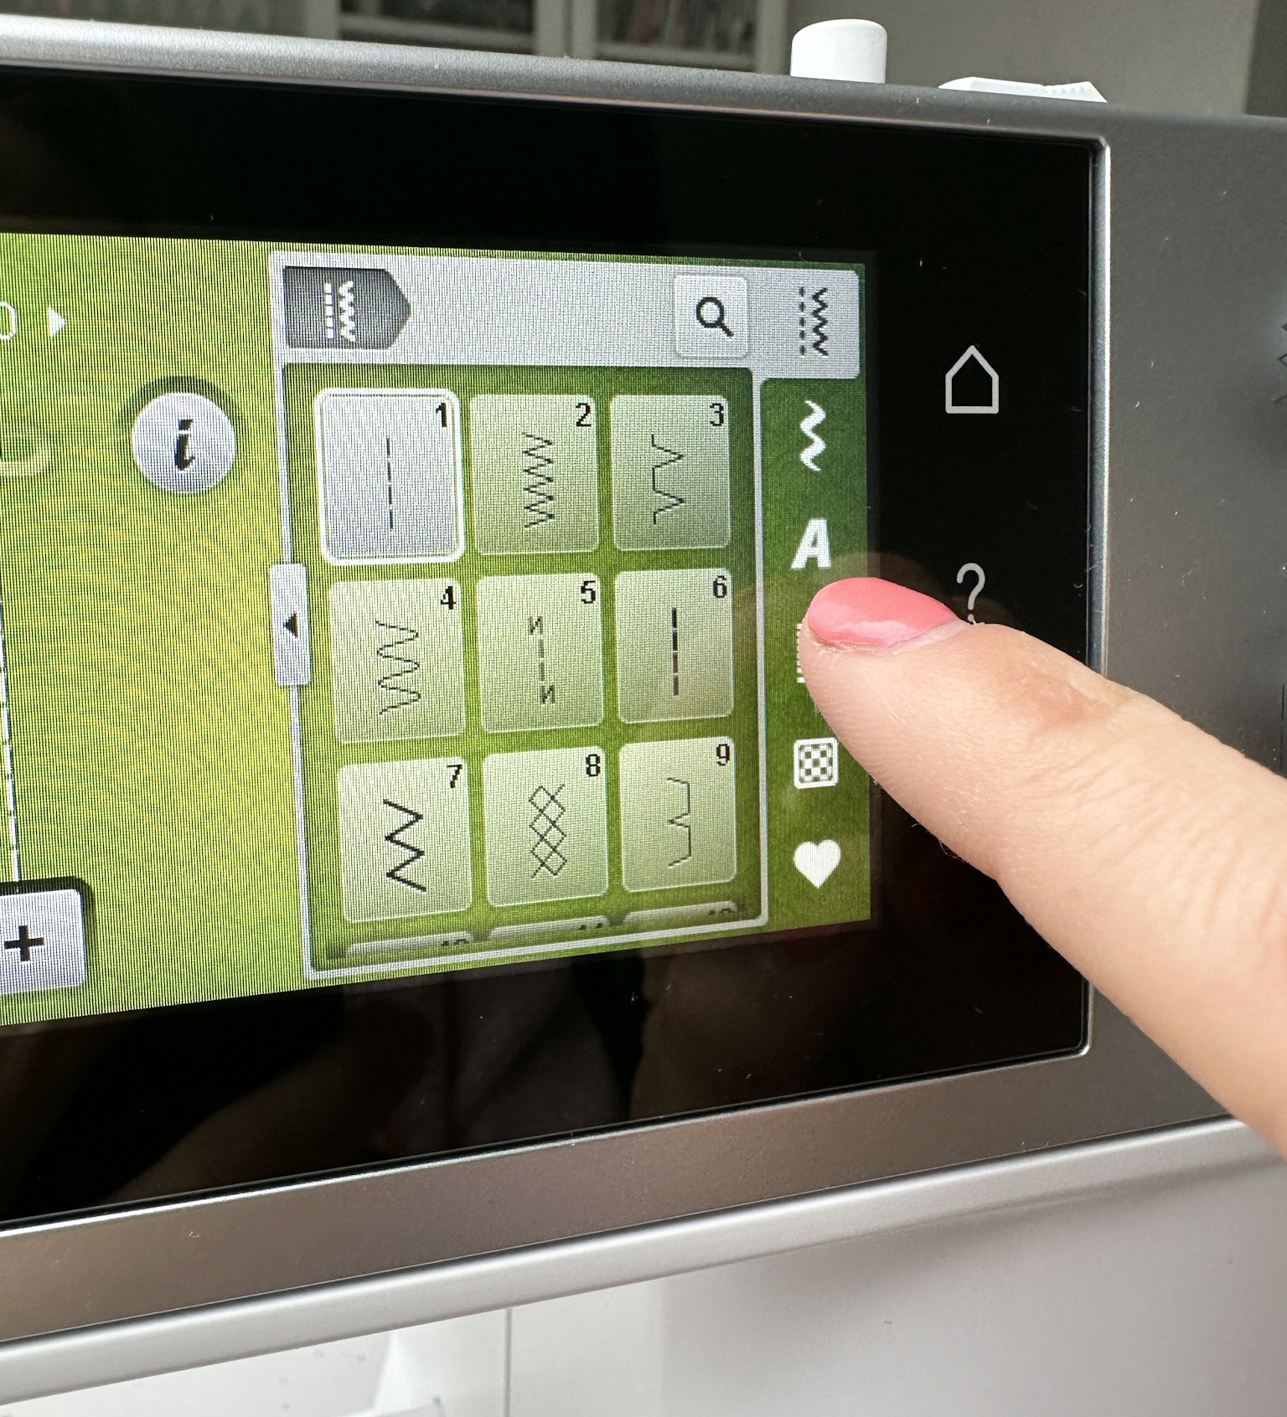
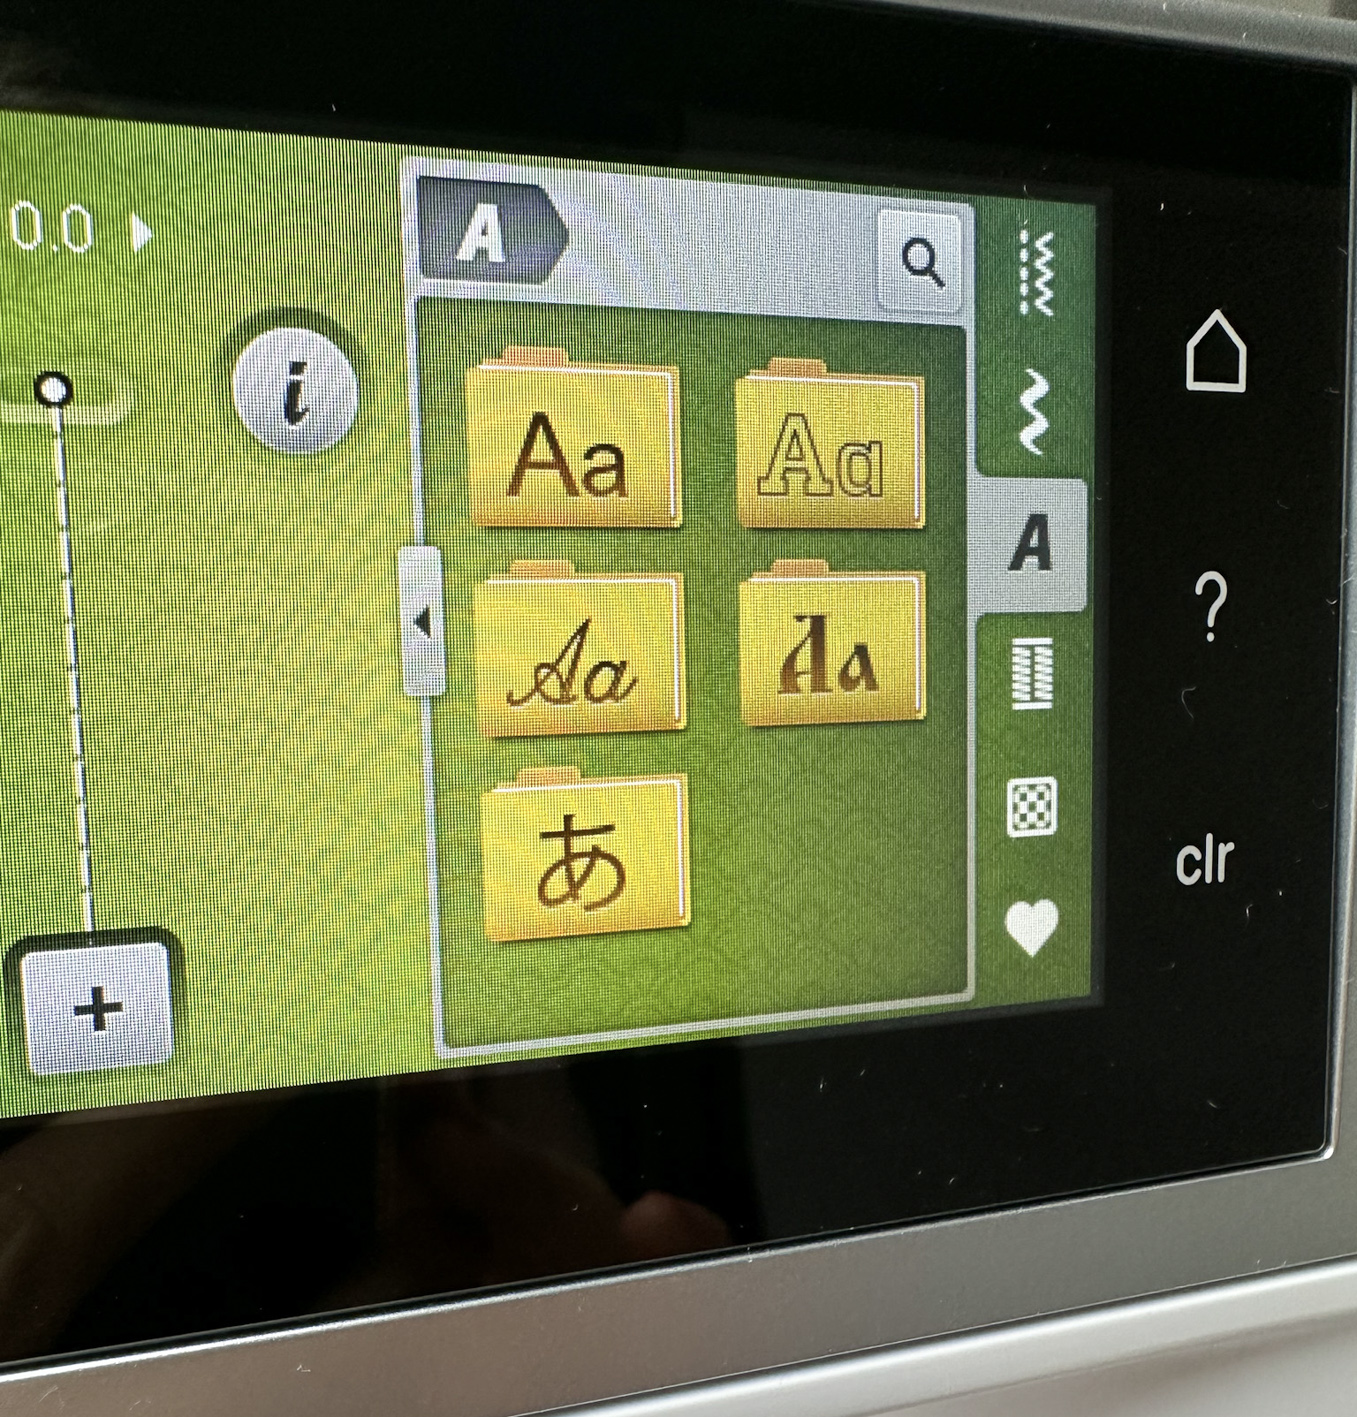
By selecting your font and then pressing the plus sign, you can easily create words/names.
Of course, we tried some of them out on a sample first, just to be sure of our choice.
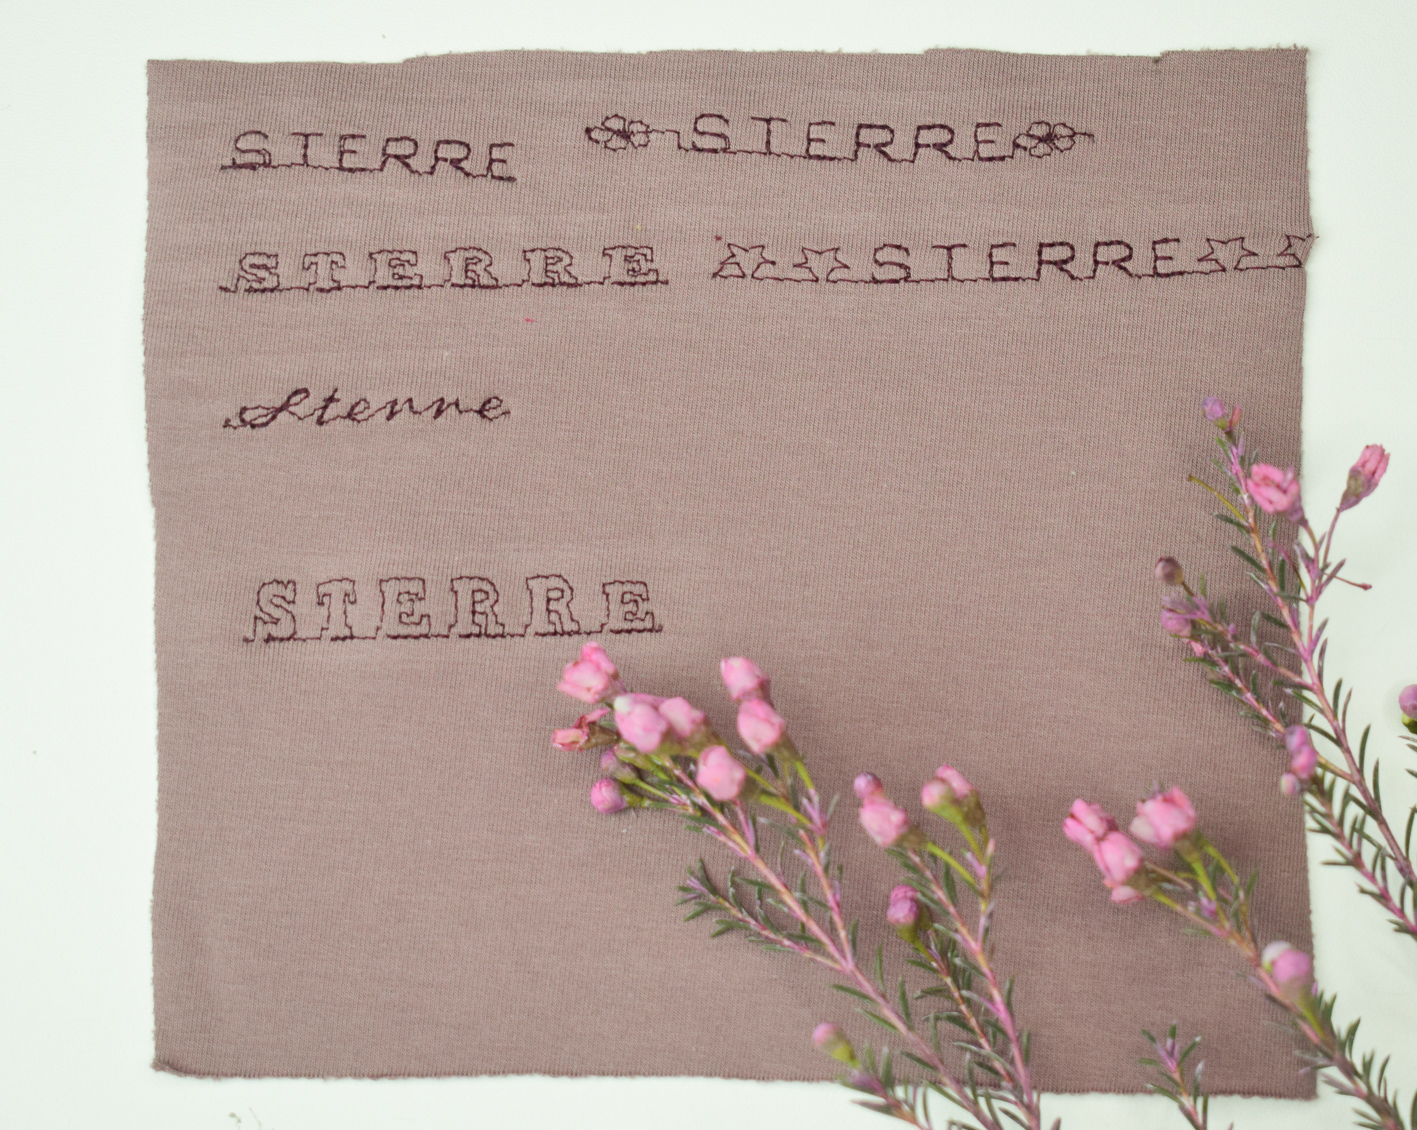
Sterre preferred the bottom one, and preferably without extras.
Because that’s what you could do too, add cute symbols and other extras to your name.
We determined where we wanted the name, ironed on a piece of fusible interfacing and stitched her name.
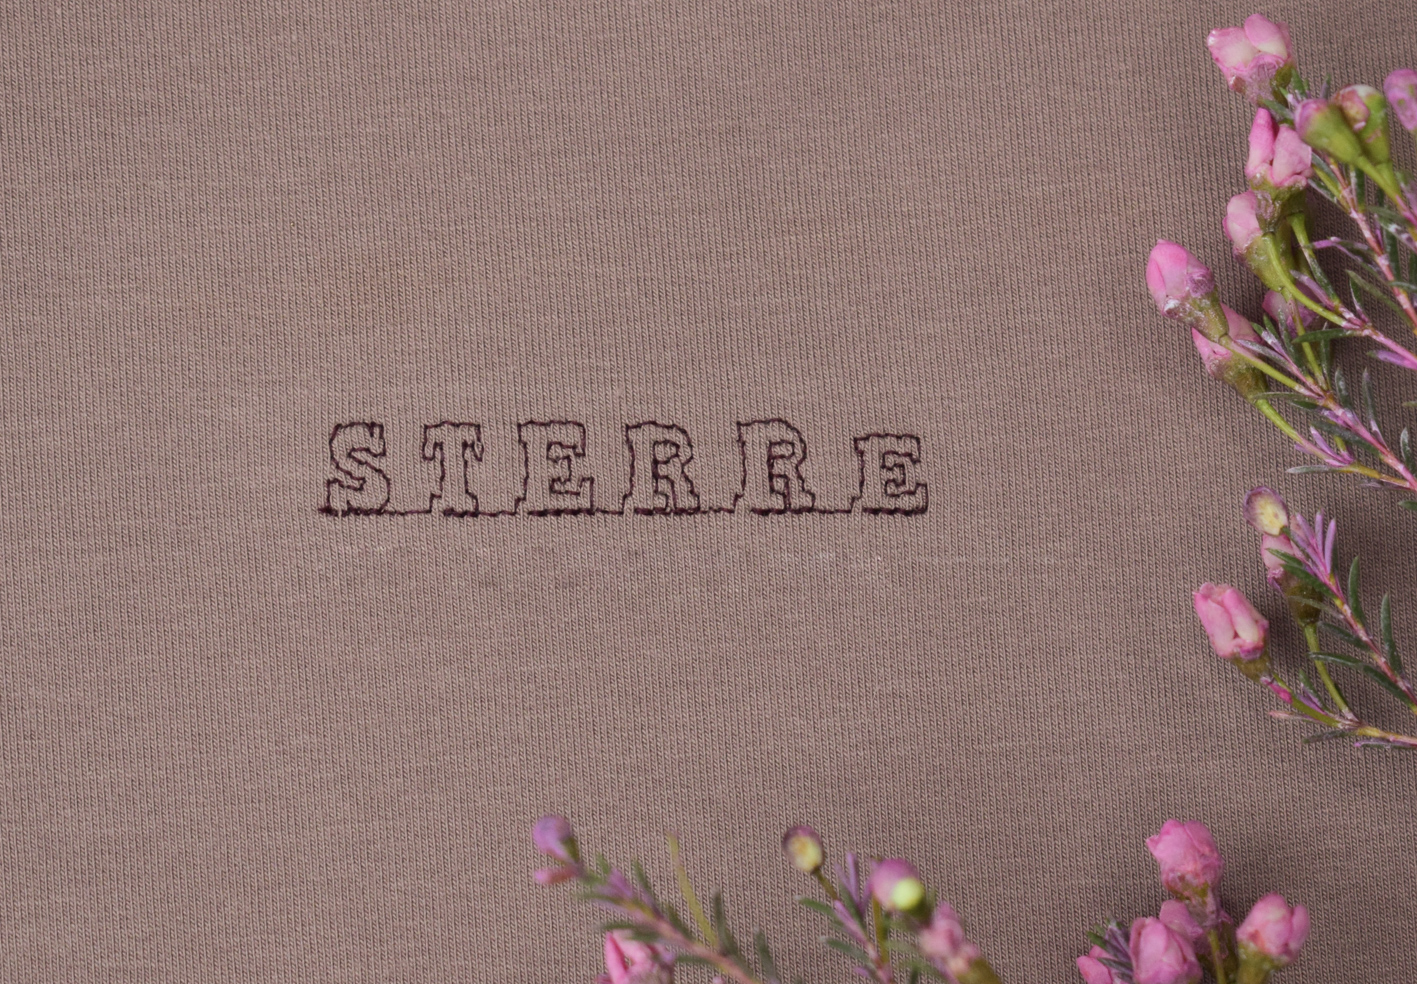
So happy with the result!
2.Attaching cuffs and bands
By using different stitches on the overlocker, you can attach neckbands, sleeve cuffs and waistbands in different ways with different effects.
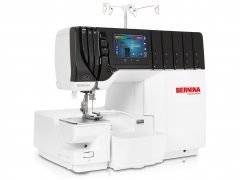
This is how I did it on my BERNINA L 890:
A. Neckband
For the neckline, I chose the classic way (or rather, the way I always use myself), which is the 4-thread overlock stitch.
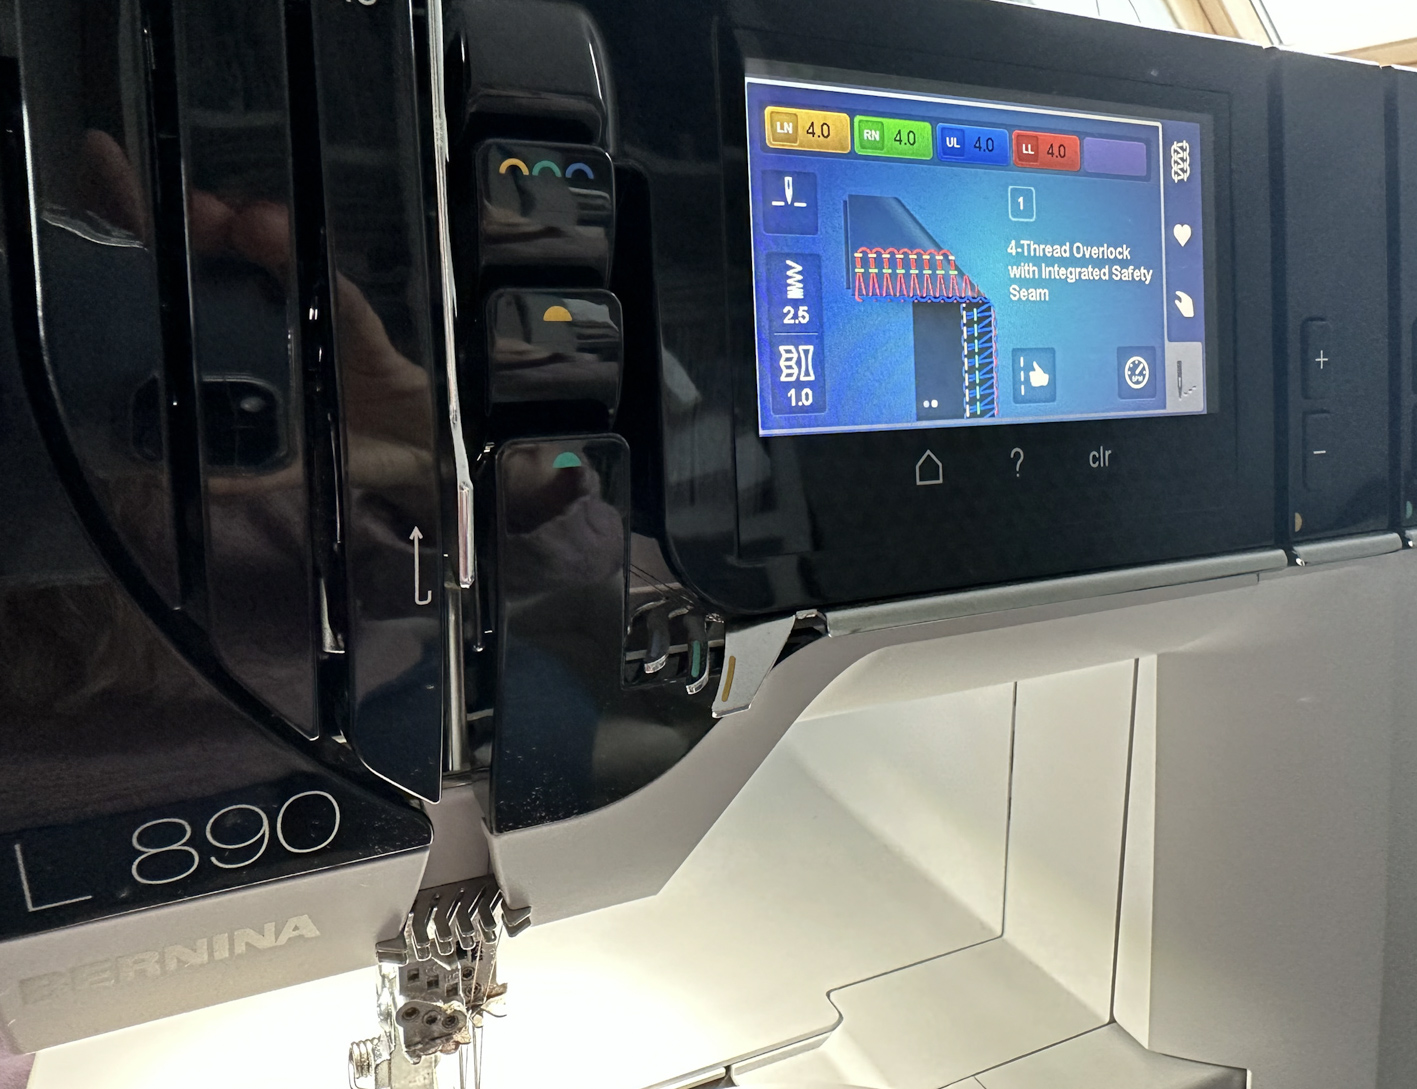
You pin the neckband to the neckline, right sides together and stitch all around.
Press well and you get this result:
B. Sleeve cuffs
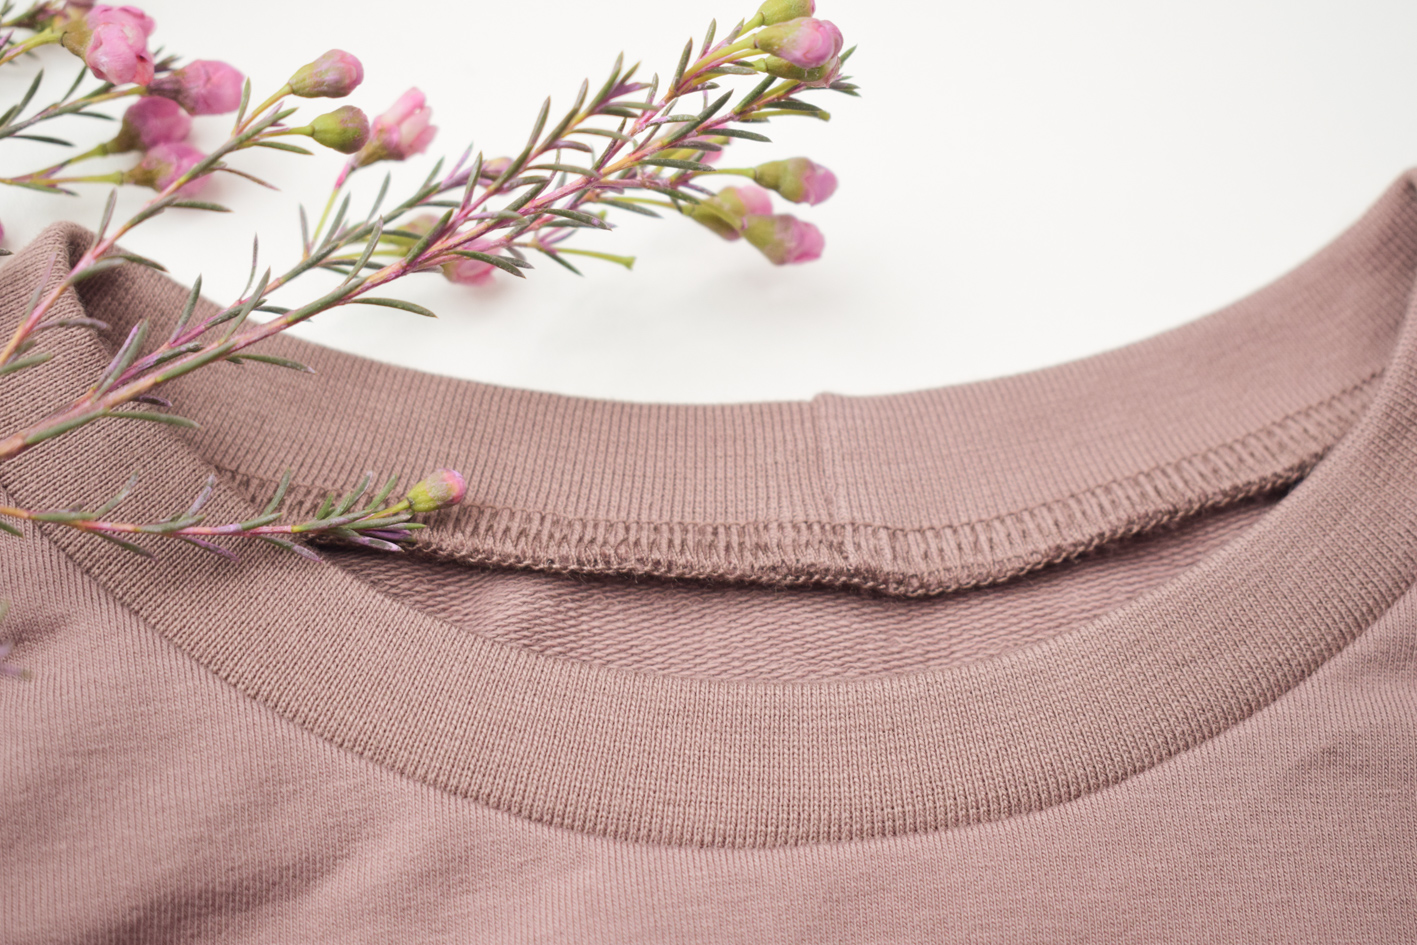
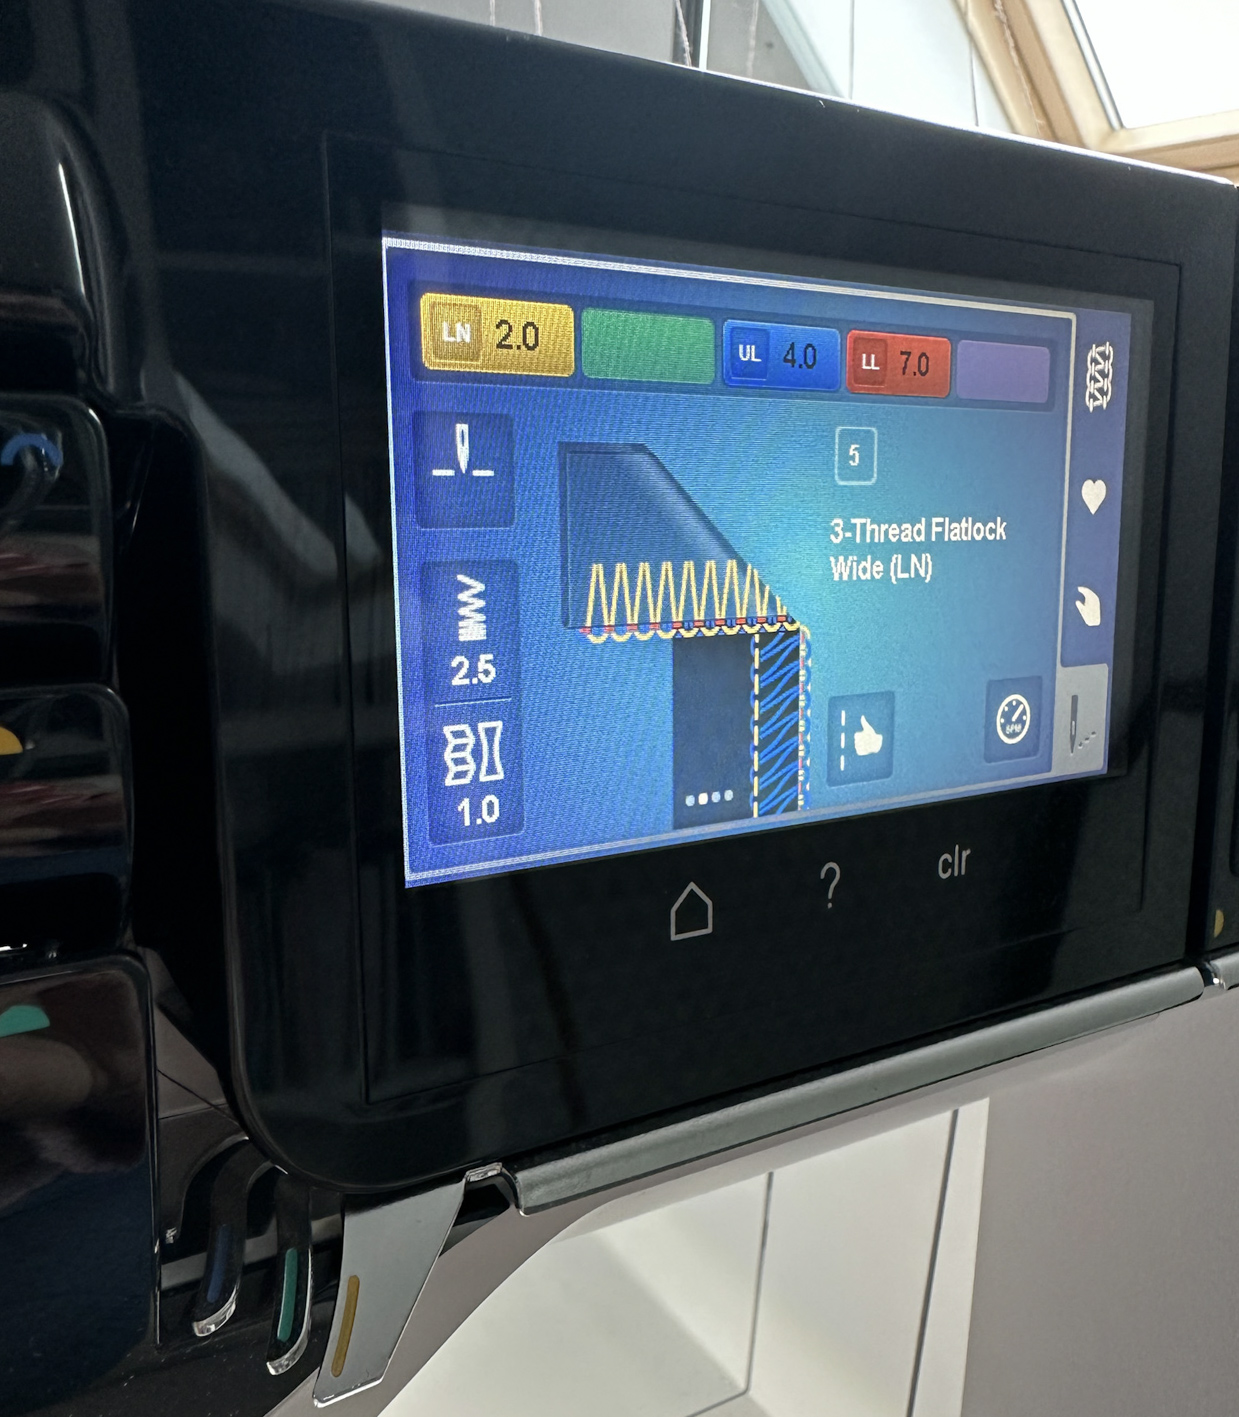
To attach the sleeve cuffs, I chose the 3-thread flatlock wide stitch.
With this stitch, the seams are first locked together and then pulled flat, which gives a cool and slightly different touch to your seams.


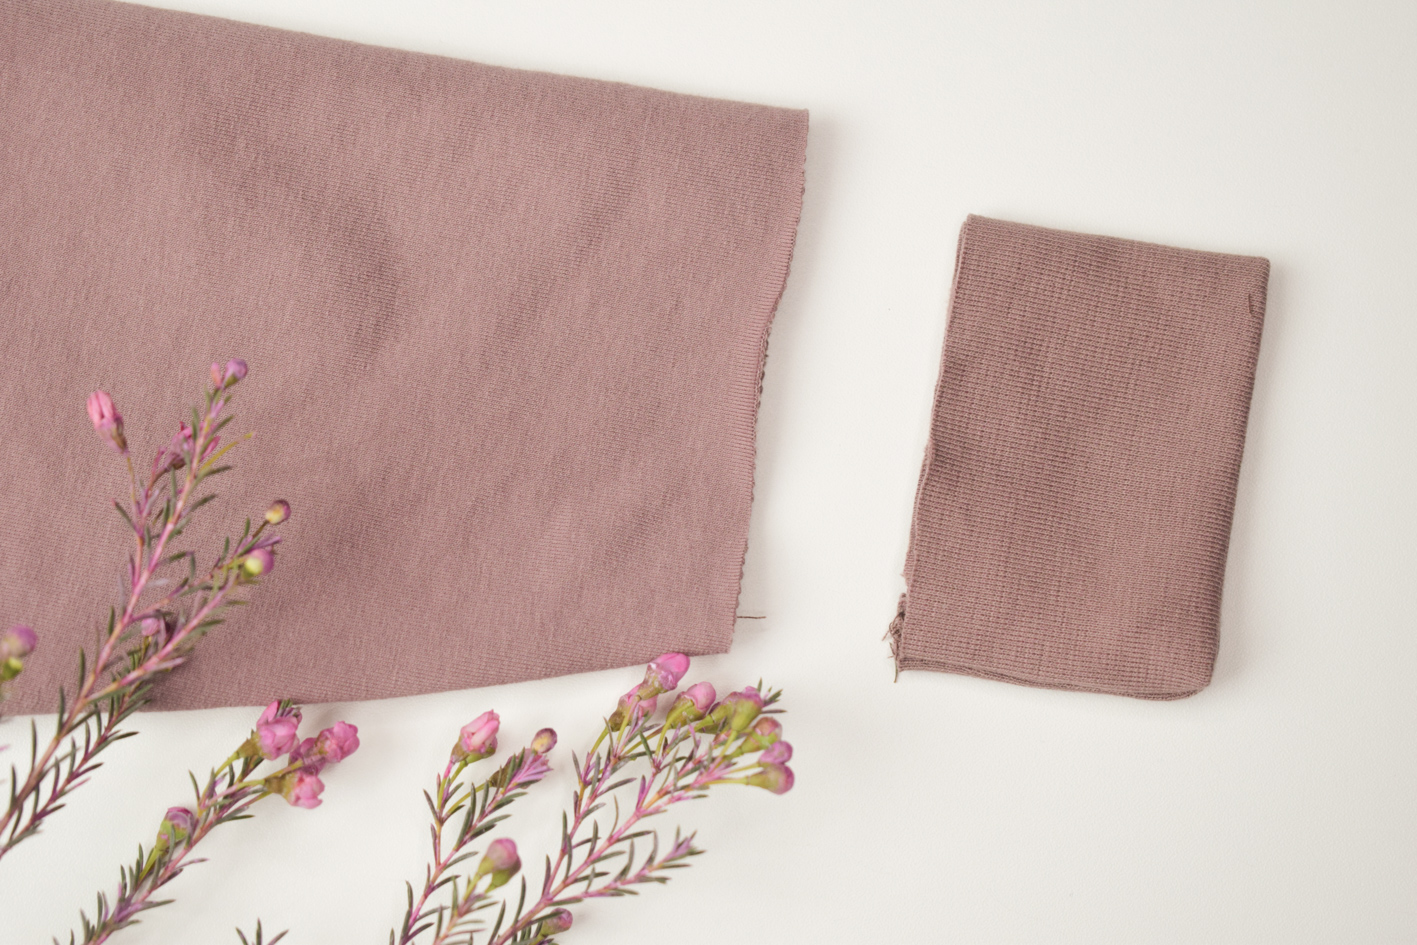
The method for attaching the cuffs is not that different.
You slide the sleeve cuff over the sleeve and pin the right sides together.
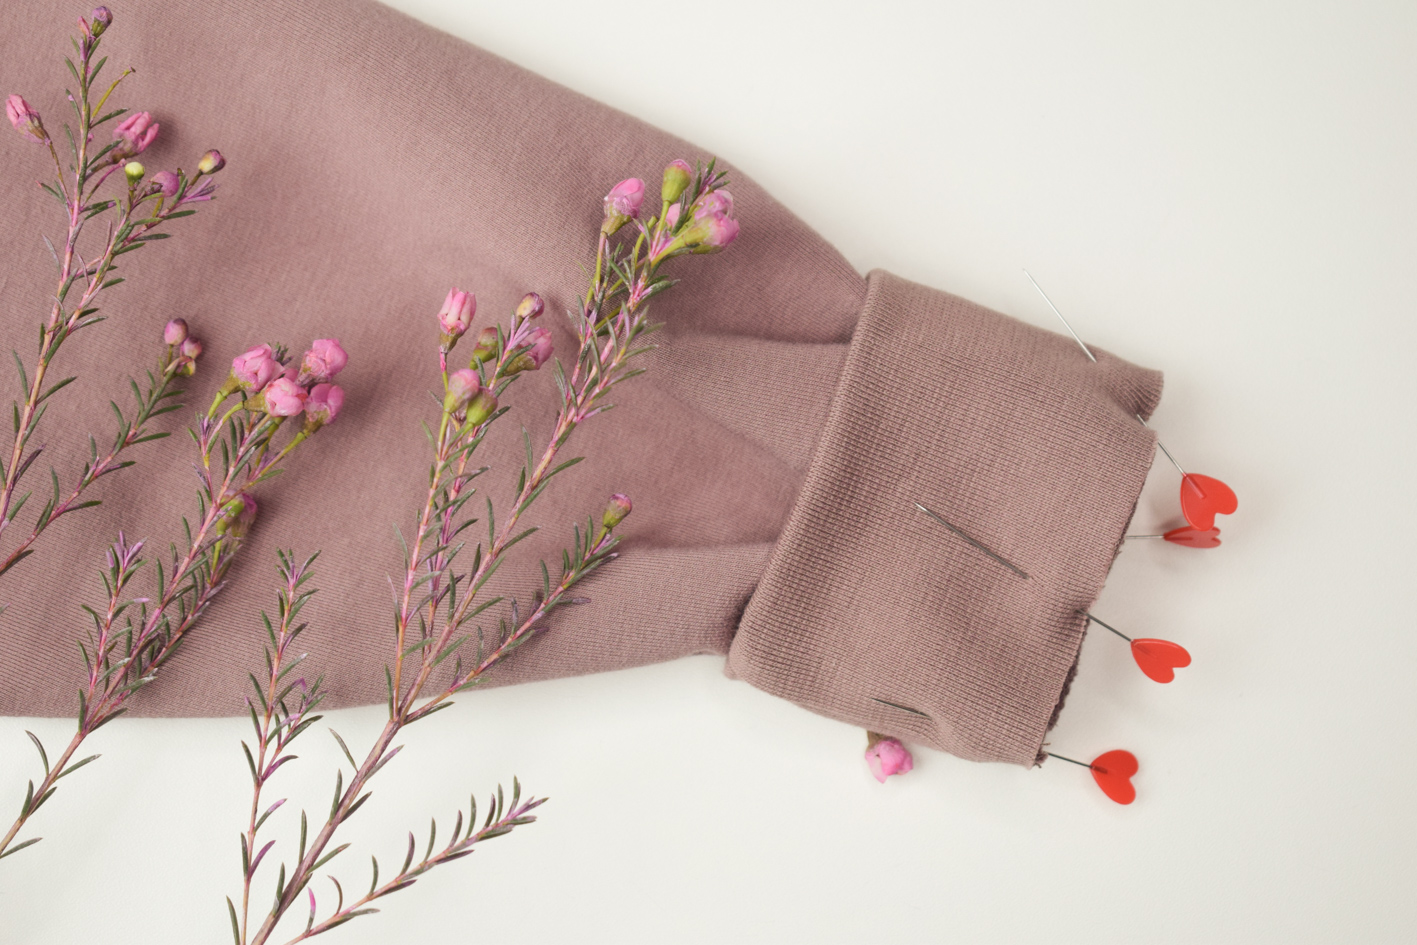
Then secure with the flatlock stitch and fold the cuff in place, by gently pulling it.
This way the seam will lie flat and you will get this effect:
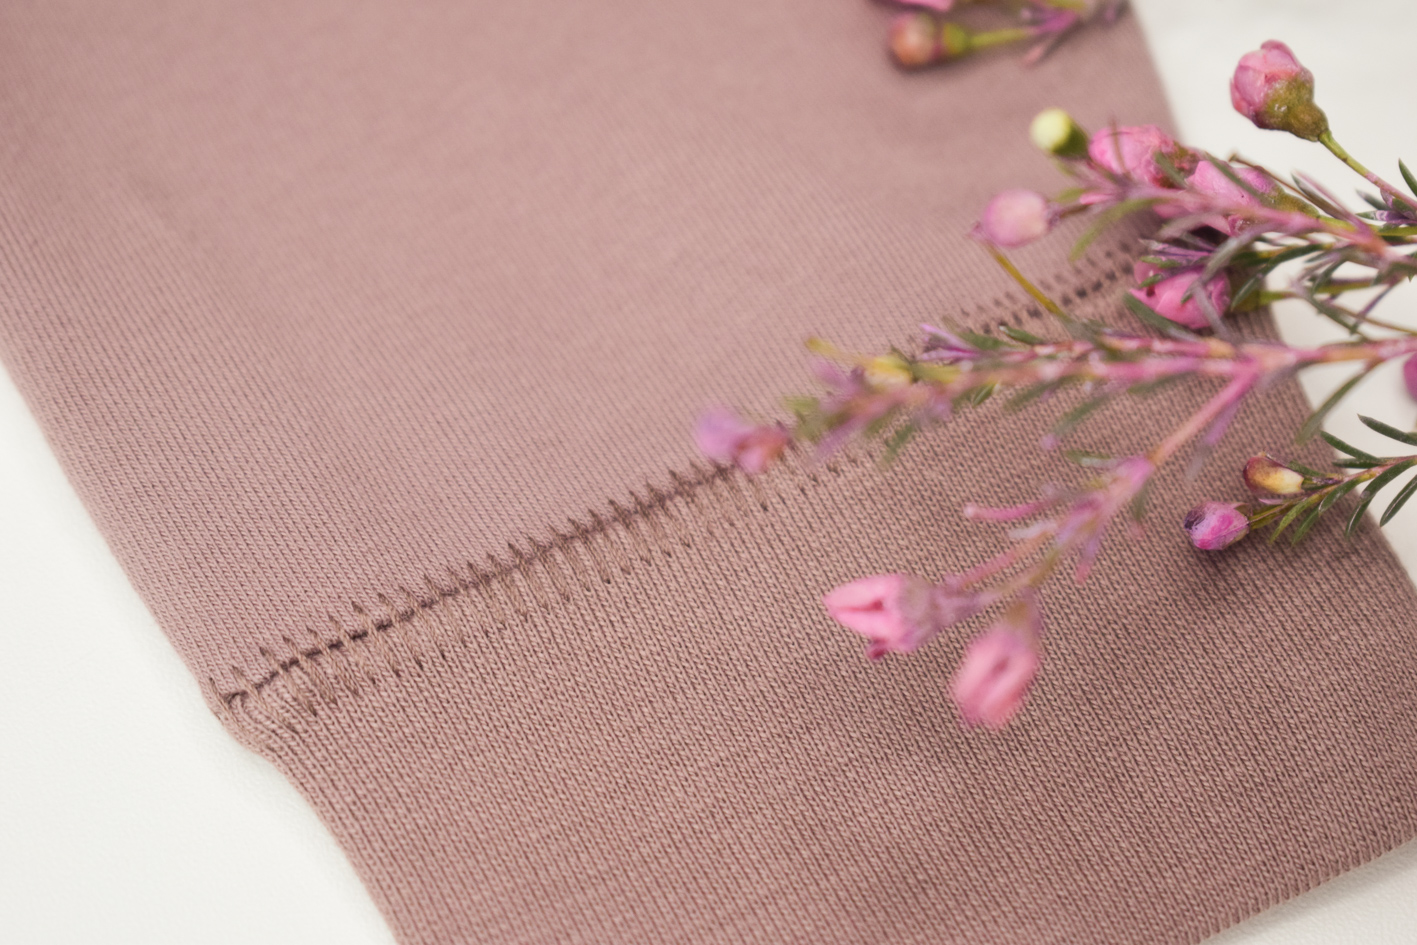
I used matching thread here, but of course you can go for a contrasting color as an extra accent.
C. Waistband
I also used the flatlock stitch for the waistband, but the other way around ;-).
By that I mean: instead of pinning the waistband at the right side of the sweater, I did it on the wrong side of the fabric.
So the sweater is turned inside out in the pictures below.

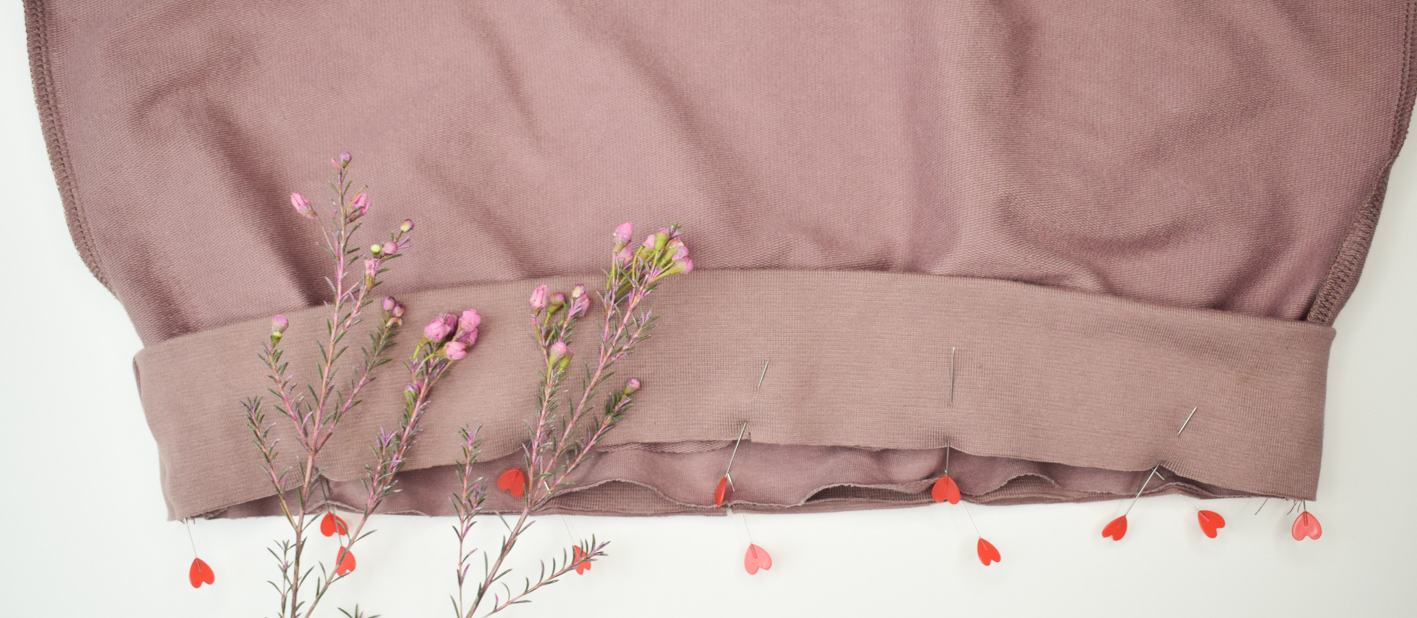
Again, secure the seam with the 3-thread flatlock stitch, all the way around and pull the seam flat.
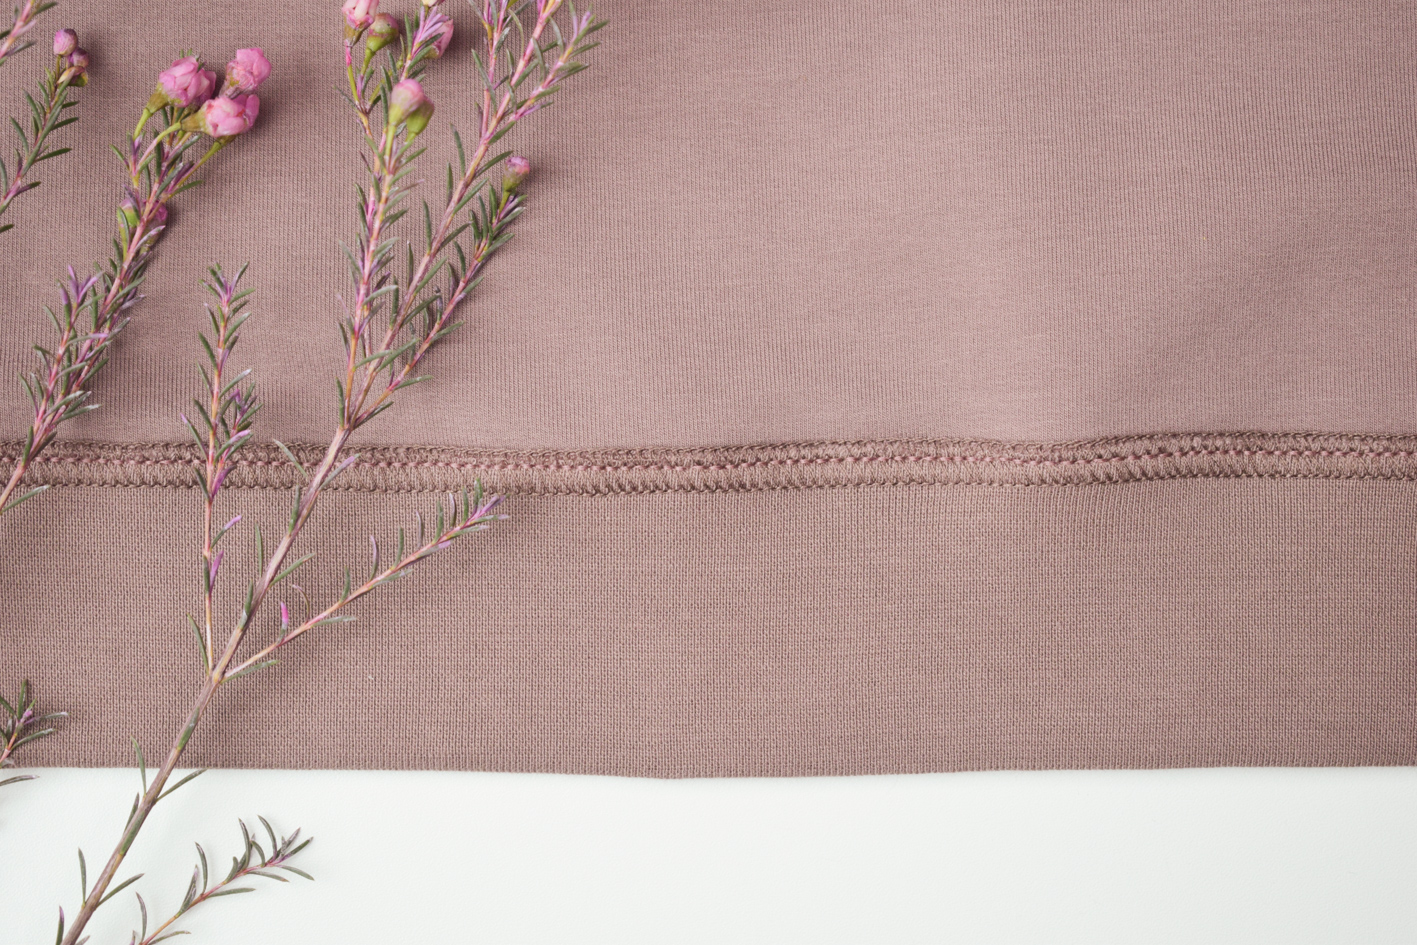
Ironing can also help to get the seam flat.
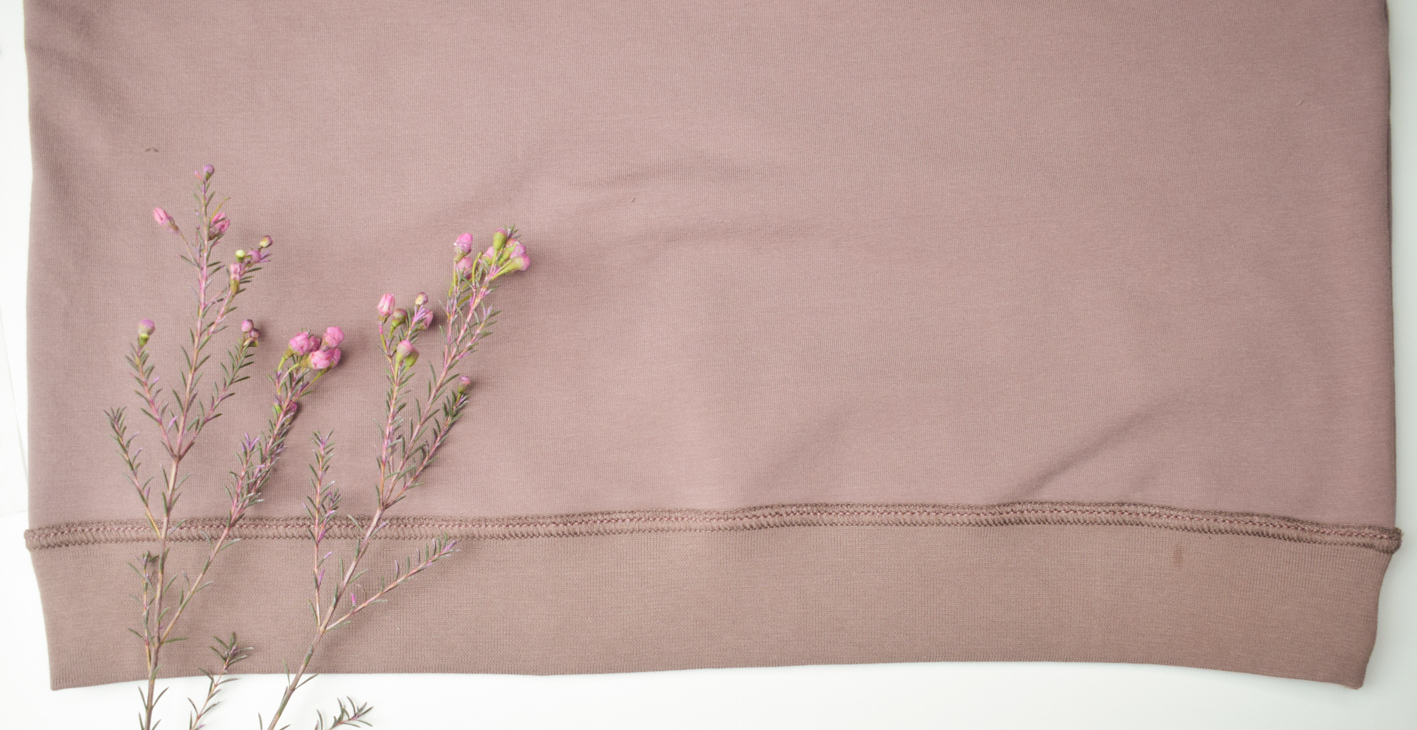
This is what the hem looks like when you turn the sweater right side out.
To keep the seam flat, I stitched it into place with a stretch stitch on the sewing machine.
And there you go, a personalized and teenage proof sweater!
Happy sewing!
Kind regards,
Isabel


I really loved your demonstrations and variations on attaching sleeves, waistbands and neckbands. I am definitely going to try 3 thread flat lock stitch (reversed) for attaching waistbands and sleeves. It looks really good – excellent, in fact.
I’m so glad you like it, thank you so much!