 BERNINA Corporate Blog -
Tutorial invisible zipper
Inserting a invisible zipper, it’s still a thing for many of us, isn’t it?
I’m going to make an attempt to take you through my sewing process, while taking lots of pictures to clarify each step.
You can apply this method to almost any invisible sipper you are going to insert.
For this tutorial, I used the pattern of a skirt with waistband, but you can also apply the steps e.g. when inserting the zipper in a bodice of a dress.
Materials
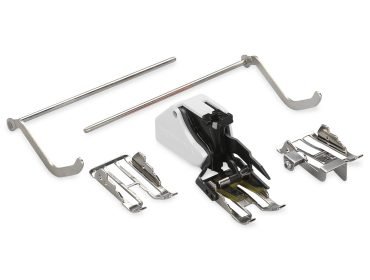
-sewing machine
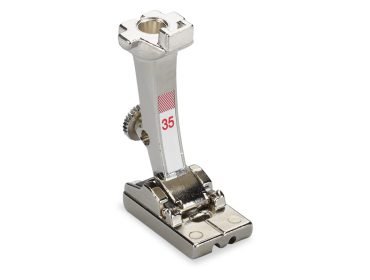
-invisible zipper foot
-regular zipper foot
-pattern and fabric
-invisible zipper
-fabric marker
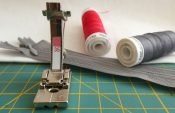
To make this tutorial I used my beloved BERNINA 480 together with the Three-Sole Walking Foot with Seam Guide #50, Invisible Zipper Foot #35 and zipper foot #4.

The pattern I used is the new Riva skirt pattern, available for adults and kids.
Do you prefer watching the steps to follow in a video?
Check out our invisible zipper video tutorial here:
Invisible zipper video tutorial

Tutorial
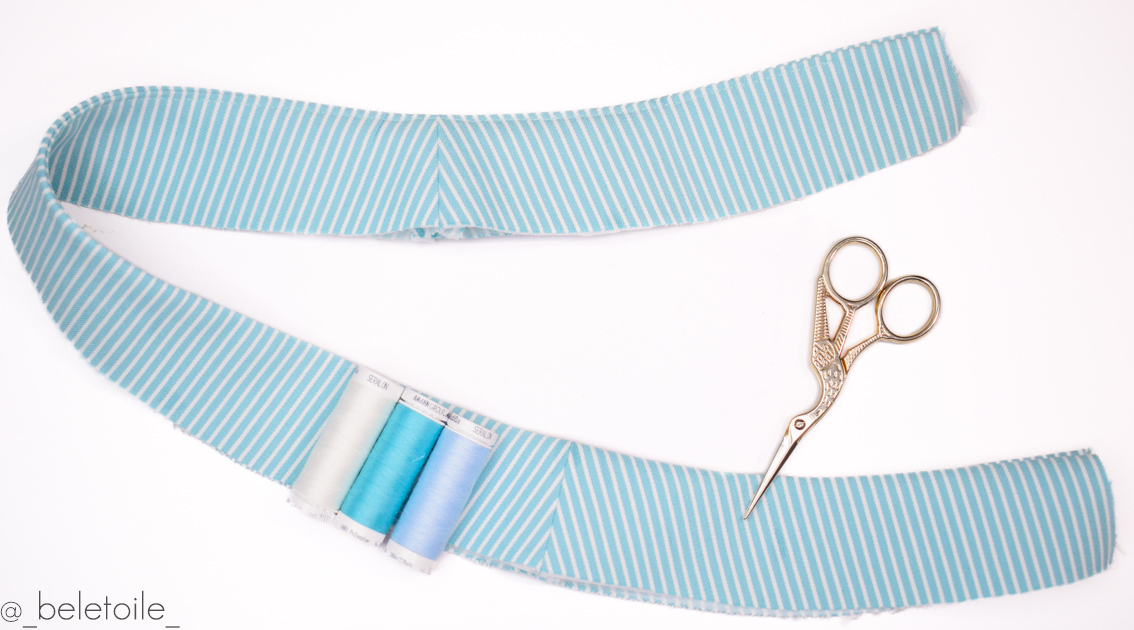
We’re starting at the point where the 2 waistbands (the inner and outer) are ready, so back waistband pieces are sewn to front waistband pieces.
For a dress, you would start at the point where your bodice in outer fabric and bodice (or facing) from lining fabric are ready.
1.Sewing inner and outer waistbands together
Place both waistbands right sides together.
Pin the top edge, making sure that the side seams line up neatly.
Stitch the top edge, starting and ending at +/- 3,5cm from the edges.
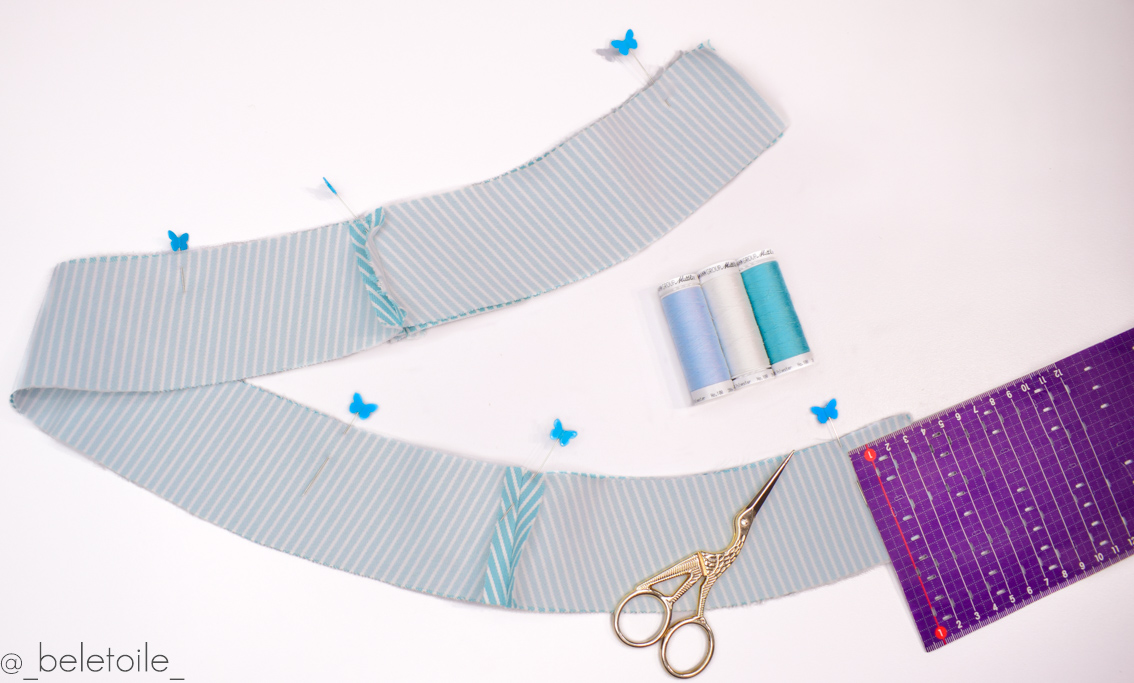
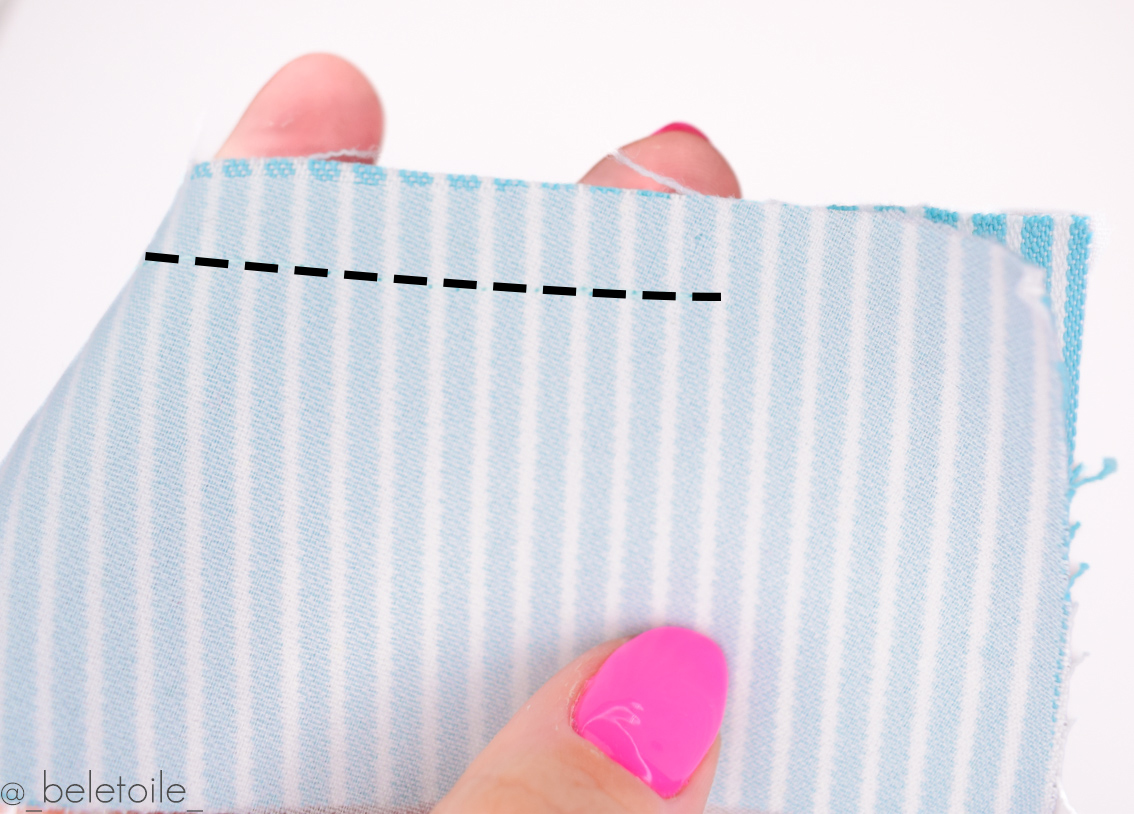
You have an opening at the beginning and ending of your waistbands that are sewn together.
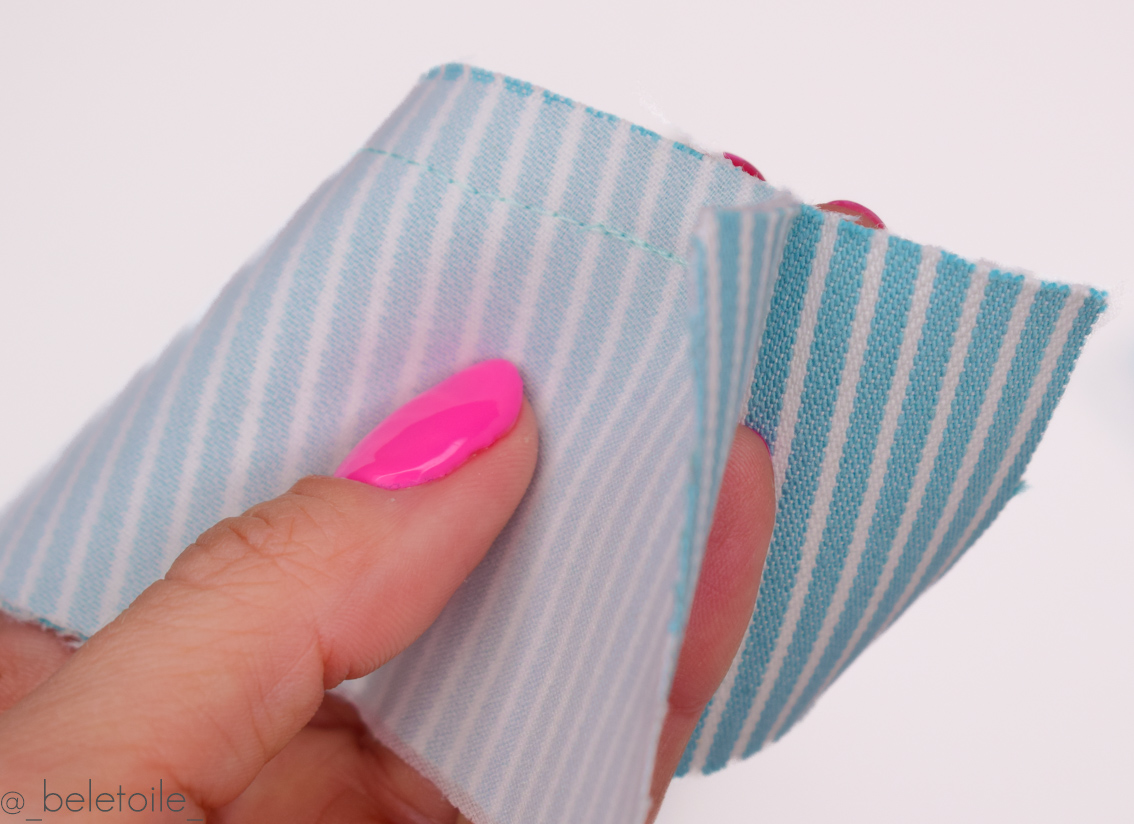
Fold 1 waistband upwards.
Press the seam allowance towards the upward folded waistband.

Stitch through the seam allowance at 2mm from the edge onto the upward folded waistband.
Start 1,5cm past and end 1,5cm before your previous stitch line.


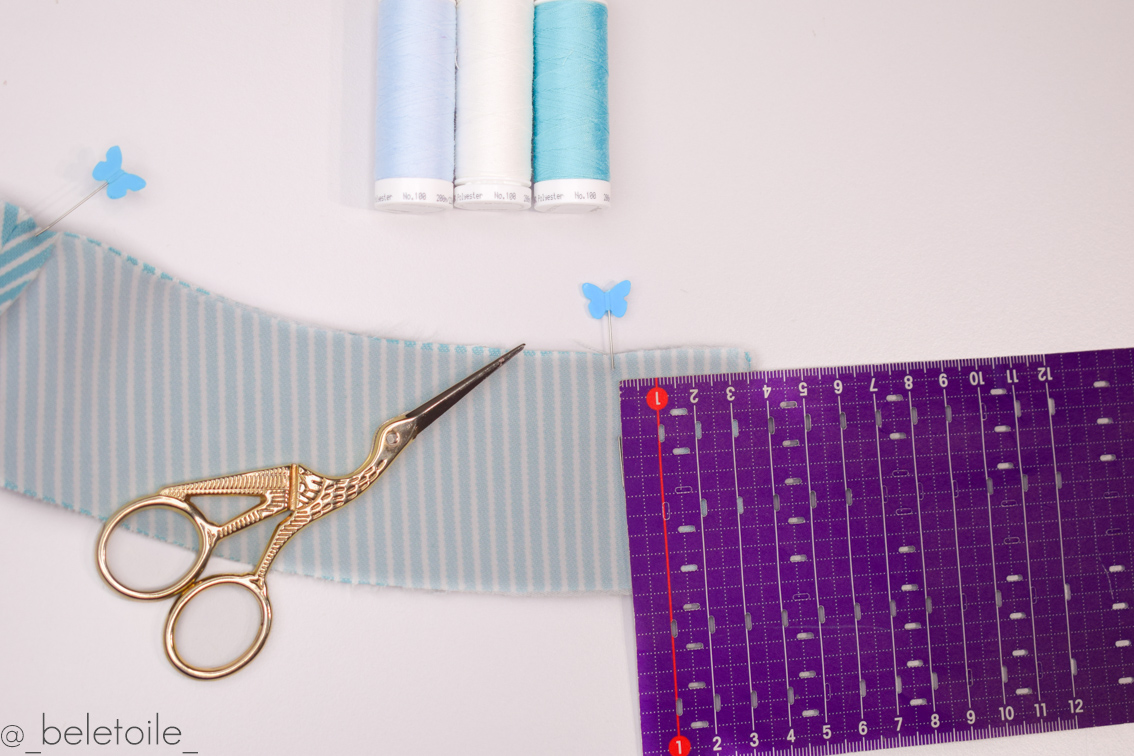
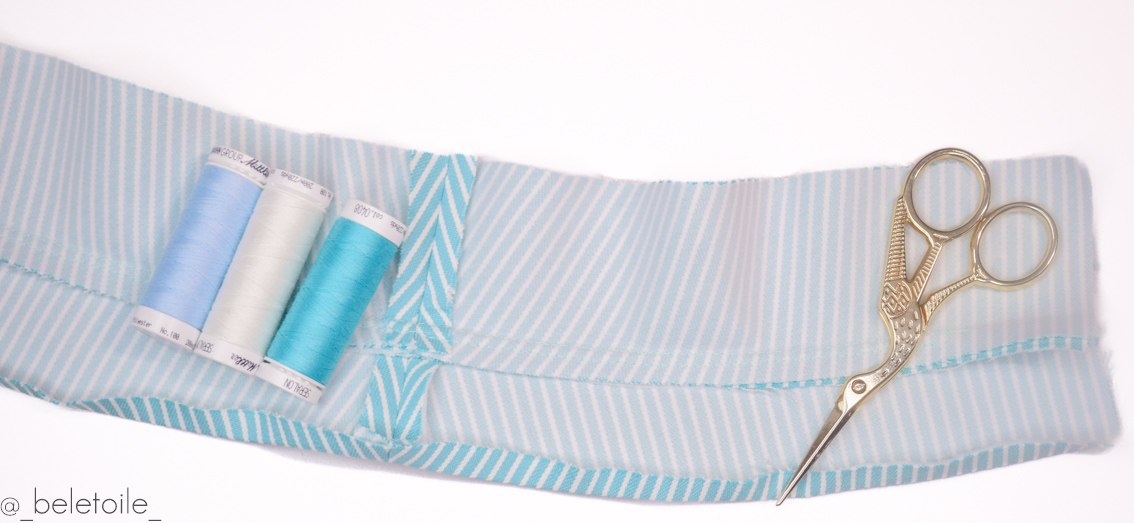
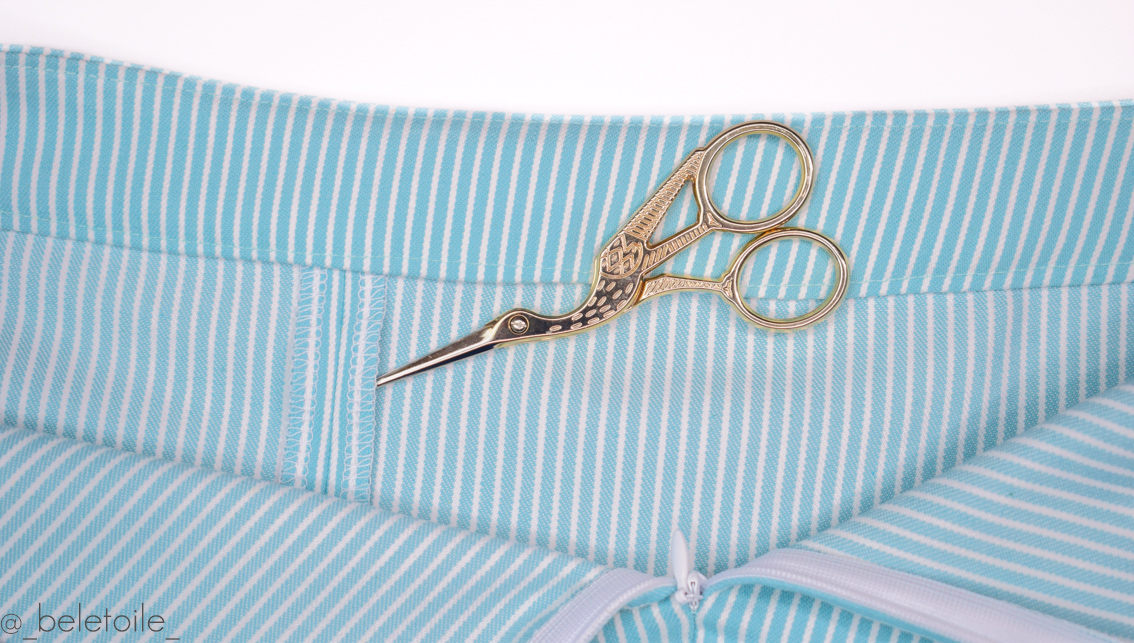
In the picture below, you can see the 2 stitching lines.
The first (1) is the stitching line of sewing the waistbands together.
The second (2) is the stitching line of topstitching the upward folded waistband.
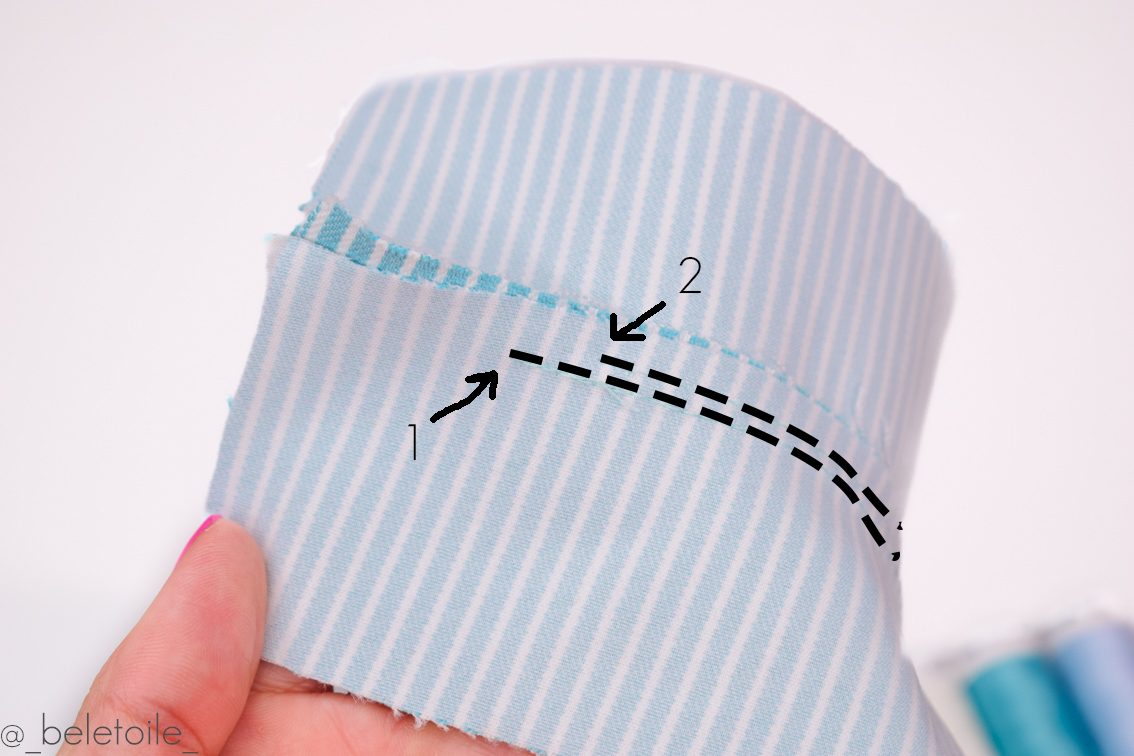
Your waistband now looks like this:
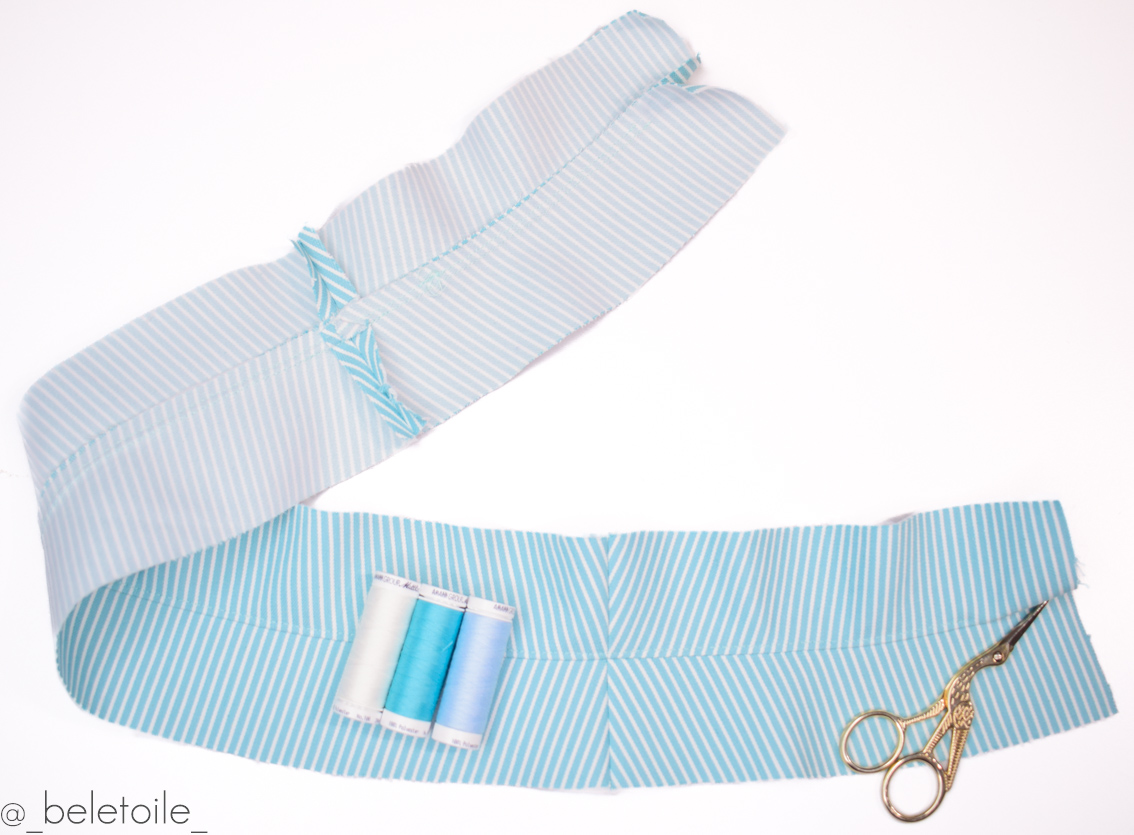
Fold and press both waistbands wrong sides together.
Press the seam allowance of the topstitched waistband 1cm inwards.
2.Sewing waistband to skirt
Pin the edge of the waistband (the one without topstitching) to the skirt, right sides together.
Be sure to pin the center front and side seams of the waistband exactly to center front and side seams of the skirt.
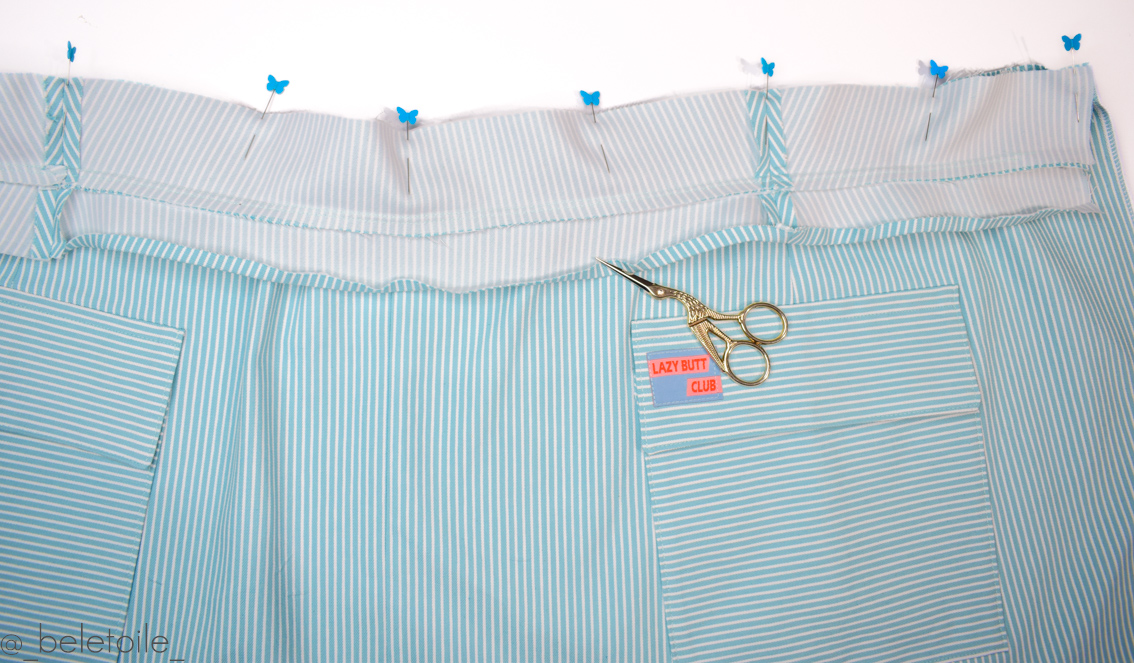
Stitch all the way around and press the seam allowance upwards.
Time for our zipper :-).
3.Inserting the zipper
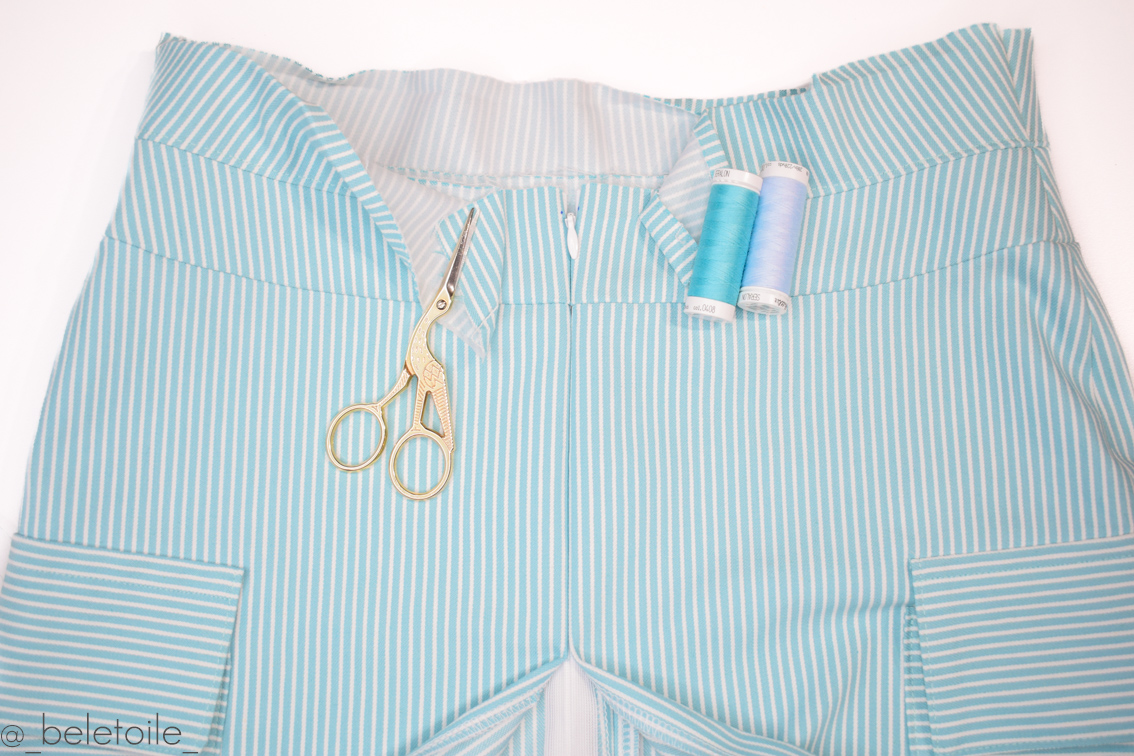
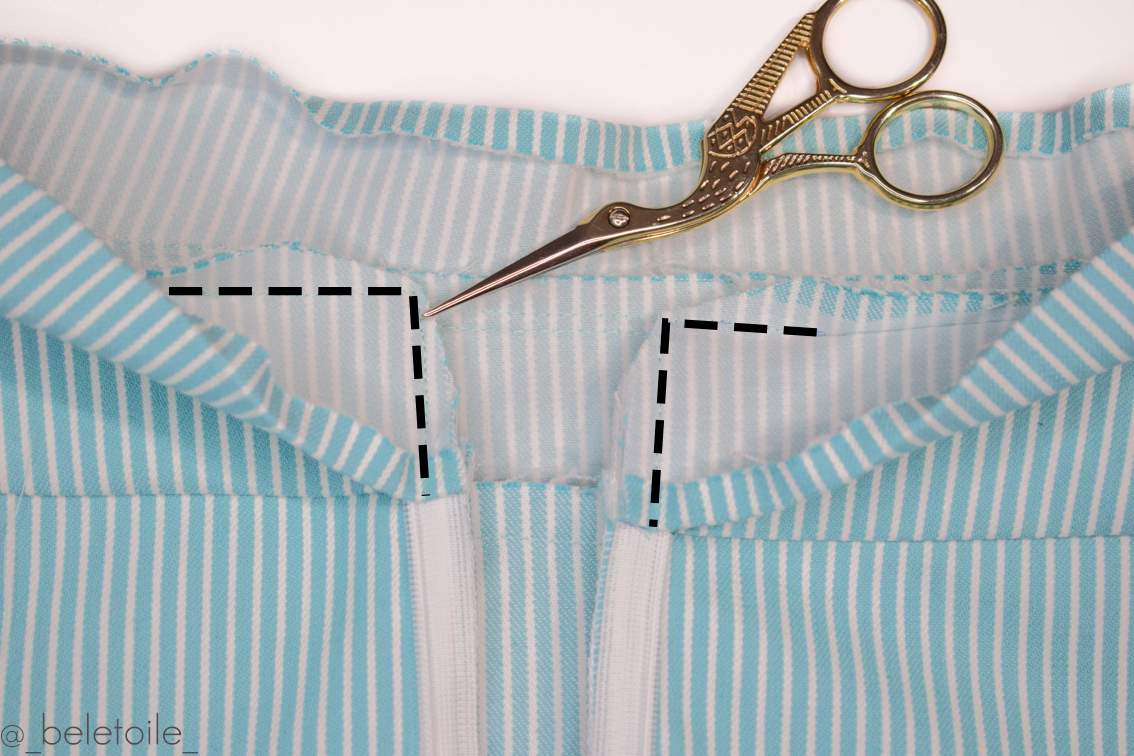
Lay your skirt with the right side of the back panels facing up.
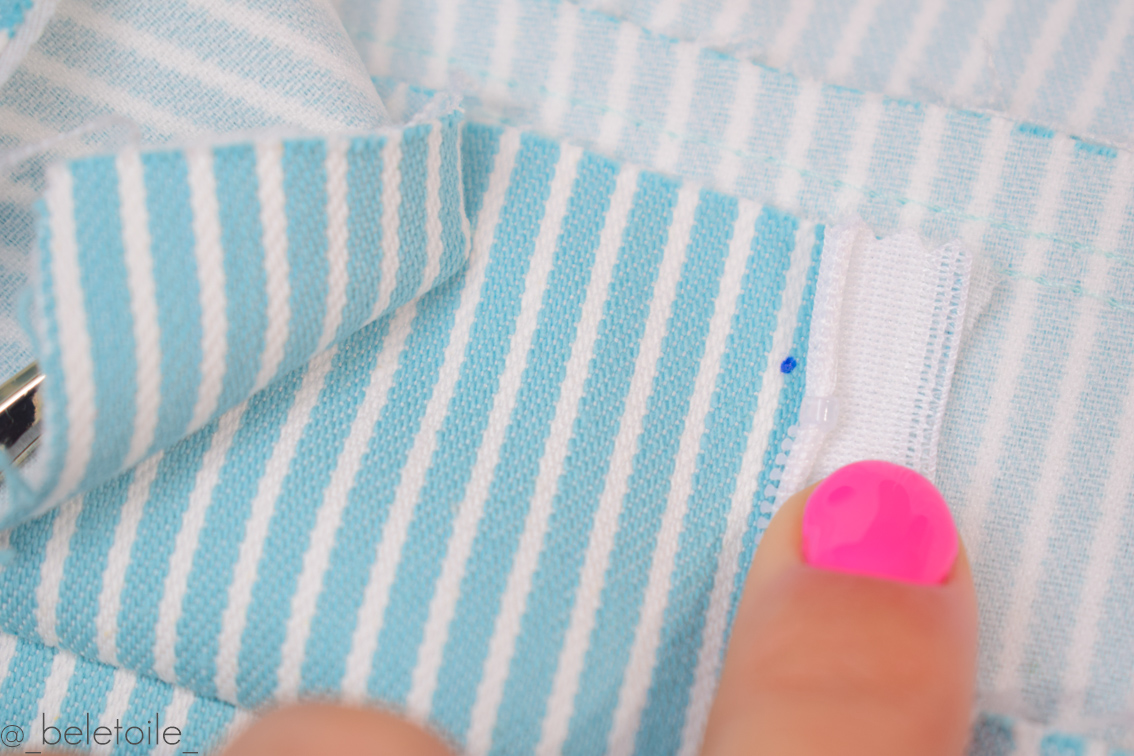
Fold the top waistband aside and mark the point that is 1cm from the top edge and 1cm from the side of the bottom waistband.

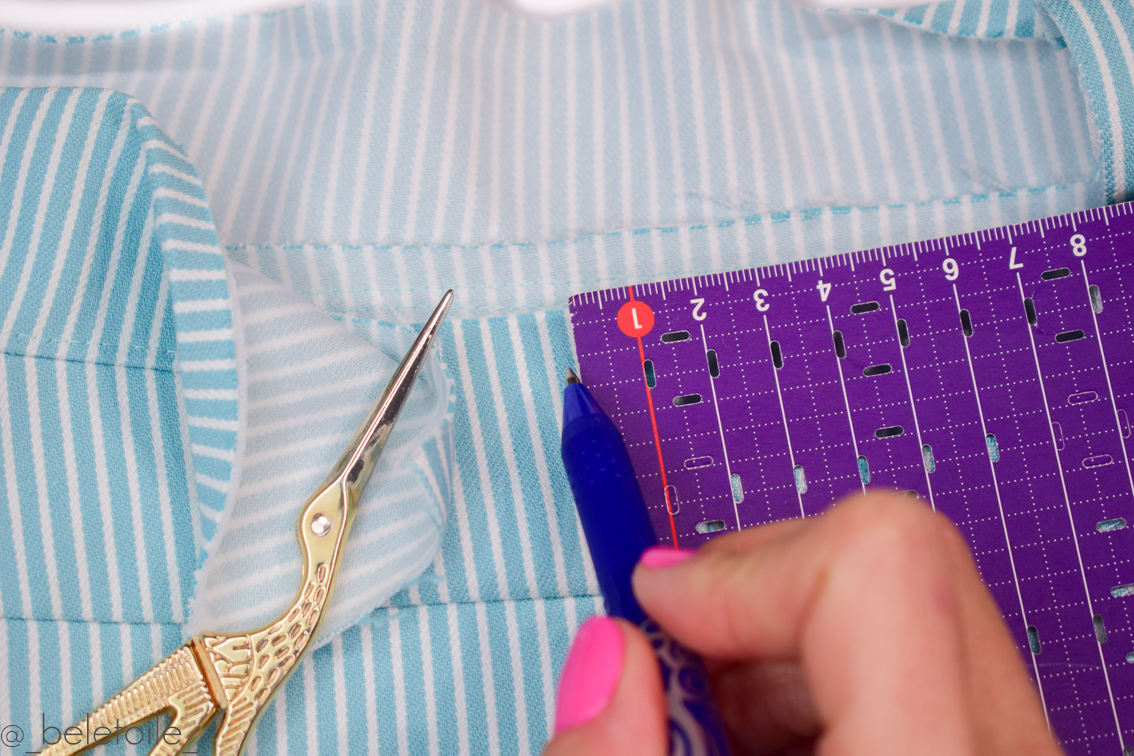

Optionally, you can apply a strip of wonder tape from that point towards the zipper mark.
That way your zipper won’t move while sewing it in place.

Take your invisible zipper, open it and place it right side up.
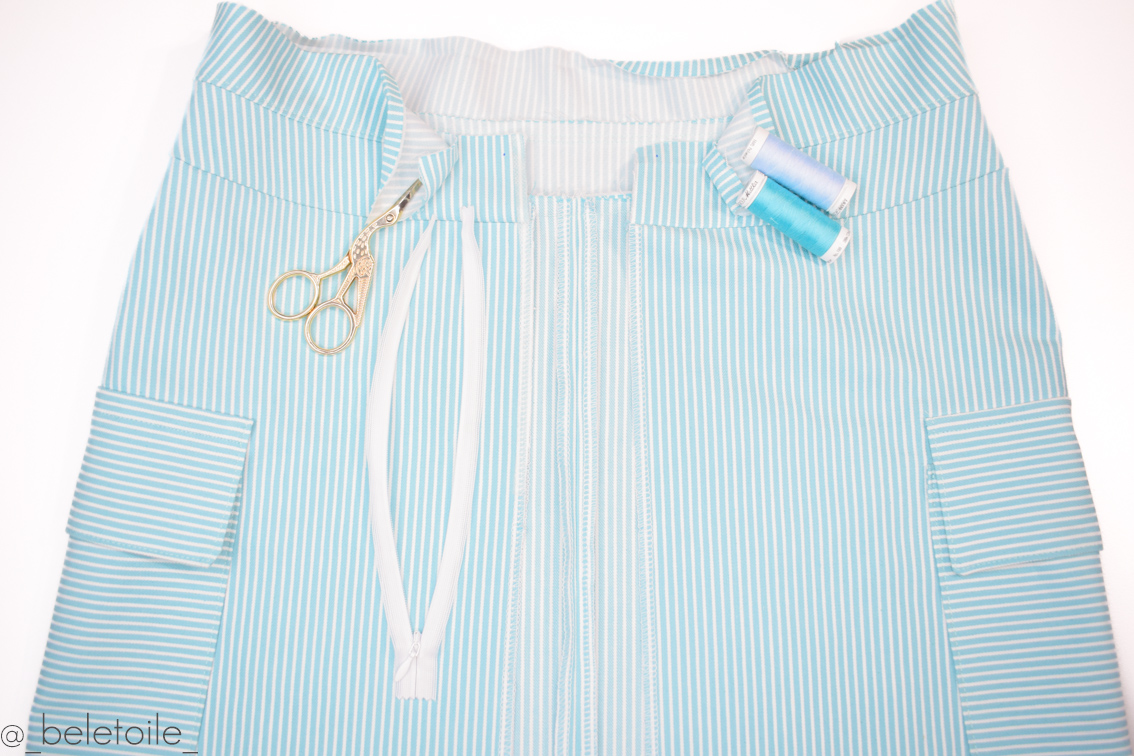
Turn your zipper around.
Pin the part of the zipper that’s at your right hand to the back of the skirt, right sides facing.
The side of the zipper lines up with the back seam of the skirt.


The stopper of the zipper is just below the 1cm mark you made at the top of the waistband.
Stitch into place with your invisible zipper foot.
Push the zipper teeth to the side so you can stitch as close to them as possible.
Avoid stitching into the zipper teeth, to prevent having to start over.
Stitch up to thezipper mark and backstitch.

Close your zipper and mark the end of your stitching line onto the zipper.
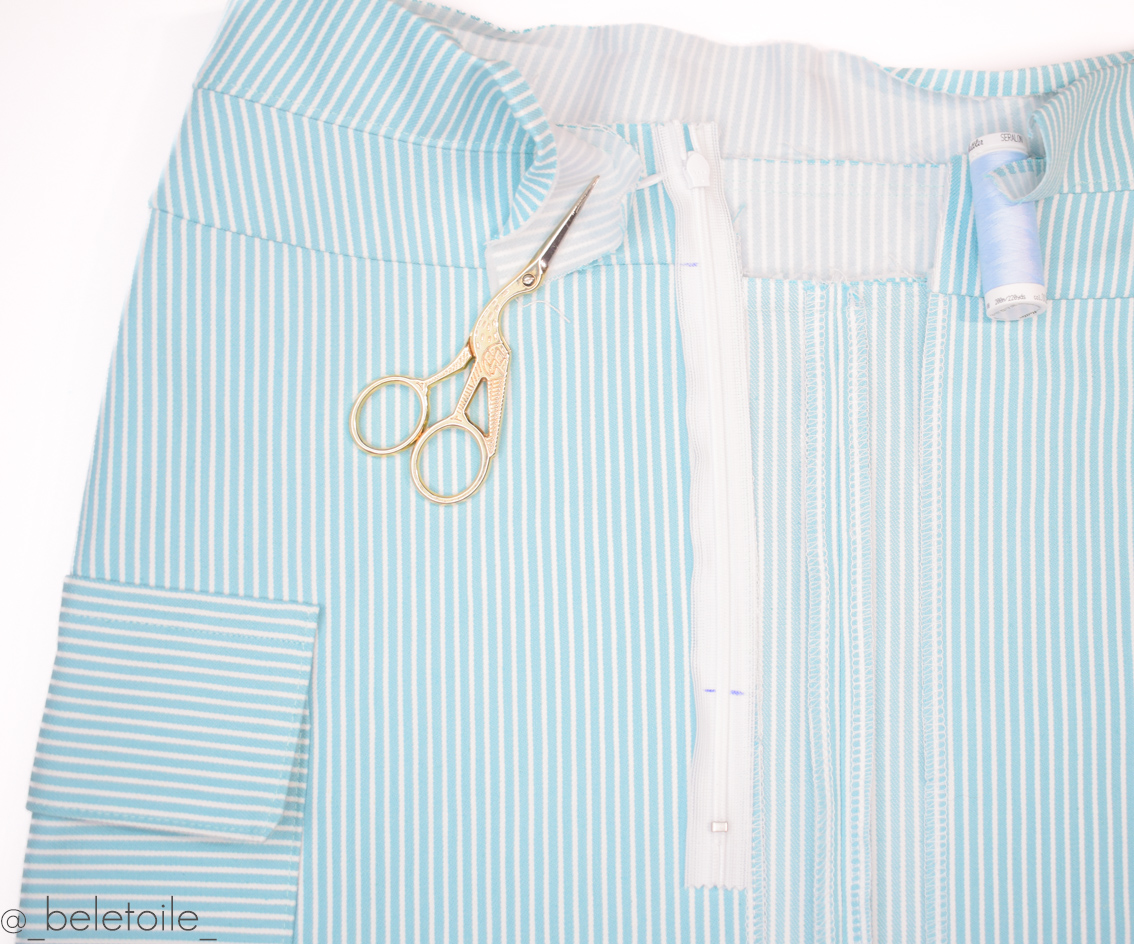
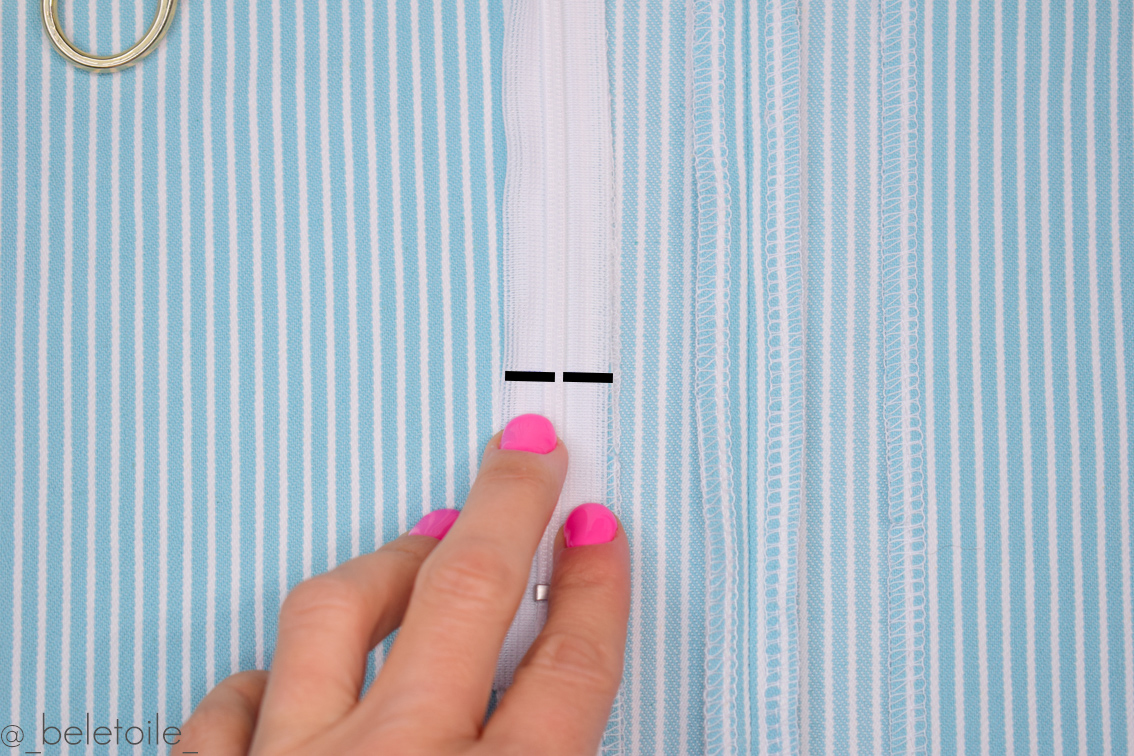
Also mark where the seam of the waistband needs to align so you get a perfectly matching seam.
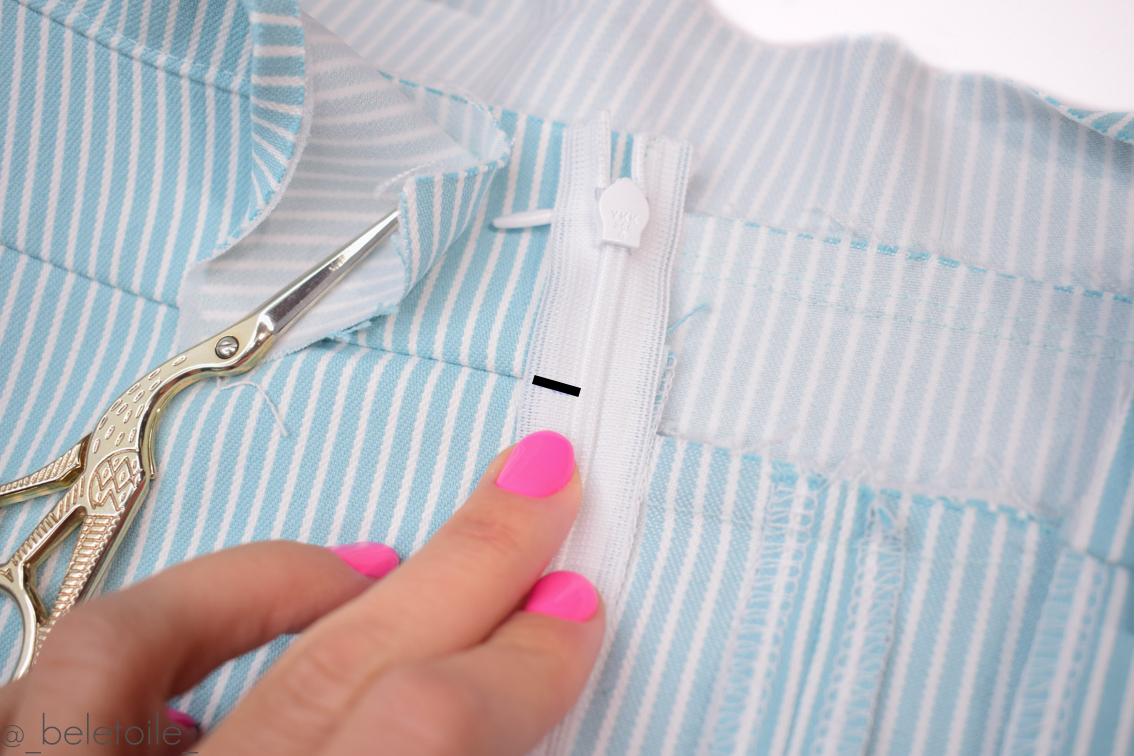
Now pin the other zipper piece to the other back panel, right sides facing.
Make sure your zipper is not twisted.
Stitch down towards the mark on the zipper and backstitch.

Make sure the mark for the waistband is exactly on the seam of the waistband.
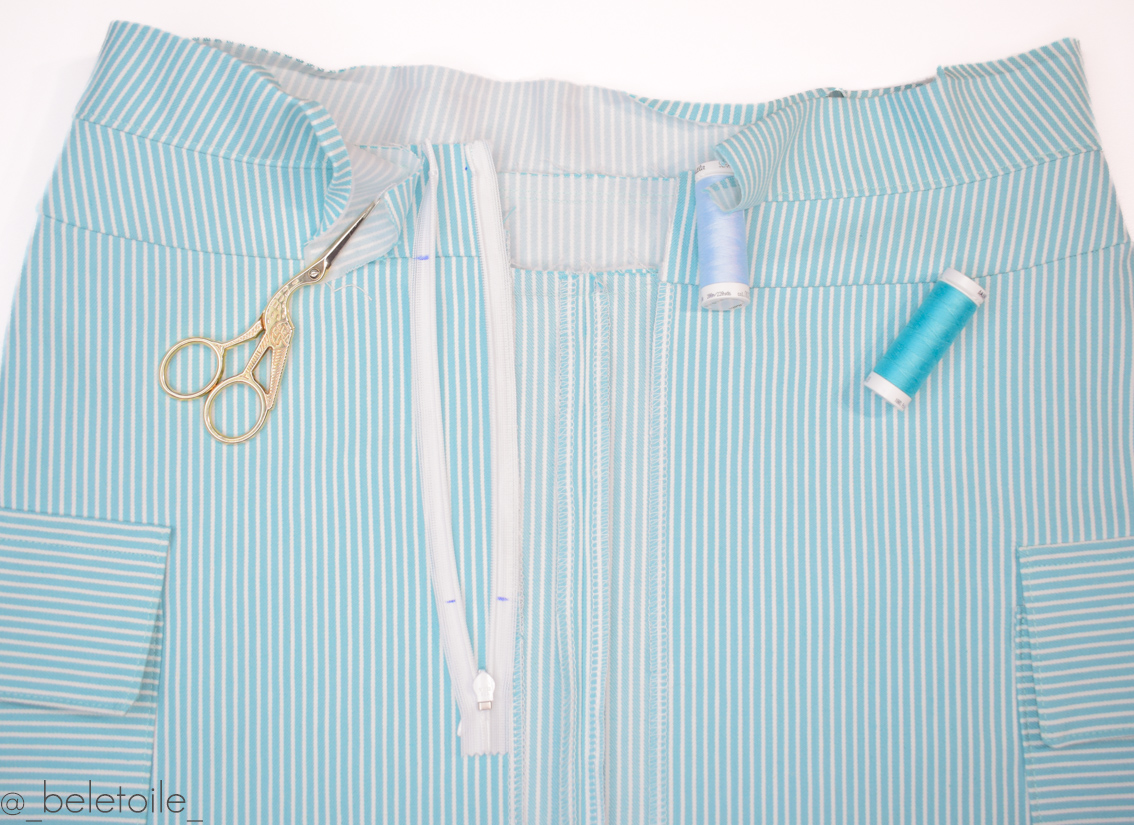
Close your zipper and check if the waisband seam of both back panels matches perfectly.
If not you can remove your last stitches and try again if you want to.
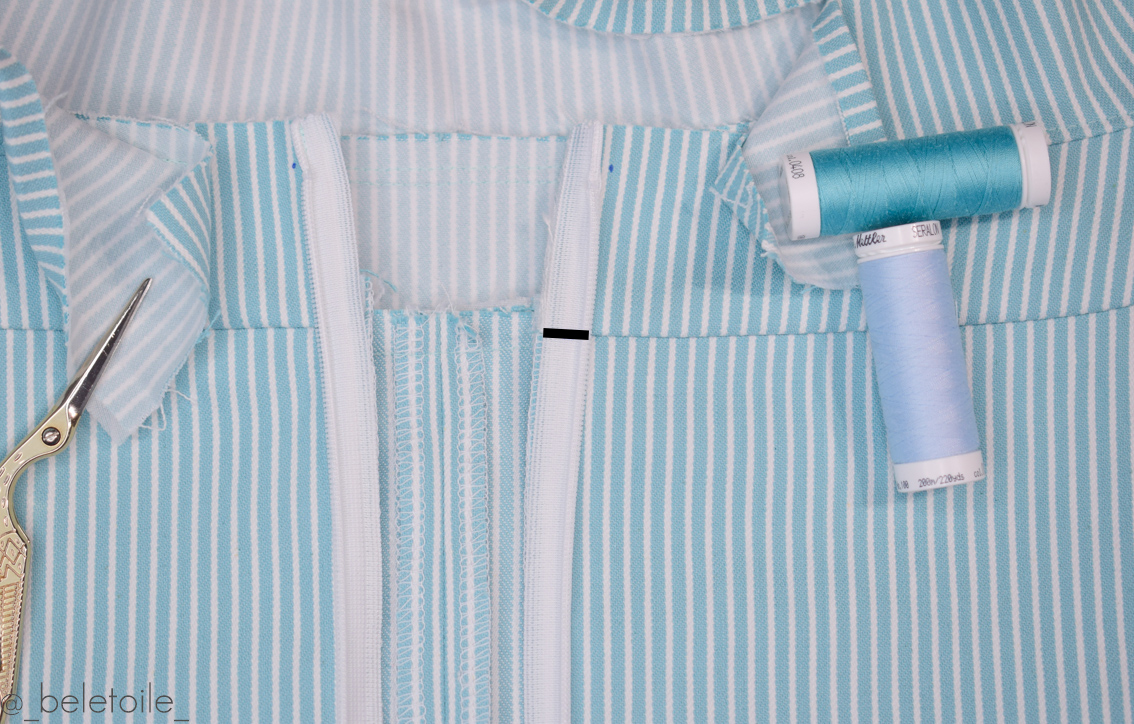
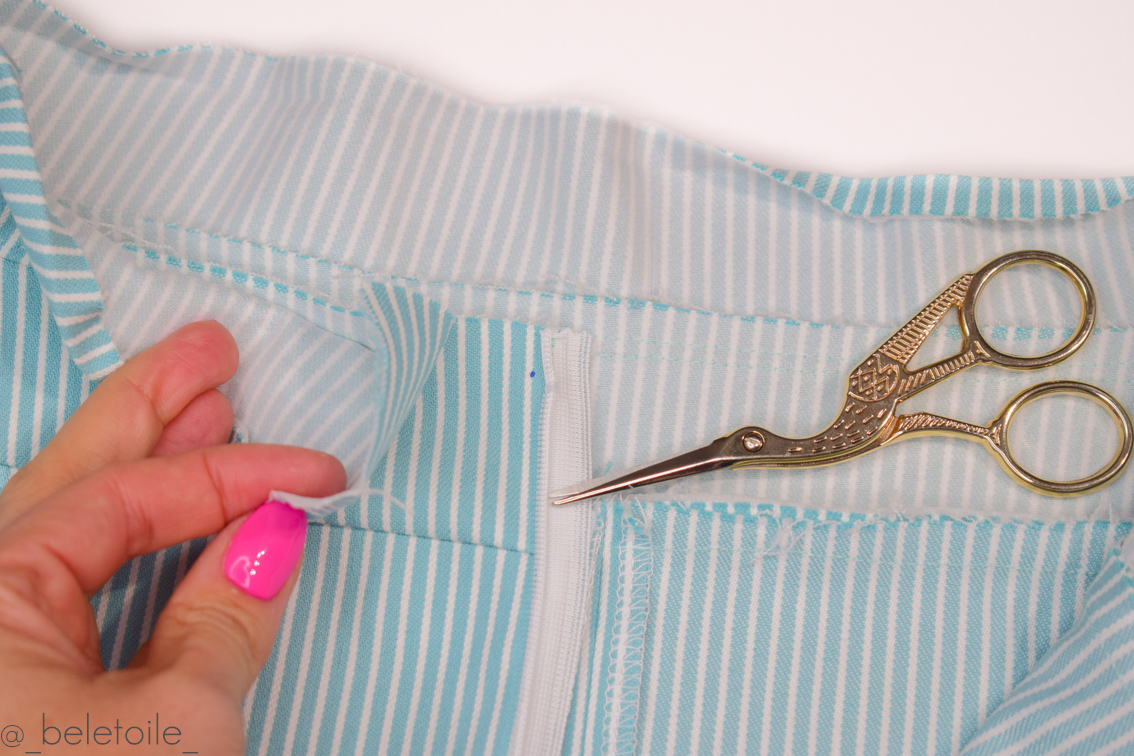
4. Finishing the waistband
Place the top waistband onto the bottom one, right sides together and pin.
The zipper now sits between both waistbands.
Stitch the waistband into place along the zipper (tip: use a zipper foot) and also close the part of the waistband seam that is still open.
Make sure the folded over 1cm stays in place.
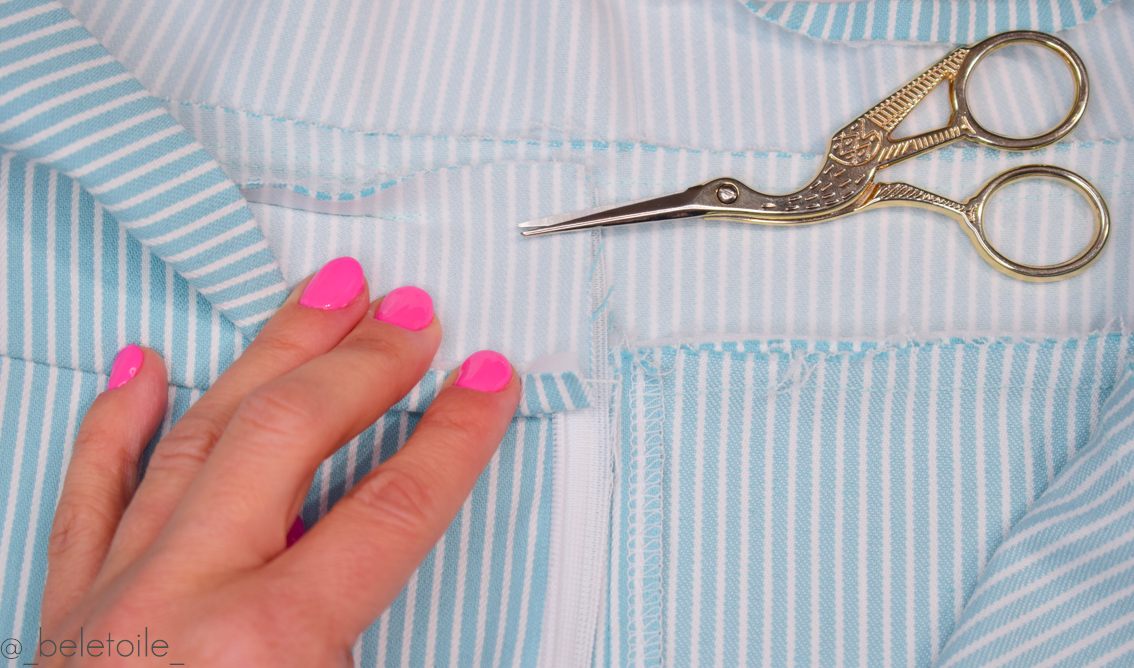
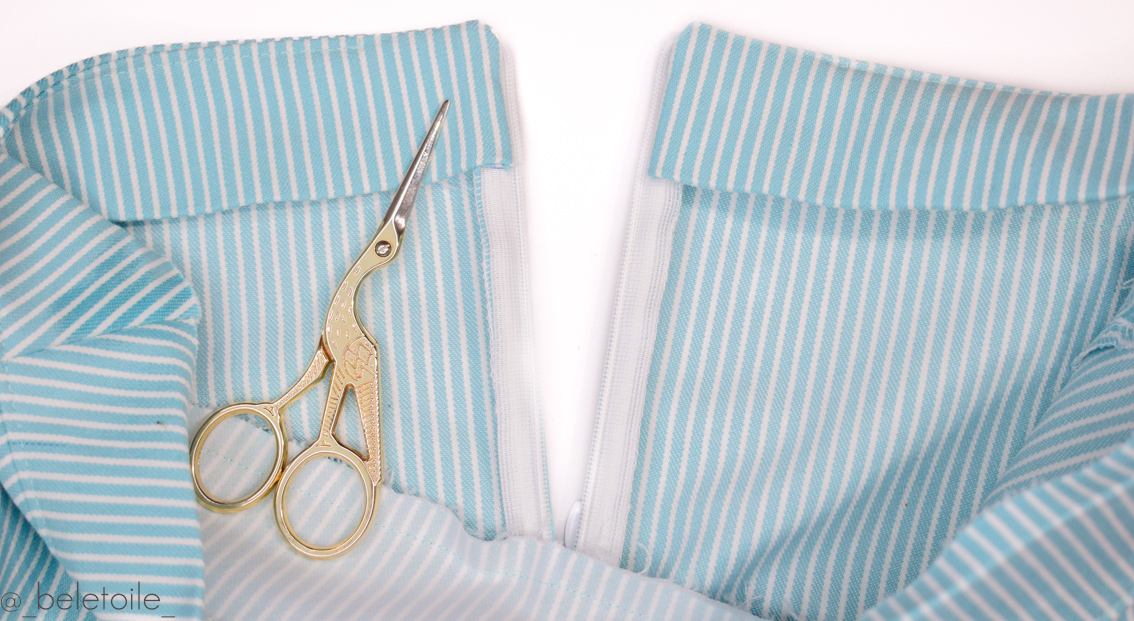
Cut off corners.
Fold your waistband into place and press.
We made it this far, yay!
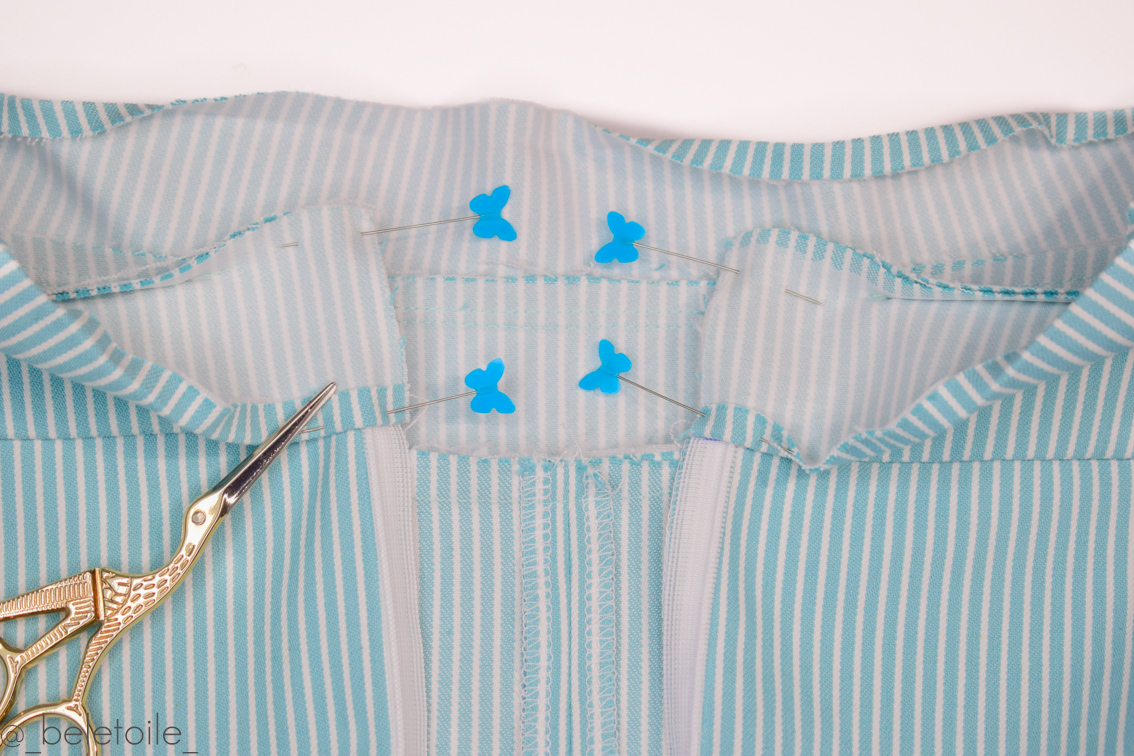
Now we are going to stitch the waistband into place, all the way around.
To do this, pin the waistband in place, the folded 1cm will just cover the seam of the waistband on the inside of the skirt.
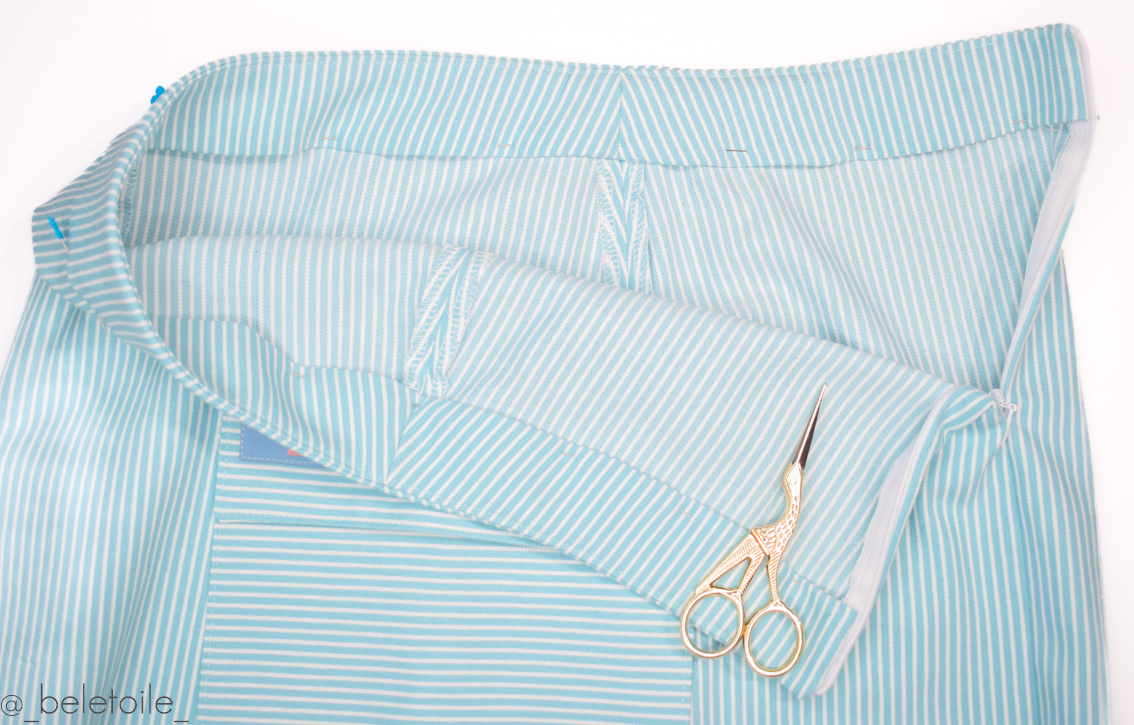
The inner waistband covers the seam

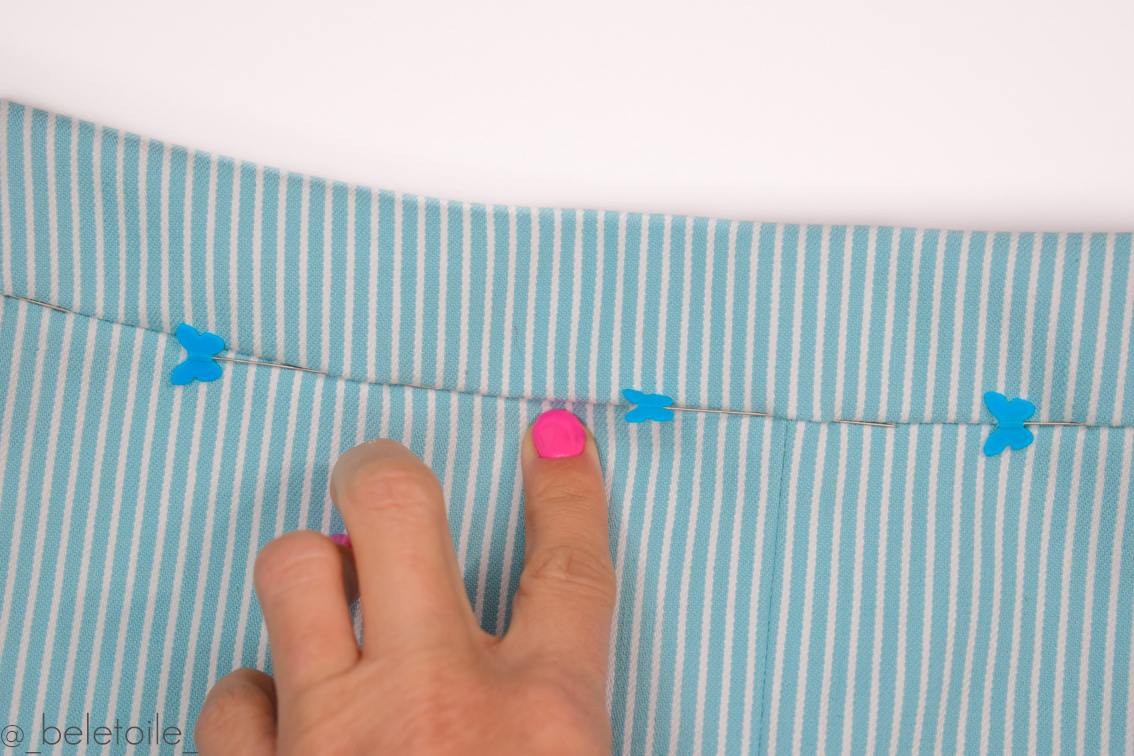
Tip!
Insert your pins along the outside, this works easier while stitching
Stitch all the way around, slowly and accurately, exactly in the seam of skirt and waistband.
(= stitch in the ditch)
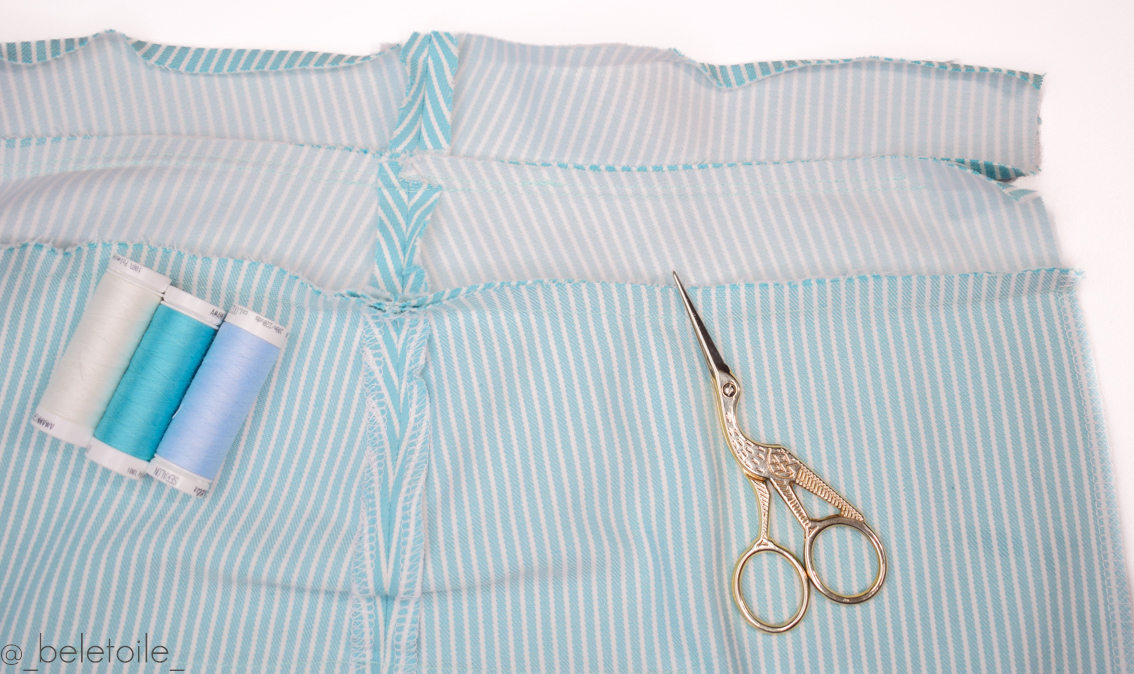
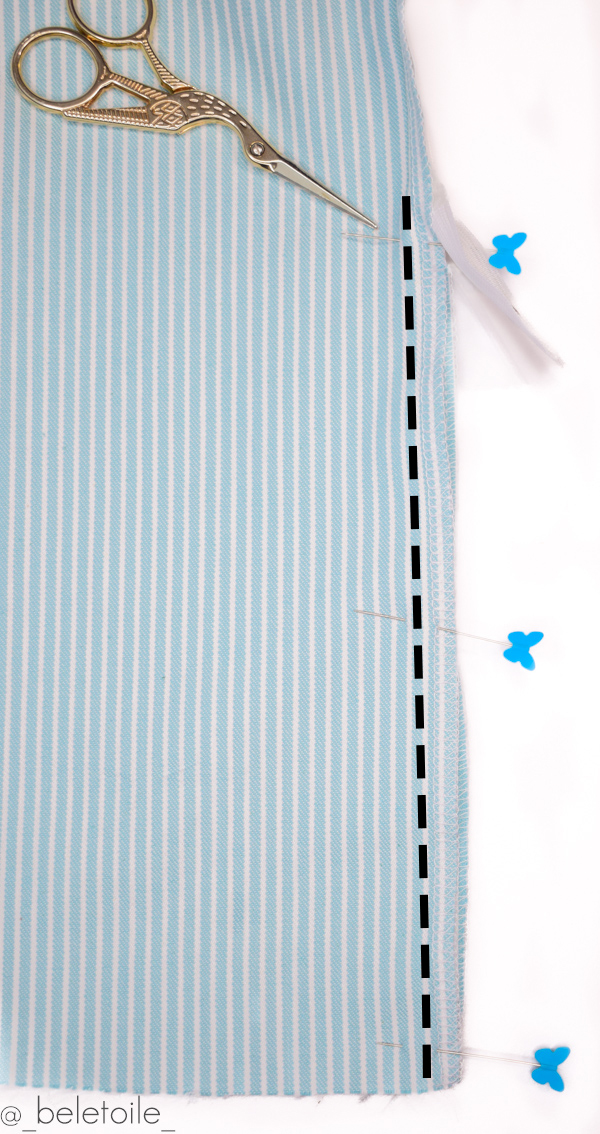
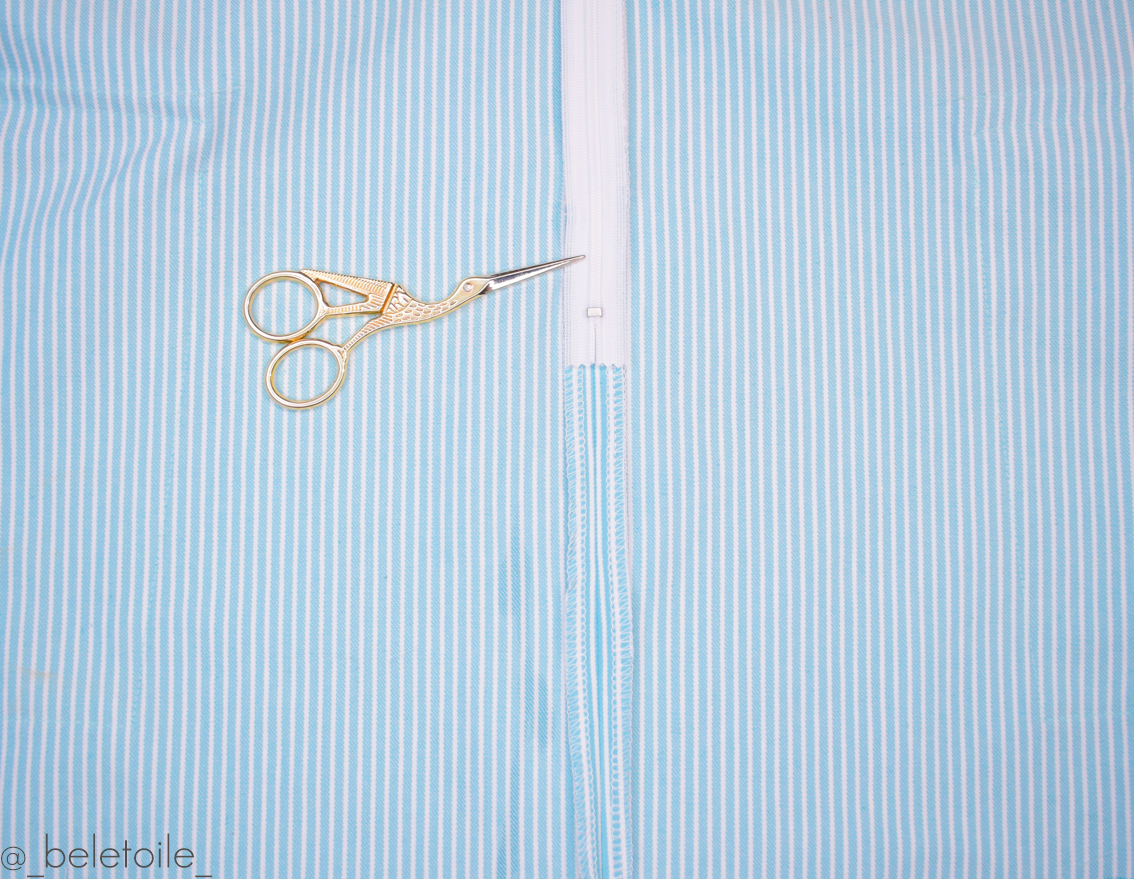
We’re almost there, we just need to stitch the rest of the back seam.
Pin the back panels right sides together, making sure the zipper isn’t in the way.
Start stitching just before and as close as possible to the last stitches of the zipper and go towards the hem.
Use your regular zipper foot again for this and move your needle if necessary.
Press seam open and you’re finished, great job!
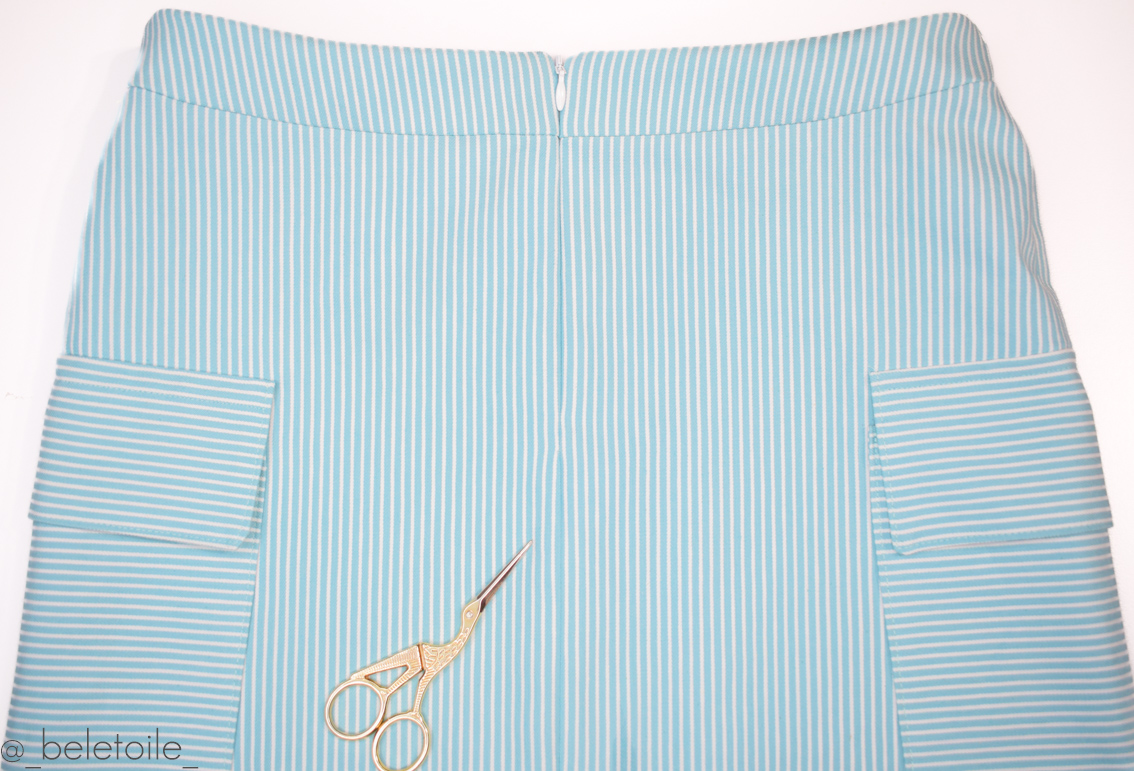
Kind regards,
Isabel


Thank you so much. This is perfect timing. I’m doing my first invisible zip today.
So great to hear!
Let me know if it works or if you have any suggestions to improve the tutorial.
Kind regards, Isabel
That was really good. Thank you. Should the tail of the zip be secured in any way?