 BERNINA Corporate Blog -
Finishing a skirt slit – tutorial
Finishing a skirt slit neatly, it remained a long search for the best way for me, and I think I found mine.
Of course, I’m happy to share it here as well, and I’m curious to hear what you guys think.
I myself went to work with an lengthened version of the Jules top (check out the pattern here), to add a long dress to my wardrobe.
However, I had to make slits in the side seams, otherwise the dress would be way too narrow at the bottom ;-).
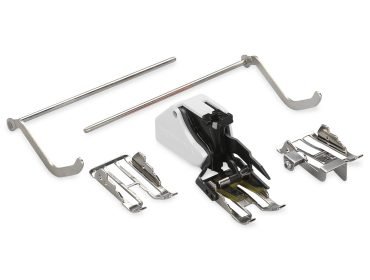
As always, I assembled the dress with my BERNINA 480 and the indispensable Three-Sole Walking Foot with Seam Guide #50

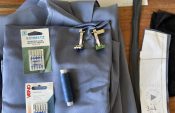
Requirements:
- pattern
- fabric
- overlocker
- sewing machine
Tutorial
1. Make slit marks
If you’re working with a pattern that doesn’t originally have a slit in it, then you can choose what height it will come to.
I marked mine about 30cm above the hem.
You can mark this with a pin at all side seams.

2. Pinning and stitching side seams
Pin side seams of the front piece and back piece, right sides together.
Don’t forget up to where your slit will be stitched (I put double pins in to remember ;-)), because you’re going to stitch exactly towards that point.


Now stitch from the top of your side seam exactly up to your slit mark and backstitch.

Press the side seam open, also press the seam allowance of your slit open towards the hem.


Finish your seam with your overlocker.
I’m using my BERNINA L 890.


3. Press hem
You already pressed the seam allowance of your slit inwards in the previous step.
Now press your hem allowance into place as well.

4. Make marks
Indicate where the lines of the skirt slit and the hem allowance meet.
In the picture below, you can see exactly where that is.

Then unfold the hem allowance and seam allowance of the skirt slit again.

Turn right side up, now you can see exactly where your 2 marks are.

5. Fold and stitch marks
Fold both marks neatly together, right sides of fabric together.
Pin in place.

Now also mark the point where both pressed in lines (of the slit seam allowance and hem) meet.

Connect this point to the pinned marks.
You are going to stitch a line exactly from point to point.

After stitching, cut off the excess fabric.

6. Press corner out and finish seams
Now push the corner neatly outwards and press flat.

You repeat all of these steps for all corners (2 if you have 1 slit, 4 if you have 2 slits)
Then topstitch the slit(s) and hem and you’re done!


All done!
Be sure to let me know what you guys think :-).
Love, Isabel


0 Responses