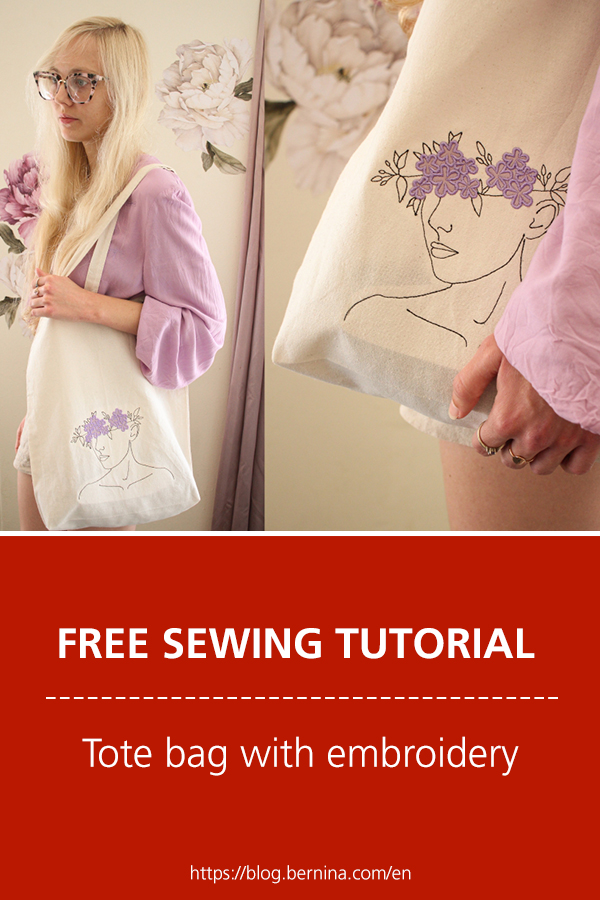
 BERNINA Corporate Blog -
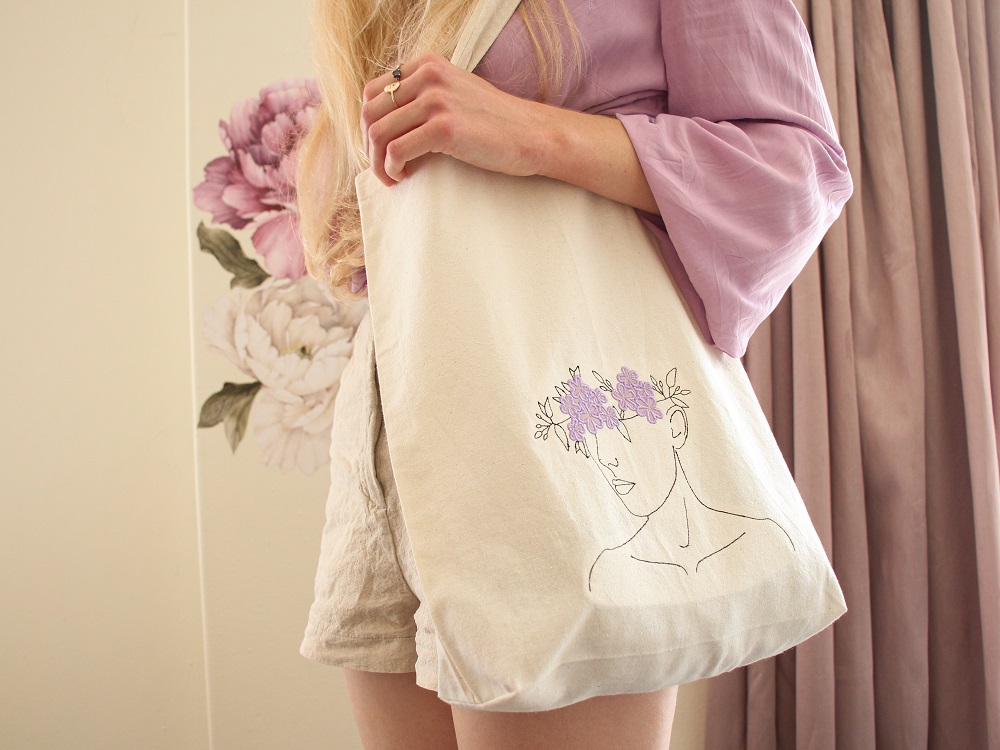 Tote bags are so useful and make for wonderful gifts.
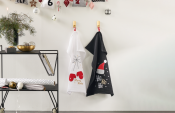
I keep a handful of them in my car for when I pop to the grocery store or market so I don’t need to buy a plastic shopping bag. But they are also used for carrying my sewing supplies, books, coffee cup and other essentials when out and about.
I prefer the bags made of natural fibres as they can biodegrade once they are too worn out to use anymore. There is a local store that sells lovely cotton ones which is very convenient, especially for making thoughtful gifts.
I love to add a personal touch to the bags with a unique embroidery design and with Bernina’s new Large Freearm Embroidery Hoop it is so much easier.
What will be needed:
- Sewing machine (B735)
- Embroidery Module
- Large Freearm Embroidery Hoop
- Embroidery foot #26
- Tote Bag (at least 37cm wide)
- Embroidery design (See below)
- Cut-away Stabilizer
- Fabric off-cuts
- 2 embroidery threads (black and a colour to match your fabric off-cuts)
The freearm hoop is designed differently to the regular hoops so it is easier to embroider ready-made tubular items like bags, tshirts and sweaters (especially the smaller sizes) more precisely.
This means no more awkward bunching of the bag or tshirt fabric or risk of accidentally embroidering another part of the garment at the same time.

The Attaching Mechanisms are part of the Inner Hoop (normally they are on the Outer Hoop). This is why you are able to embroider a ready- made bag as these mechanisms won’t be stuck inside the bag.
Embroidery Design
As a gift, I have provided my embroidery design for you to download for free! H-R Floral Figure
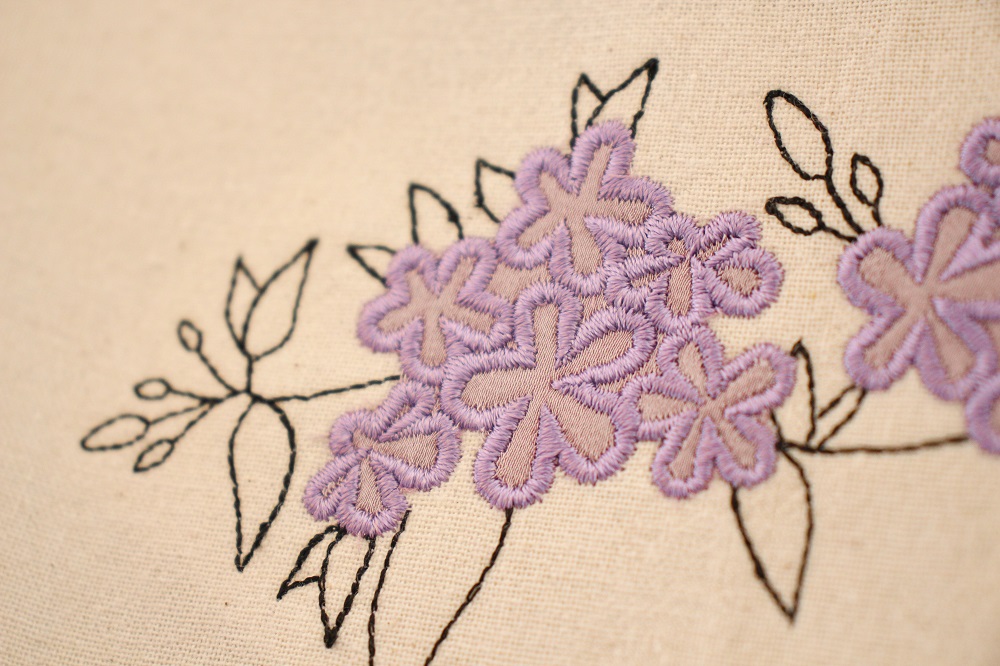
This embroidery design will take about an hour to embroider at the fastest stitch setting. This is because it includes appliqué.
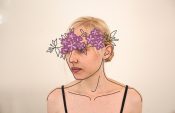
The figure is actually me! I created a minimalist line drawing from a picture of myself and images of Plumbago flowers. The flowers are appliquéd and use fabric off-cuts.

Plumbagos are native to South Africa and come in a white, red and blue variety. They remind me of my dog and the ones growing outside my window are a lovely pale purple.
Check out this blog post: Create a custom minimalist line & appliqué design if you are interested in learning how I created the design or want to find out how to create appliqué in the Bernina Embroidery Software 9.
Embroider
Using the Large Freearm Hoop
 You may need to update your machine’s firmware to be able to select the Large Freearm Embroidery Hoop on your machine’s screen and calibrate the Hoop before your first use.
Select your machine model on the Bernina.com website under the Support section and see if there is a Firmware update.
Feel free to contact your local Bernina dealer for any questions
 Insert the bobbin & thread your machine with the first thread colour.
With my design, the first colour is black for the figure & leaves.
- Follow the steps in this video to see how to calibrate the hoop, hoop your bag with the Large Freearm Hoop and load it in the machine to embroider.
0:00 – 2:36 how to calibrate the Hoop
2:37 – 3:50 how to hoop your bag
3:51 – 6:04 how to embroider
 As I used regular cut-away stabilizer, I just placed it between the Outer Hoop and fabric when hooping rather than sticking it on like in the video.
 Just a helpful tip:
In order to reduce the amount of times you’ll need to cut the threads while embroidering, select this button on the screen.
Appliqué
Once the figure and leaves are all embroidered it is time to appliqué the flowers.
 Change the thread to a colour that matches your appliqué fabric and press the green button to stitch the Placement Lines.
After each of these steps, your machine will tell you change the thread colour. That won’t be necessary, this is just how the embroidery design communicates to let you know that the stitch type is going to change.
 Once the Placement Lines are stitched and the machine has stopped:
Lift the presser foot and place the fabric over the respective placement lines.
Press the green button and proceed to stitch the Cutting Lines.
 Once the Cutting Lines are stitched and the machine has stopped:
Lift the presser foot and remove the Hoop from the machine.
Do not remove the bag from the Hoop.
 As neatly as possible, cut the fabric (not the bag) no more than 2mm outside the Cutting Line.
This step will require a bit of patience as the flowers are somewhat small. I did not cut between the flowers, just around the basic outline.
 Replace the Hoop and proceed to Tackdown stitch.
This will help secure the fabric edge you just cut.
 Proceed to embroider the Coverstitch Line.
Finishing off
 Remove the Hoop from the machine.
Release the bag from the Hoop by unlocking the Hoop with the Release Buttons
 Carefully and neatly cut away the stabilizer around the back of the design.
 Give the bag and embroidery design a press.
Place some fabric between the iron and embroidery design to prevent possible damage.
 Trim the connecting threads
Optional Extra Touch
I like to create a flat bottom on my tote bags to help give the bag some more dimension.
 Turn the bag inside out.
Match up the side seam with the folded line of the base of the bag.
Place a pin along the matching lines to hold them together and lay the corner flat.
 Measure 3cm from the point up along the side seam.
Place pins to create a perpendicular line, thus making a triangle.
 Sew a line following the pins.
 Repeat for the other corner and turn the bag right-side out.


Tips
- Keep in mind the size of the hoop (14.5cm x 25.5cm) when choosing what to embroider.
The hoop needs to fit inside the item and have enough space to also fit around the machine’s freearm. - The shape and size of the embroidery area is the same as the Large Oval Hoop.
- The Large Freearm Embroidery Hoop is compatible with these Bernina models:
B 880 PLUS Crystal Edition, B 880 PLUS AE, B 880 PLUS, B 880 Sterling Edition, B 880, B 830, B 790 PLUS Crystal Edition, B 790 PLUS SE, B 790 PLUS AE, B 790 PLUS, B 790, B 780, B 770 QE PLUS Kaffe Edition, B 770 QE PLUS, B 770 QE SE Tula Pink, B 770 QE AE, B 770 QE E, B 770 QE, B 750 QE, B 735, B 720, B 720E, B 700 E, B 590 Crystal Edition, B 590, B 570 QE SE Tula Pink, B 570 QE E, B 570 QE, B 535, B 535 E, B 500
I would love to see what you make, please feel free to share with me!
Instagram
Facebook
-Hannah-Rose


Hi Hannah-Rose. A very nice project, but what I like most is the extra touch with the flat bottom. Not only your exclusive embroidery, also that bit of sewing makes an ordinary tote into a real eyecatcher! Well done! Can’t wait to copy that. Doris
Hi Doris
Thank you for such a lovely comment.
Please feel free to post a picture here in the comments when you do 😉