 BERNINA Corporate Blog -
Bernina’s Embroidery Software DesignerPlus 9 is great for creating new embroidery designs as well as editing existing ones.
I love being able to tweak a design so that it better suits the item or fabric I’m going to embroider on. It is also a way to personalize the design and create something unique.
I came across a beautiful Springtime flower design that I wanted to embroider on a beanie. The design was originally digitized to be embroidered in the Maxi Hoop on a woven item.
In the software I was able to edit the stitch type so that they would be visible on a knitted fabric and more durable. This also allowed me to be able to resize the design so that it would fit in the Medium Hoop.
Below are the steps I took.
What will be needed:
- Bernina Embroidery Software 9
- Embroidery Design
Embroidery Design
 I chose to use the 120-46 Flowers Design from Issue 1/2020 of the Inspiration Magazine.
Bernina have many free embroidery designs available to download from the Inspiration Magazines.
You can find them here: Free Inspiration Downloads.
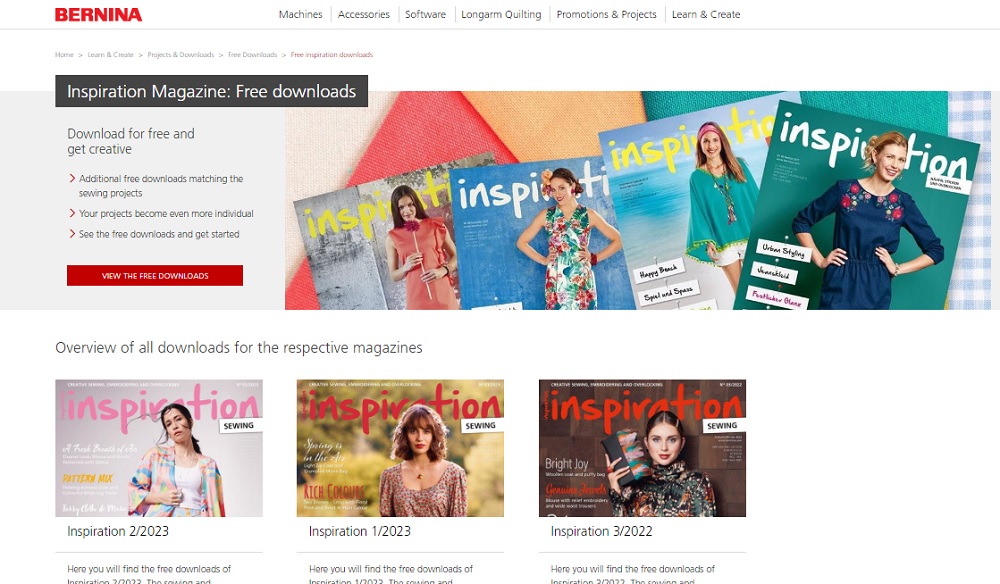 Select a magazine to see what downloads are available.
 When you have found a design you want to use, click on the file button and it will automatically download to your computer.
 You can find the file in your Downloads folder and will need to Extract it in order to use the designs.
Right click on the folder, select Extract All, select Browse to find a place where you want to save the files and click Extract.
Editing Steps
Selecting an existing embroidery design
 Insert Embroidery Design
Source the design from your computer folders, select it and click Open.
 Select the Hoop.To determine which hoop:
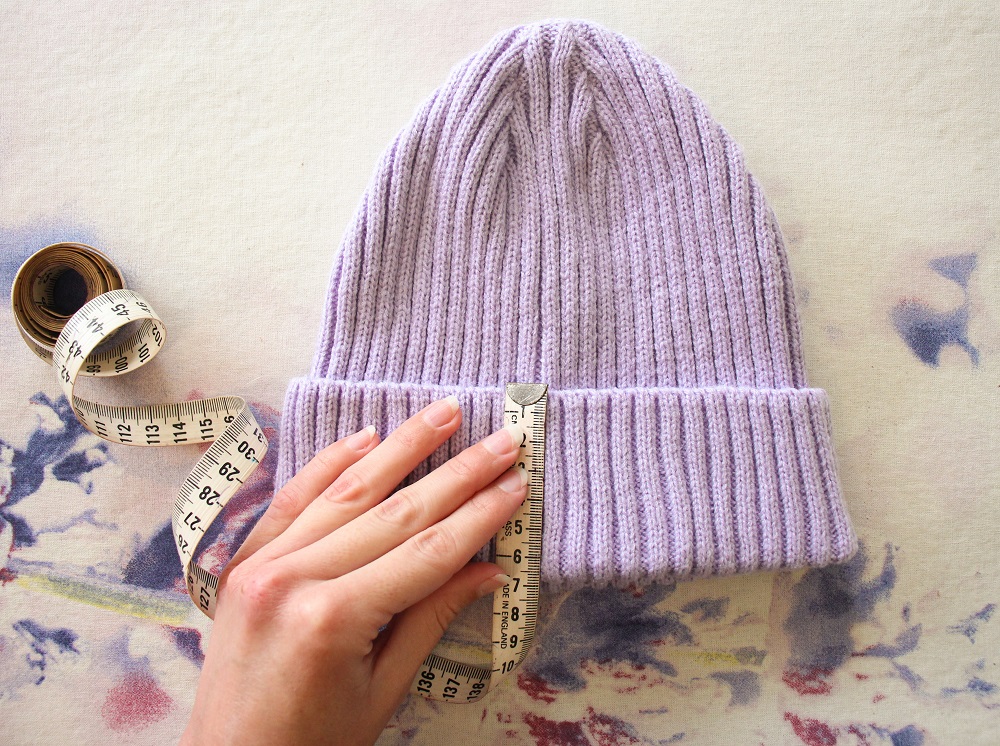 Measure and record the height of the fold of your beanie.
The height of your embroidery design should be about 20mm shorter than the height of the fold. Decide based on your chosen embroidery design which hoop is best.For a relatively square design, I would recommend the Small Hoop.
Depending on which way you hoop the beanie, your design can be maximum 72m tall x 50mm wide or 50m tall x 72mm wideFor a wide, rectangular design I would recommend the Medium Hoop.
I would recommend that the width of your design is no longer than 100mm which is the width of the hoop. The stabilizer will hinder the stretch of the beanie, so if your design is wider than 100mm it might cause the beanie to be too tight when worn.
 While the design is selected, resize it.
Refer to the heading Hoop Selection above for help deciding on the size of your design.
Stitch type
The knit fabric of the beanie has a lot of stitch and texture and my chosen design has a lot of detail, so I changed the stitch type of the design to Step Fill stitch. I felt that this stitch type would provide the best looking result and be the strongest.
Whichever stitch you choose, I would recommend adding Underlay stitches to strengthen and stabilize the design if it doesn’t already have.
For more information refer to Apply underlays from BERNINA Embroidery Software 9 Help.
 While the design is selected, select the Step Fill stitch from the bottom Toolbar.
 Right click on the design to open the Object Properties.
As the design has been resized and its original stitch type altered, the stitch spacing is not correct.
I made the stitch spacing 0.45mm as that is the default stitch spacing for Step Fill stitches.
Click Apply.
 While the Object Properties is still open, click on the Effects Tab in the lower left corner.
Tick the box next to Underlay 1 and the default Underlay settings will be applied to your design.
Select OK when done.
- Within the design there were certain parts that I wanted to edit further. I didn’t like the look of some of the stems since the design was resized. I also changed the other thin parts of the design (the other stems and parts of the flower) to Satin Fill. As these items were so small/narrow, the Fill Stitch would not suit them.
These are the steps I took to edit them:
 Right click on the selected design and choose Ungroup.
 Select part of the design to edit (the stem or parts of the flowers) and change the stitch type (Single Outline or Satin Fill).
Editing Thread Colours
The design I chose had a variety of colours in it but I wanted fewer and different colours.
- The easiest way to change the colours instead of selecting each individual part of the design, is to View by Colour.
 Select View from the top Toolbar and click on View by Colour.
 Choose which colour or colours you would like to view.
 Select the element or all the elements and click on a colour to change the thread colour.
Right click on a colour to open the thread colour chart.
 Repeat the View by Colour steps to edit each colour and when you are done, select View all Colours.
Finishing Off
 As this was an existing design, I am not going to order the sequence of stitches by colour to reduce the number of thread changes. The parts of the design are to be stitched in layers.
Instead I optimized the number of thread colour changes.
 Even though there are only 3 colours in this edited design, the software was only able to reduce the number of colour changes to 7. If it reduced it more, details would be lost as parts of the design that should be on top would end up hidden under other parts.
 Save, export or send to your Bernina machine via the WiFi Device.


Have a look at my other blog post to learn how to Embroider a beanie
Tips
- If you want to see what the default settings are for specific stitch types, draw a rectangle using the Rectangle Tool from the Digitize Toolbox.
When the rectangle is selected, right click on it to open the Object Properties.
Choose different Fill types from the drop down menu as to see their default settings.
I would love to see what you make, please feel free to share with me!
Instagram
Facebook
-Hannah-Rose


0 Responses