 BERNINA Corporate Blog -
The year of embroidery is coming to an end and as a grand finale, new doors with great embroidery ideas will open every day here in the Blog Advent calendar. Today, on day number 12, I have brought you a classic textile basket in the shape of a hexagon.
Sewing and Embroidering a Hexagon Fabric Basket
My basket is decorated with freehand embroidery and appliqué. These embellishments are perfect if you don’t have an embroidery machine but still want to have fun being creative. Simple designs are easy to create with a little practice, making each piece unique and individual.

Downloading the free cutting pattern
I have prepared a printable pattern for you for this quick sewing project. It is designed so you can easily transfer all the important markings onto the fabric.
You can download the cutting pattern here: Cutting Pattern for Fabric Basket
You will also find a template for the star appliqué in the pattern. Moreover, a lettering for freehand embroidery, with which you are immediately prepared for the New Year’s Eve party. Needless to say, you are free to let your creativity run wild when decorating the fabric basket. Play with Christmas colors and designs and implement your own ideas and preferences.
As the decorations on the basket are sewn onto an extra liner, you can customize the basic basket as you wish to suit any special occasion.
Material supplies for the basket
For the basket you need:
- 2 x fabric (1x inside, 1x outside) each at least 35cm x 30cm
- Desired liner in appropriate size. I have reinforced the outer fabric with S320 and the inner fabric with H630 by Freudenberg

Cut the interlining according to the cutting pattern and iron it onto the wrong side of the fabric. Then cut the fabric to size.

Place both hexagons right side on right side on top of each other and sew them together all the way round. Think of an opening for turning it inside out.

Cut off the seam allowance at the corners and trim one layer of fabric at the long seams (this will flatten the edge later)

Now turn the sewing project inside out and carefully shape each corner. A bone folder is very helpful here.

Evenly iron the allowances at the opening towards the inside.
Close the opening by hand with an invisible stitch (magic stitch/ladder stitch)

Cut off the marked allowance from the cutting pattern and punch holes in the small dots. The resulting holes help you to easily transfer the markings to the outer fabric. Don’t get confused; in the following photo I had accidentally placed the template on the lining)

Here you can see three dots that you need for a dart on the outer fabric.

Fold the fabric accordingly and sew from the edge to the single point.

By the way, I like to use my magic strip* as a guide for this. Simply place it at the marked points and sew along.
*Magic strip: A piece of plastic parcel tape that is normally used to hold heavy parcels together. On the sewing machine, it helps me with fabric feed at corners and edges or as a helper for straight lines.

Completing the fabric basket

This is how you sew all six darts to give the hexagon basket its shape.

Variable liner
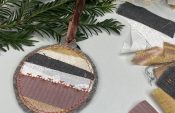
Now the embroidered liner is sewn. This makes it easy to change the fabric basket to suit different occasions. Here in my example with a star appliqué for Christmas and on the back with “Happy 2024” lettering in freehand embroidery for the New Year’s Eve party.
Of course, you can also use number options for birthdays or Easter motifs for spring.
Material supplies
You will need fabric remnants and the desired interlining in the size of the cutting template. I used the linen from the basket and reinforced it with S320.
You will also need fabric remnants for the appliqué plus some stabilizer and an iron-on pattern pen to transfer the free-motion embroidery template.

Cut out the liner, glue it to the fabric and cut out the two small hexagons. Now you can decorate the liner.
Appliqué: Transfer the star to the backing paper of the Vliesofix cut it out and iron it onto the wrong side of the fabric. Cut it out and iron the motif onto the center of the small hexagon.
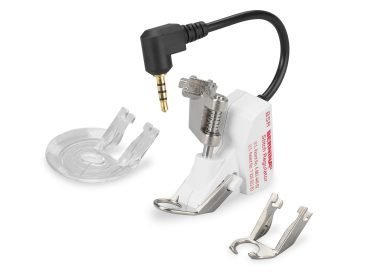
I have sewn on the star with the help of Appliqué Foot #23.


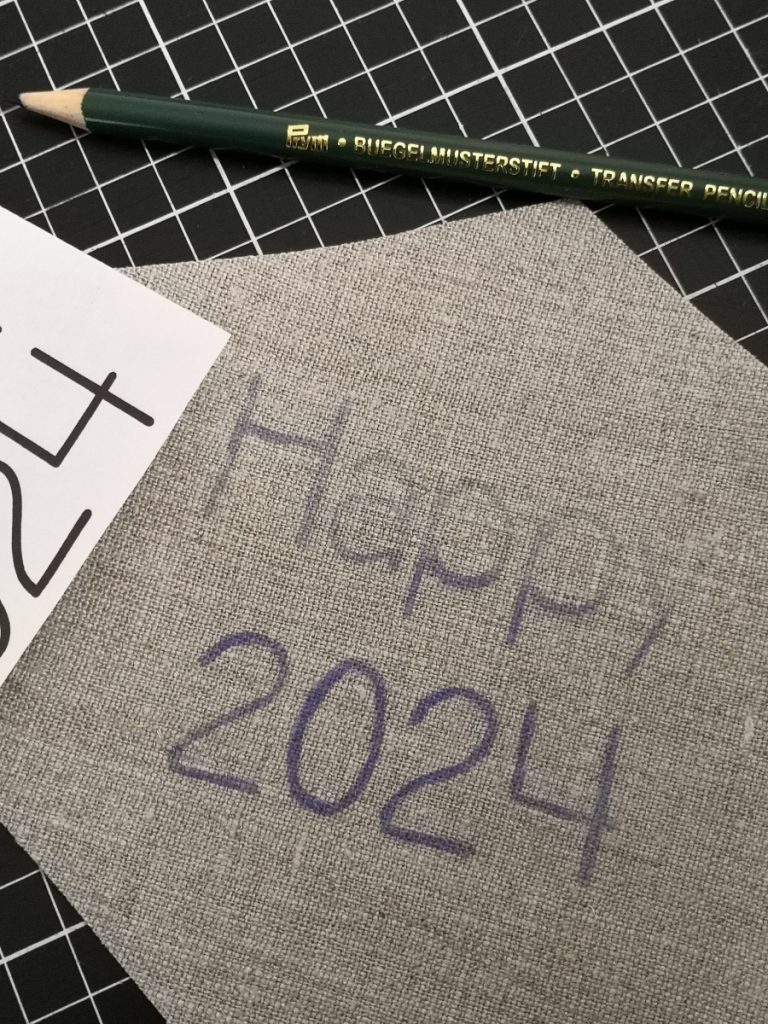
For the embroidery on the second hexagon, copy the template design with the iron-on pattern pencil. Make sure to apply the color to the back of the printout so that the lettering is not ironed on mirror-inverted.

This is what the pattern looks like after ironing.
Tip: I guess I was going a little overboard with the color. It is sufficient to draw the lines more delicately, then removing them at the end is also easier resp. the embroidery covers them completely.
 Free-motion embroidery

I used my BERNINA Stitch Regulator (BSR) for free-motion embroidering. You can of course also work with the standard embroidery foot on your sewing machine. Lower the feed dog and then follow the lettering with soft lines. It makes sense to first try on a scrap of fabric until you get the desired swing.

Once you have decorated both small hexagons, place them right side on right side and sew them together along the outer edge. Think of an opening for turning it inside out. Cut off the allowance at the corners and thin it out a little, turn it inside out, iron it nice and flat and finally close the opening by hand.

Now you can place the inlay in your hexagon basket with the desired side facing upwards
Here is the side for the New Year’s Eve party:

I really hope I was able to bring you joy with the cutting pattern and the quick sewing idea. Maybe you’ll find some relaxed sewing time before the holidays and conjure up a basket like this, e.g. for your Christmas treats. Or you can use the quiet days between the years to make a “Happy 2024” basket for the New Year’s Eve party…

I wish you all a peaceful Christmas and a good start into a happy and creative year 2024!
Your tailor’s heart Ute


0 Responses