 BERNINA Corporate Blog -
It continues with the free patterns from the “inspiration”. This month we offer you the pattern for the jacket “Winnie”. A true eye-catcher for our little ones!
Like last time with the blouse “Eva” it is time to be fast again! The pattern will be available until the end of this month (October 31, 2020). The download link to the pattern can be found further down in the article.
Missed the free download?
Are you too late, but really want to sew the jacket? You can find the pattern in our online shop:
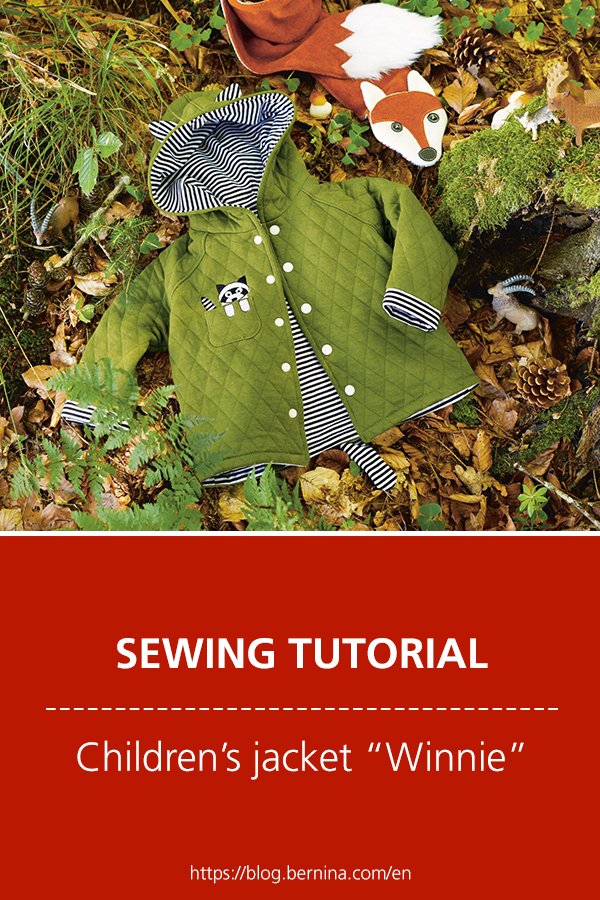
Sew a children’s jacket – “Winnie”
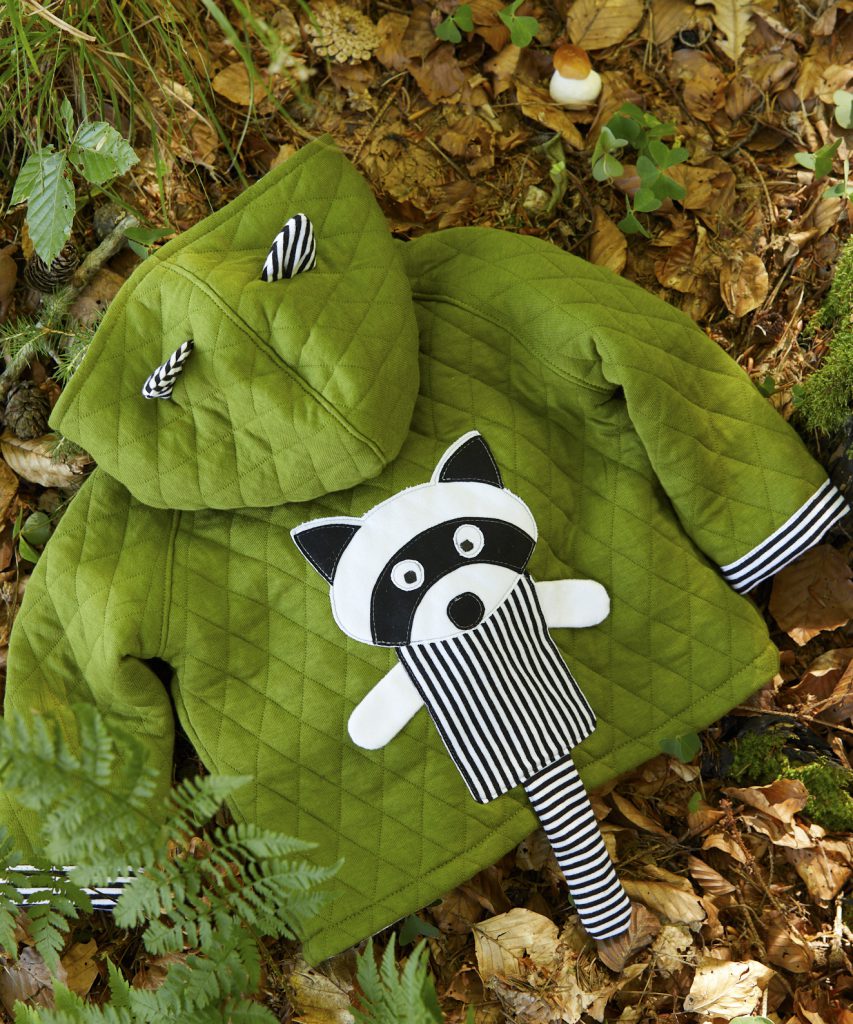
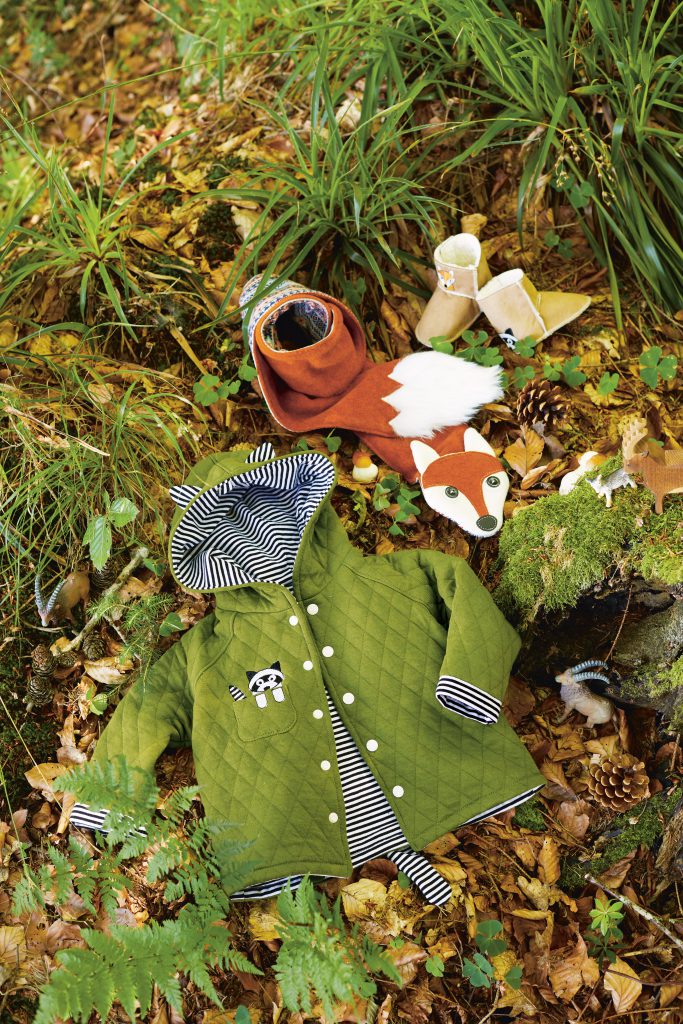
“Winnie” as we name the jacket is made of sweatshirt fabric with striped knit. It will keep your little one warm and features a fun raccoon design on the front and back! The jacket is available in sizes 62 up to 98. The jacket is perfect for little girls as well as for boys.
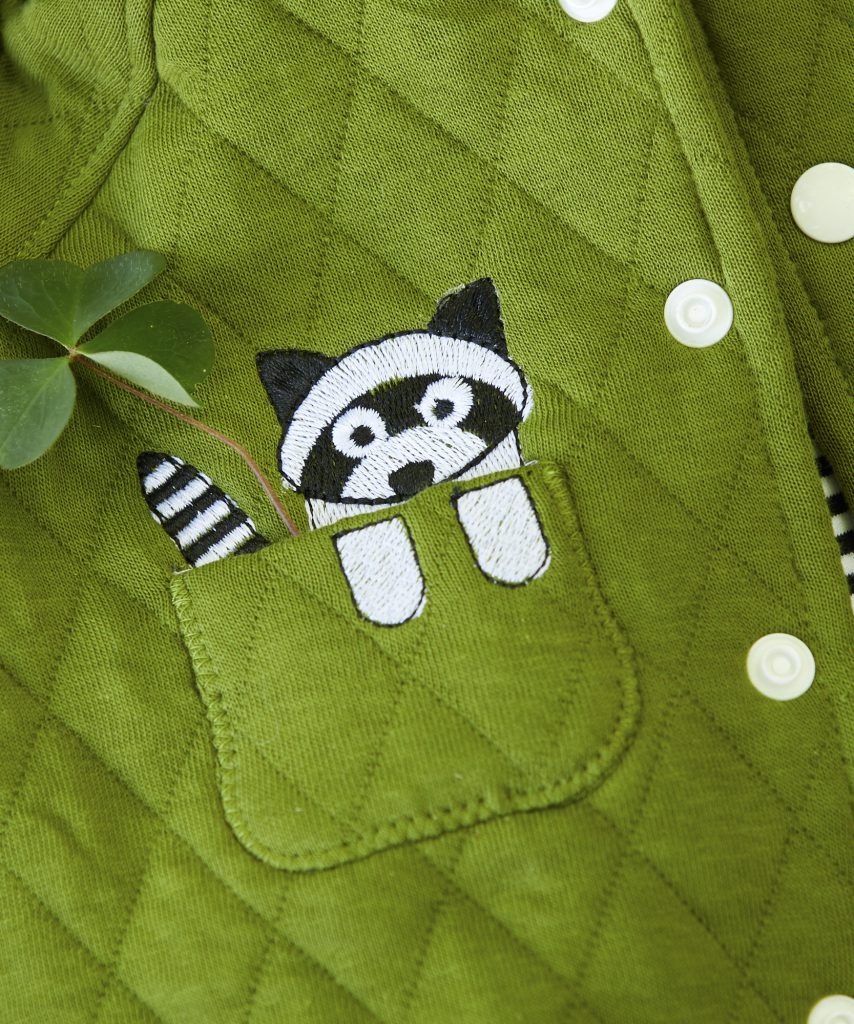
The raccoon embellishes the front of the breast pocket as an embroidery and the back as a large application. The funny ears on the hood complete the kids sweat jacket.
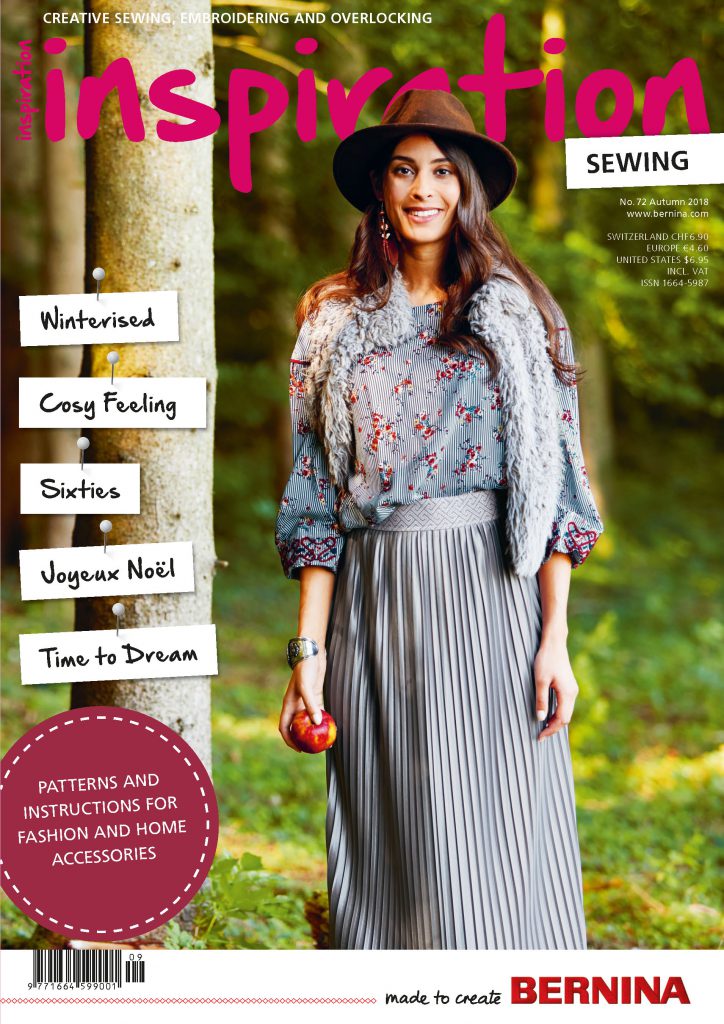
Issue 72 of inspiration
The “Winnie” kids jacket is from issue 72 of the inspiration magazine. Here is the cover of the magazine:
You are interested in the complete magazine? If so, you can easily buy the single issue in the online shop:
www.bernina.com/inspiration-72
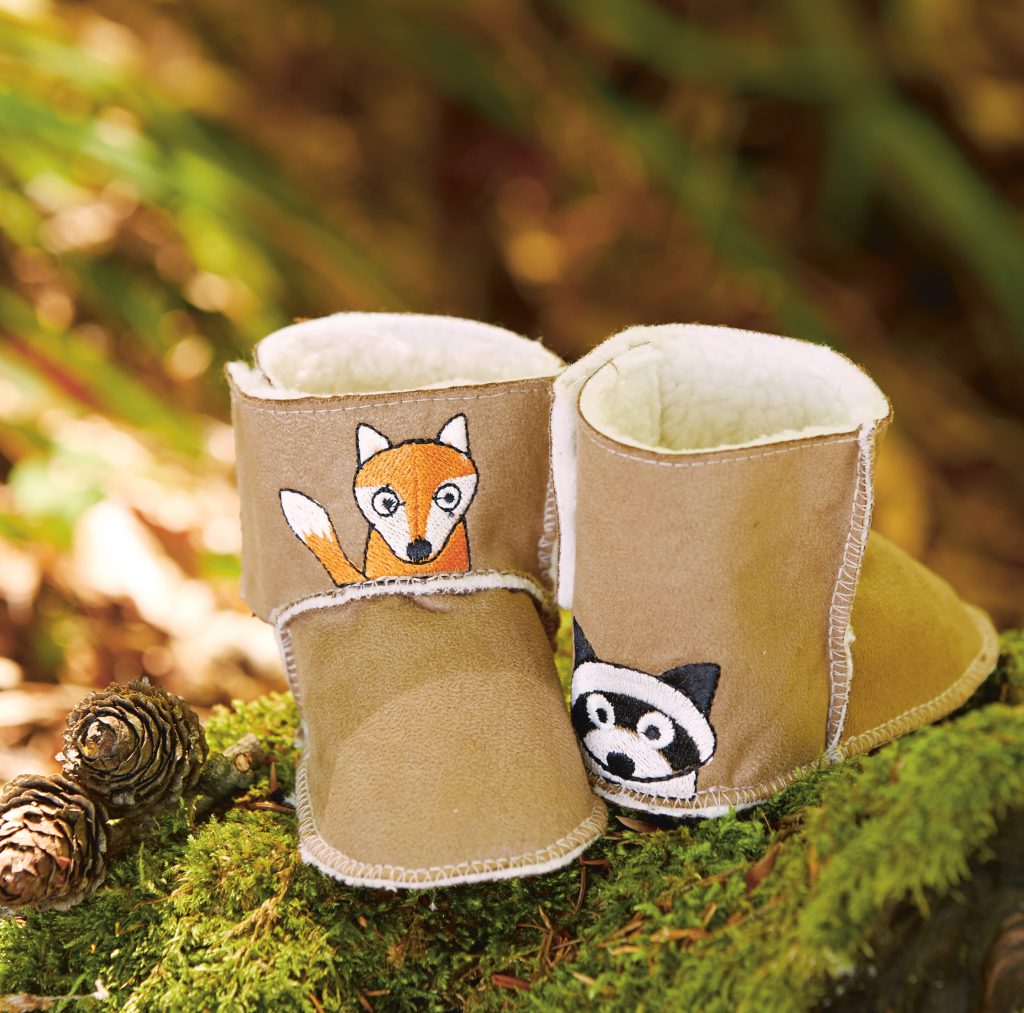
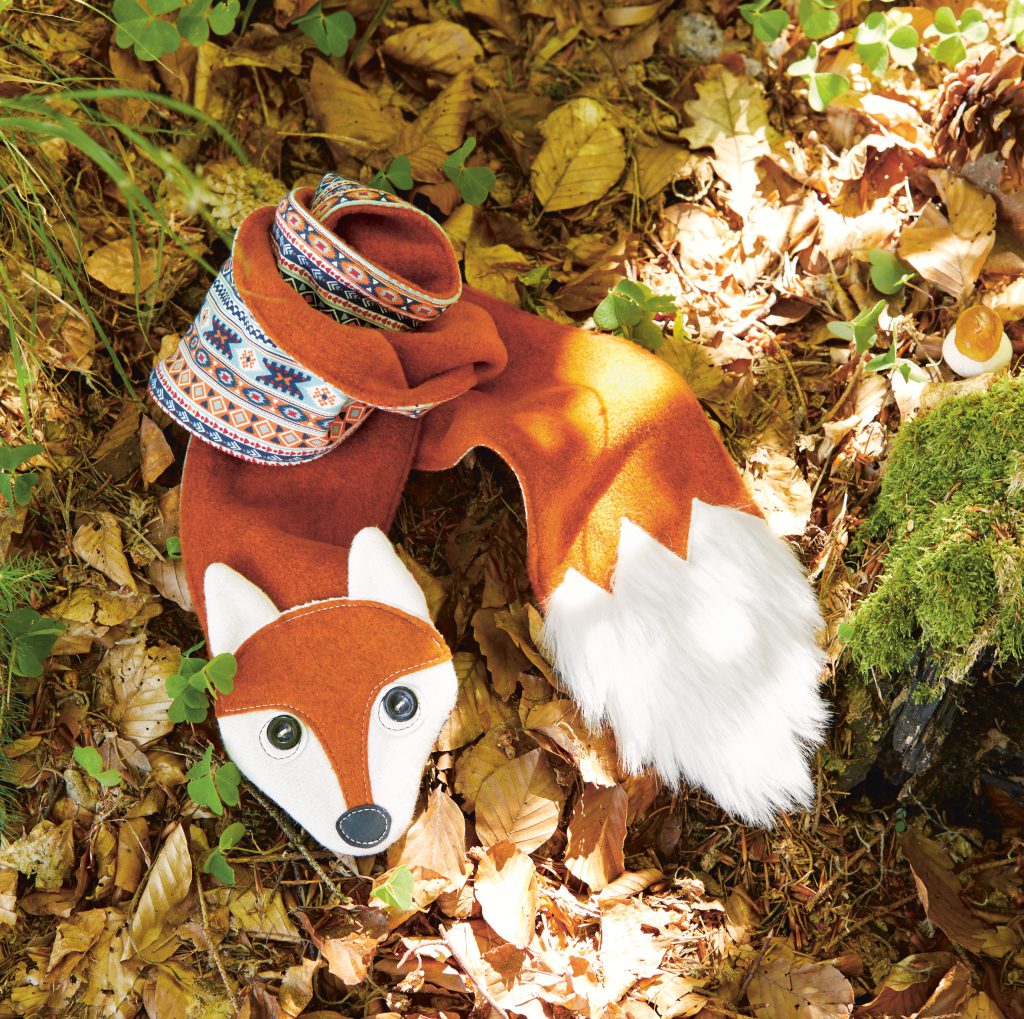
A pair of cute baby shoes and a cuddly scarf match perfectly with the jacket – you will find both patterns in the inspiration issue #72. You can create a cuddly fox scarf made of all sorts fabric remnants, that will give the little ones many years of pleasure. The matching baby fur shoes are also embroidered with a raccoon and a fox.
Download the sewing pattern for the “Winnie” jacket (only during October 2020)
You can download the free sewing pattern for the “Winnie” jacket via the following link:
The link takes you to the BERNINA website. The pattern is available to download during the month of October after registering for the BERNINA inspiration newsletter.
Unzip the zip file with the pattern
After downloading, you will have a zip file. In the extracted folder you will find:
- Sewing instructions with information on materials, cutting out and sewing
- An A4 size pattern for these sizes 62 to 98. You can print them out on your regular printer at home and stick them together. Make sure you print out the pattern using the “original size” setting. Check the test square to make sure the pattern has been printed out in the correct size.
In the article about the “Grace” pants, which was offered as a free download in February, some readers commented that the download did not work for them. Therefore, please note that clicking the download button will automatically download the zip file to your computer. You will have to unzip it to access the PDF pattern for the dress. In Windows, you do this by right clicking on the file and clicking on the menu item “Extract all”. On a Mac, you can unzip zip files by double clicking the left mouse button.
Downloaded files are generally automatically put into the downloads folder, but this depends on the operating system, the device used and your local settings. If you download the file on your smartphone and cannot find the file or cannot unzip it, please try using a desktop computer.
Download embroidery designs
The two helpers, which decorate the breast pocket and back of the jacket, are also available free of charge – for an unlimited time! You can download them under the following link:
Embroidery designs raccoon and fox
Missed the download?
Do you want to sew the kids jacket, but missed the download for the pattern? No problem! You can order the magazine as a single issue (including the printed pattern) from the shop and have it delivered to your home. Simply click on the following link: http://www.bernina.com/Jacket-Winnie
Have fun and good luck with your sewing!
Best wishes,
Jasmin


It refuses to download. Even following your instructions.
I am an advanced seamstress, and enjoy sewing/teaching simple and difficult patterns. I made “Winnie” this weekend, and struggled to initially understand the lining/sleeve instructions. After a few minutes, I re-wrote the instructions and hope you may find these to be helpful to others. Thanks again for a great pattern!! (the numbering below picks up at #4 in the original instructions):
Ensure you’ve added 3cm to sleeve lining hem.
4. Sew the sleeves to the front and the back. Press seam allowances toward the sleeves and topstitch. Stitch the sleeve and sides together in a continuous seam. Press seam open.
5. Ears: Sew two ears right sides together, leaving lower edge open. Trim seams and turn right side out. Optional: stuff ears with some cotton/wool fleece. Clip the hood at the marking, insert the ears and stitch from the inside.
Hood: Sew the darts on the hood. Sew the hood’s centre back seam. Stitch the hood on the neckline. Press seam allowances apart.
6. Sew the jacket lining like the outer jacket. Topstitching the seams can be omitted.
7. Sew the front edges of the outer jacket to the lining including the hood. Turn right side out.
8. Stitch in the ditch of neckline seam, securing outer fabric to lining so that lining doesn’t shift.
9. Press sleeve lining hem under the same amount as your seam allowances. Trim 3cm off the sleeve hem of outer fabric. Place the lining sleeve inside the outer sleeve and around to the outside, covering the raw edge of the outer fabric. Hand-stitch or topstitch the exposed sleeve lining into place.
10. Sew the hem (lower edge) of the jacket from both sides, leaving an opening in the centre for turning right side out. Trim corners. Turn the jacket right side out and close the opening by hand. Topstitch all along the front edges, hood, and hem. Sew on the snap buttons.
Hi Beth,
Thank you for your detailed instruction.
Best wishes,
Jasmin
Thank you for a lovely pattern. I don’t see the ears in the pattern. Are they included?
moi aussi.
acheté le patron mais il faut racheter le magazine.
dommage.
Chèr Nathalie,
Je pense que les oreilles sont de la même taille que celles du raton laveur. Tu peux les utiliser comme modèle et ajouter de la marge de couture, ou les faire encore plus grandes. Il suffit de faire les triangles à la taille que tu préféres ! Beth Beaver a donné une merveilleuse petite instruction pour les oreilles dans les commentaires, cela peut aider à les coudre.
mille mercis pour votre réponse