 BERNINA Corporate Blog -
Hello dear readers!
We are now on the 13th window of the BERNINA Blog Advent Calendar 2022. Have you sewn your Christmas outfit? If not, then I have great inspiration for you here. For Christmas, I sewed a pair of wide pants in an intense red shade, using the on-trend material: corduroy. These pants feature a very special detail: buttons with a floral design, which replace the zipper and enhance this simple pattern to wonderful effect.
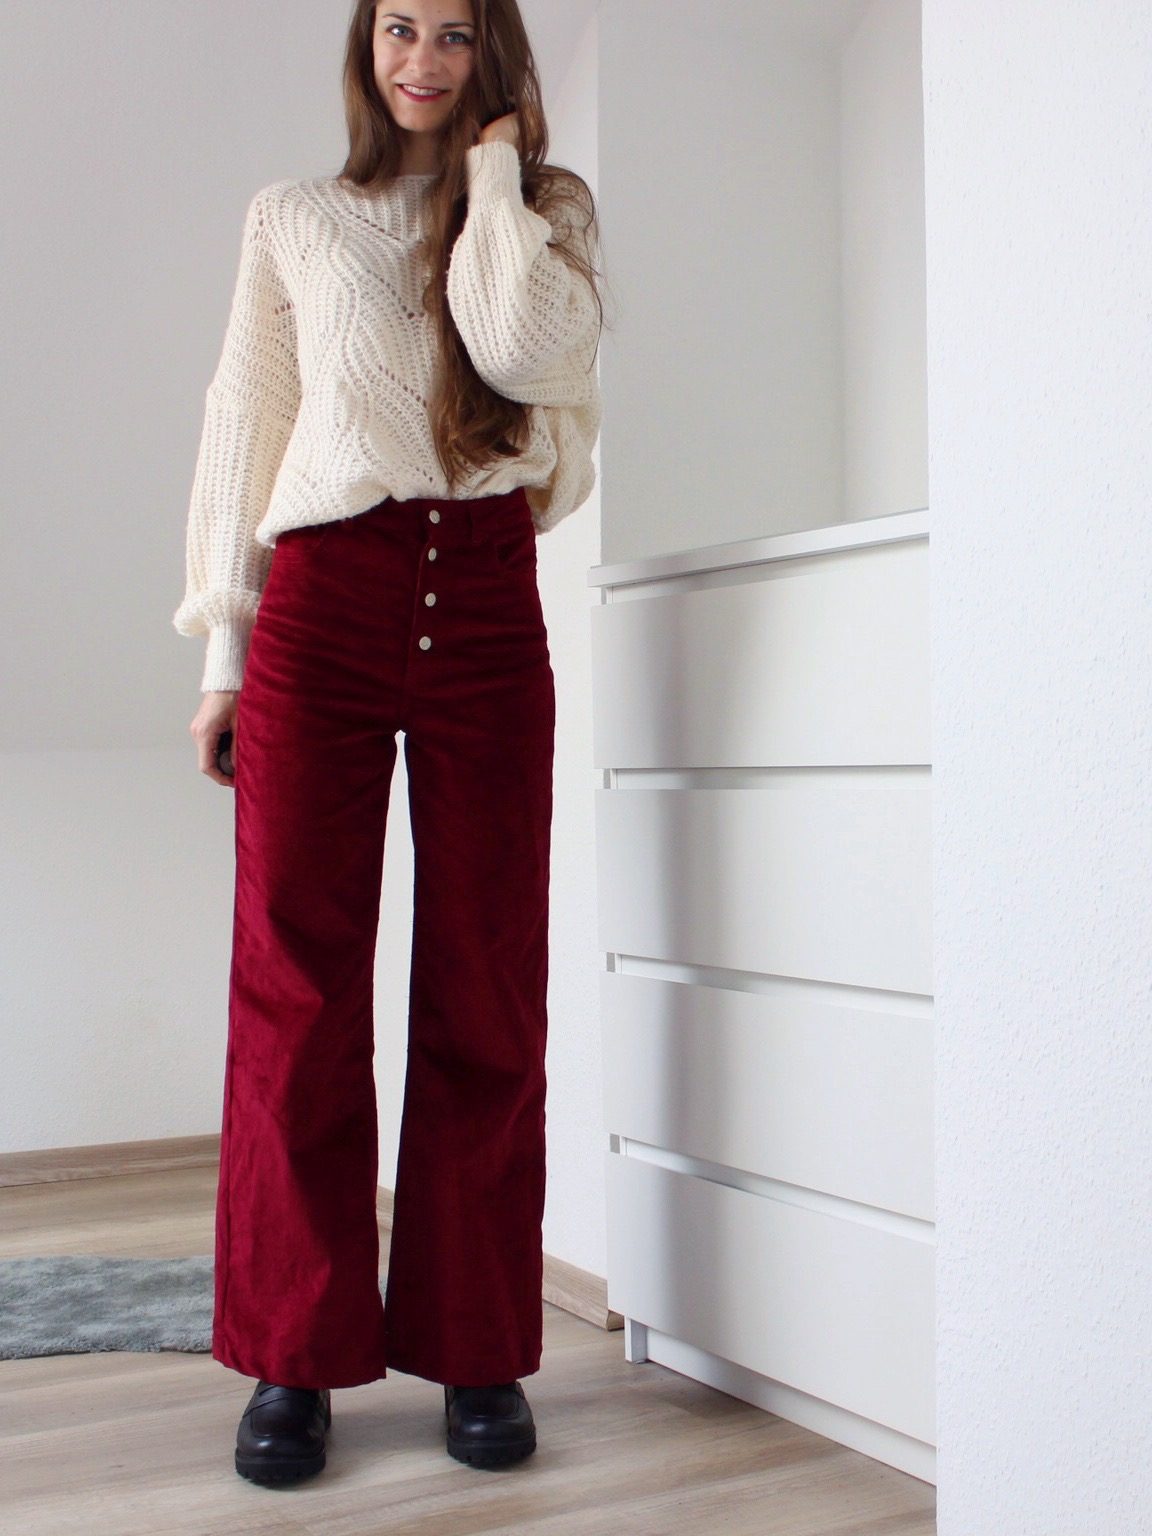

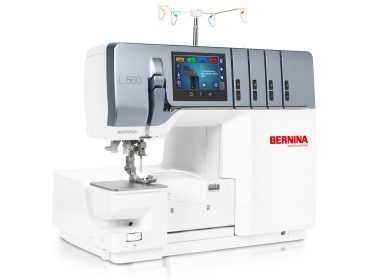
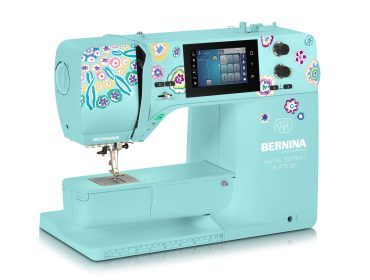
In this post, I would like to show you how to sew these stylish pants and how to work with corduroy material. For this, I used the brand new BERNINA 475 QE Kaffe Edition and the BERNINA L 860.
Sewing your Christmas corduroy pants — let’s get started
The pattern
As usual, the first thing you will need is the pattern. In this case, I thought long and hard about which one to choose. Why buy and print more patterns when the right one is already on hand? The “Dawn Jeans” pattern from Megan Nielsen Patterns has a version with a wide leg, just like the pants I sketched out.
The advantage with familiar patterns is that you have already optimized the fit at some point and know exactly where to make changes.
Therefore, in this post, I will focus mainly on creating the pants fastener and provide you with a few ideas on the best way to handle corduroy.
Materials
Of course, the fabric is the star of the show and must be on hand. I chose a wonderfully velvety, fine corduroy fabric in a burgundy color. In my opinion, corduroy is a classic winter fabric and the red color makes it extra Christmassy. Of course, there is no limit to your imagination here; you can use almost any non-elastic pants fabric for this project.
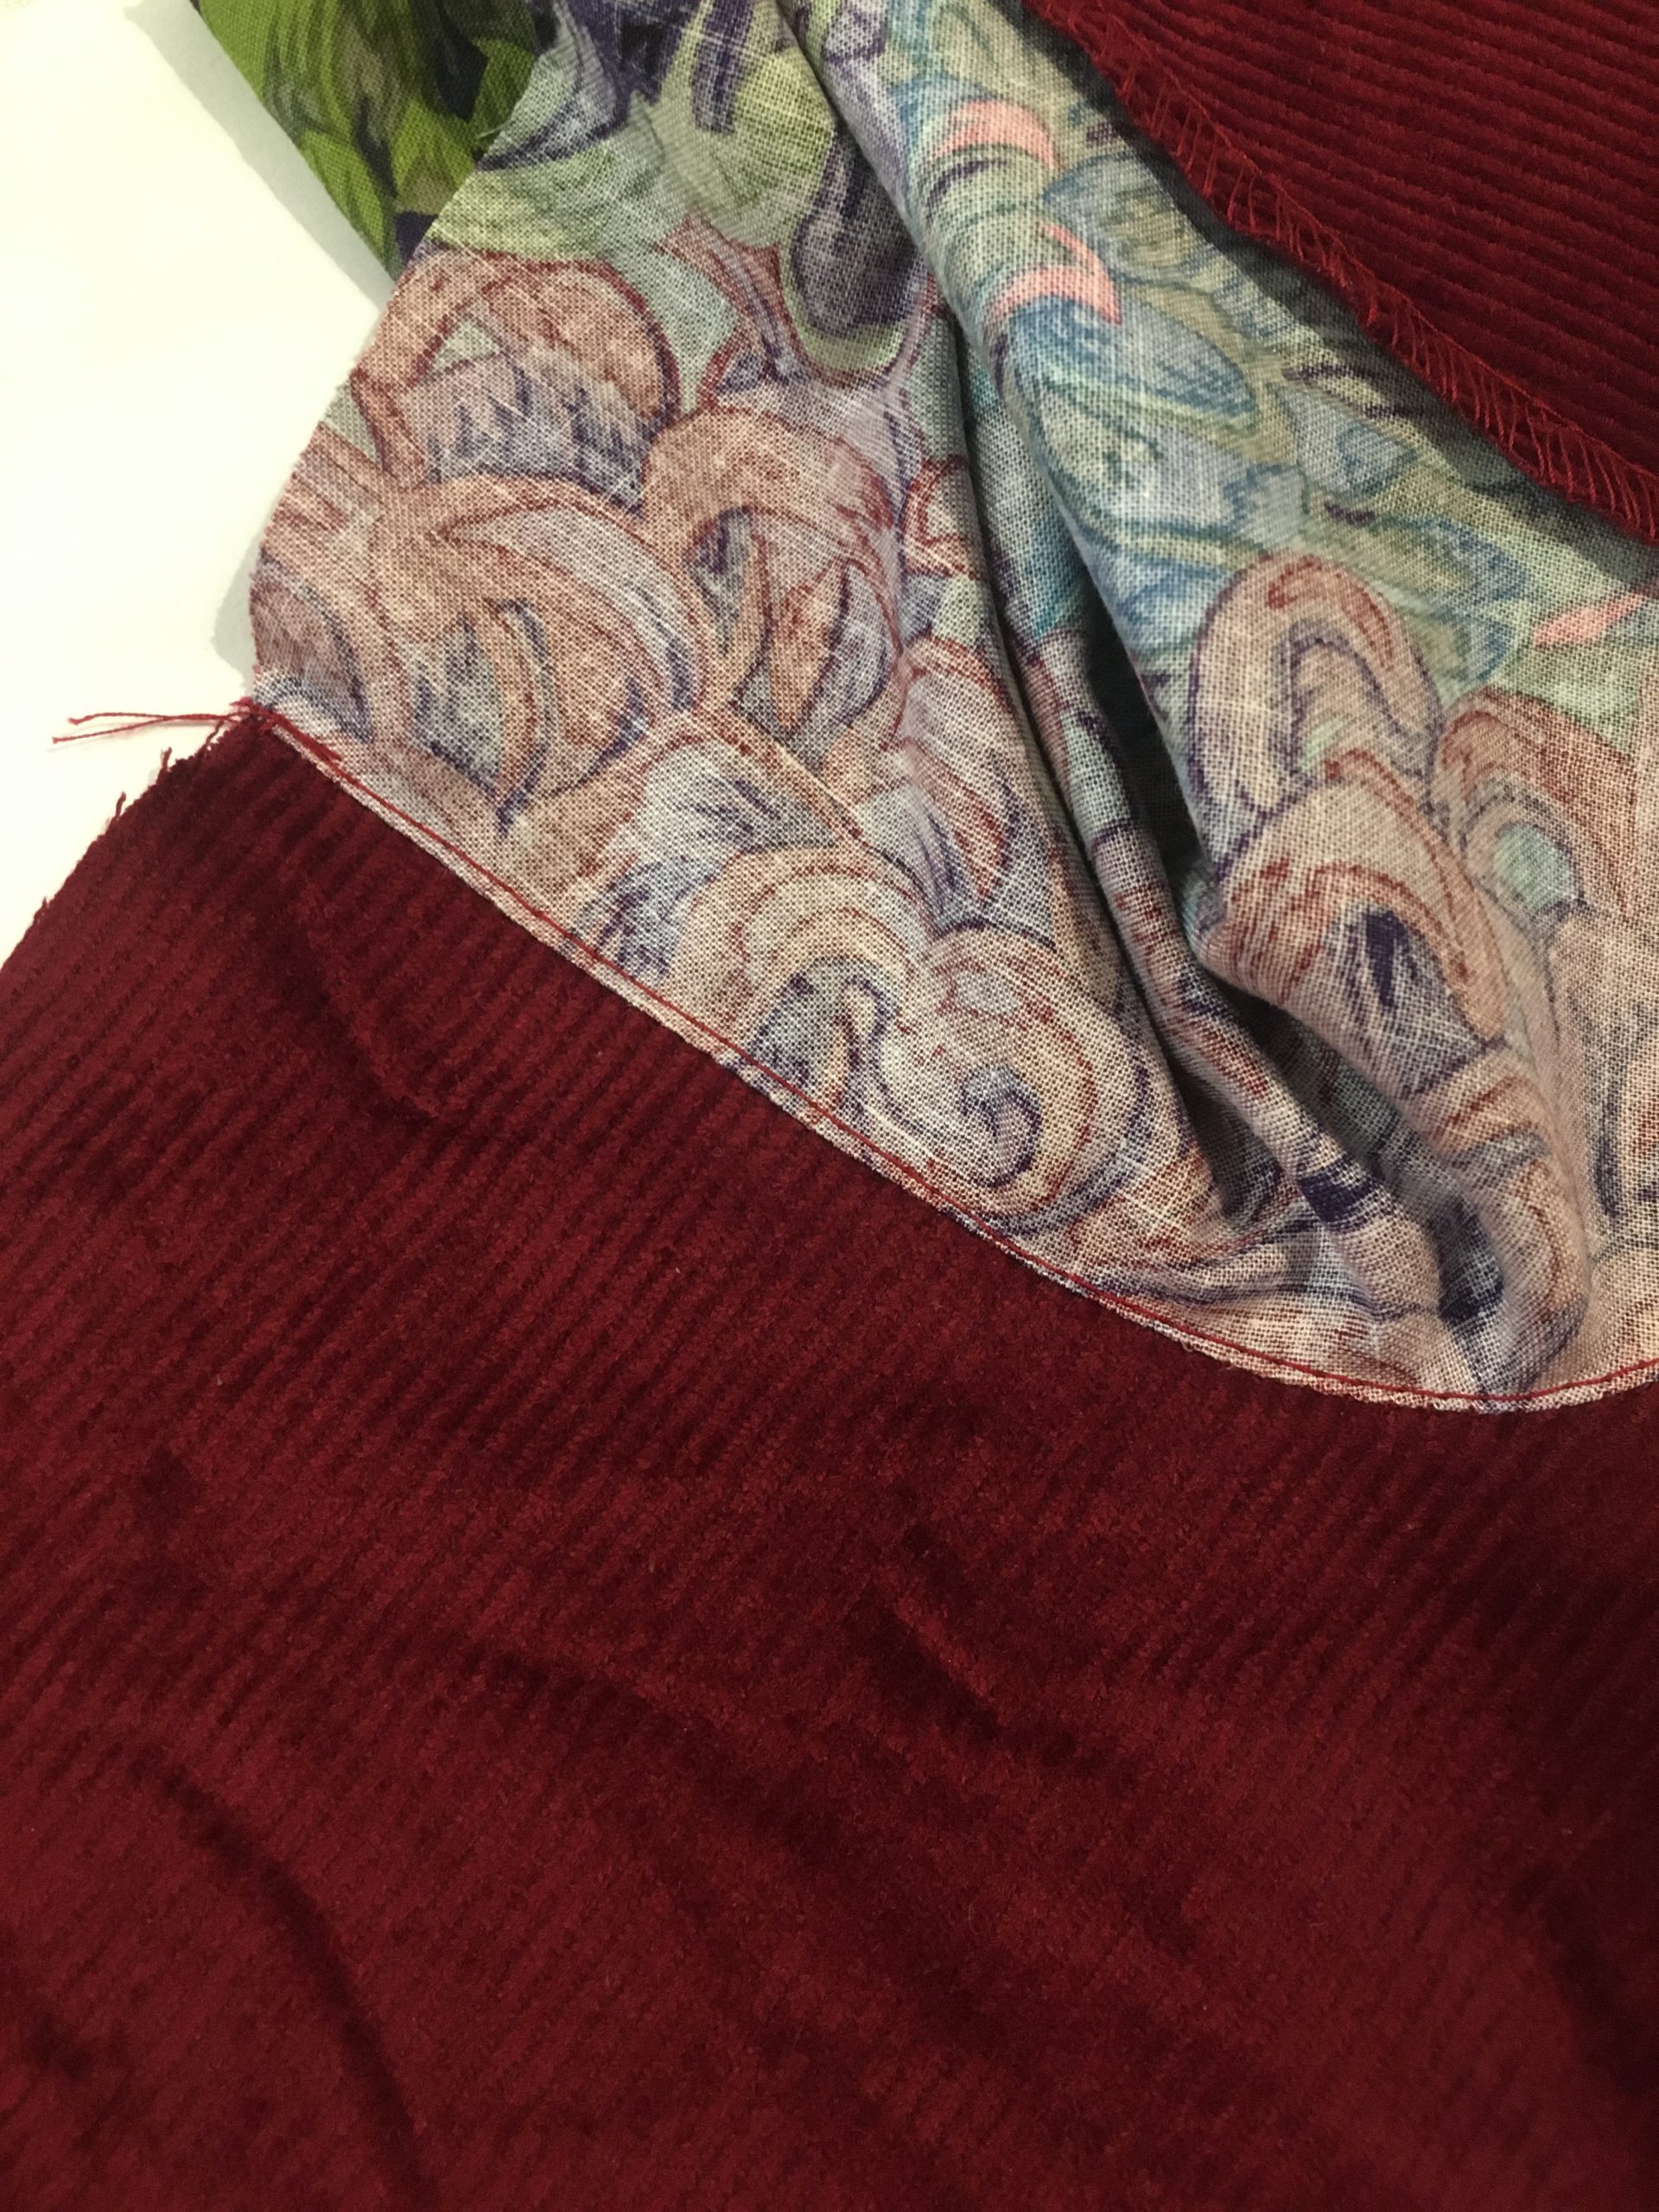
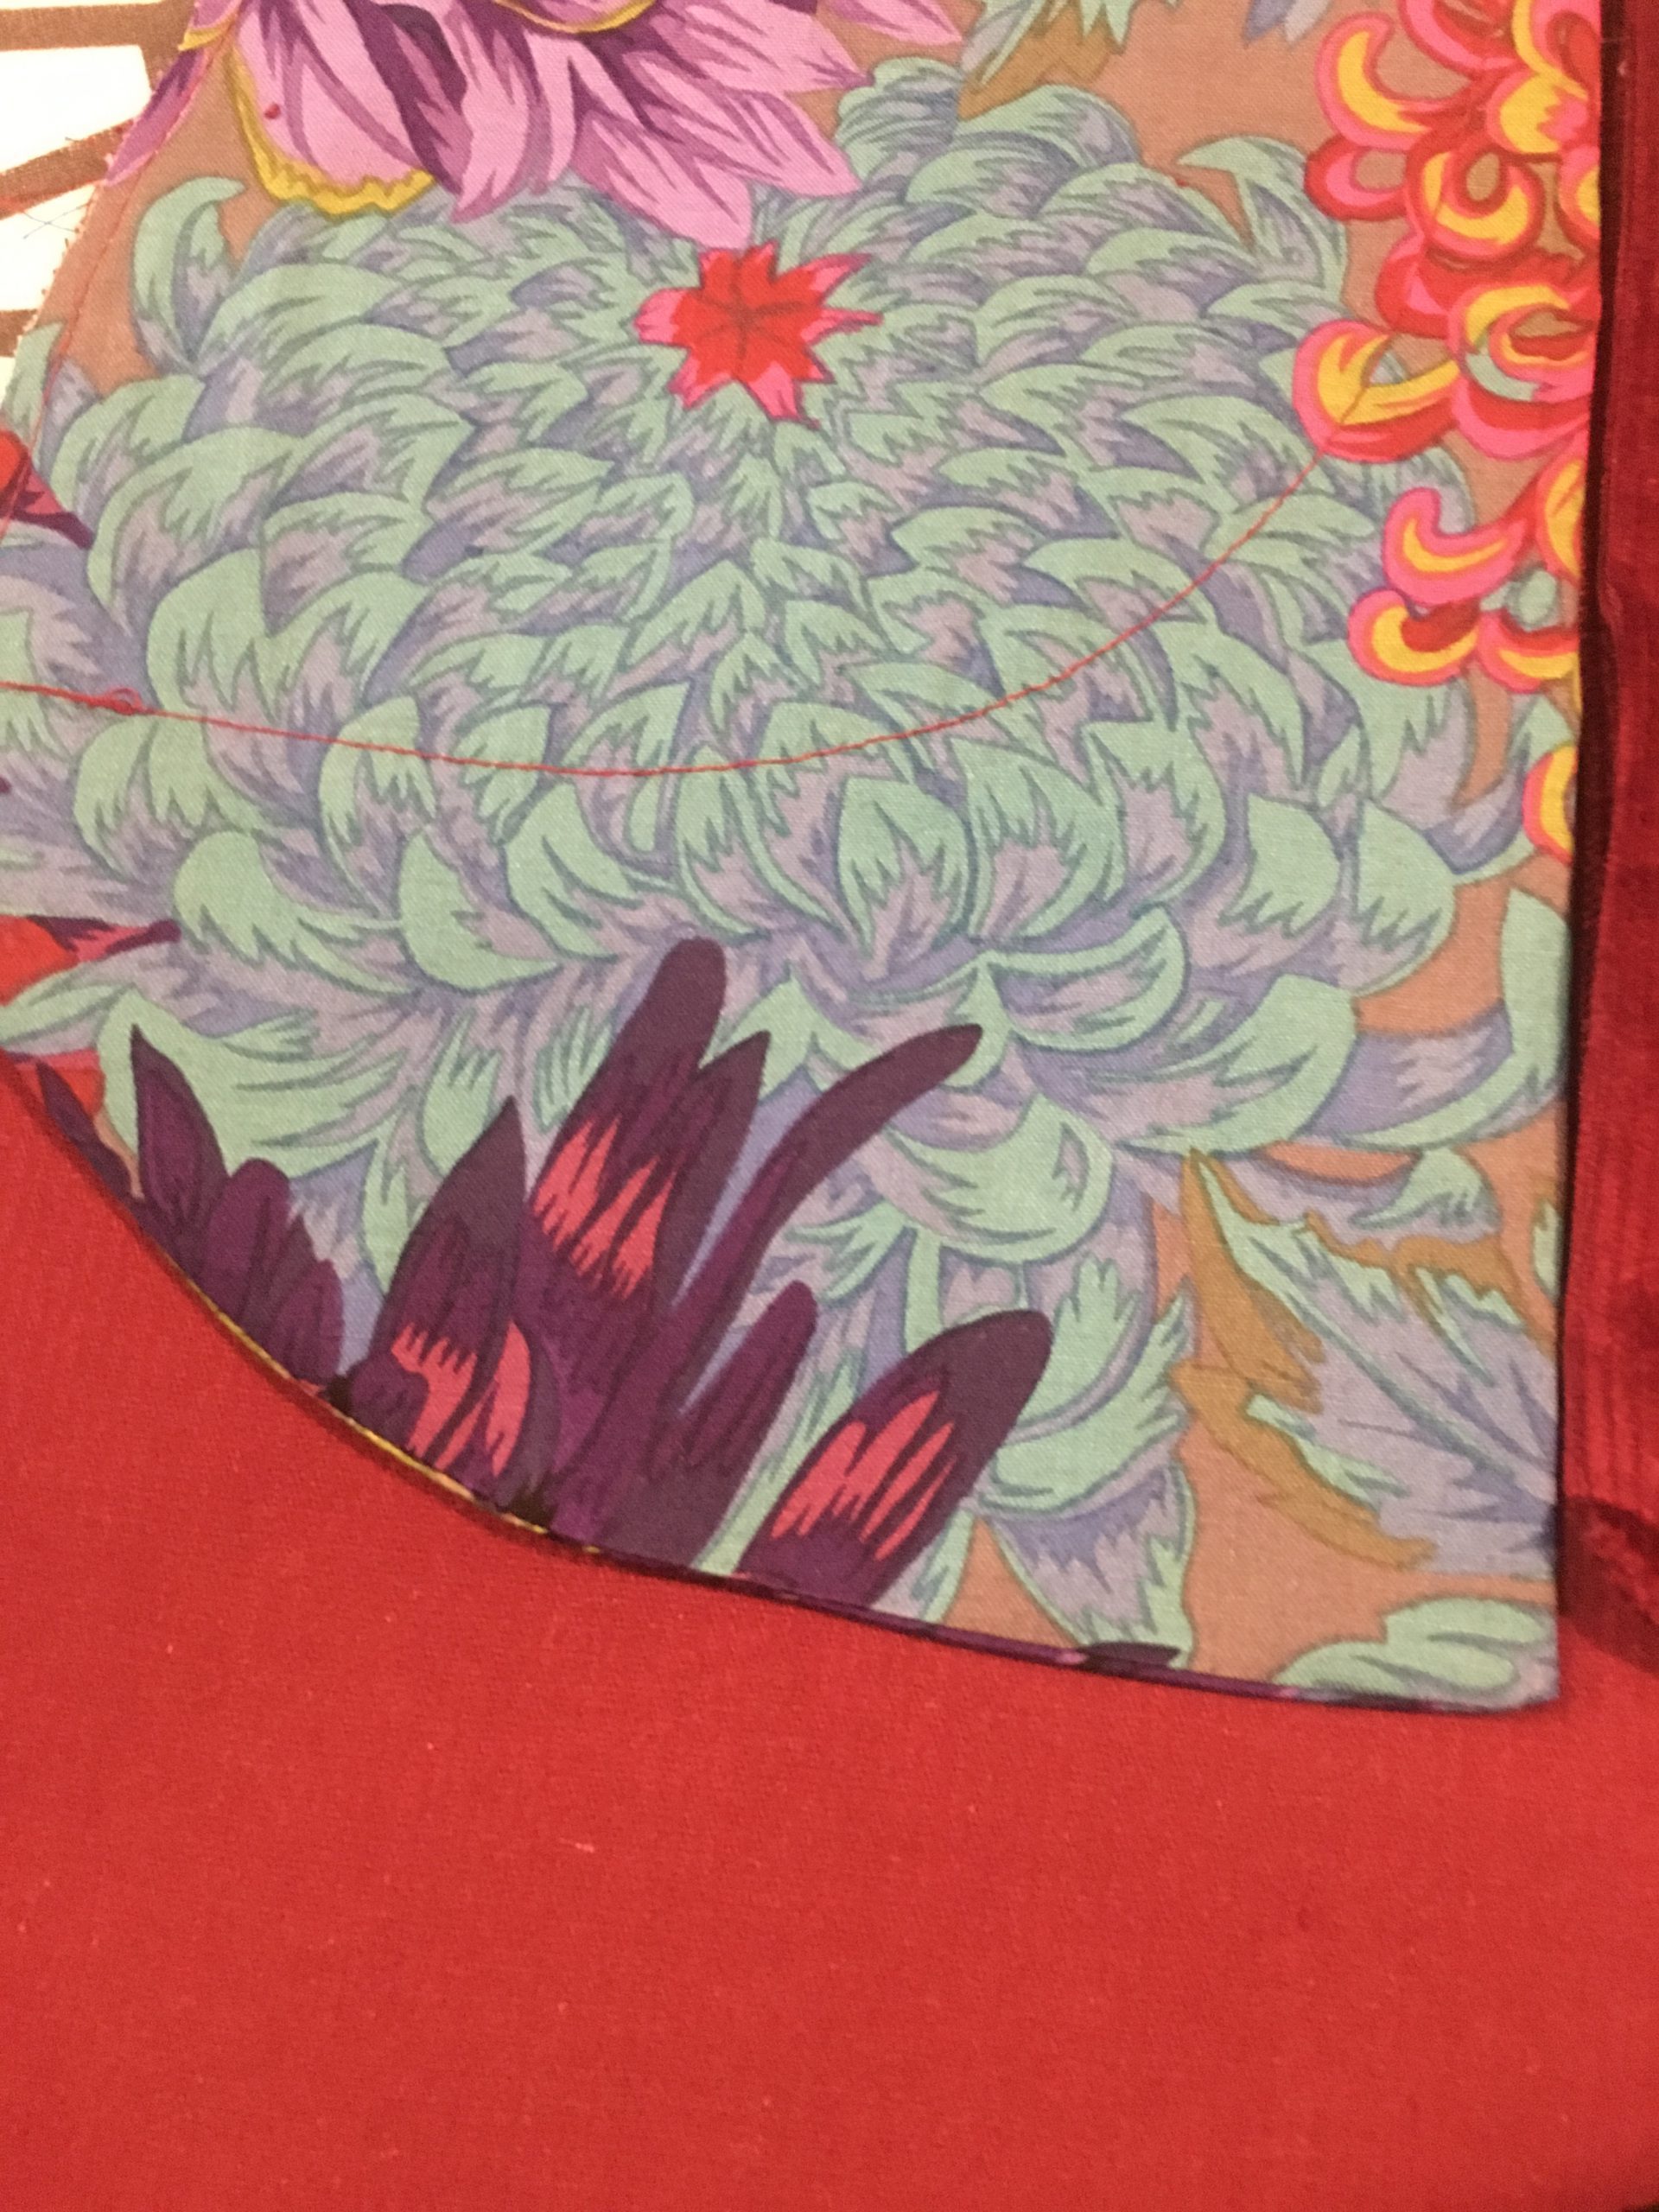
In addition to the fabric for the pants, you will need a remnant of fabric for the pocket lining. You can also use great colored fabrics for this. For the pants pockets, I chose one of the floral-colored fabrics from Kaffe Fassett.
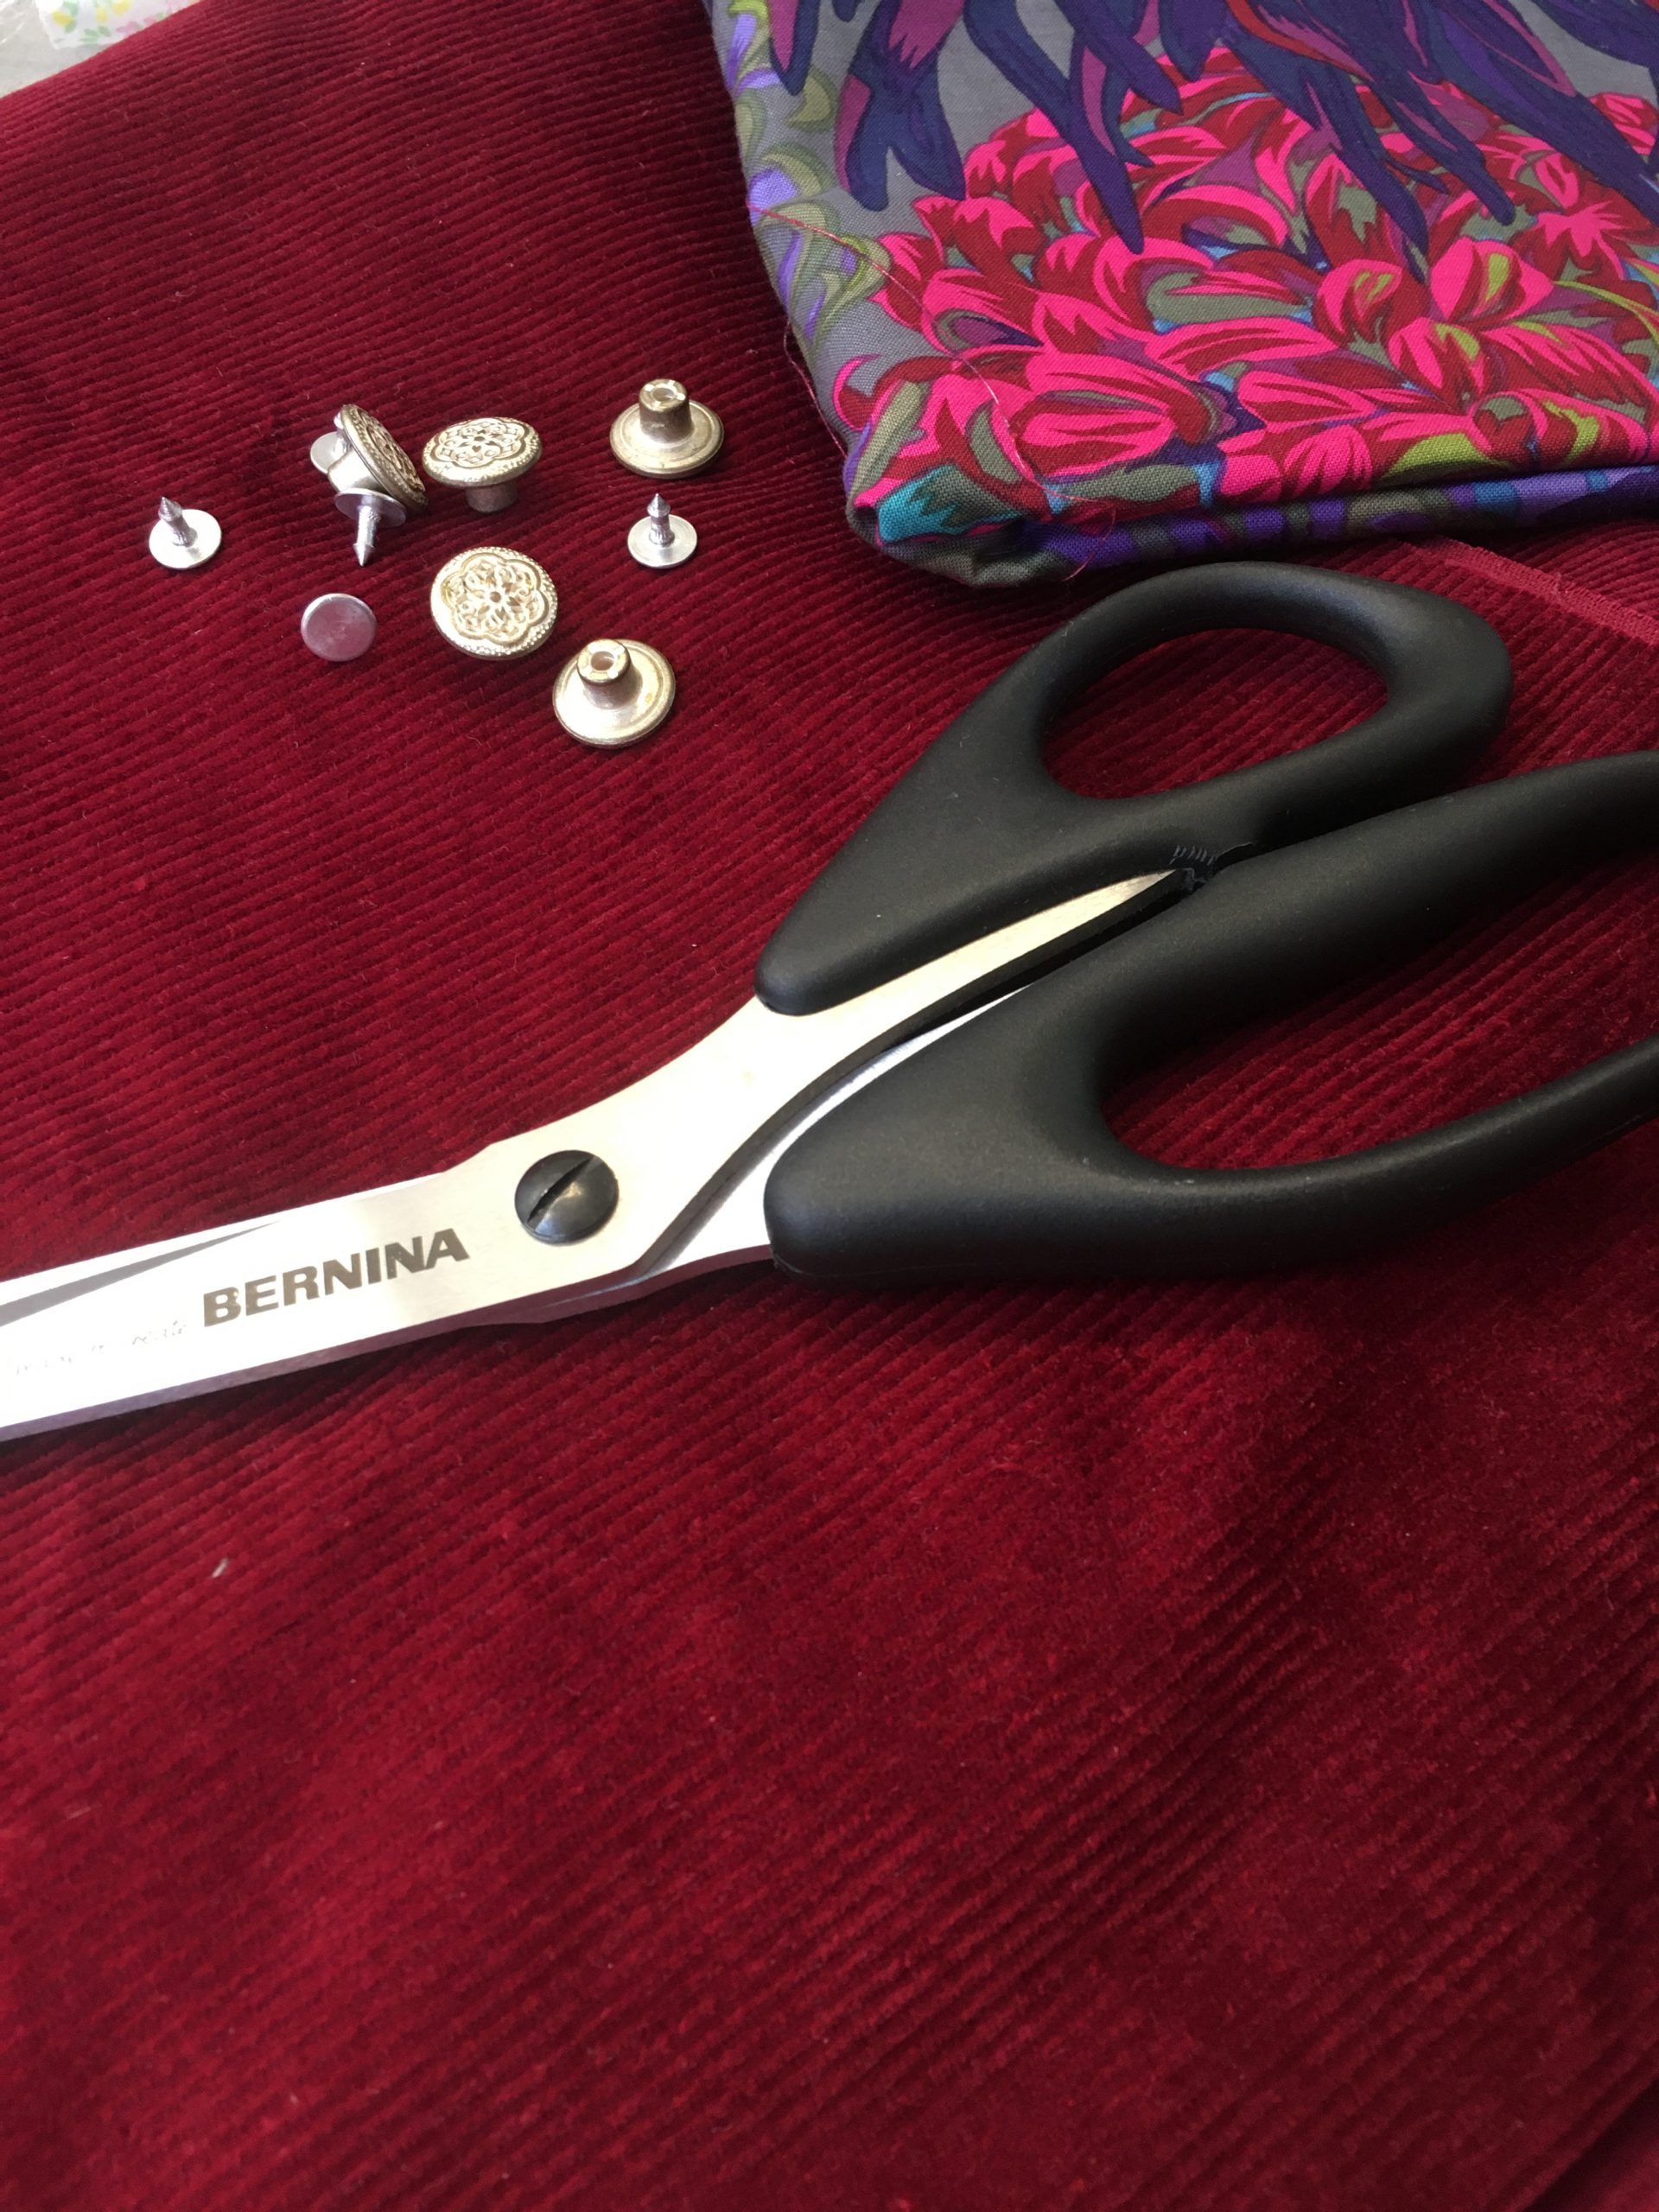
You will also need 4 pant buttons. You can use classic jeans buttons or buttons for sewing on, according to your personal taste. For this project, I selected jeans buttons with a floral pattern.
In addition, you will need matching sewing thread, a piece of G700 woven interlining for the waistband, and tailor’s chalk/a marker.
Step 1: Cutting the corduroy fabrics
With corduroy, there is really not much to consider when cutting out, aside from one important rule: cut everything in the same direction. My Grandma, who taught me how to sew, always said that corduroy had to be cut “in the grain”. This means checking the direction in which the fabrics fibers lay smooth and in which direction they stand up. The direction in which the fibers lay smooth is your grain from top to bottom. Keep this direction for all the pattern pieces. With regard to the seam allowances, you can proceed as with all other fabrics. These are already included in this pattern.
Step 2: Preparation for the button strip
From the pattern, you will need parts 7 and 8 for the visible button strip. Piece 8 is folded in the middle, with the right sides together, and secured at the bottom of the short rounded edge with a 6 mm seam allowance. Then turn the piece inside out and iron it a little.
Part 7 is serged all the way around, as corduroy frays slightly. If you want a little more detail, you can also bind the rounded front edge with a colorful fabric. Unfortunately, my chosen fabric remnants were too small for this.
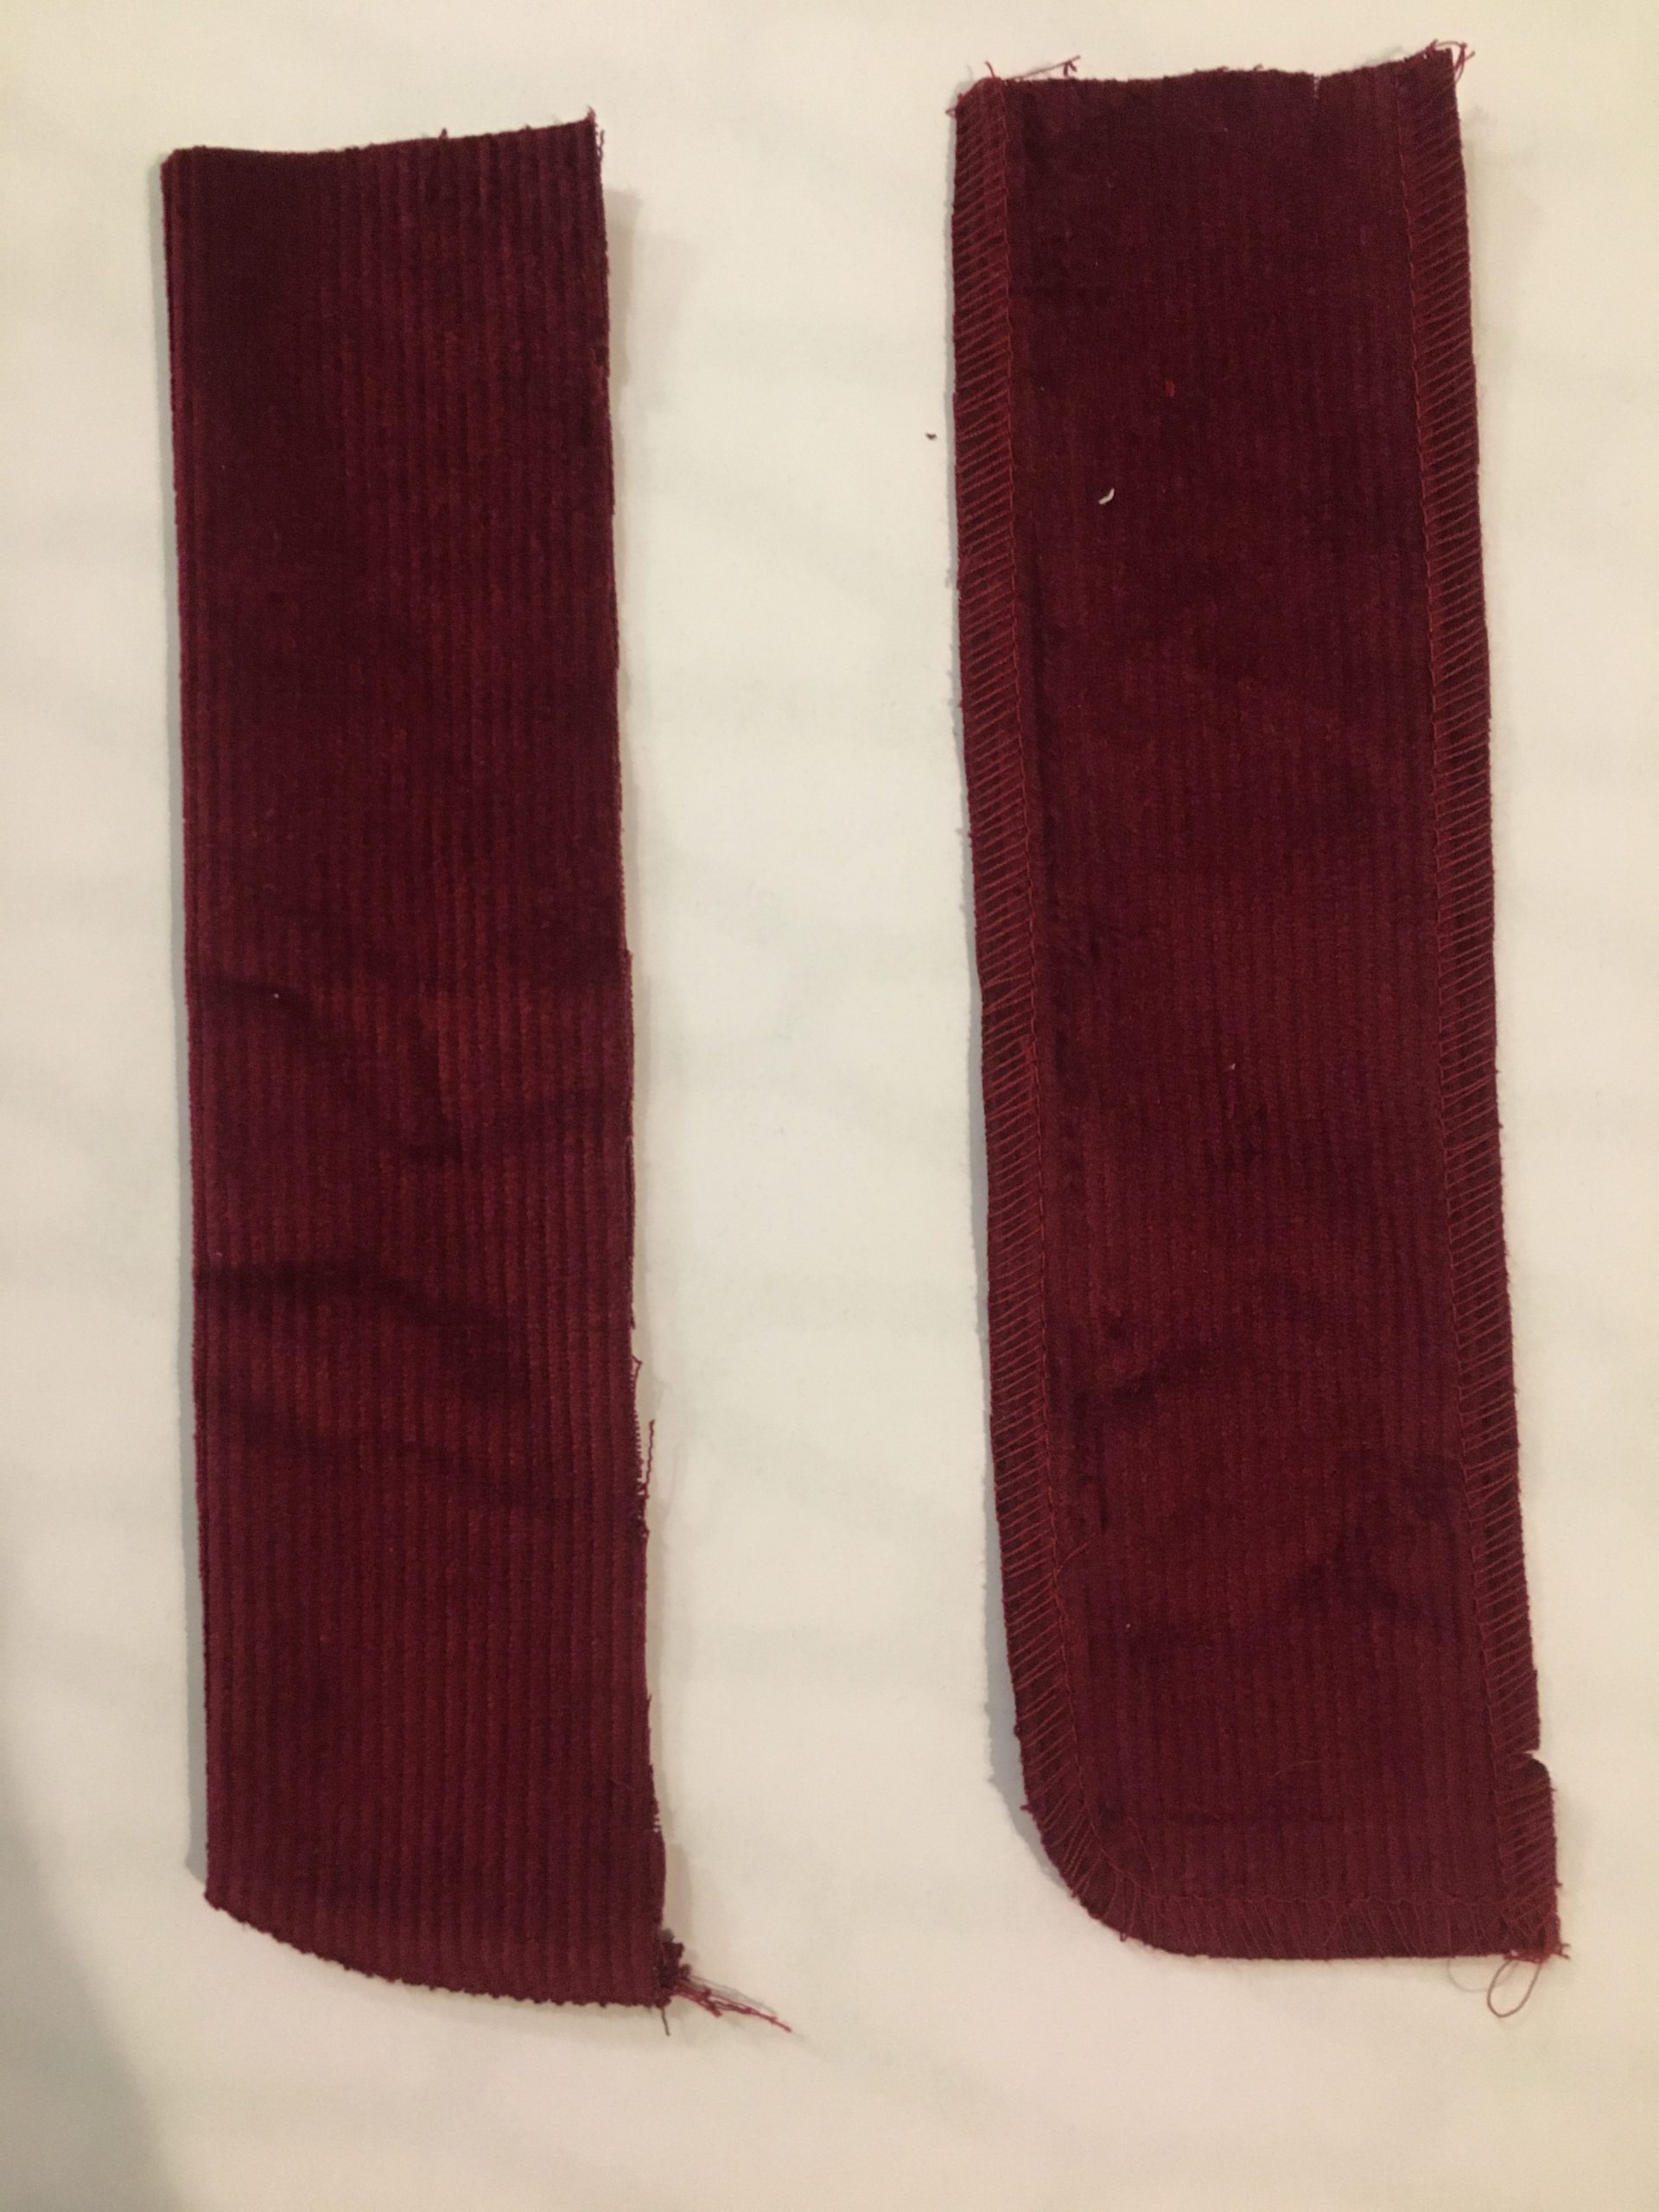
Now place piece 8 onto the right pant piece with the right sides together and sew it on with a 6 mm seam allowance. After sewing on, cut in the bottom up to the seam, turn part 8 inwards and topstitch close to the edge.

Part 7 is sewn on in the same way, but with an allowance of 15 mm. Part 7 is also sewn on decoratively with two rows of seams, as you will already know from sewing jeans.
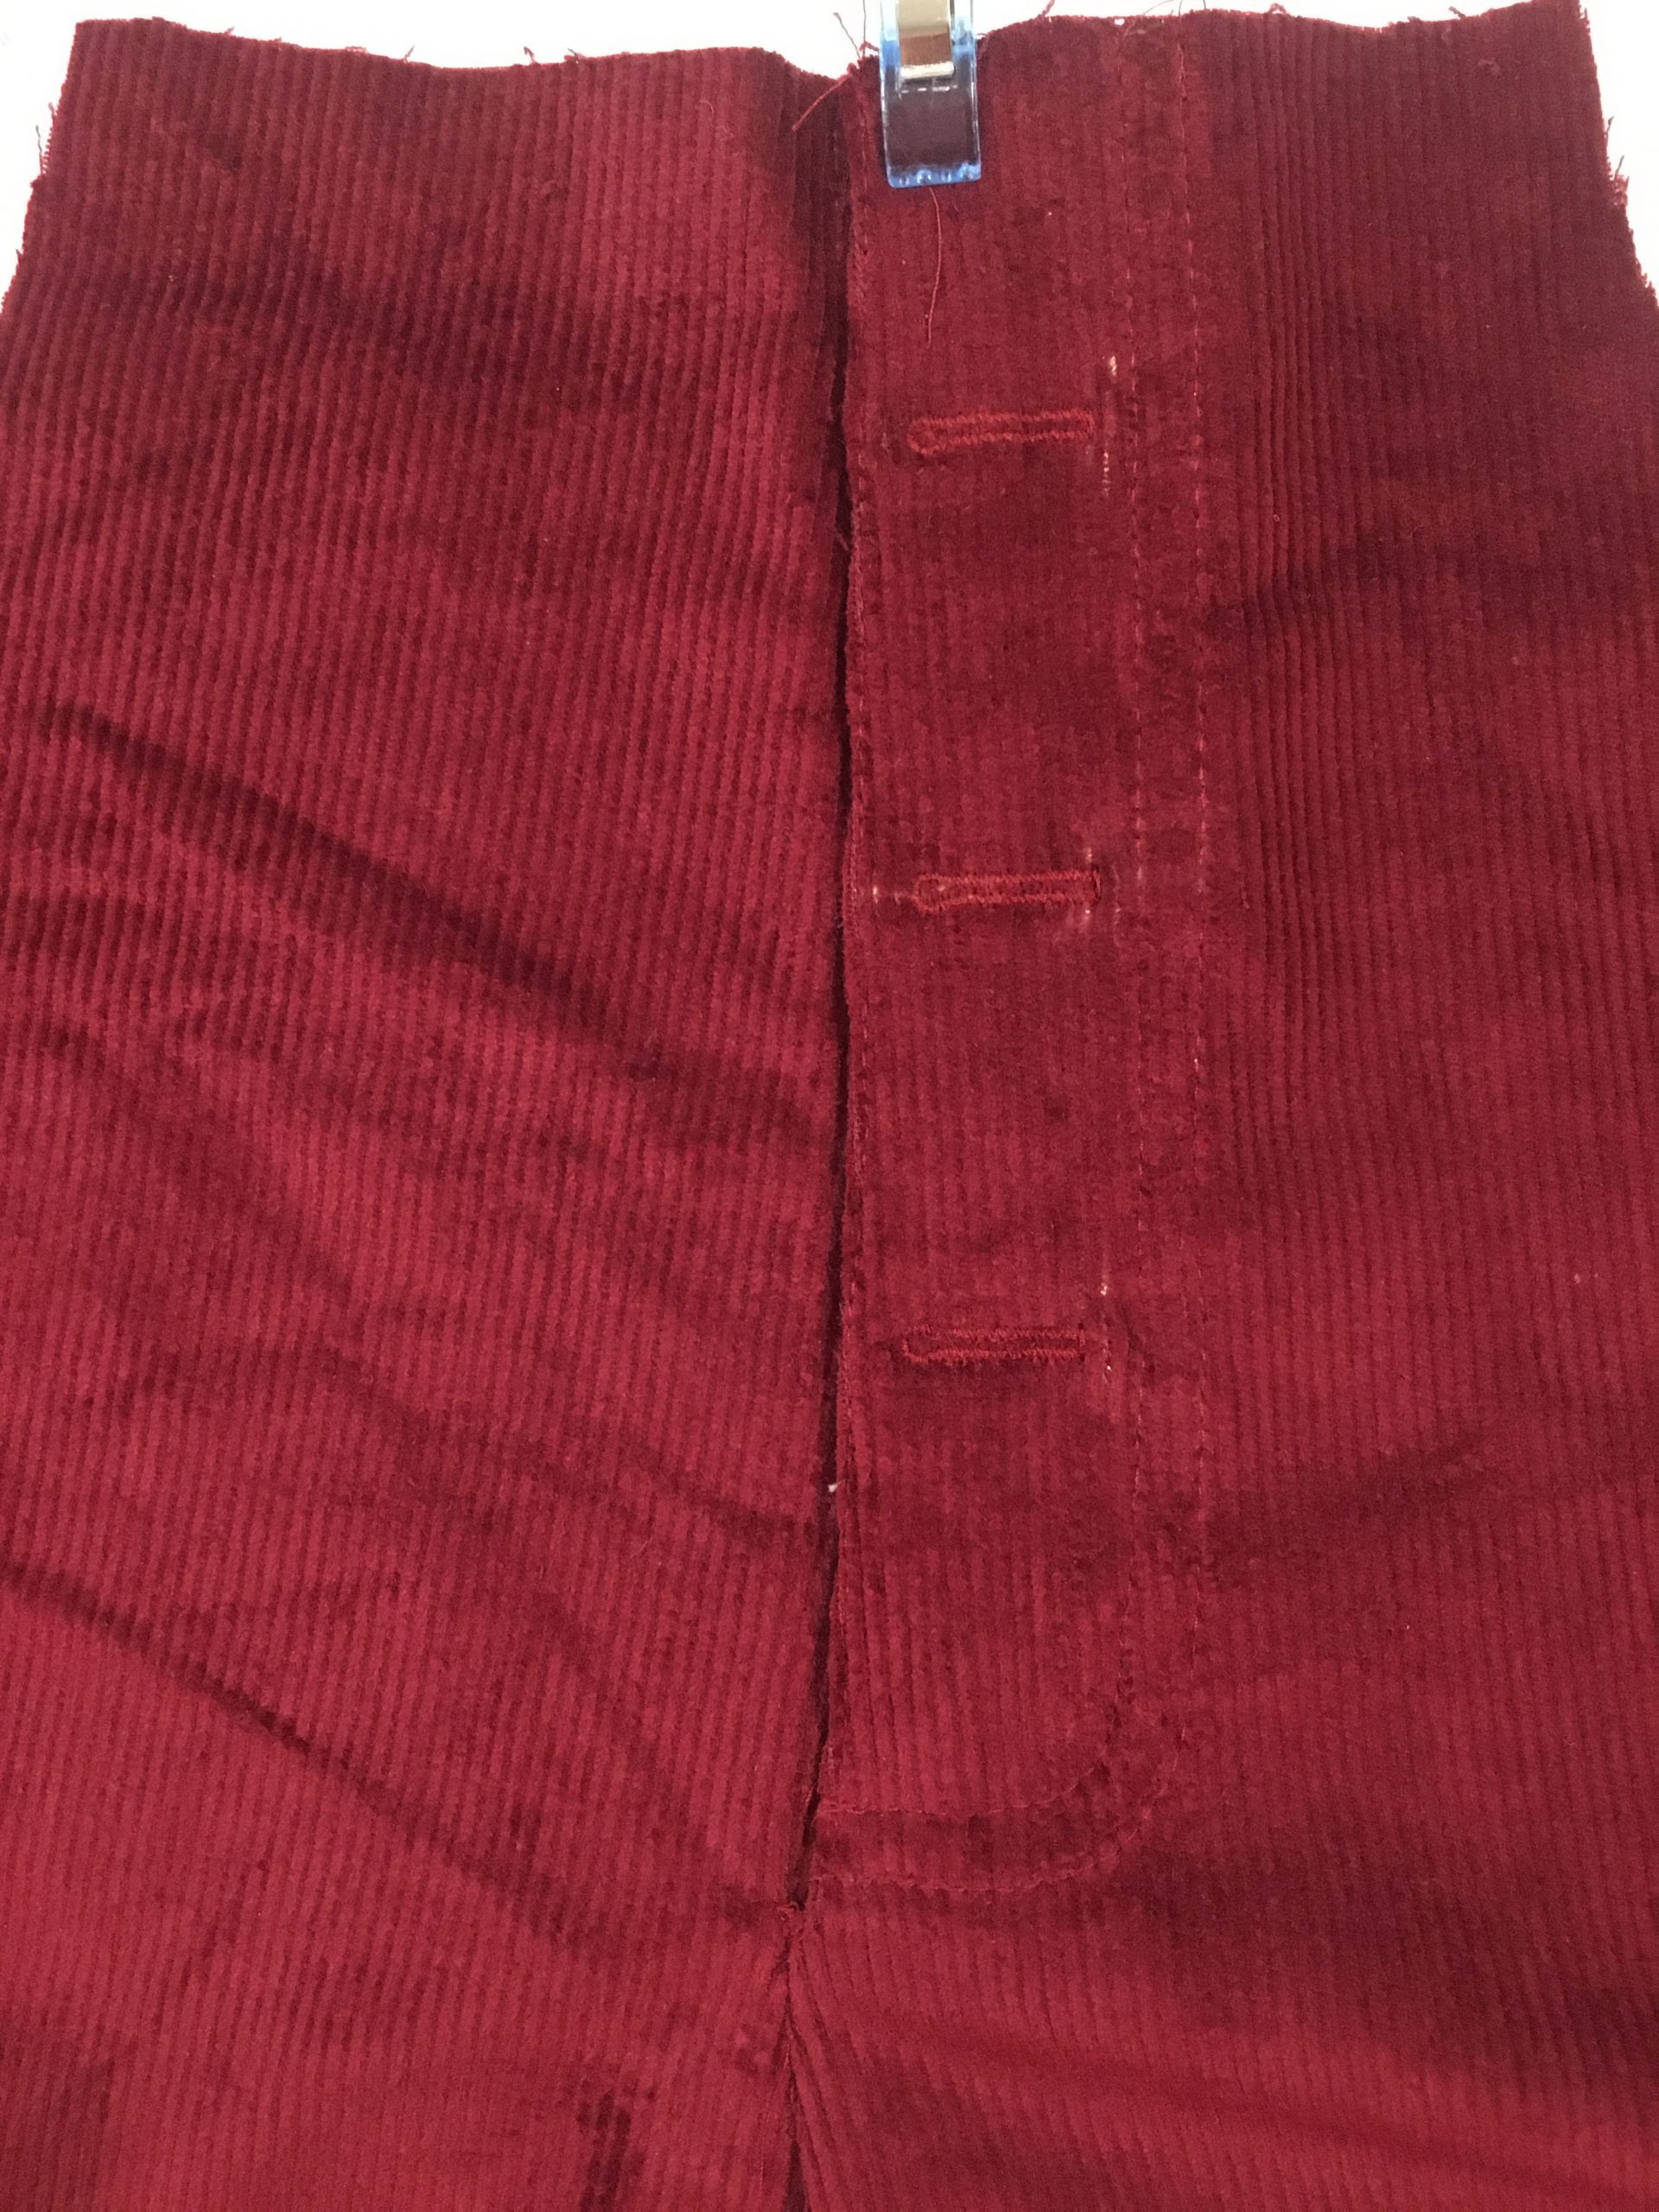
Step 3: Sewing a button placket
From the pattern, transfer the position of the buttonholes to your fabric (Part 9).
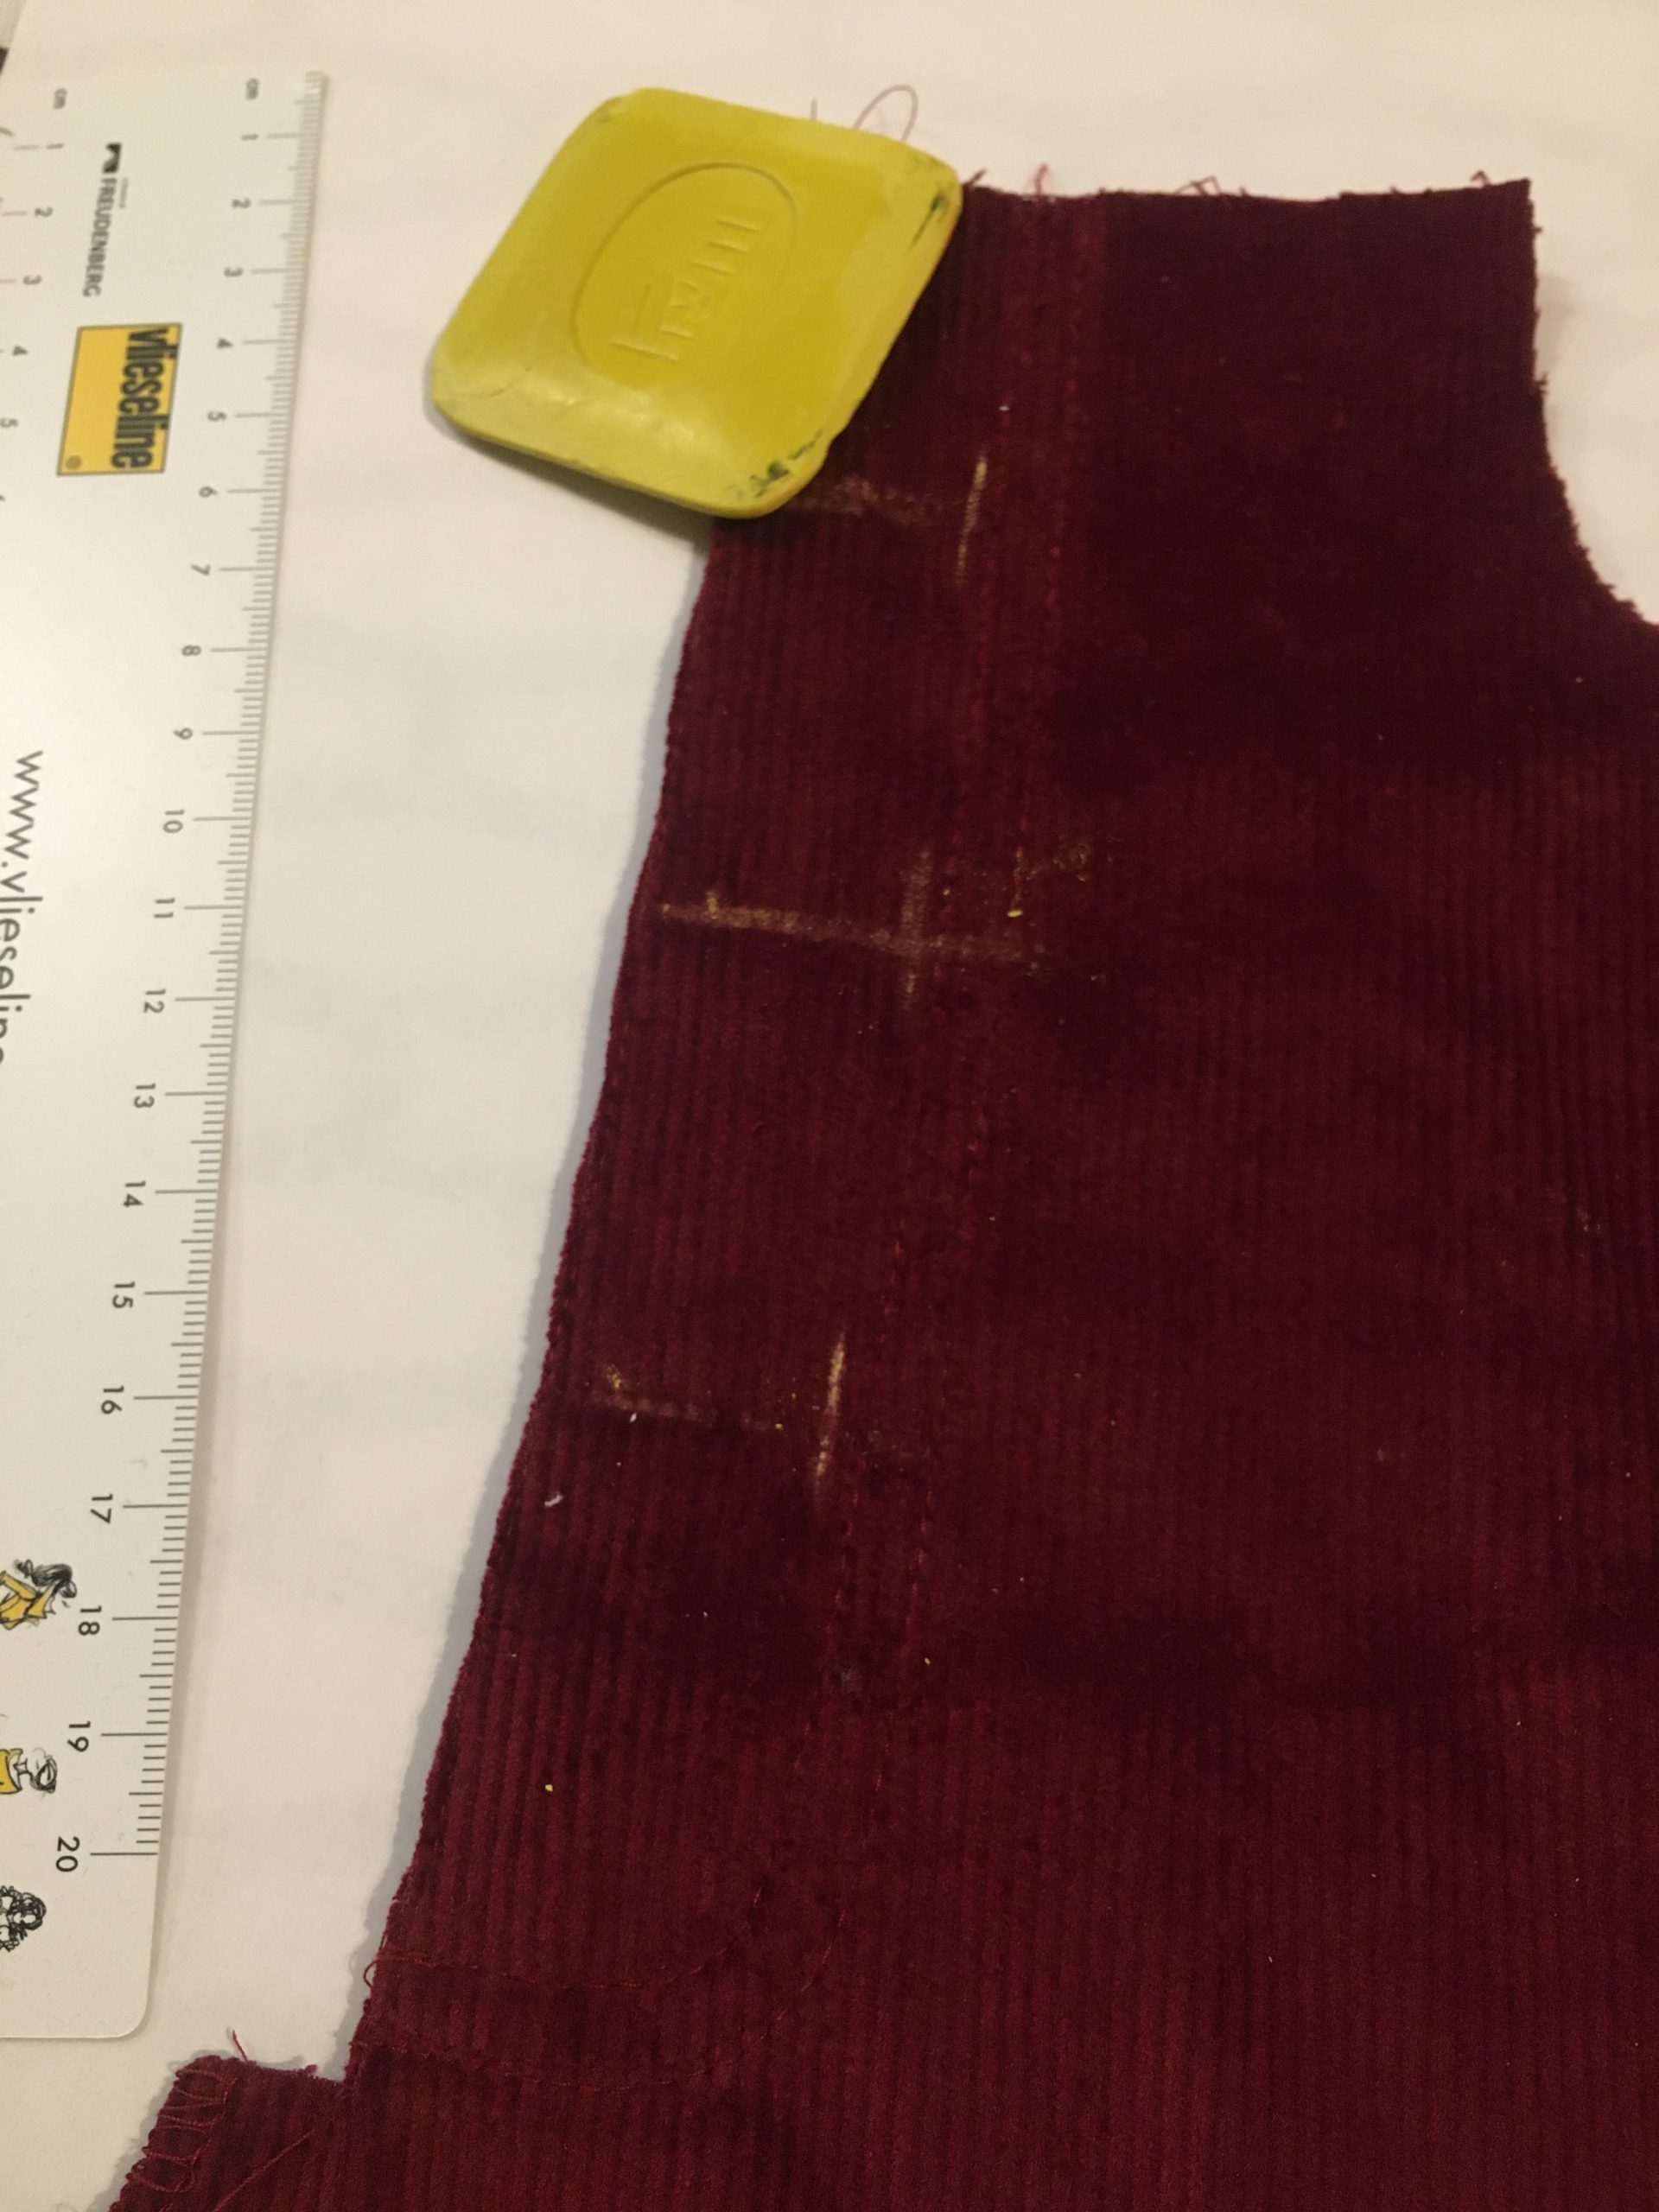
Before you get started, try out the buttonhole on a fabric remnant to see if it comes out as you imagined it and check whether the button fits through.
The Bernina 475 has a really practical buttonhole program that allows you to sew buttonholes in no time at all.
To use this feature, select your preferred type of buttonhole. I chose stitch 56. Using the tool, determine your button size by holding the button on the display and turning the yellow circle to the same size as the button. Then attach the appropriate presser foot (Buttonhole Foot with Slide #3A) before starting.
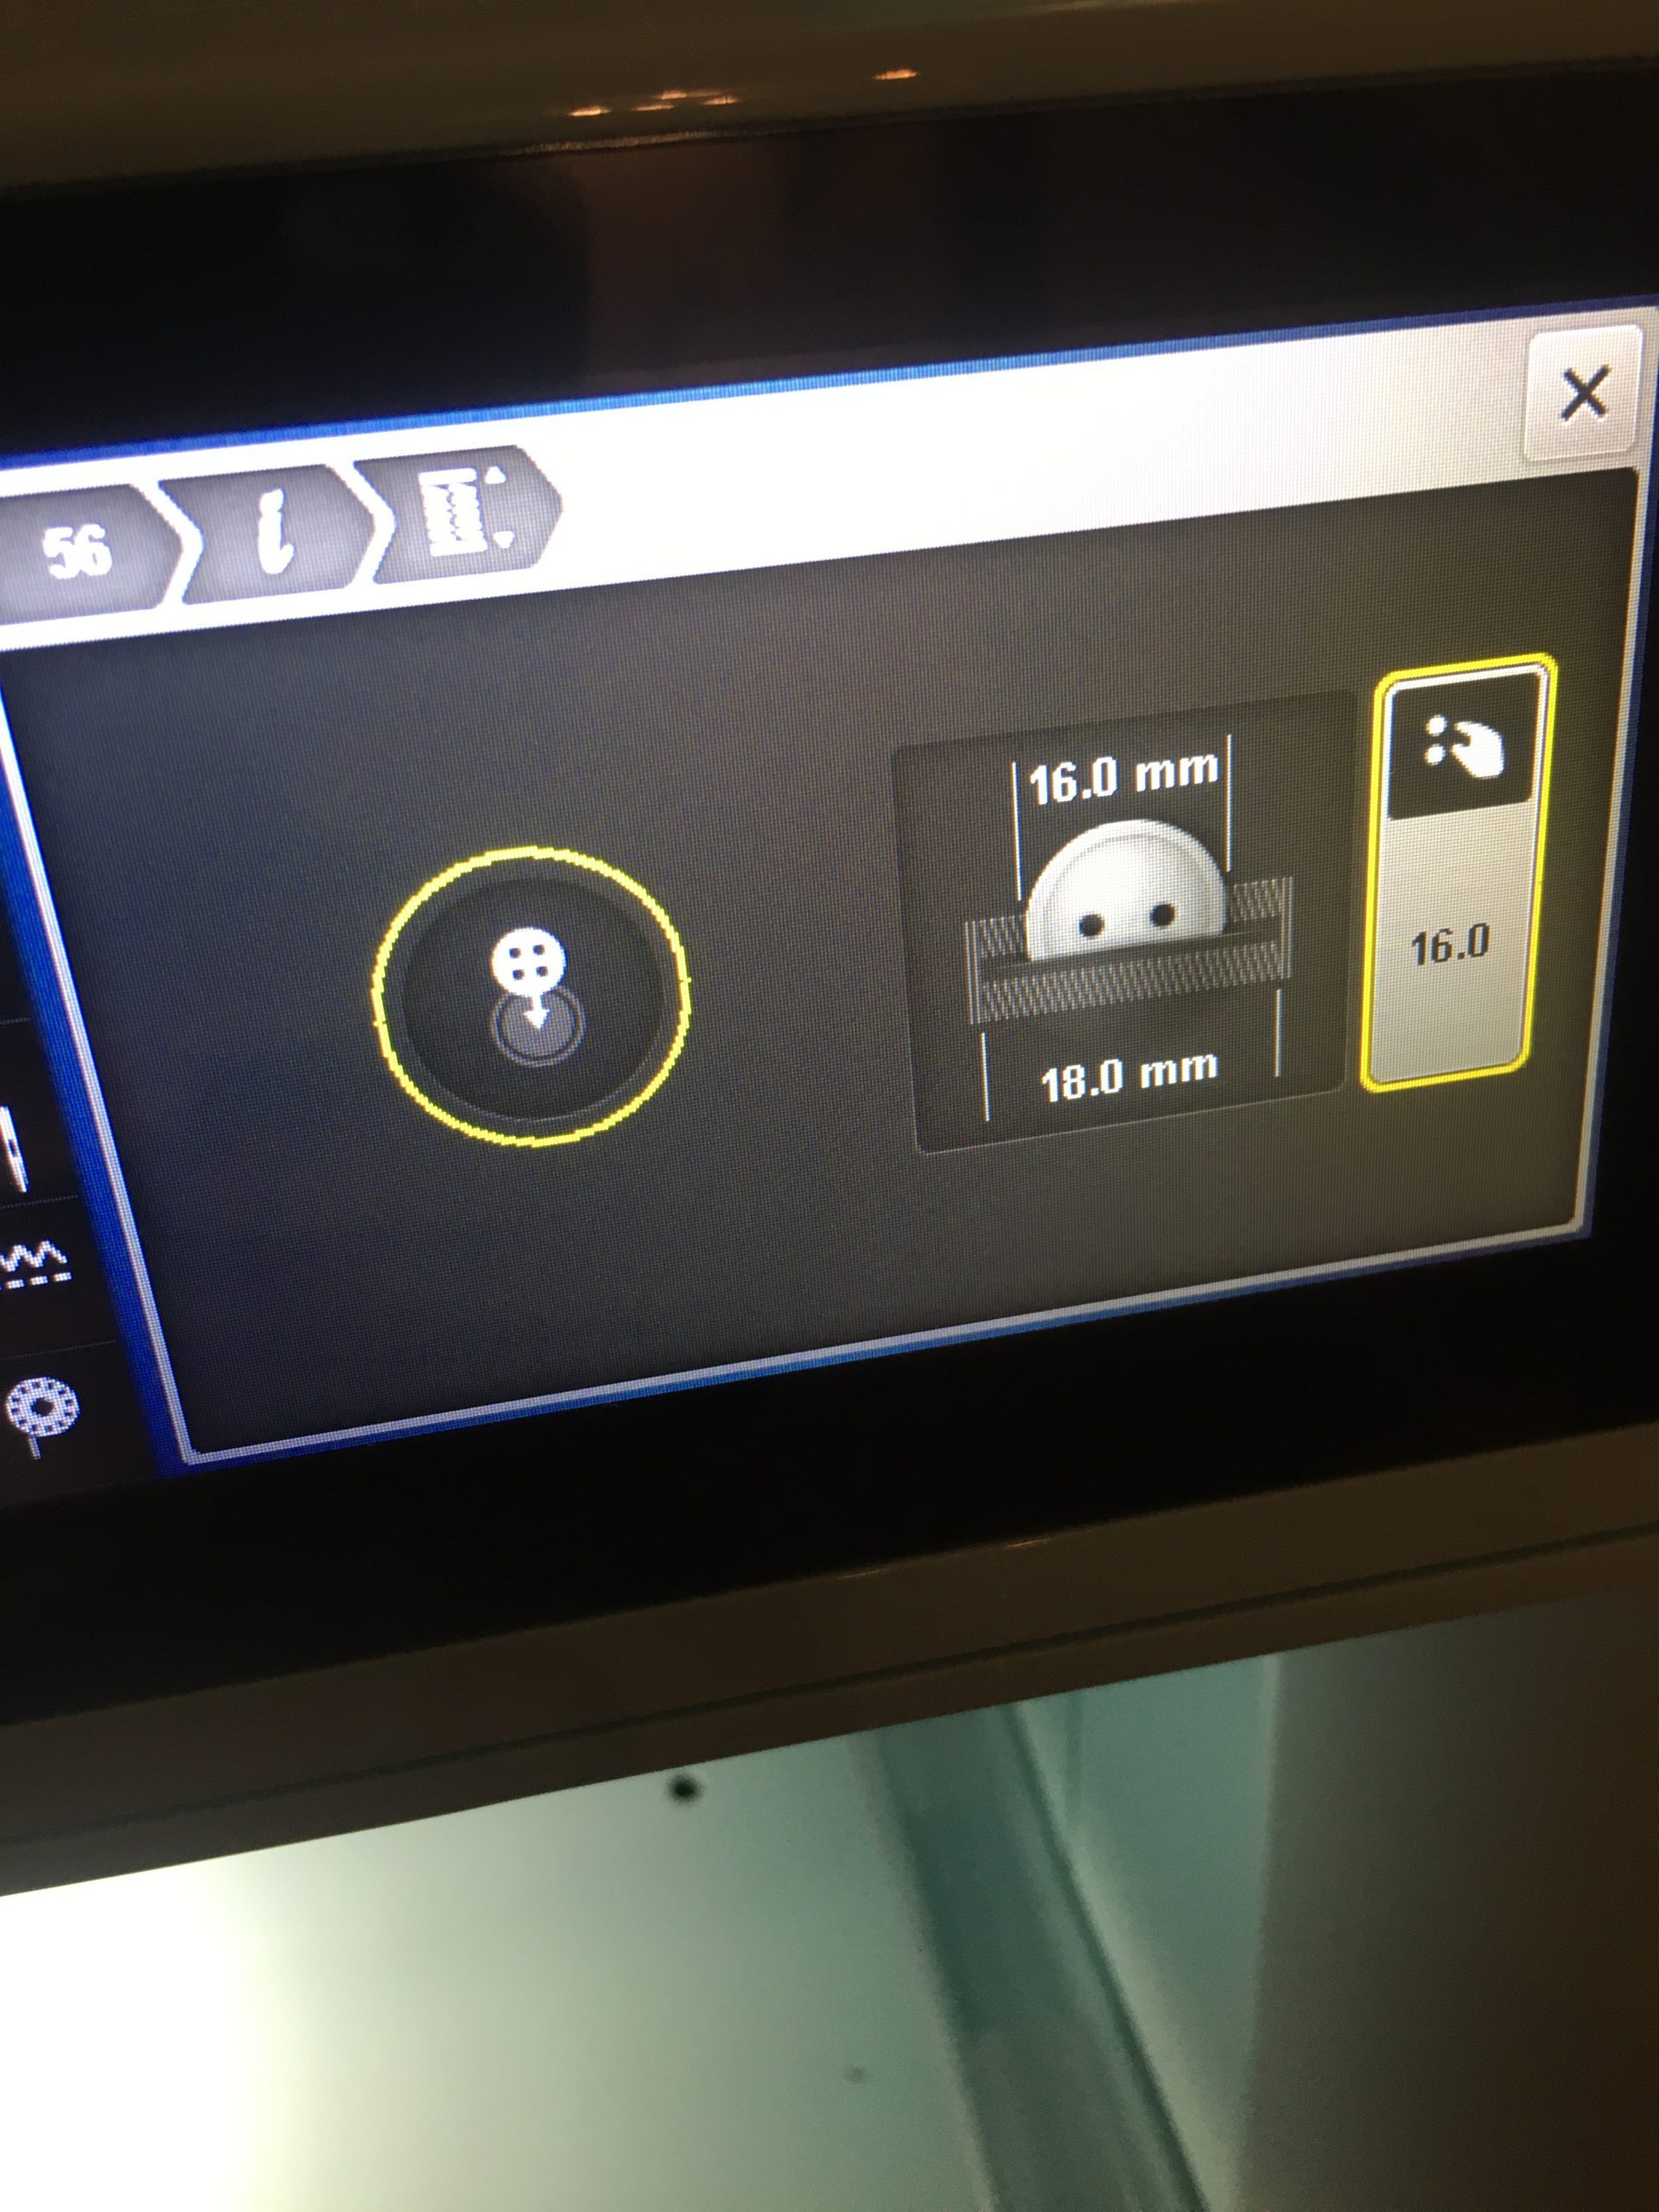

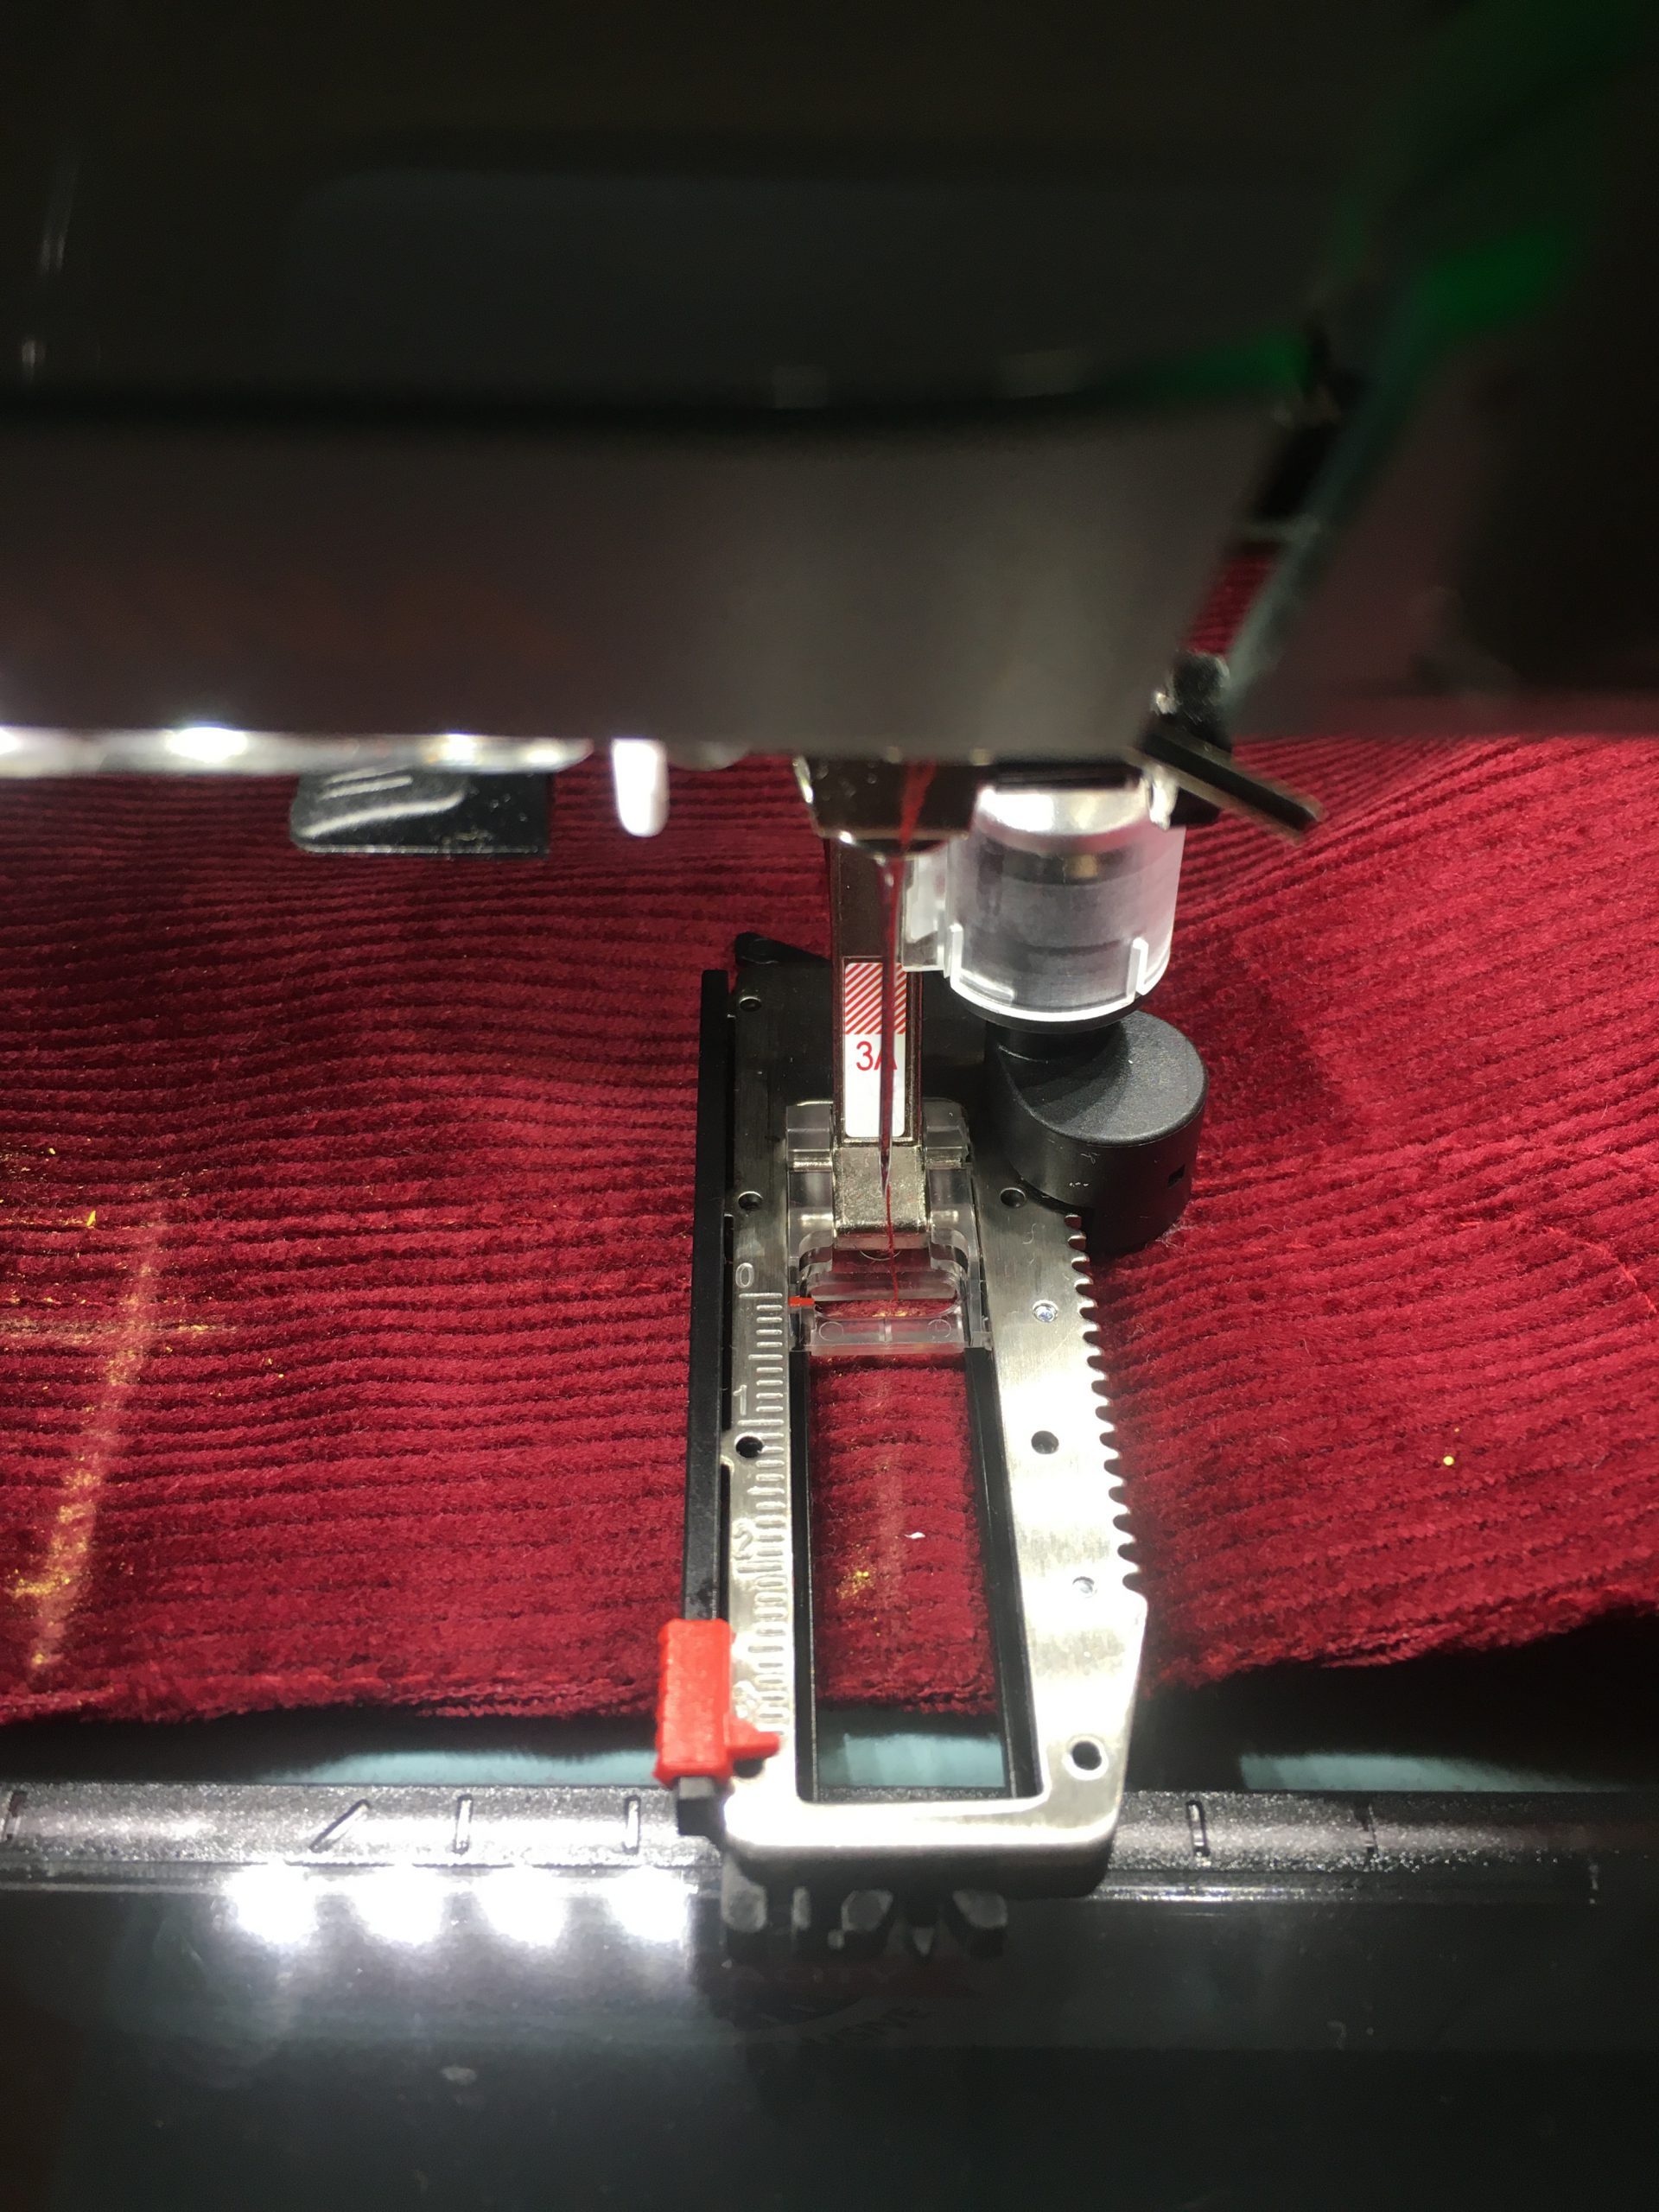
Now sew all three buttonholes with your selected setting, and voilà, the buttonhole edges of your festive pants are finished.
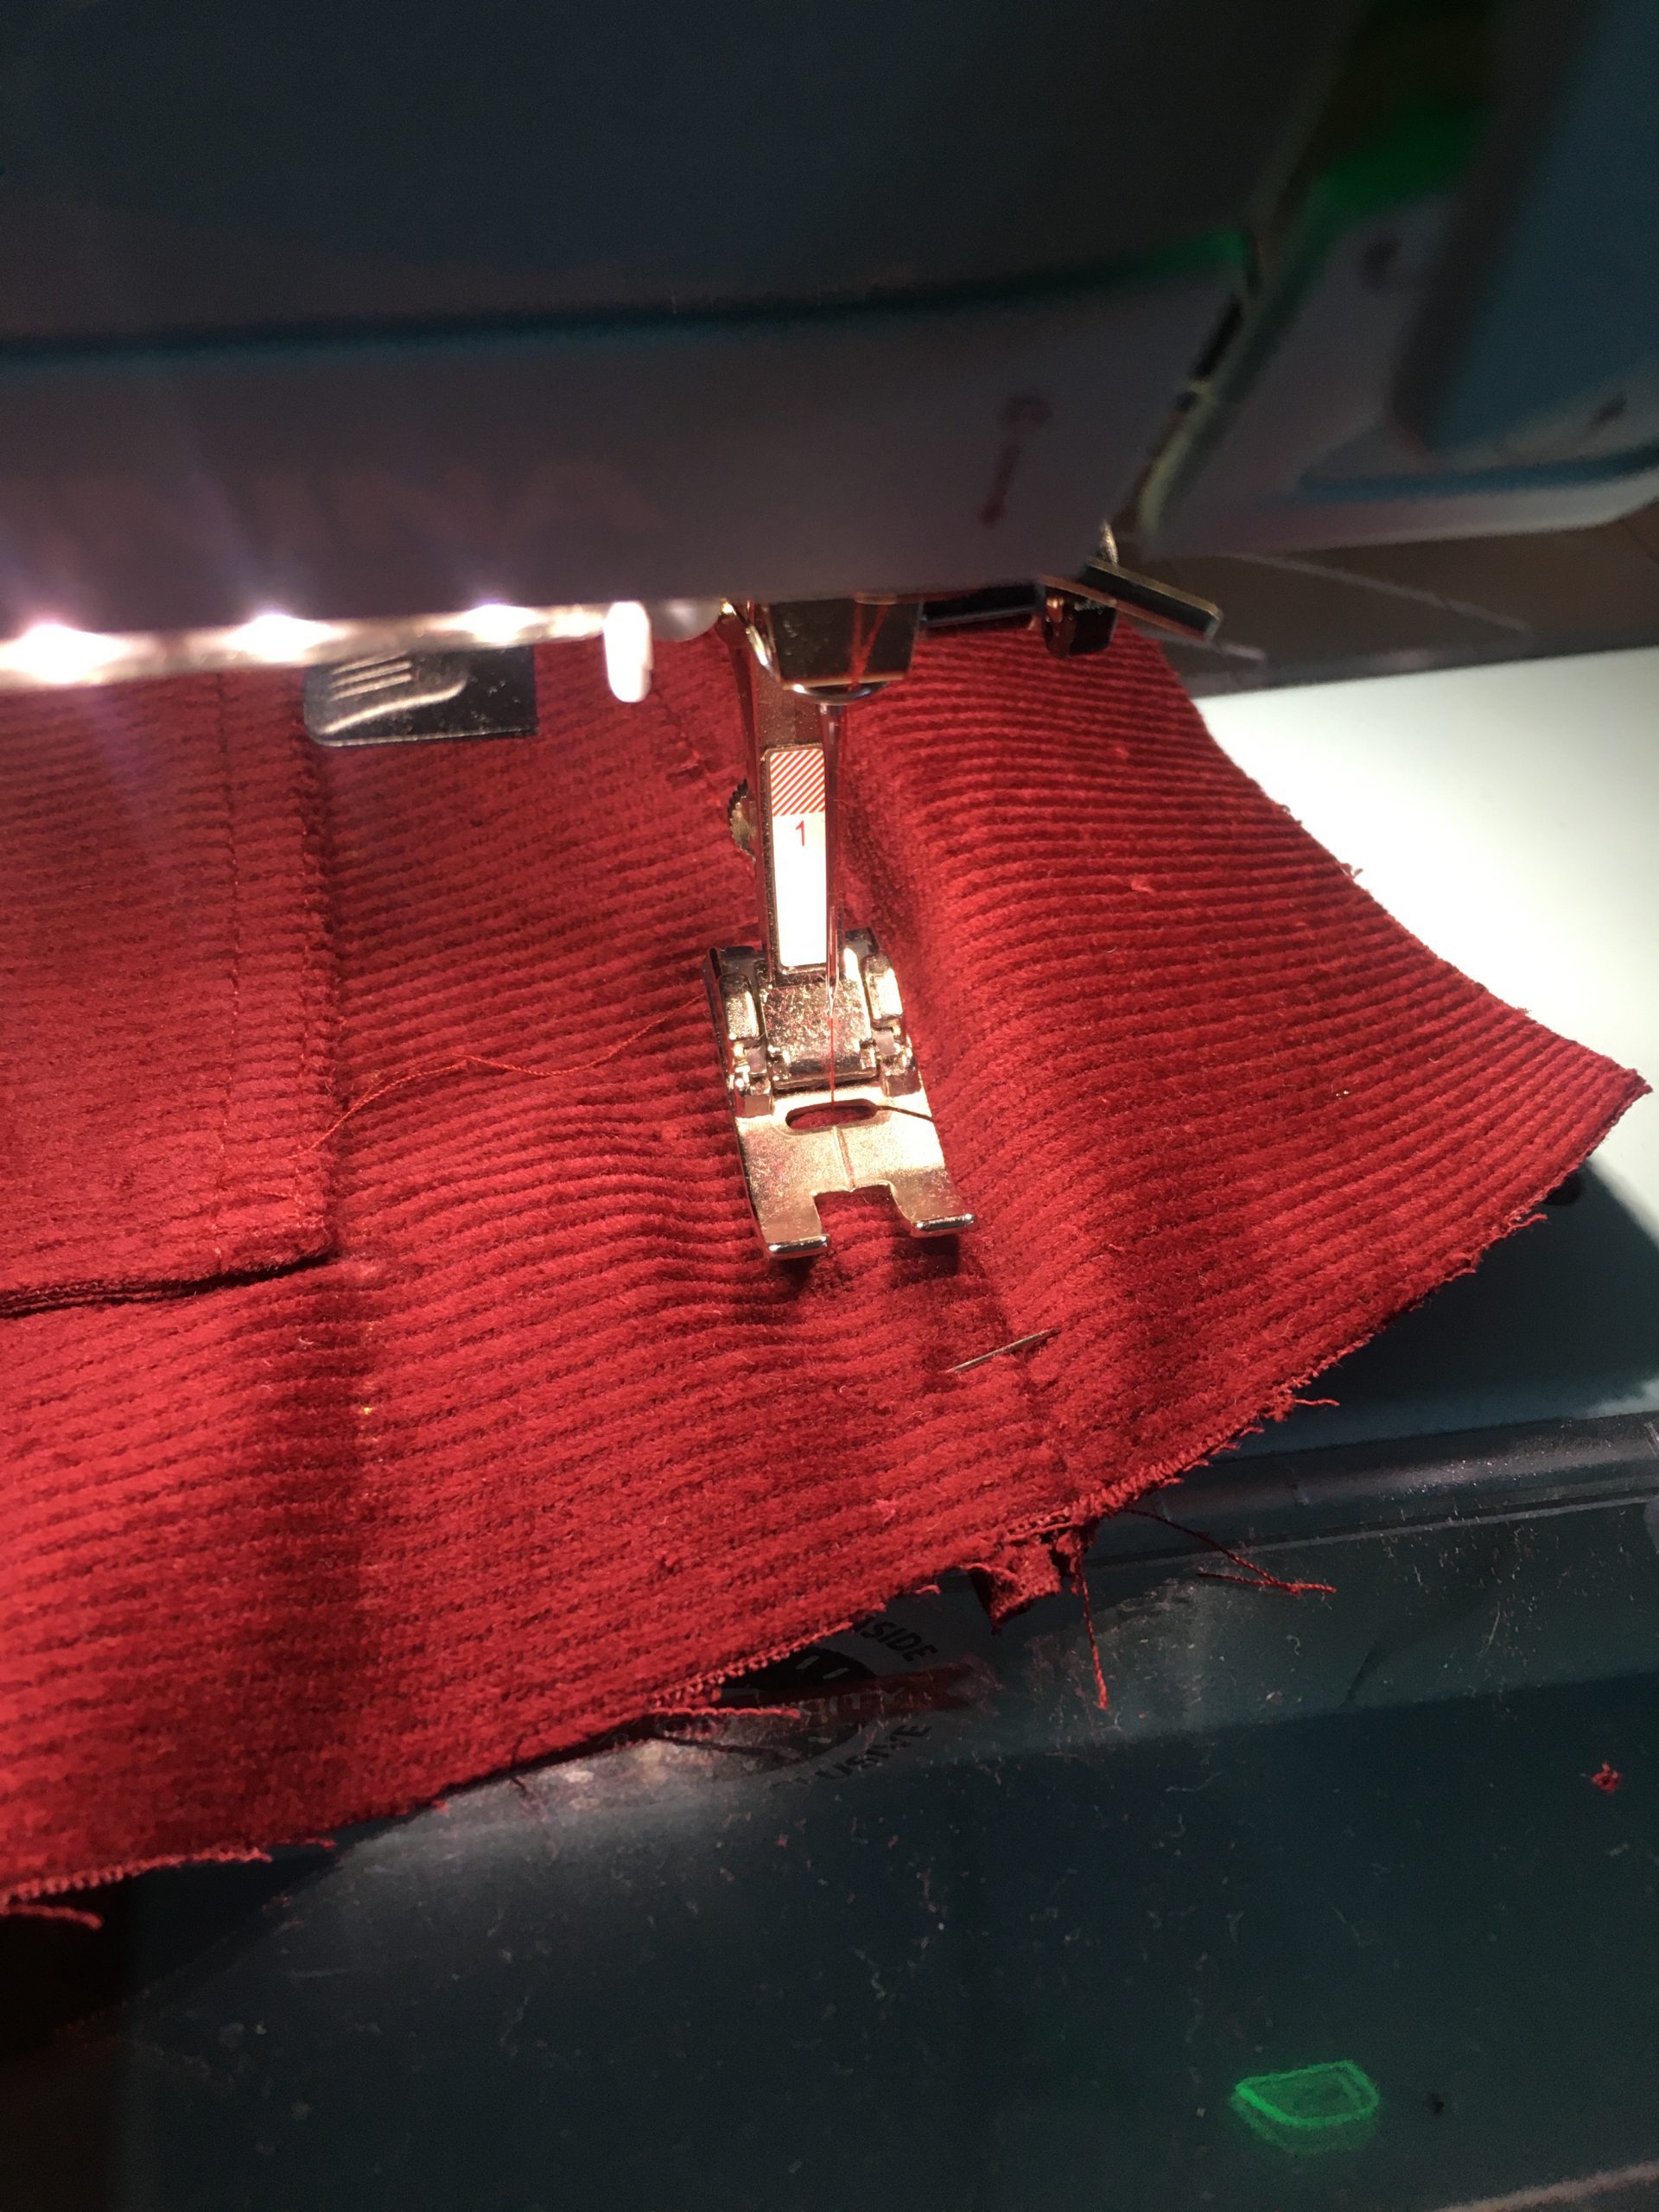
Step 4: A different approach to making pockets
Overcast the bottom edge of the pocket pieces made of cord and sew them onto the pocket pouch made of cotton fabric, with the wrong sides together.
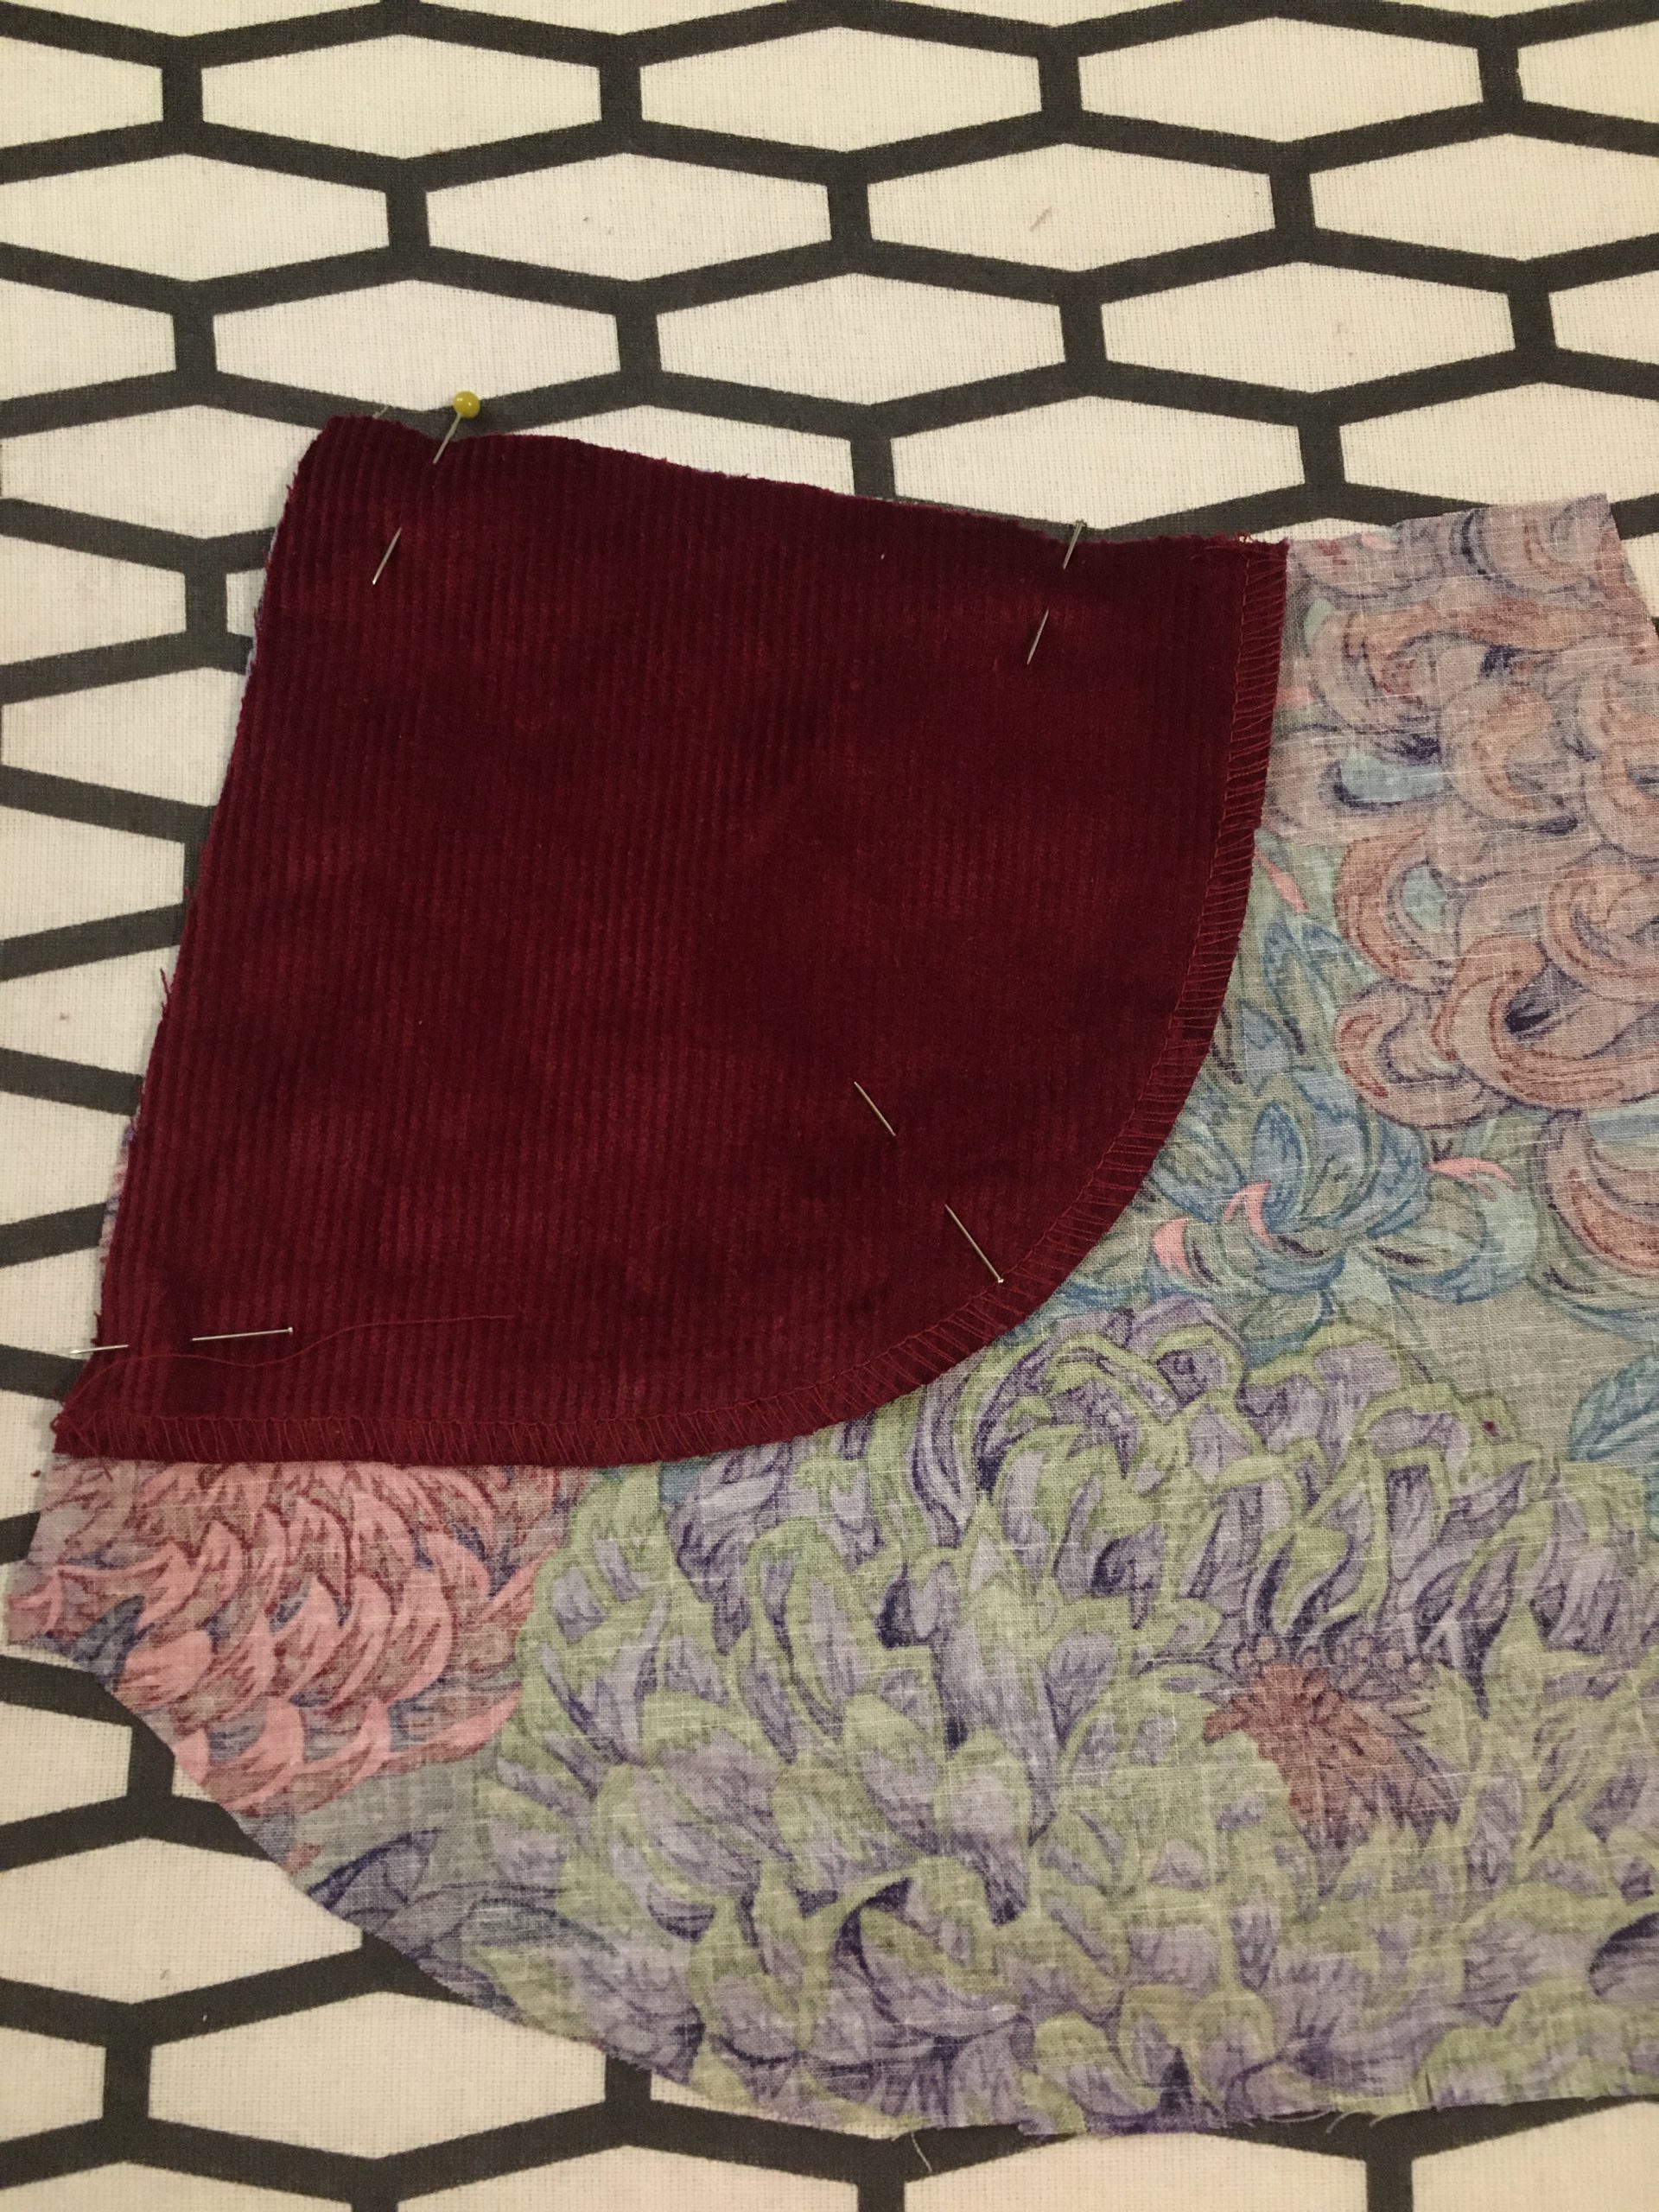
Then place the pockets, with the wrong side facing down, onto the right side of the pants and sew them in place with a 10 mm seam allowance.
To ensure that the pocket is positioned neatly inwards later on, iron the seam allowance into the pocket pouch and stitch it close to the edge.
Then turn the pocket inwards and iron the edge somewhat firmly. Next, stitch from the outside in two parallel rows, as with jeans.
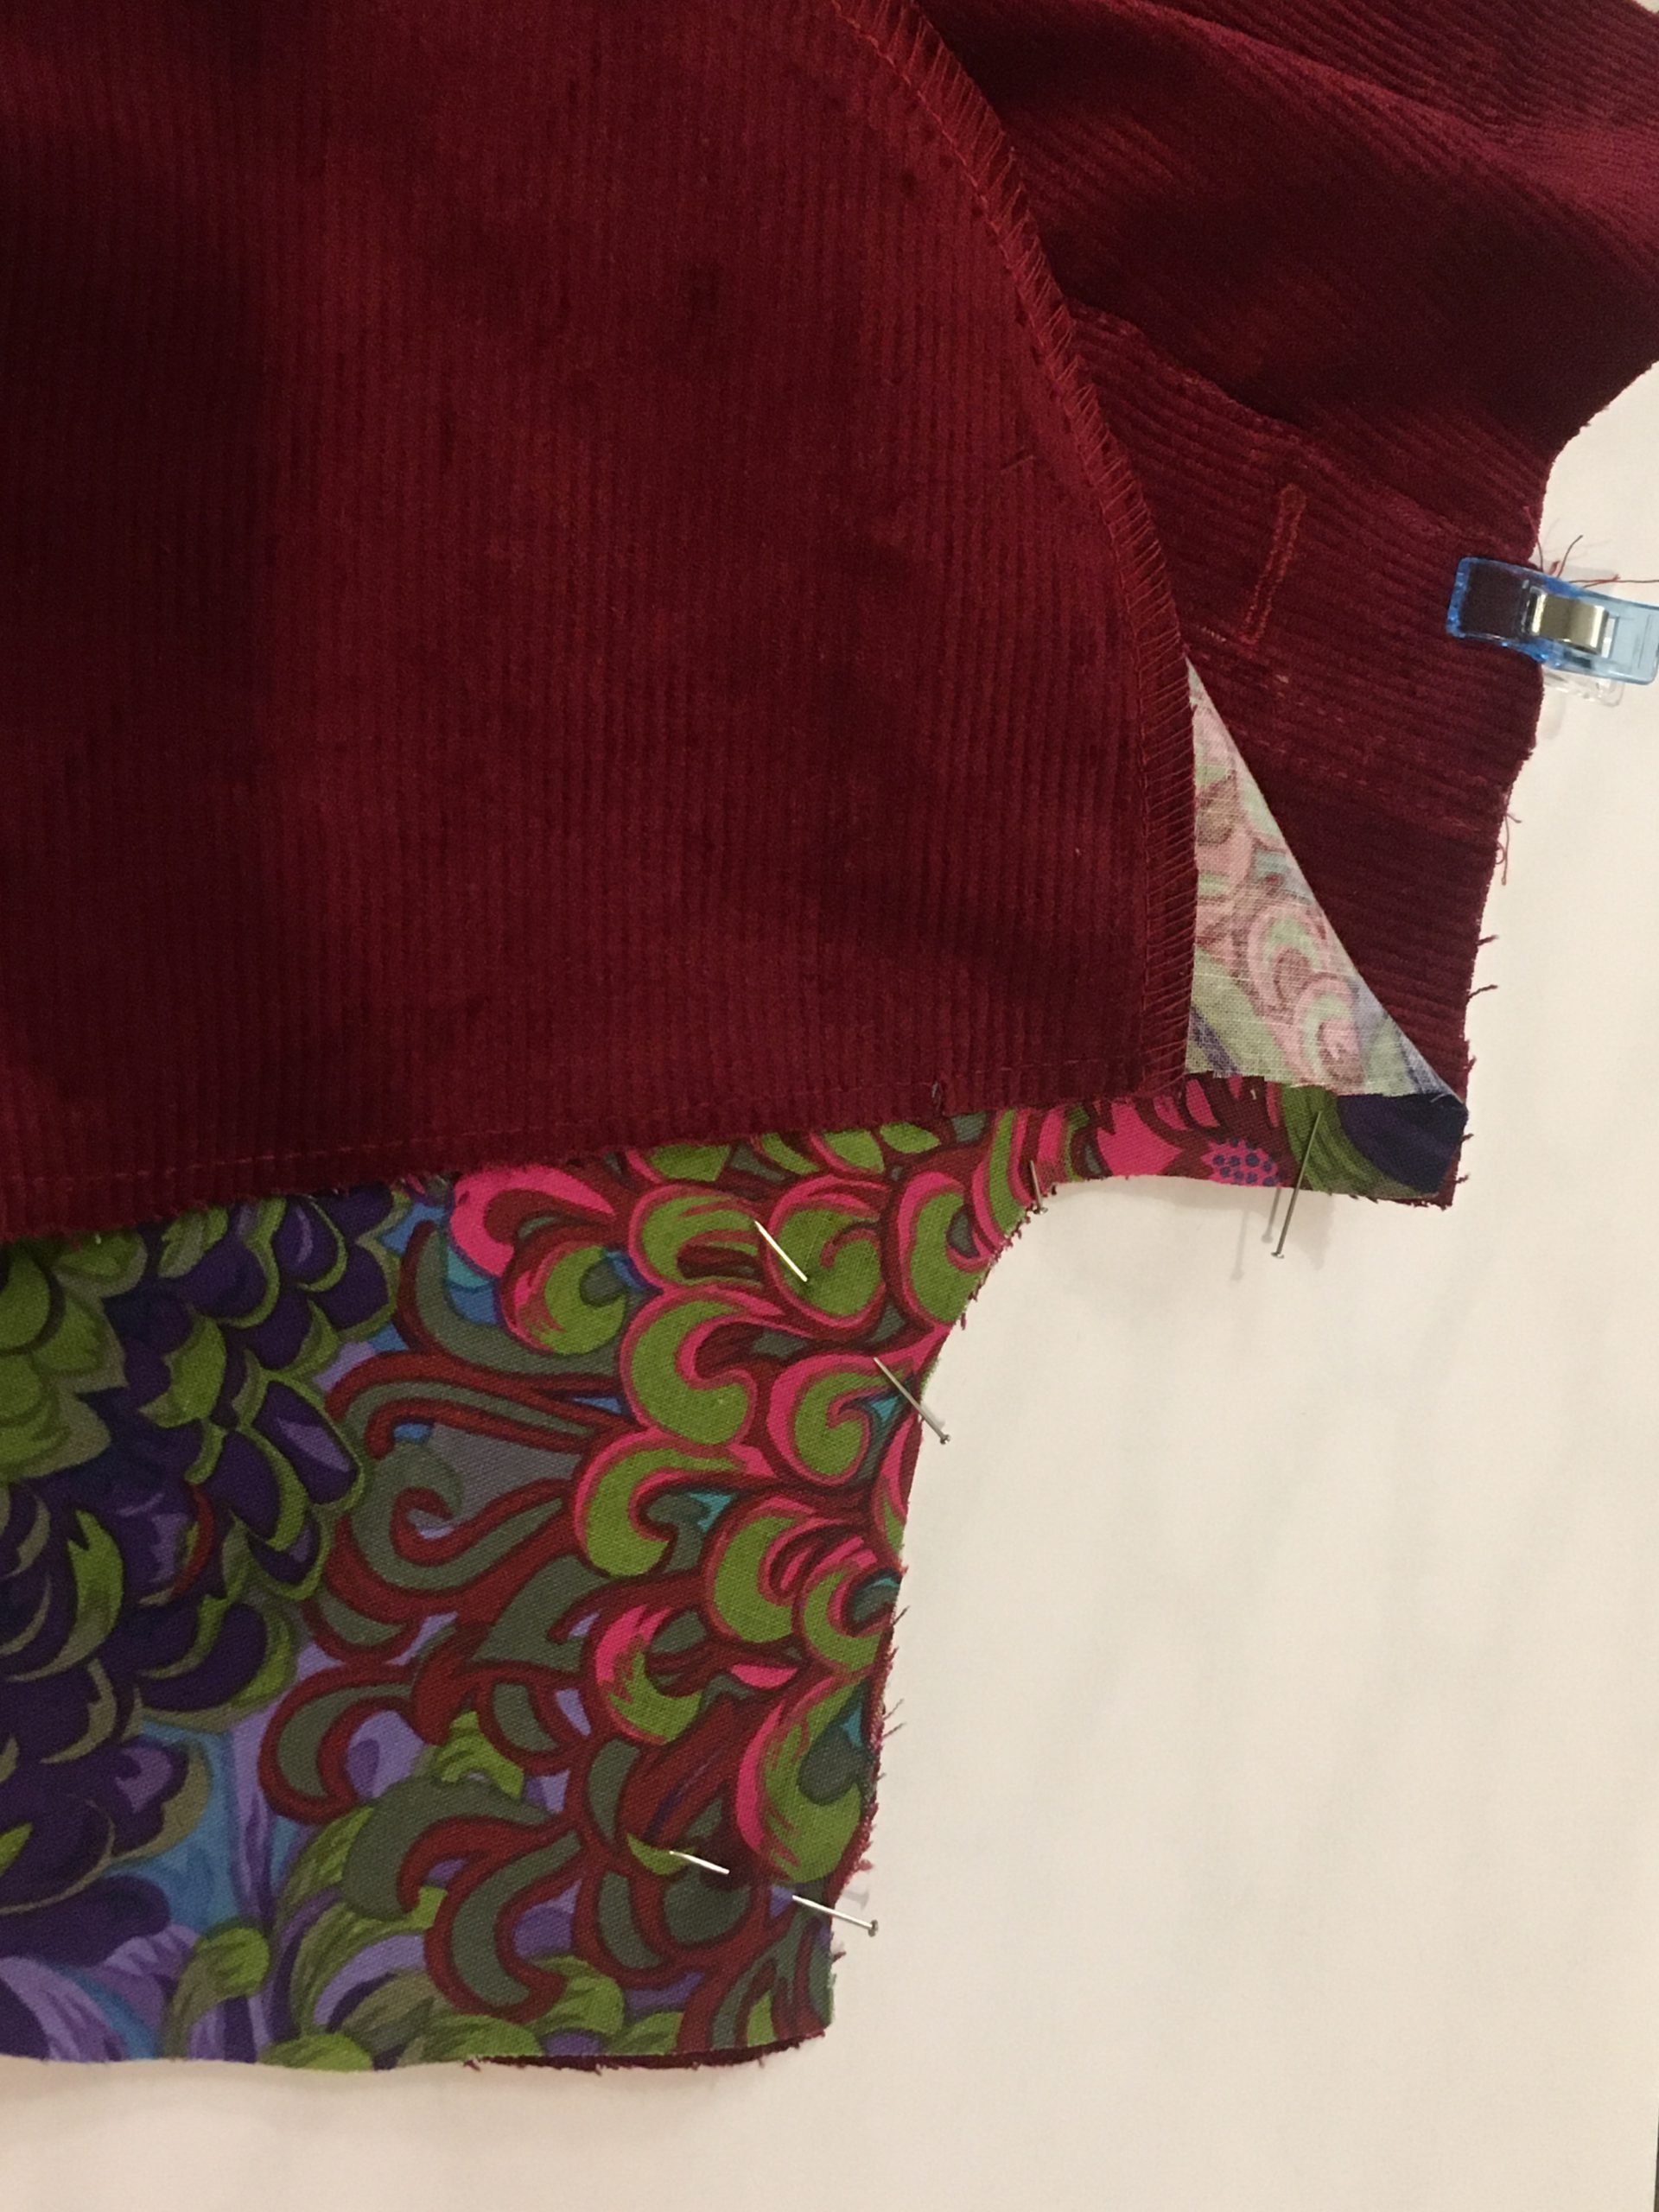
At this point, I deviate from the pattern instructions, as I like the following approach a little better:
Fold the pocket pouch together at the bottom edge with the right sides together and sew it in place with a 7 mm seam allowance.

Then turn the pocket pouch over again, shape the seam neatly, and stitch over it again at a distance of 5 mm. This way, only the pretty fabric side can be seen on the inside of the pants. I think that creates a higher-quality impression right from the outset.
Step 5: Edge finishing idea for corduroy pants
A few seams with a large seam allowance (15 mm) still need to be closed on your pants. I wanted to have as few open edges as possible for these pants, because the fine corduroy fabrics still generate some lint here and there, in spite of using the overlocker. For this, I closed the other seams as follows.
First, sew both pieces together, right side to right side, as usual.
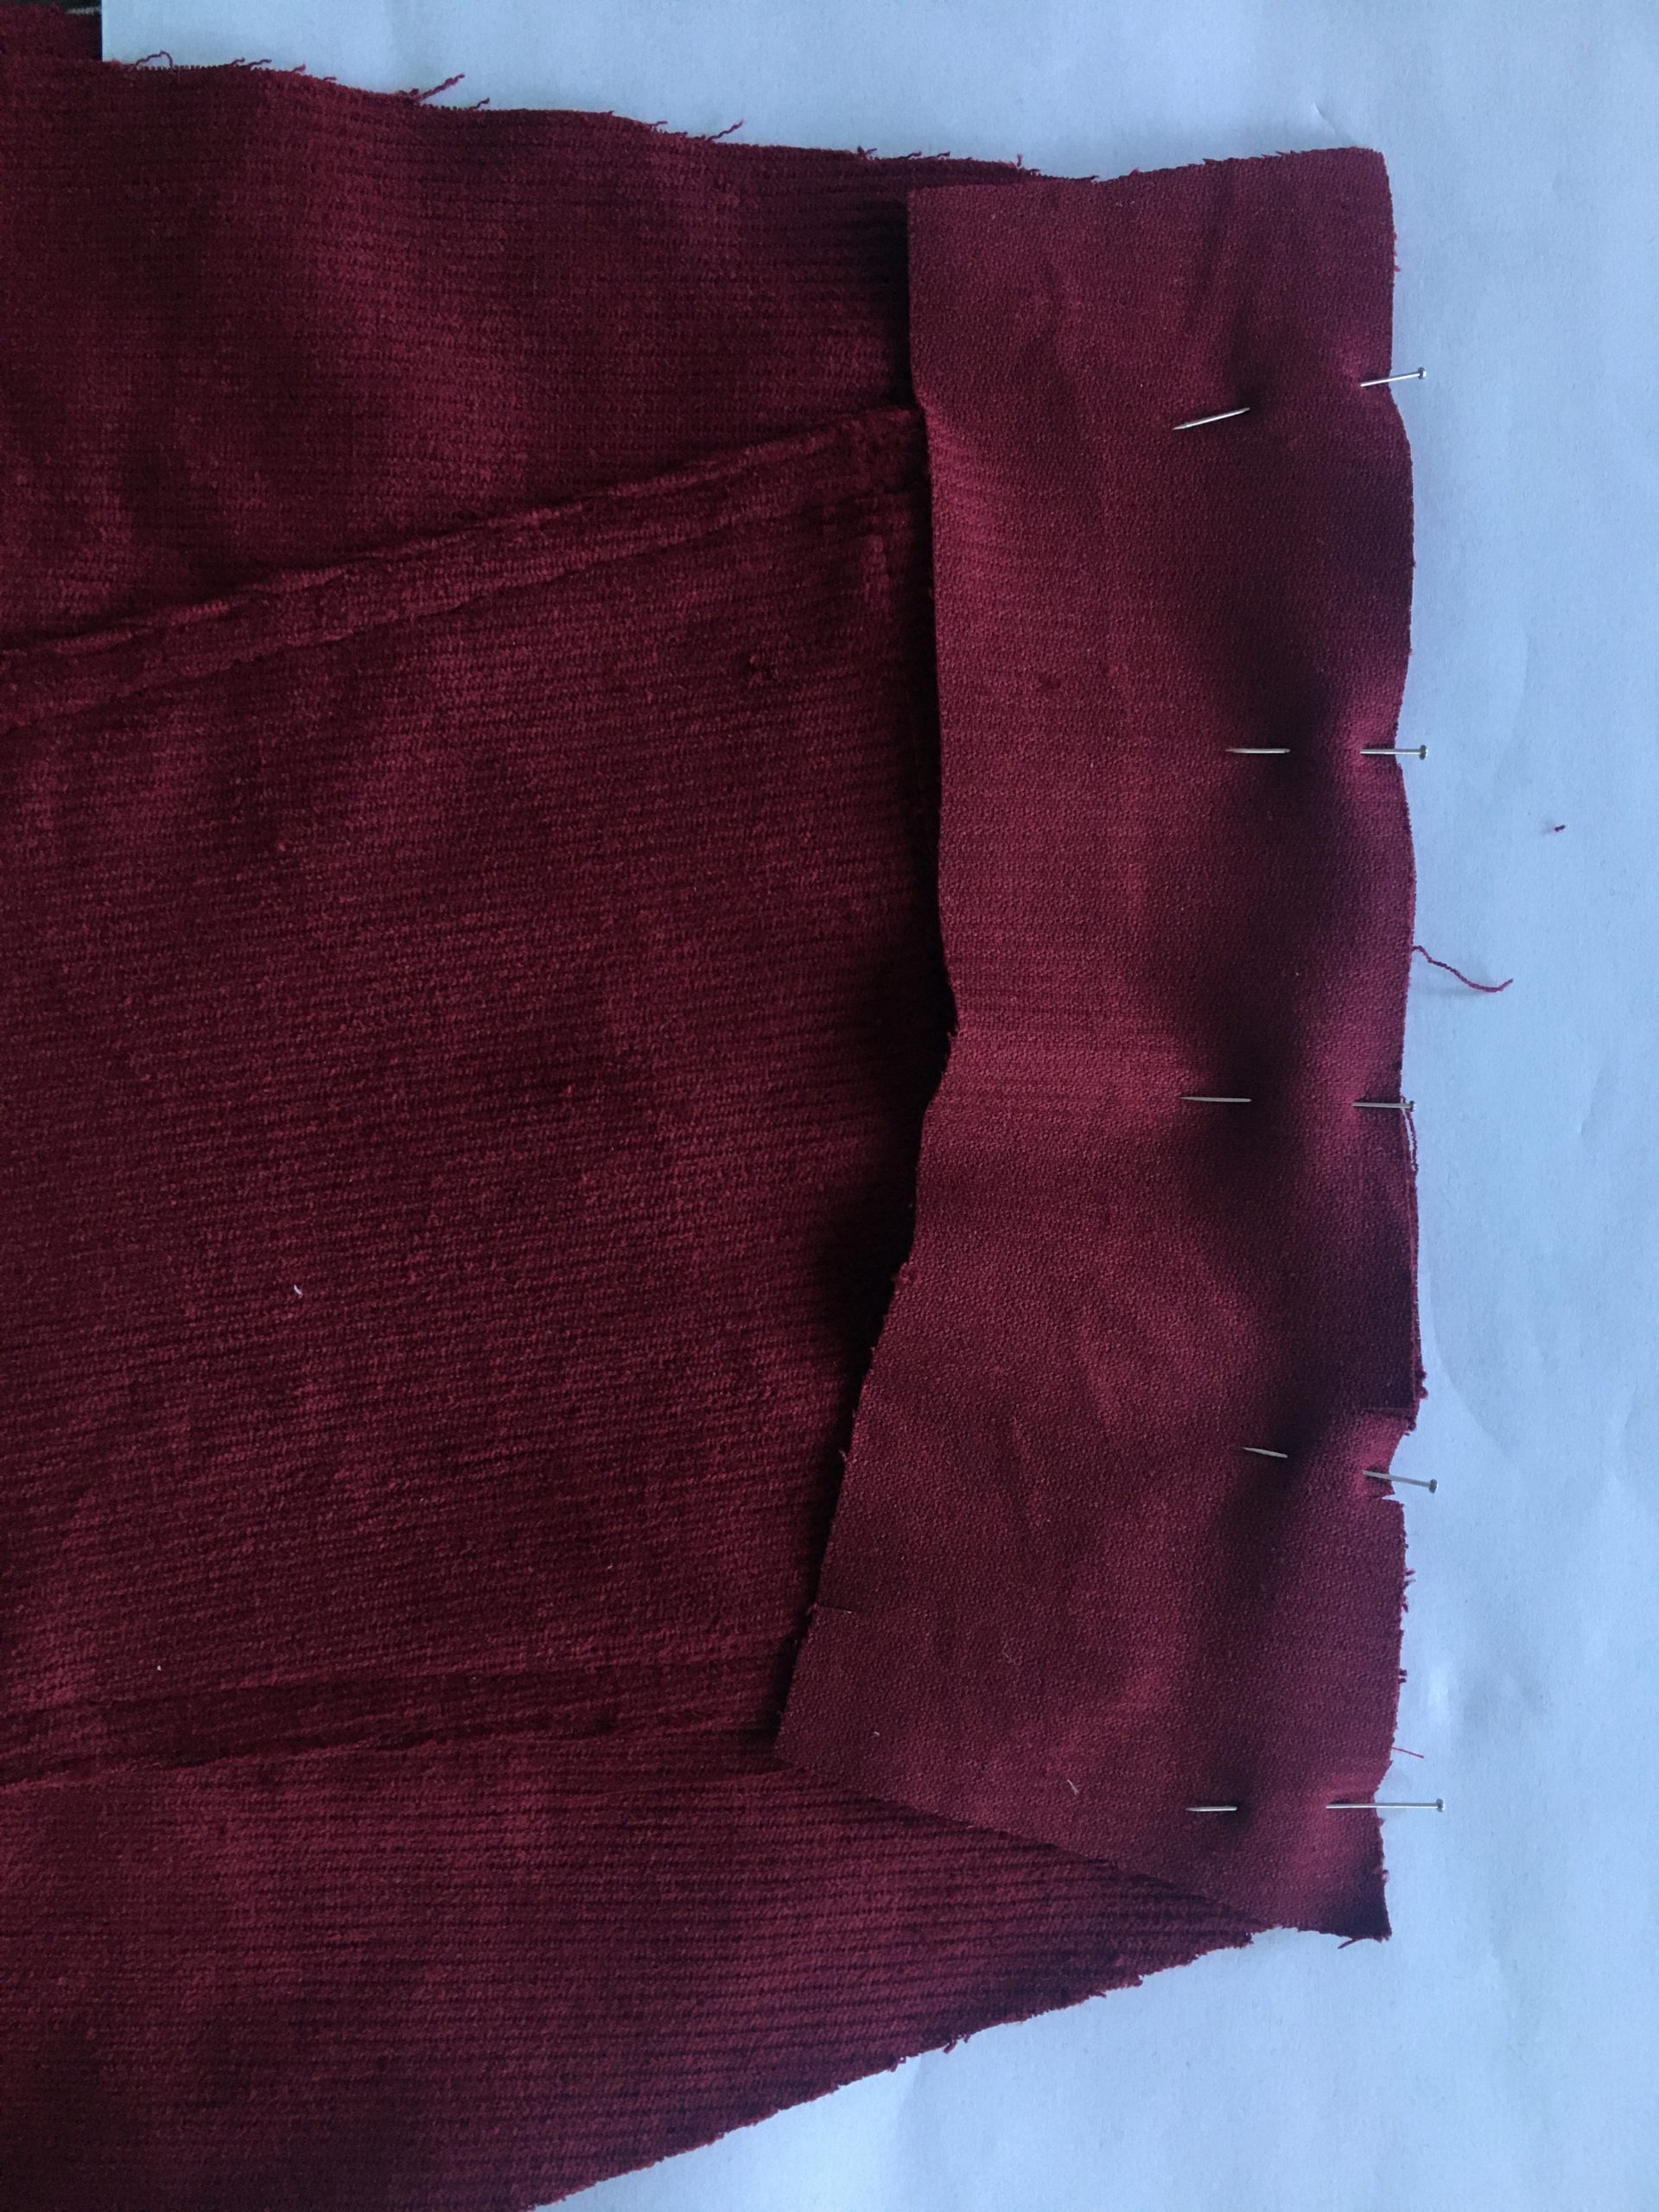
Then cut the bottom seam allowance down to half.
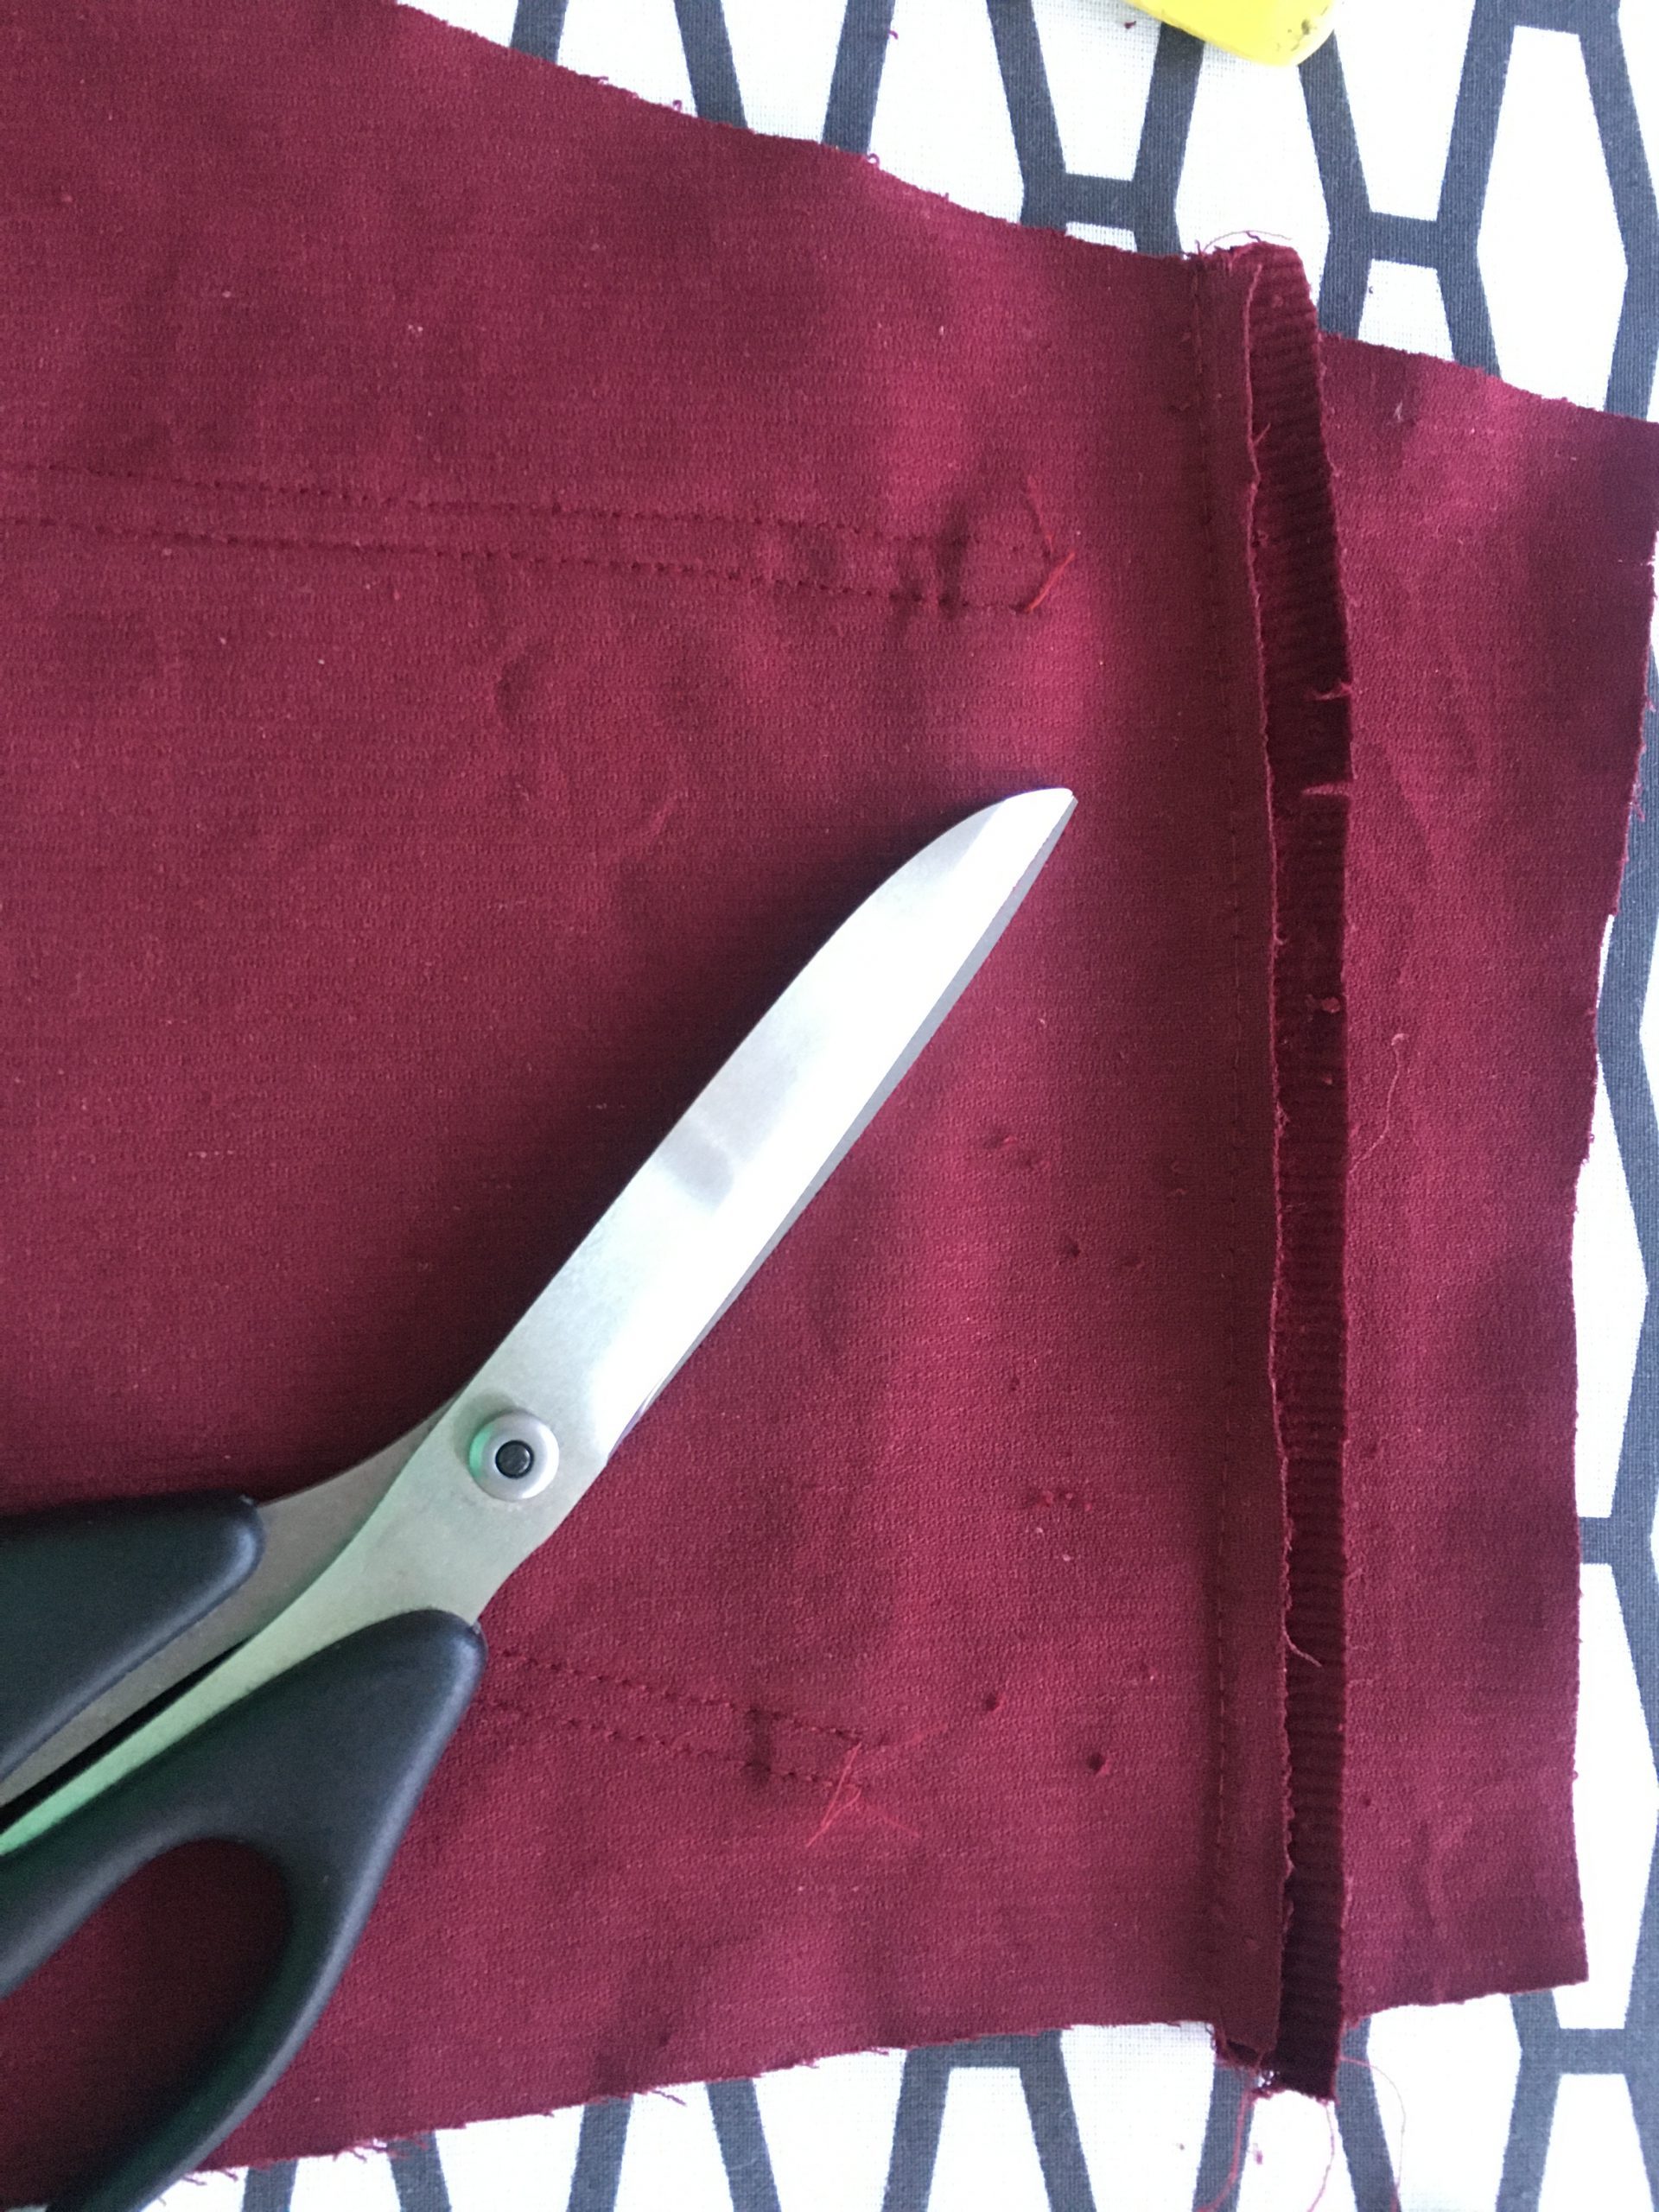
The top seam allowance, which is still complete, is then folded around the shortened seam allowance, as with a lap seam.
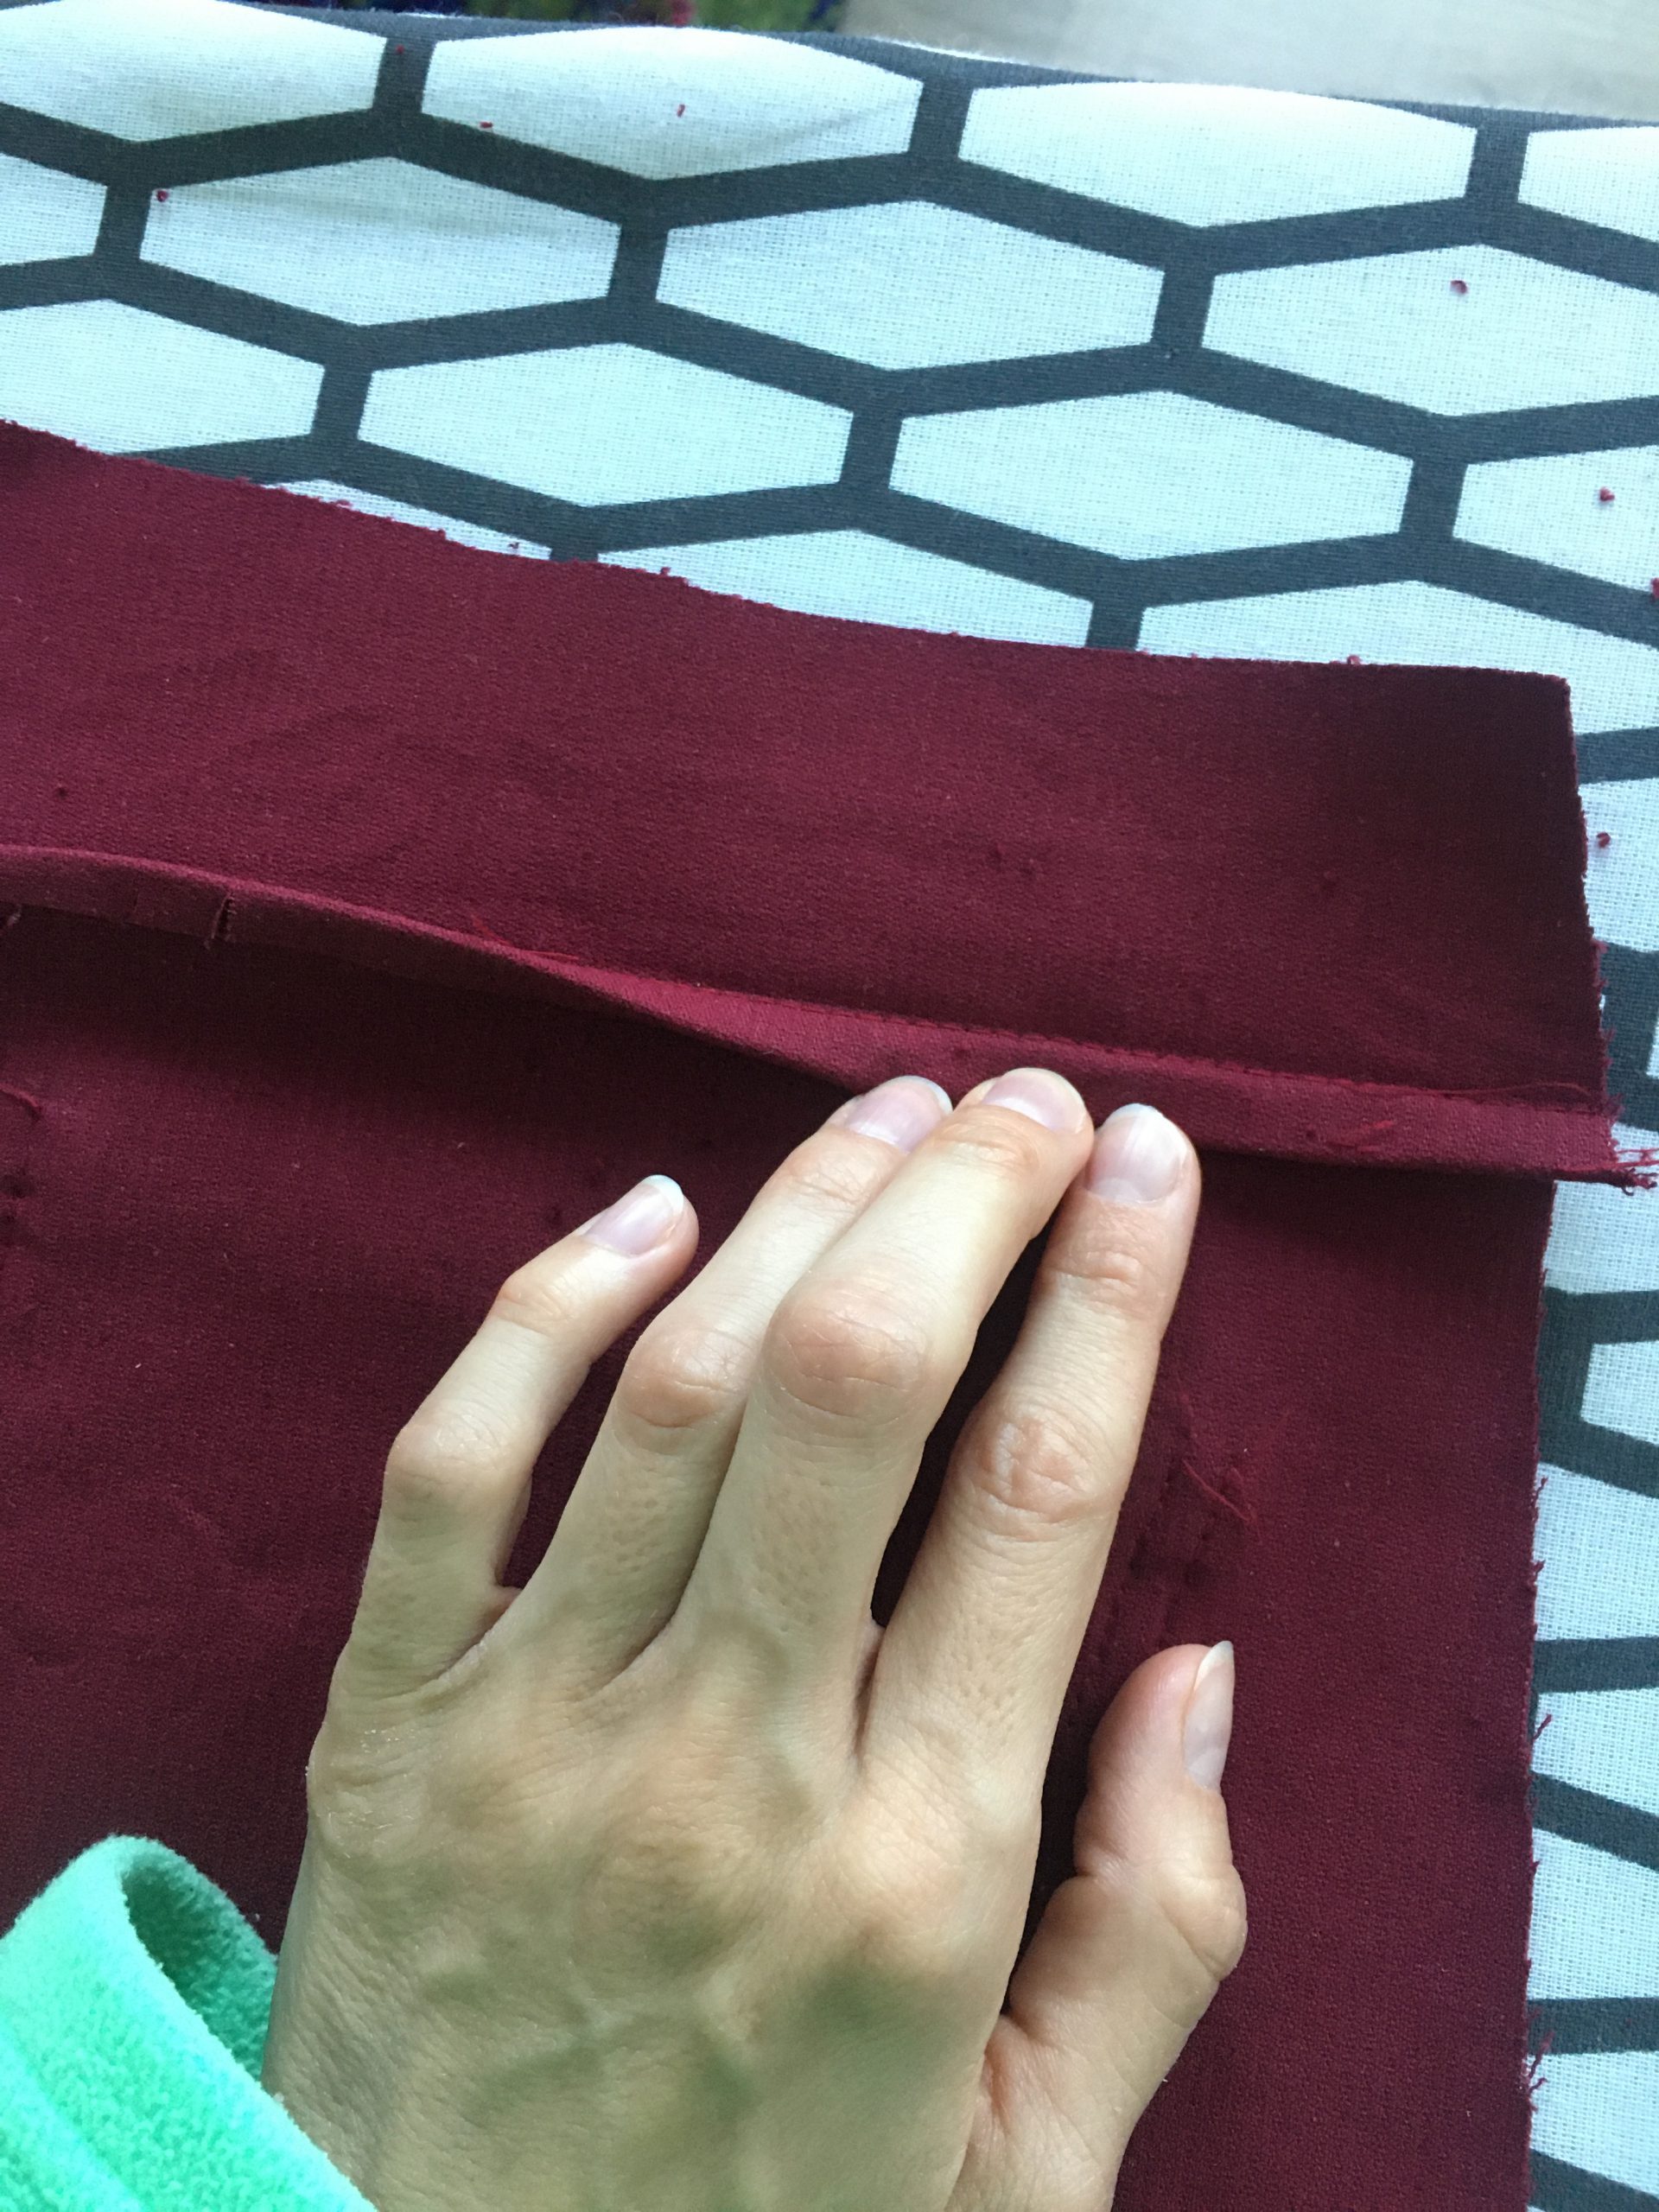
Give it a good ironing to hold everything in place when sewing. Now stitch from the right, again in two rows. This ensures that the folded seam allowance is secured on the inside and there are no longer any open edges.
Step 6: Finishing the corduroy pants
The rest of the pants are sewn as described in the Jeans blog post. Finally, attach the buttons to your pants; in my case they were no-sew buttons. Your winter corduroy pants are now ready for the festive season.
I hope you have lots of fun sewing them.


0 Responses