 BERNINA Corporate Blog -
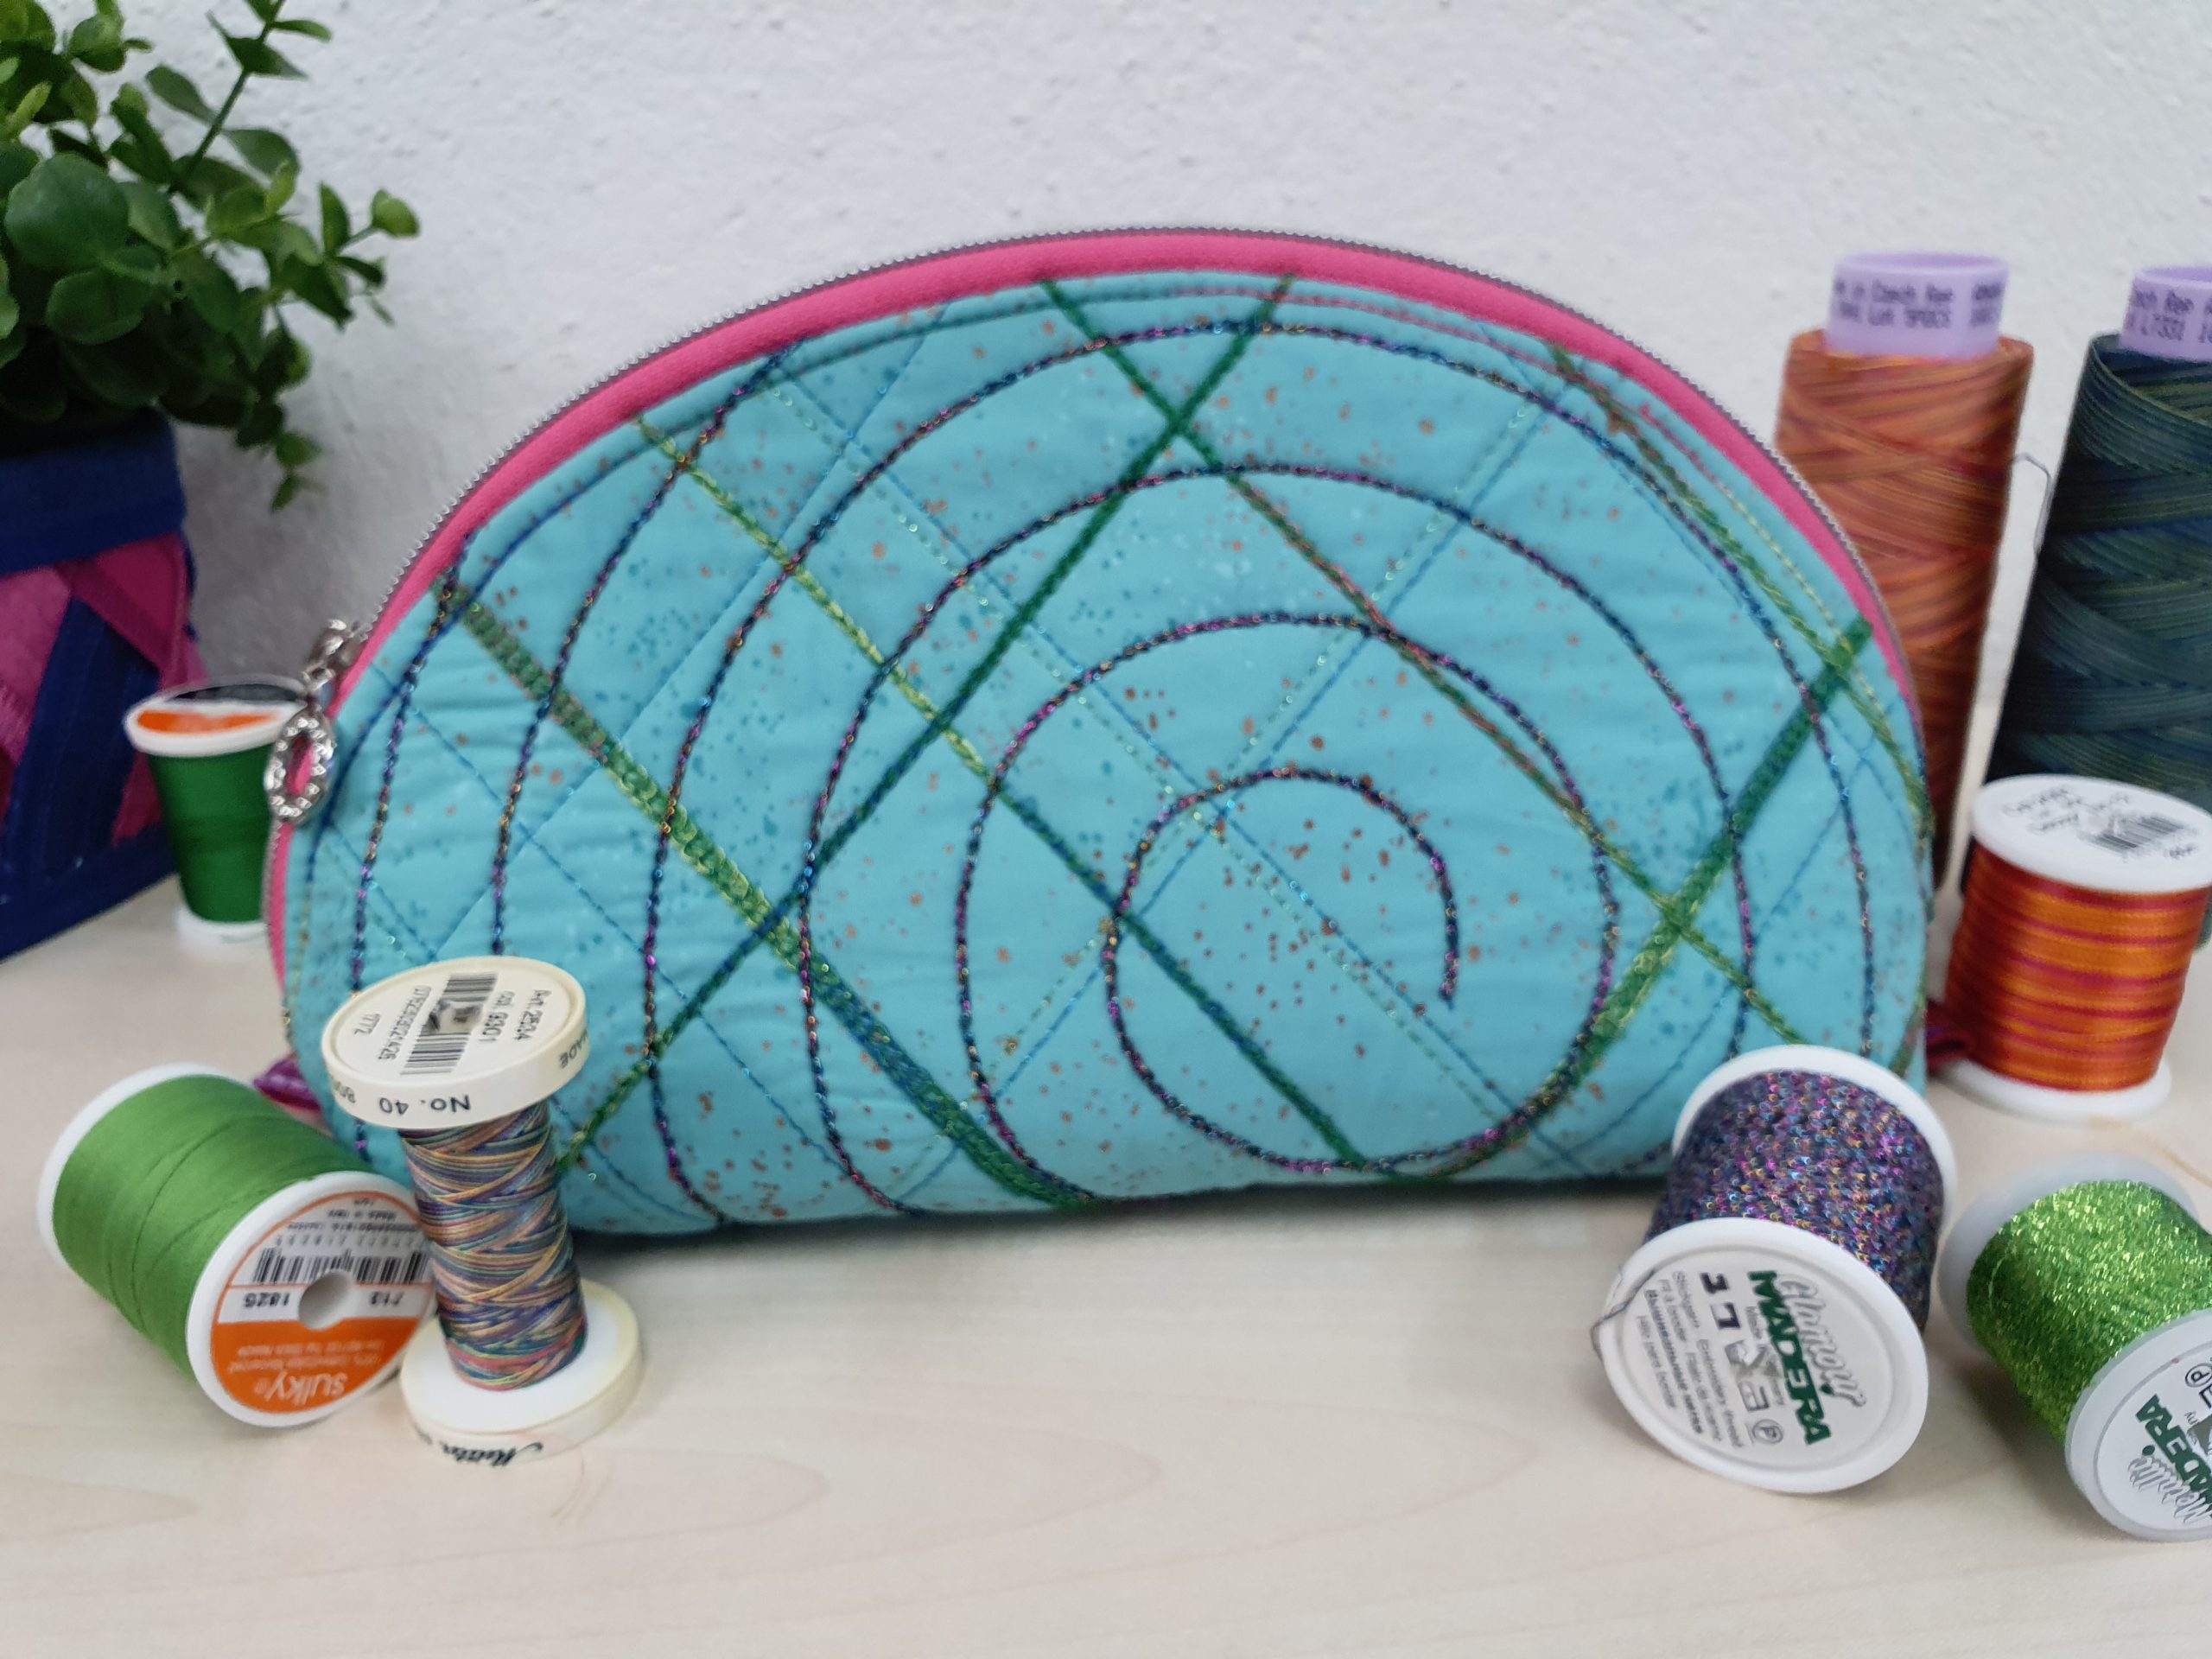
Sewing a half-moon zipper bag – or “taco bag” – is very easy. You can find a variety of instructions on blog or YouTube. But what is special about my bag? Creating my own fabric for it and sewing it almost exclusively with the overlock machine or with coverstitches and chainstitches.

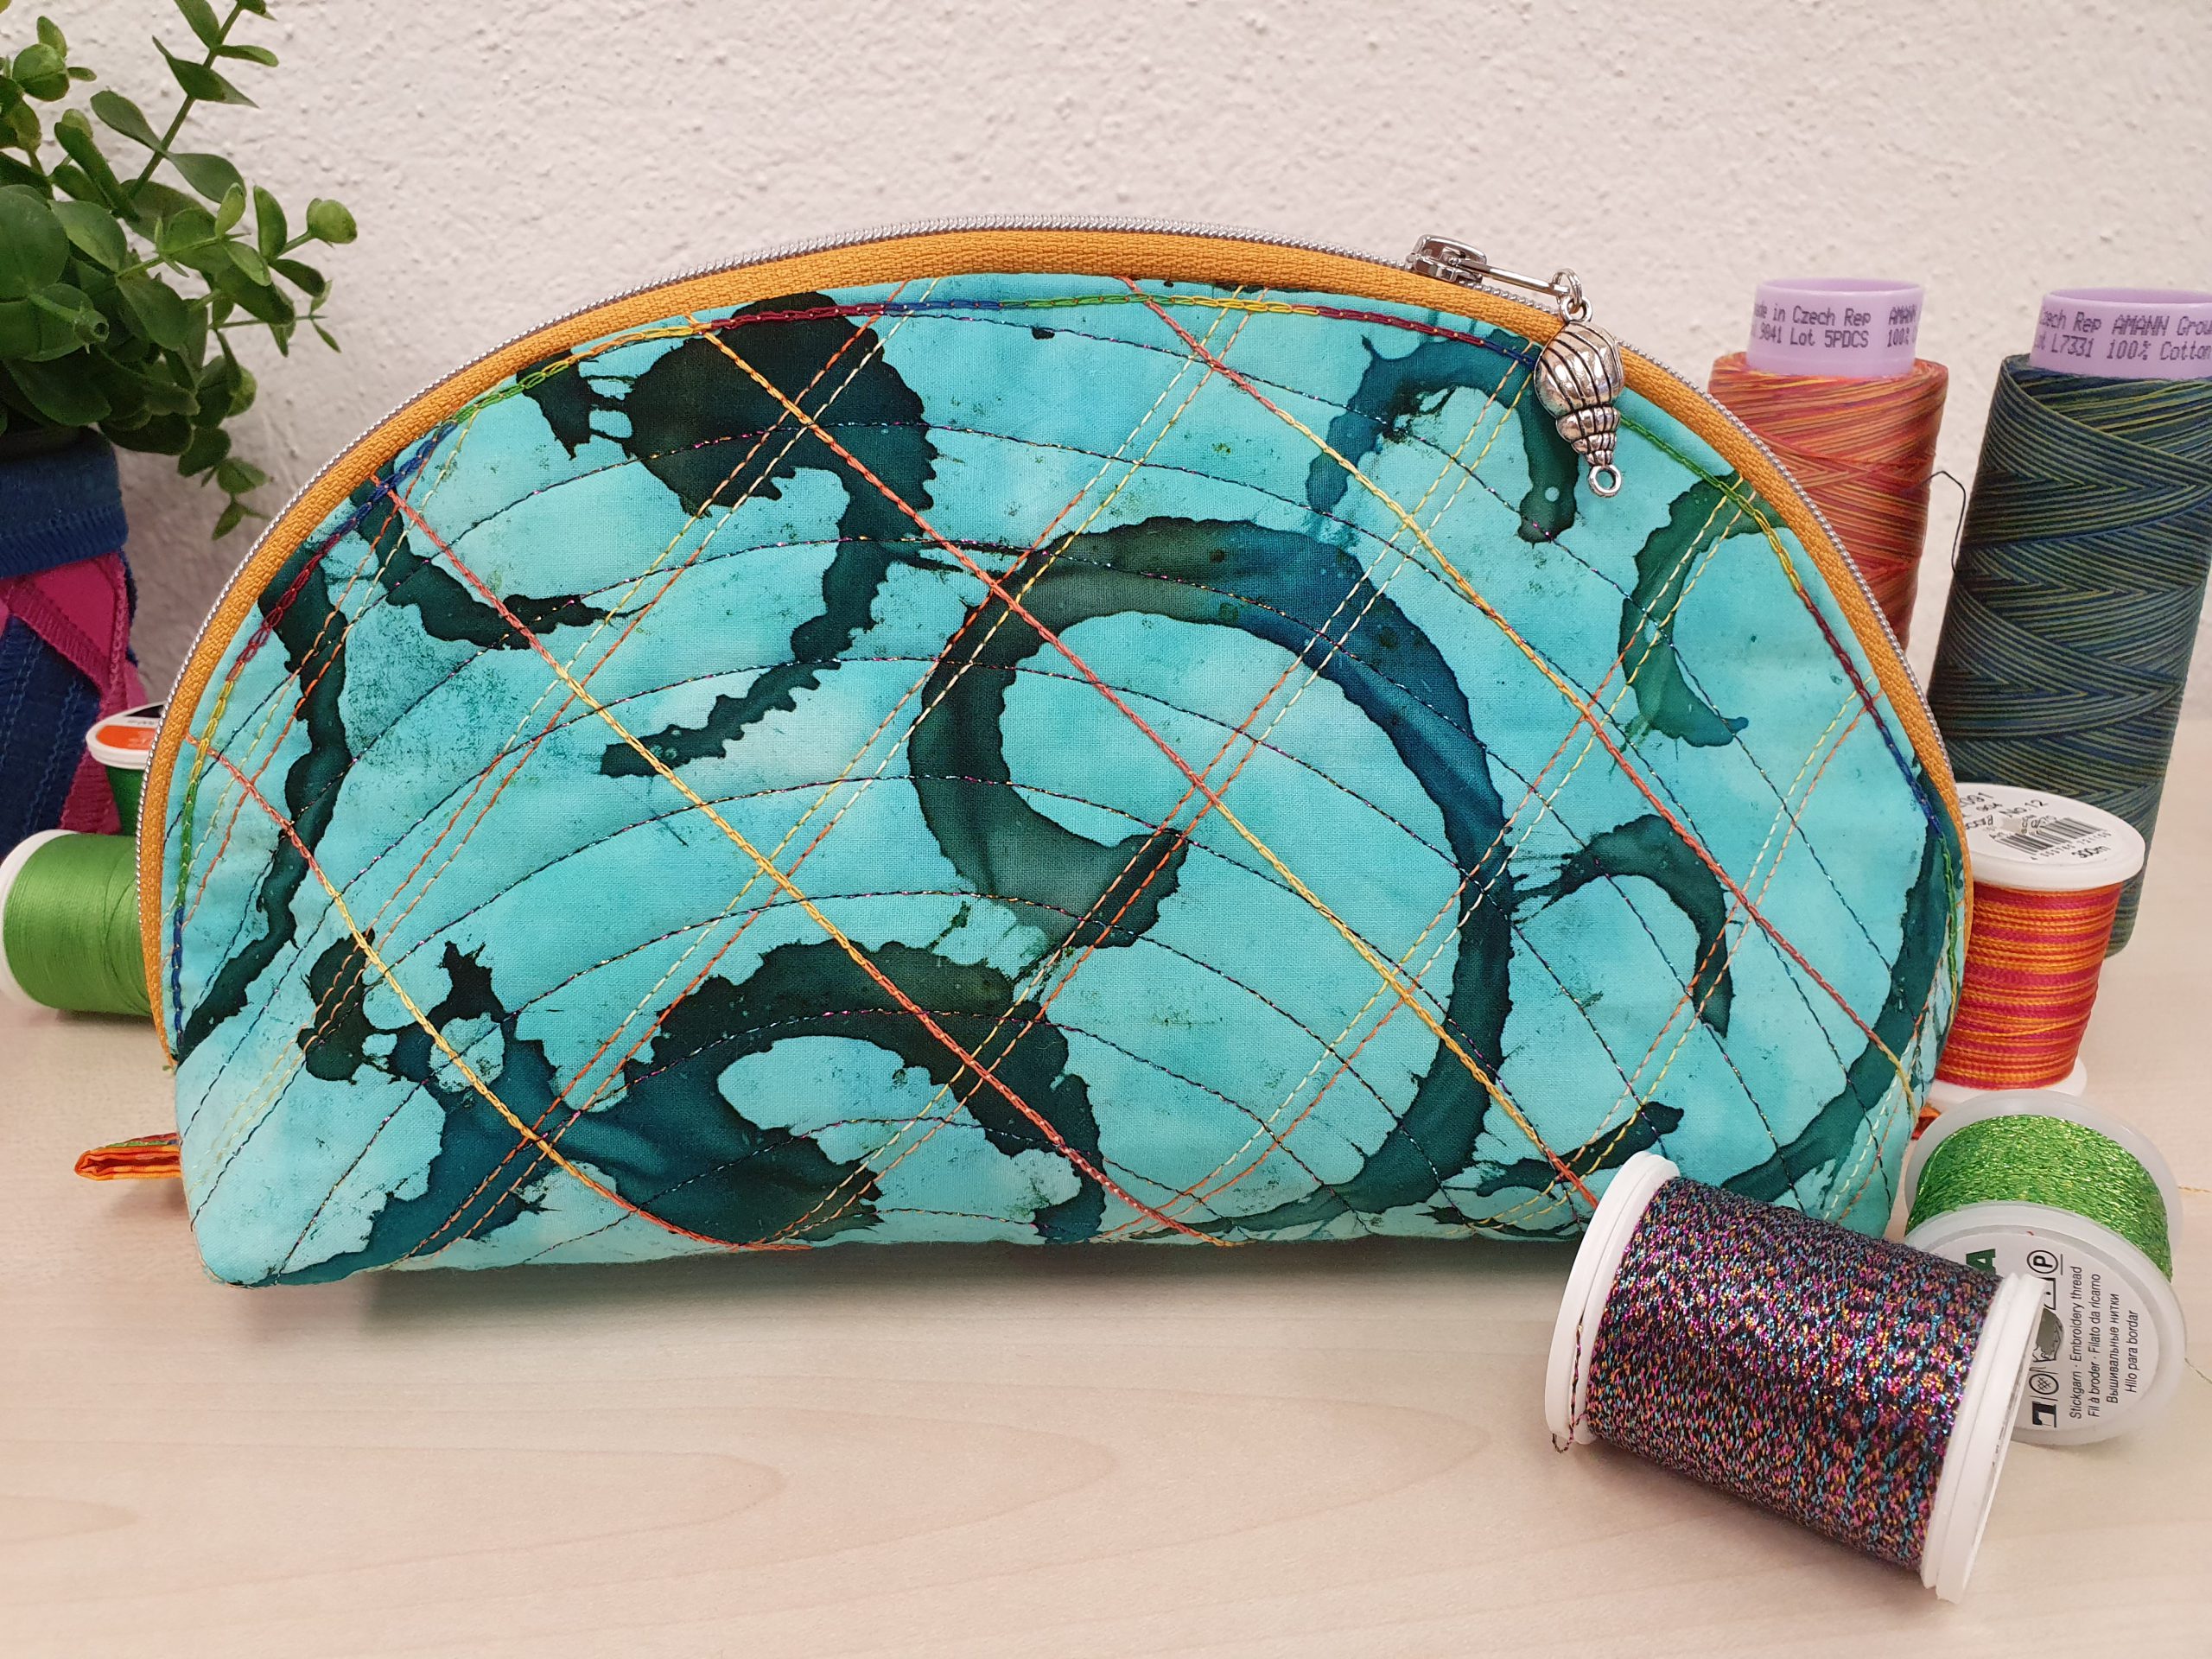
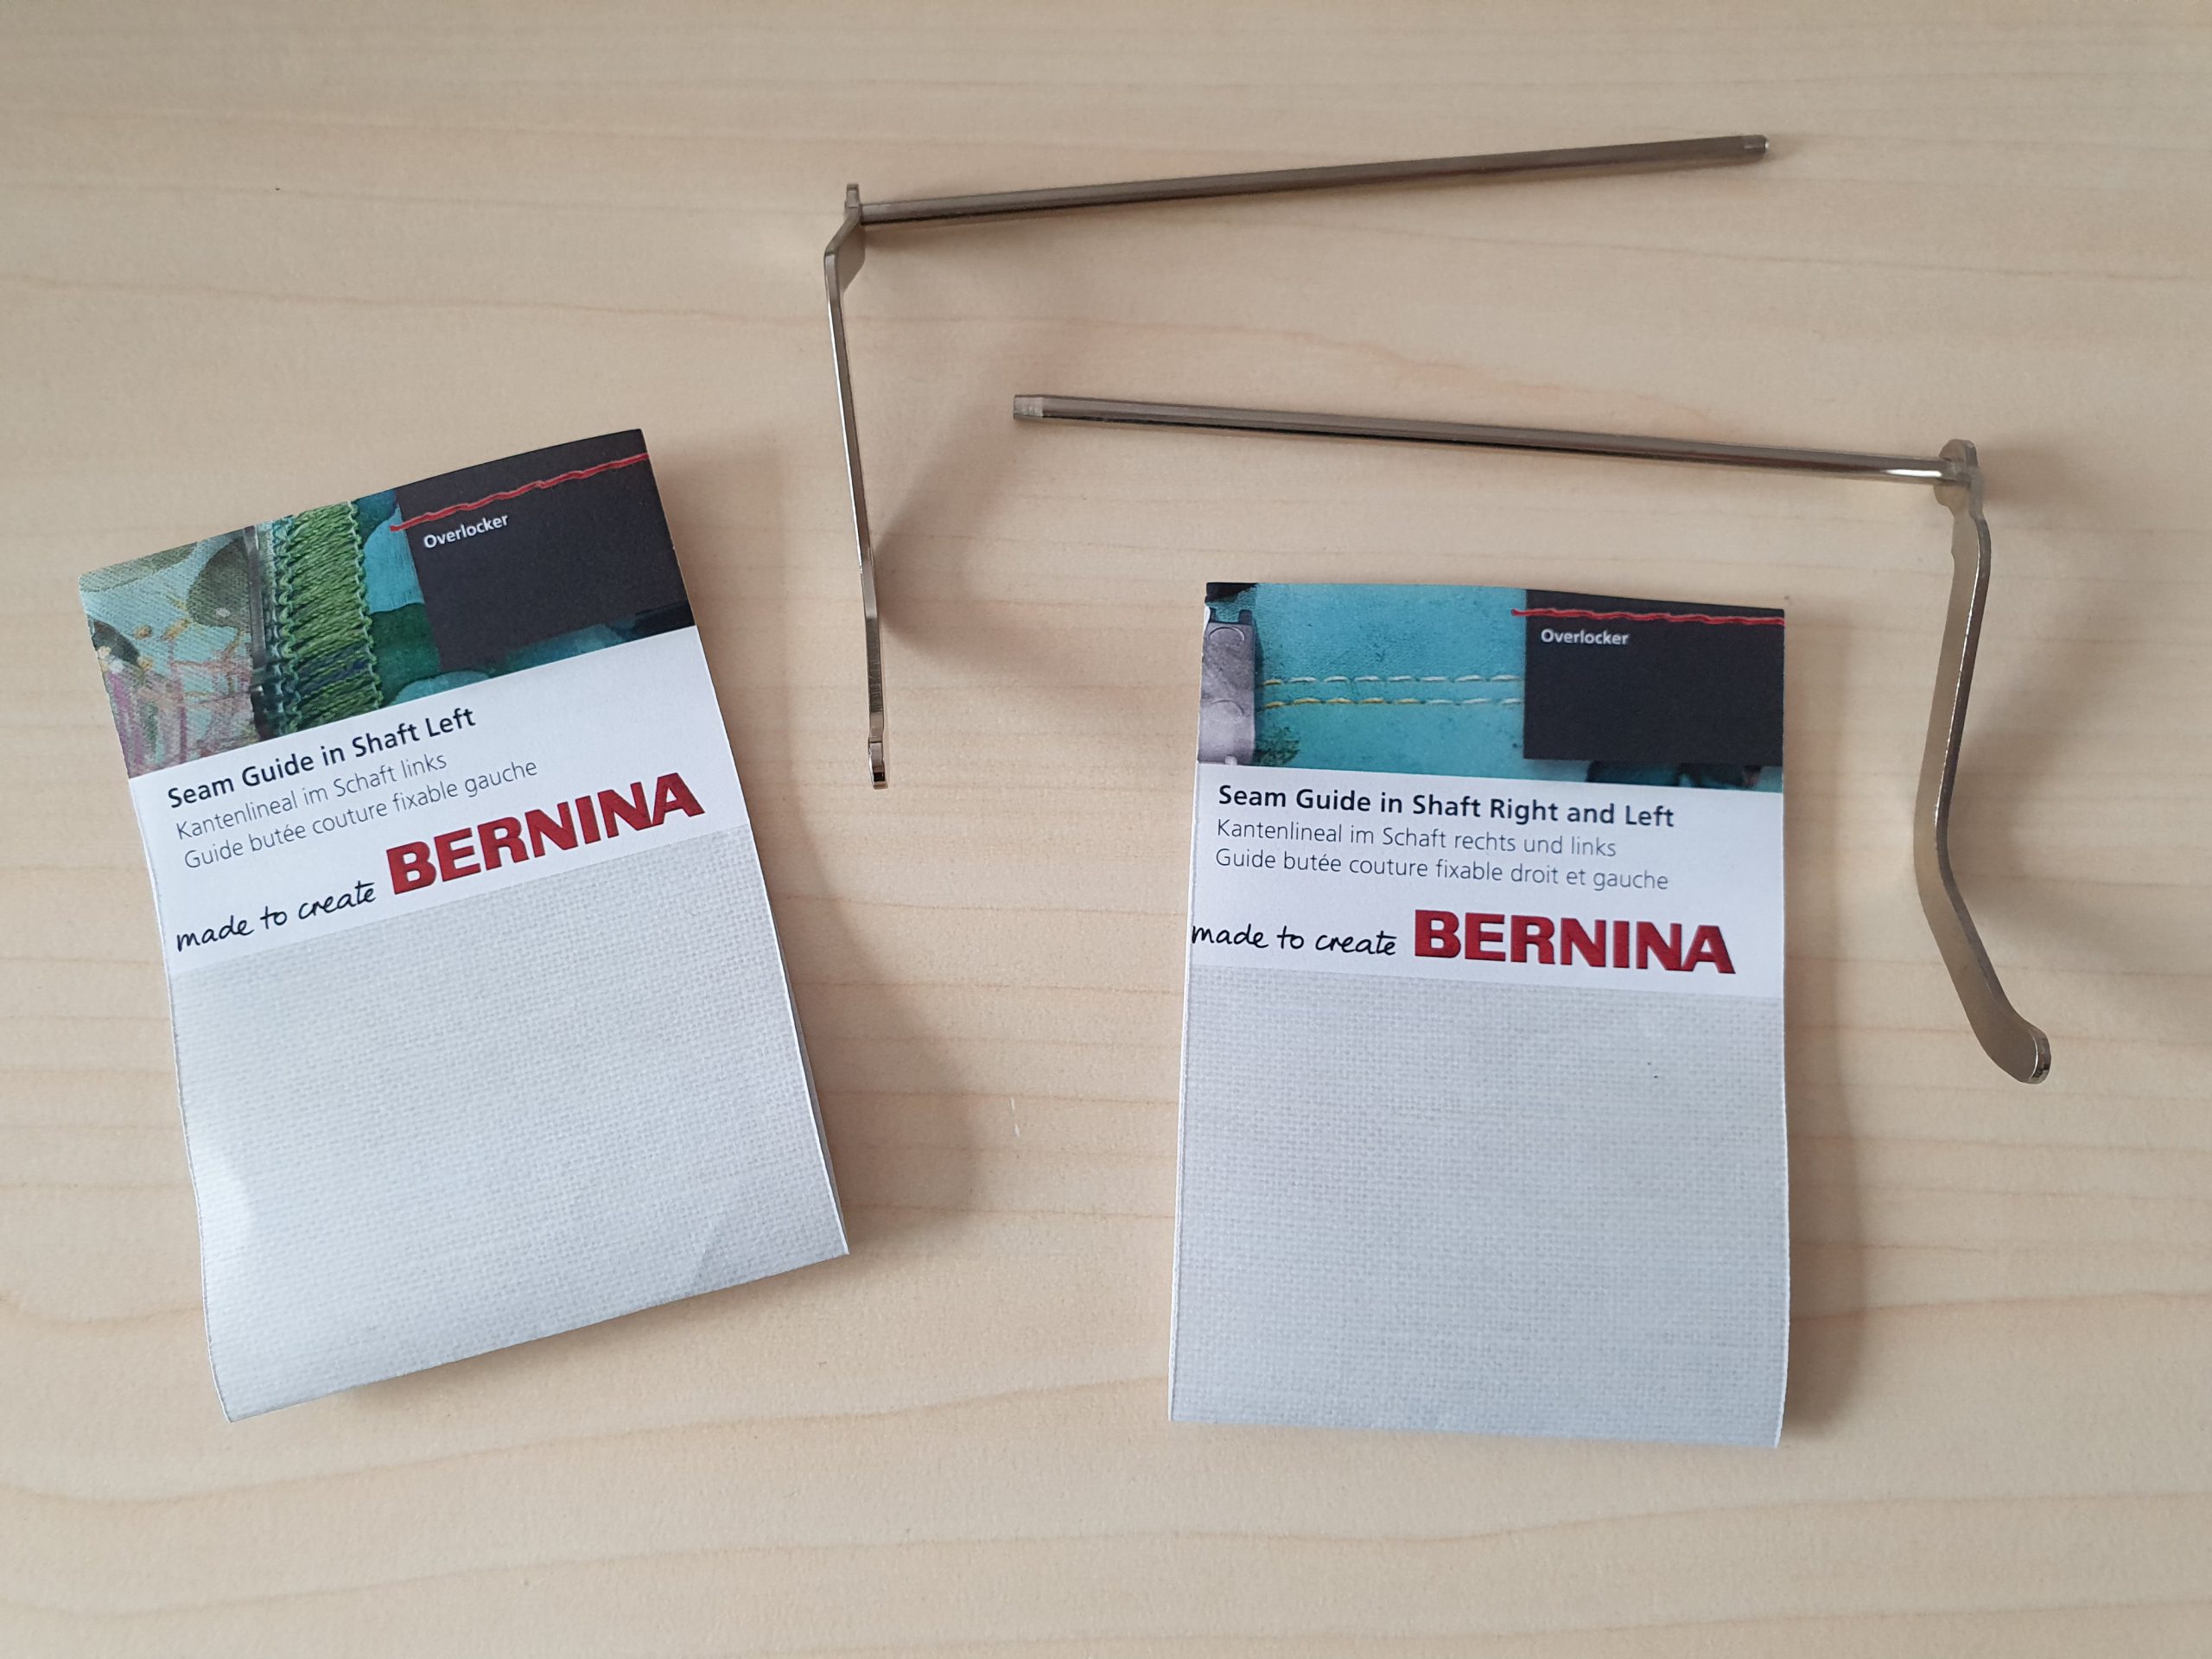
Another special feature is that I worked with the Seam Guides in Shaft Right and Left to create my fabric, in order to try them to their paces. Or to check if they are really saving me the time of drawing detailed markings prior to stitching. And yes, my expectations were met.
Sewing a zipper bag with overlock and coverstitch
Here are the details about decorating and sewing the Half-Moon Zipper bag. As usual, should you have some questions during your sewing process, please do not hesitate to ask in the comment section.
Materials
Let’s start with preparing your materials:
- Cotton outer fabric, at least 35 x 40 cm (14 16”), optimal would be 40 x 45 cm (16 x 18”)
- Cotton inner fabric, at least 35 x 40 cm (14 16”), optimal would be 40 x 45 cm (16 x 18”). You may use the same as the outer fabric.
- Volume batting 35 x 40 cm (14 16”), optimal would be 40 x 45 cm (16 x 18”), for example thermolam 272 from Vlieseline (of which I had a spare piece). But any soft volume batting you may have in stock is fine, for example bamboo mix or 277 cotton, etc.
- Non-metal zipper by the meter, 50 cm (20”) with one or two zipper pulls – I found one enough. Alternatively, you may use a non-metal-standard zipper.
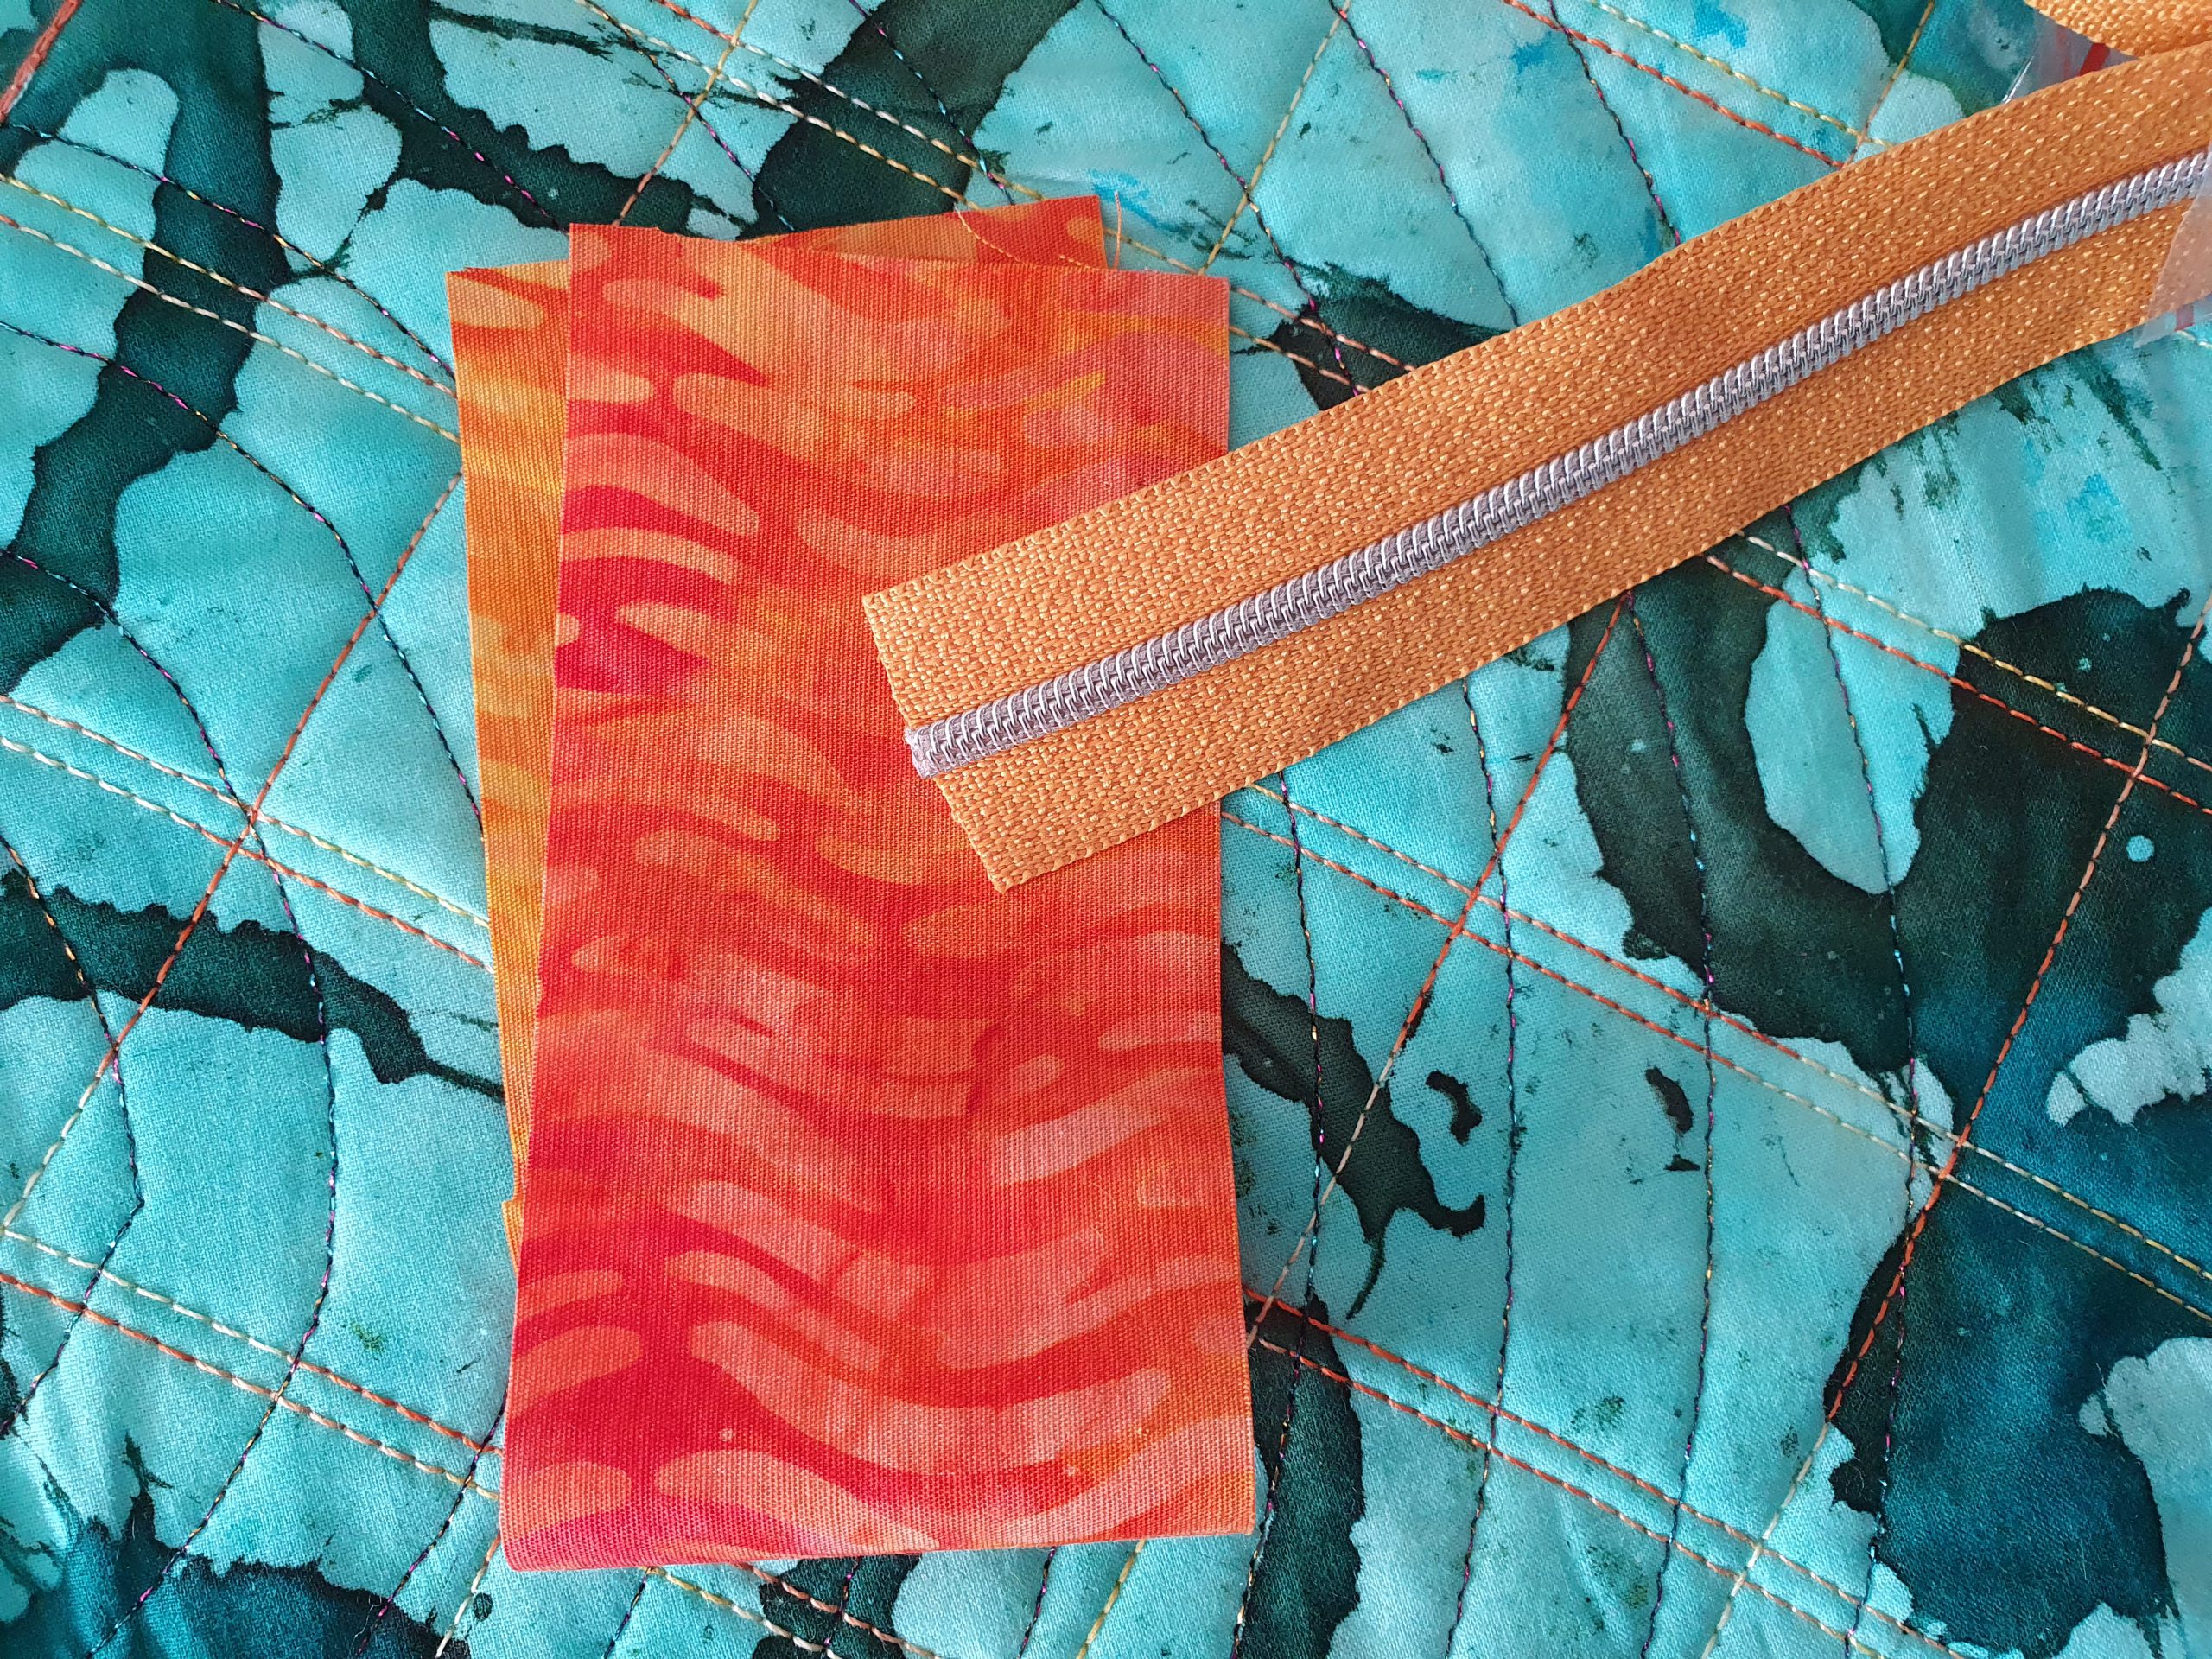
- Spare fabric for the loops at the end of the zipper, 6 x 20 cm (2 1/2 x 8”) 1 piece.
- Spare fabric bias cut, to bind the bottom seam, 4.5 x 15 cm (1 7/8 x 6”), 2 pieces. Alternatively, you may use a straight with the grain piece.
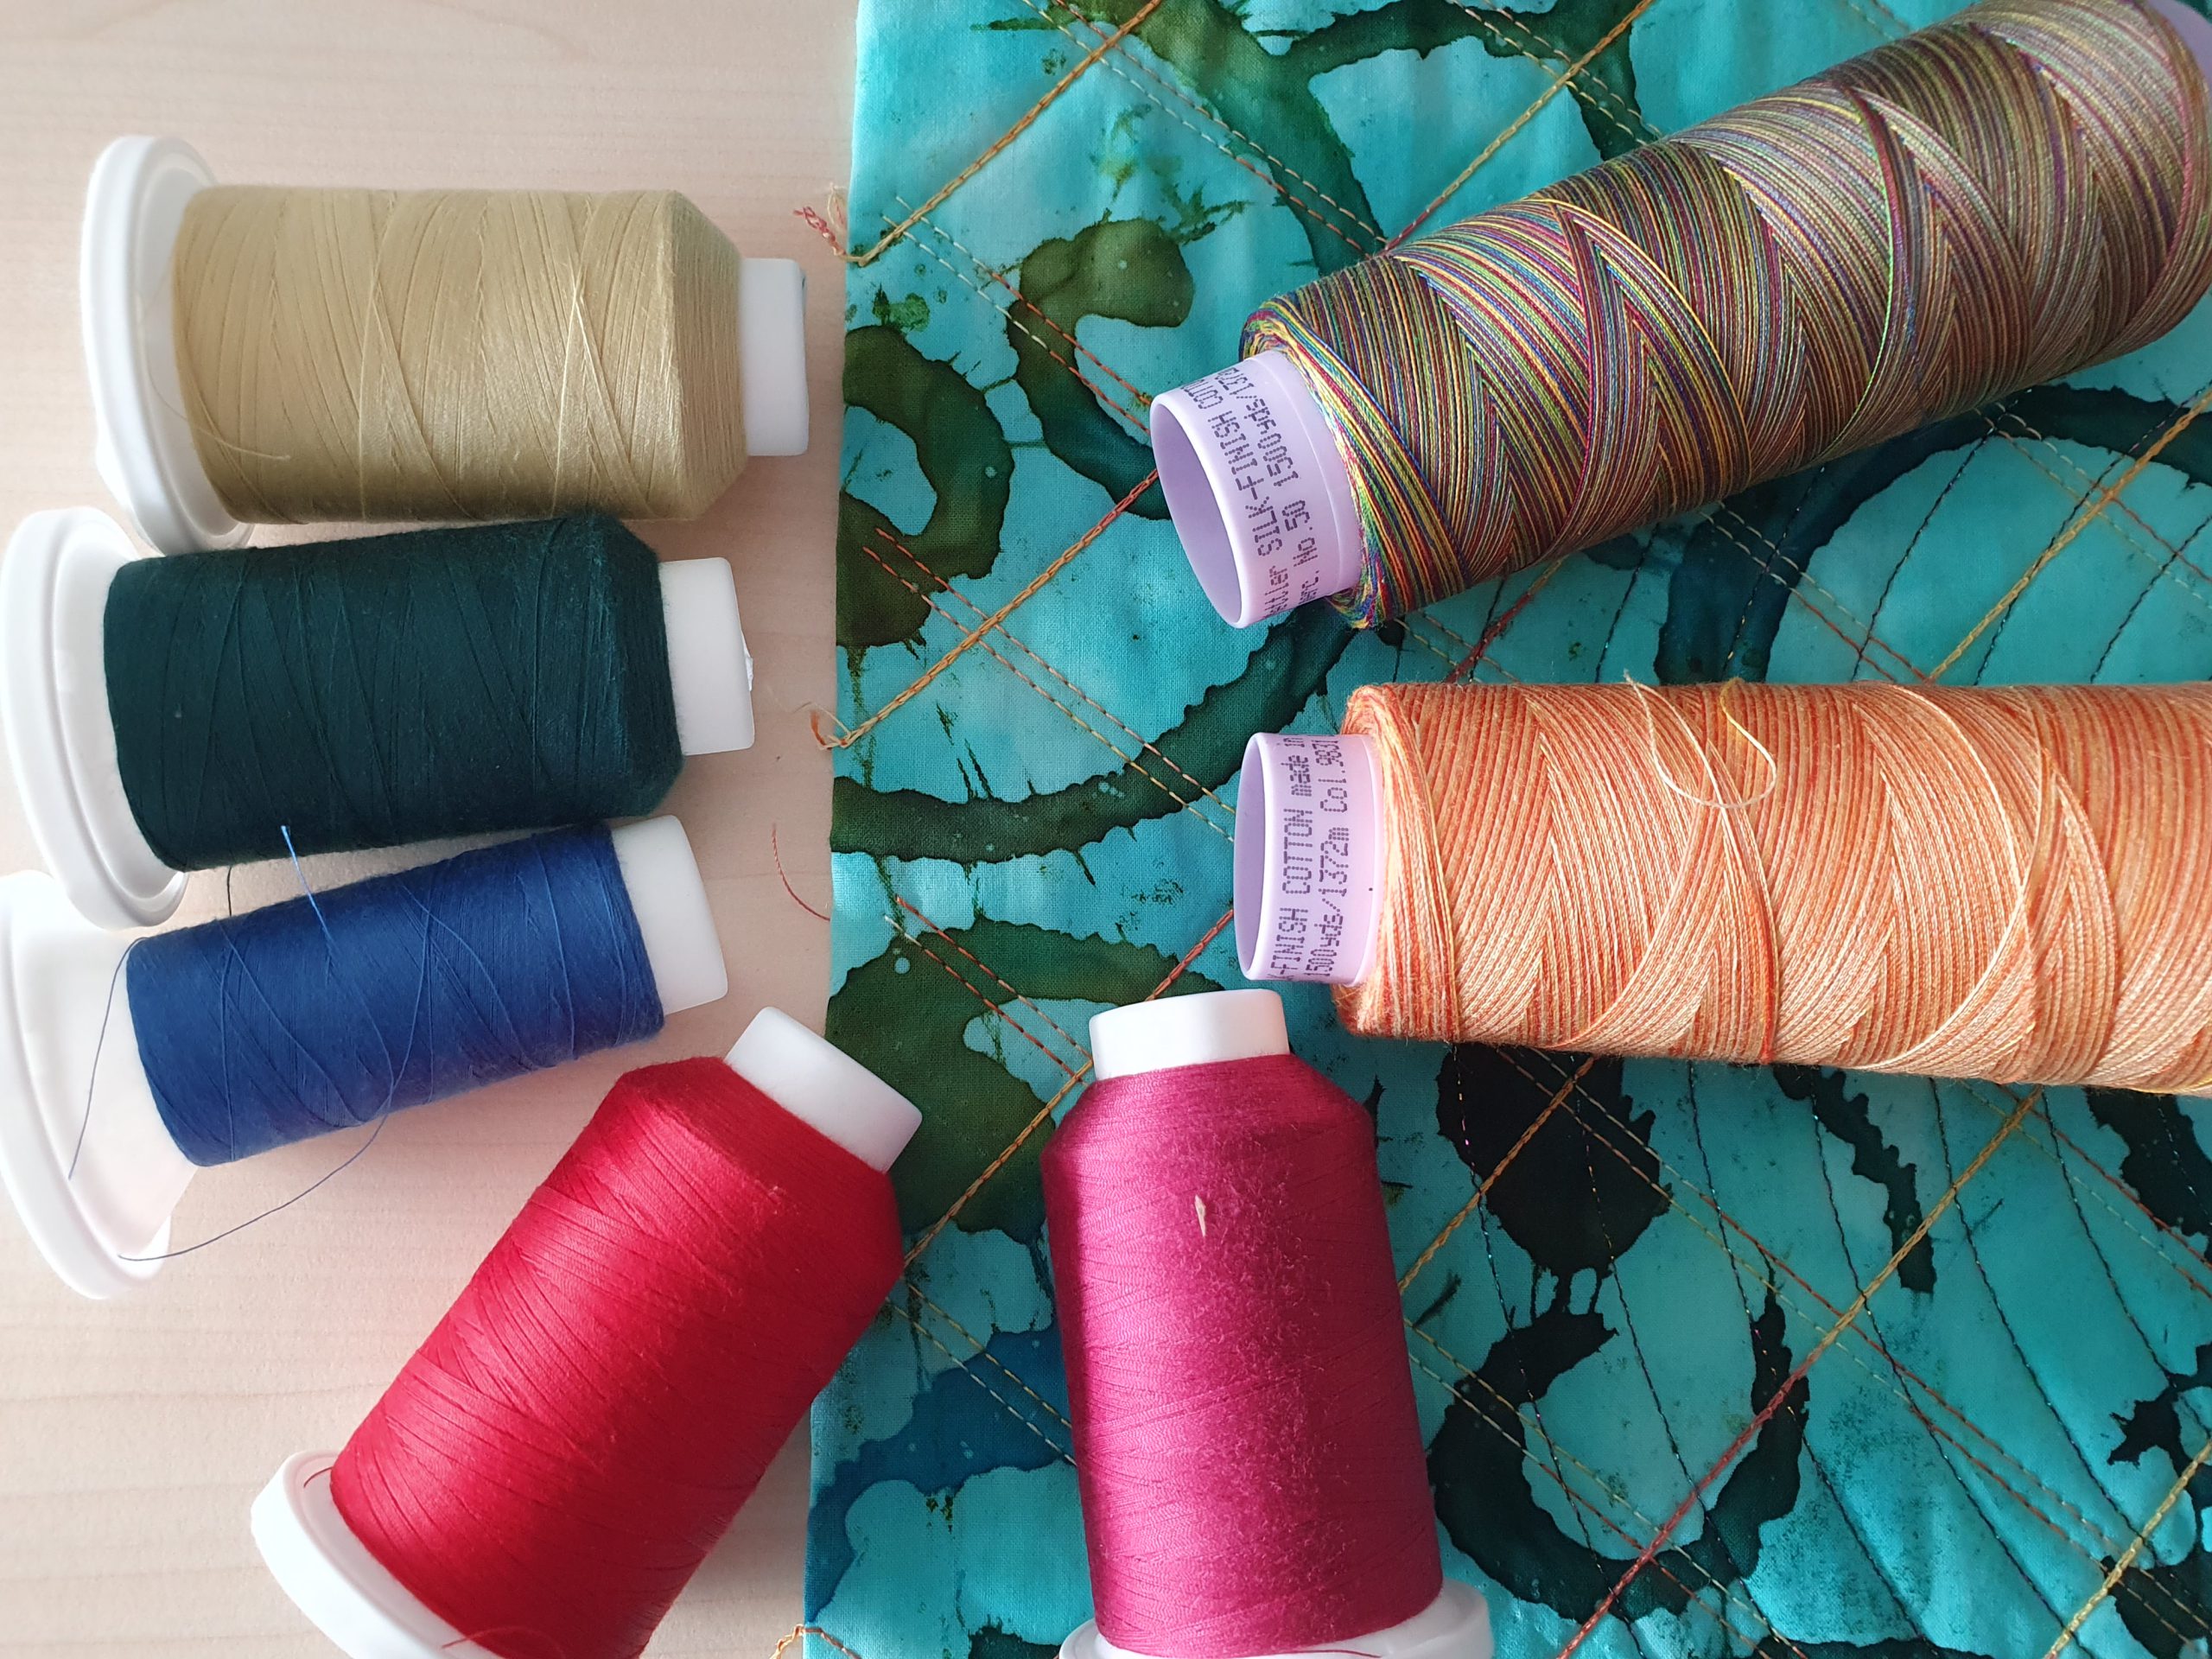
- Decorative threads: I recommend using threads or yarns of medium weight. These include Mettler Silk Finish Cotton 28, 40, 50. Mettler also has other medium-weight threads, for example “Extra Strong” and Seralon 30. Madeira Lana 12, Glamour 12 and Polyneon 40 as well as Cotona 30 or Decora 12 are suitable. Madeira Metallic 40 adds some glamour to your project. Sulky 12wt cotton is also ideal to use. Don’t hesitate to combine two threads in the chain looper if you like.
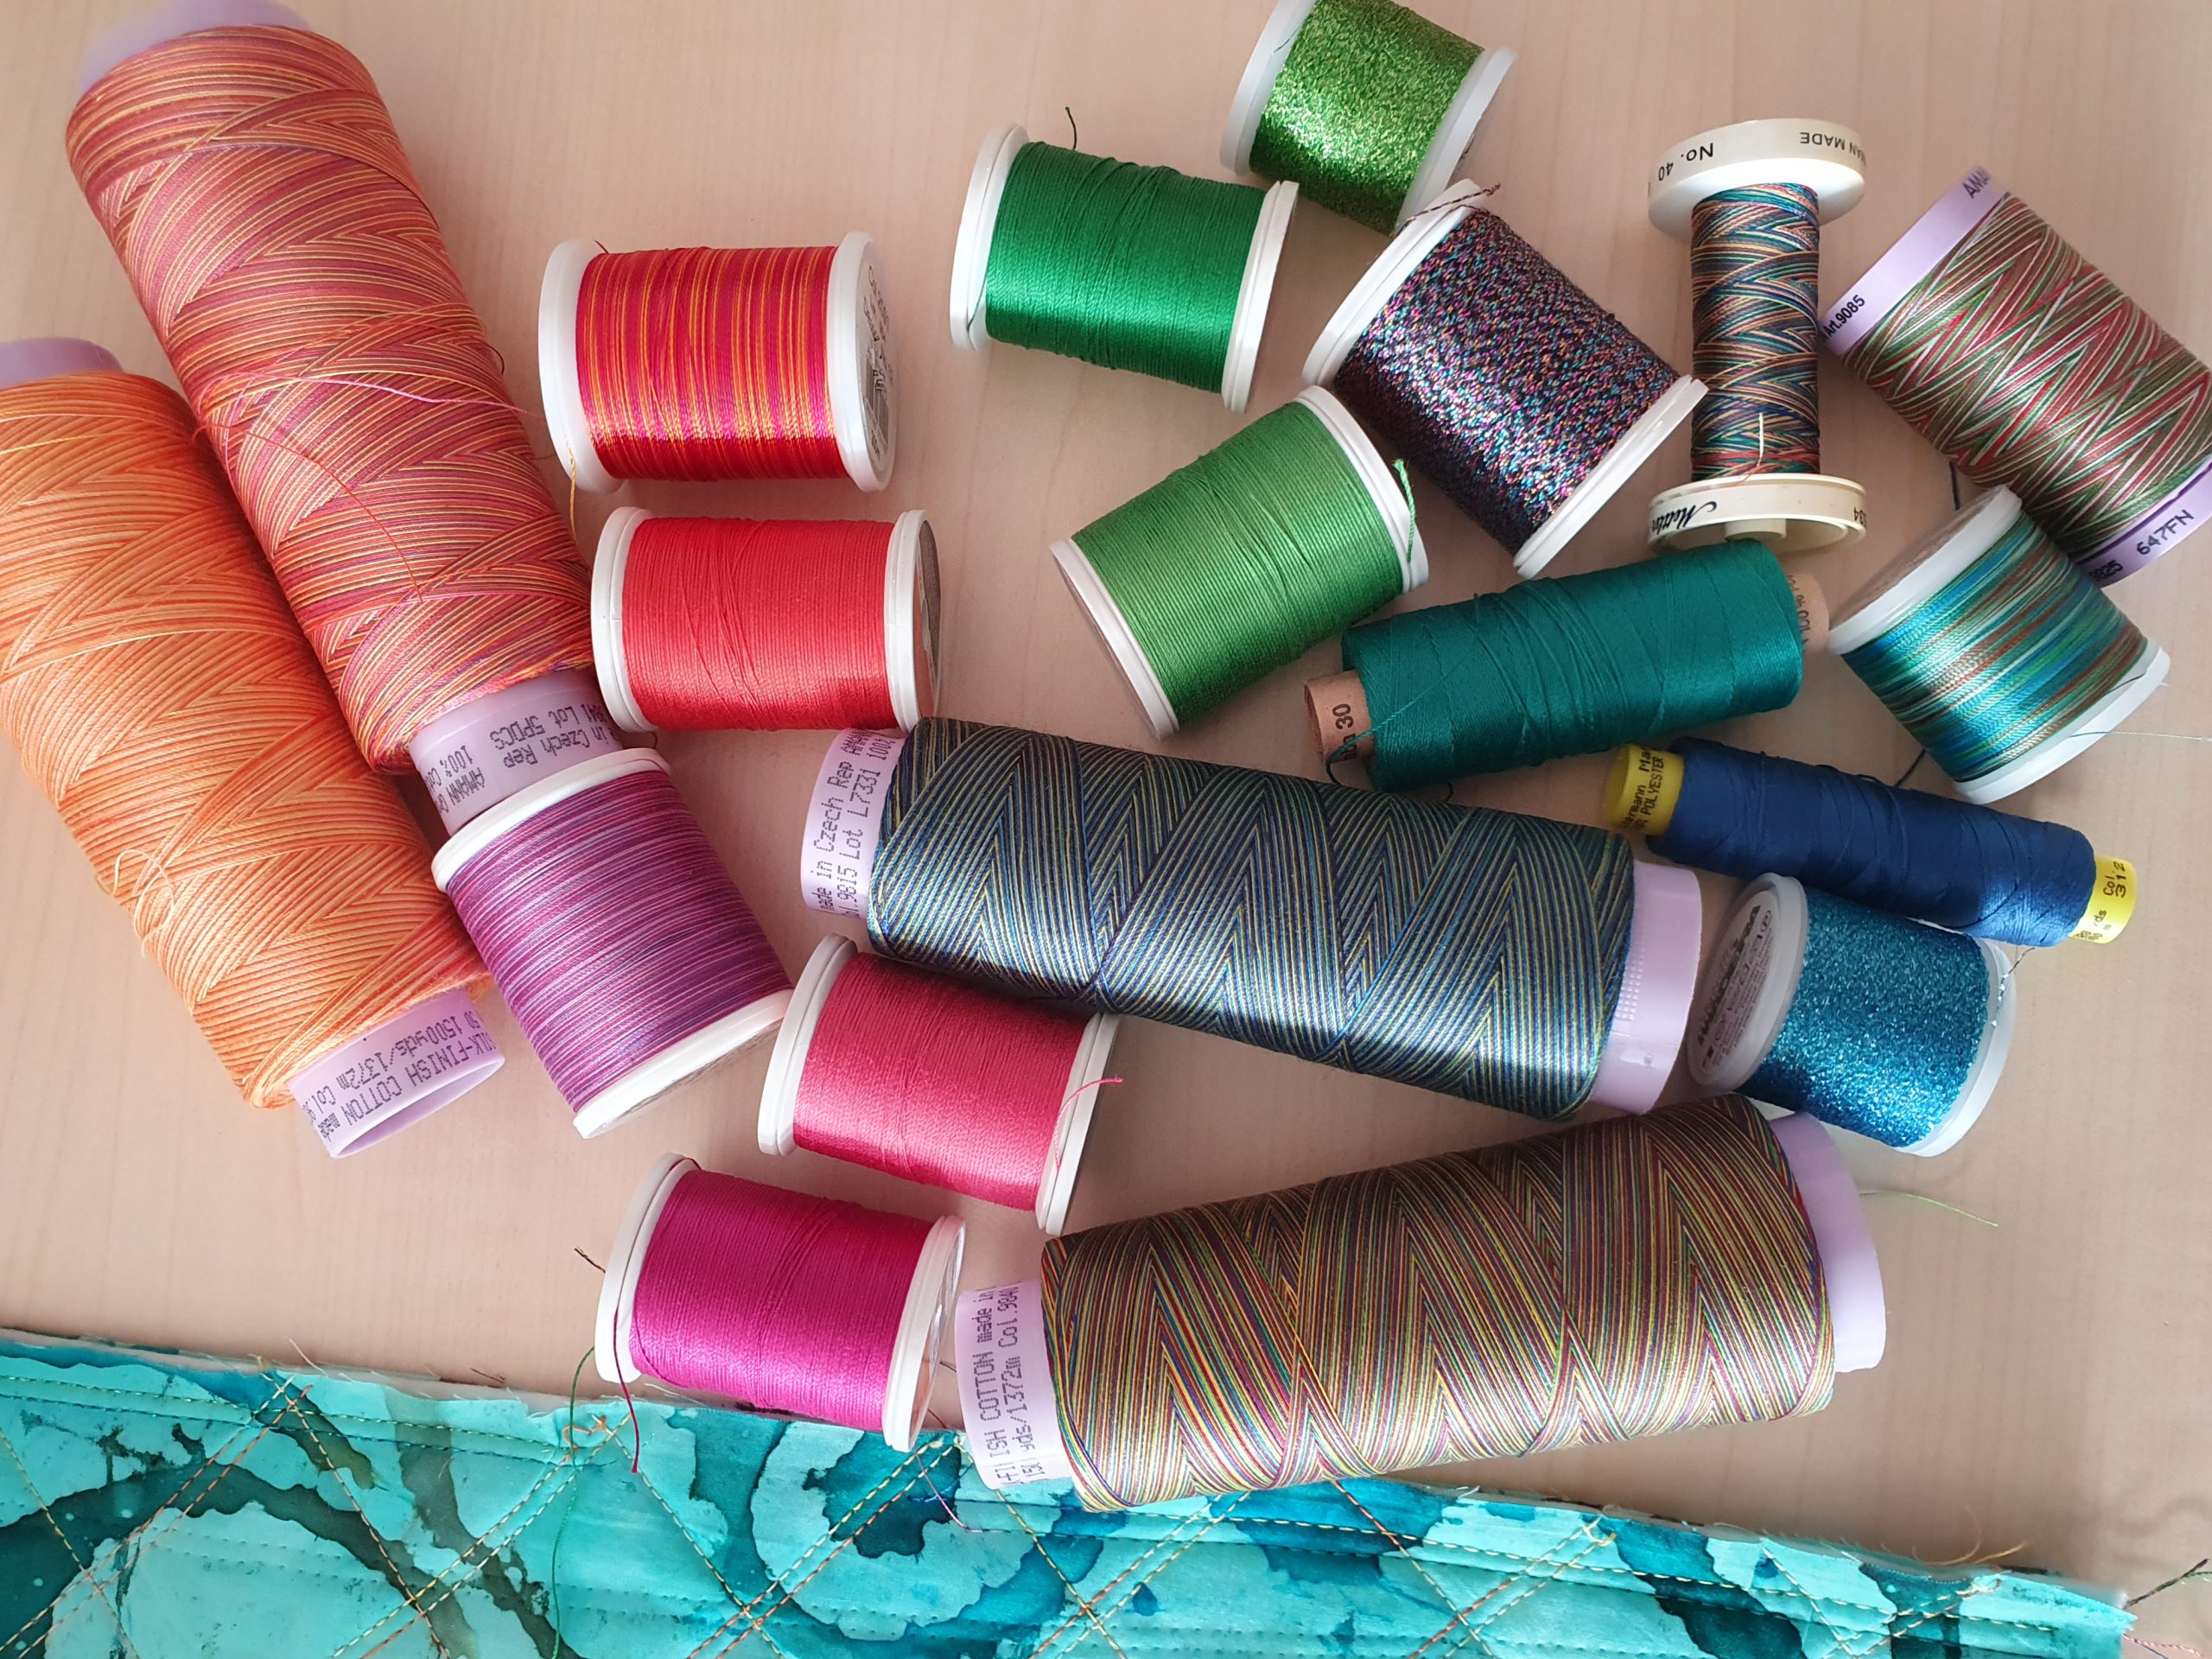
- In the 90 needles I also use Mettler Silk Finish Cotton 50 multicolor, as well as decorative multicolor embroidery thread for some of the seams. That gave me the possibility to use both sides up while sewing and the time to decide on the “outside” after I have finished decorating. Alternatively, Mettler universal overlock thread Seracor 120 is working fine too.
- Seam Guide in Shaft (right) and left (optional accessories). They save you the time of having to draw decorative lines multiple times.
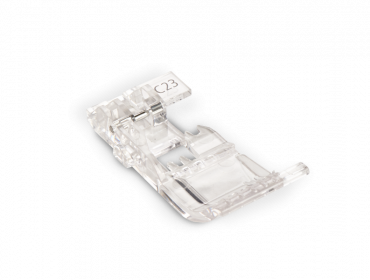
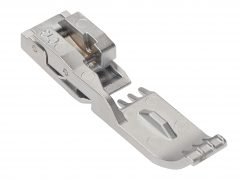
- Curve Foot #C23 for the L 890 (optional accessory), a must if you like to have it easier when sewing curves.
Download pattern for free
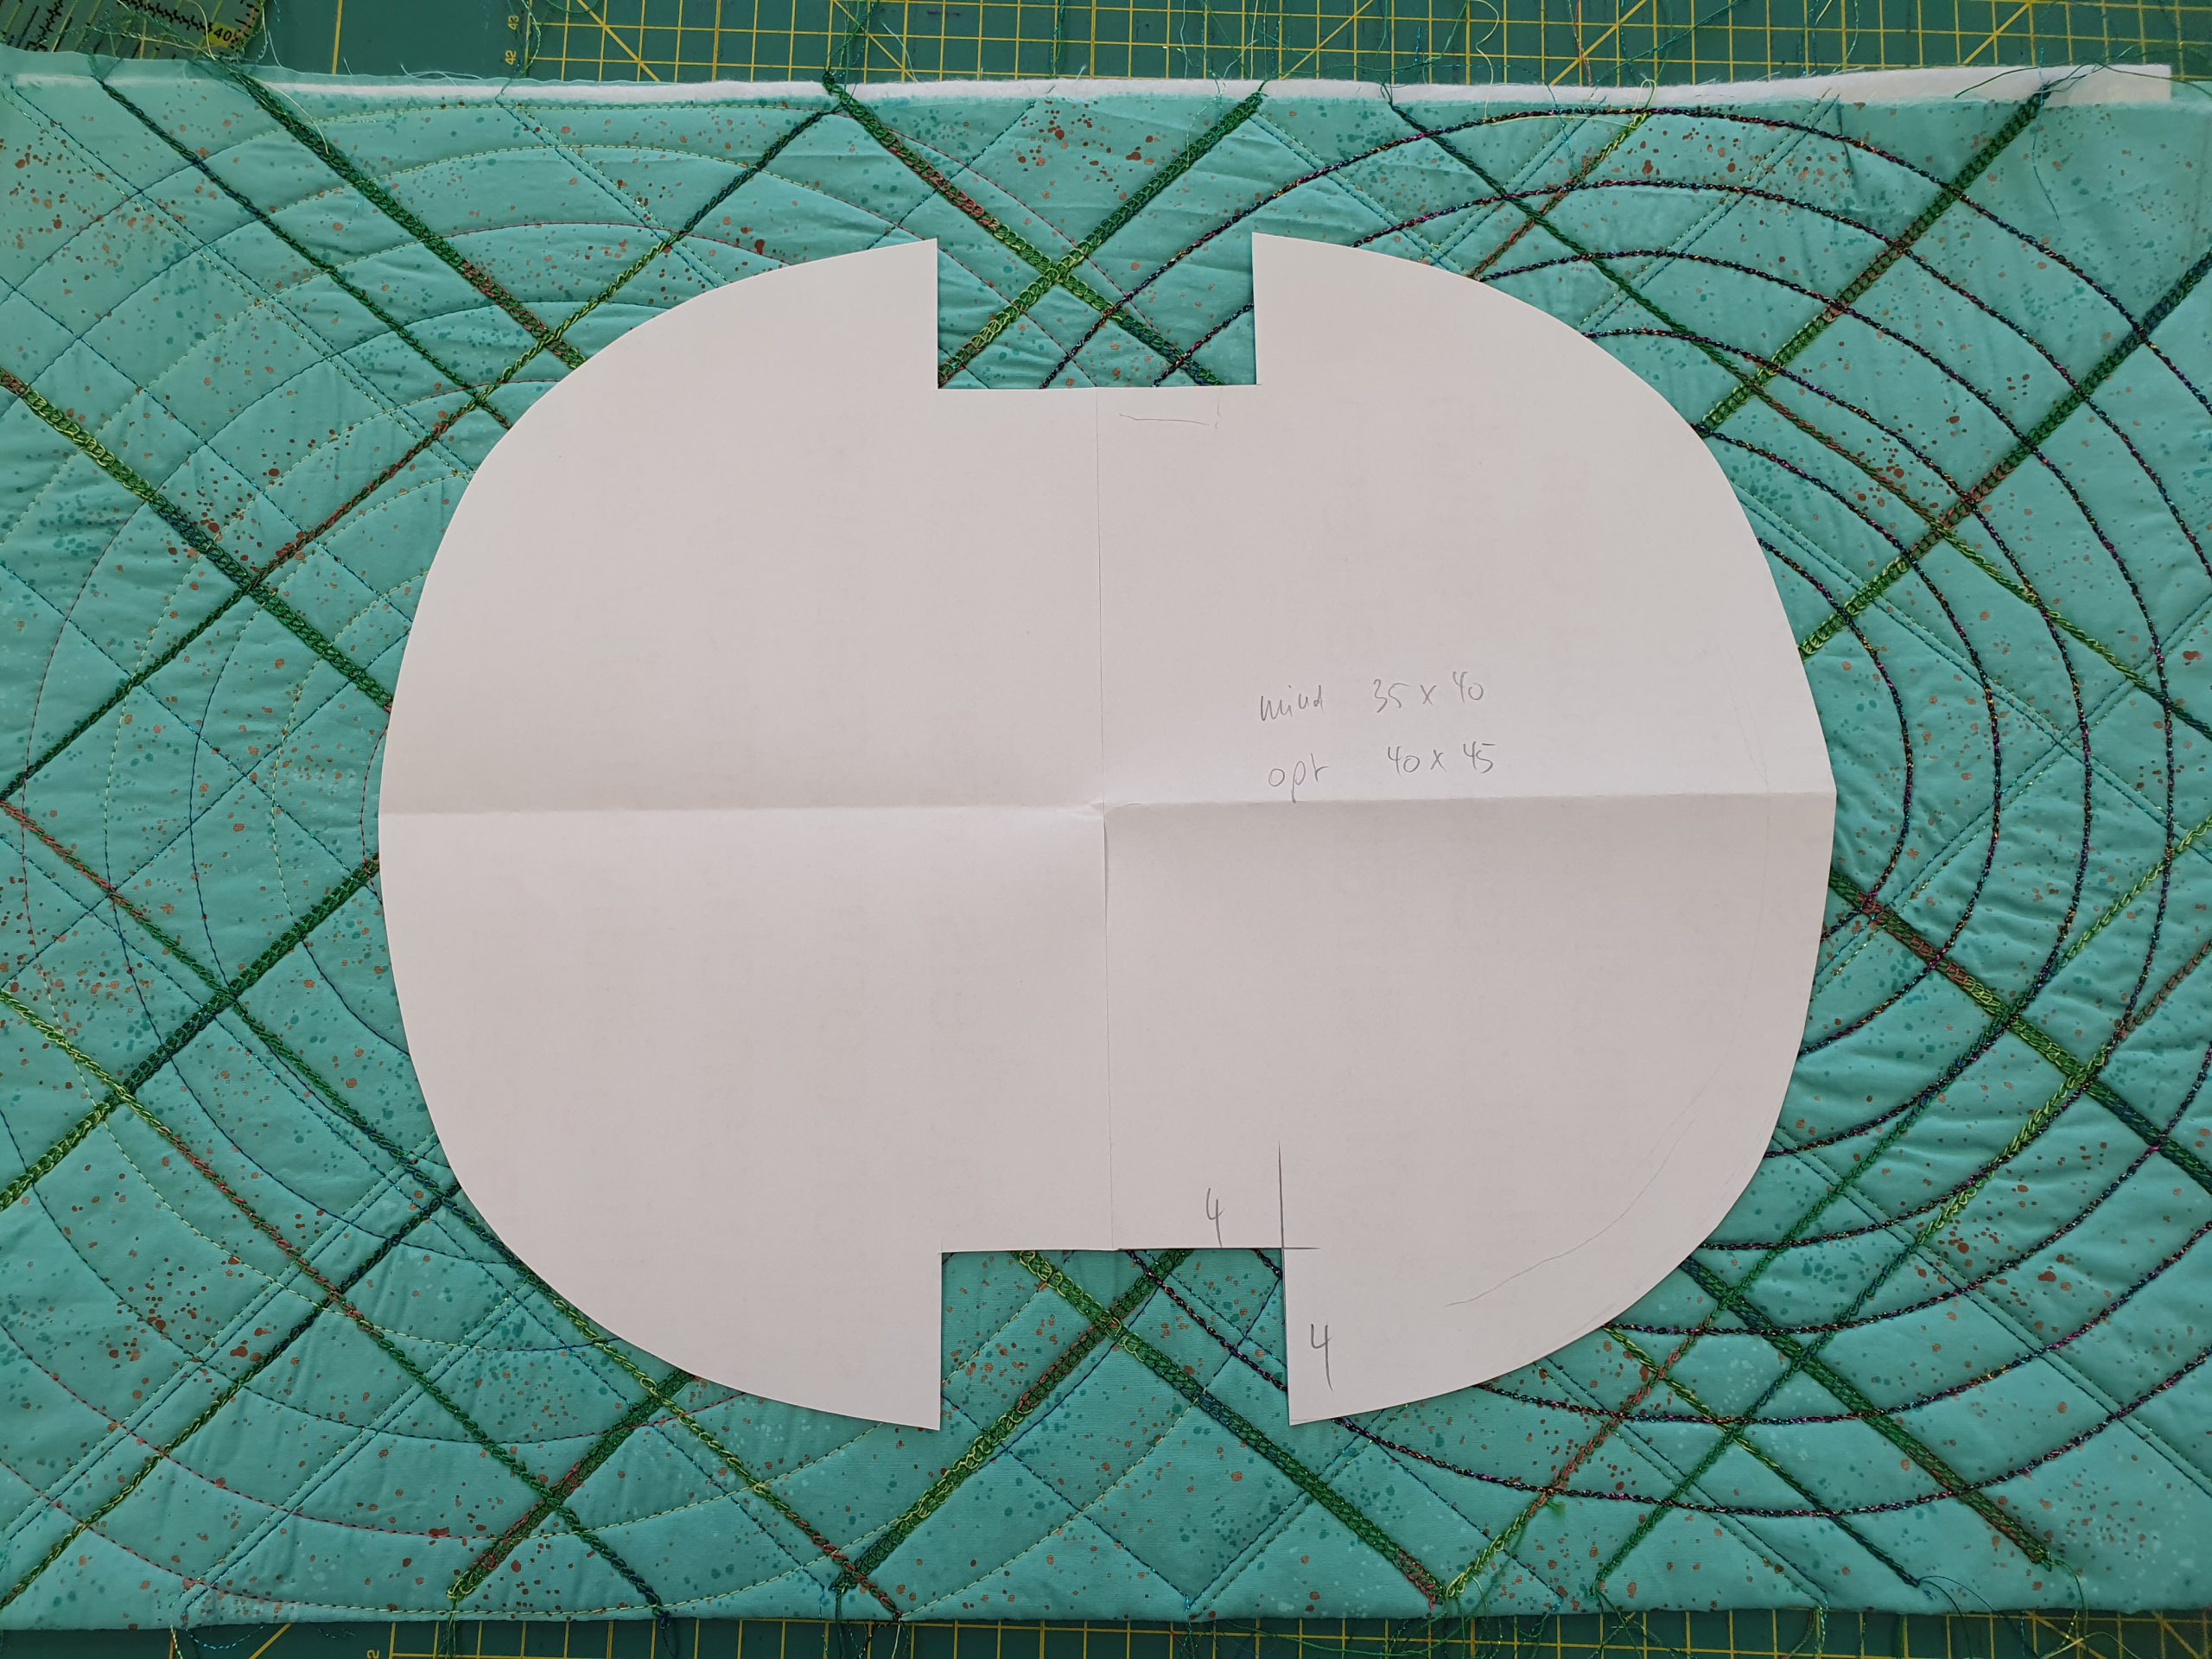
Find here the pattern for the Half-Moon Zipper bag. Print it twice and tape it together at A.
Half-moon zipper bag pattern A4 in cm
Fabric decoration
Use your coverstitch machine for quilting. I have used the BERNINA L 890. Of course, you can use any coverstitch or combo machine, but using the L 890s accessories make the sewing process easier.

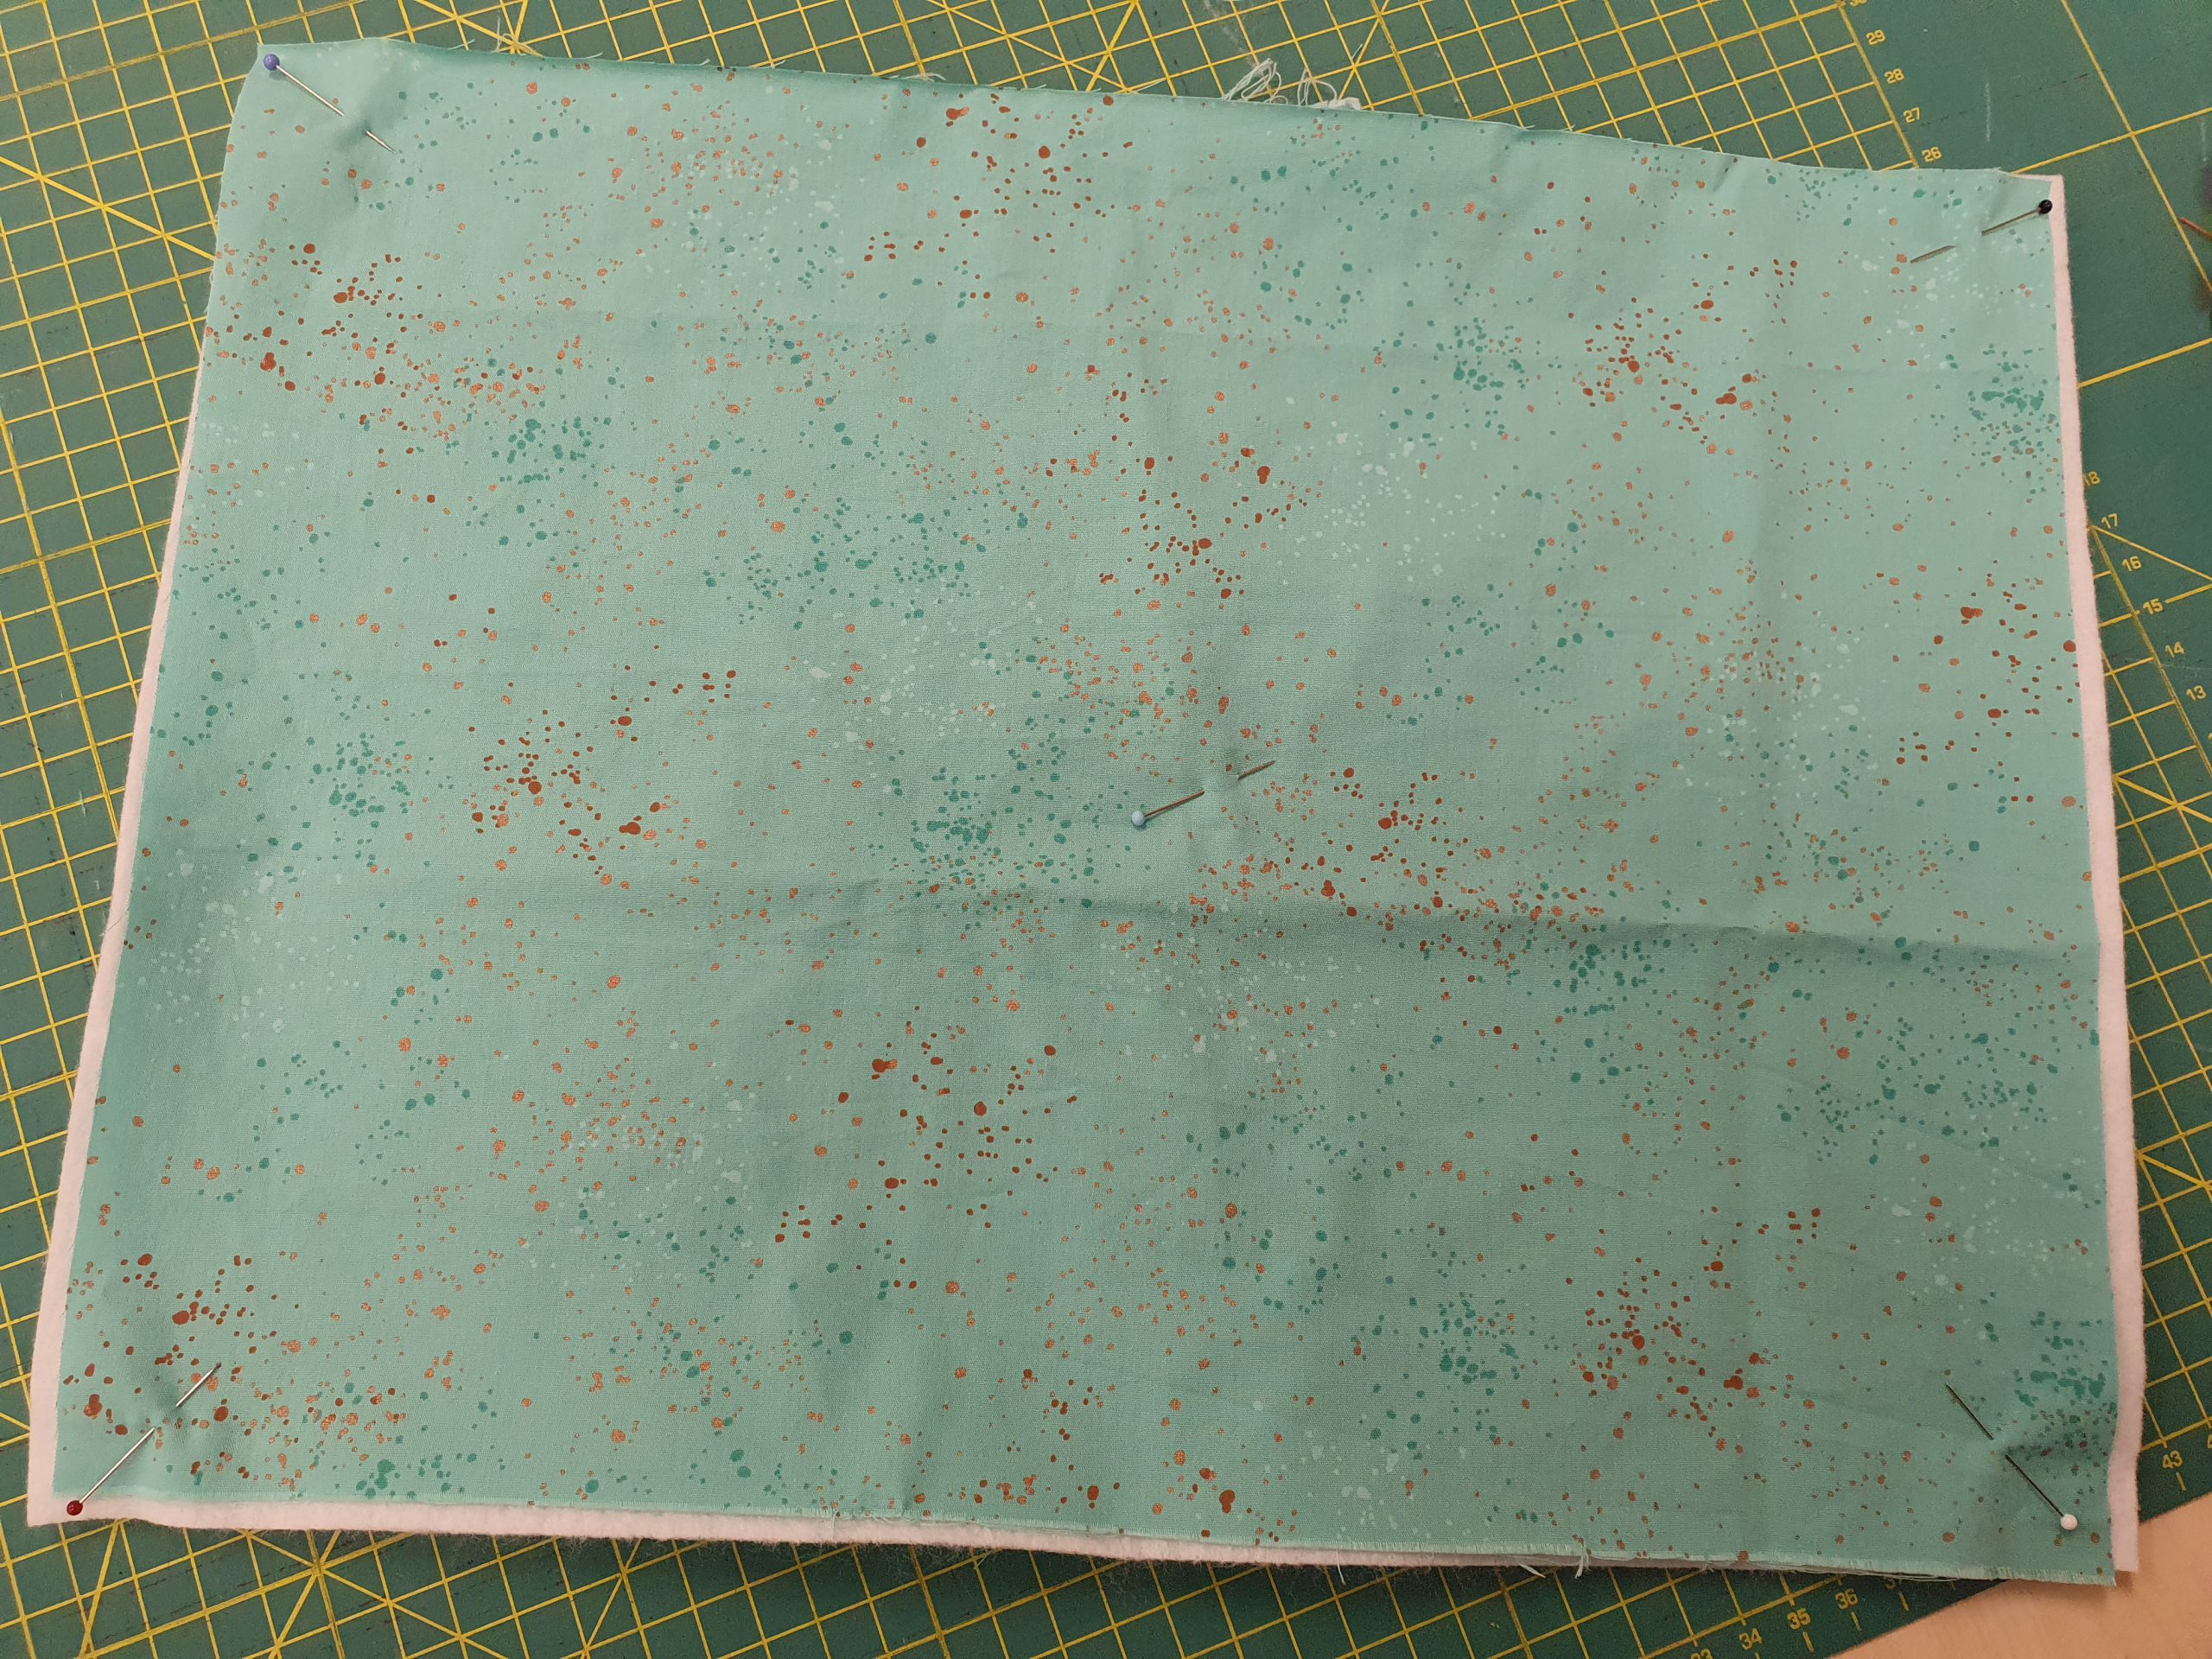
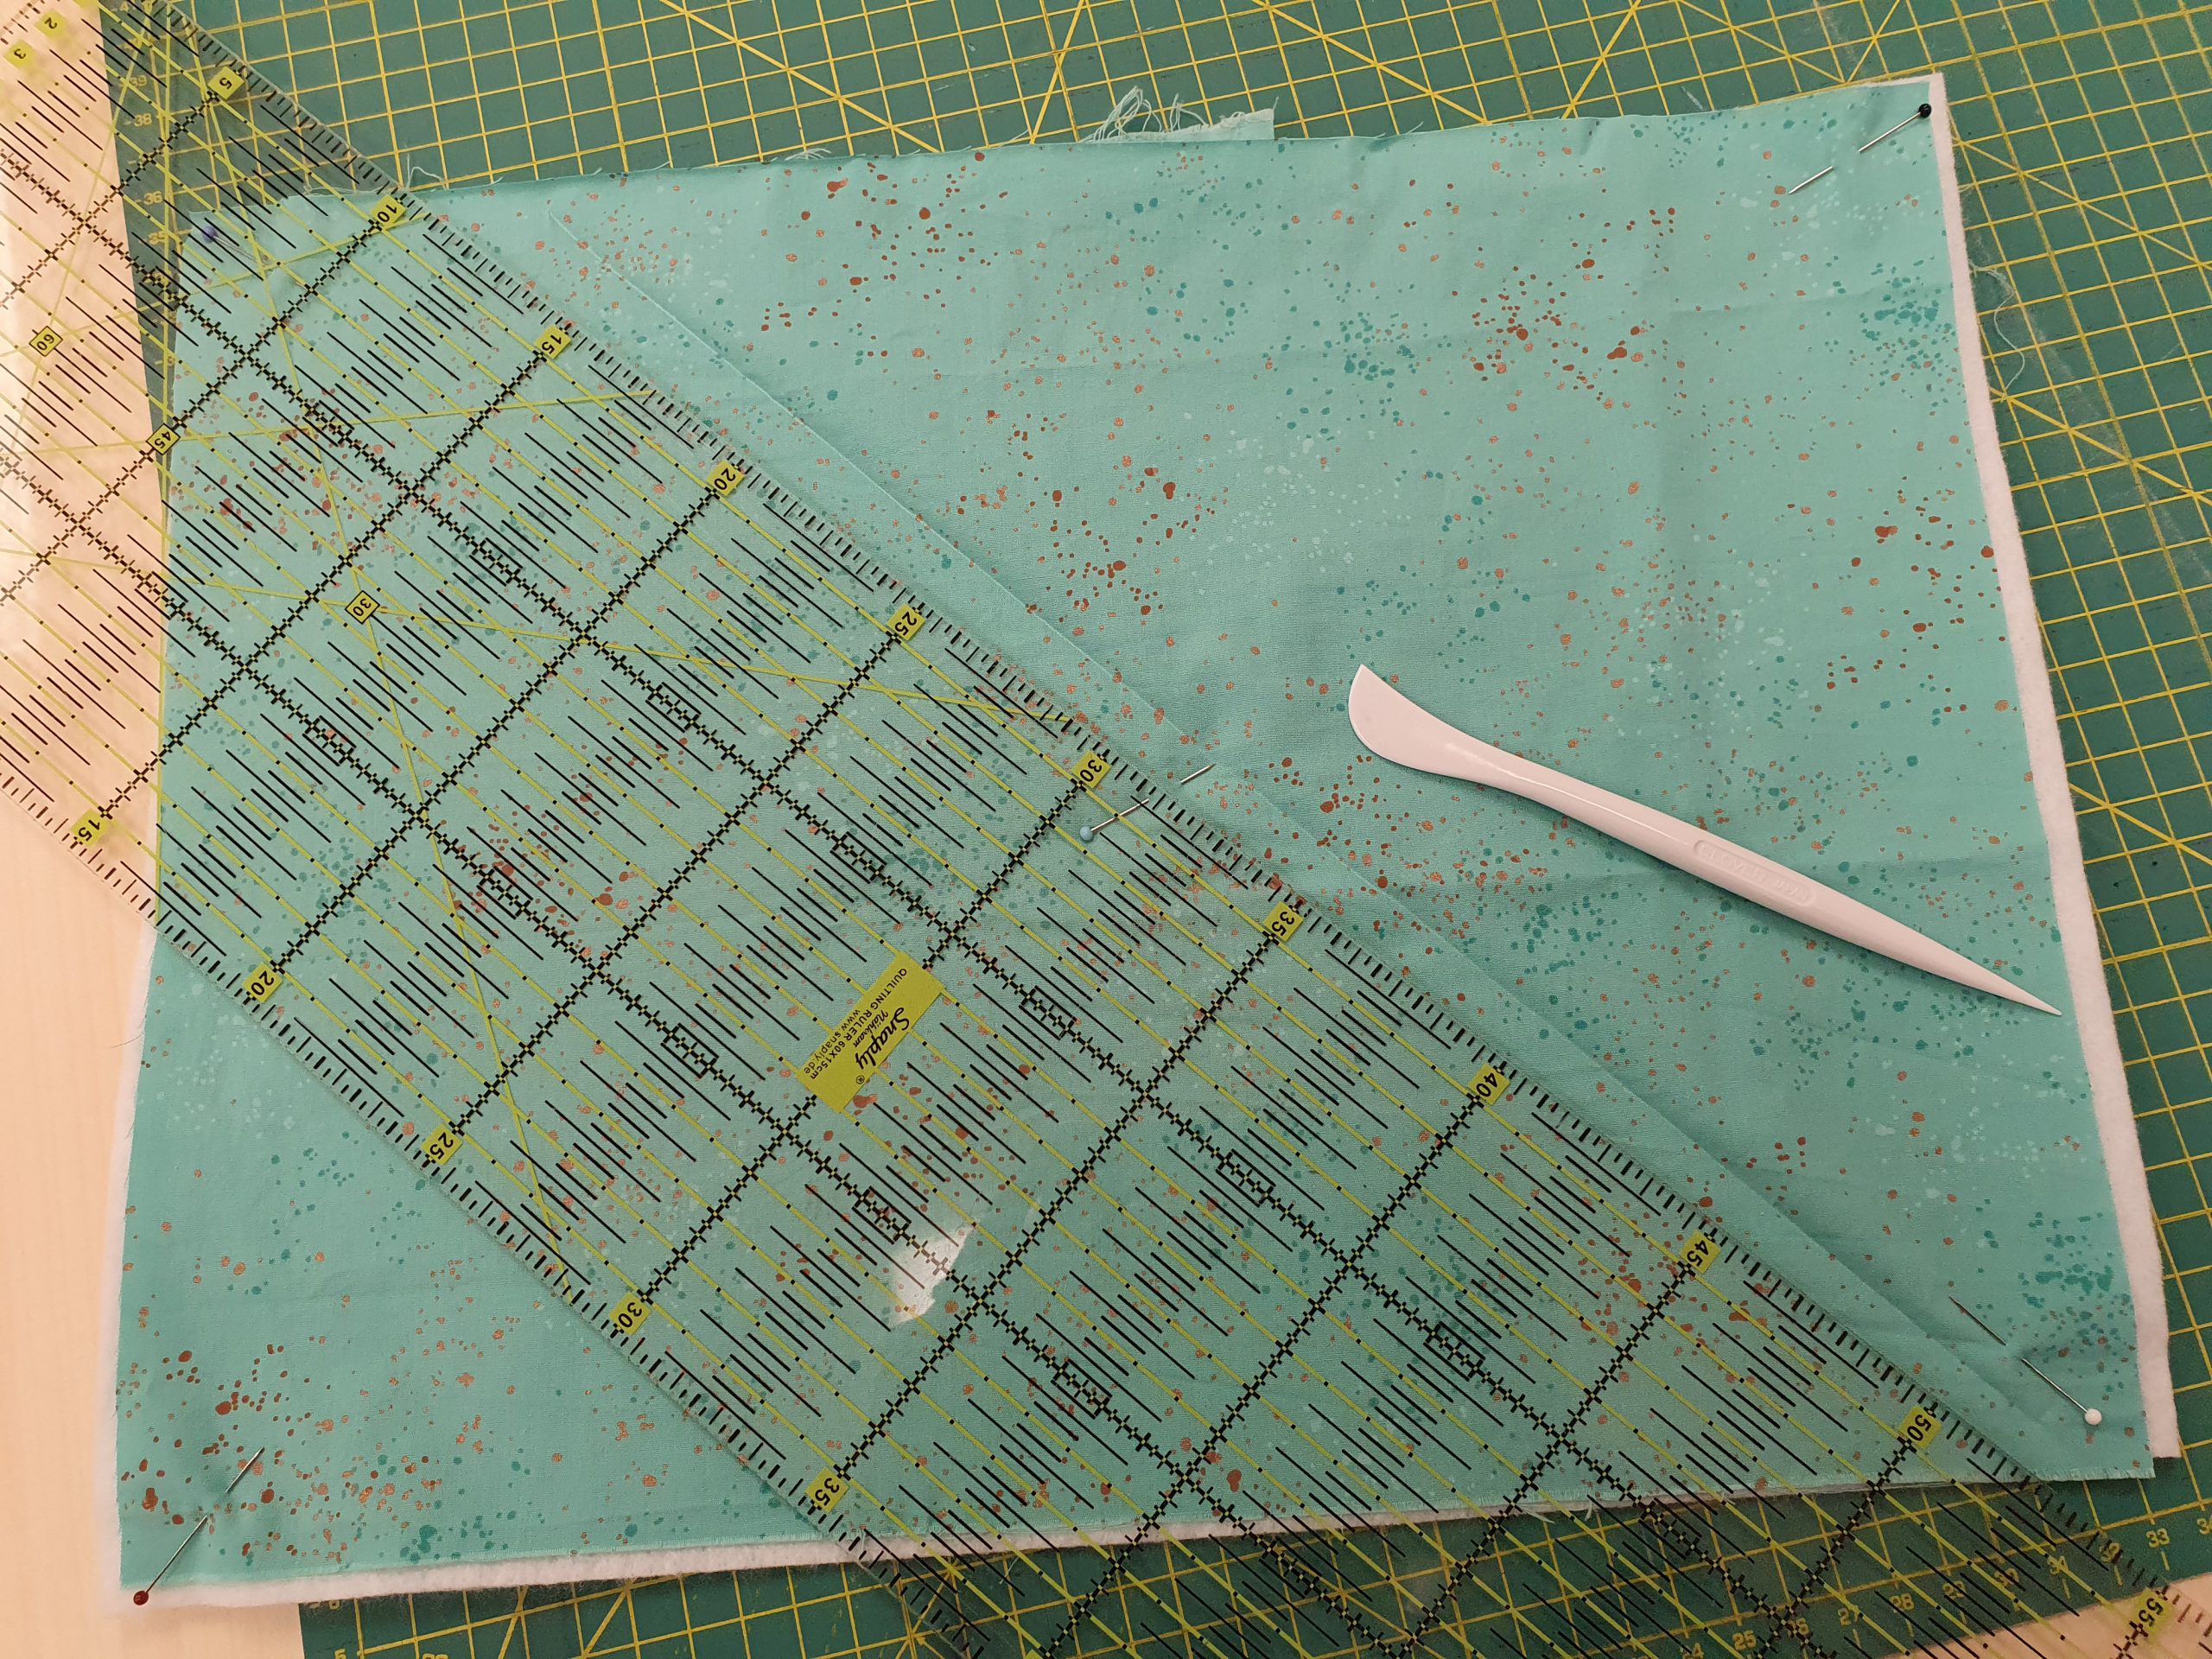
Place your volume batting between the two pieces of fabric. Pin your sandwich in the middle and at the four corners, so that nothing shifts unintentionally. I’m not a fan of temporary adhesive sprays, but if it makes it easier for you, don’t hesitate to use it.
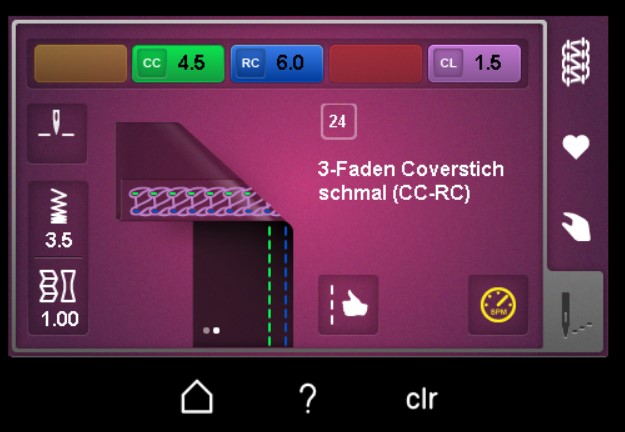
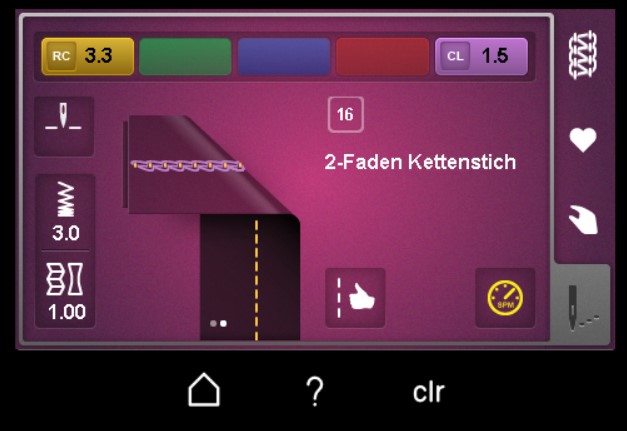
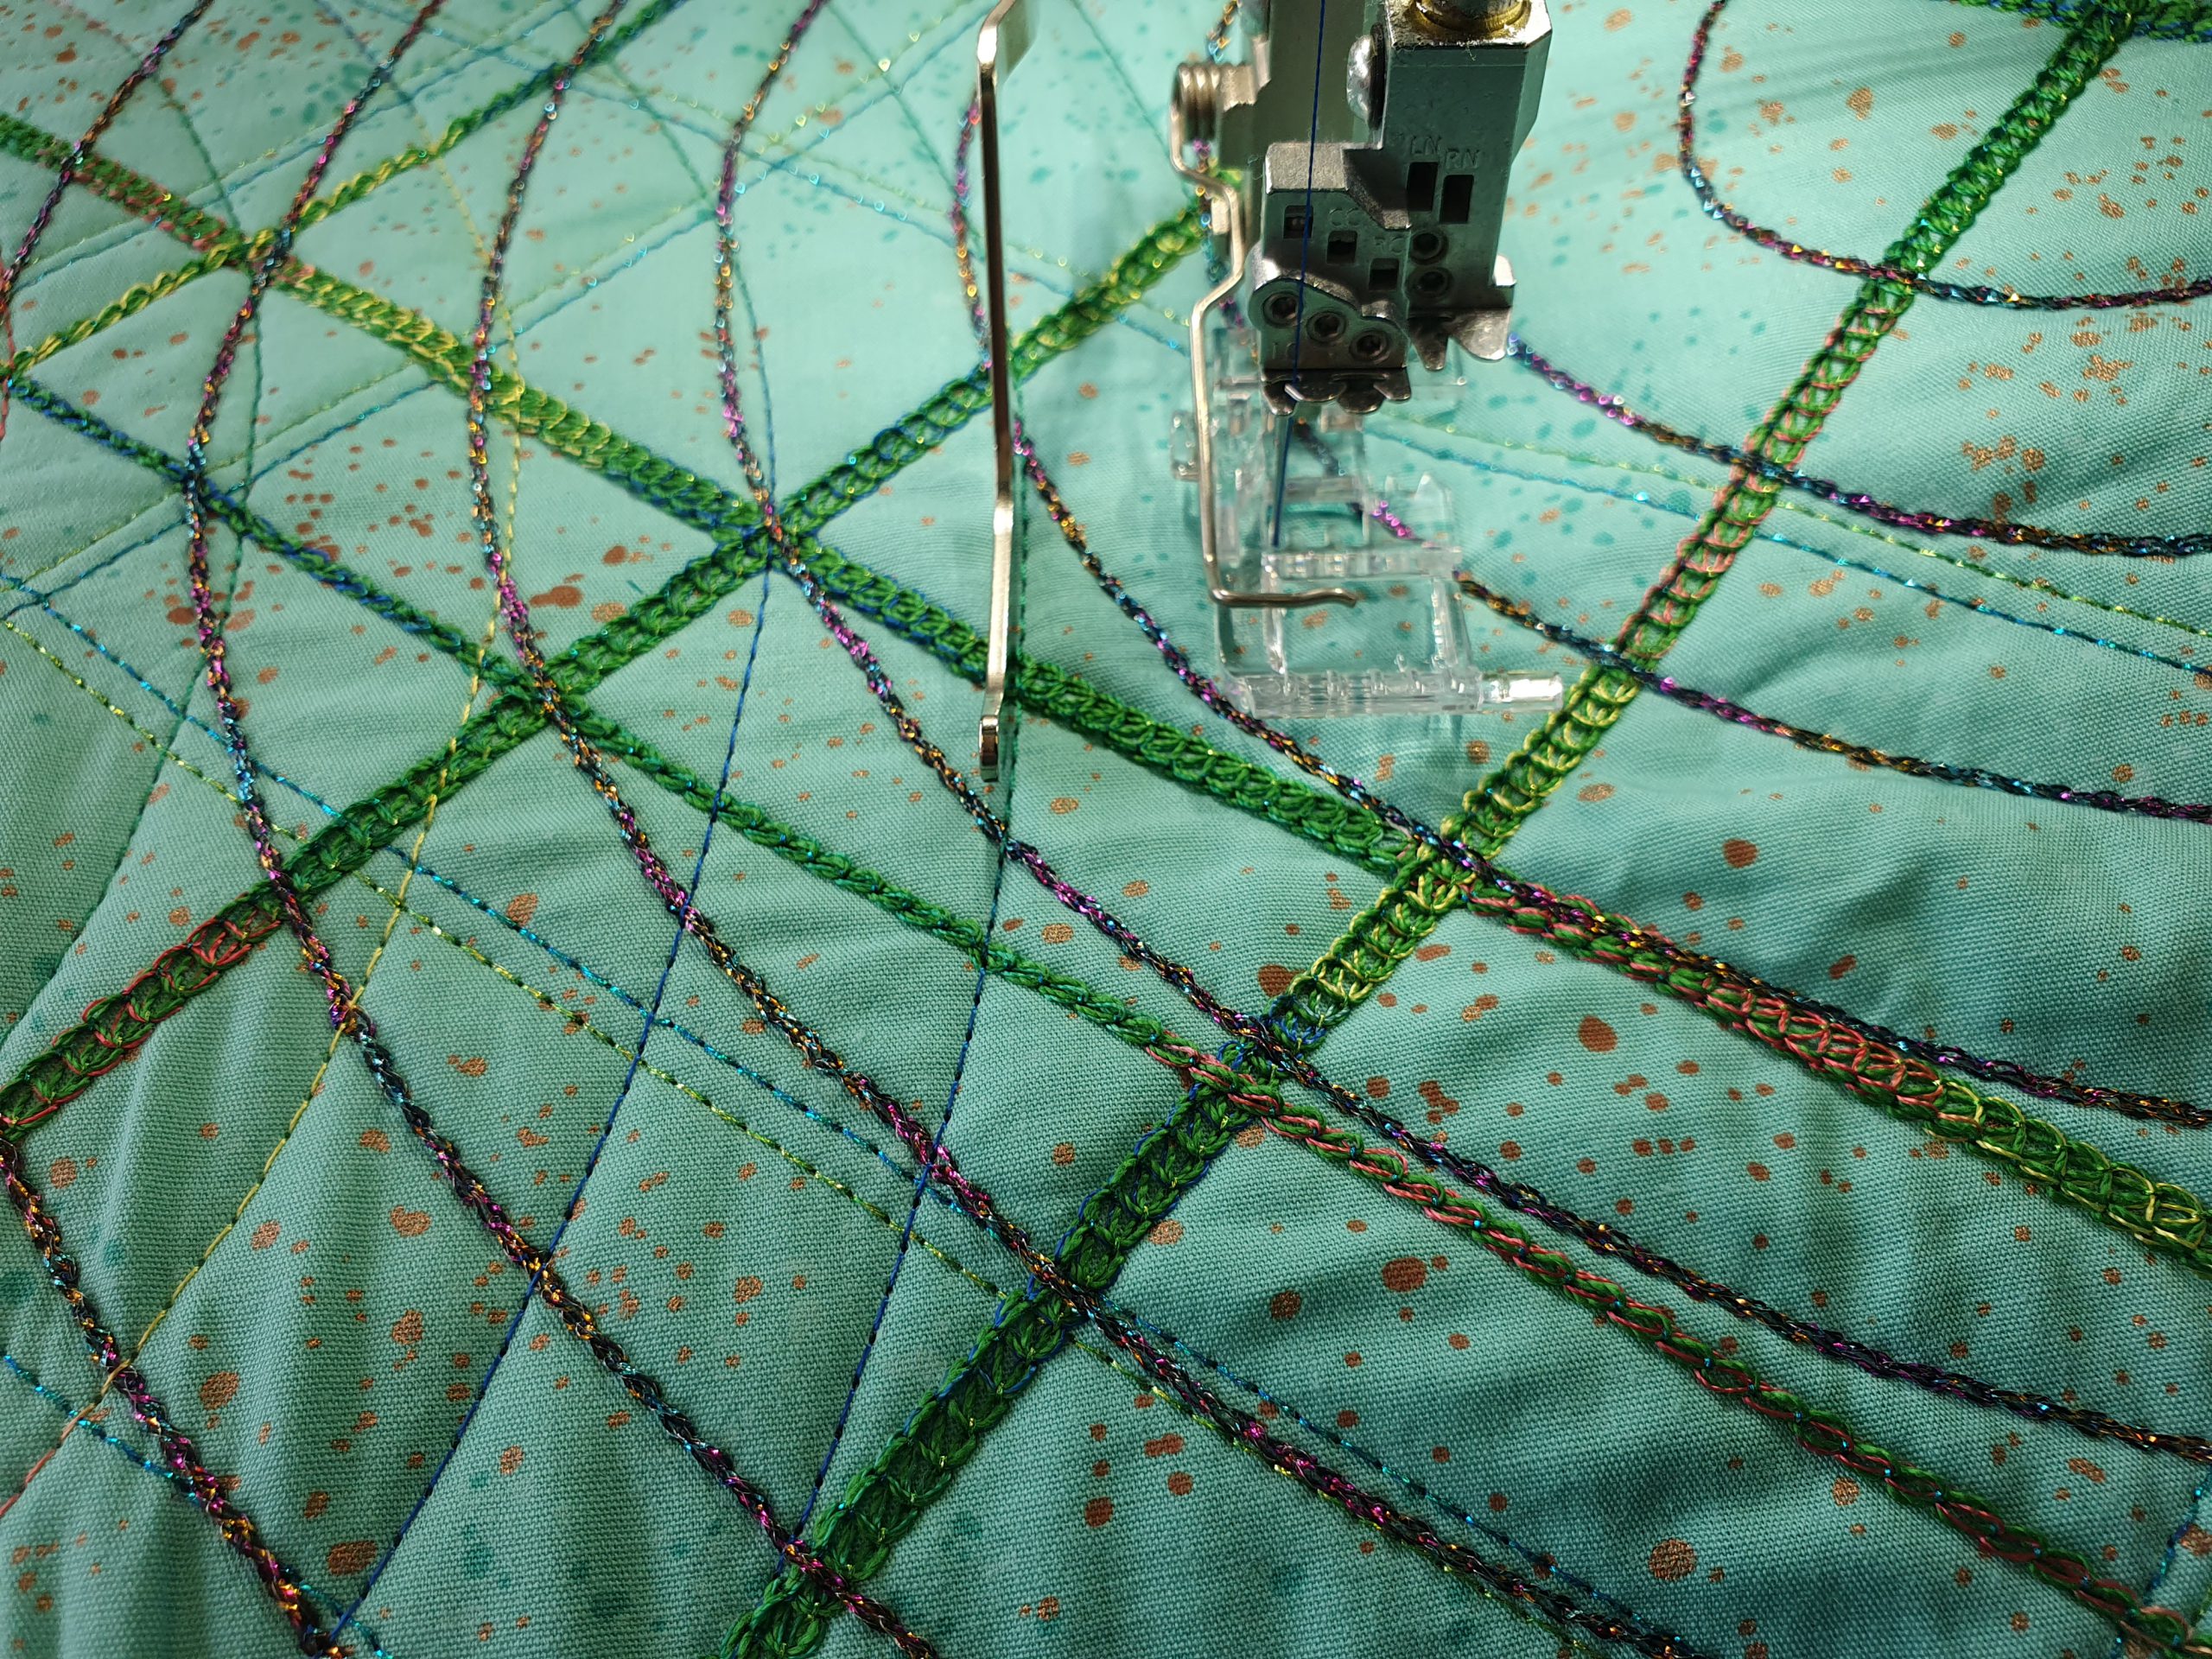
Select the narrow coverstitch with the middle and right needle, stitch 24, and thread decoratively. Reduce the sewing speed, as usual when using decorative threads, my recommendation here is approx. 900 stitches/min.
Think of a first straight line somewhere diagonally across the fabric; this will be the first decorative seam. If necessary, mark it, then sew it.
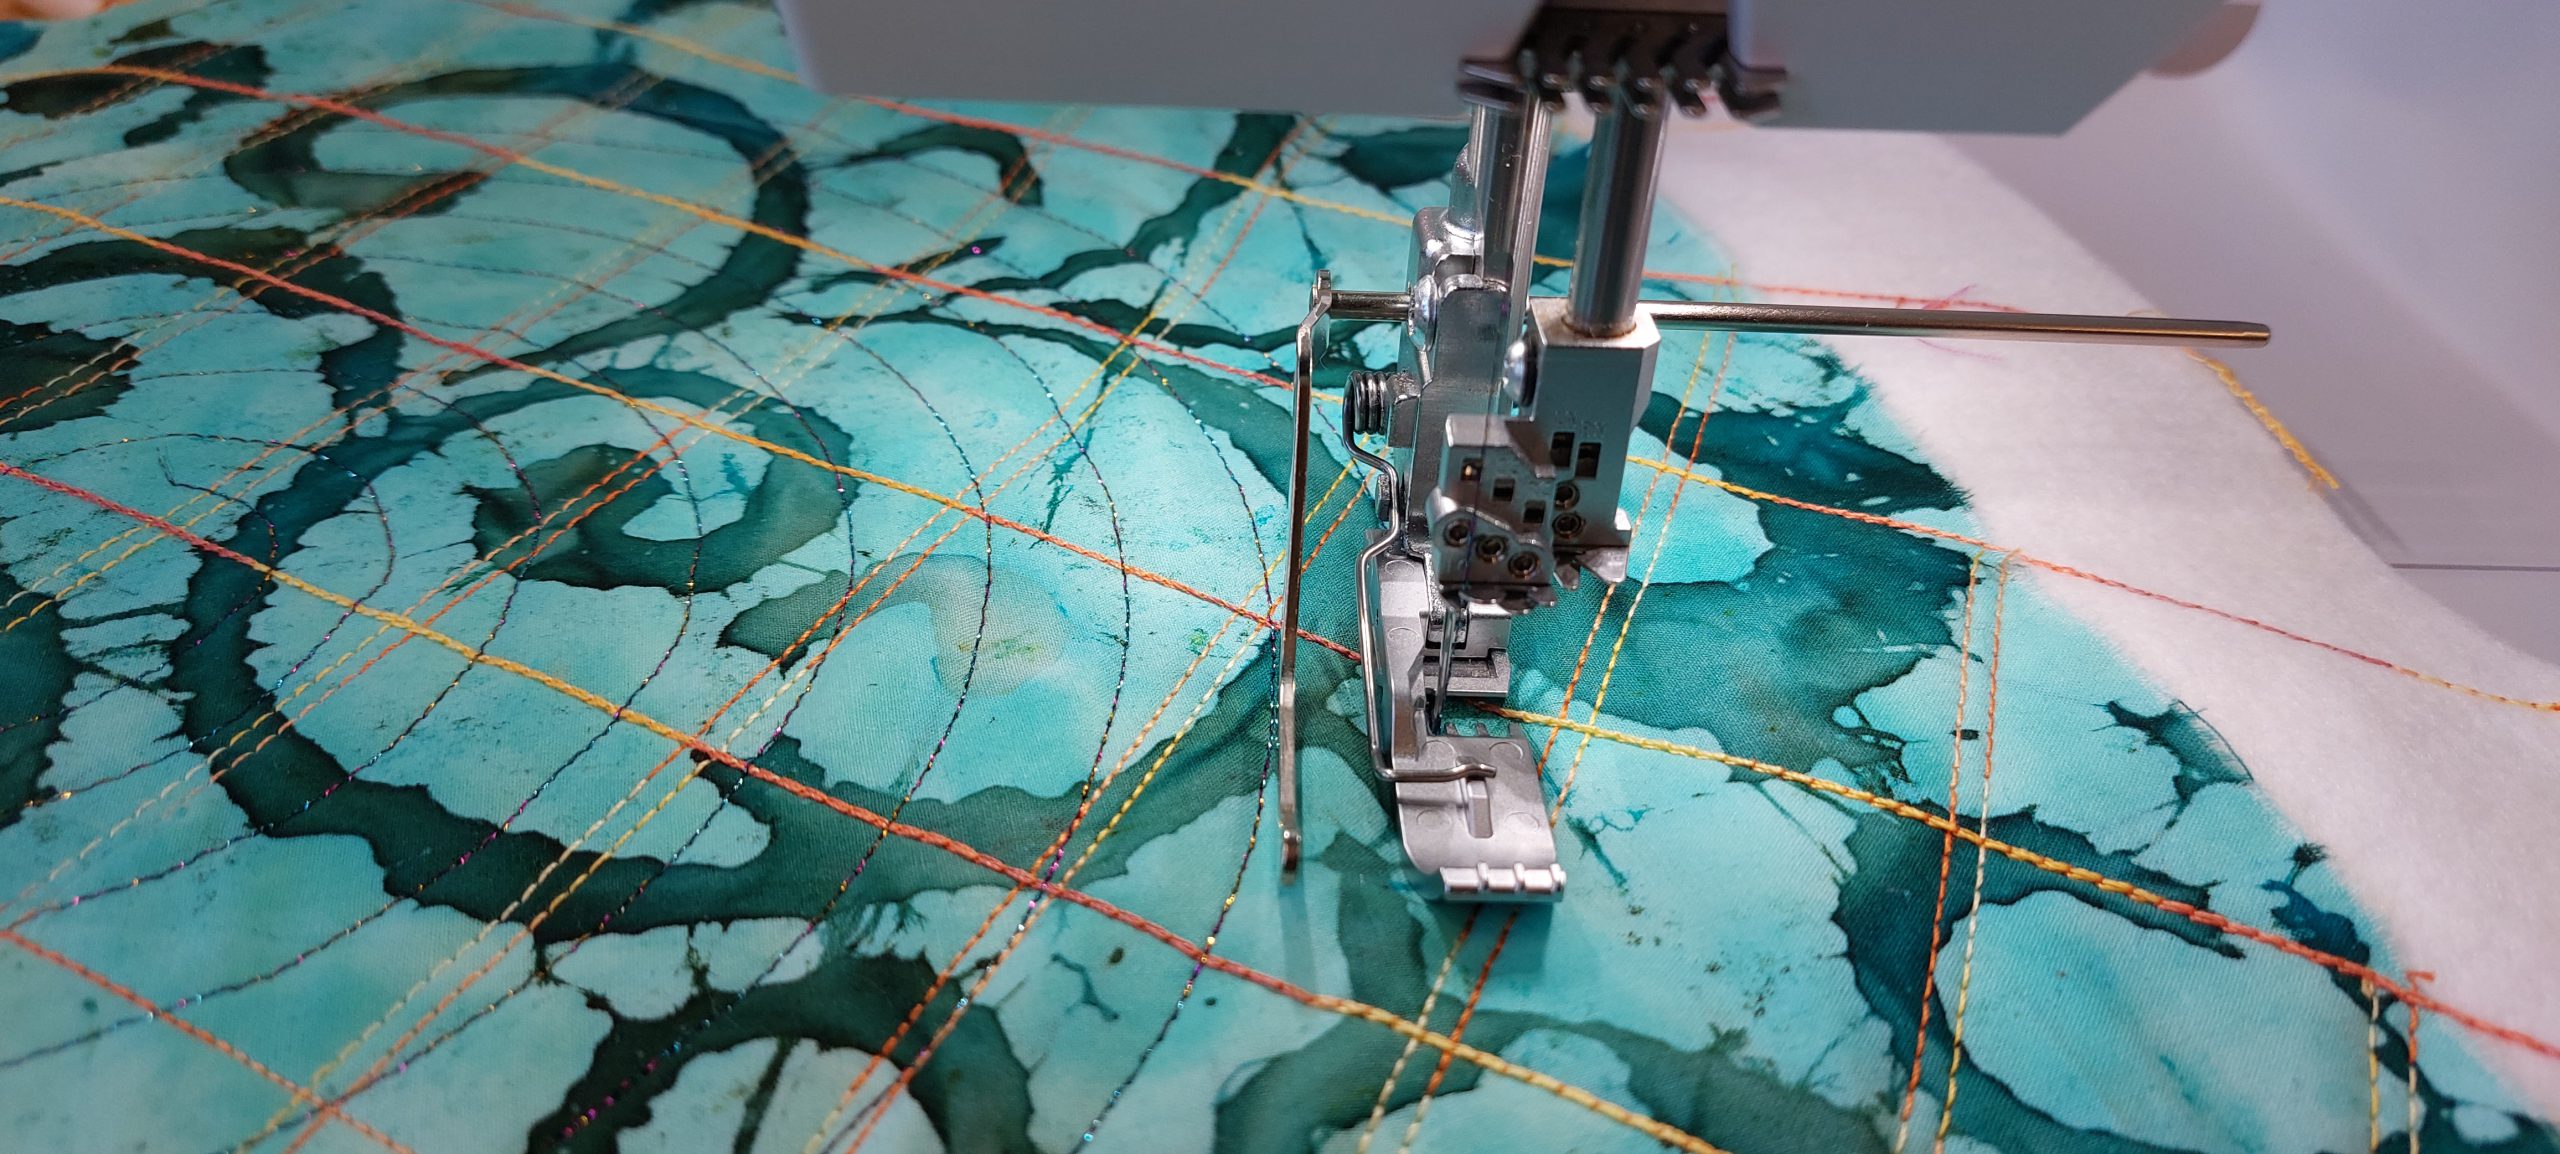
Attach the Seam Guide in Shaft (right or left) to the shaft and set it at a distance that you like. Sew some parallel seams at a distance to the first seam, for example at a distance between 2 and 4 cm (1 – 2″).
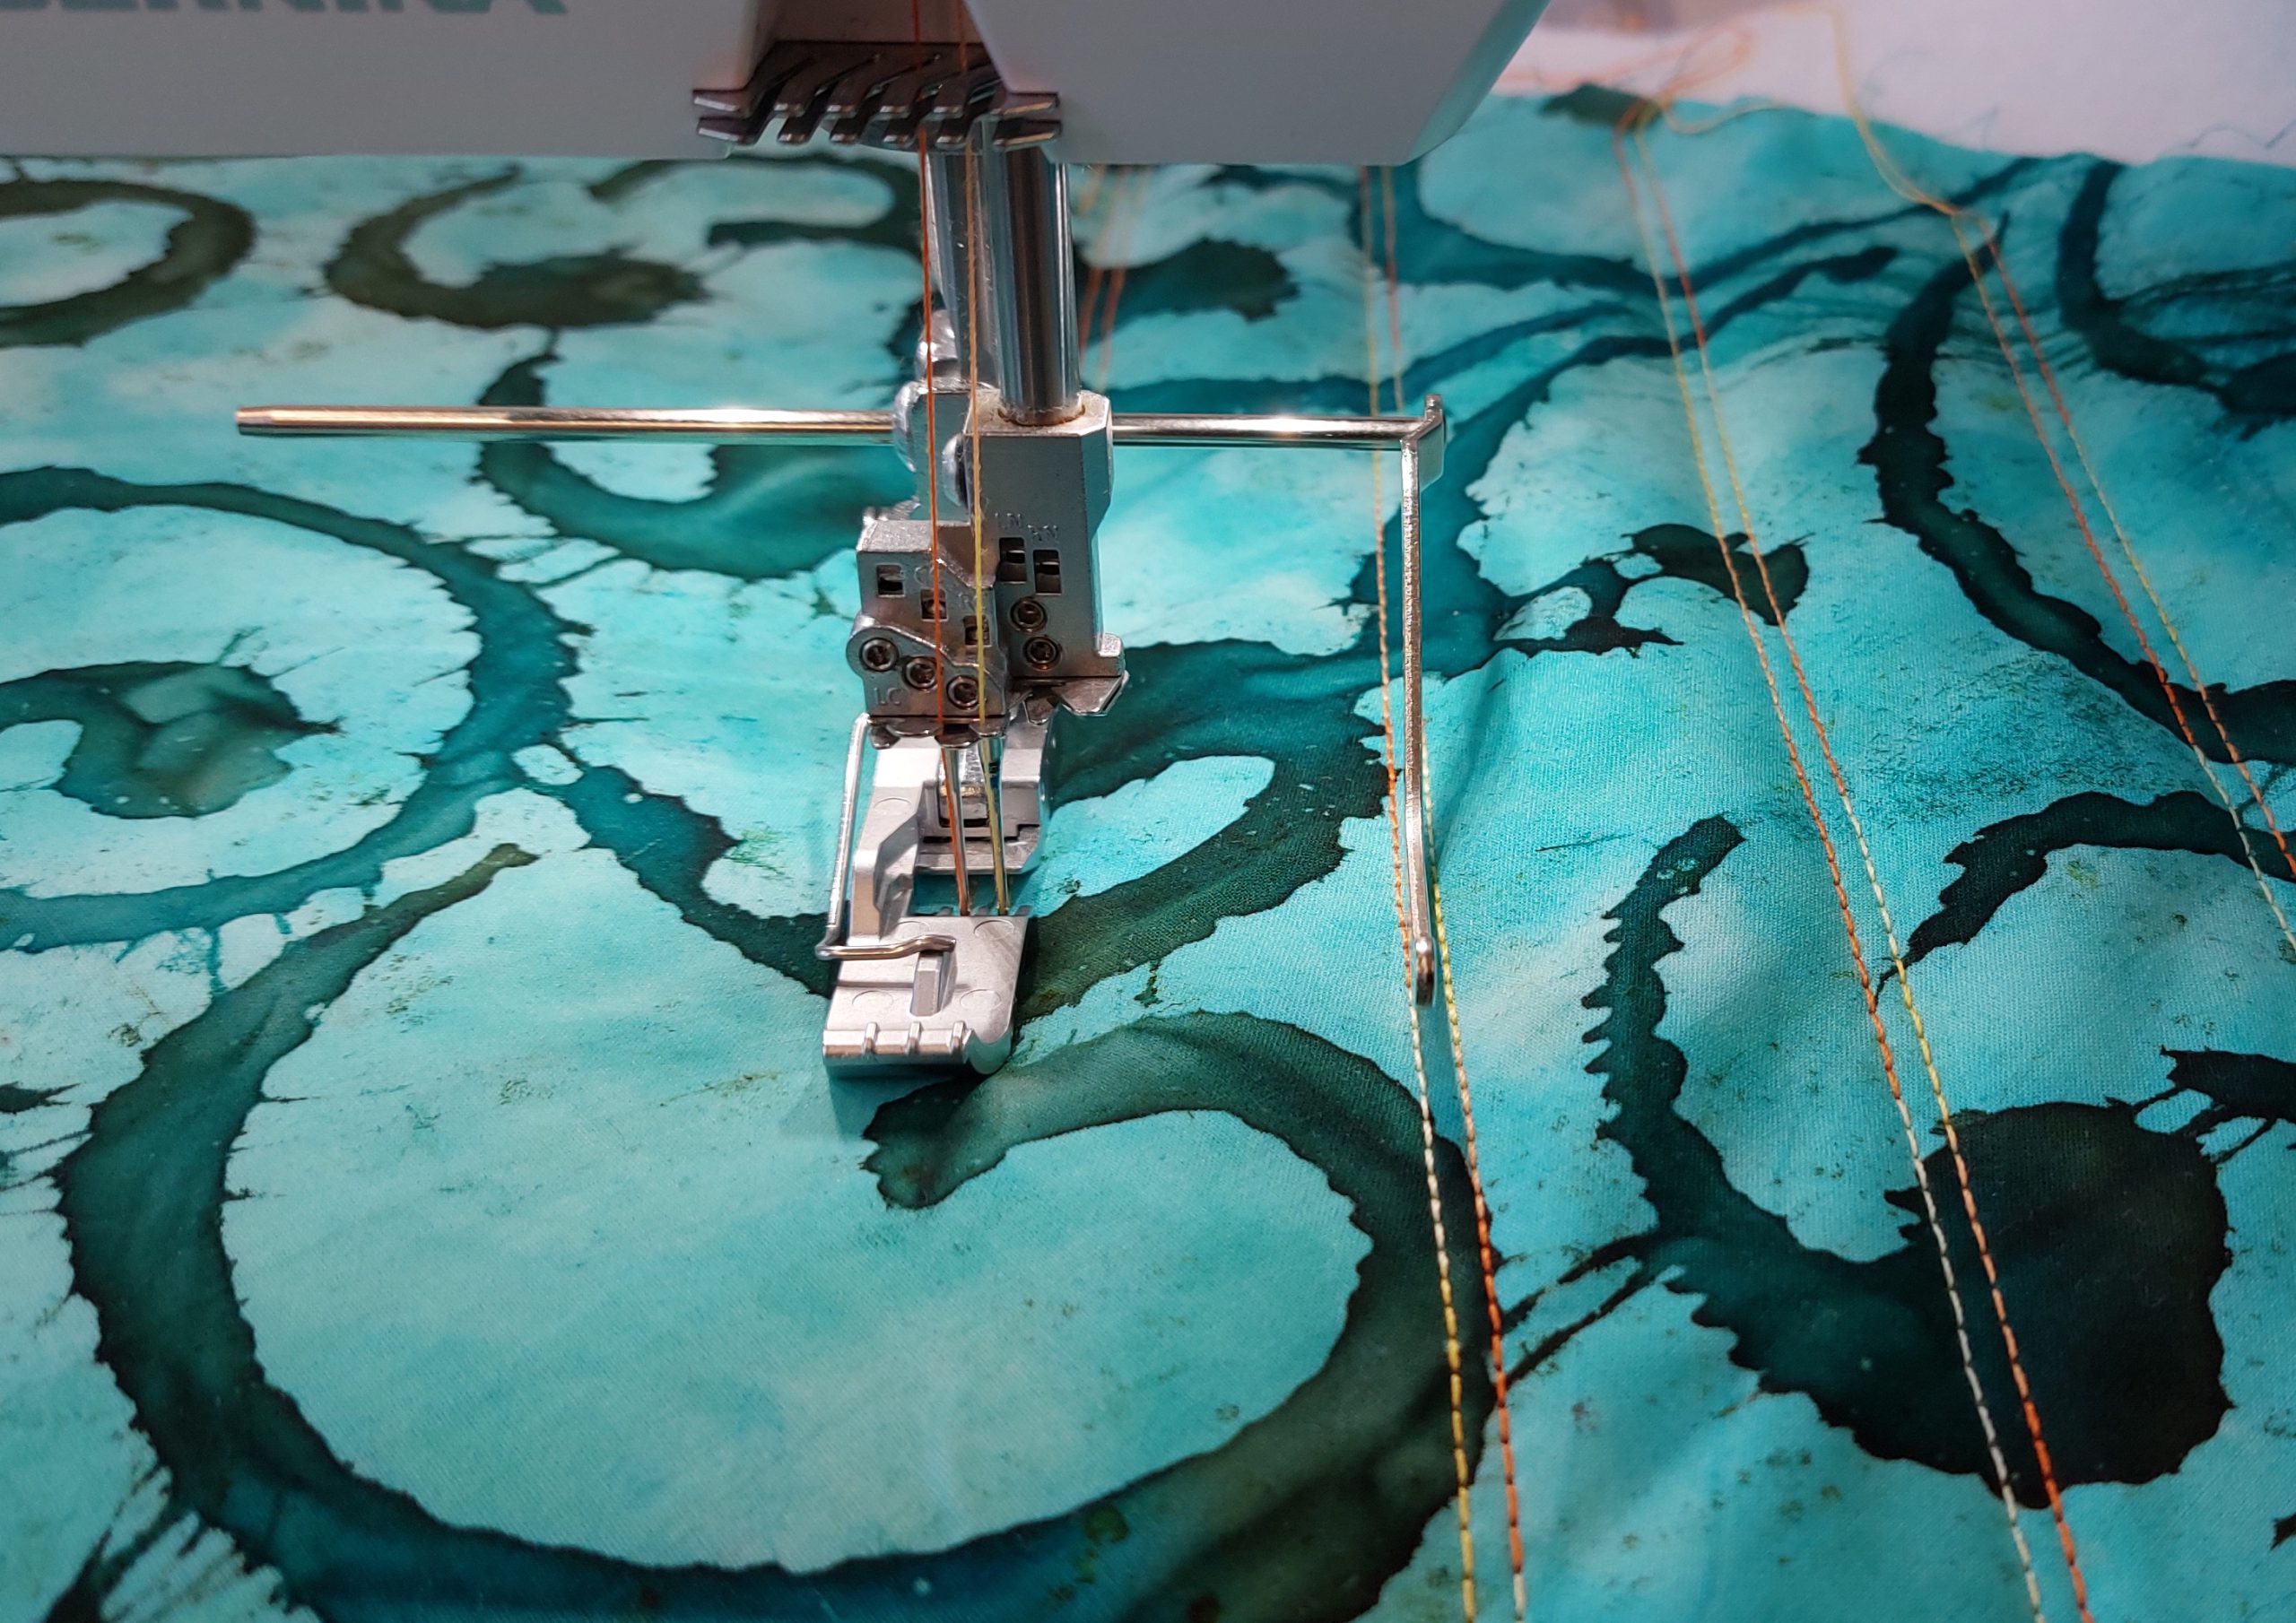
The advantage of the seam guides in shaft is to sew parallel seams easily without the hassle of marking each line individually. Find out in detail how to use the seam guides in shaft using our video tutorial:
It is ok to sometimes use the “right” and sometimes the “wrong” side of the fabric up, so that needle threads and looper threads become visible.
Then change to the other diagonal and sew a few parallel seams at different distances. The procedure is the same.
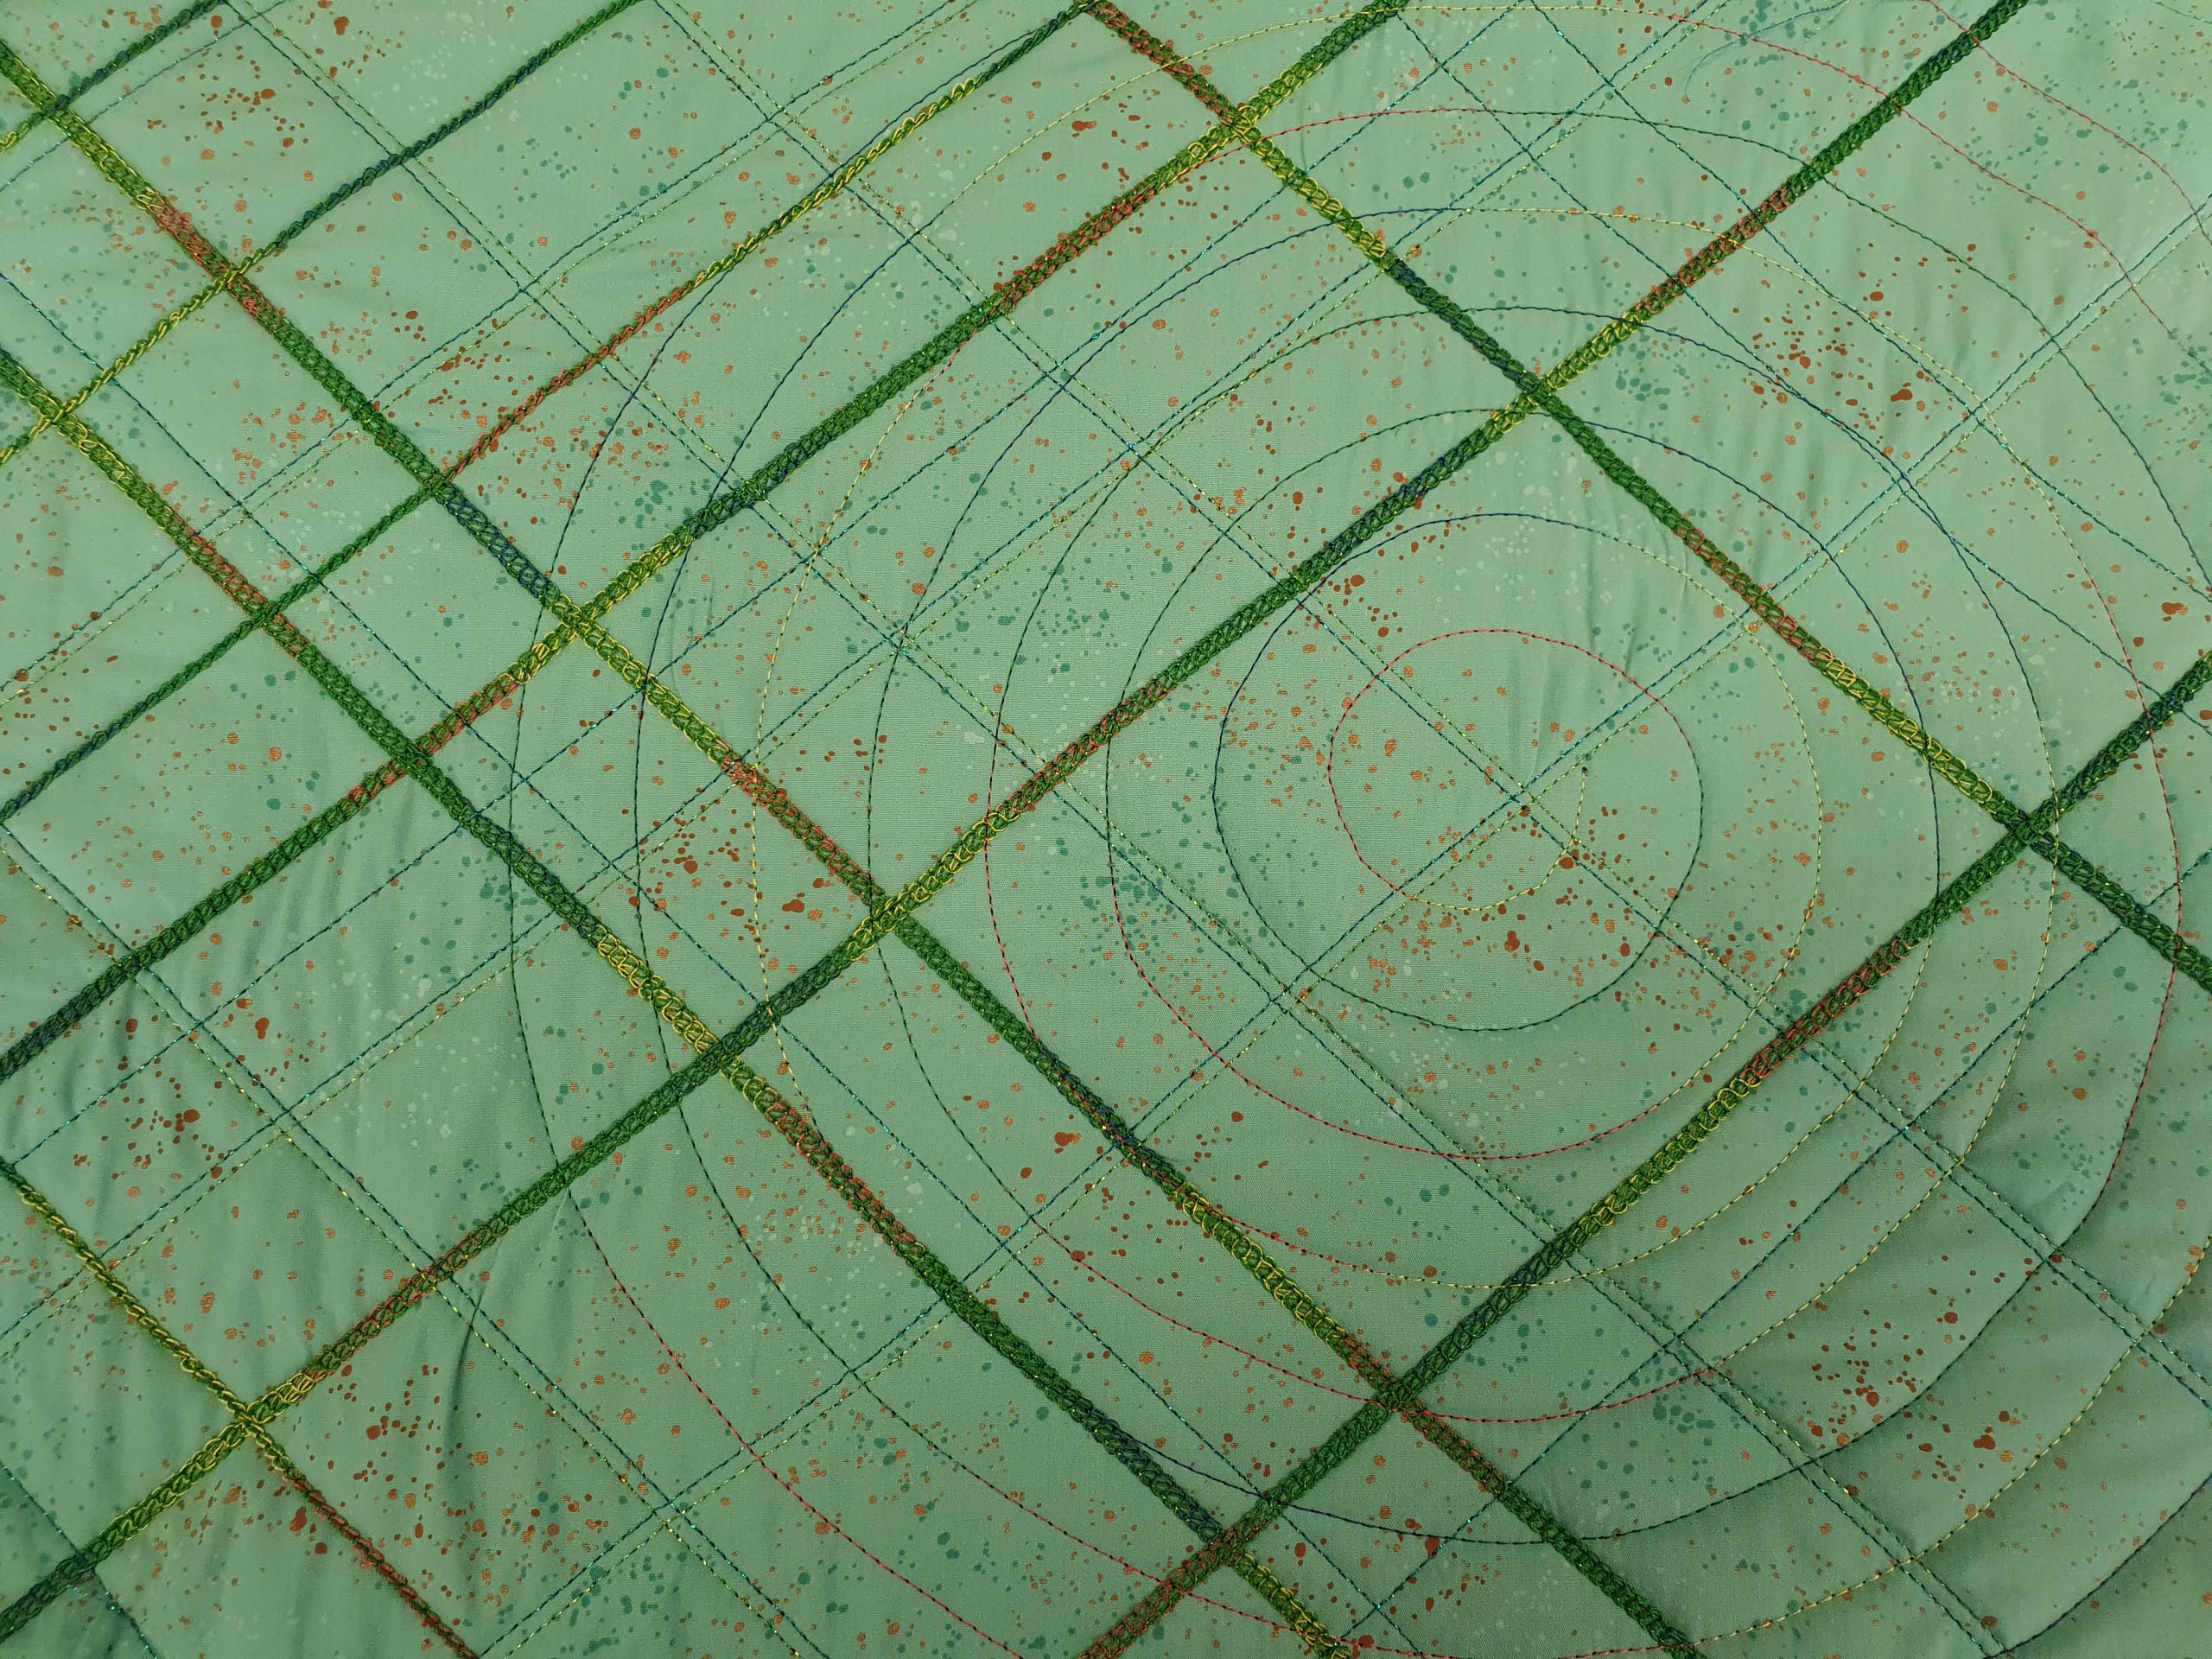
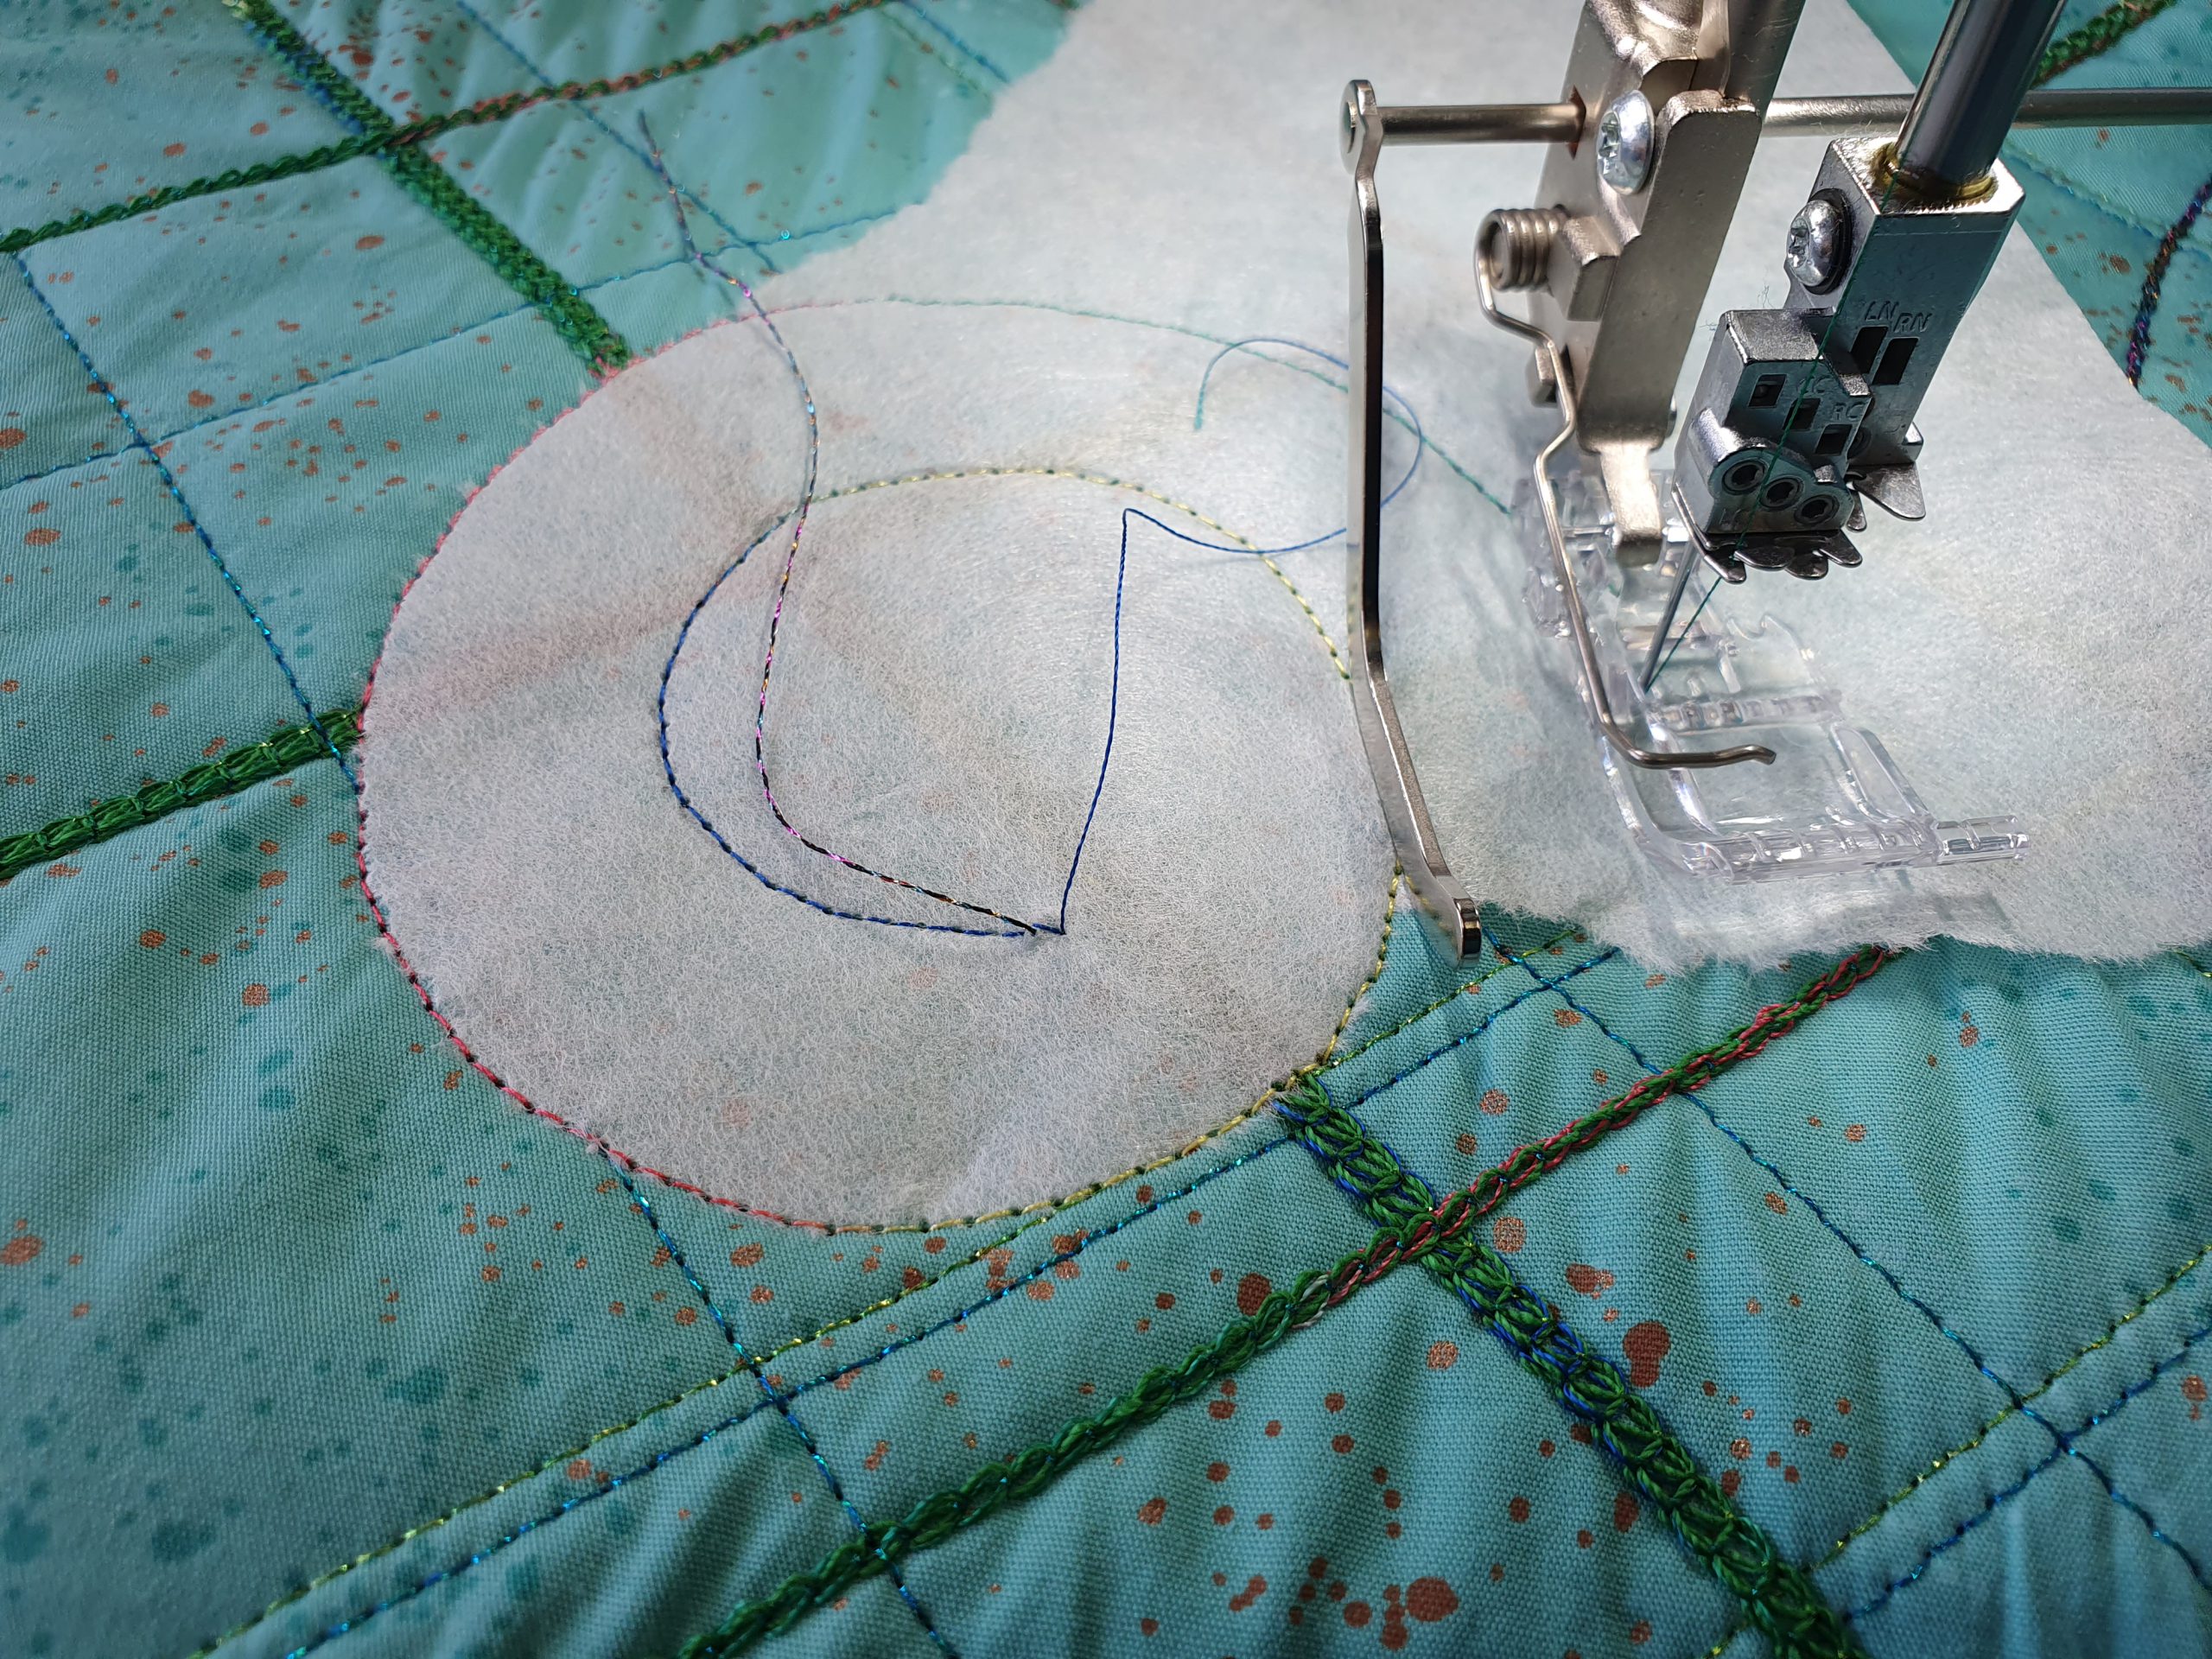
Now think of circles, respectively of a spiral. For that I recommend using a chainstitch, stitch 16.
The curve foot C23 makes sewing curves much easier! If you are not familiar with it yet, we have a video tutorial for that too:
Since I wanted two spirals, one with the needle threads on top, one with looper threads on top, I placed the first one in the left third of the fabric.

I recommend to start sewing in the middle of the circle – I drew a template for this. If you like a suggestion, think of the inner circle as being at least 3 cm in diameter and extend the spiral with approx. 2 cm distance each time. I personally find sewing “clockwise” easier.
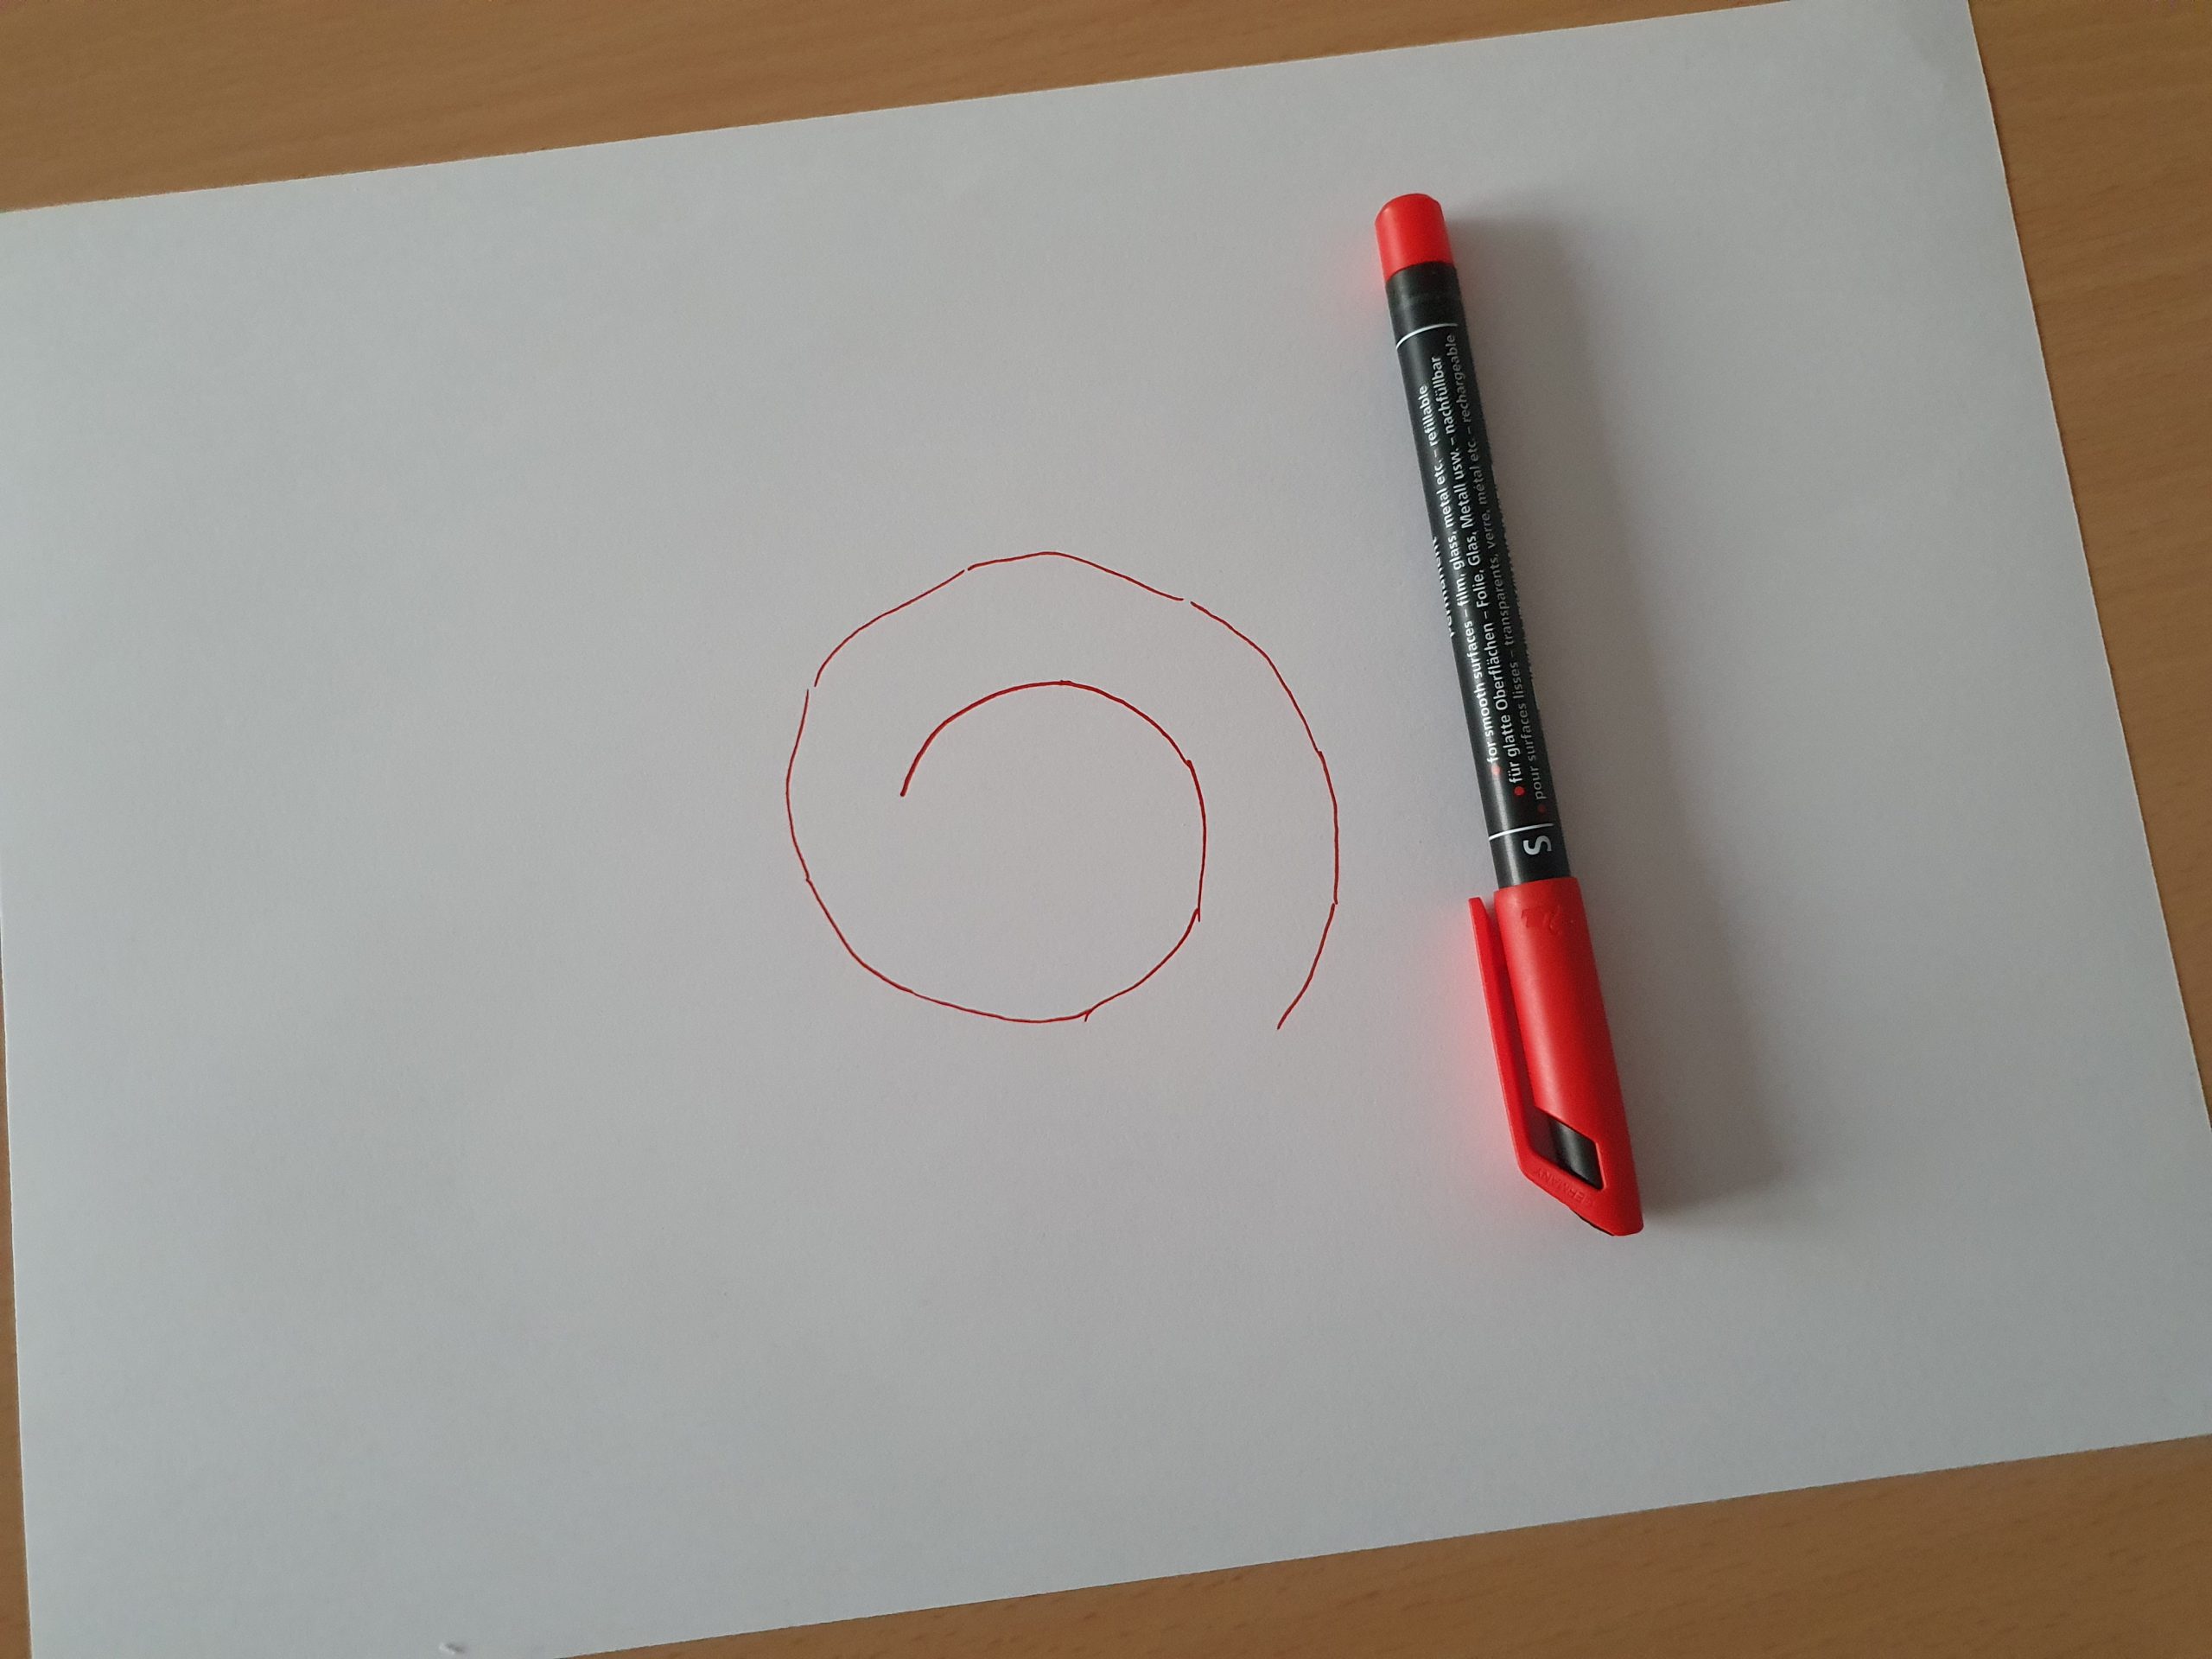
Sew the first half curve, then make sure that the looper thread is not oversewn with the subsequent stitches, for example by bringing it to the top with a tapestry needle.
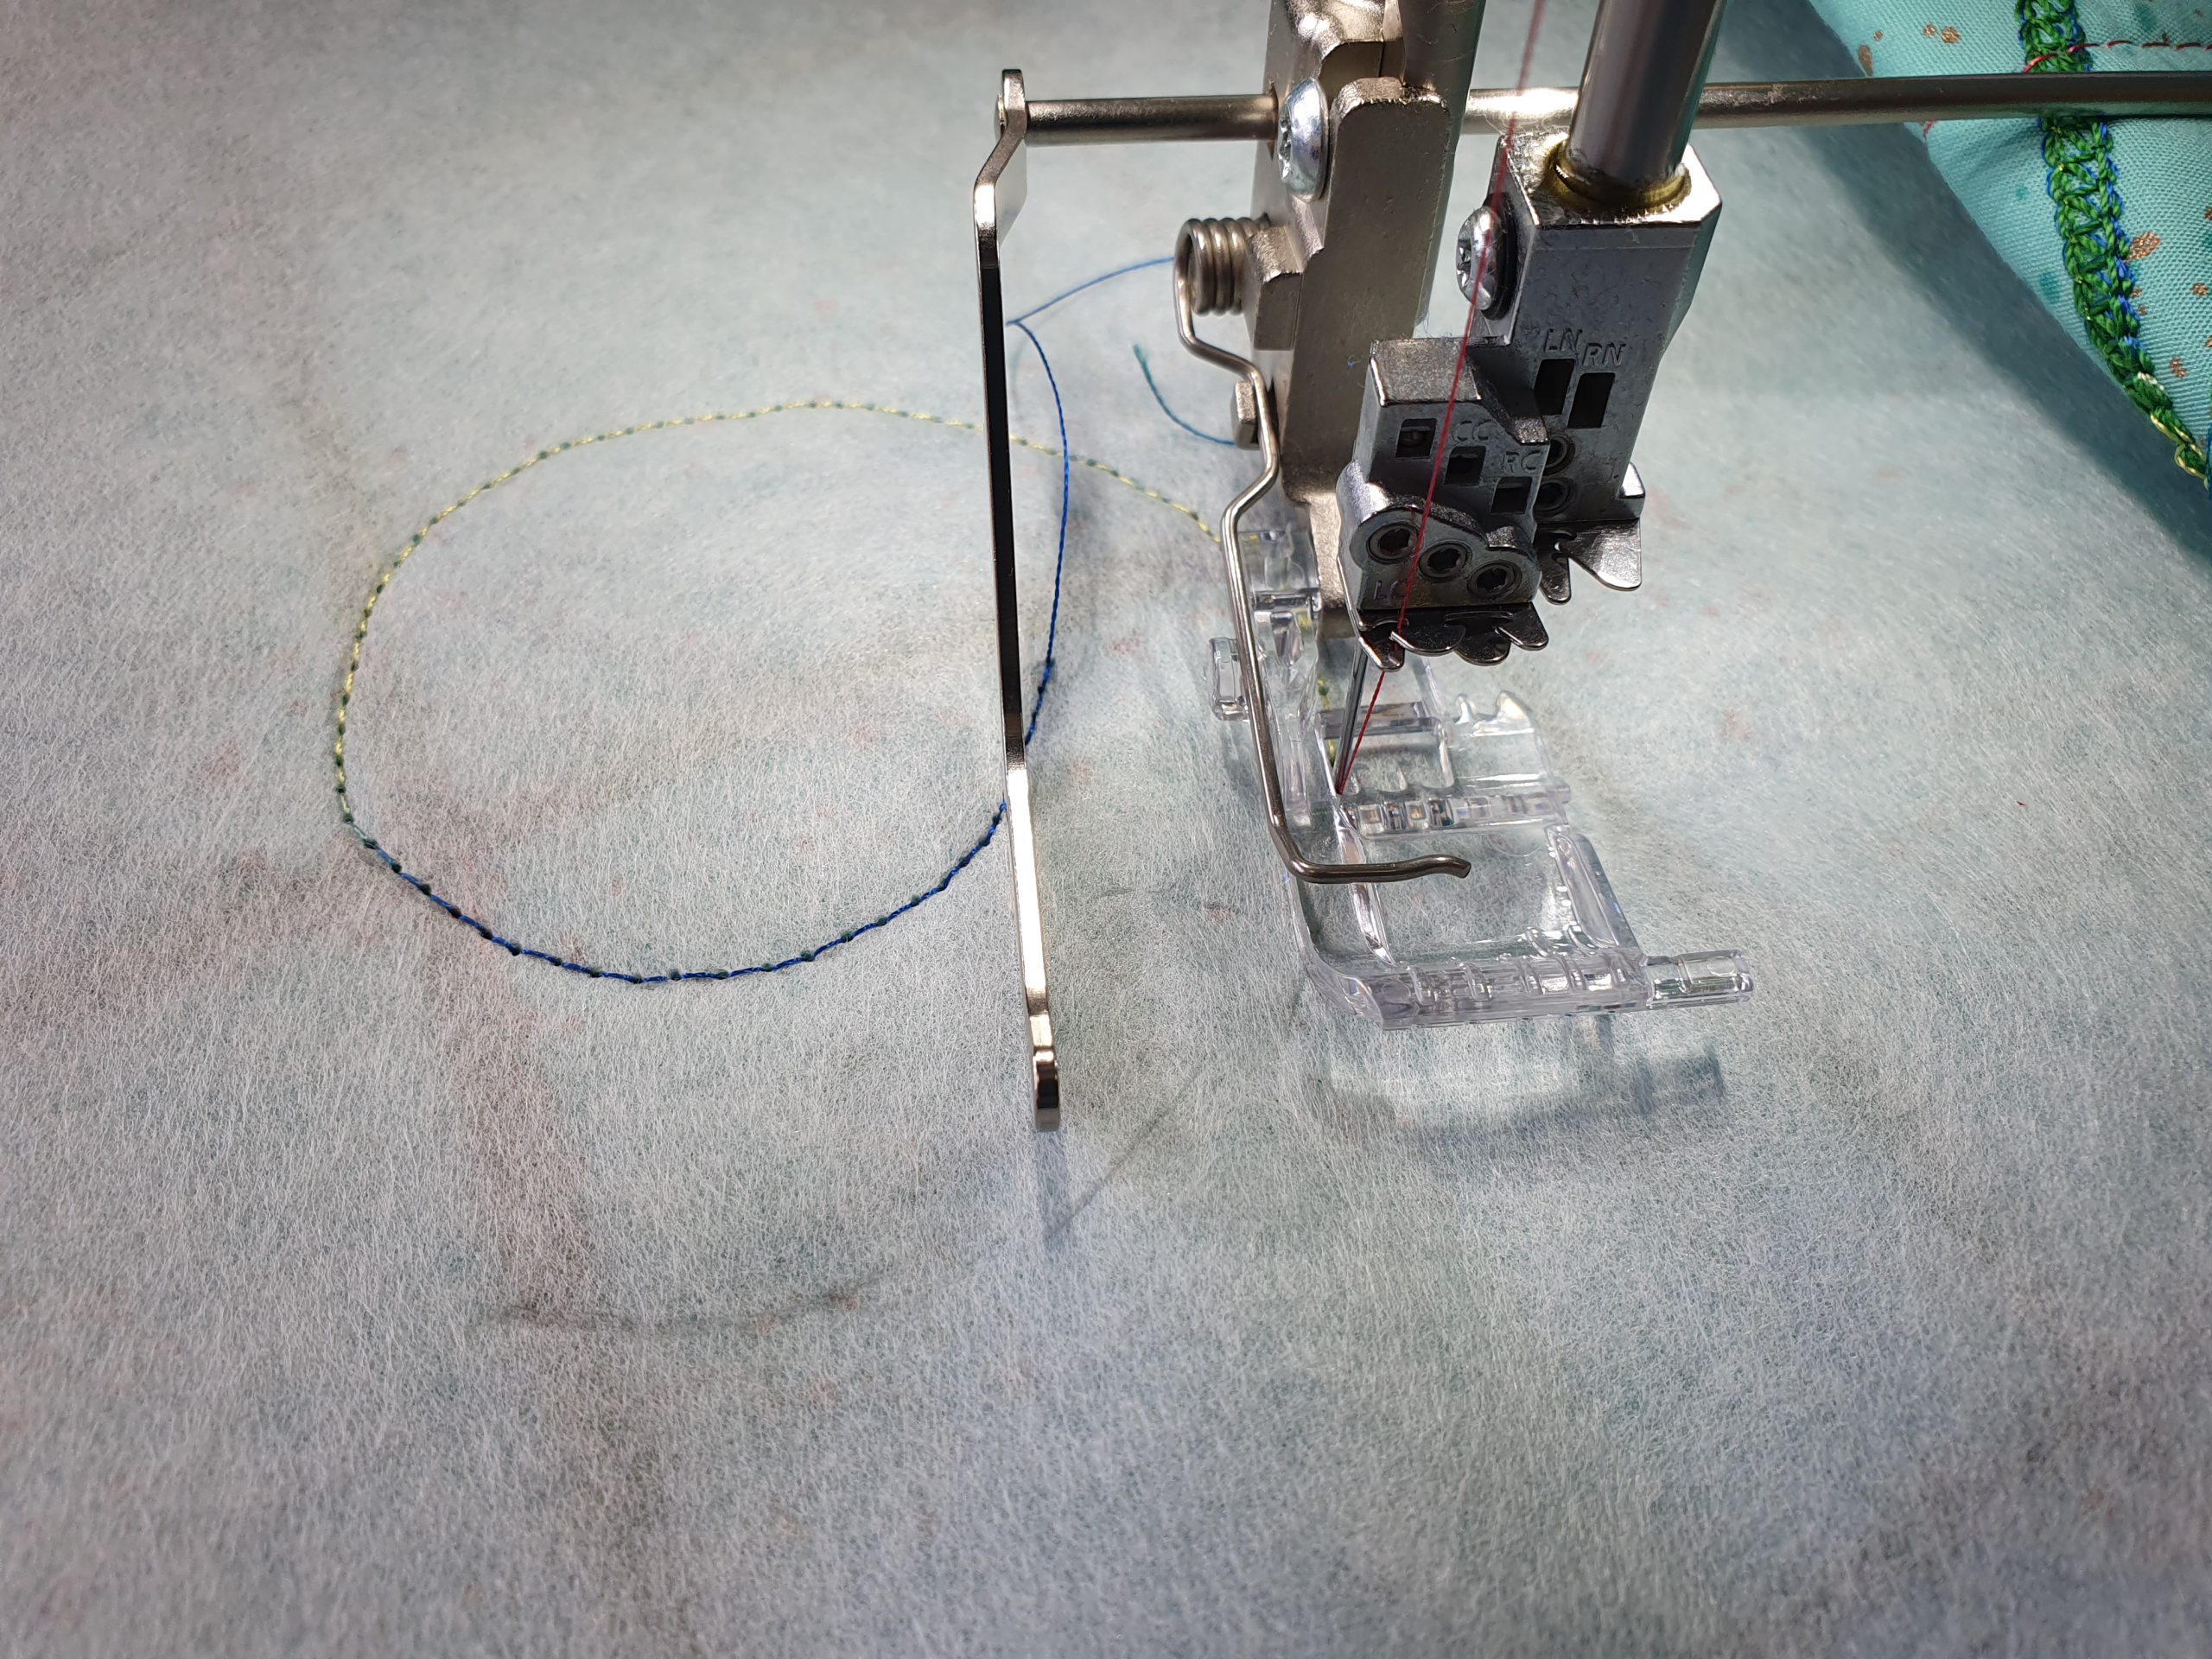
The first two curves follow the template, then the Seam Guide in Shaft starts its job to support you.
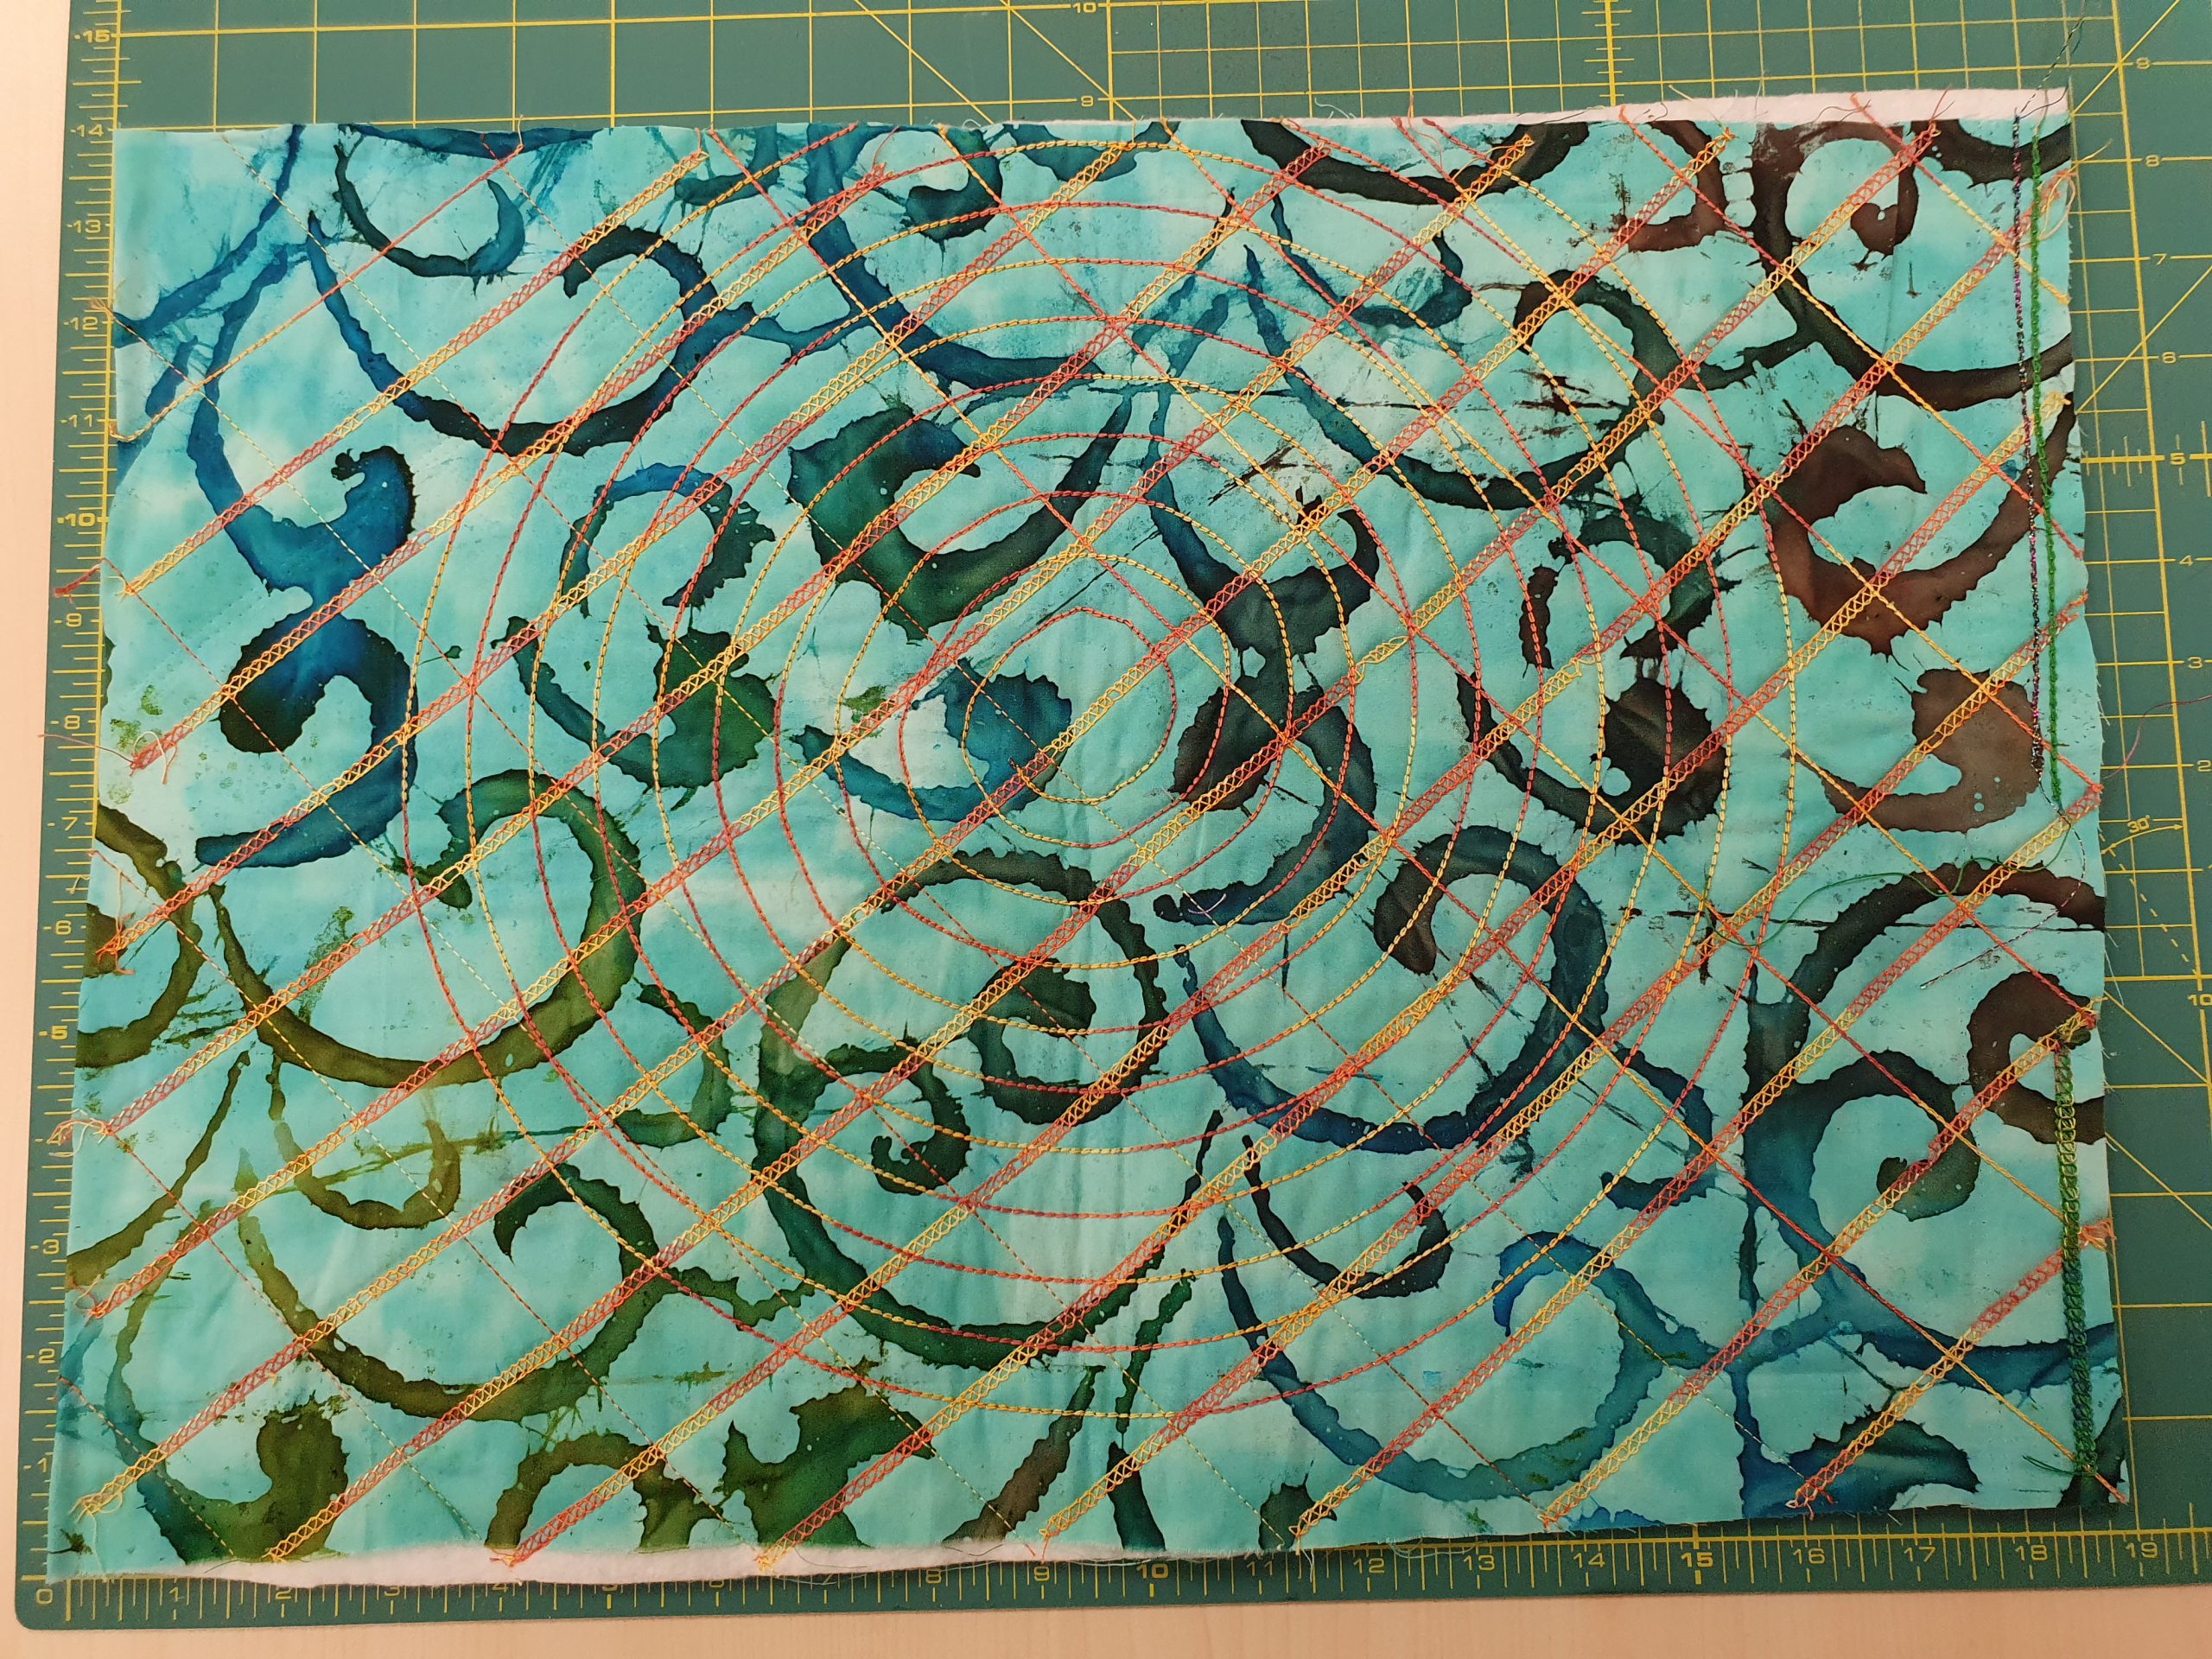
Sew as many circles as you like.
In addition to the first spiral, I sewed another one in the other third of the fabric, this time with the other project side up.
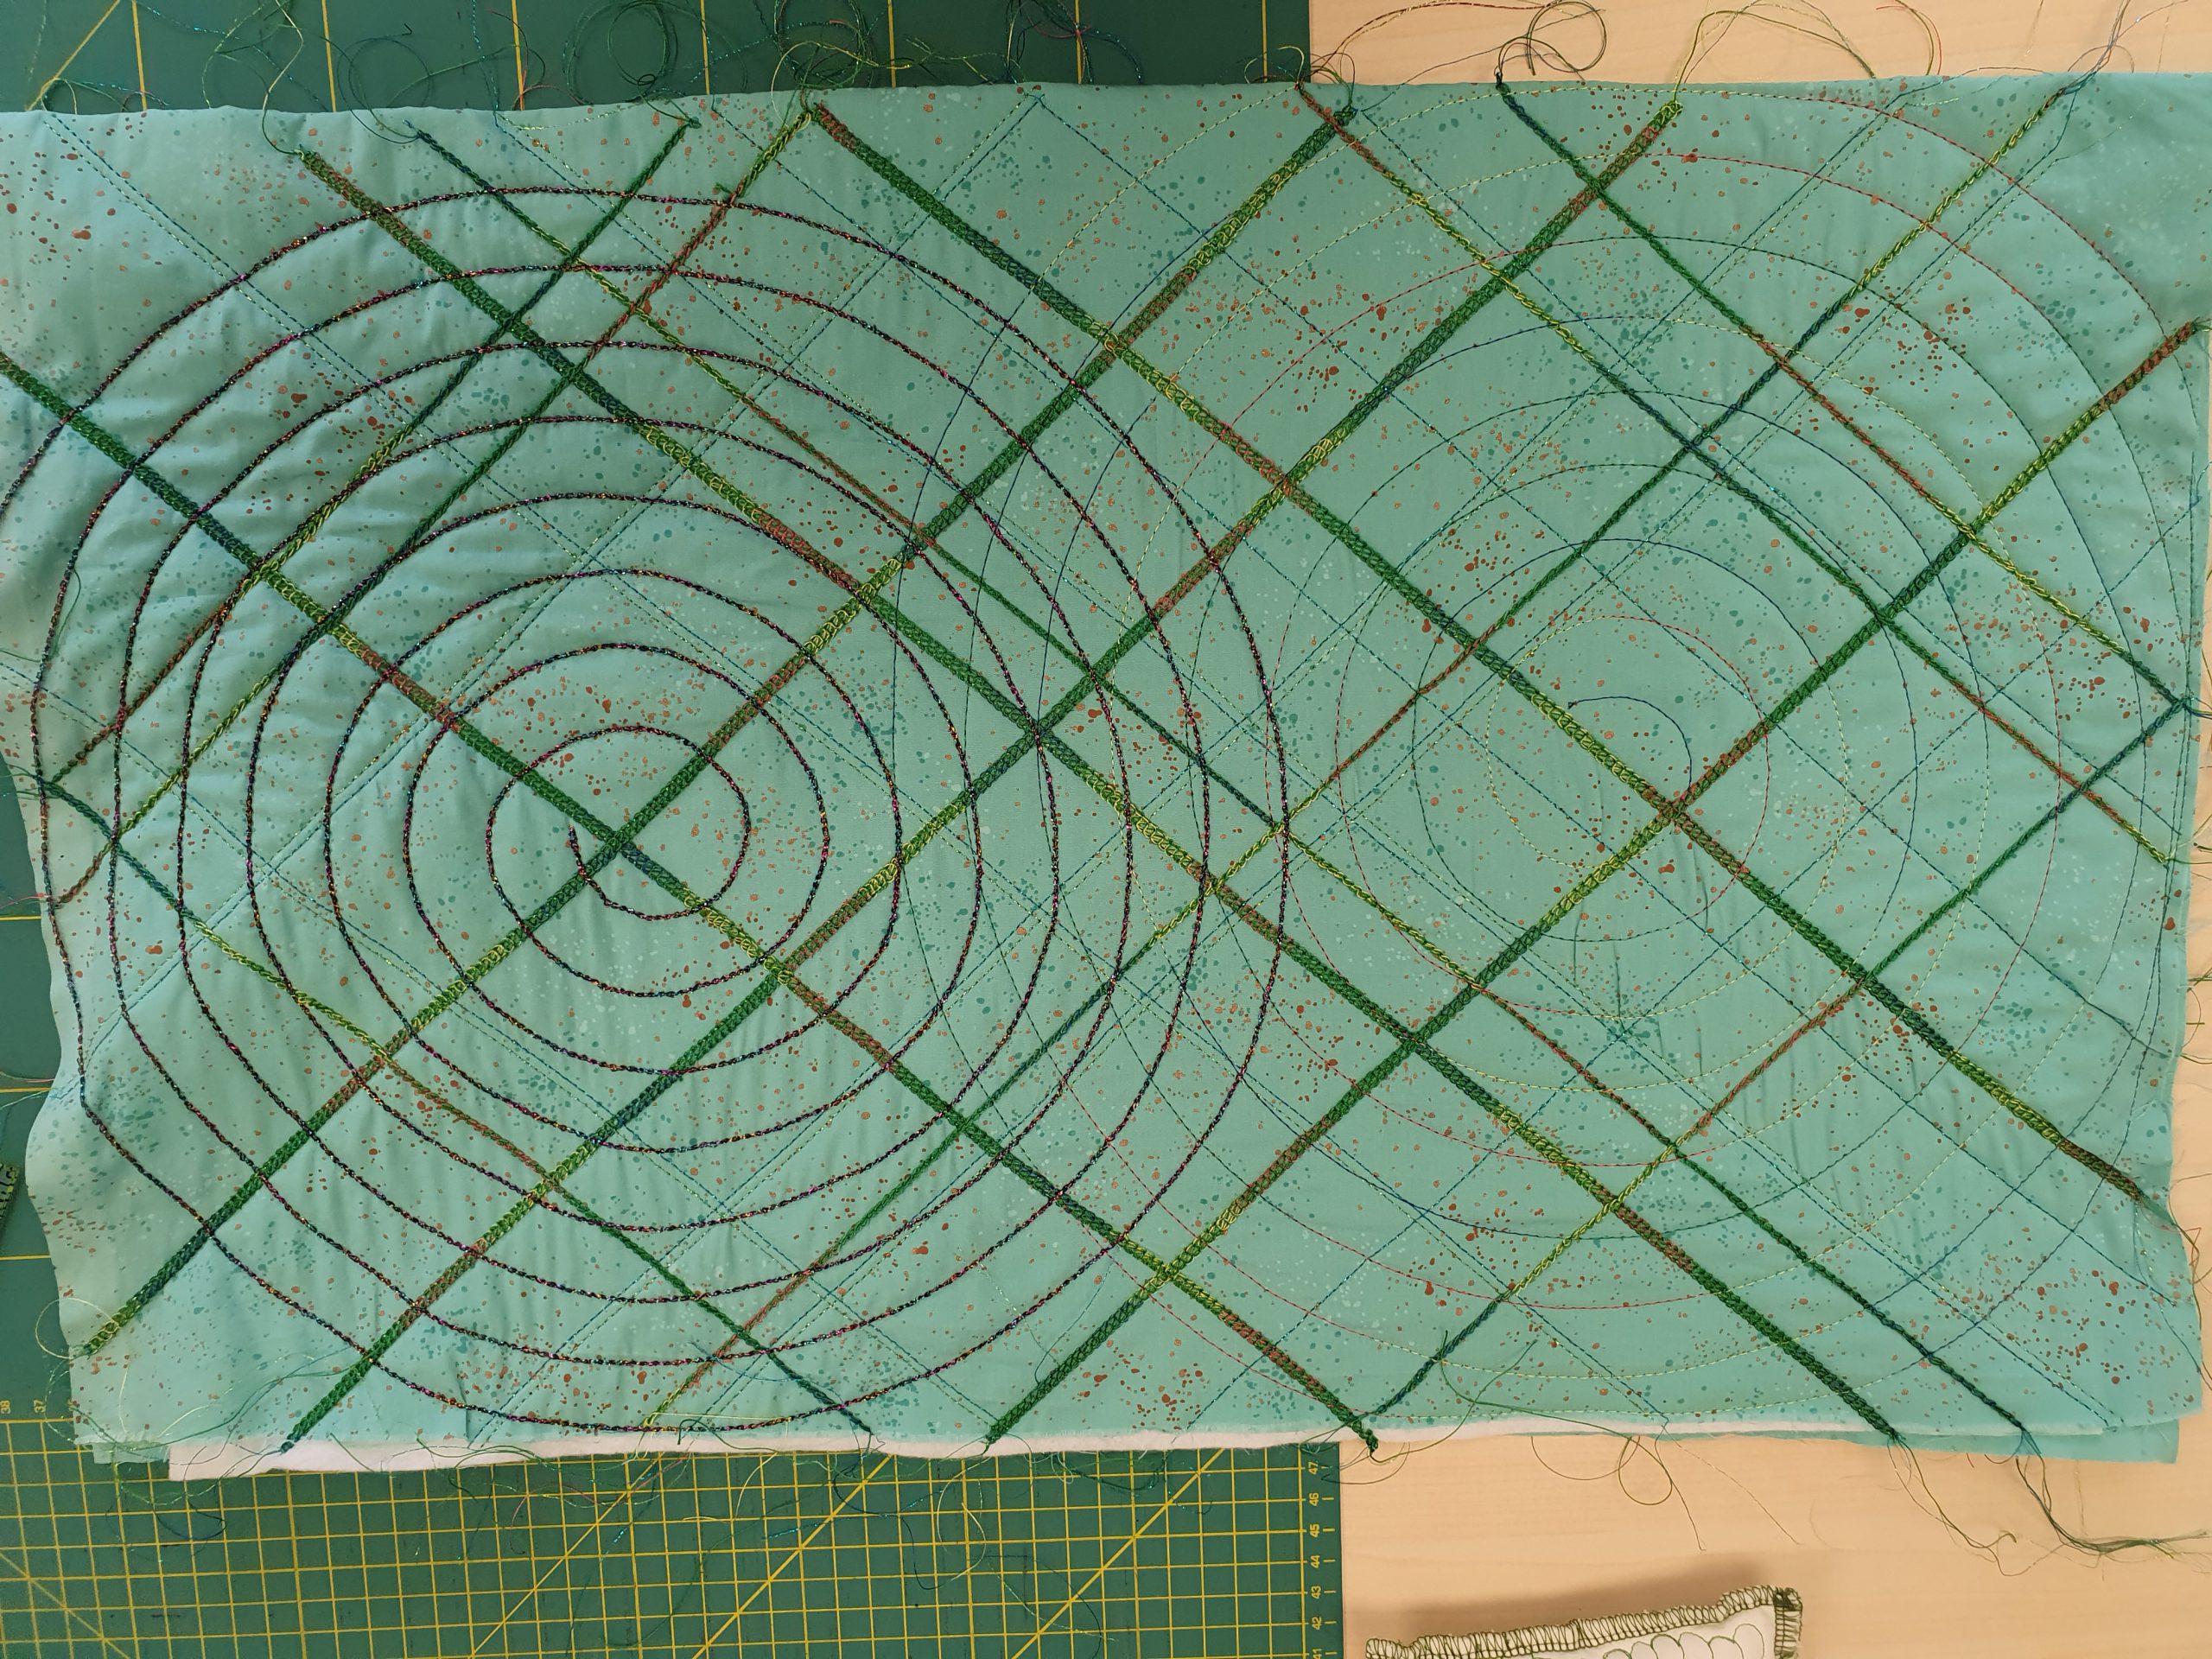
When your done with your fabric design, iron it well. “Irony, the opposite of wrinkly.”
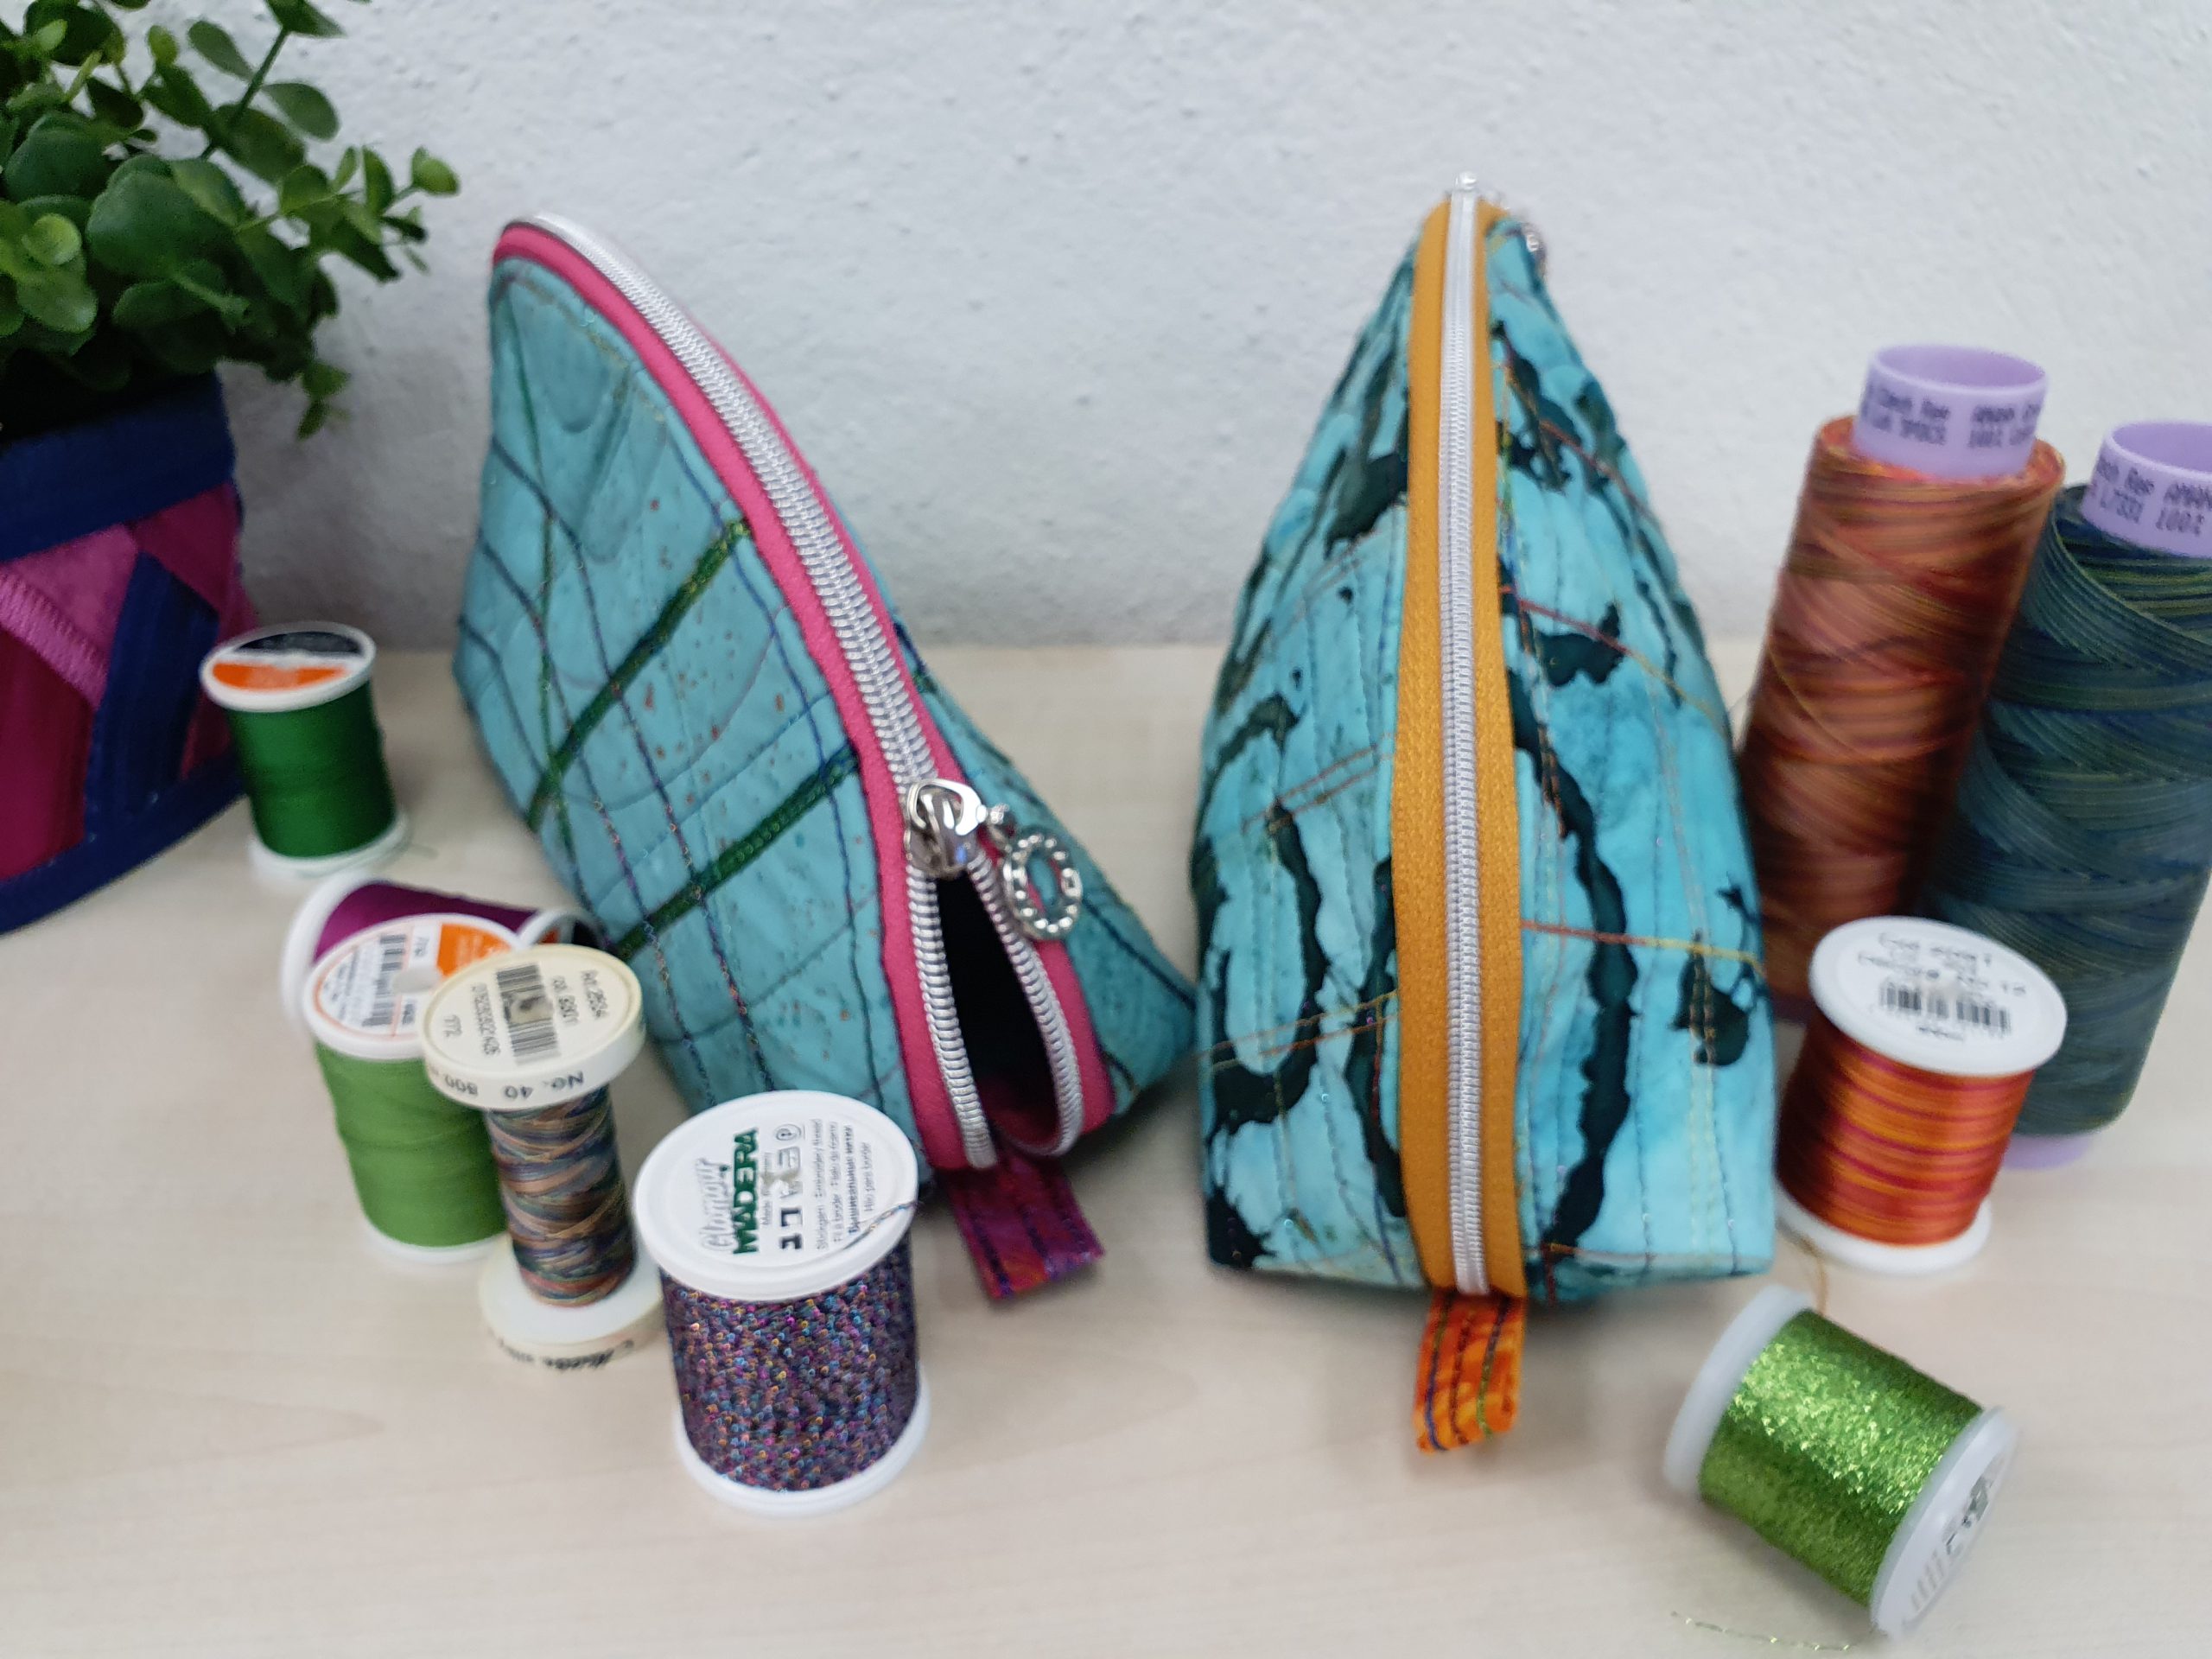
Zipper loops
I folded the fabric for the loops for the zipper ends like a strap and topstitched it with the chainstitch.
Cut the strap in half and fold them in half, so that the decorative looper thread will be visible on the outside.

Cut and sew the zipper bag
Until I liked the cutout for my bag, I moved the pattern back and forth a bit, then cut it without adding seam allowance.
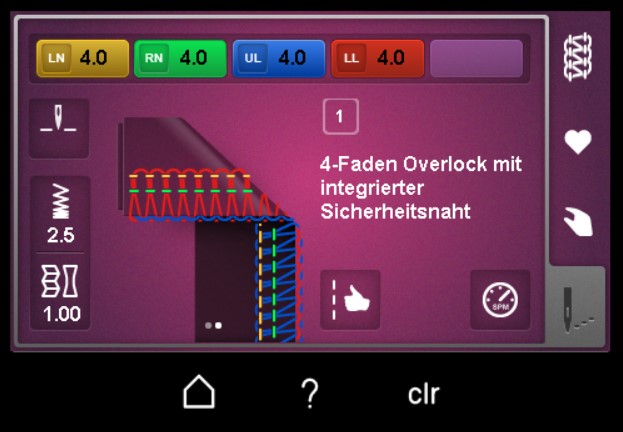
Now set your combo or overlock machine to 4-thread overlock, stitch 1. Alternatively, you may use stitch 3, 3-thread overlock wide. De-activate the knife.
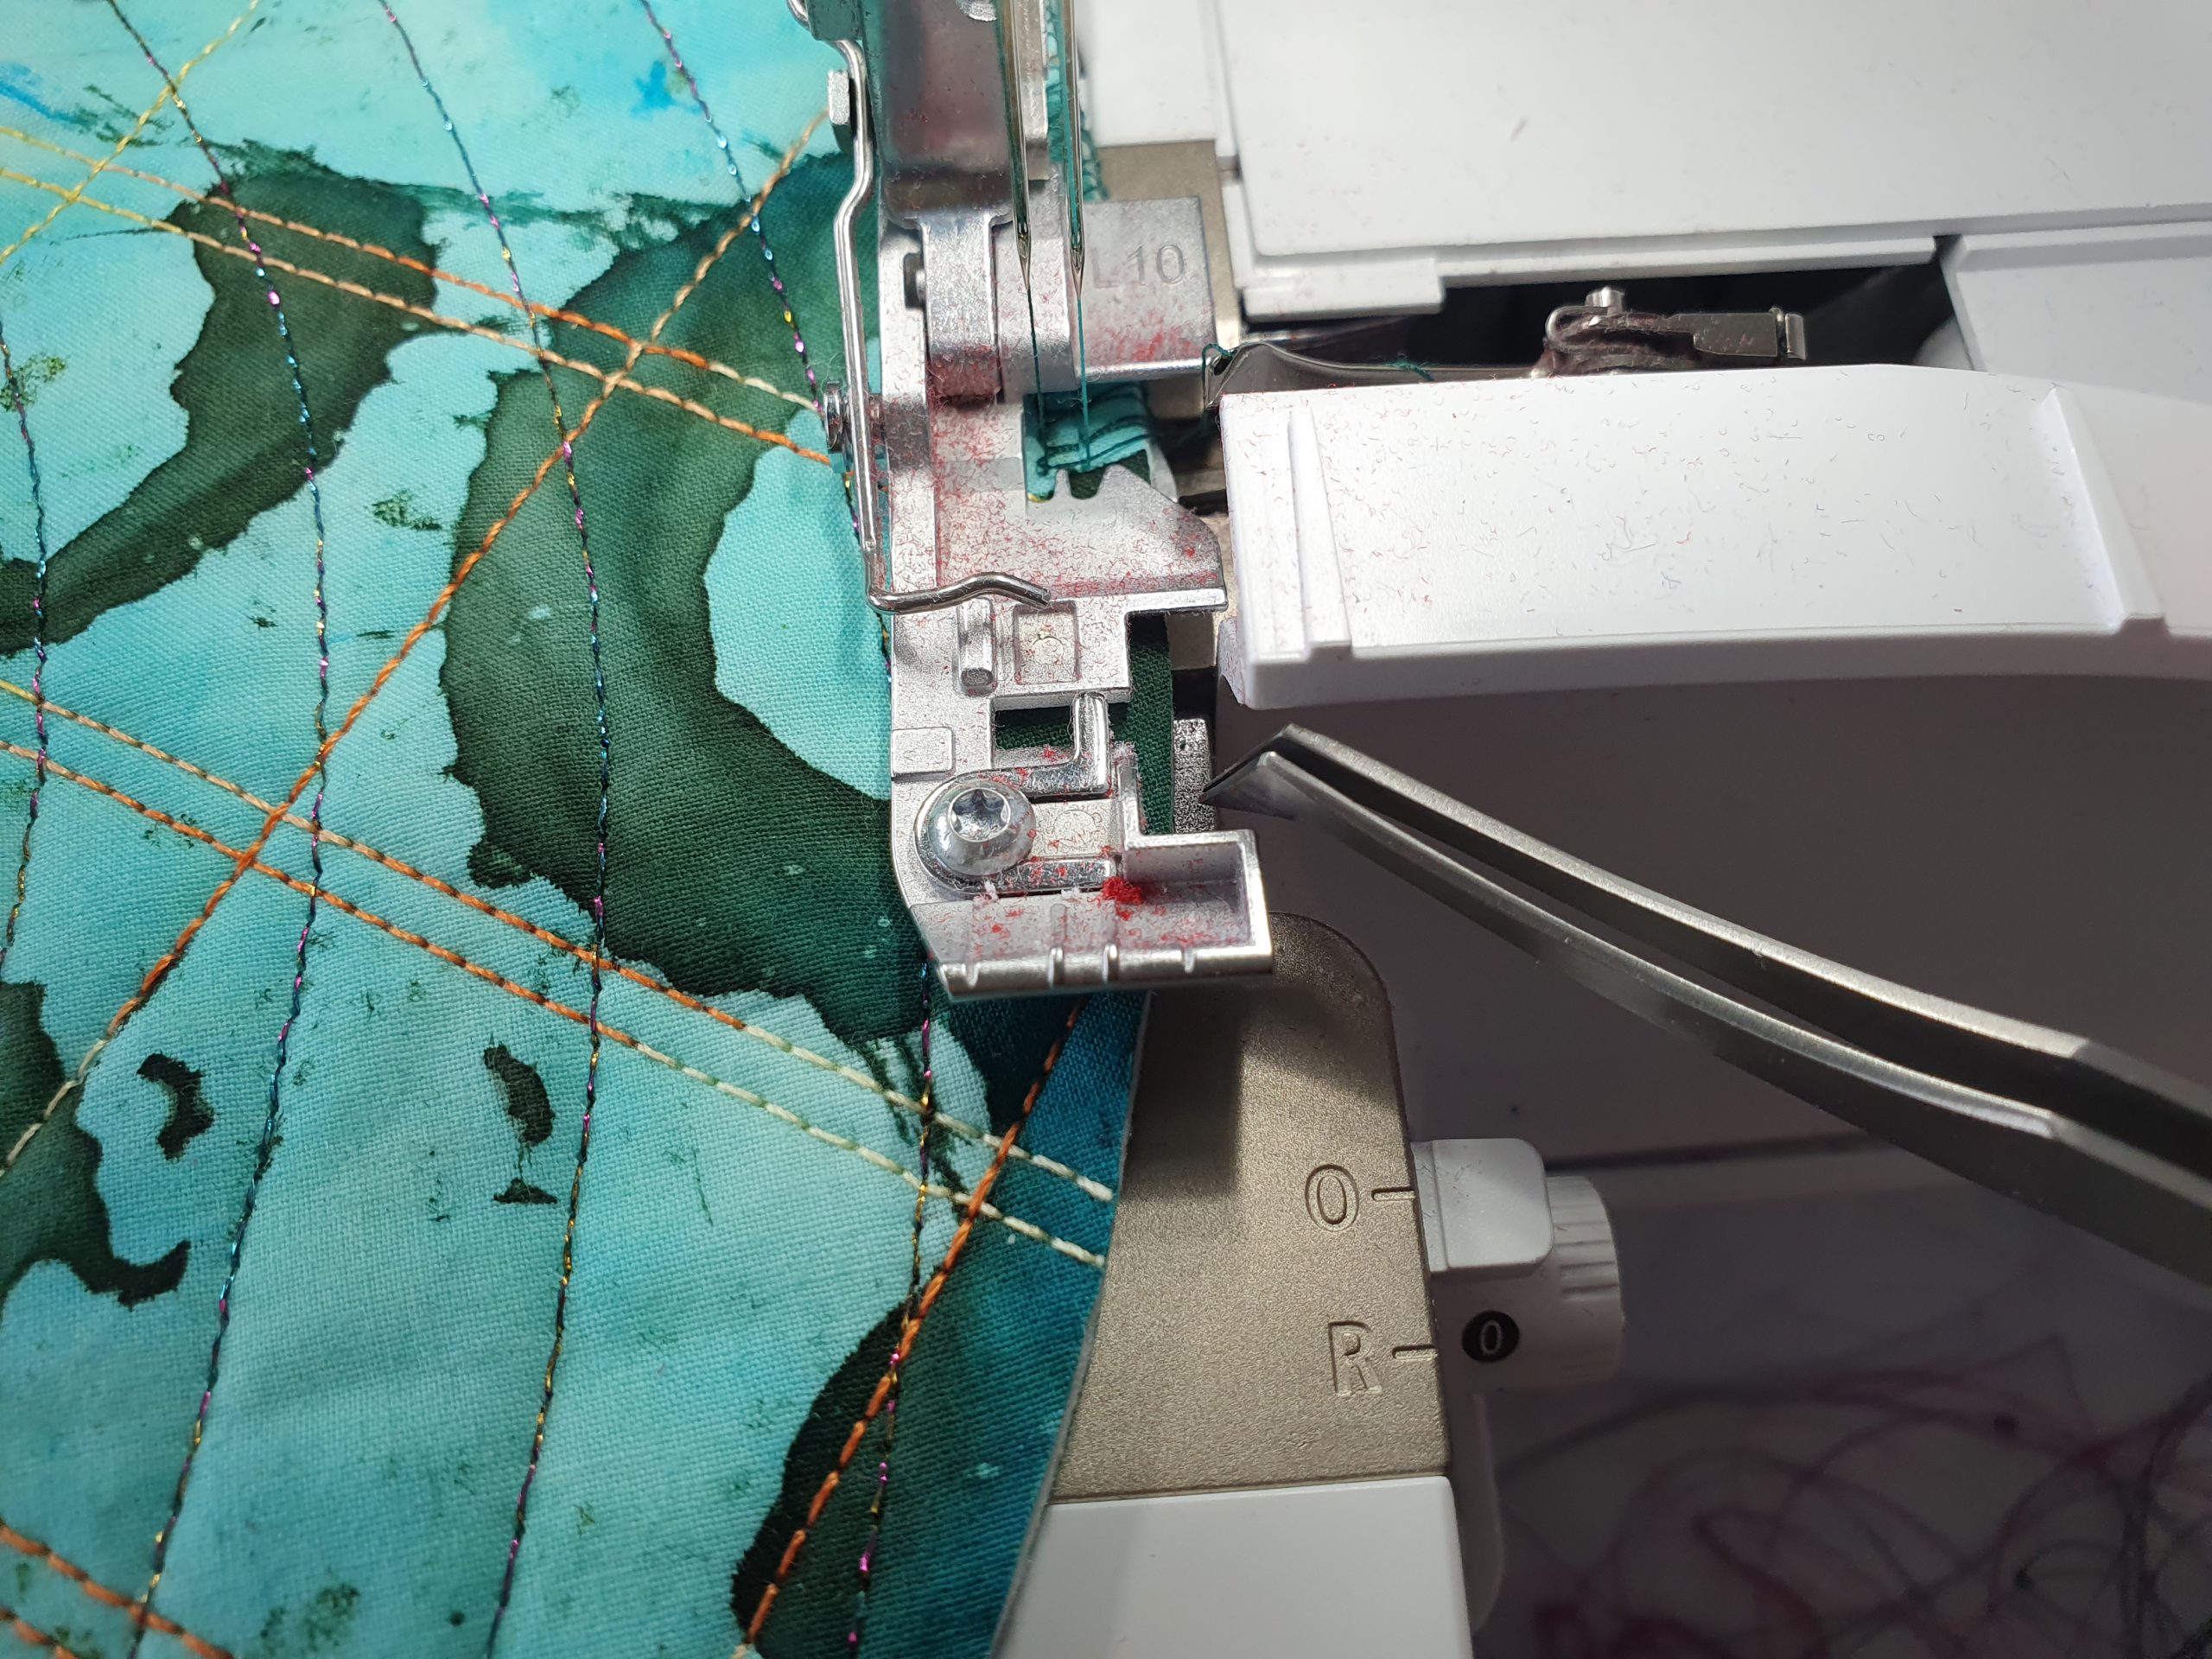
Neaten the two curvy edges without cutting, guiding the fabric edge using the deactivated knife as a guide. I found that the seam guide on the knife cover does not help, as it is too much at distance to the needles. Optionally use the curve foot for easier guiding. On the photo you will notice that I used the L 860 for the neatening job – of course, the L 890 will do that job too.

Here you can see the knife is deactivated, serving as a guiding aide only.
Open the zipper and pin it right on right side along the two curvy edges.


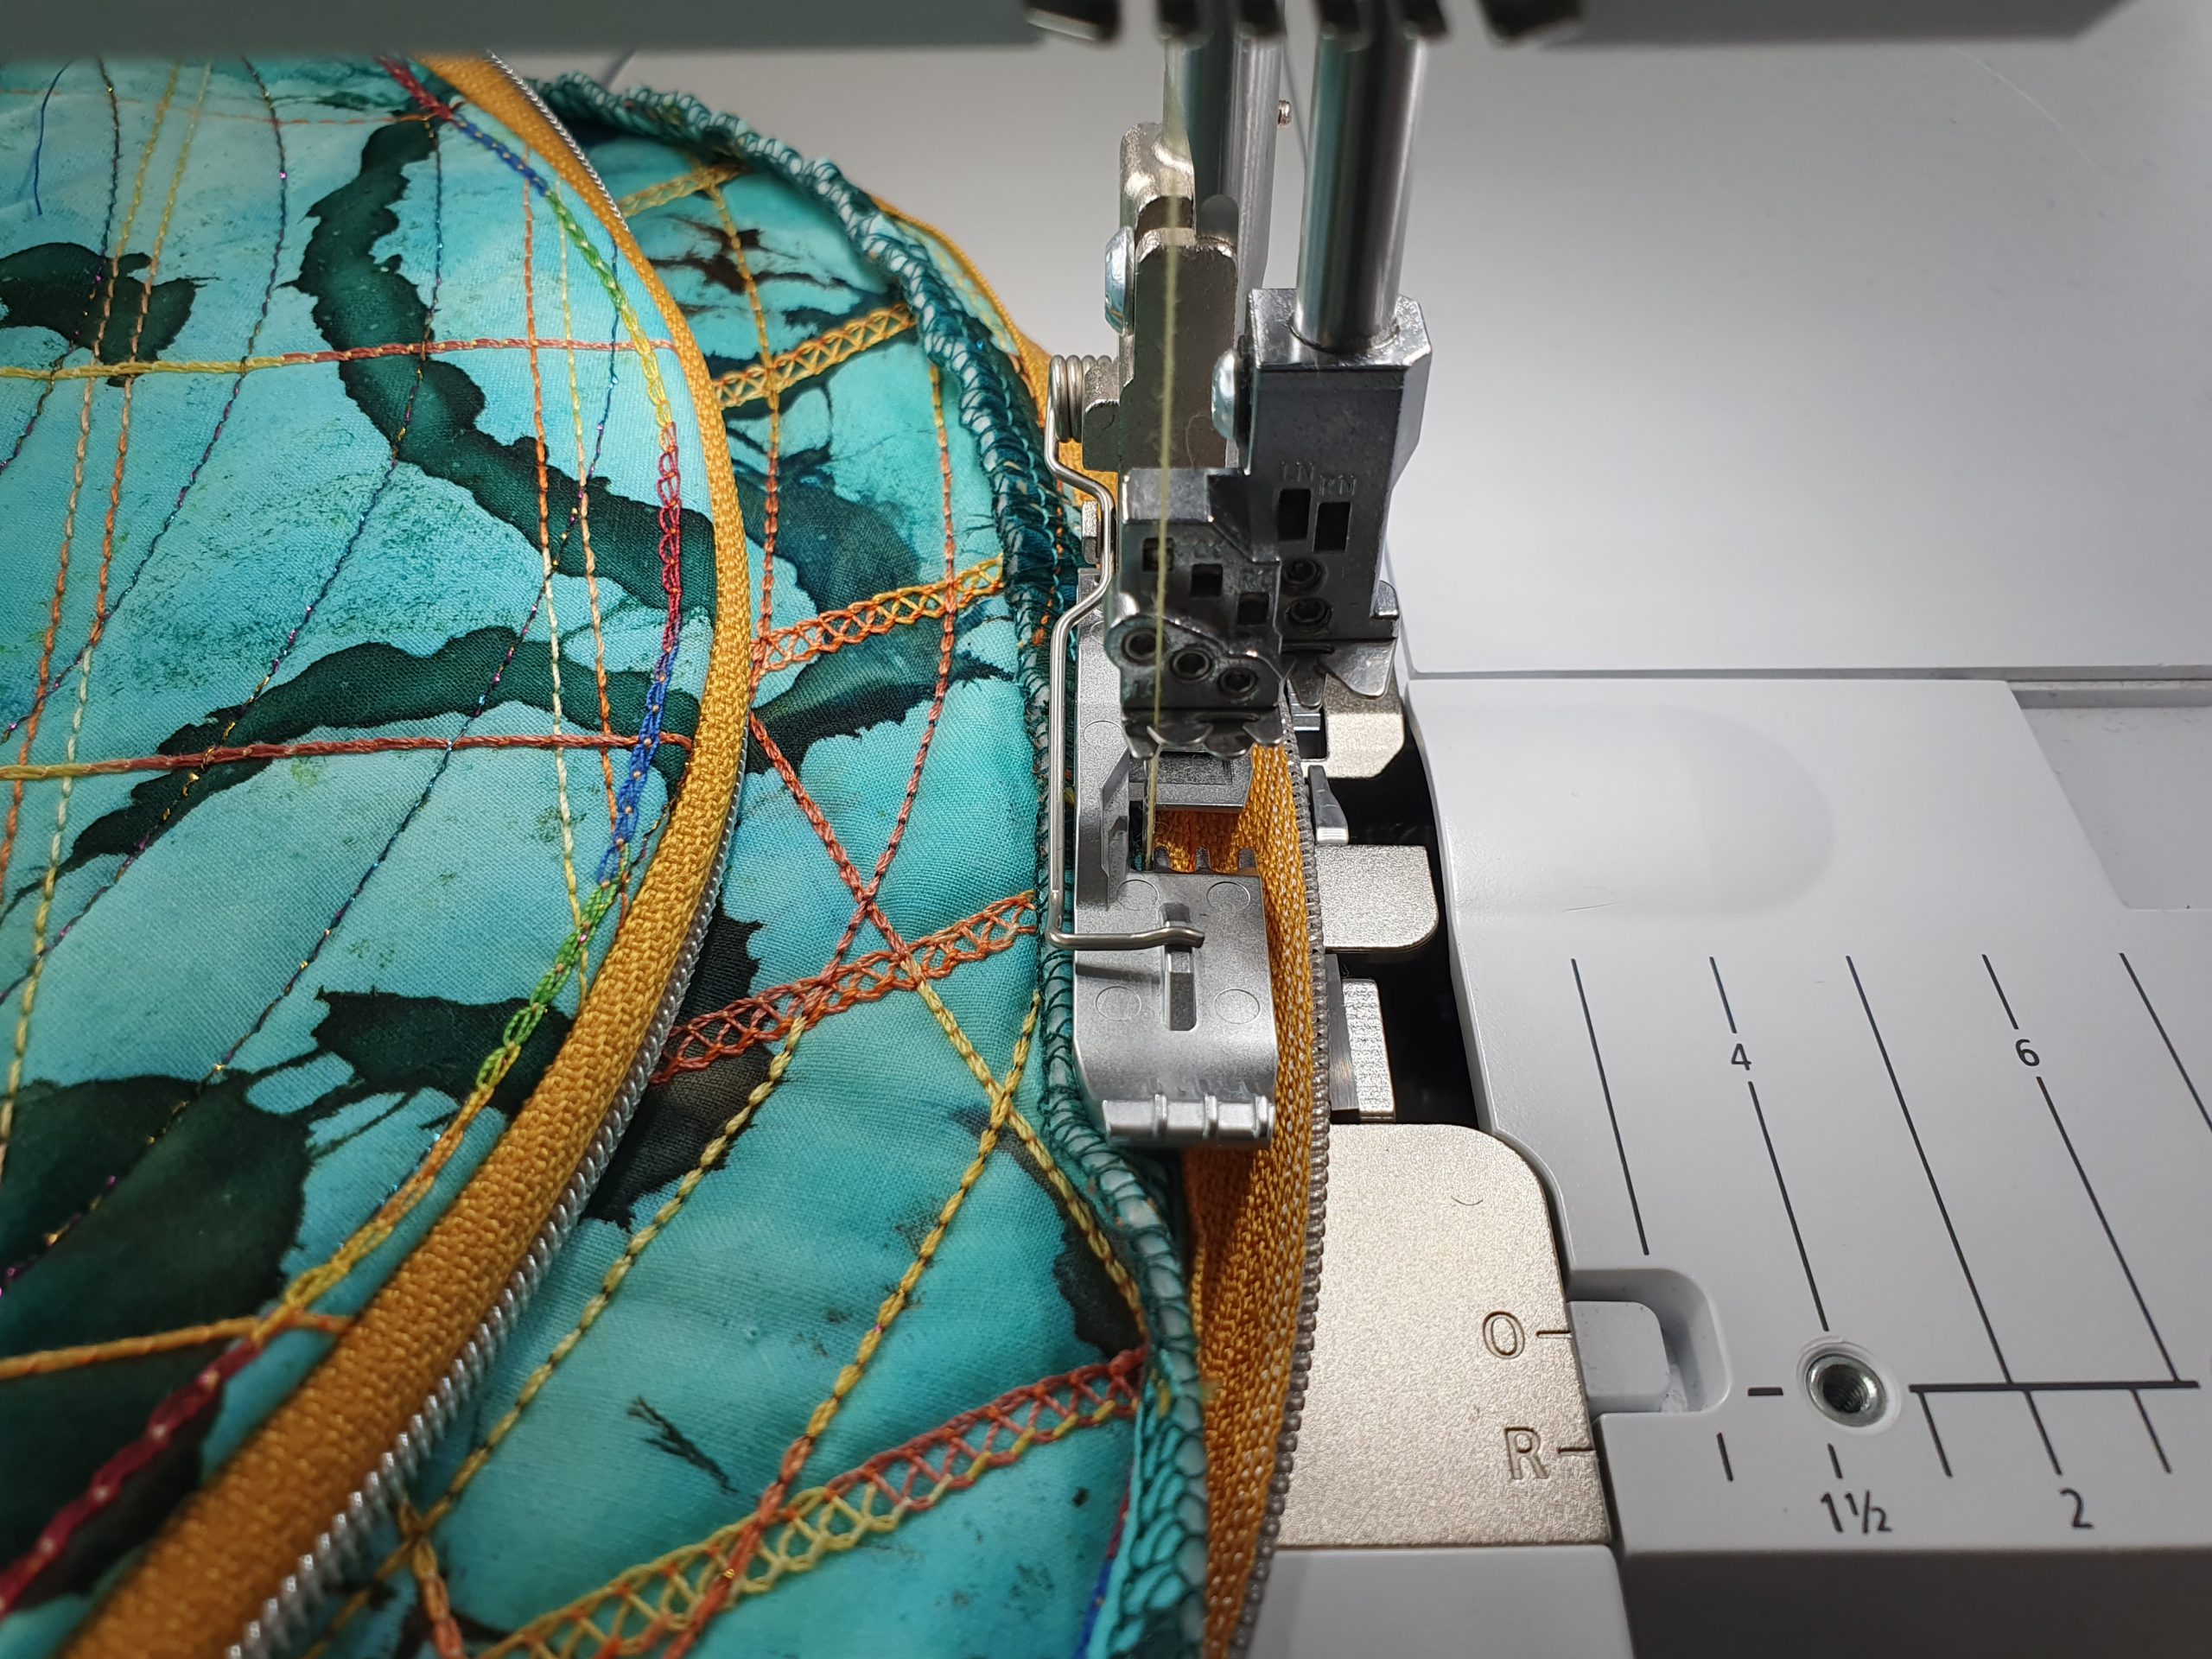
Set your machine to chainstitch, stitch 16. To stitch the zipper in place, I recommend using the left coverstitch needle LC.
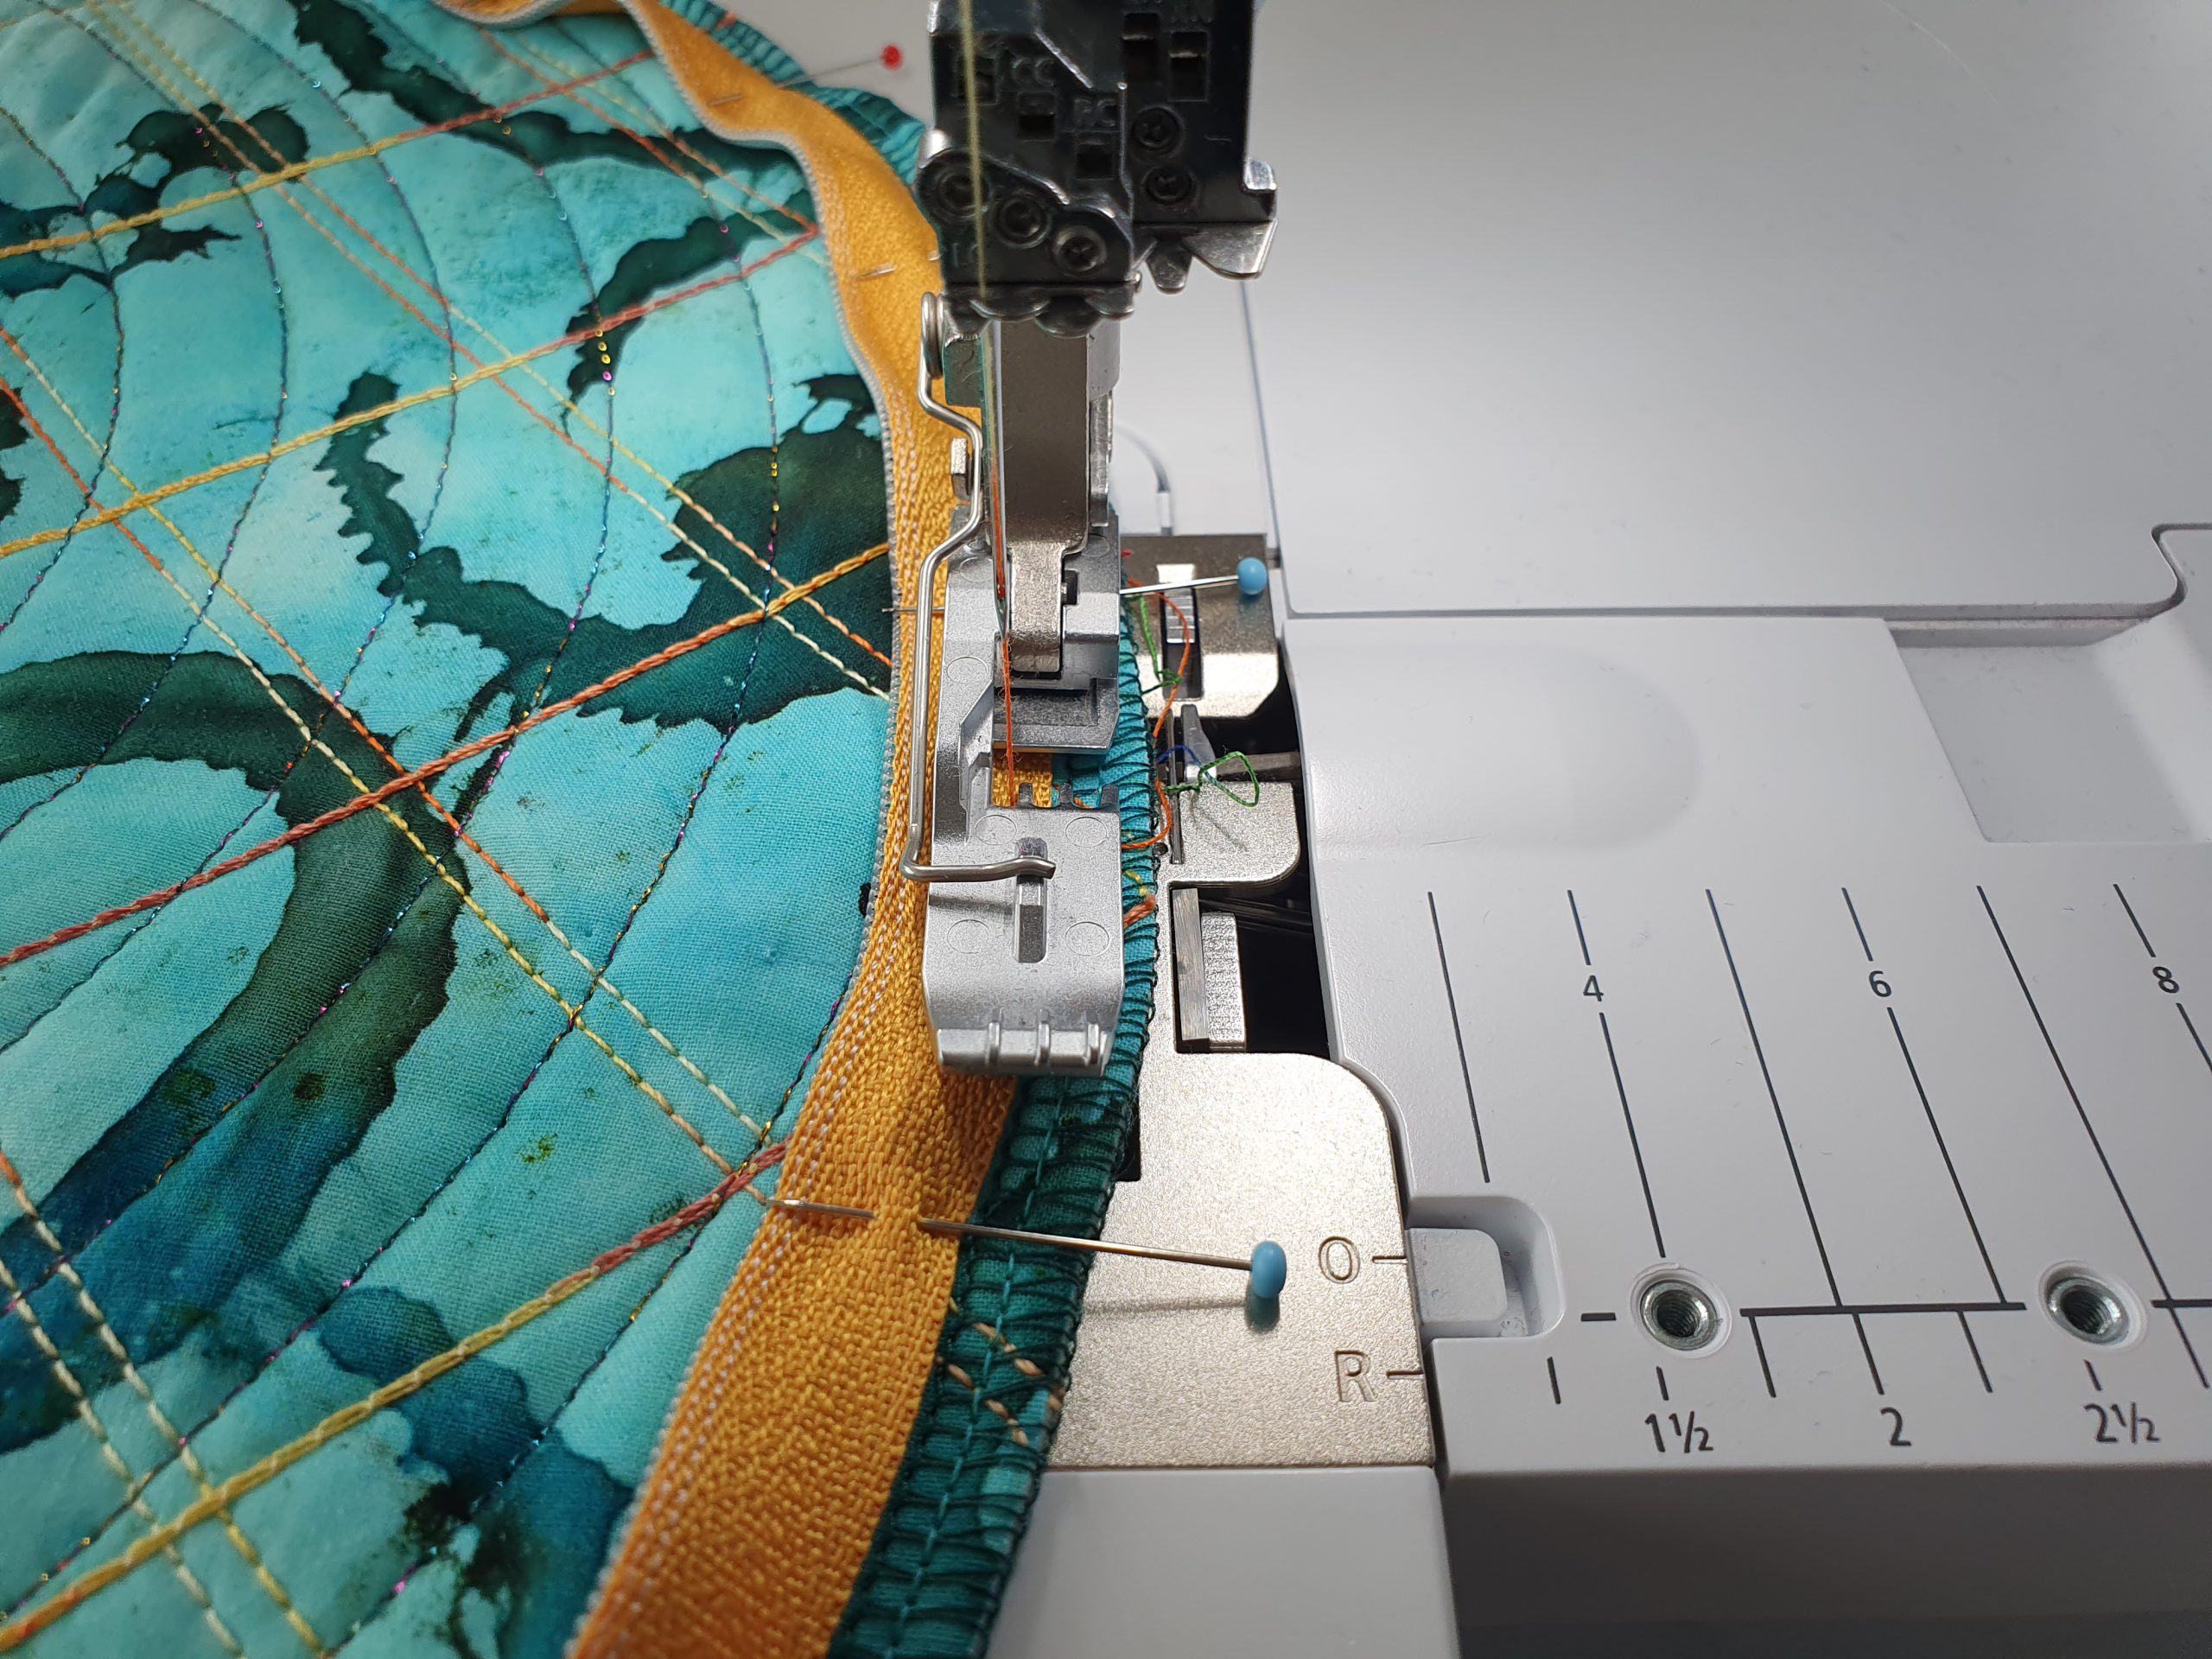
With that setup and Chainstitch Foot #C13, you can stitch along the zipper teeth as close as possible, while these are placed along the left edge of the foot. Here you can see easily how to close the needle stitches. Alternatively, you may also use the curve foot C23 with the left needle LC.

Press the seam.
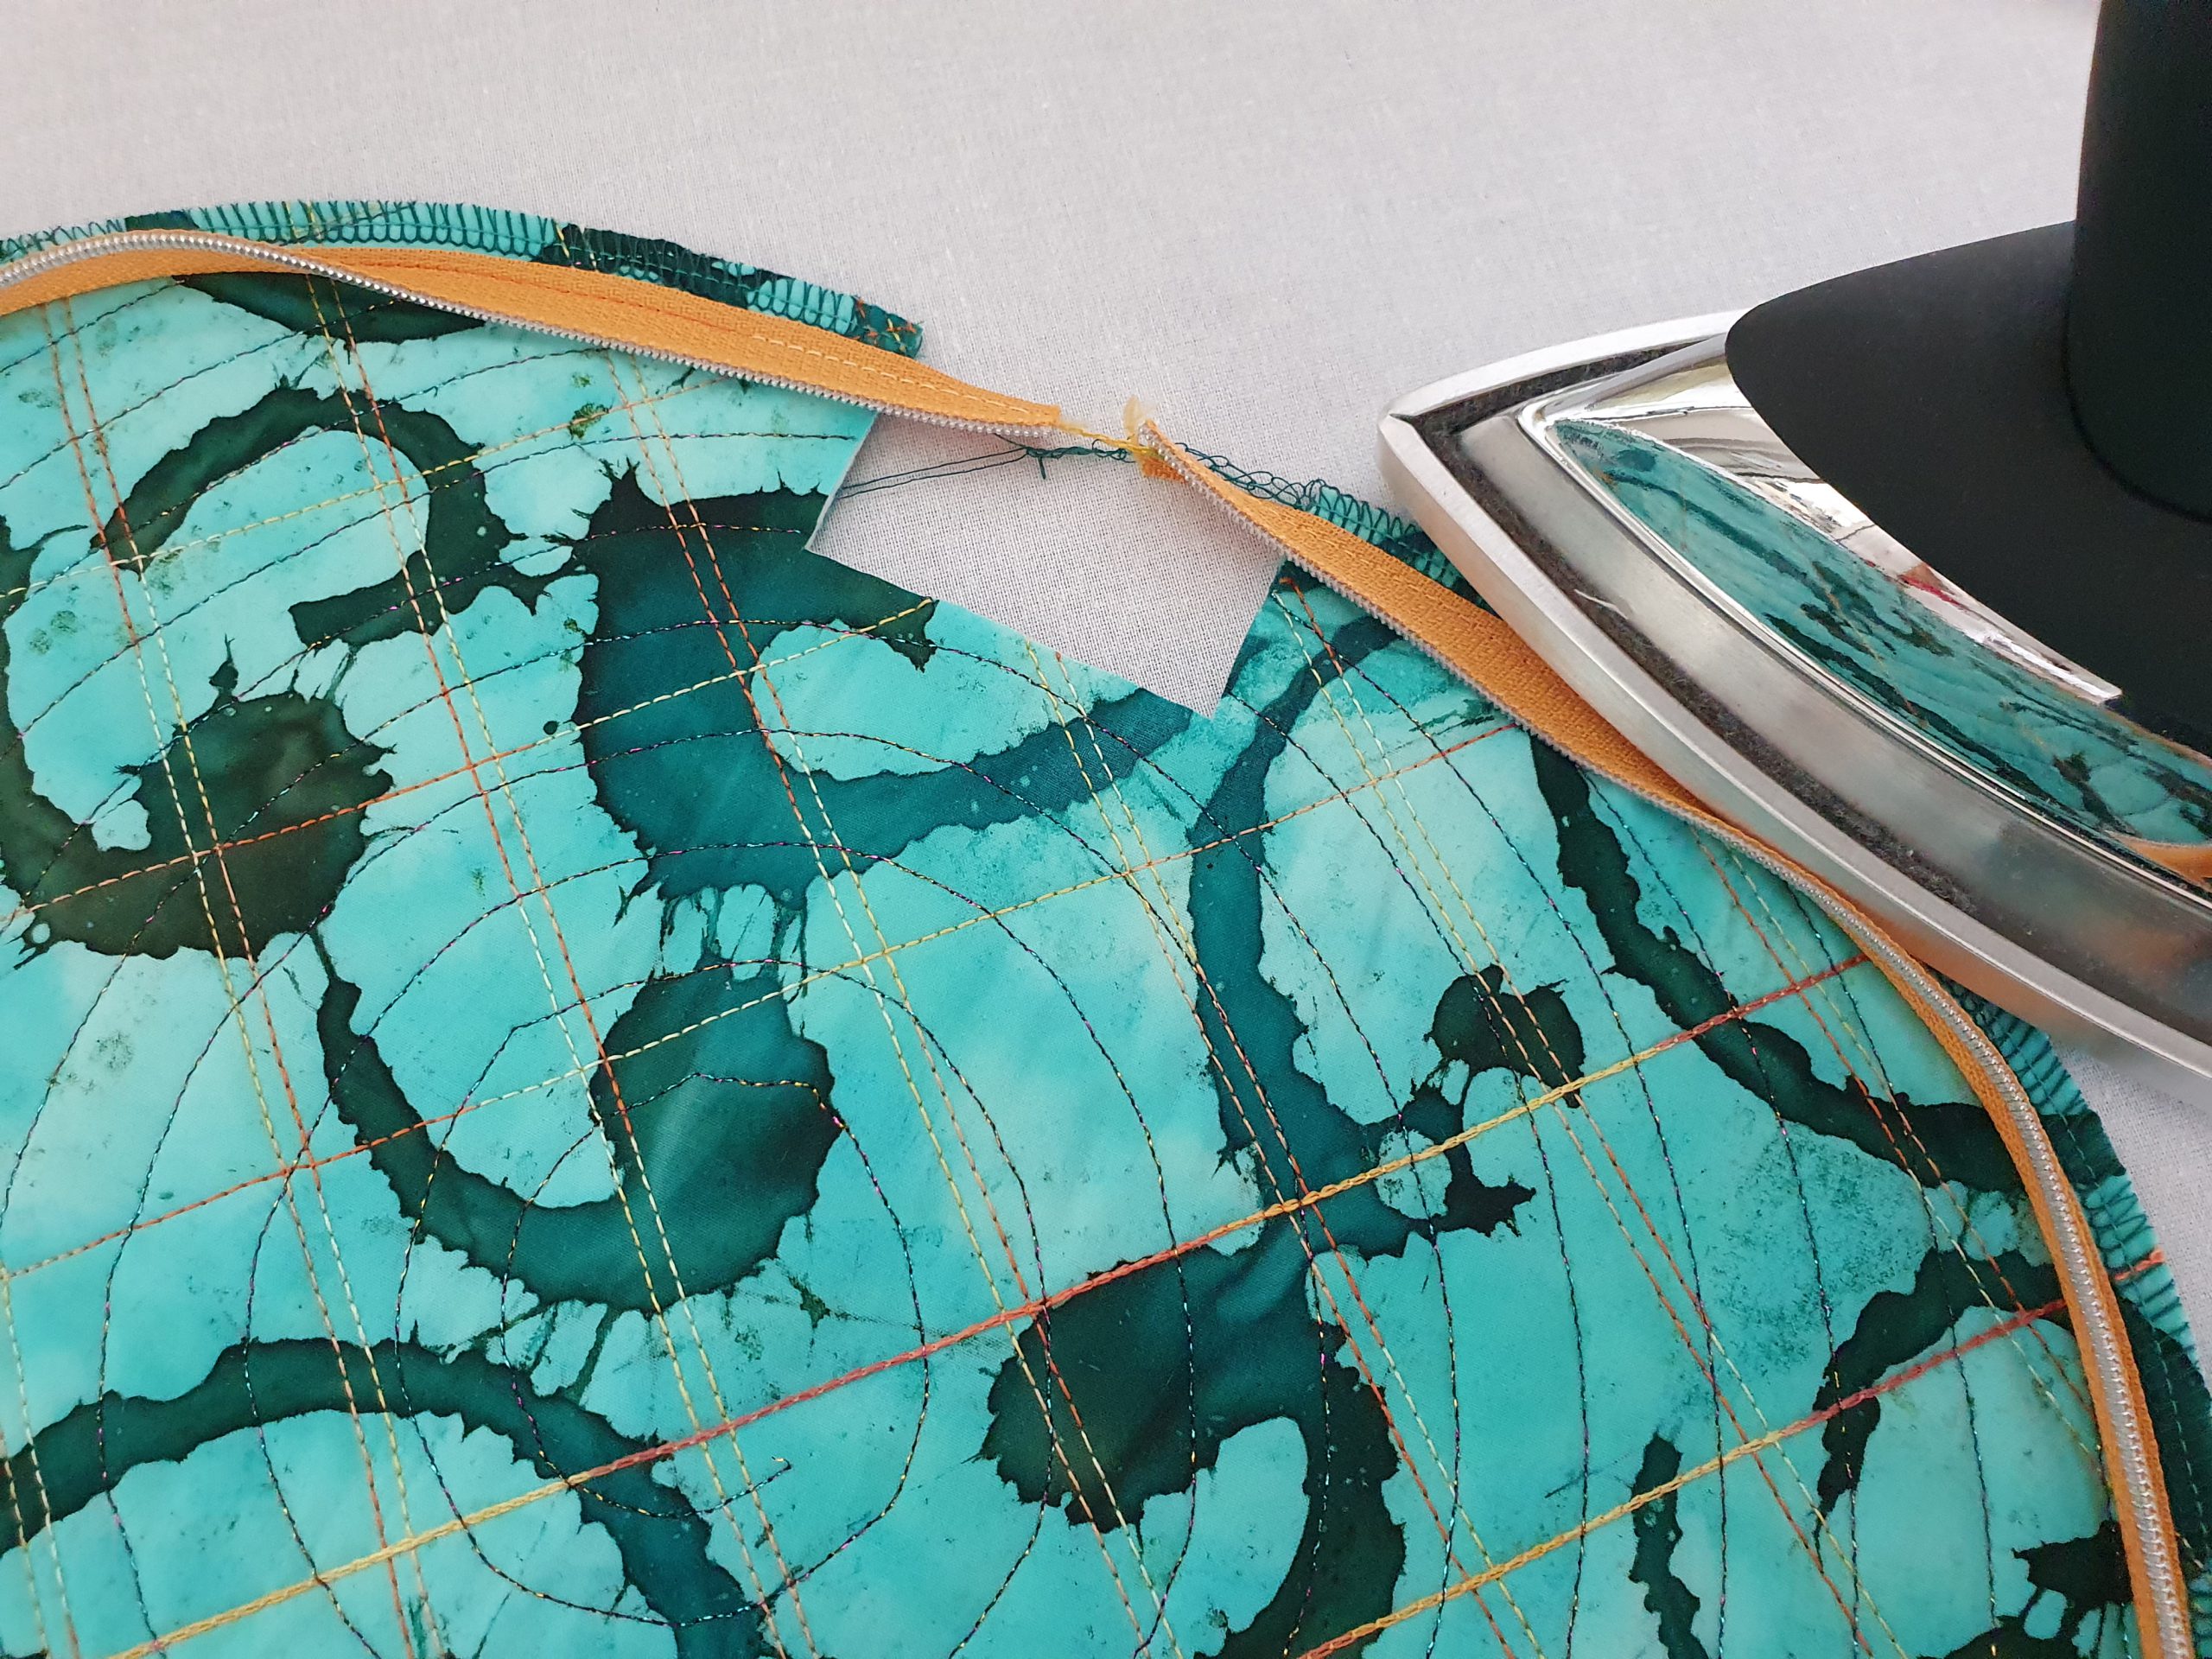
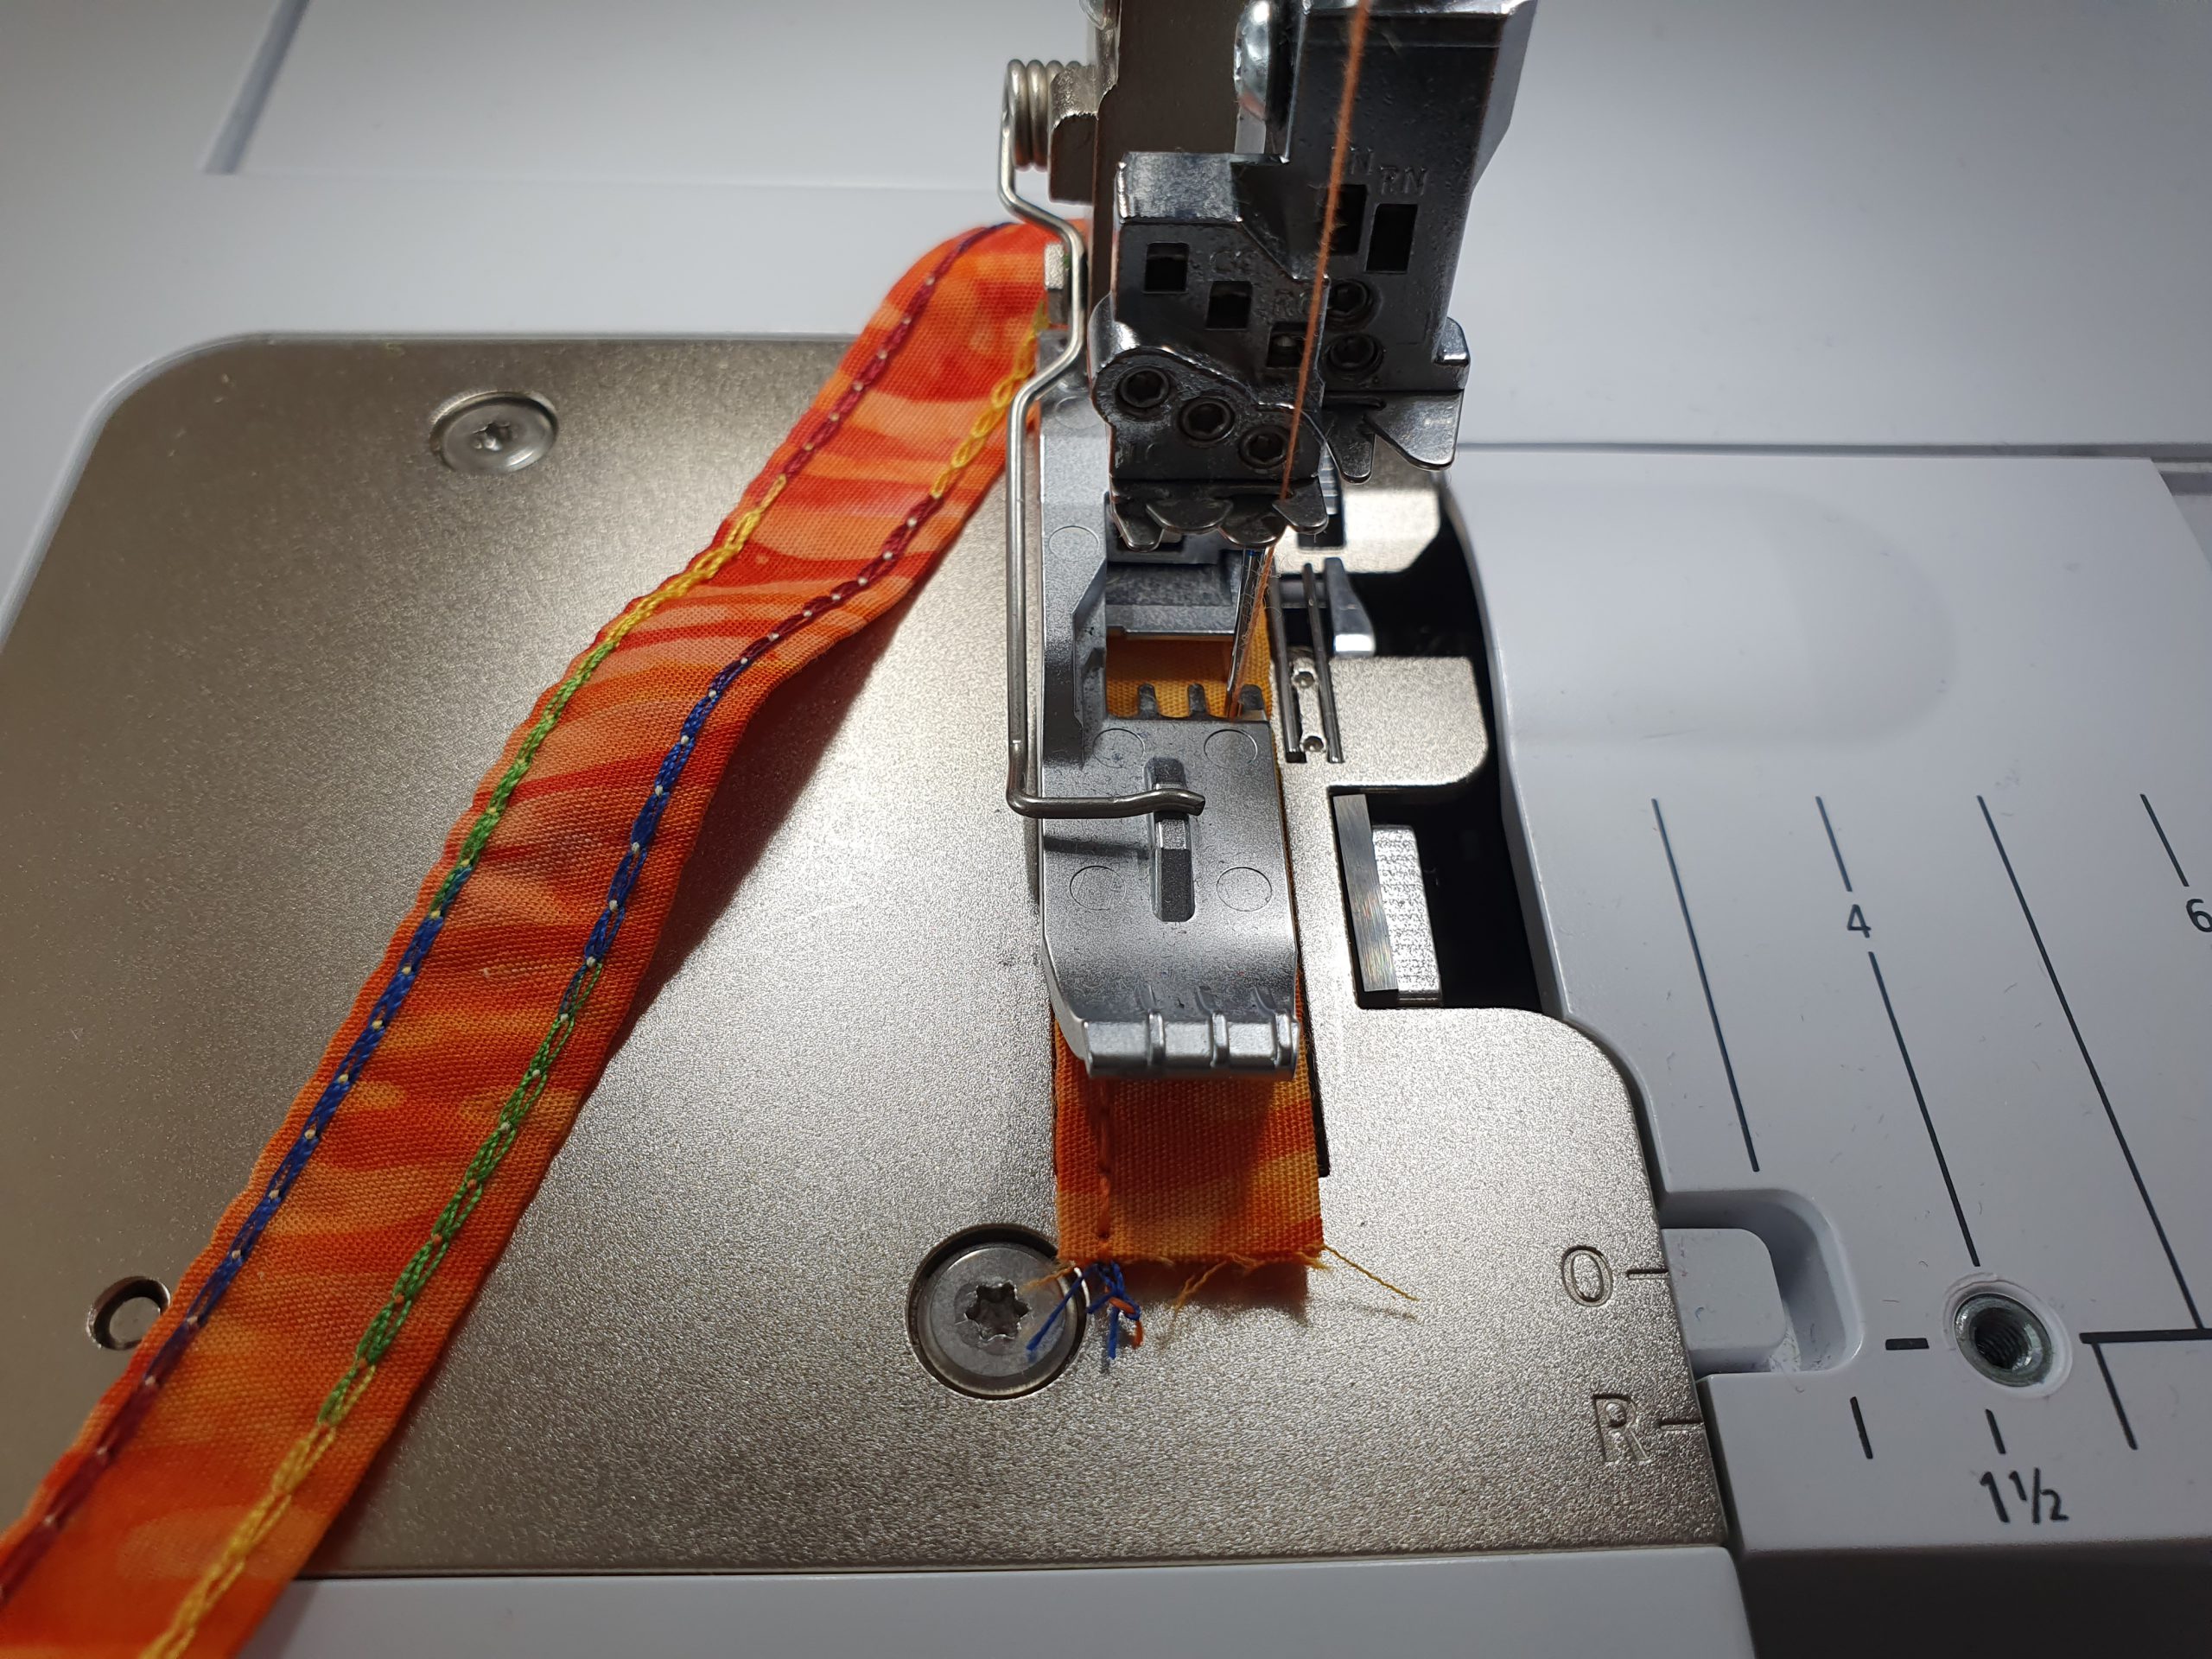
Place the seam allowance towards the fabric and topstitch the zipper with the chainstitch, using the wrong side up, so that the decorative chainstitch becomes visible on the outside of the bag. I tried topstitching with LC once and with RC once.

With the narrow zipper, it was quite challenging.
The bag with the wider zipper was easier to topstitch, as you can see in this sample:
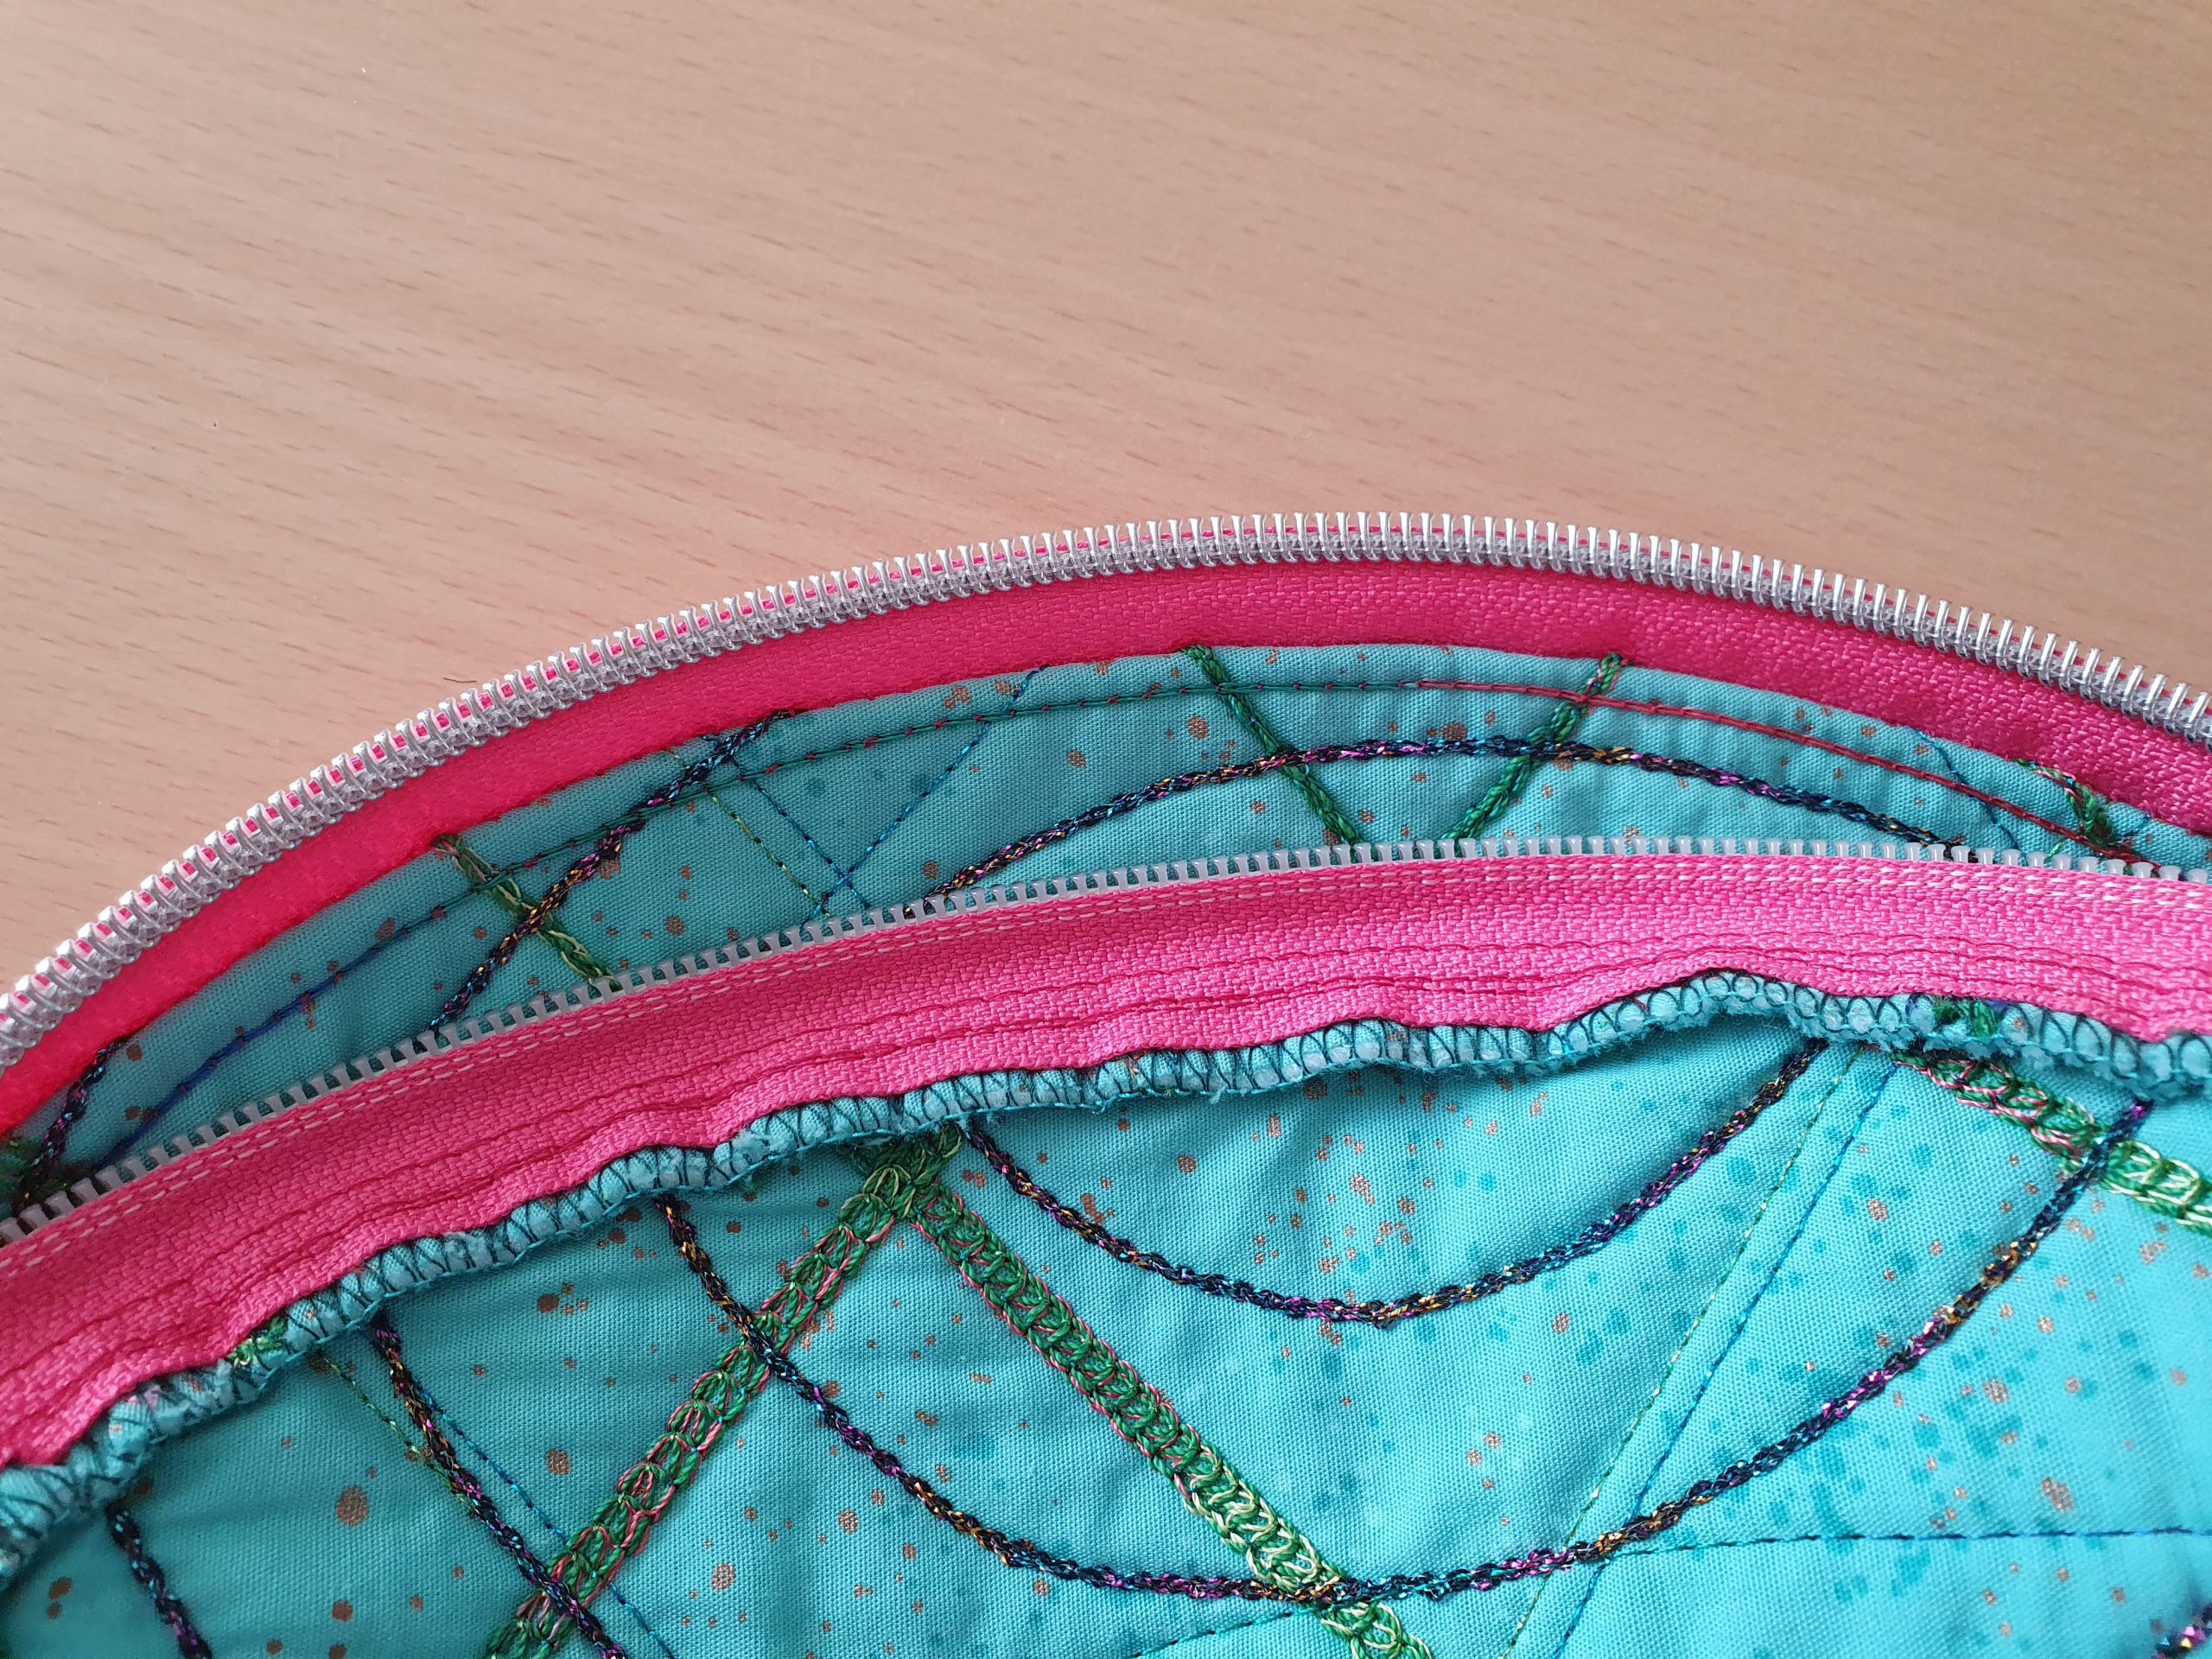
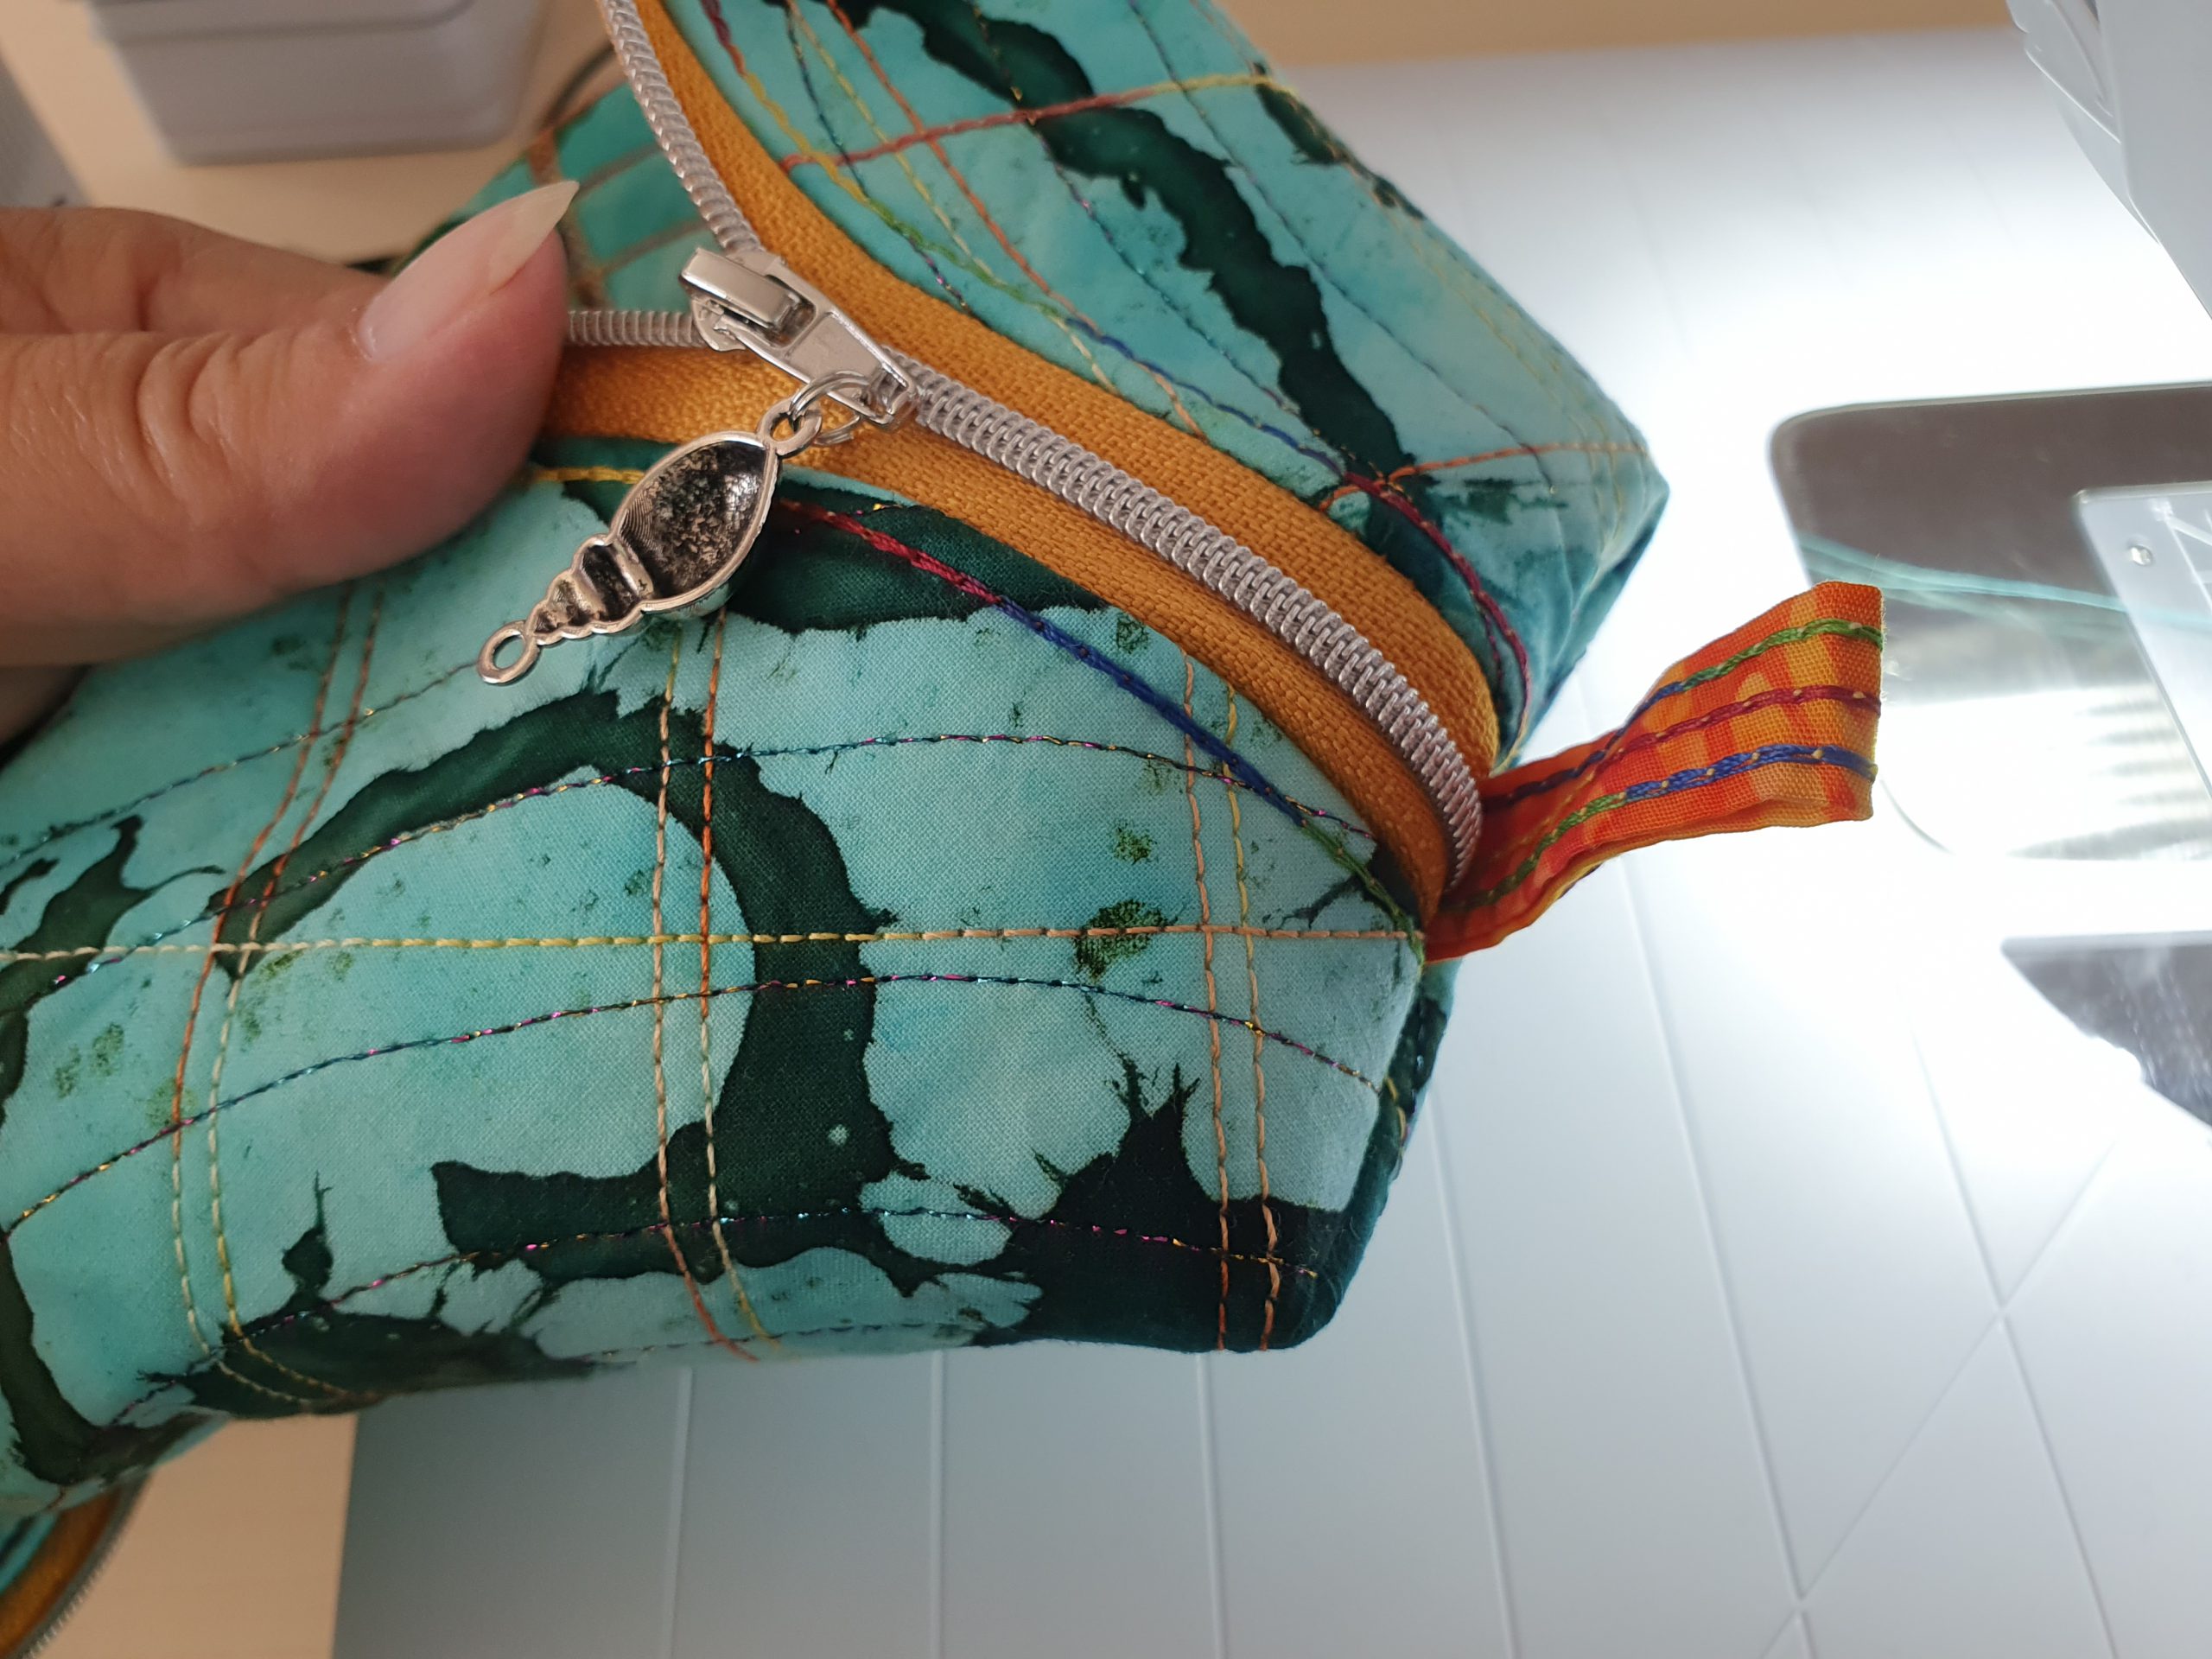
Thread the zipper pull and close the zipper approx. 10 cm (4”). Depending on the zipper you will need to adjust the bottom seam later.

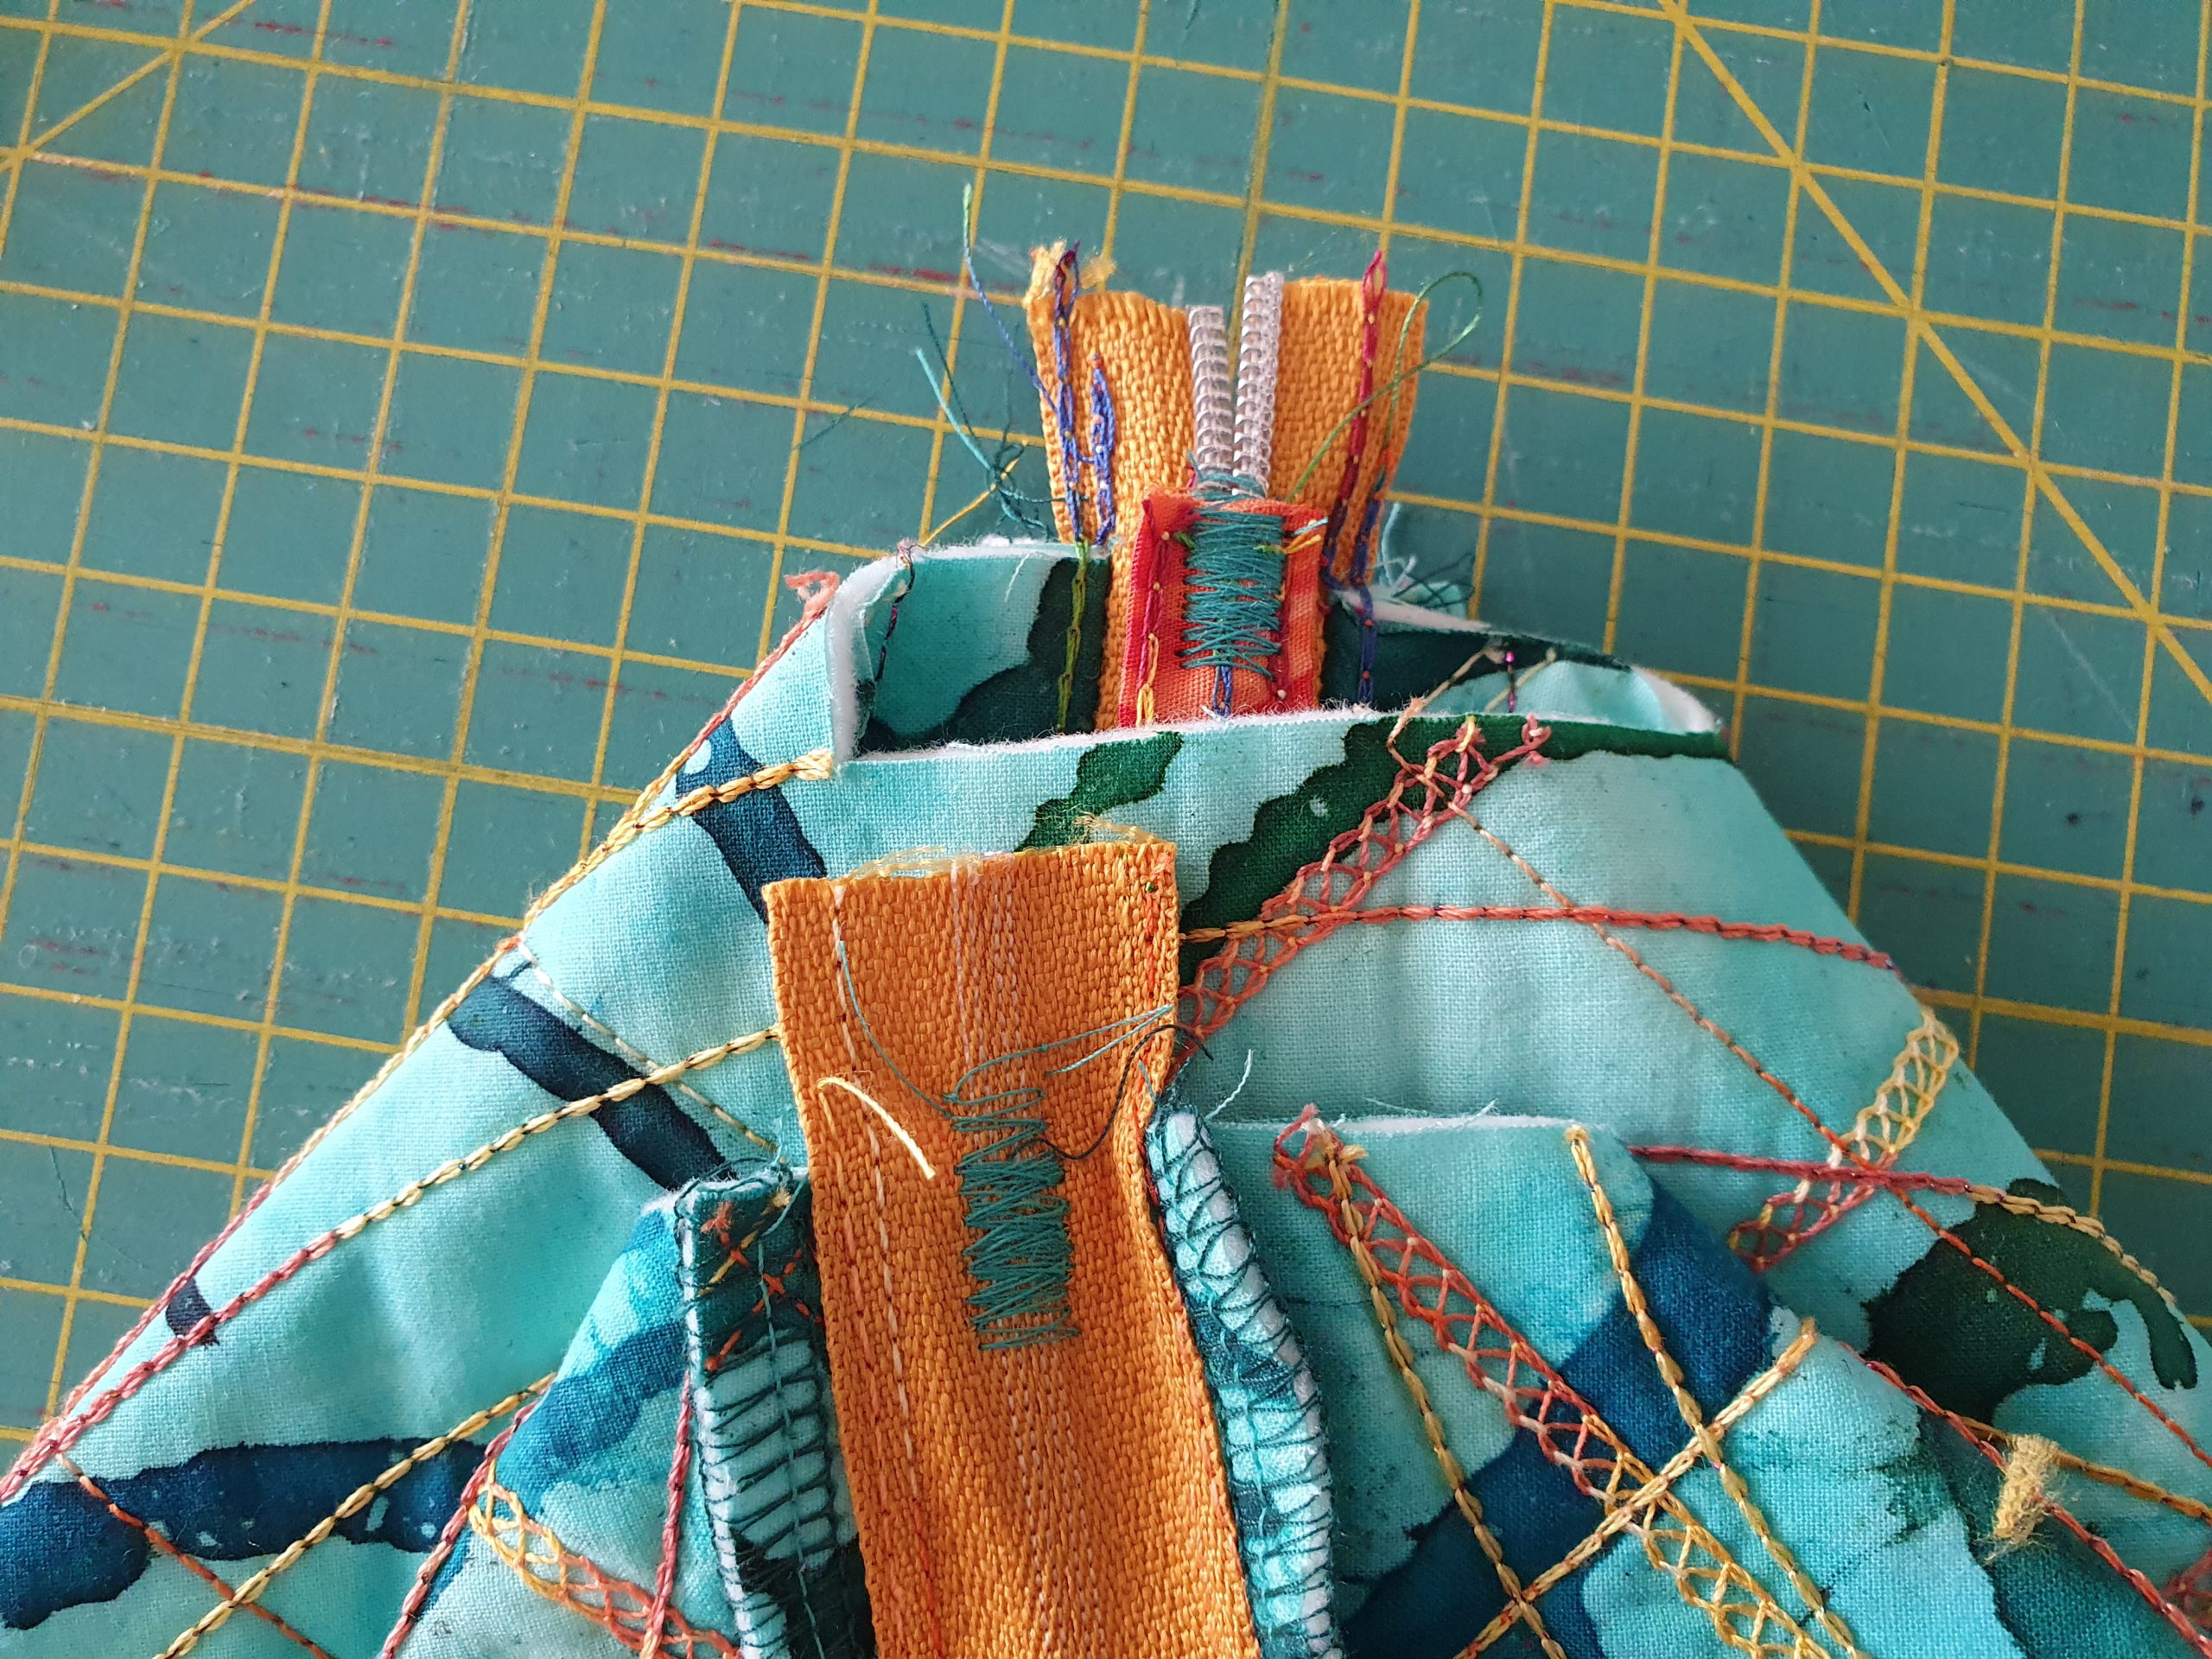
Fold the loops in half, decorative chainstitch outside, and place them on the zipper ends.
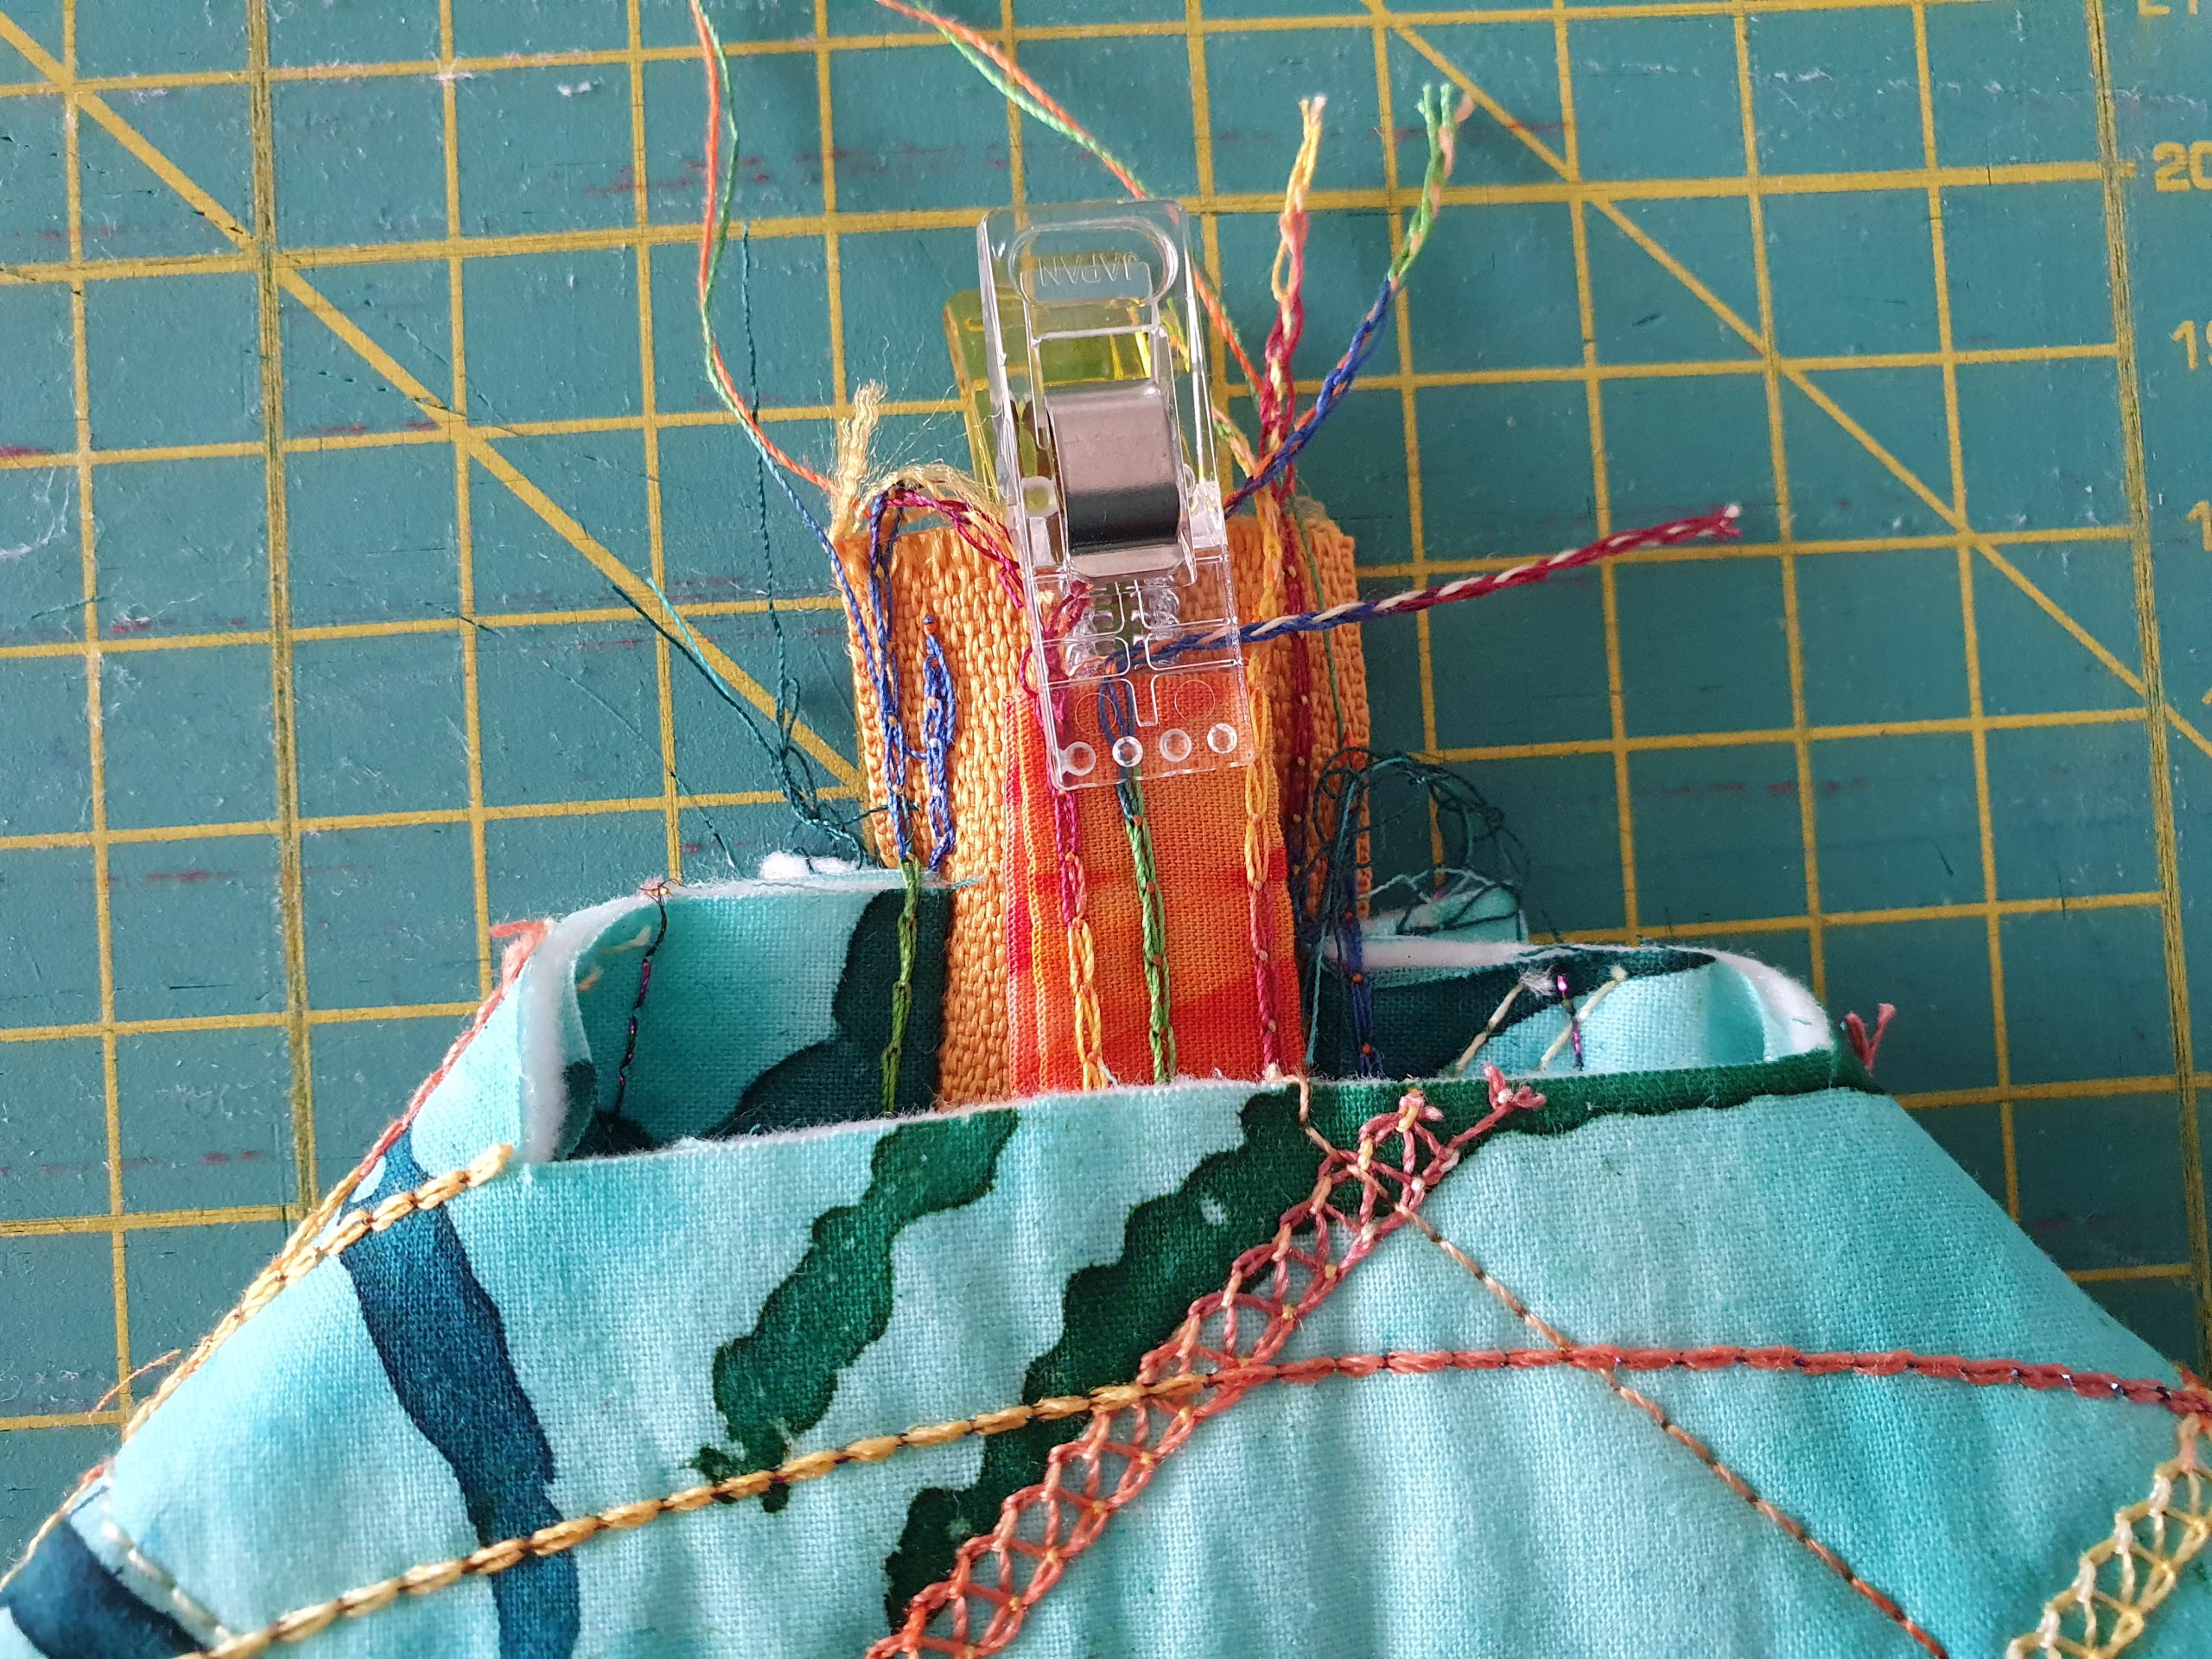
For the sake of simplicity, I secure the beginning and end of the zipper including the loops with a few zigzag stitches. This gives me the feeling like the clasp lasts longer.
Fold the bottom seam and pin it towards the zipper, adjust where needed. Stitch with a straight stitch or with the chainstitch. Since it is such a small fiddly piece, I used the sewing machine.

To bind the bottom seam, cut the seam allowance back to 1 cm. Sew the bias strips along each bottom seam, fold the ends over the edges and then the bias around the seam allowance to complete the binding. Topstitch to secure.
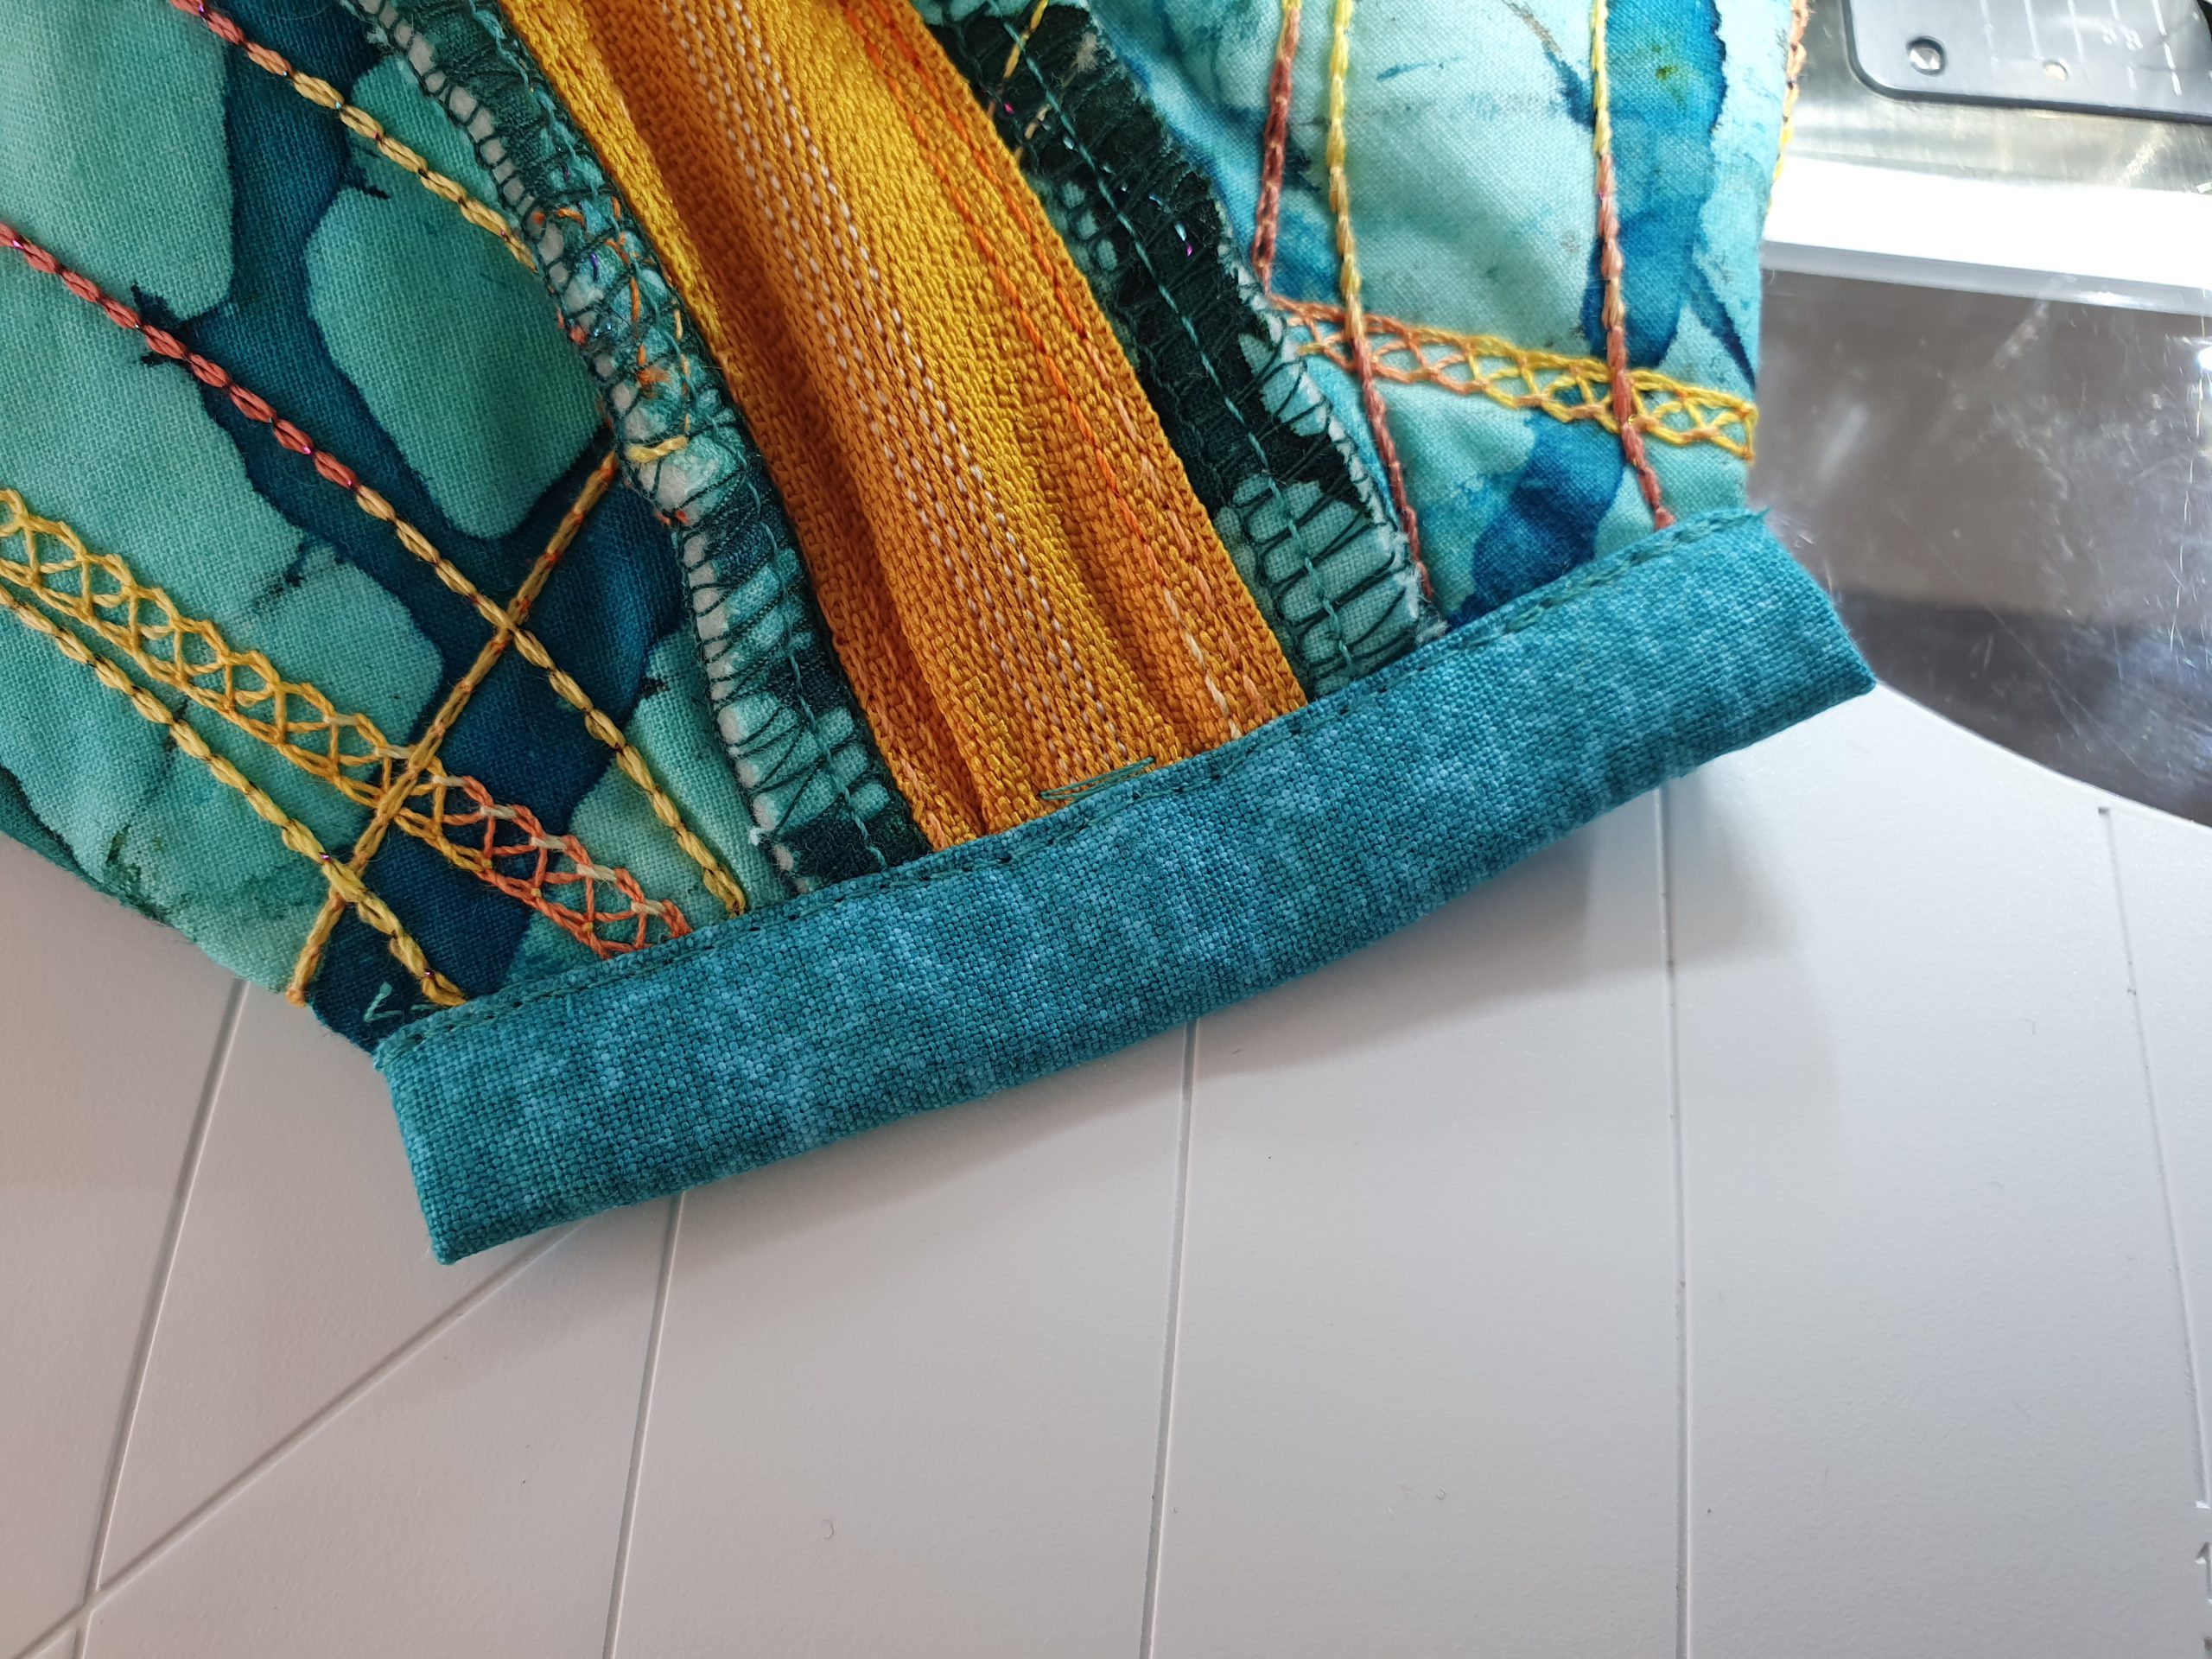
Press once again and your Half-Moon Zipper bag is finished.

Making your own fabric is so much fun! Do more of what makes you happy.
If this overlock version of the half-moon zipper bag makes you want to have more bags, then I recommend Wiebke’s blog for the Japanese-style cosmetic bag. It’s also an eye-catcher! This blog, however, is available in German only.
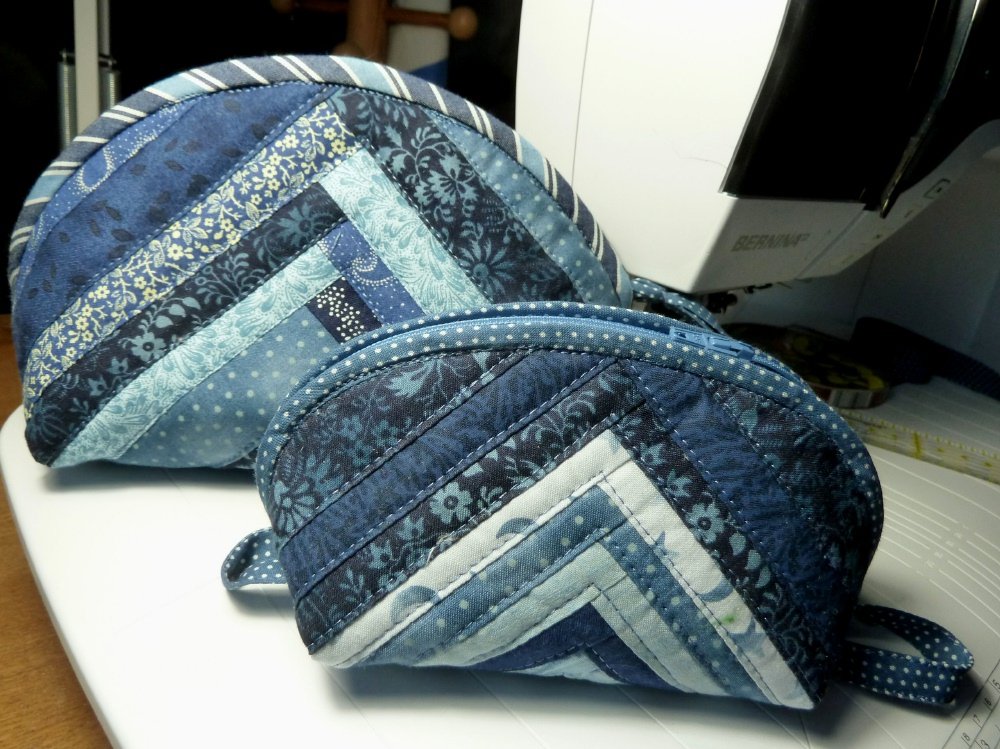
If you like to take inspiration by pictures, have a look. In Wiebke’s blog you will also find a pattern and other processing tips and ideas for being creative with lots of leftover fabric strips.
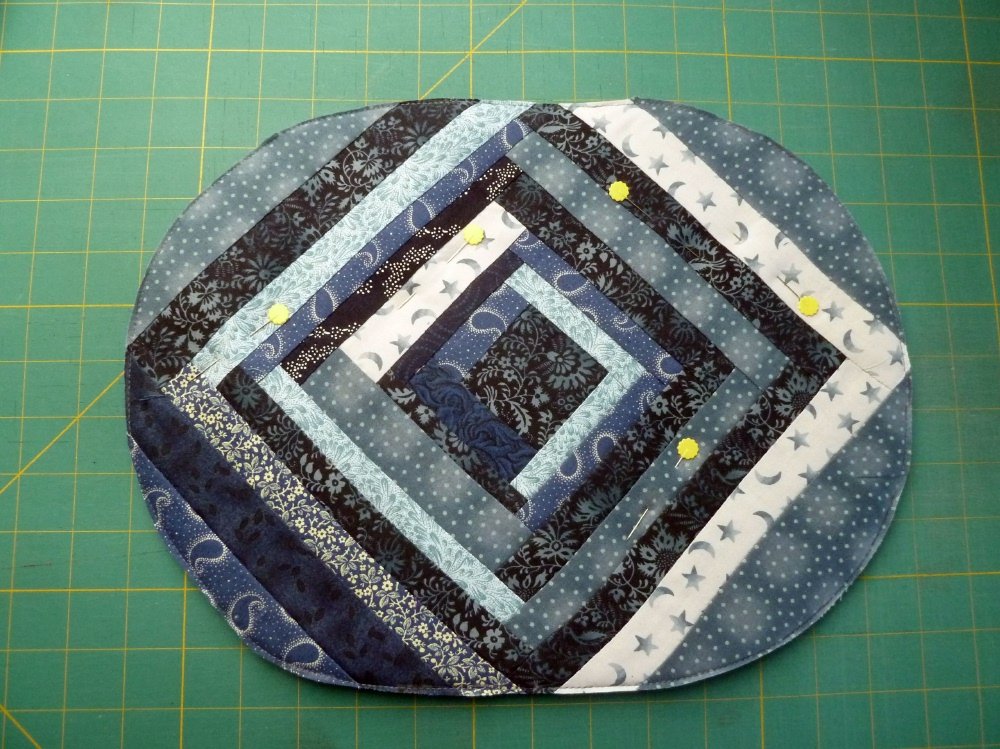
By the way, the strips can also be sewn together easily to form a log cabin by using a 4-thread overlock or a chainstitch. Who knows when I will make this, emphasis on “when”.
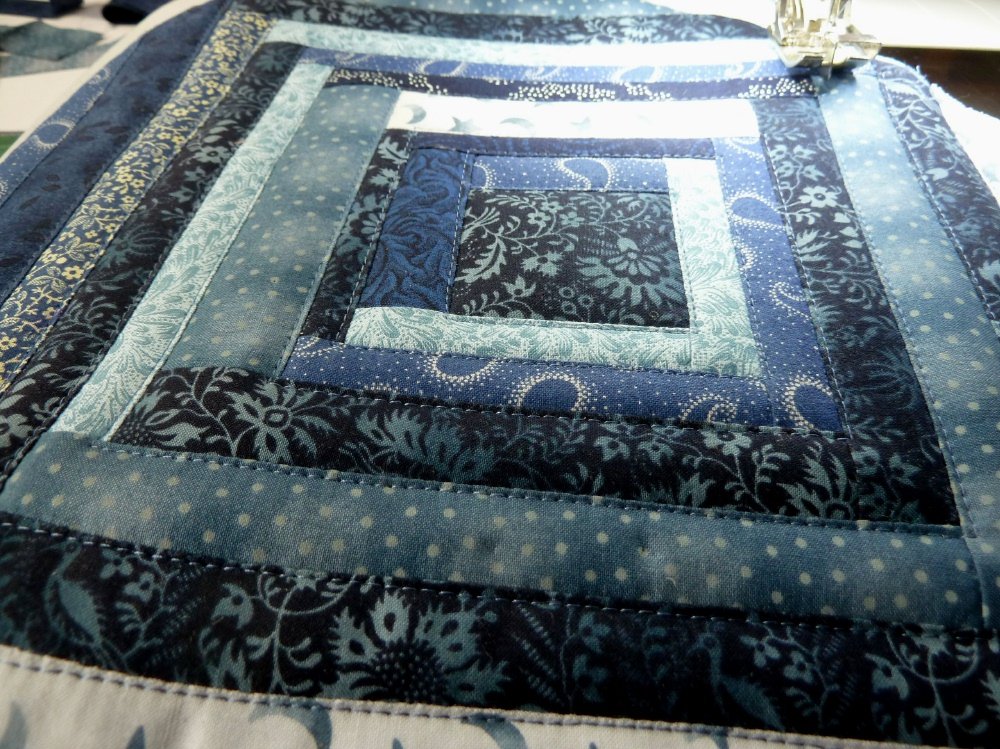
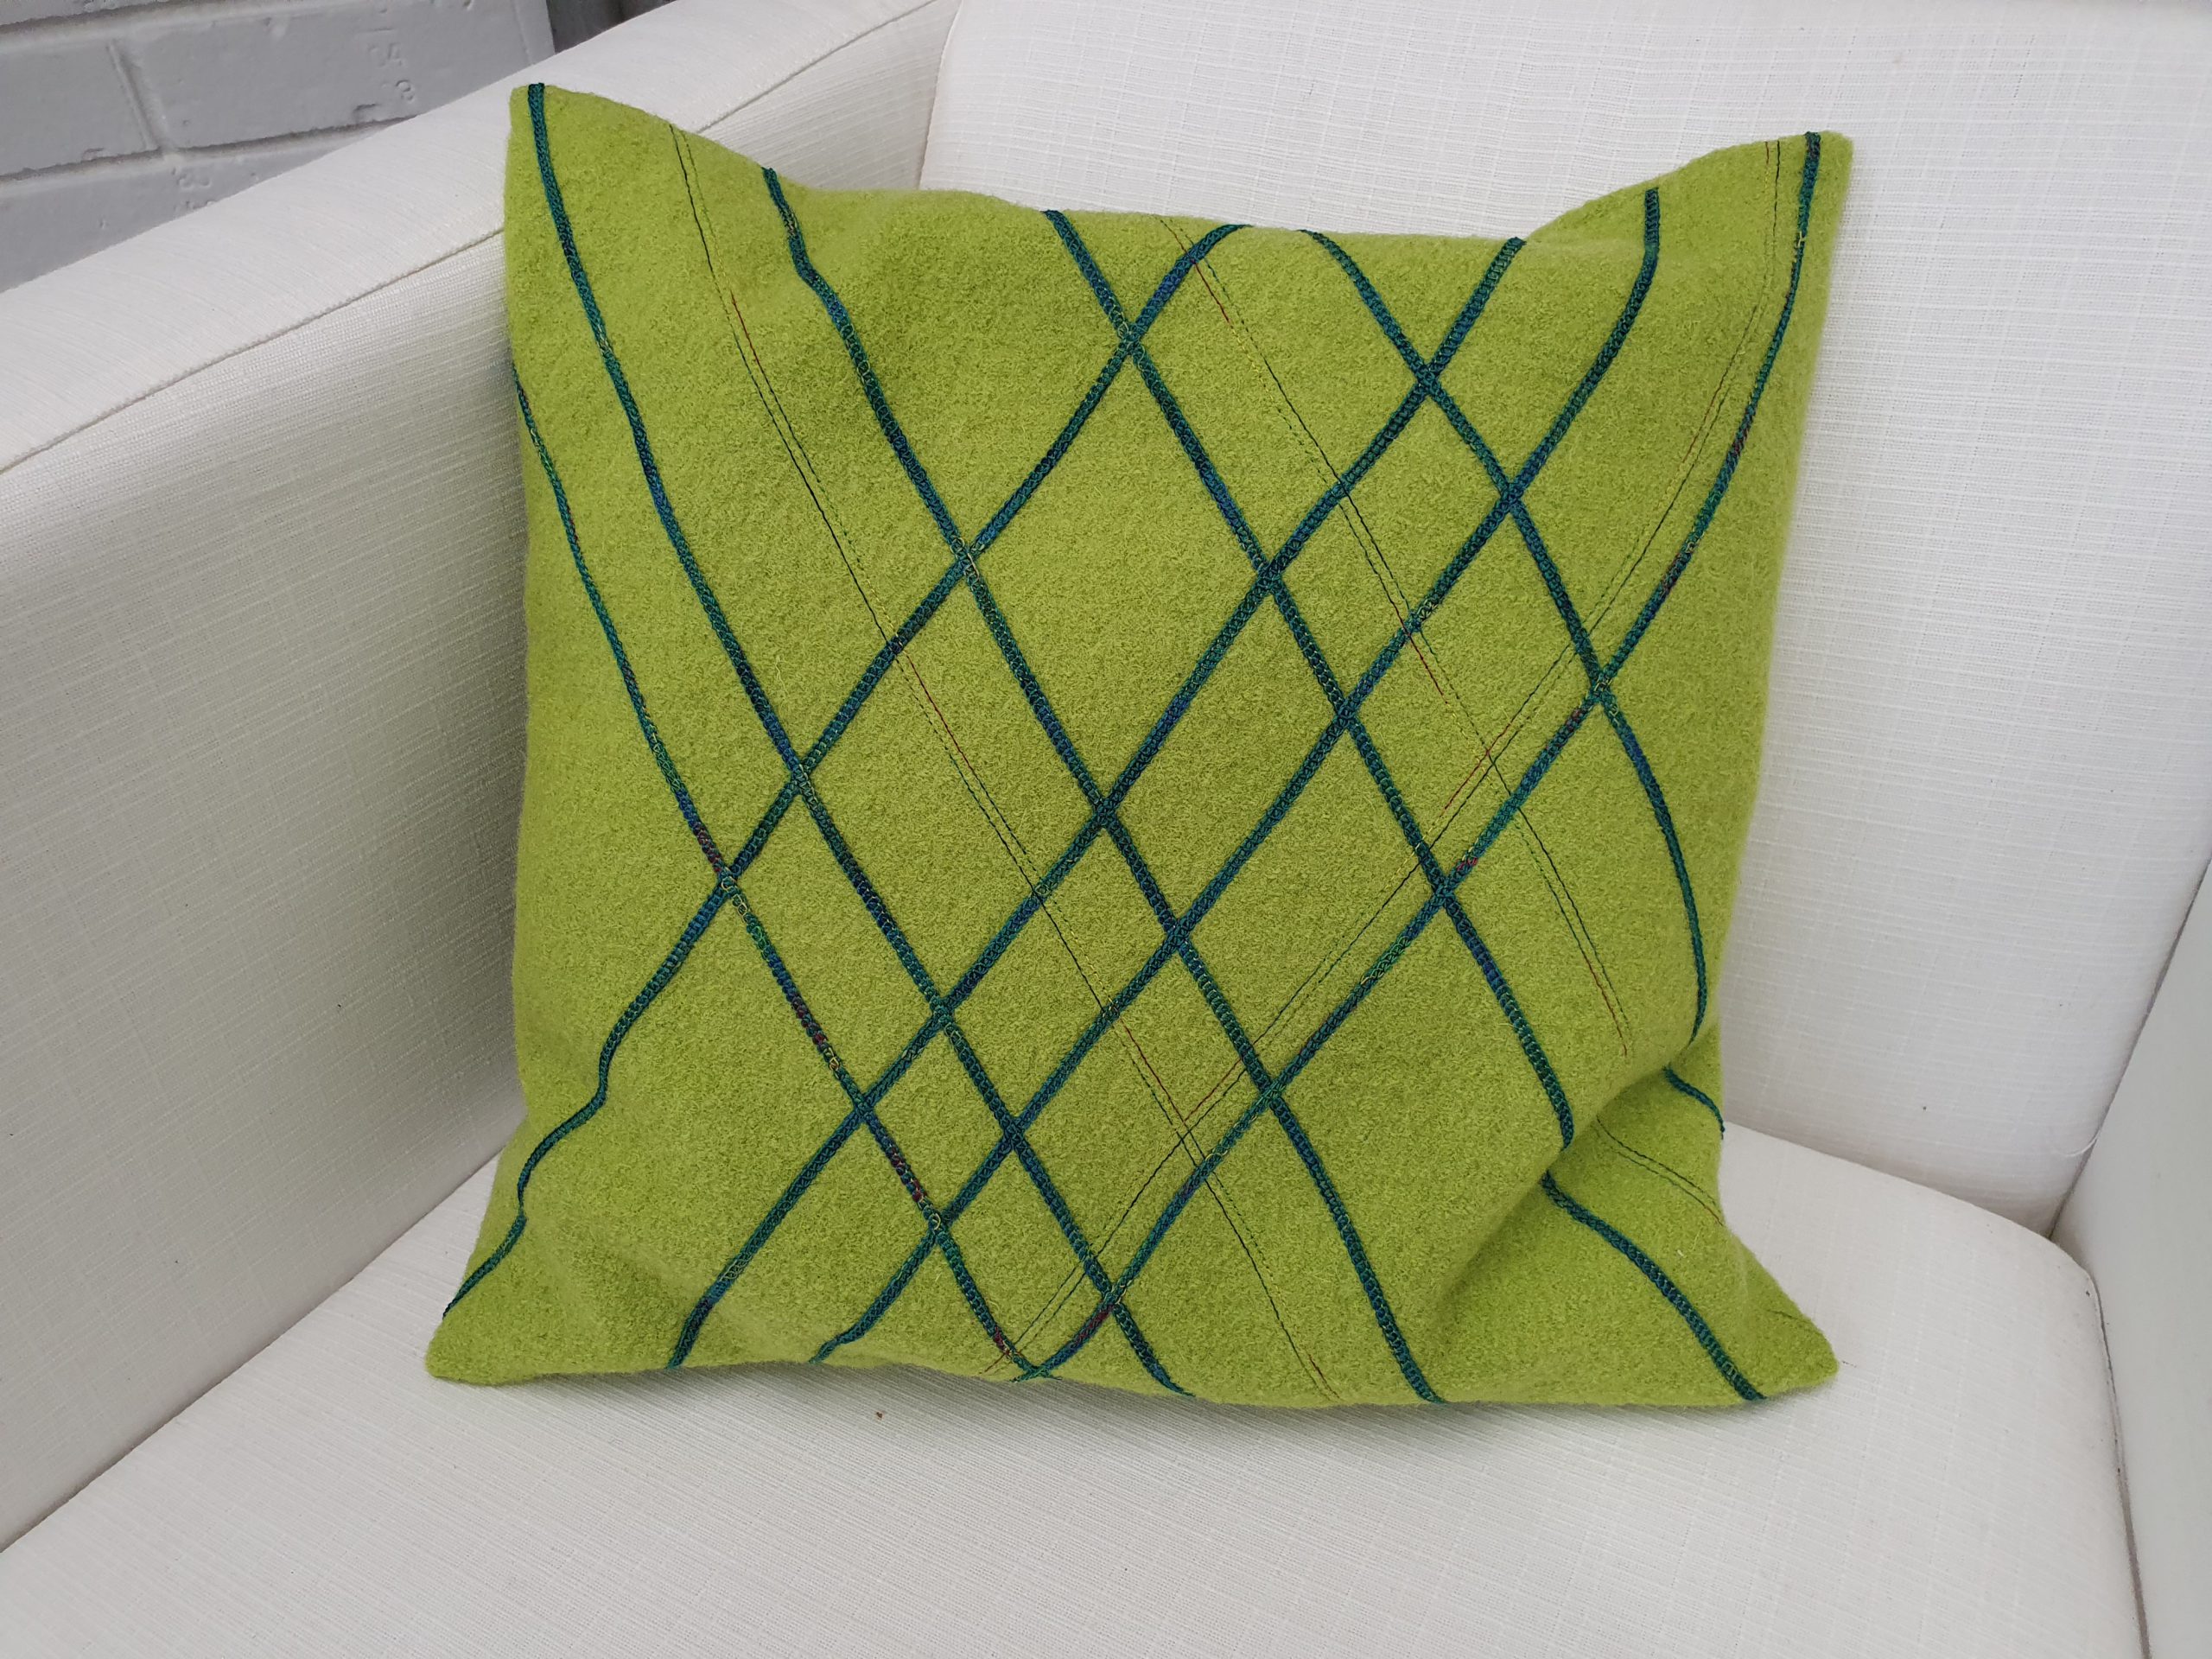
If you are looking for more ideas for the seam guides in shaft, here is a very simple project: The pillowcase. It is sewn from a wool plaid and consists of “only” parallel seams, crossing at an approx. 70 degree angle.
Creates a cozy winter feeling, right?
And for this pillow I used the Seam Guide in Shaft left to add the strips of fabric around the panel at the same width and then overcast the patch that was pinned to a sandwich at an even distance, before sewing on the back pieces that form the pillowcase:

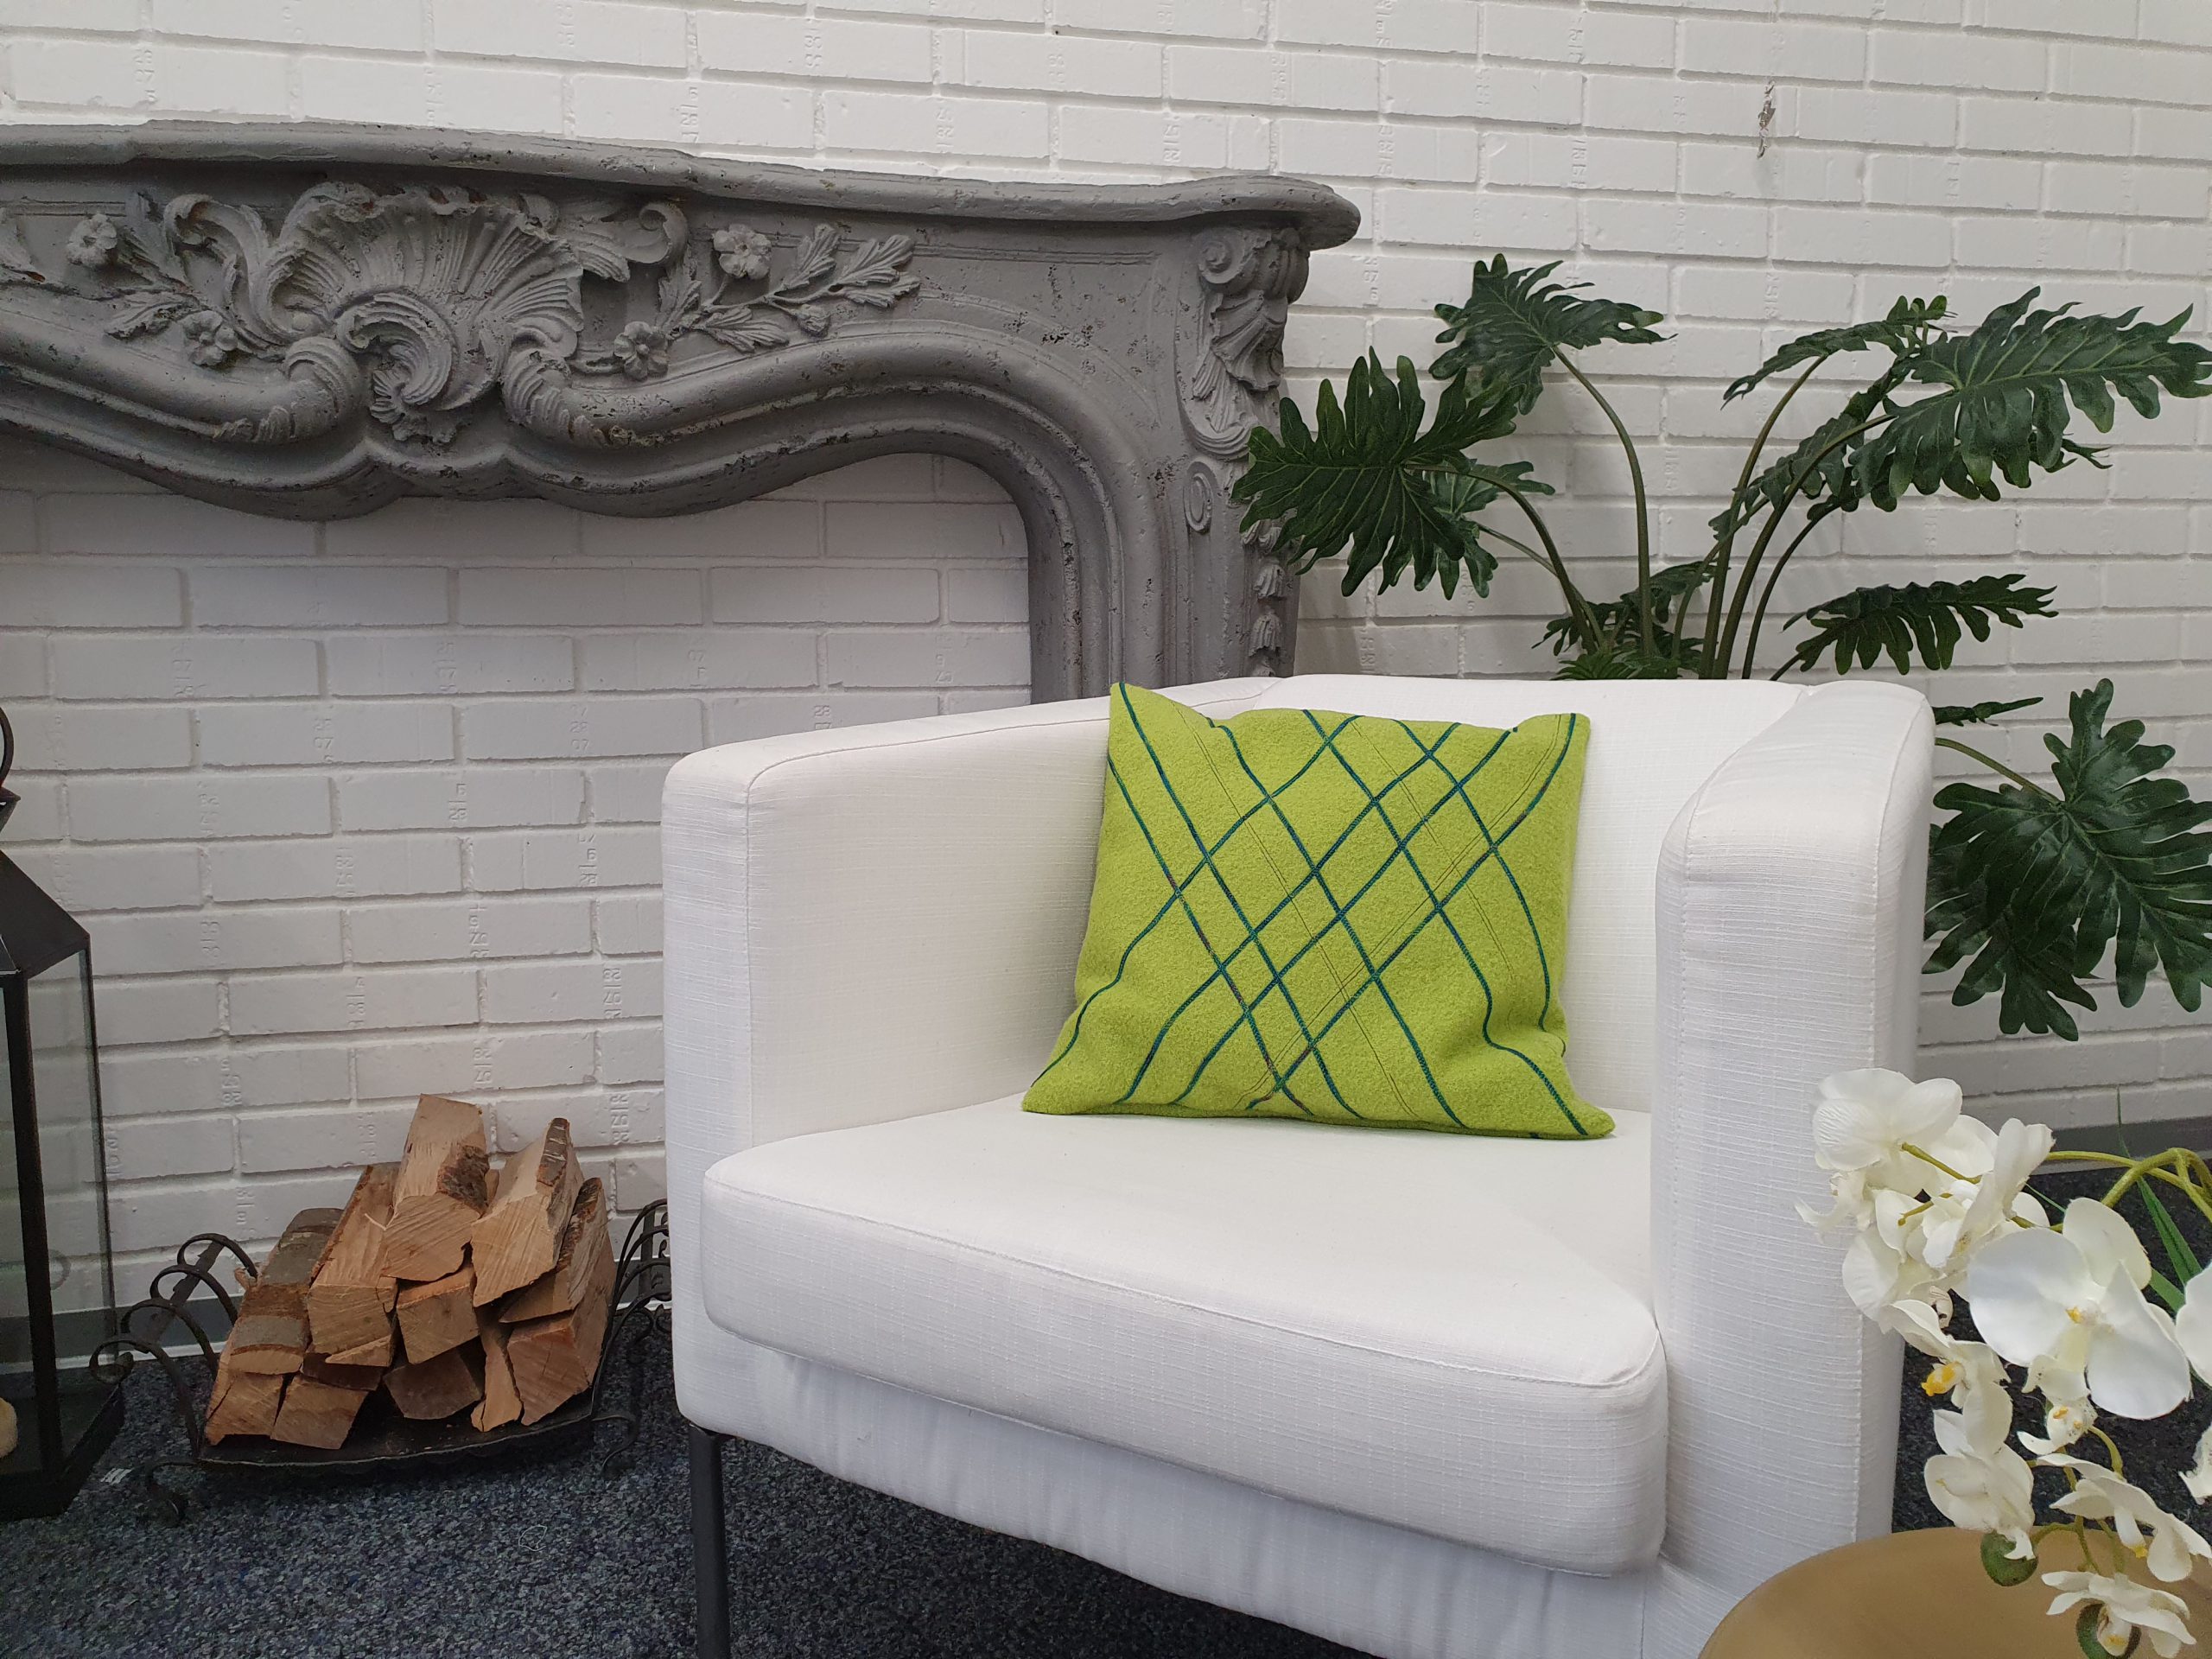
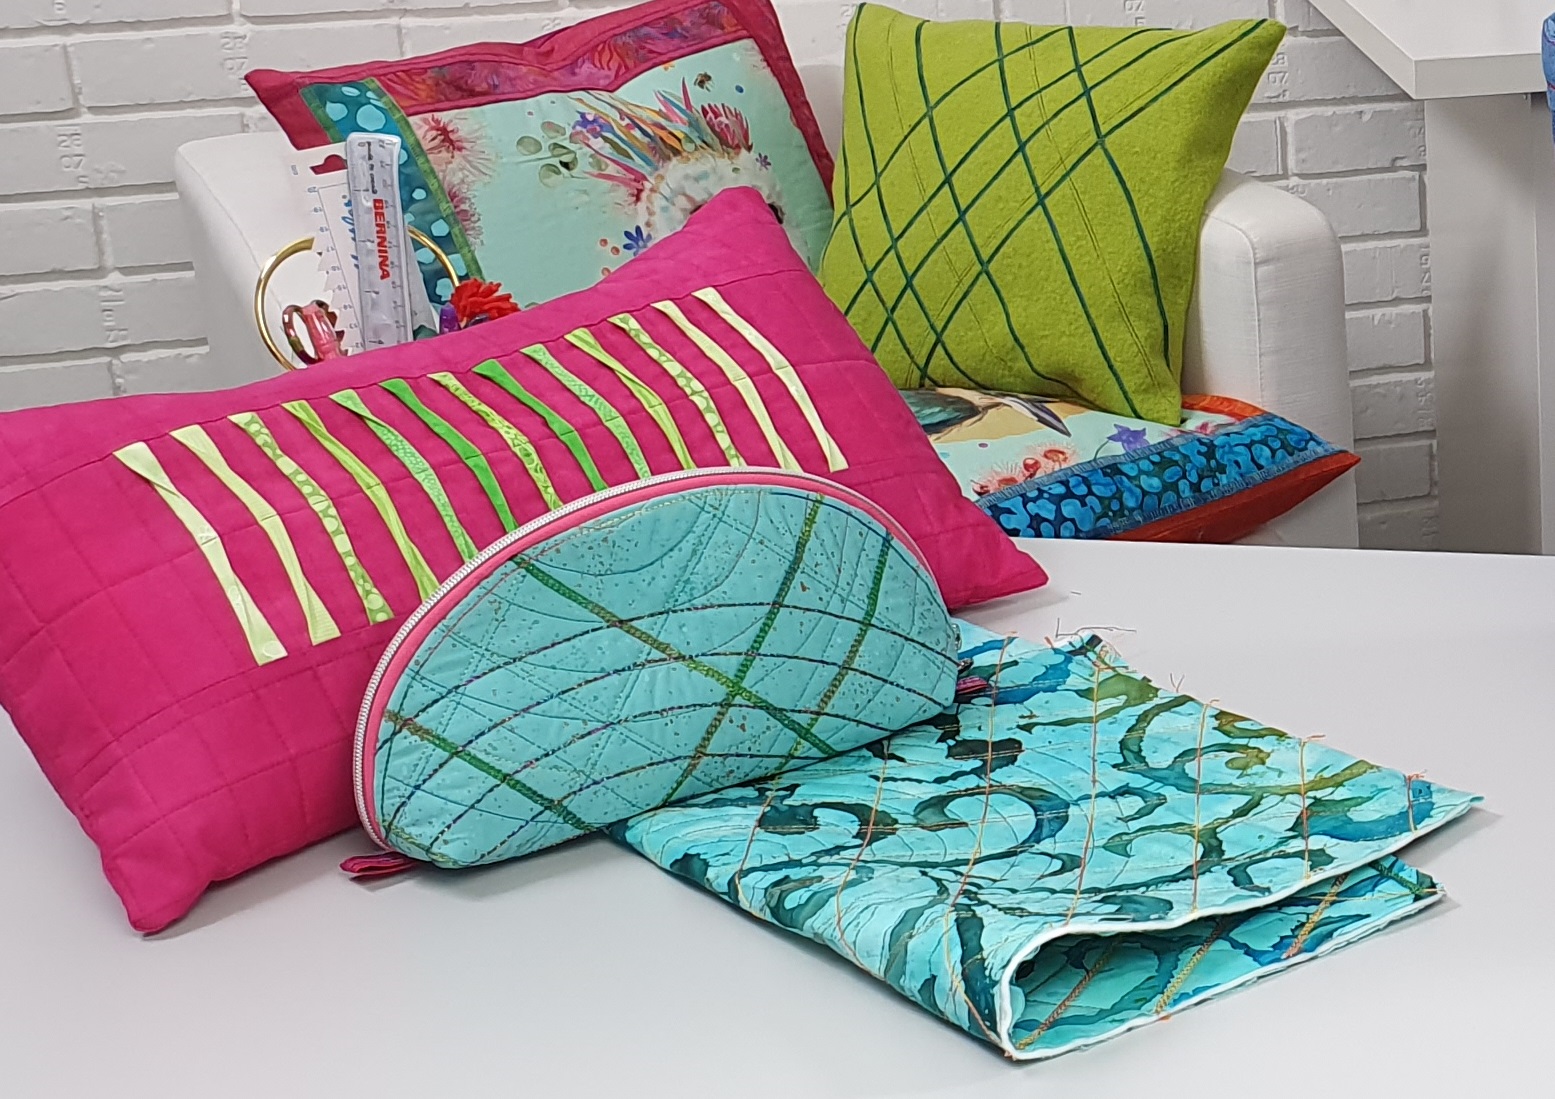
It is quick and easy to stitch pillow after pillow:
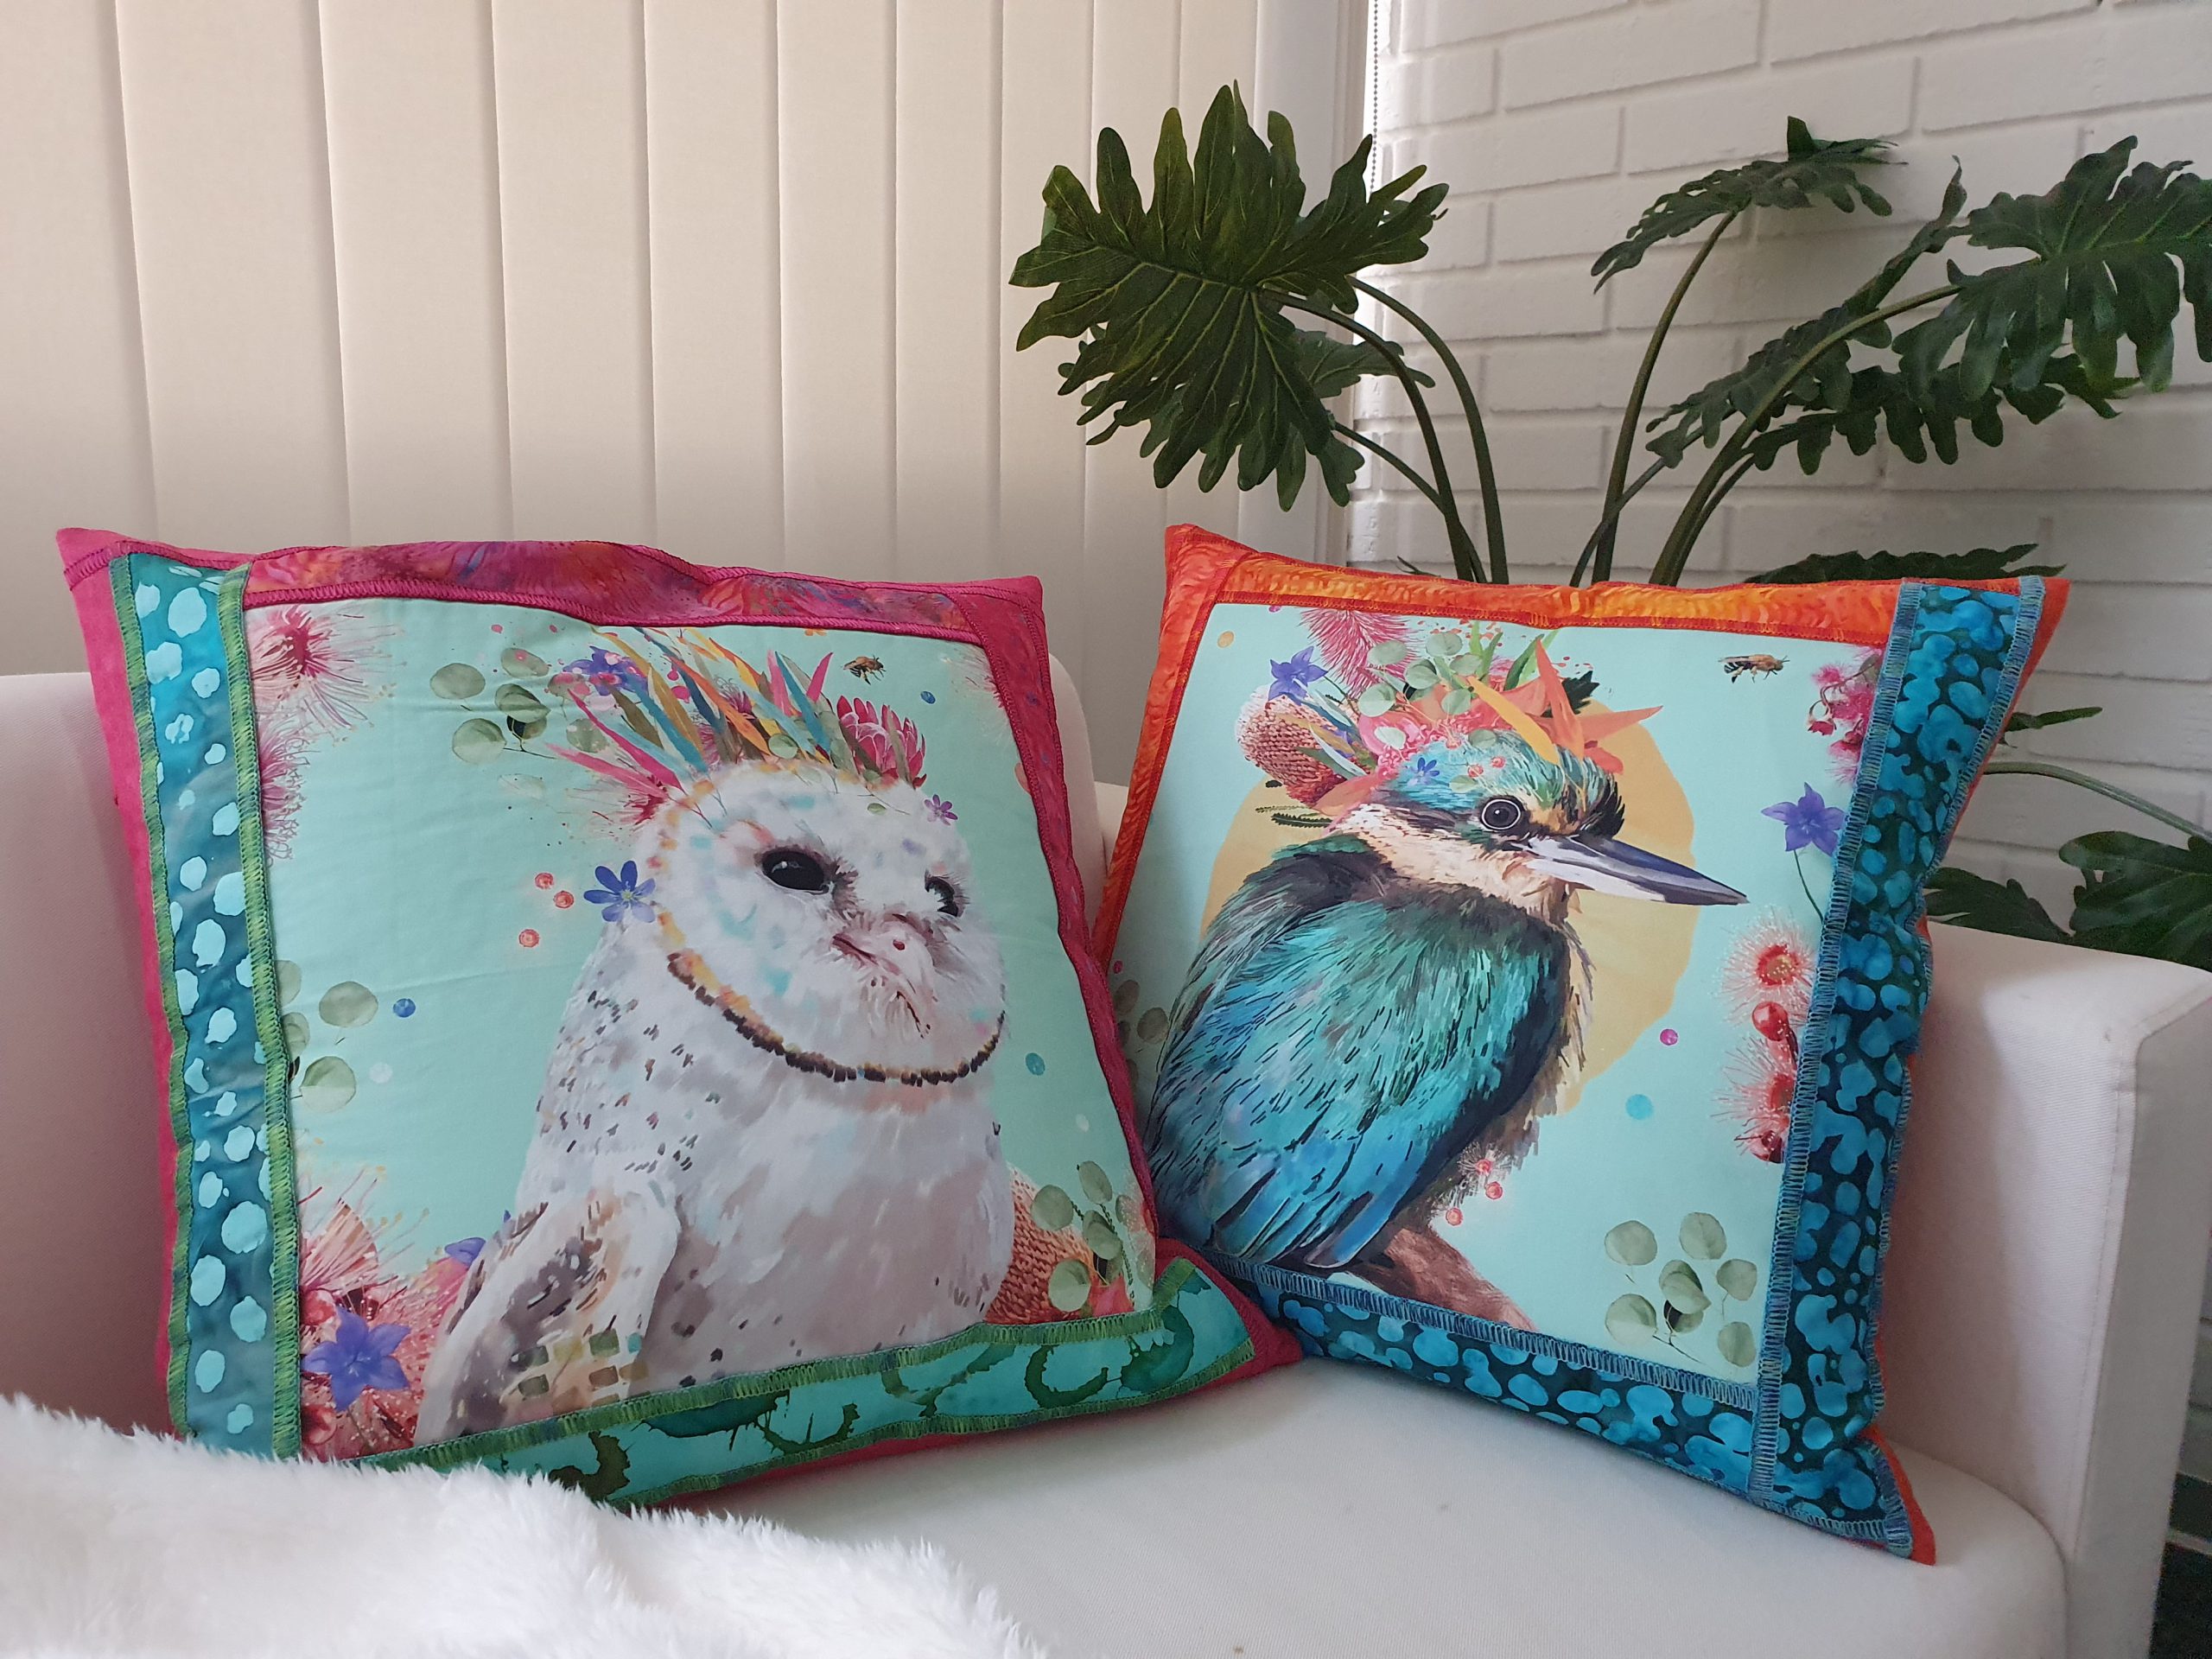
And to match, a padded set is being created. Using the overlocker, I can trim the seam allowance on all three materials while creating the decorative edge finish. The Seam Guides in Shaft is not only for decorative techniques, but it also simply speeds up my process.

The Seam Guides in Shaft are suitable for parallel lines or for parallel seams, for example for evenly wide strips of fabric. Like these in the pink and blue, used to create a shopping bag.
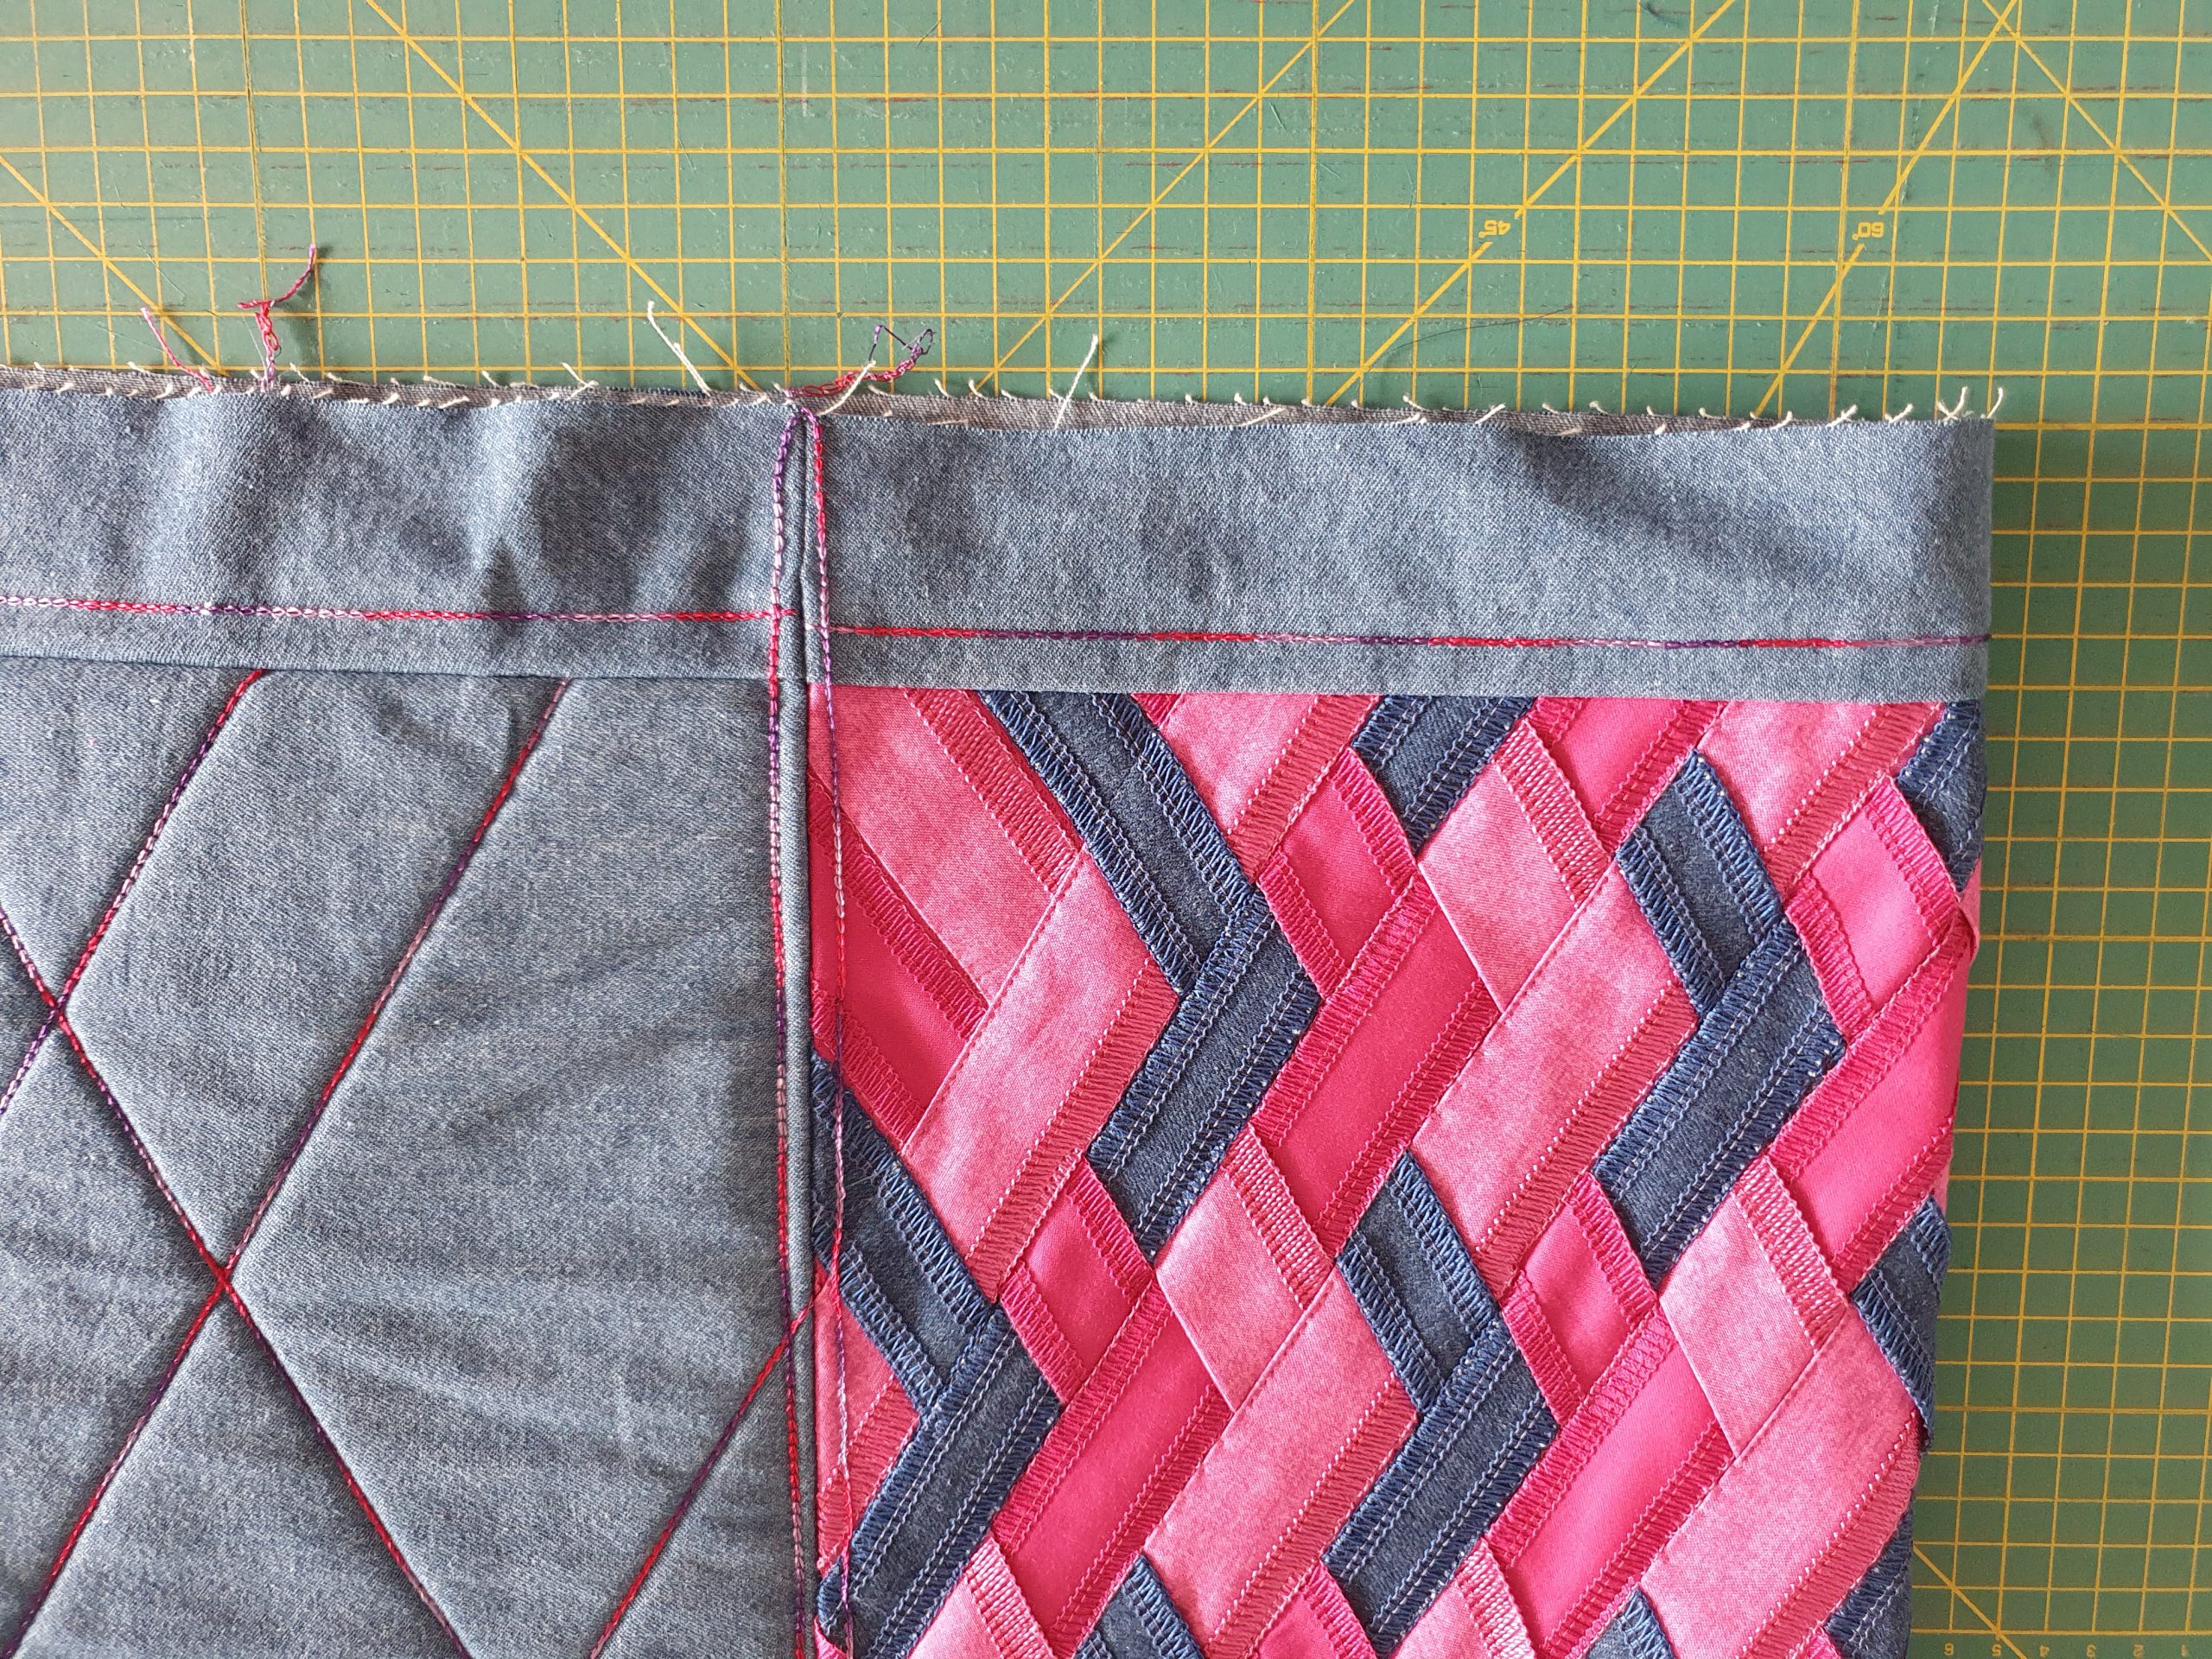

Or for classic quilting, as you see on the pillowcase in pink:
But first, before cleaning up and planning more projects, surely you have some spare fabric of your Half-Moon Zipper bag creation. Stitch it to a pincushion – another cushion project, right?
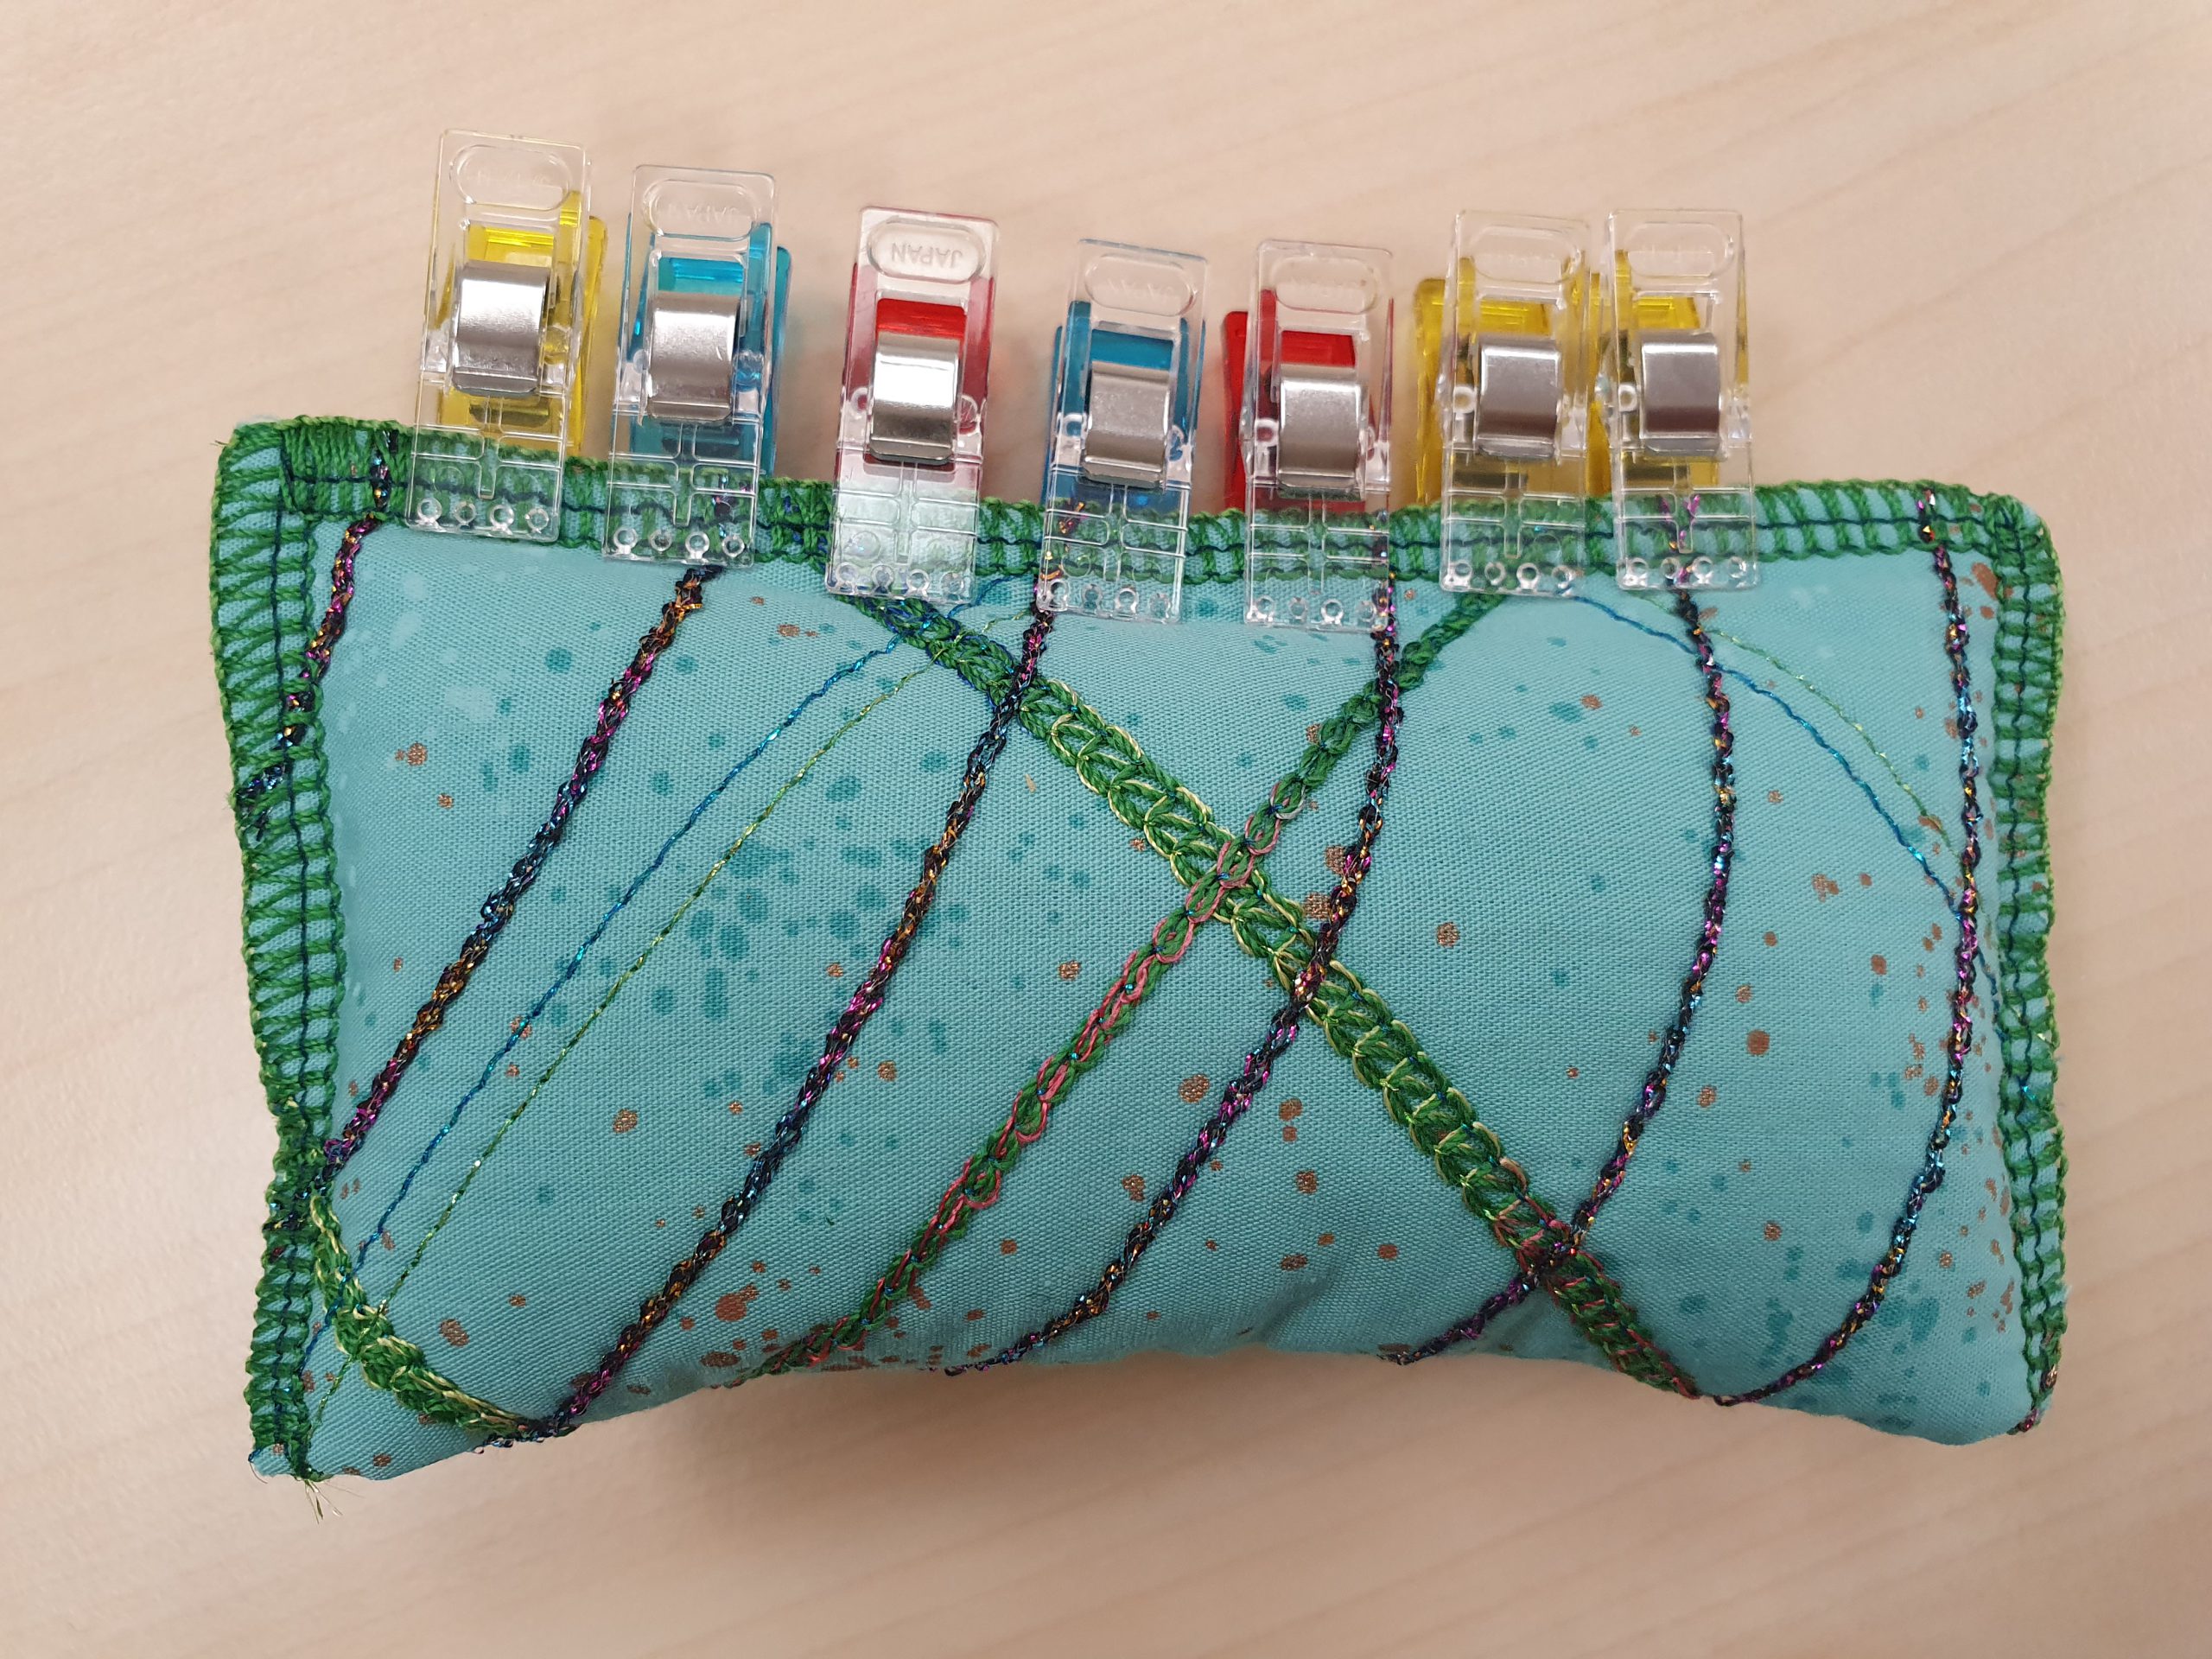
Here are my favorite pieces in one picture: The L890 and its pincushion infront of my newly made fabric!

With this I wish you lots of fun with all your sewing projects!
Doris


Thank you for the excellent photos and instructions. I hope to make this half-moon bag this week.