Although the title might suggest that this isn’t a blog post for vegetarians, I can promise you that it will be completely meat-free! Have you ever heard of a tailor’s ham or a tailor’s sausage? They are actually very useful sewing tools that you can easily sew yourself instead of buying them. But what are they used for? The short explanation is: for pressing your seams while sewing!
And here’s the longer explanation: Are you one of the sewists skipping pressing your seams while sewing? You can obviously sew whichever way you want, but to end up with professionally looking garments, quilts, or other sewing projects, I highly recommend pressing your seams after sewing them. If your seam isn’t straight, that can be a problem: You can get creases when trying to press a curved seam on a flat surface and darts will never get the right shape when pressed flat. This is where a tailor’s ham is incredibly useful. The round, ham-shaped fabric cushion lets you lay your projects on top of it before pressing the seam. That way you keep the curve of the seam. Another issue you can face is how to press a seam after sewing together a sleeve or the leg of a pant. Even if the seam is straight, you might press creases into the front and back of your sleeve/pant leg. But here the tailor’s sausage is a very useful tool (yes, you guessed right – the shape reminds of a sausage!). Put the tailor’s sausage into your sleeve/pant leg and you will have no trouble at all pressing those seams.
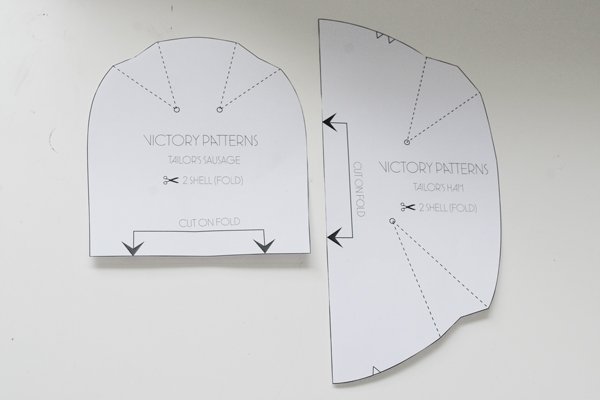
For a long time, I’ve simply been rolling up a towel or a big piece of cotton fabric and used those as a tailor’s ham or a tailor’s sausage – and that definitely works, too. But a real sewn tailor’s ham and tailor’s sausage are nice to have and an excellent way to get rid of fabric scraps. There are many tutorials out there explaining how to sew a ham and/or a sausage, so I won’t write a tutorial from scratch, but rather link to some nice patterns and tutorials, while adding a few tips from my side. I used the free pattern and tutorial by Victory Patterns, available on the Tilly and the Buttons blog. Other tutorials/patterns you can check out can be found on the Sew Now Mag blog, on the Jennifer Lauren Vintage blog, the Elewa blog and the Sew Ready blog.
All you need to make your own tailor’s ham and sausage is:
- A pattern
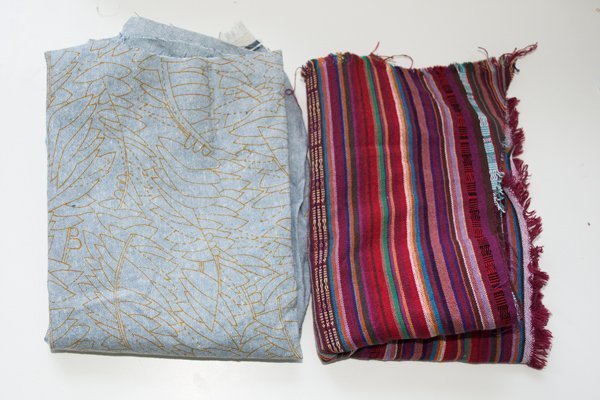
- A sturdy piece of cotton fabric (great for stash busting!)
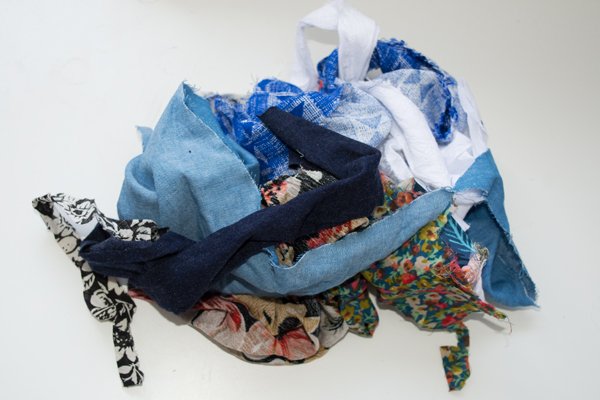
- Something to fill the ham and the sausage with – for example saw dust or fabric scraps.
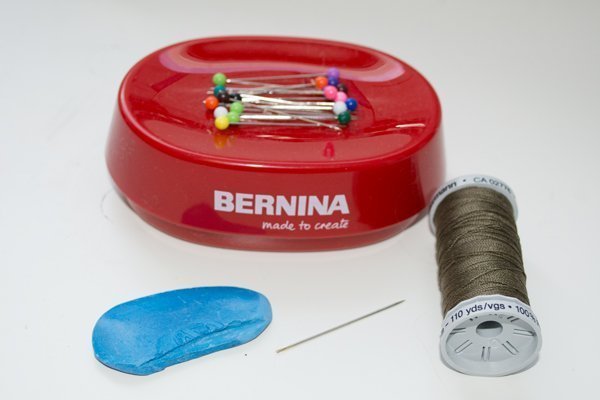
- Scissors
- Needle and thread
- Something to mark the darts on your fabric with
- Sewing machine/serger
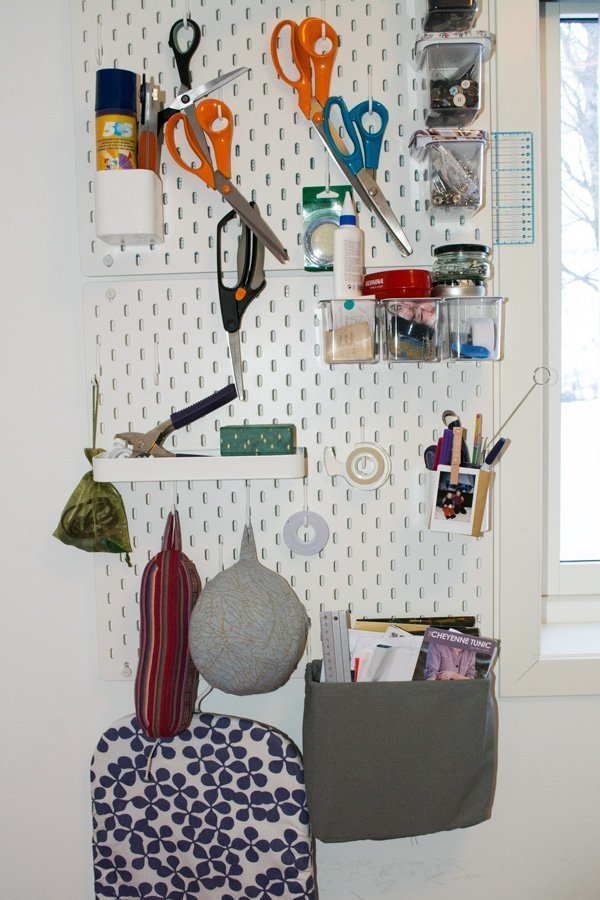
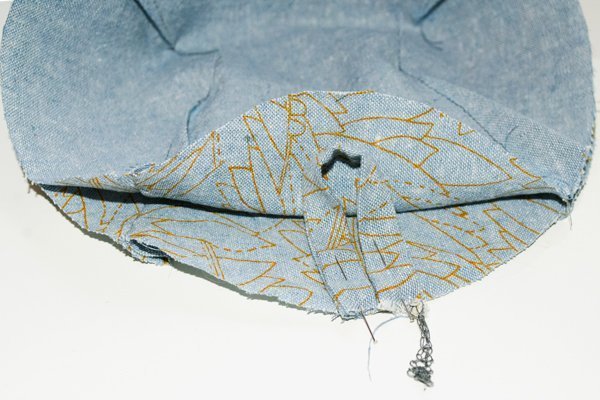
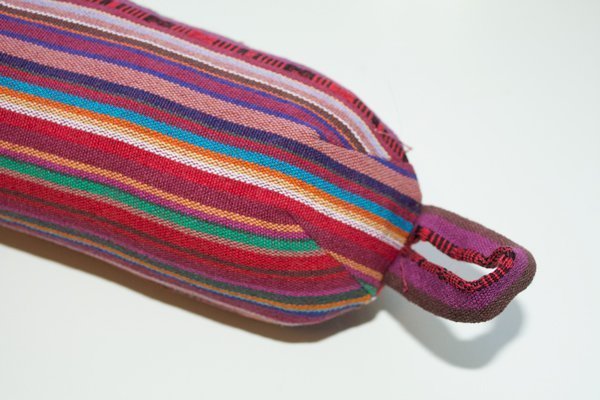
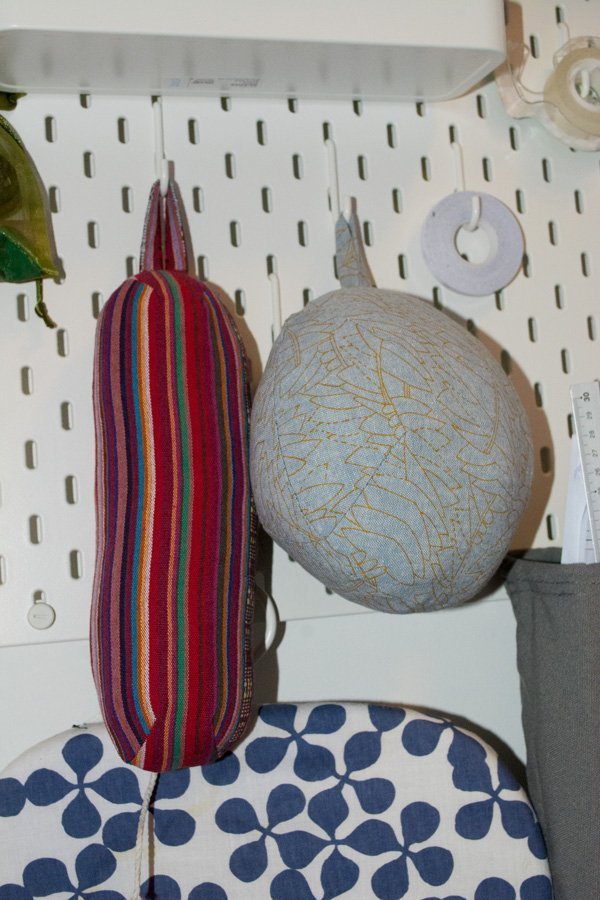
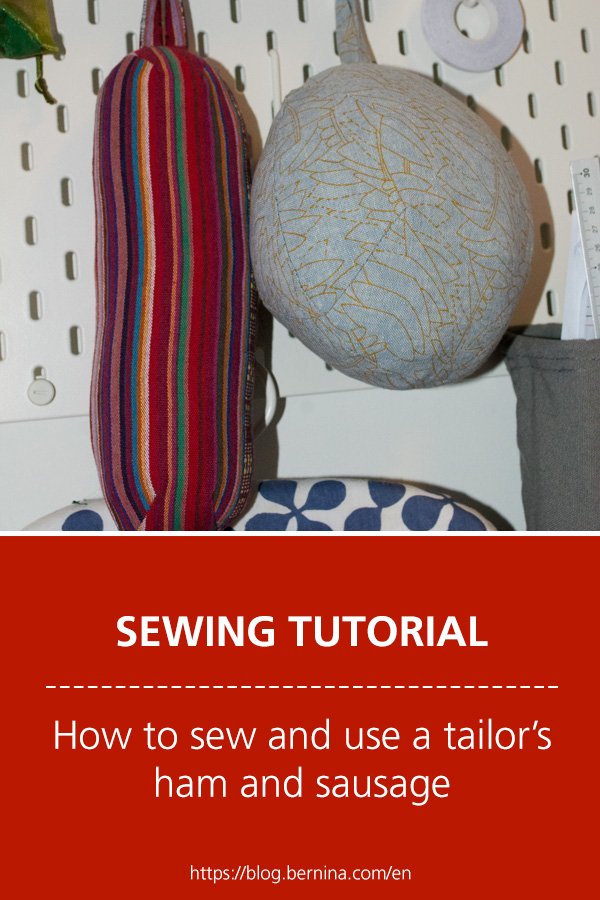
I followed the tutorial on the Tilly and the Buttons blog, but made one small (but important!) modification: I added a loop to my tailor’s ham and sausage to be able to hang it up while storing it. I recently re-organized my sewing room and started hanging up a lot of the small things I need all the time. I can really recommend this – it makes keeping my sewing room tidy so much easier! Anyway: with an added loop I can hang these two up instead of having to store them in a drawer.
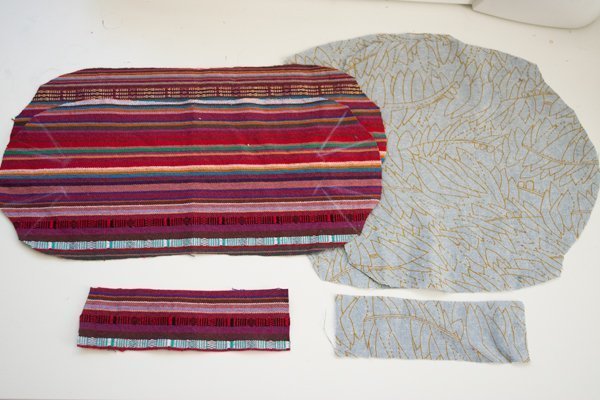
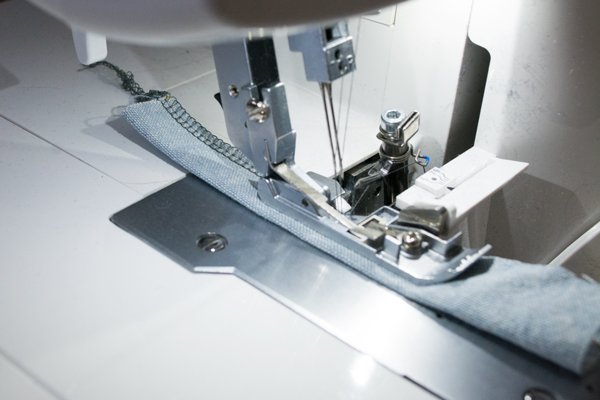
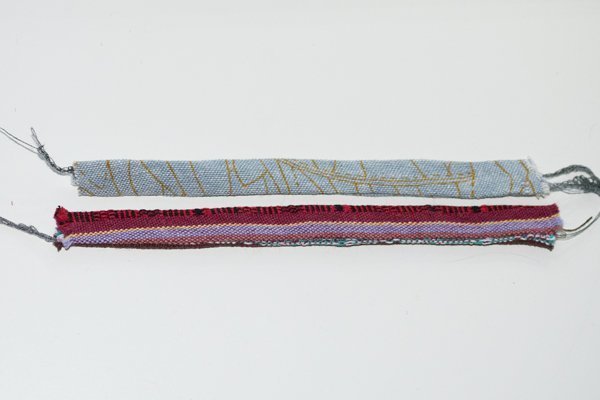
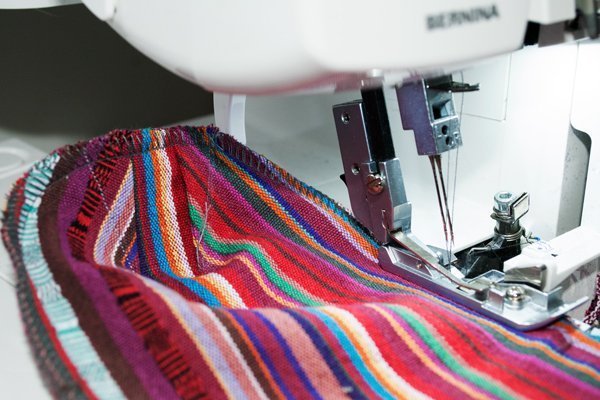
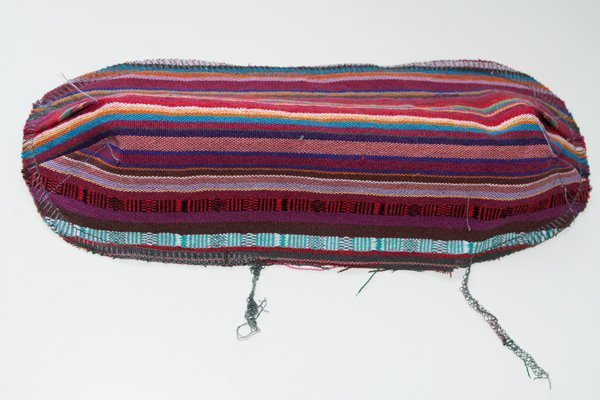
To add the loop, I simply serged a long strip of fabric right sides together along the longer edge and turned it right sides out. I then folded the loop in the middle and pinned it in between my two shell pieces. You can easily use a straight stitch on your sewing machine to sew the loop and the shell together, but since my fabric frayed a little and I knew the seams would need quite some strength after stuffing the sausage/ham, I preferred to use my Bernina L460 serger for this step.
The tutorial on the Tilly and the Buttons blog shows you how to fill your ham/sausage with sawdust, but for me using scraps of fabric was way more convenient: You don’t have to buy anything extra and if there’s one thing we sewists always have more than enough of, it’s tiny scraps of fabric. But it can be helpful to select your fabric scraps with care: I only used fabric made of natural fibers for stuffing my ham and sausage, since I wanted to make sure that the whole ham/sausage endures high temperatures while pressing. I also tried to use only rather thin and/or soft fabrics to make stuffing easier. I used soft cotton and wool knit scraps, cotton batting scraps, thin cotton voile, flowy rayon scraps and so on. When my scraps were too big, I cut them randomly into smaller pieces to make sure I could stuff my ham/sausage evenly.
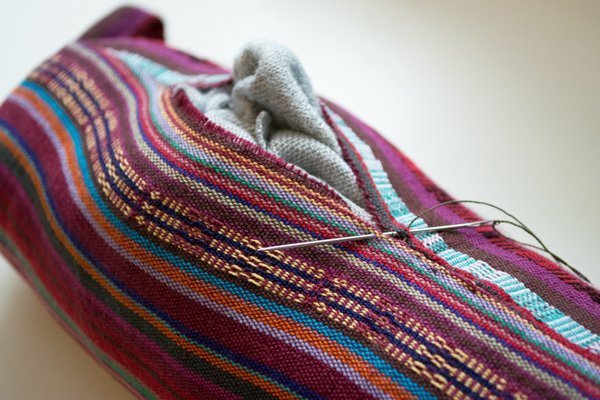
After stuffing everything I sewed the stuffing hole closed with a sturdy topstitching thread, using a ladder stitch. That’s all! They do their job, look nice on my wall, I don’t have to roll up any more towels and I have fewer scraps in my stash. Win-win in every way!
 BERNINA Corporate Blog -




That was so great…! I found this when someone demanded I visit Balerina?.
I was asking what peices if fabric can be used for other than just burning them off repeatedly.
I now know what! A pillow, and a Tailors ham will do the uses.
Thanks ma for these lecture.
Thank you for sharing tutorial. It is really helpful. You can also design your own fabric to make this stuff to make it more elegant.