 BERNINA Corporate Blog -
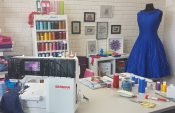
We continue with the blue dress from the videos for the BERNINA L 890. Five days ago, I provided you with the pattern for the first part of the “Princess Line” Dress, with information on how to cut and sew decorative seams. Here you can find part 2 of the article: “Princess Line” Dress.
Have you already sewn together and tried on because it was so easy? If not, here are instructions and tips for sewing, fitting and finishing the figure-hugging dress.
Ideas and tutorials for your next sewing adventure
Subscribe to the BERNINA Blog Newsletter
If you love to sew you don’t want to miss the chance to receive the latest content from our authors directly into your mailbox.
Sign up for the blog newsletter
Sewing the “Princess Line” Dress
For the sake of simplicity, the cutting overview again. The parts from 1 to 4 and 8 to 5 are sewn together first, but see it all in detail right afterwards:
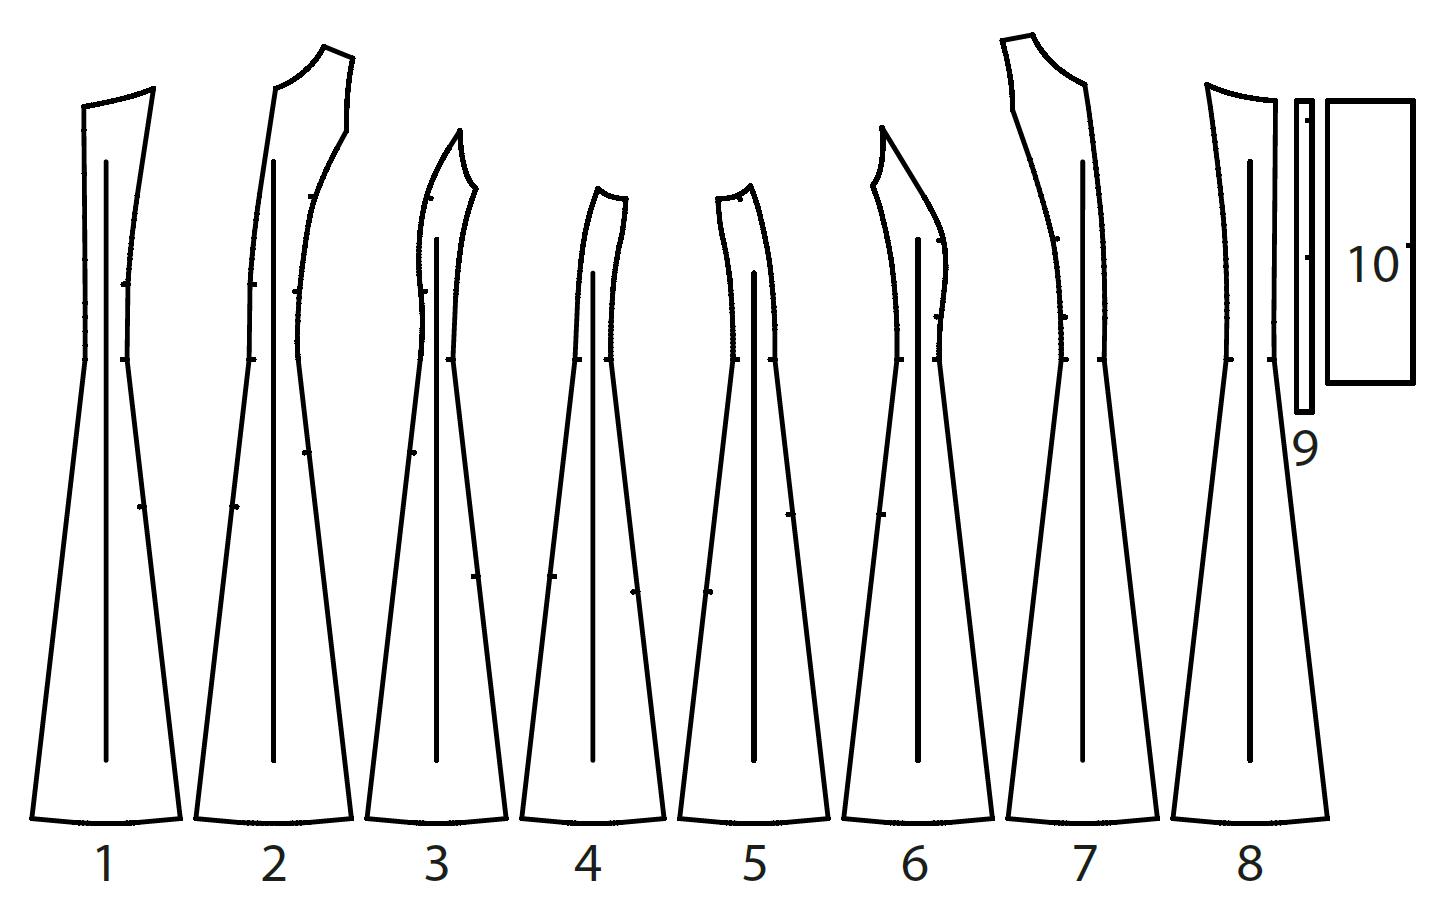
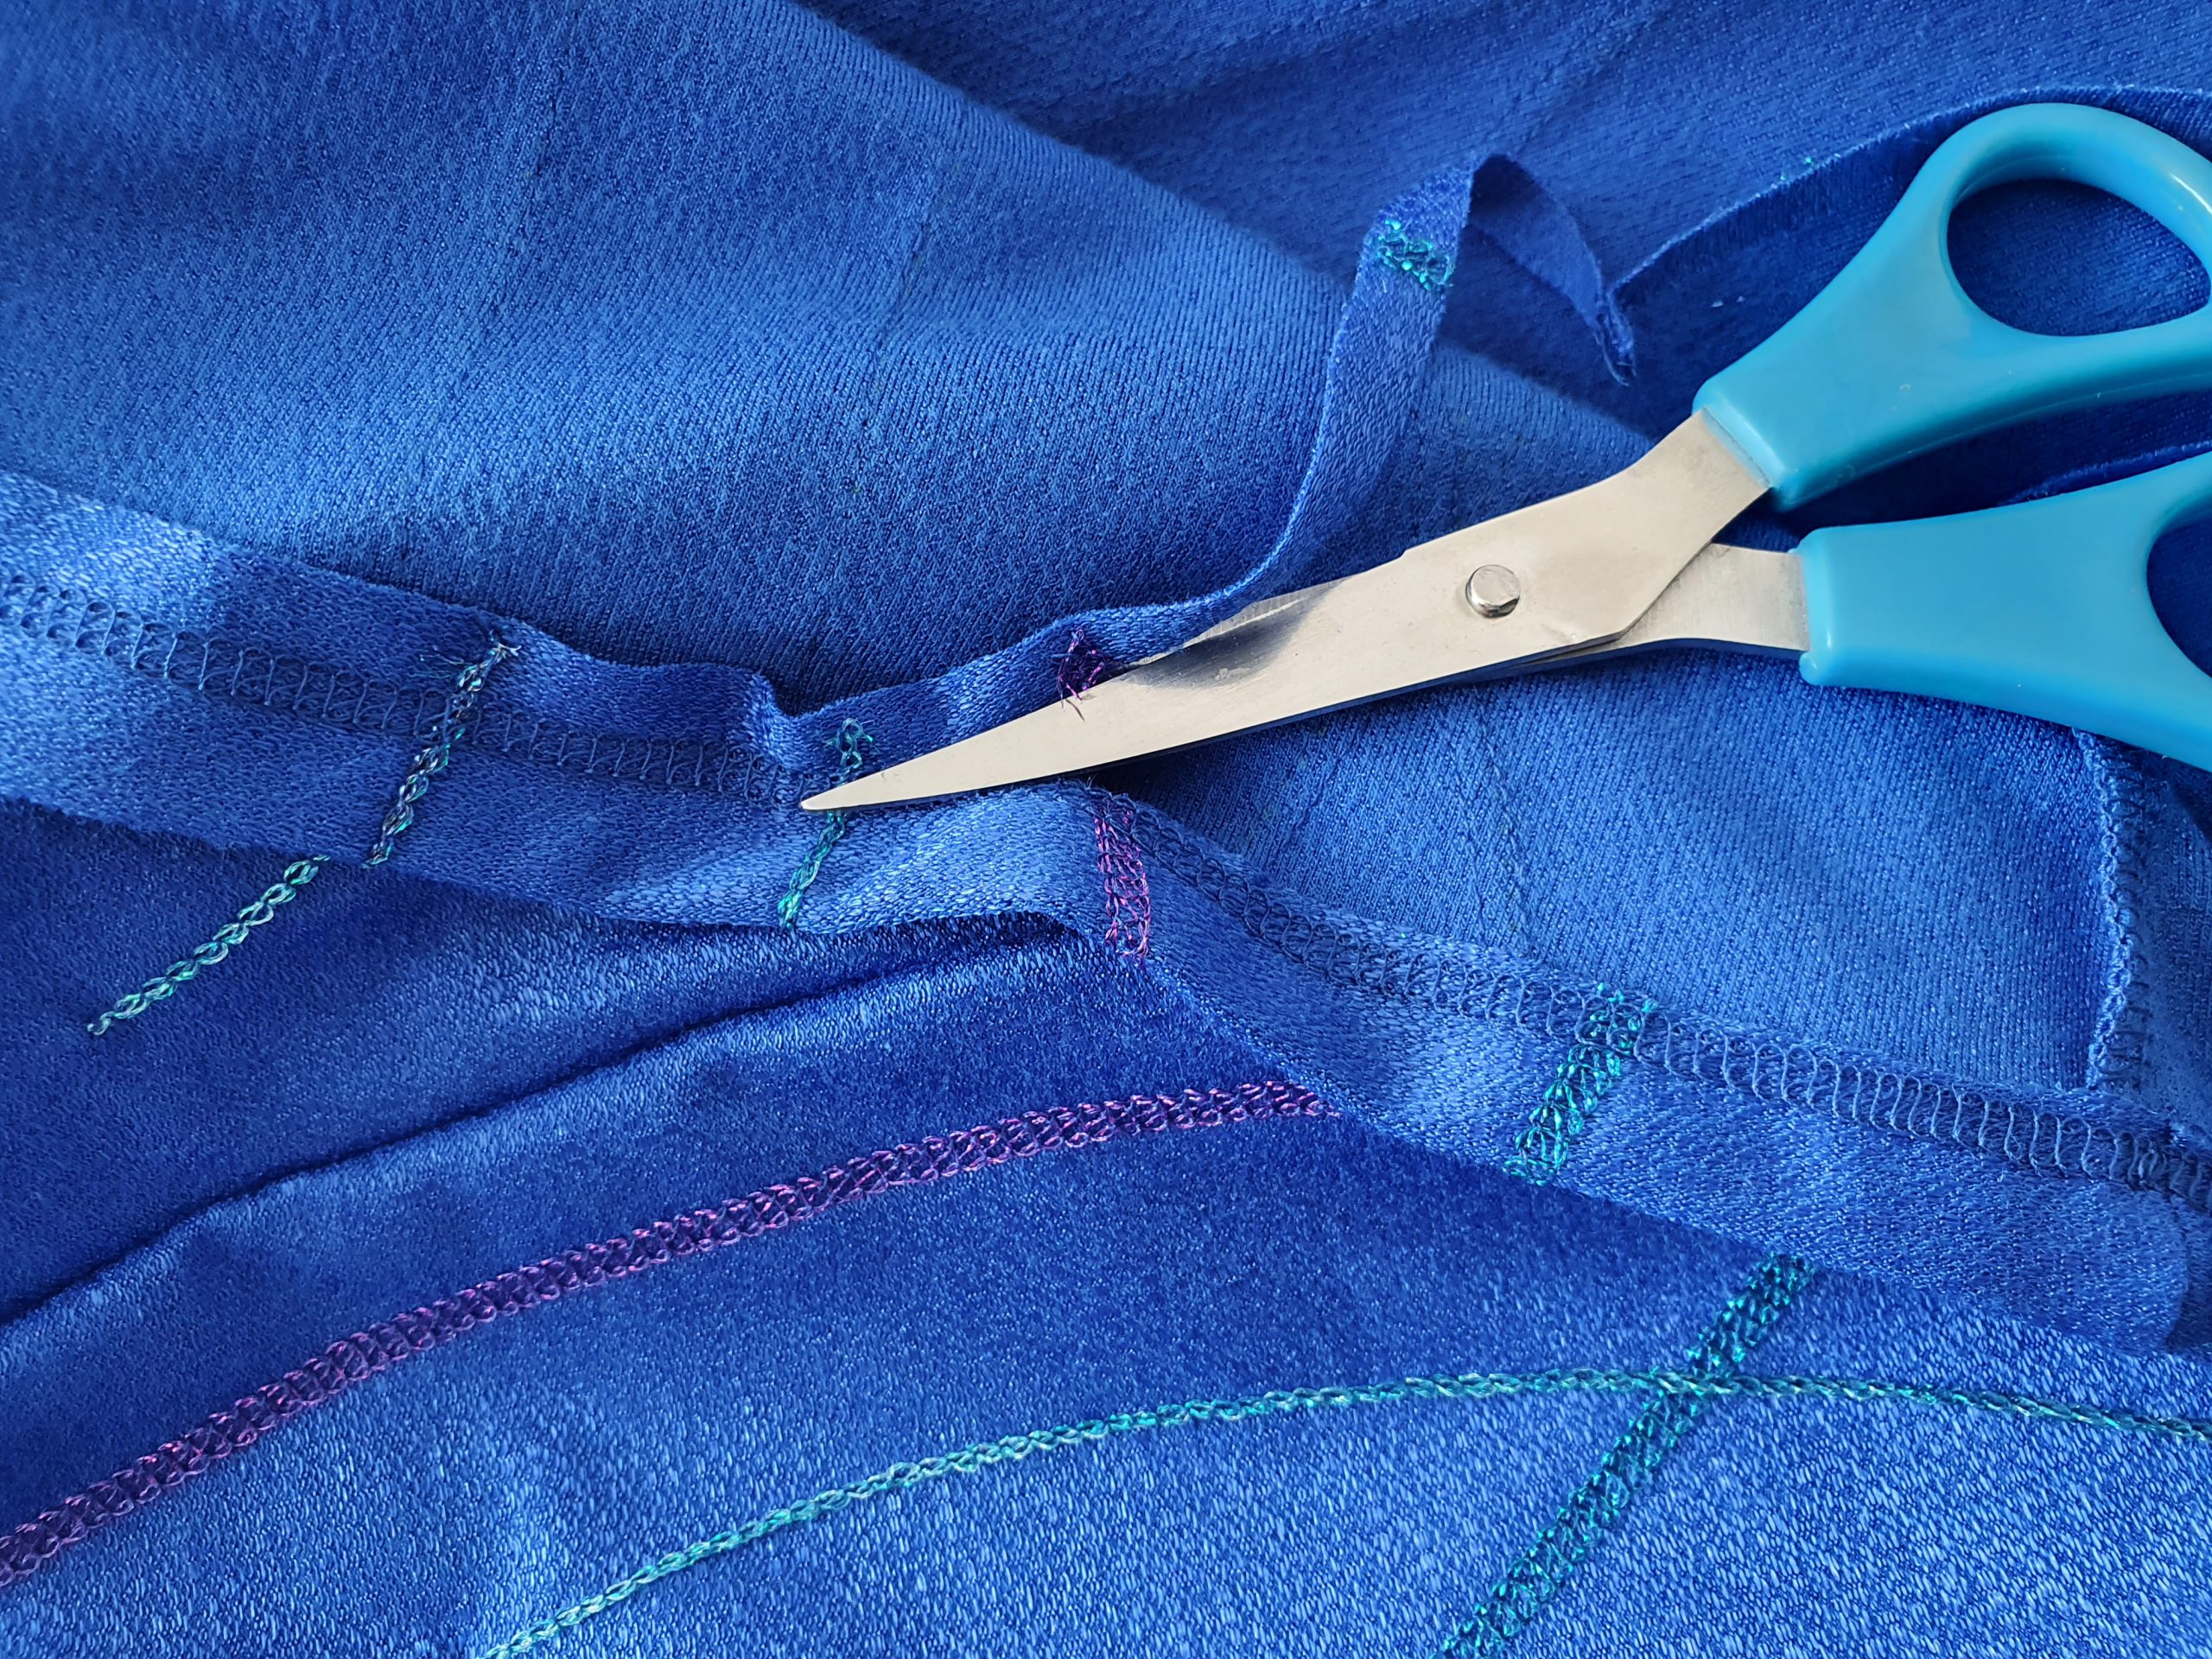
Processing tip: sew all parts 1 to 8 together with a chainstitch first, as a basting technique, to have a fitting. That will allow you to make amendments where needed easily as the chainstitch is quickly undone. Then definitely sew the pieces together with 4-thread overlock.

Just a reminder that the seam allowance is 1.5cm (1/2″) for the following seams:
- Sew the middle seam of back part 1, right sides together.
- Sew back parts 2 to the back parts 1, right sides together.
- Sew back parts 3 to the back parts 2, right sides together.
- Sew back parts 4 to the back parts 3, right sides together.
- Sew the middle seam of front part 8, right sides together.
- Sew front parts 7 to the front parts 8, right sides together.
- Sew front parts 6 to the front parts 7, right sides together.
- Sew front parts 5 to the front parts 6, right sides together.
- Front and back, sew the side seams, right sides together.
- Front and back, sew the shoulder seams, right sides together.
Tip for perfectionists: stitch the front center and back center with chainstitch instead of 4-thread overlock and neaten the seam allowances individually so that you can press the seam allowance apart.
Tips for ironing:
- Part 1, press the seam allowance towards the right back piece.
- Parts 2, 3, 4, press the seam allowance towards the middle.
- Part 8, press the seam allowance towards the right front piece.
- Parts 7, 6, 5, press the seam allowance towards the middle.
- Side seams, press the seam allowance towards the front.
- Shoulder seams, press the seam allowance towards the front.

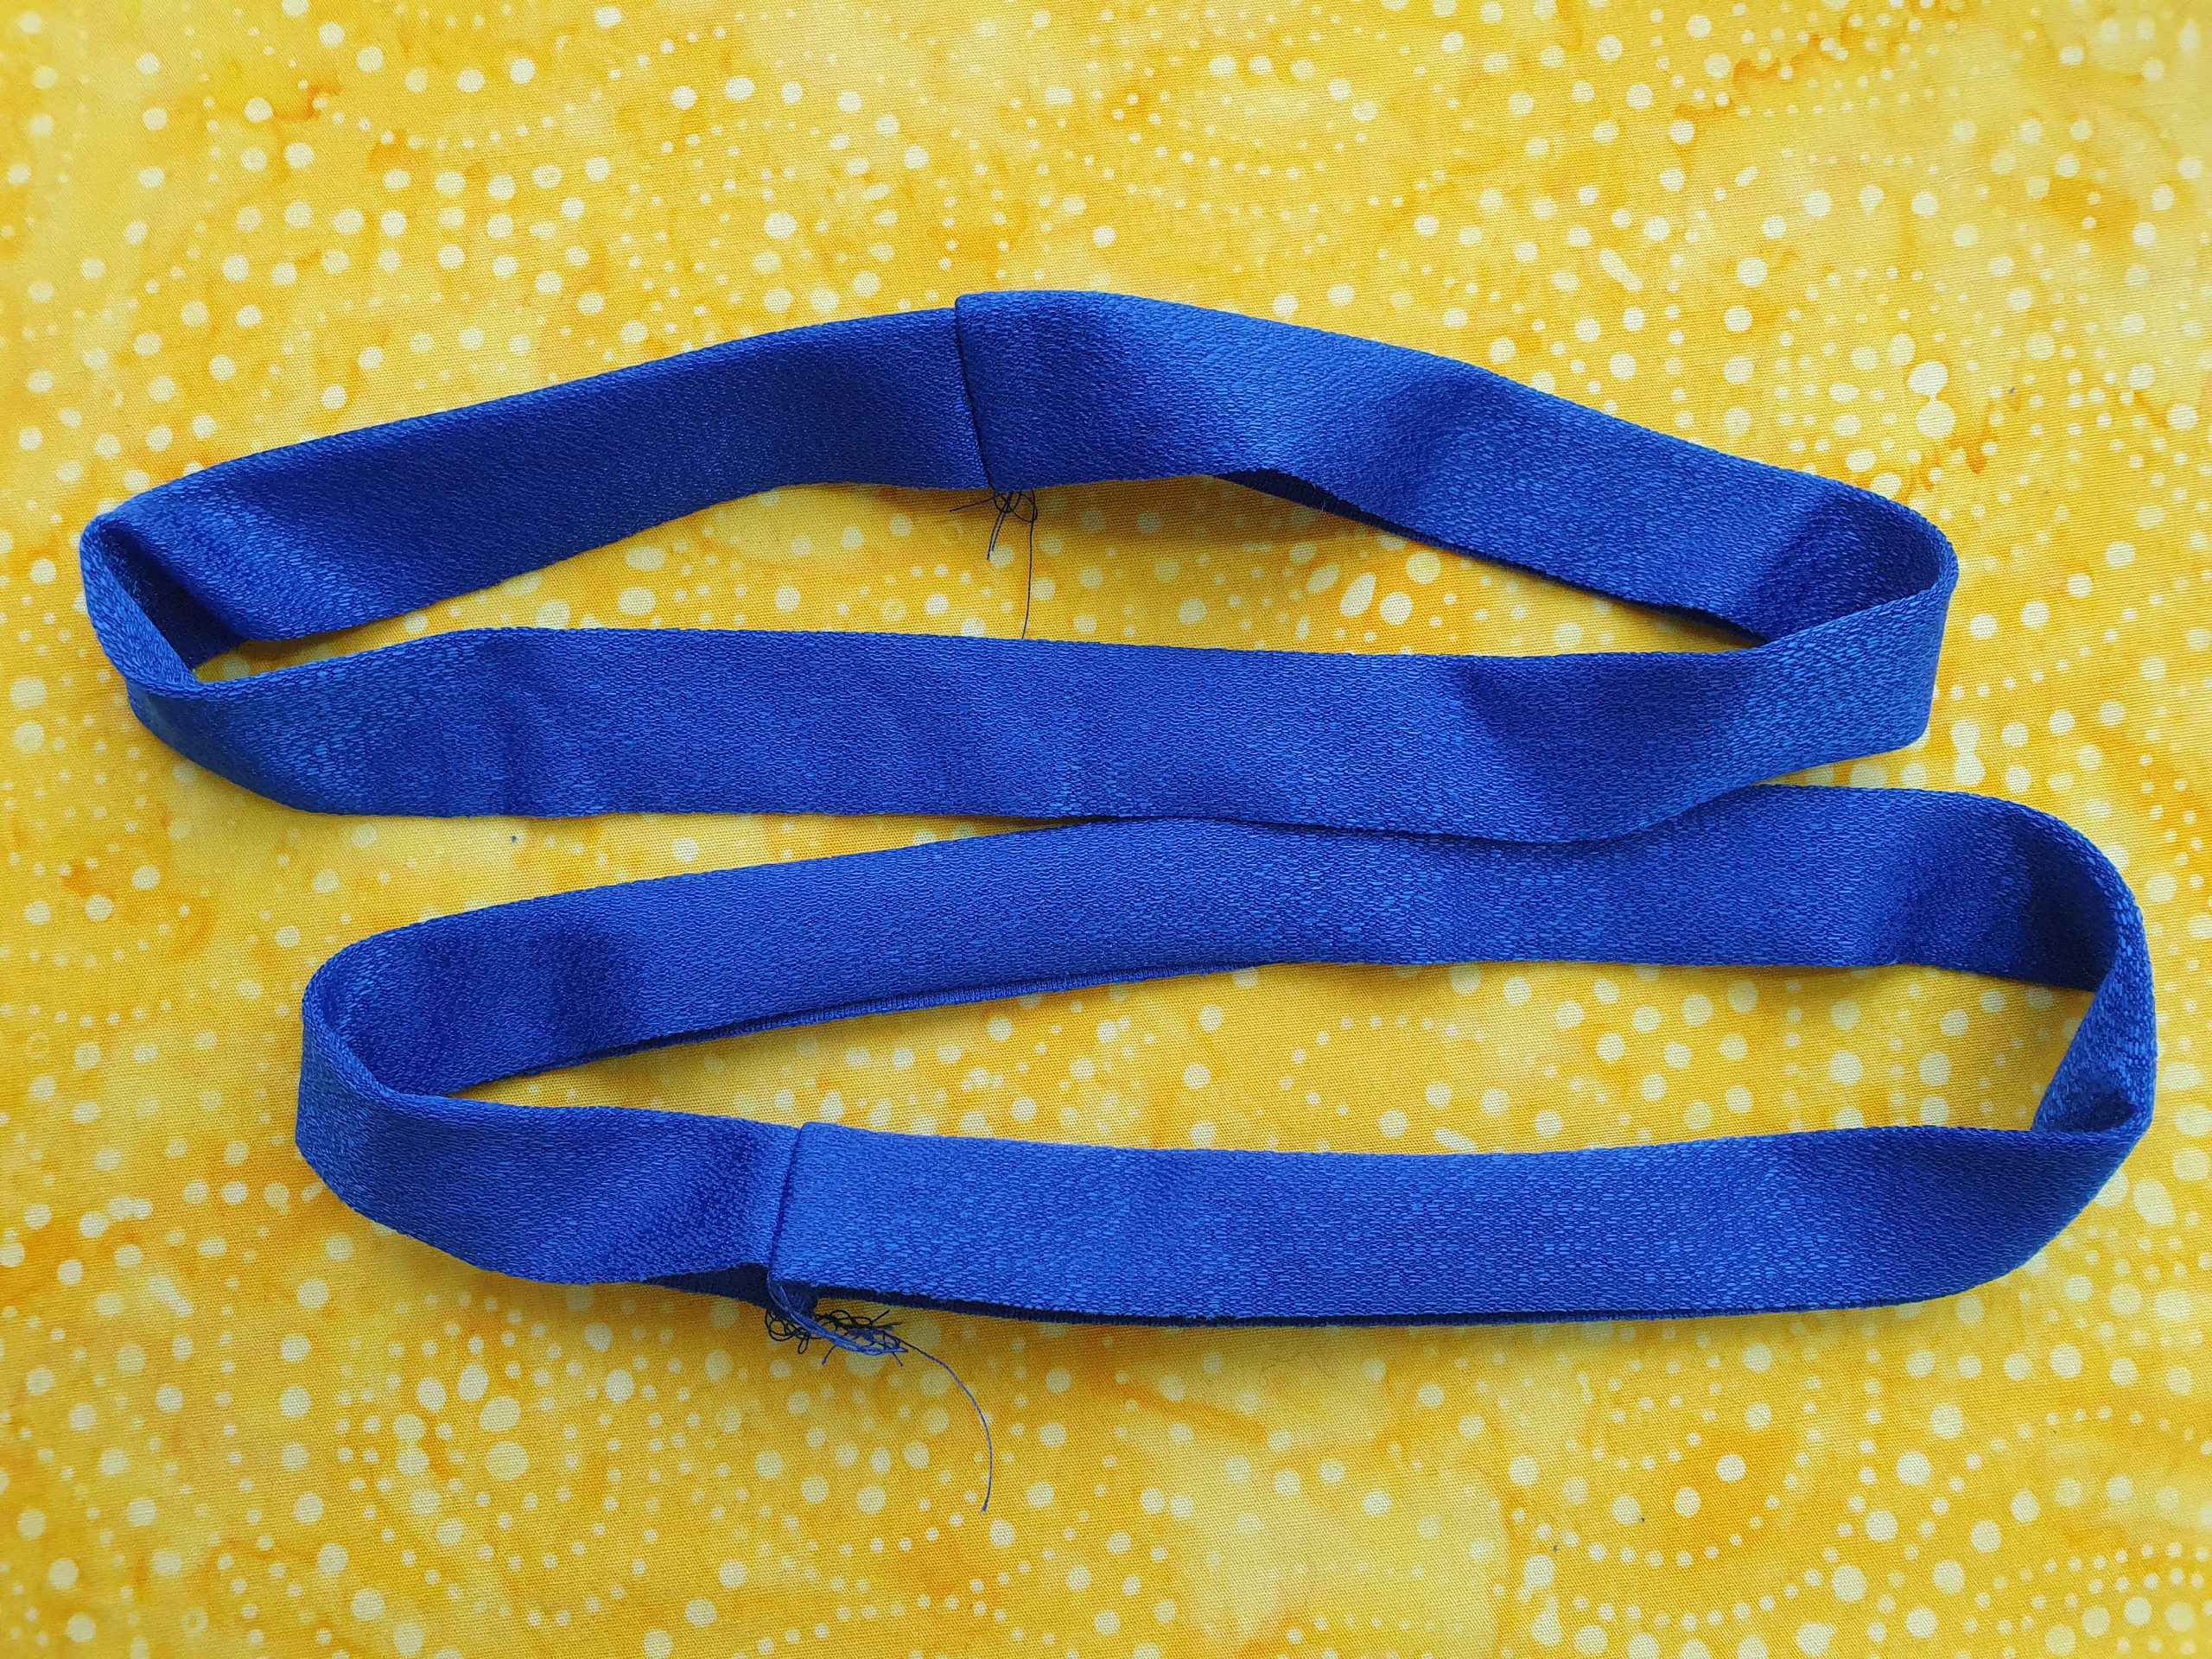
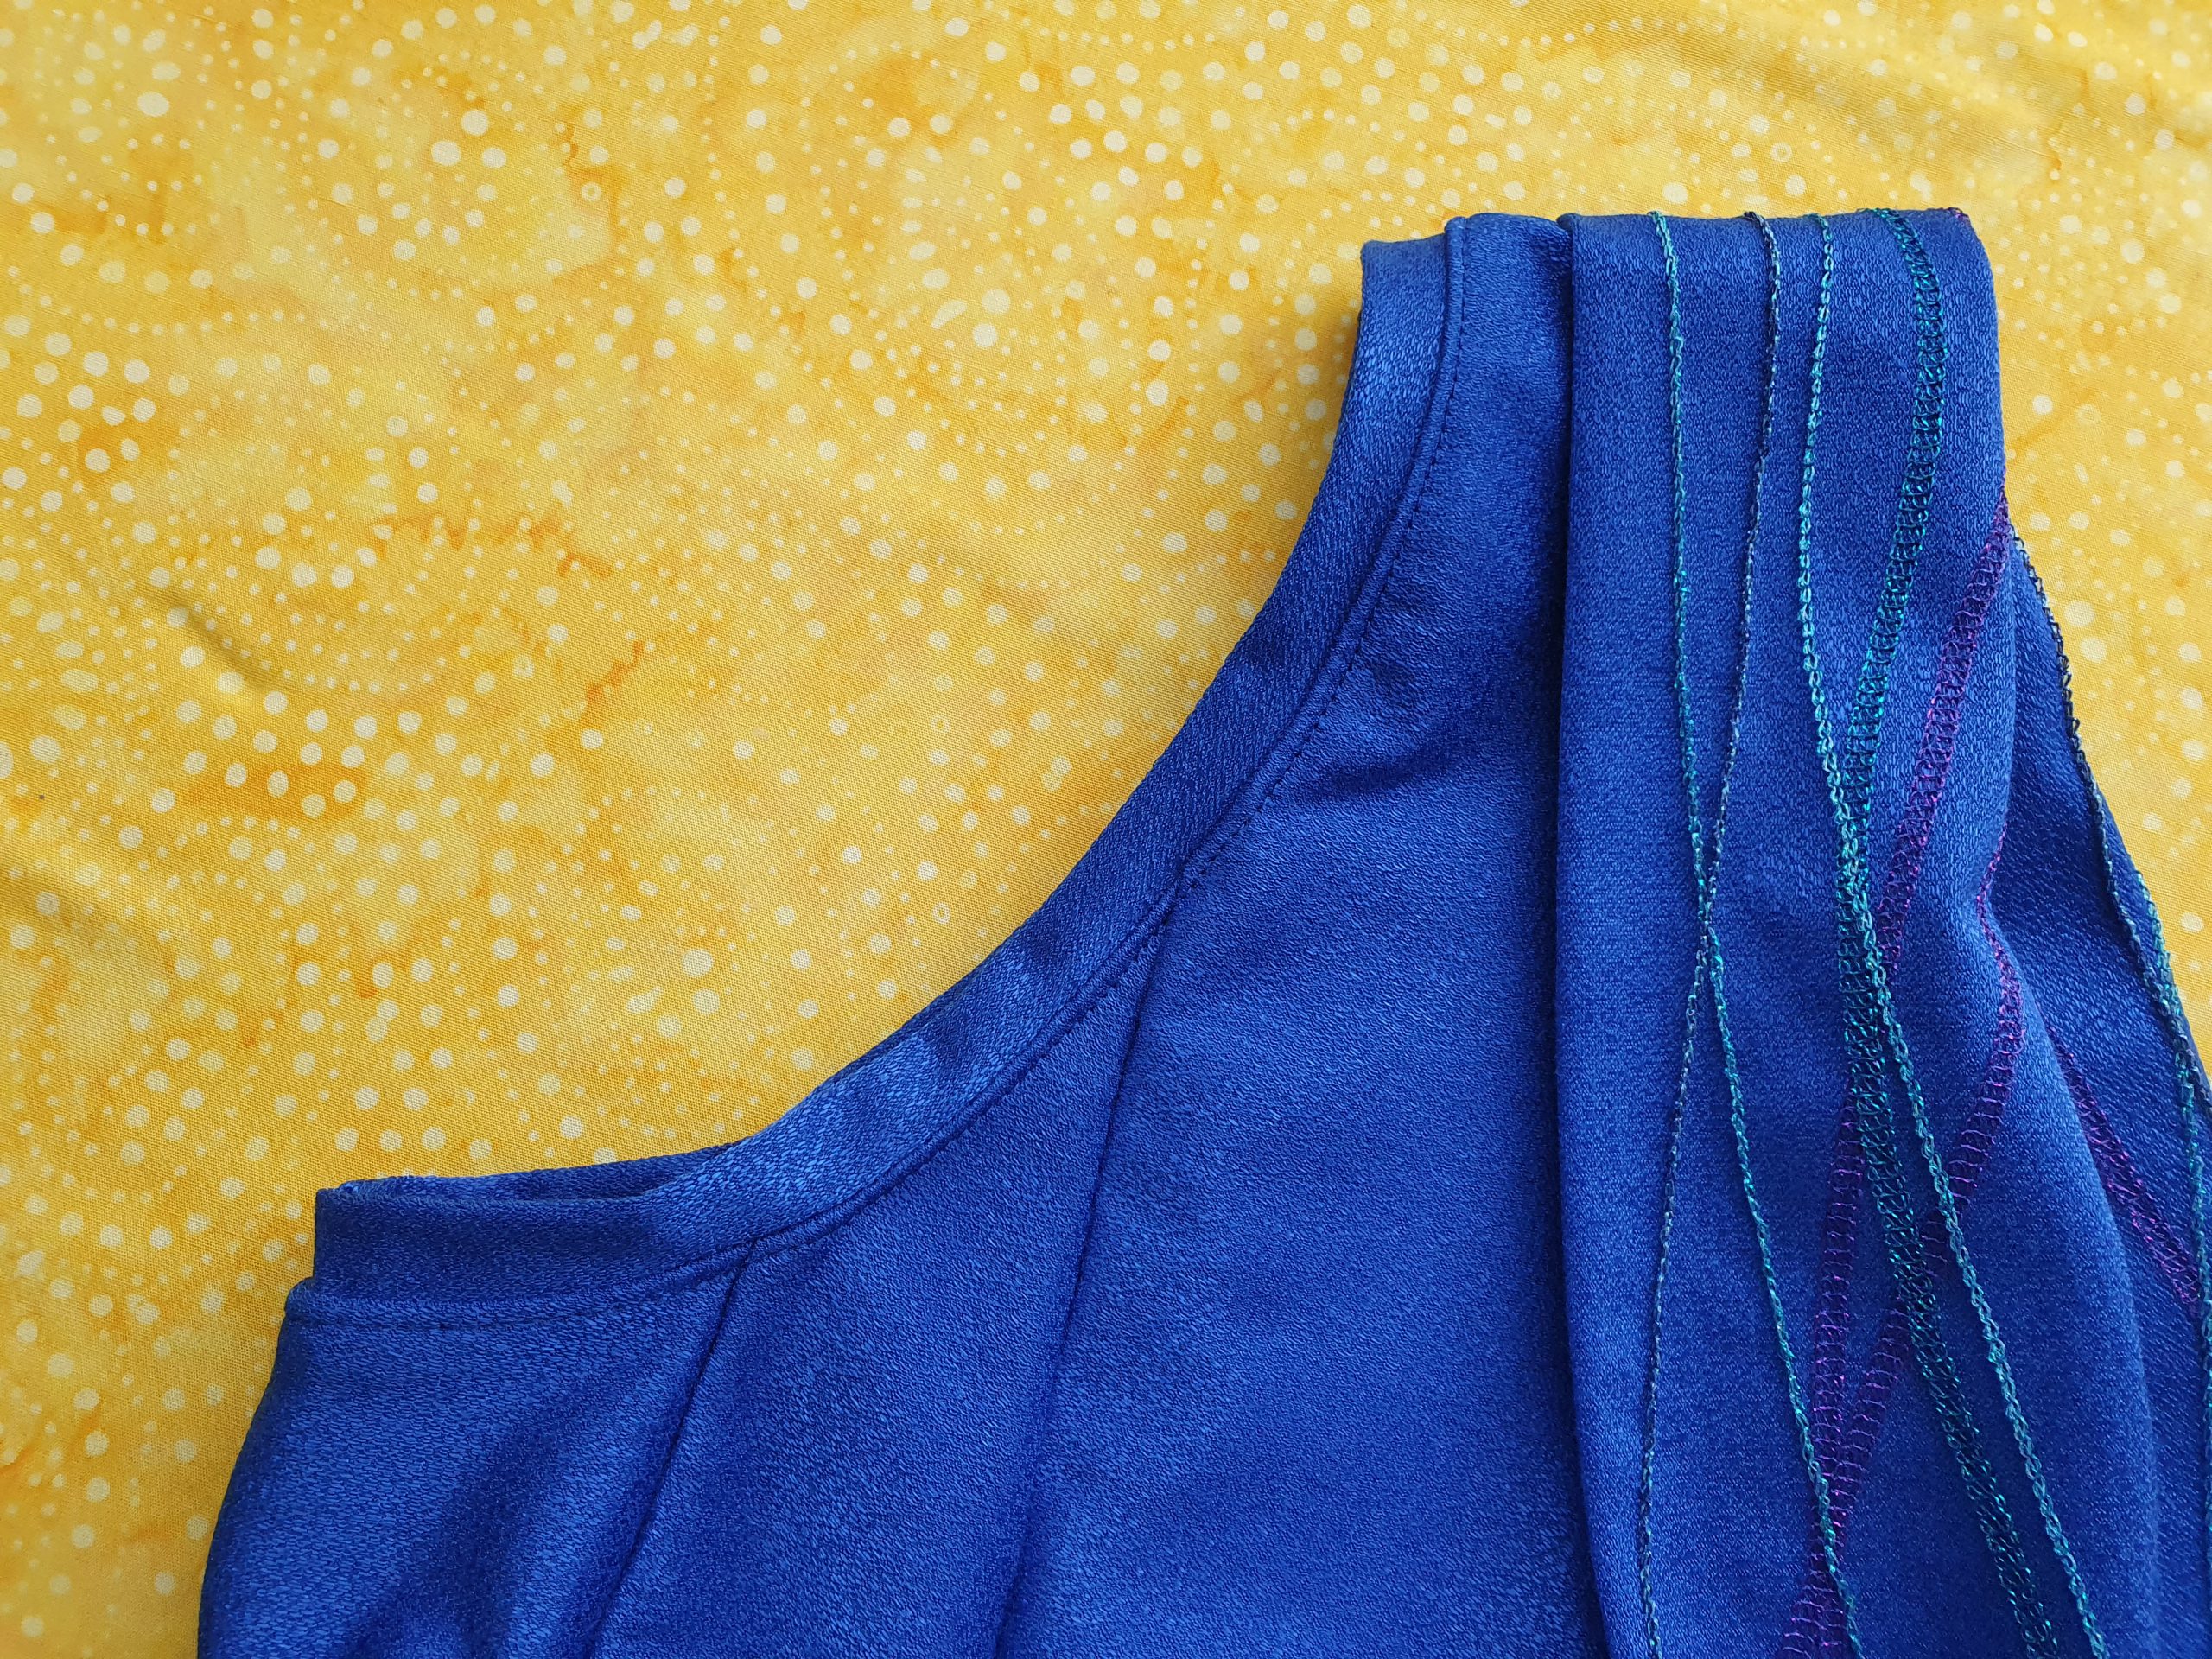
Fold the collar halfway, lengthwise, right sides together and stitch the narrow ends together. Turn right side out and press the collar.
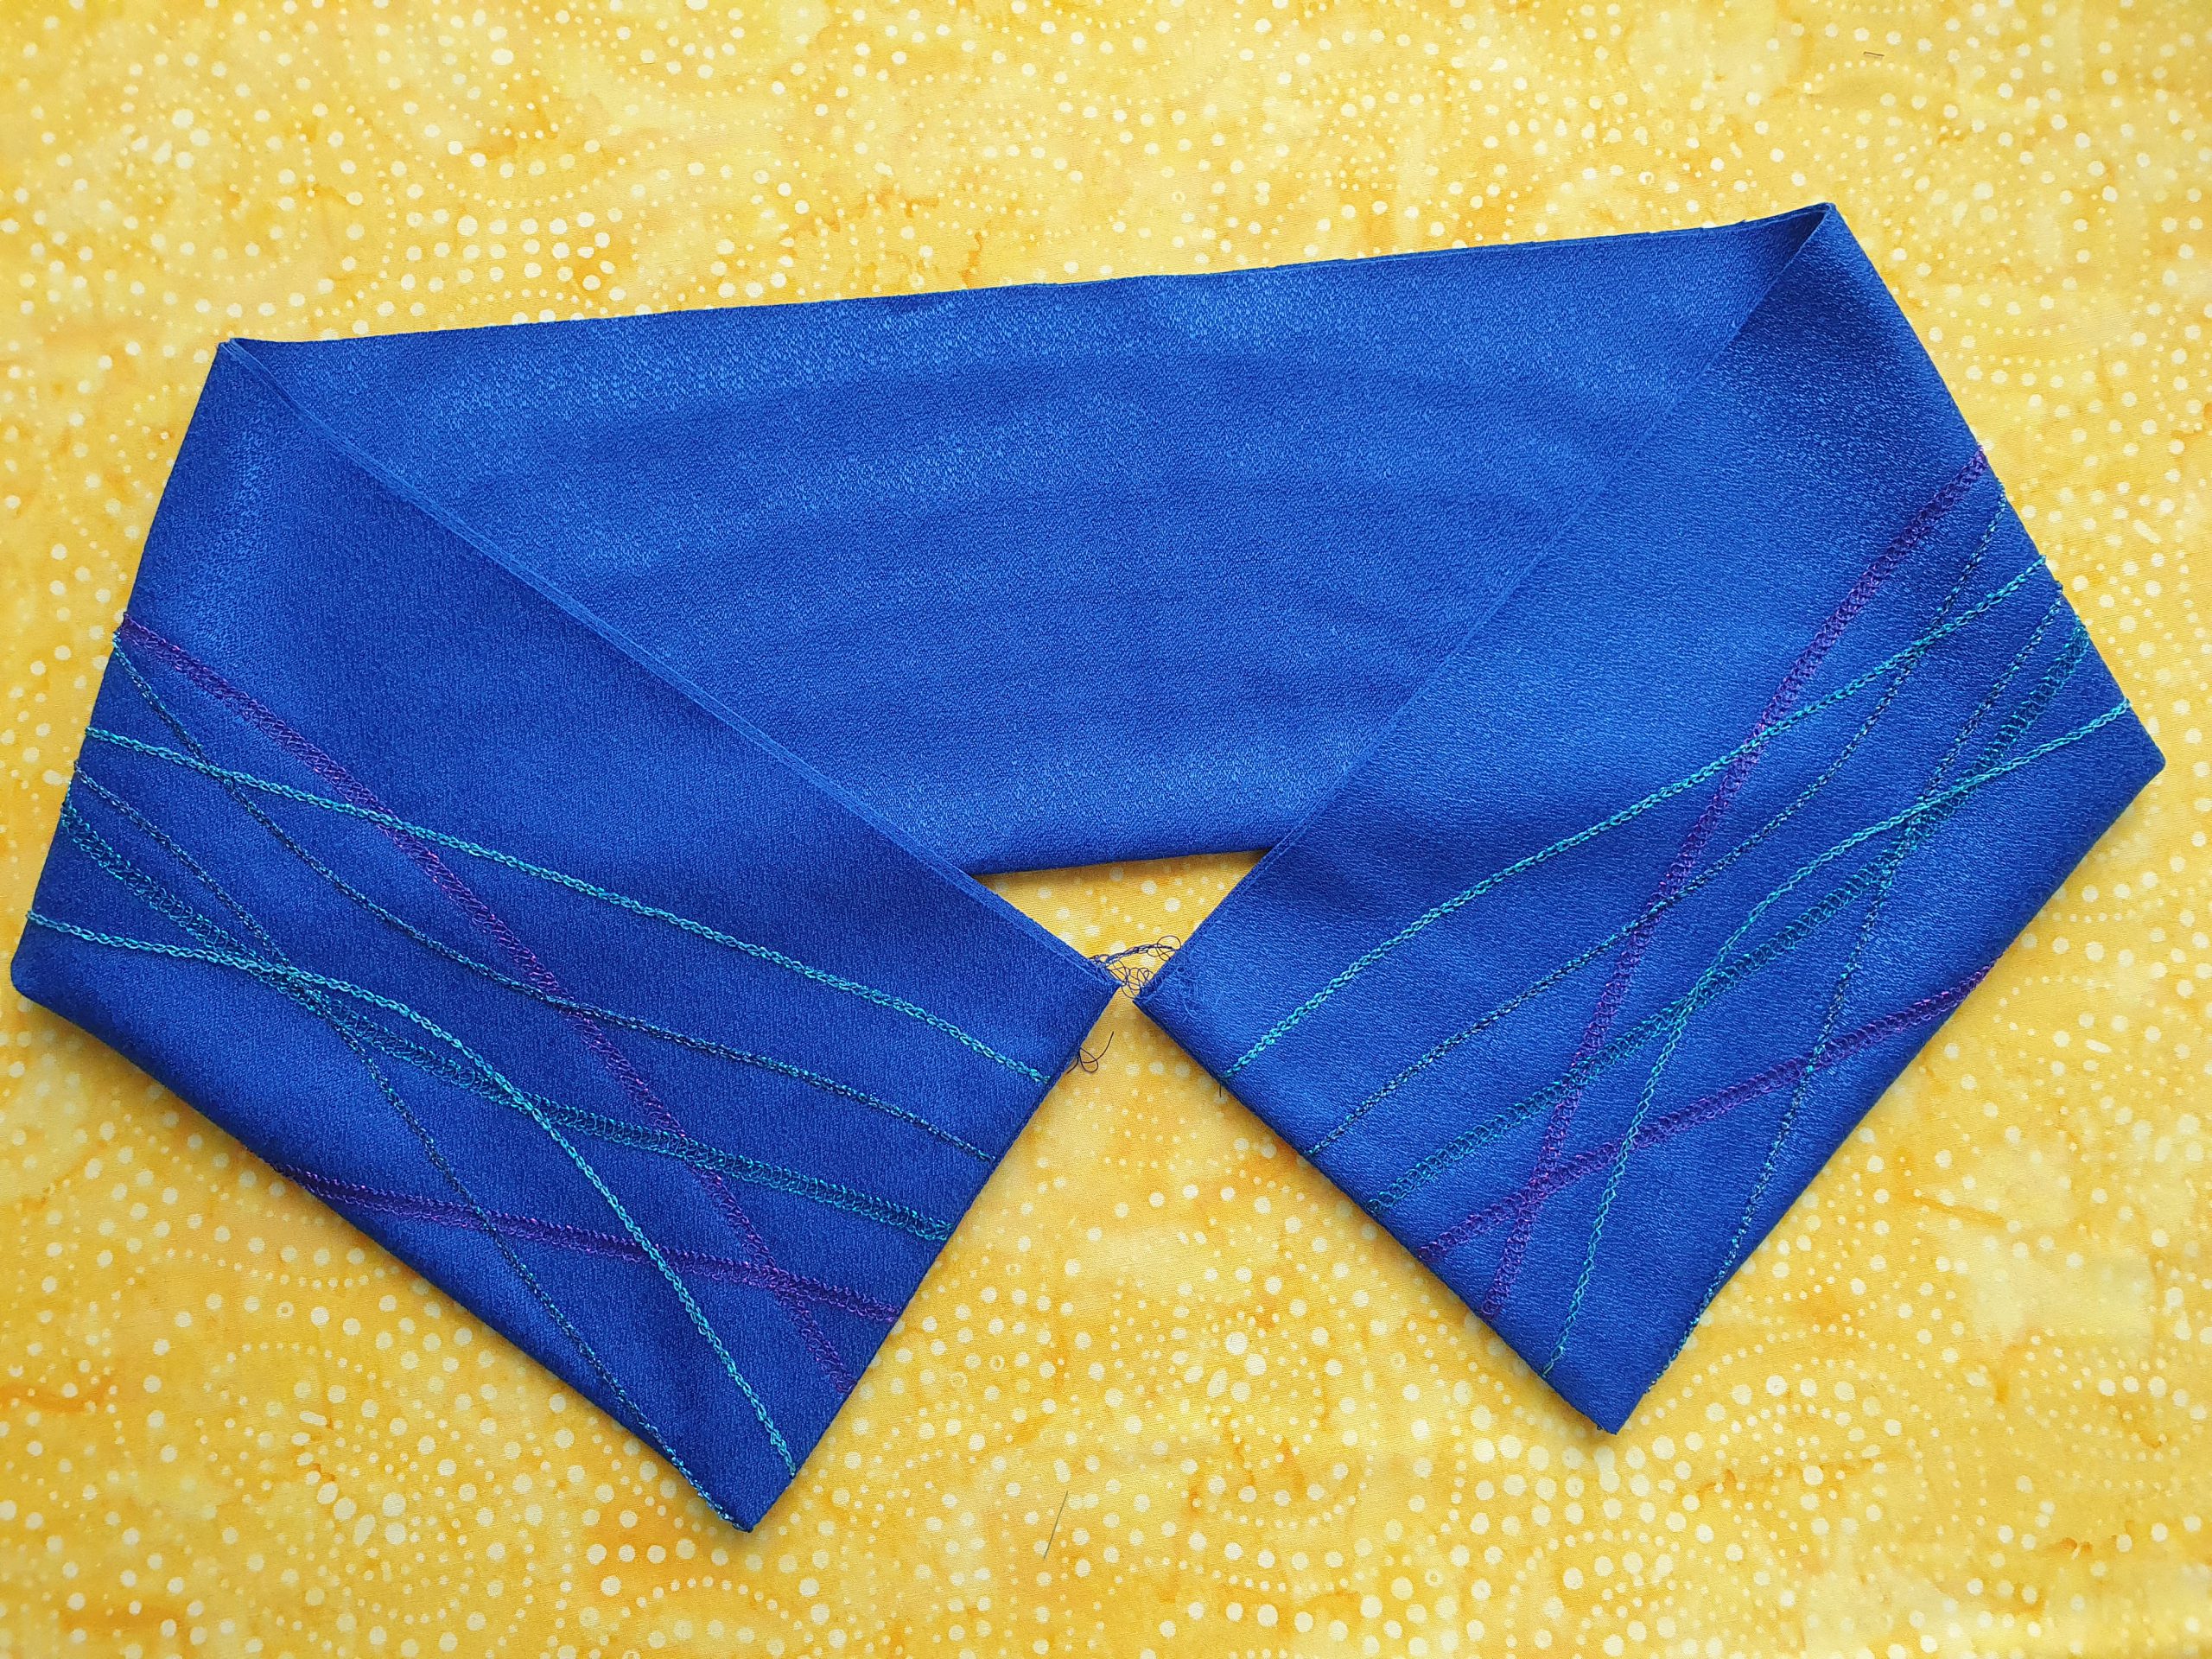
Collar, using the sewing machine and a straight stitch, sew the narrow ends together at the open edge at a length of approx. 1.5 cm (3/4″). Press the seam.

This creates a tube and reinforces the neckline.
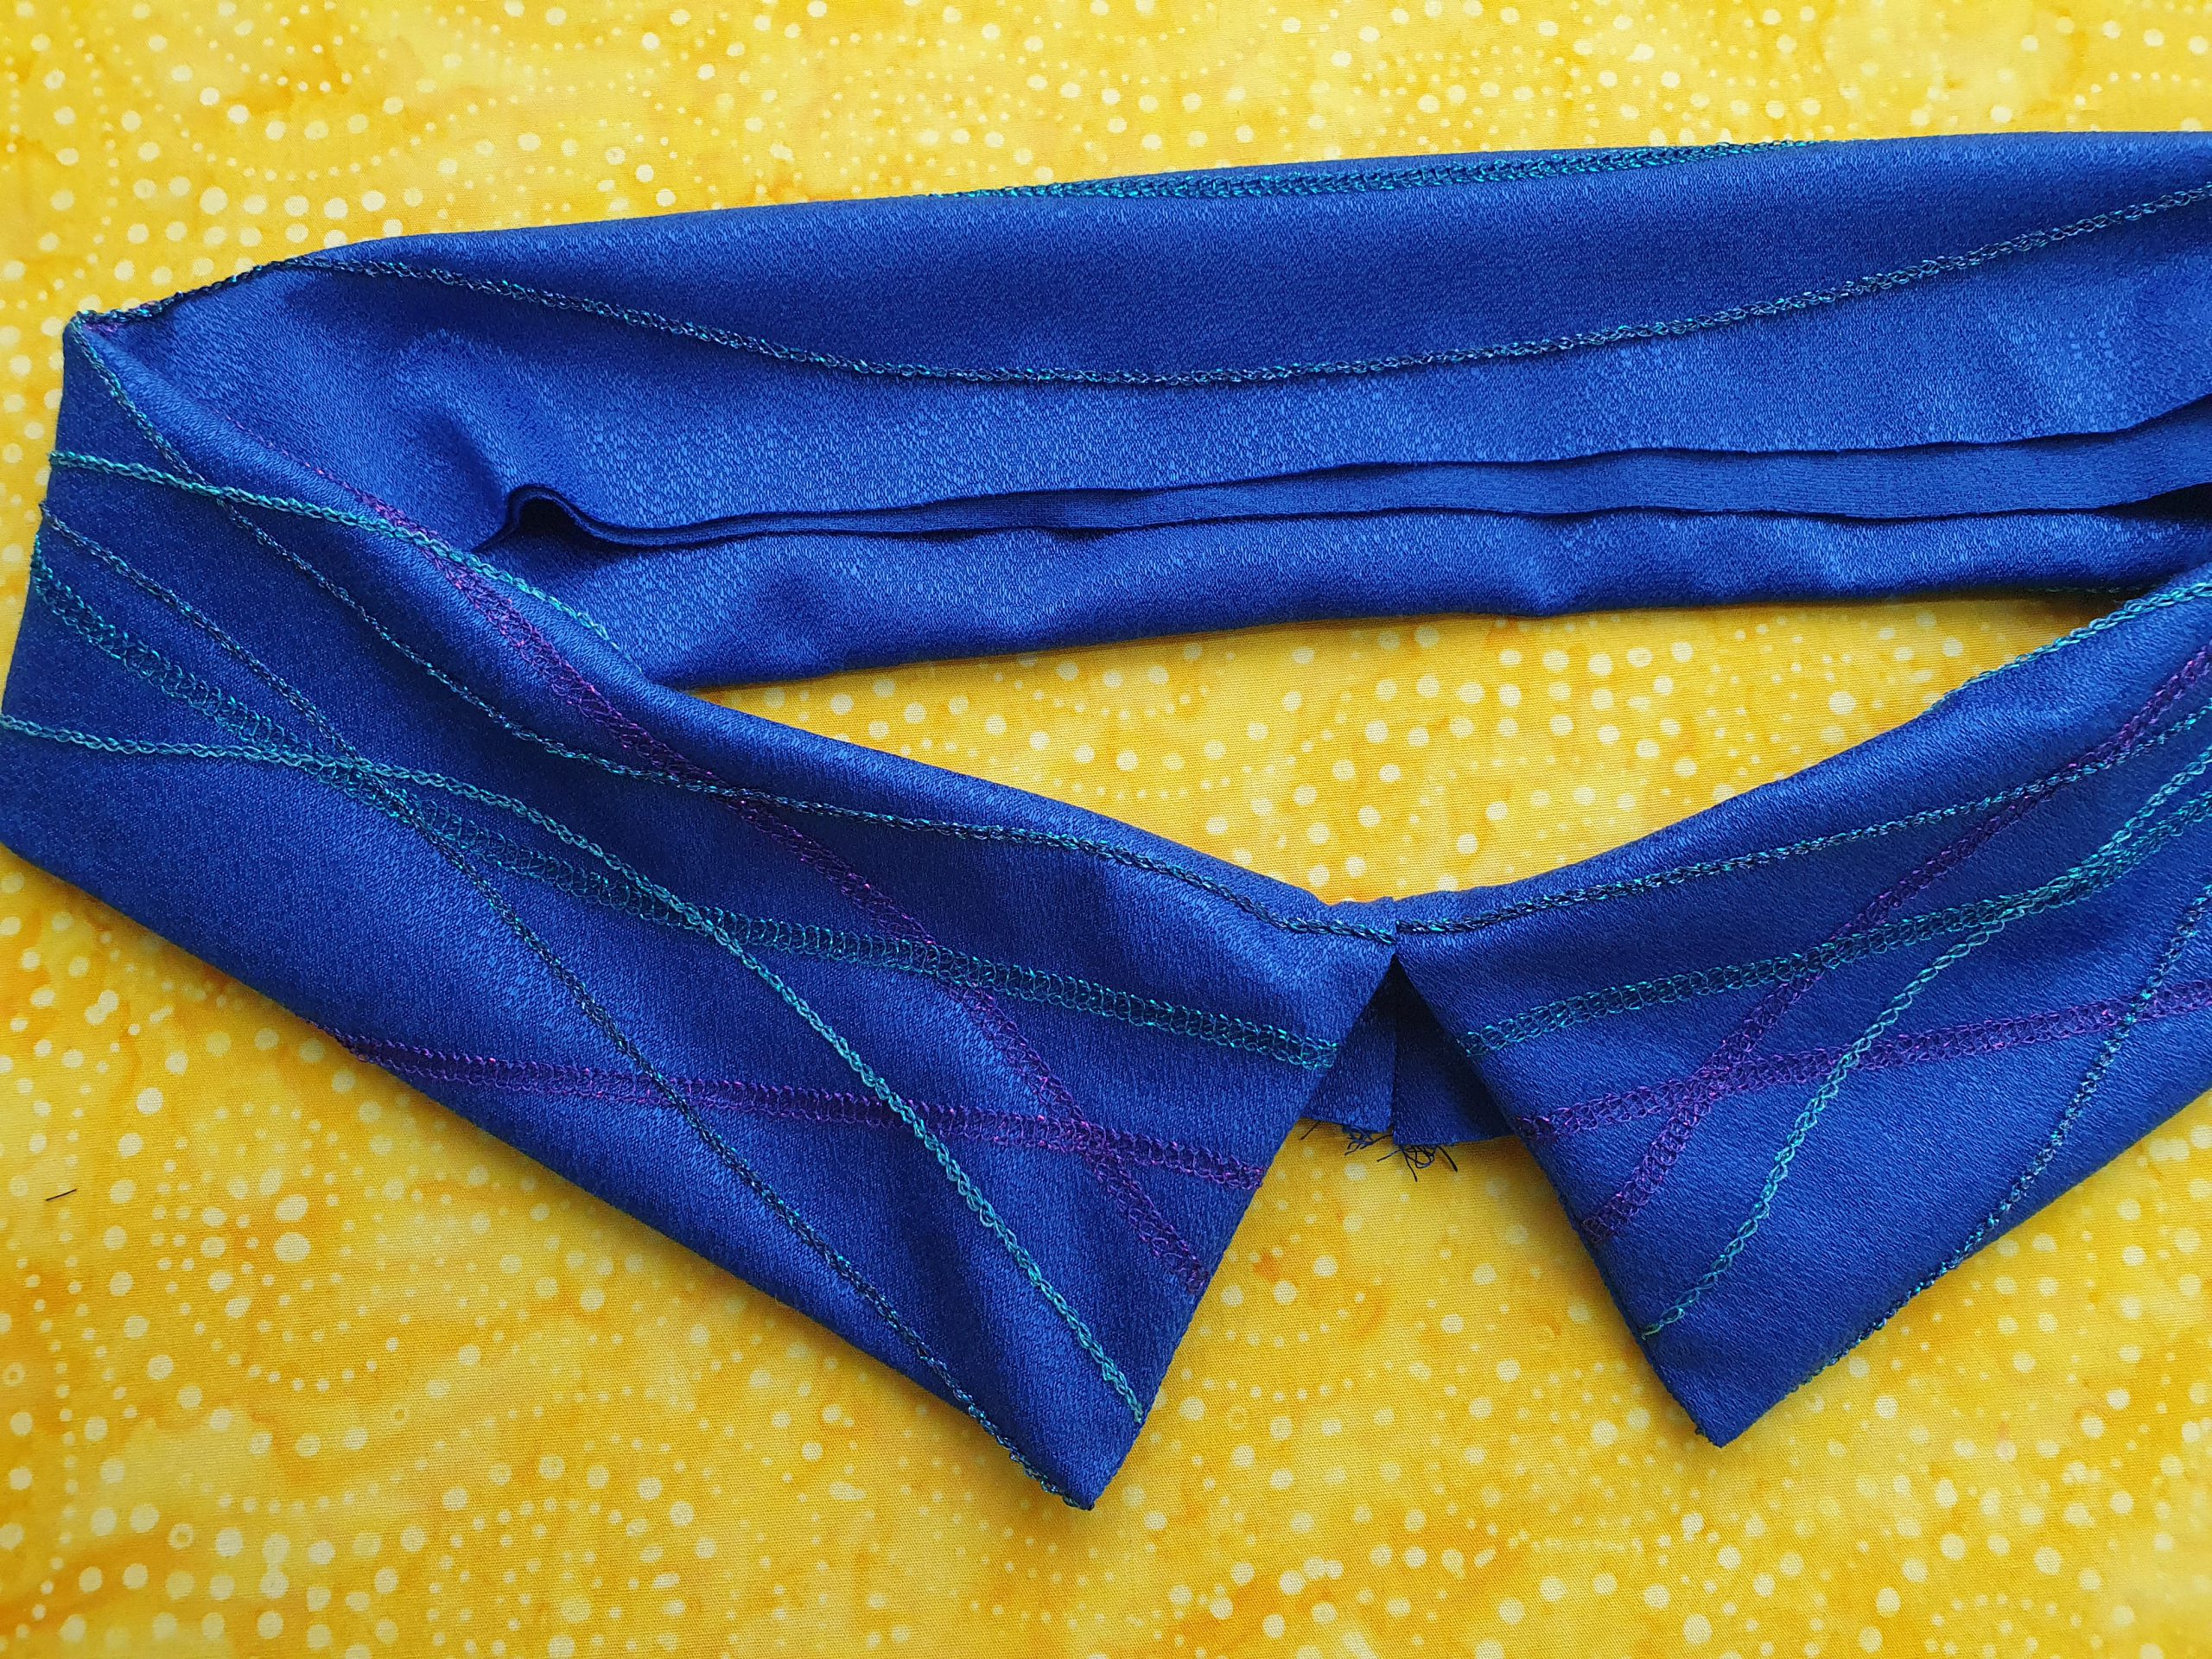
Pin the open collar edges together.
Attach the collar to the neckline starting with the tips from the back middle, right sides together, so that the decorative seams show on the outside. For basting the collar use the chainstitch.
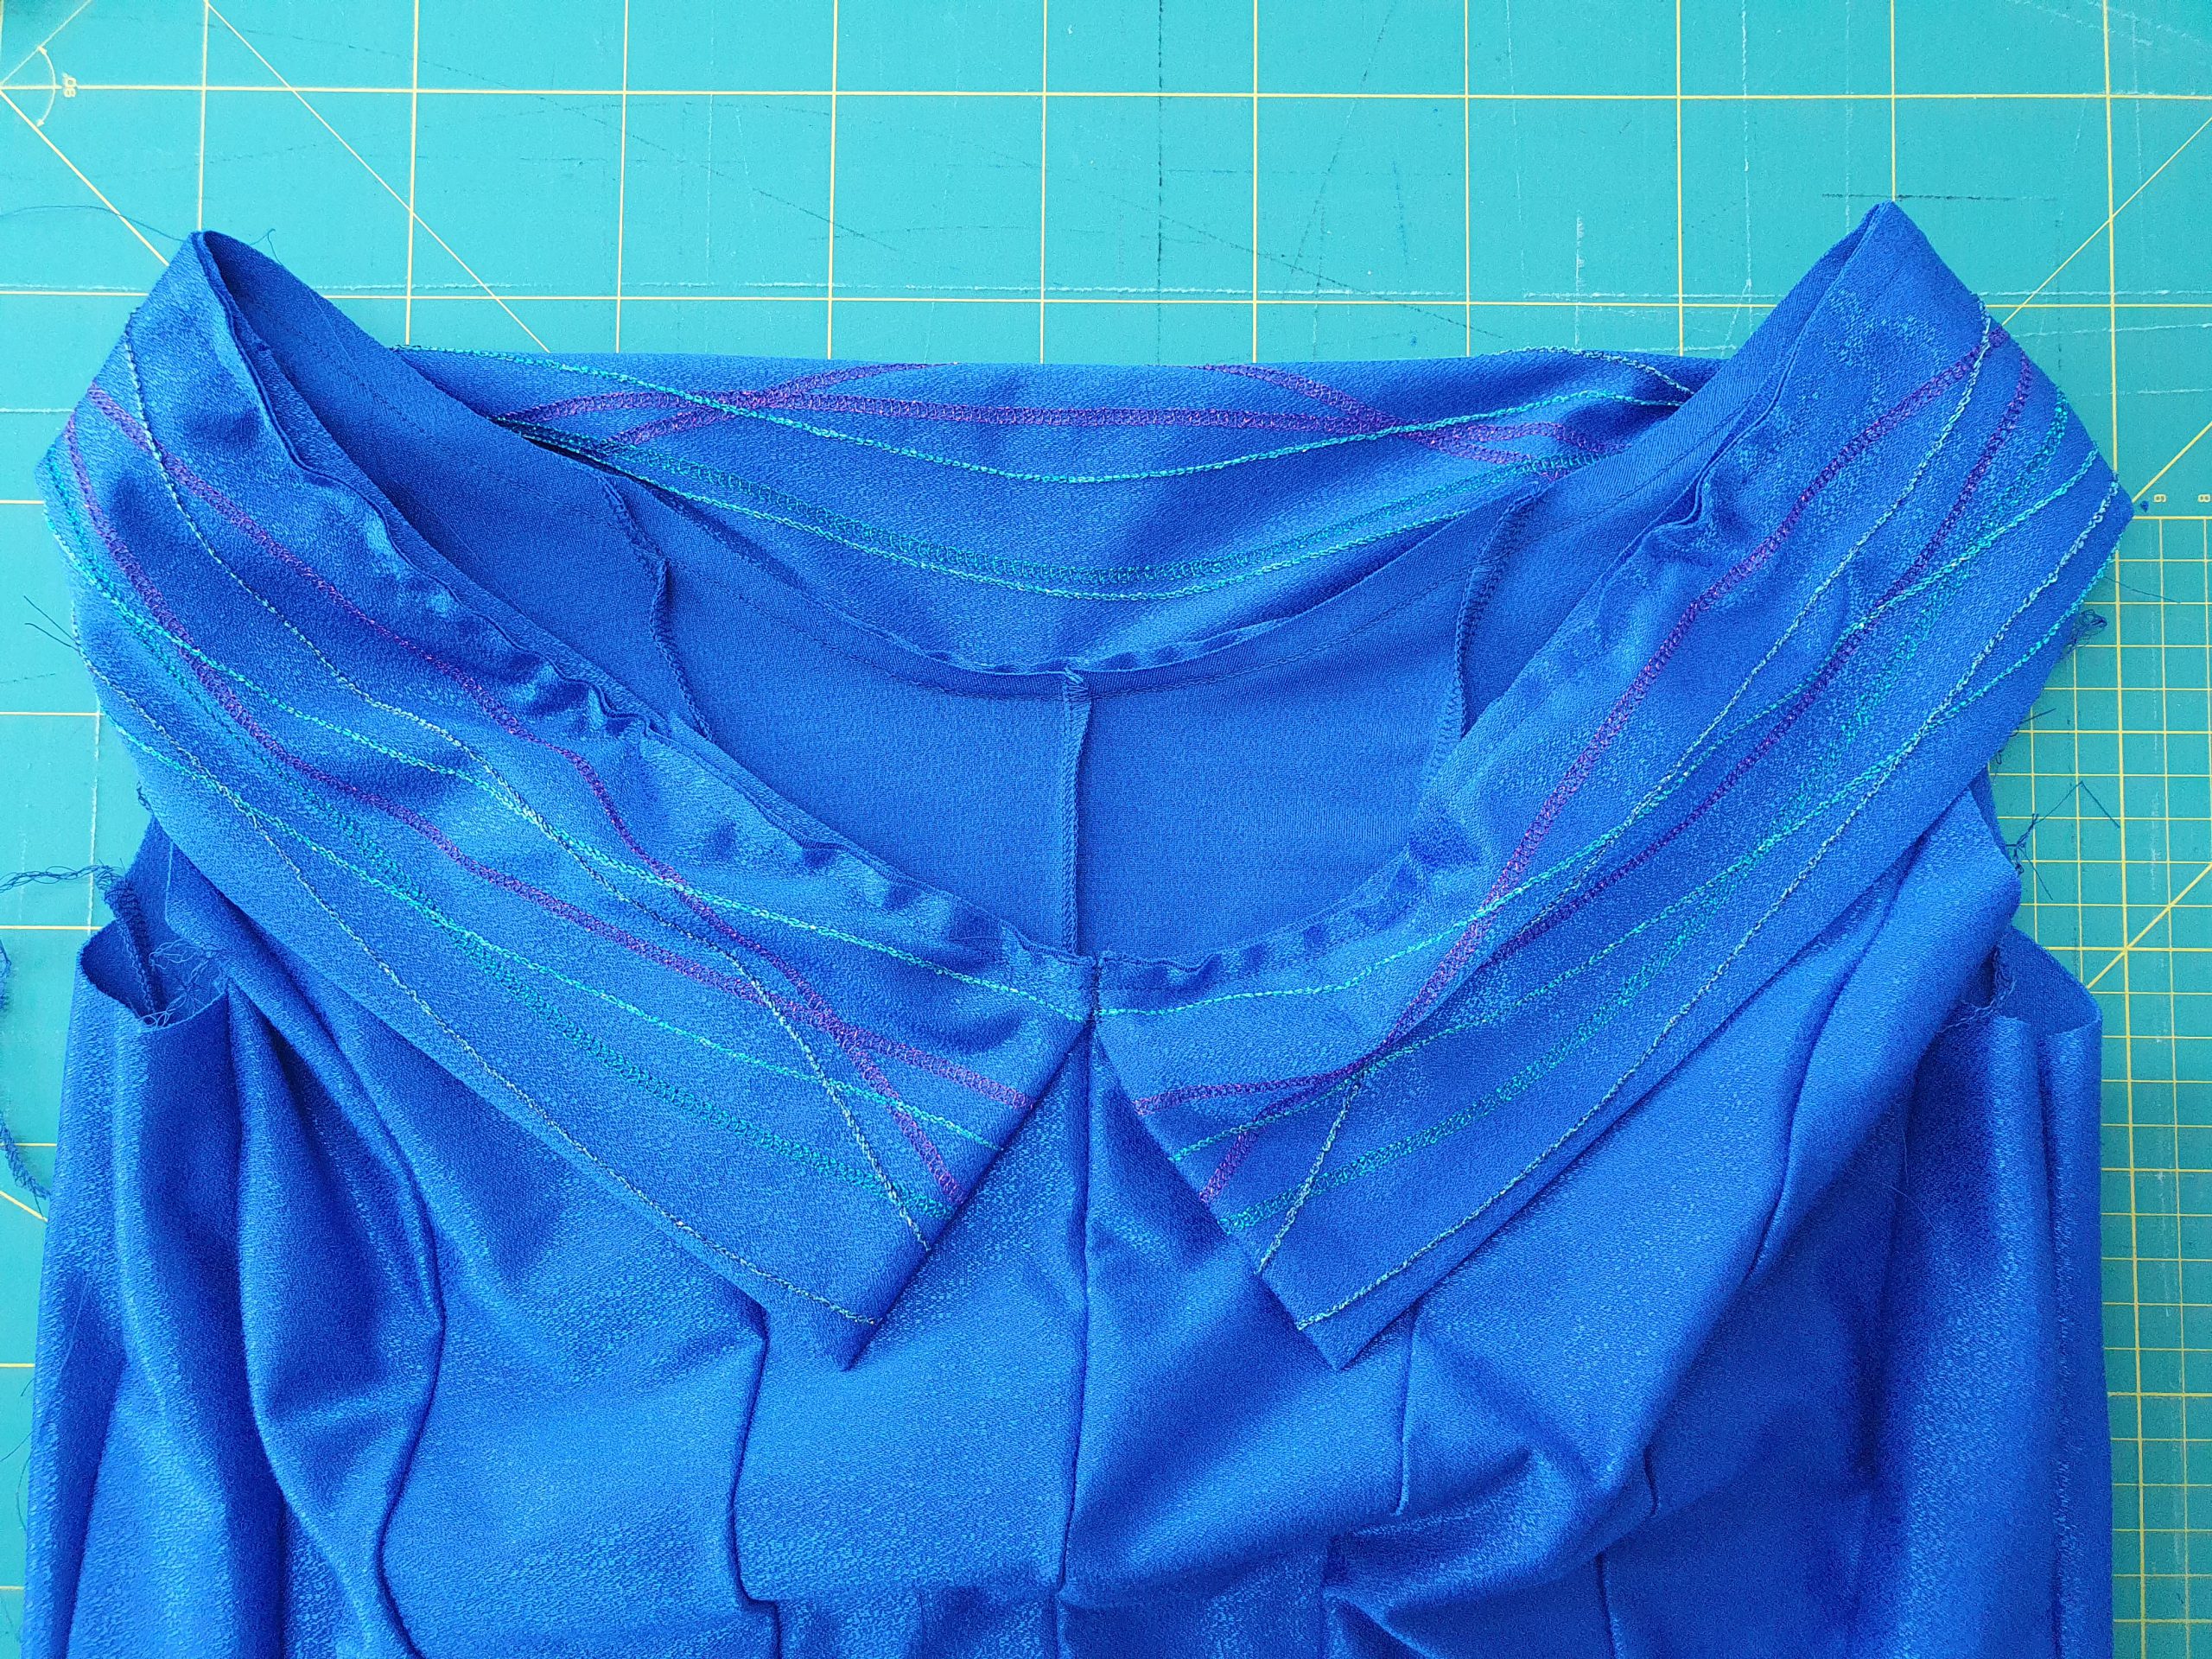
Tip: with the collar attached, I did a second fitting to see how I liked neckline and collar.
Sew the collar with 4-thread overlock. Press the seam allowance towards the dress. Topstitch from the right side with a chainstitch.
Armhole cuffs, sew the narrow ends together to a circle with 4-thread overlock. Fold in half and press.
Tip: for sizes 36 to 42, finish the armhole cuff only about 0.5 cm (1/4″) wide, but this decision can be made during fitting.
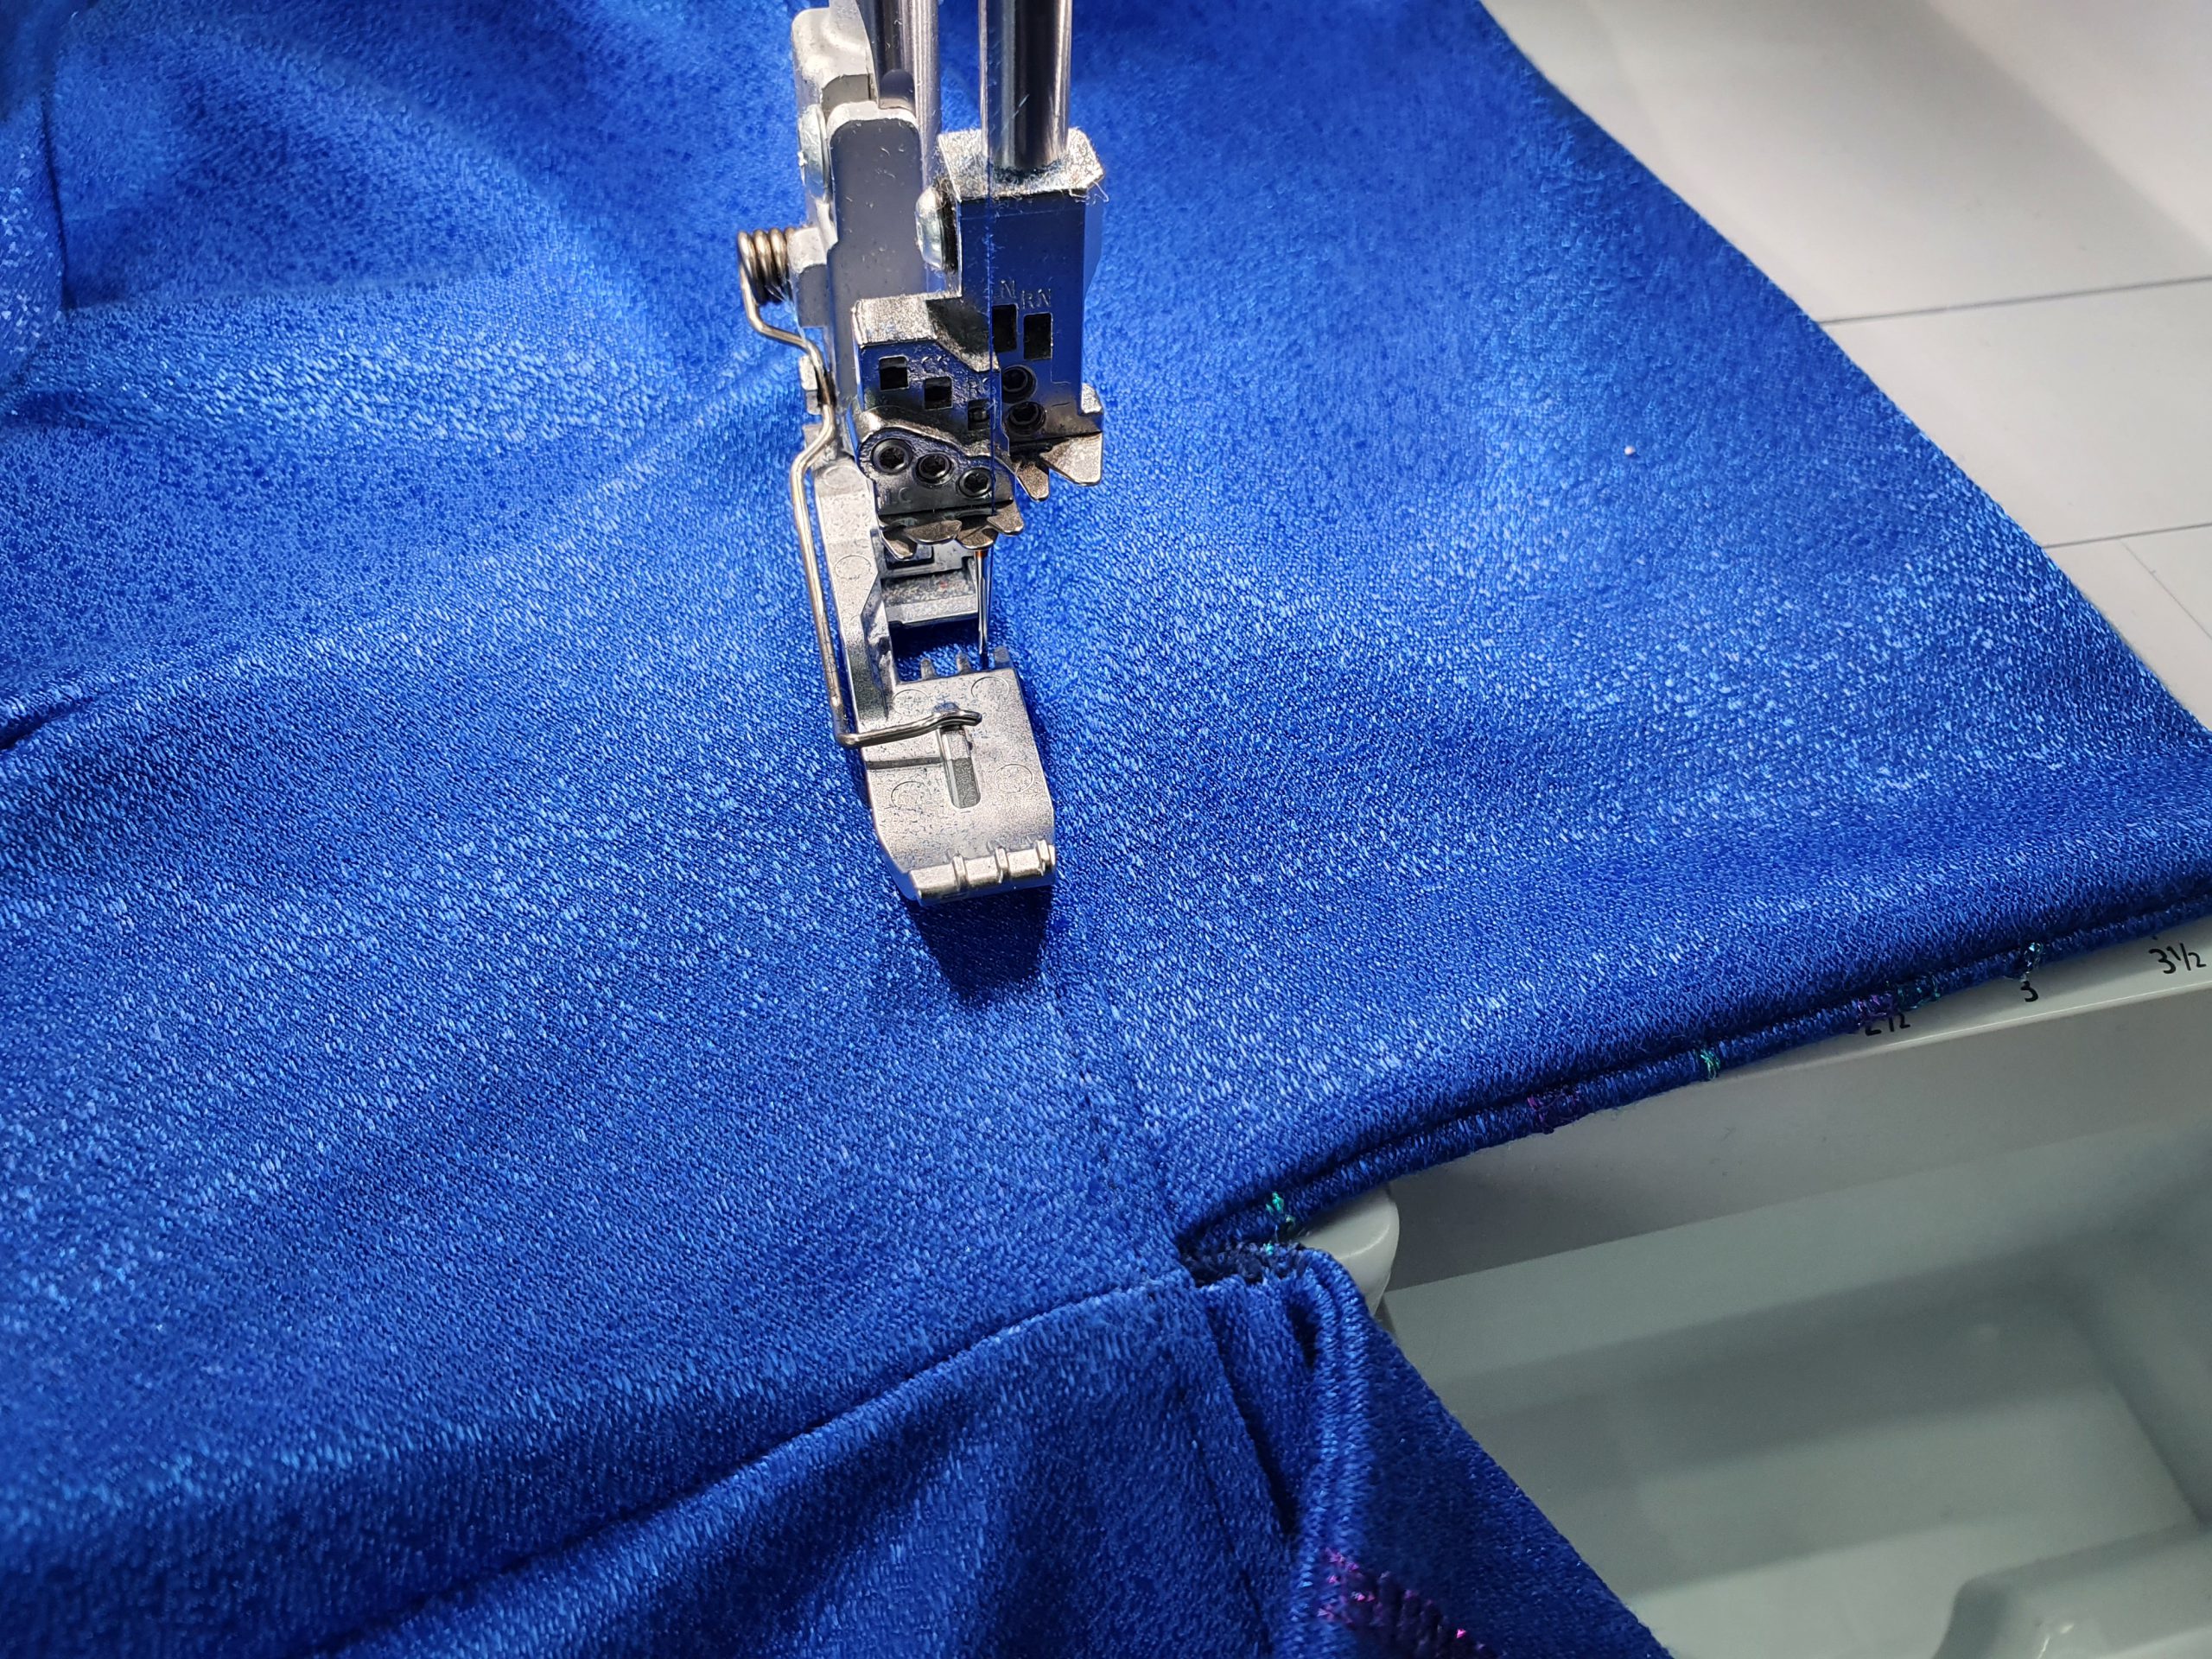
Attach the cuff right sides together to the armholes, placing the seam allowance to the back part to avoid an extremely thick spot.
Tip: first baste with chainstitch, then sew it on with 4-thread overlock.
Tip: the chainstitch No 16 can also be sewn with the left coverstitch needle LC. To do so, insert the needle accordingly and thread the regulator spring marked LC.
Press the armhole seam allowance towards the dress. Fix the seam allowance with a few stitches at joining seams or use the chainstitch for topstitching.
Hem, if necessary, correct the edge. Mark at 3 cm (1 1/4″) seam allowance.
Tip:Use a chainstitch on the wrong side to stitch the 3cm as a guide for the hem fold line, it is fast and precise. Stitching on the wrong side makes it easier to undo after finishing the hem.

Press the hem or fold it along the chainstitch marking.
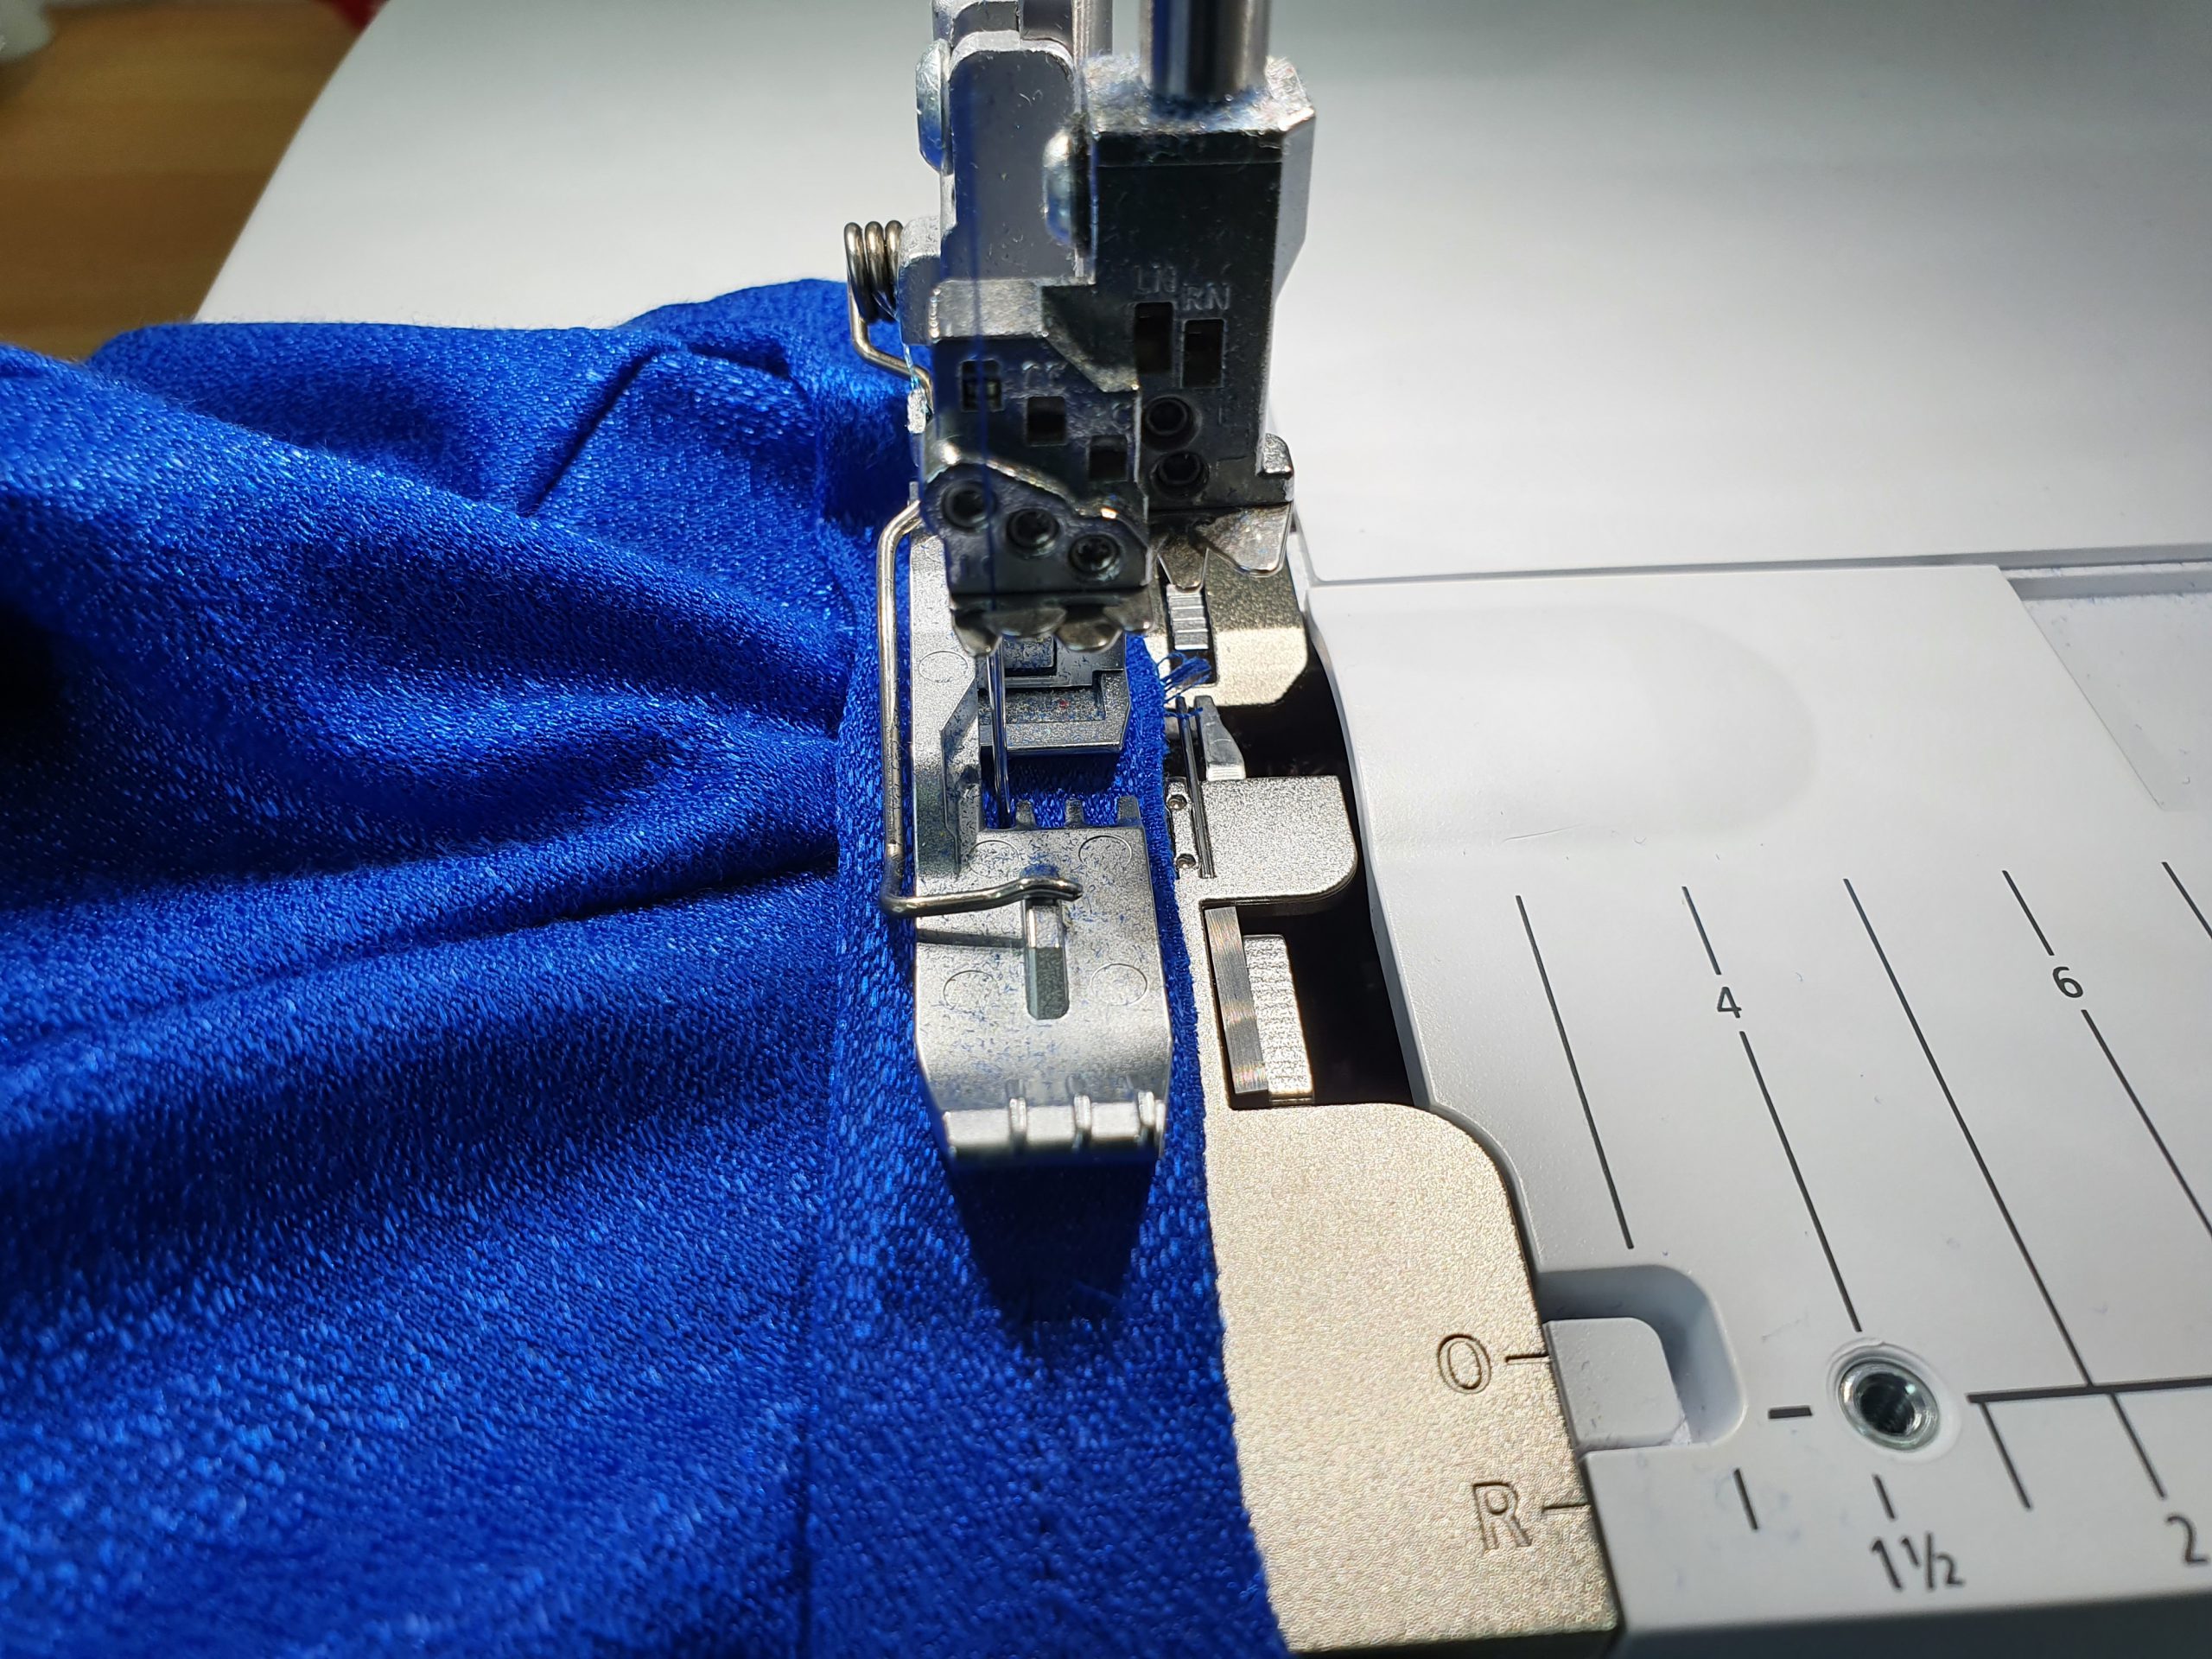
Sew the hem approx. 1.5 cm (1/2″) from the edge with the narrow coverstitch no 23. Adjust differential feed if necessary, so that it is sewn beautifully.

After hemming, remove the chainstitch, press the hem and cut back excess seam allowance, then press again if necessary.
Tip: with a petticoat under the dress, the mirrored decorative seams and the hem width of approx. 3 m (10ft) can be shown off to the full.
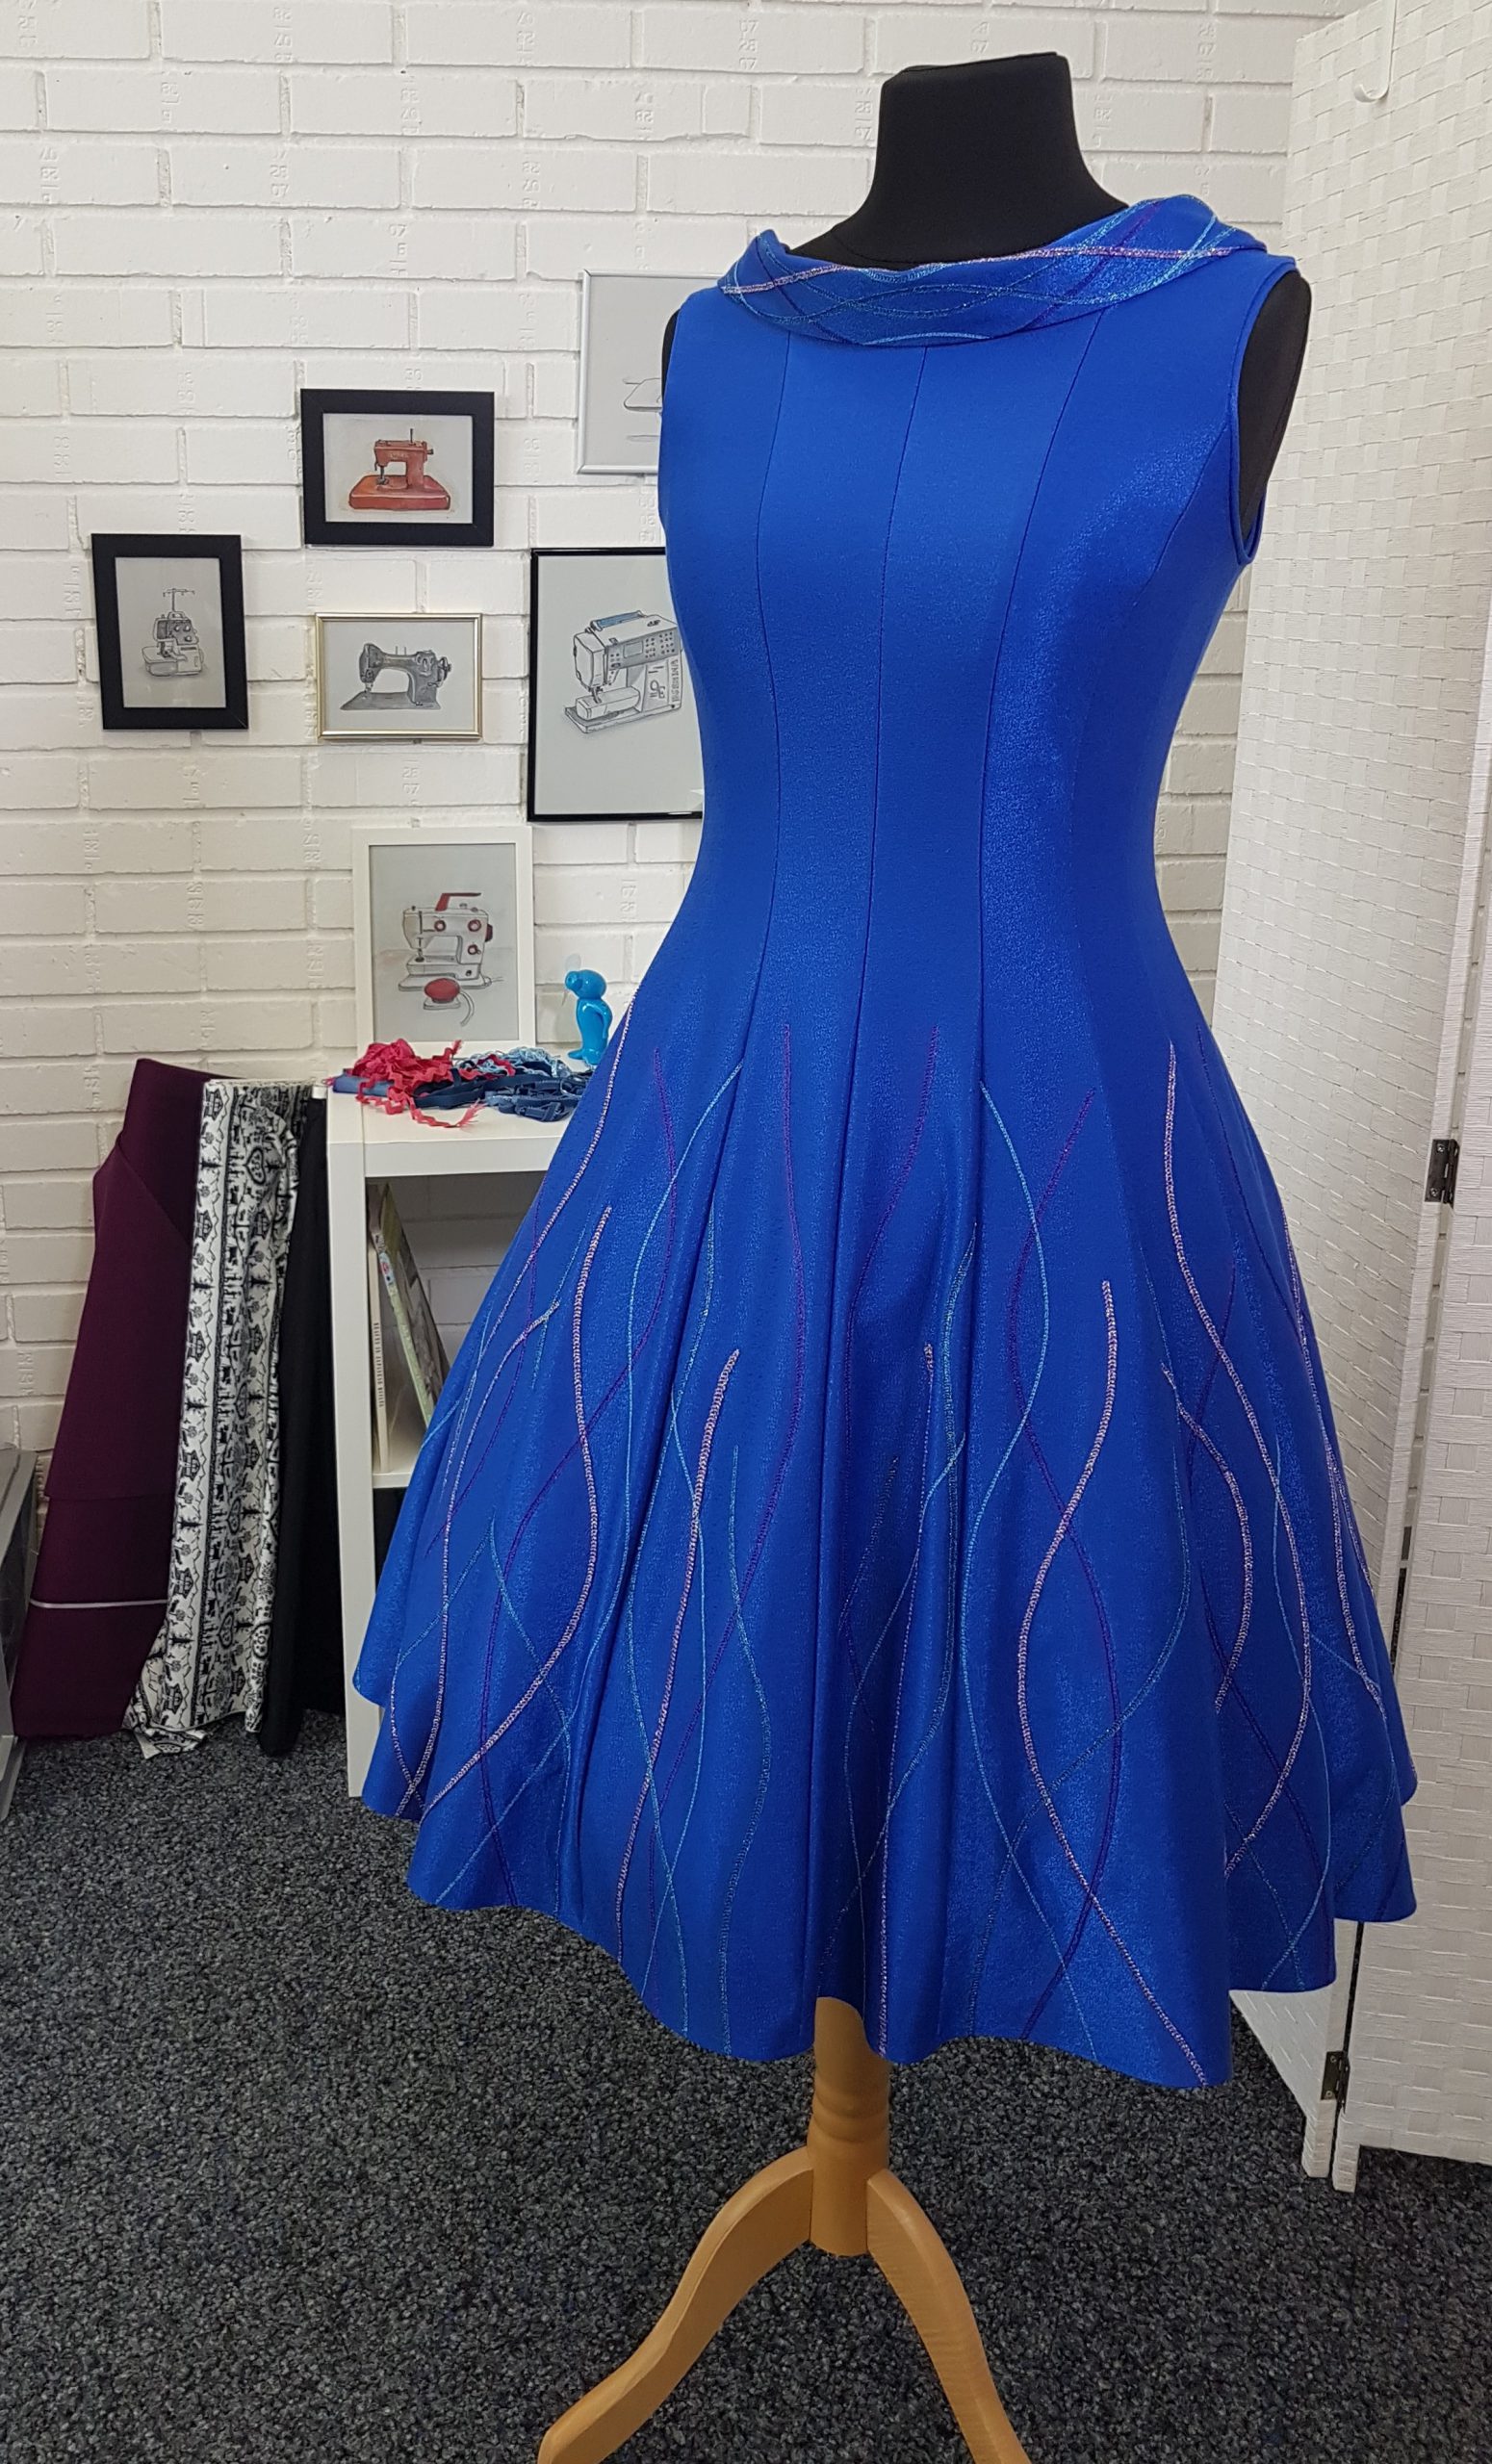
My dress is still waiting for a petticoat in a suitable size – although I do not promise to release this as a blog post, but who knows …
When you’re done, please share your pictures, e.g. via blog comments, in the community area or on social media with the hashtag #BERNINAprincessline. I’m curious!
Kind regards,
Doris


Hi Doris,there is a little writing failure in the second paragraph: ‘sew Part 2 to..’ is written twice.Greetings, Jesse
Hi Jesse – good on you, spotted a typing error! It should be corrected now, must state, sew part 3 to part 2. Thanks for your feedback, there is always room to improve! Wish you a good day and a perfect week! Doris
LoVe this tutorial and the dress. This is one I will come back to when I have saved my pennies for the machine! Just gorgeous and a well written tutorial- I would love to see follow-up posts for adding a lining and/or pockets. Thank you Doris!
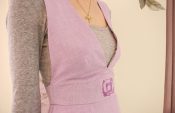
Hi Nyssa, thanks for your kind feedback. I keep my fingers crossed that the pennies will fill your savings earlier than expected. As for a lining: my tip would be: If you do not wear a petticoat underneath, just cut the same pattern and straighten it from the hipline towards the seamline to reduce width. If you do wear a petticoat underneath, just cut the lining the same as the dress. Sew it together where you add the collar and the armhole cuffs. By topstitching the seam allowances to the dress, the lining will not show at all. I usually use a very fine stretchy lining (dessous quality) and use a fine rolled hem. Find an example of one of my other dresses in the pix. Kind regards, Doris.
Beautiful Princess line dress sewing. Beautiful design.
Dear Barkat Khoja, thanks for your feedback! Kind regards, Doris.