Hello Bernina Lovers,
A couple of weeks ago I explained you how to update your machine software. As I was trying to use my new embroidery hoop and I couldn’t find it in my settings, I had to update my Bernina Q570 software in order to see the new hoop on my screen.
Once all the software steps achieved, I was able to proceed to embroidering my shirt.
Twisting a dull garment into something more Frida Kahlo looking…
I had bought a black shirt a few weeks ago, and I thought that it was quite dull. So when the new Embroidery hoop arrived I thought it would be perfect to transform that shirt into a garment with more character. I am lately surrounded by creative people that love Frida Kahlo and I thought that giving a mix of basic, colorful colors to my embroidery will contrast perfectly with the black shirt.
I inserted the hoop into the embroidery arm provided in my Bernina Q570 and guess what, this time it showed up on my screen! Yay!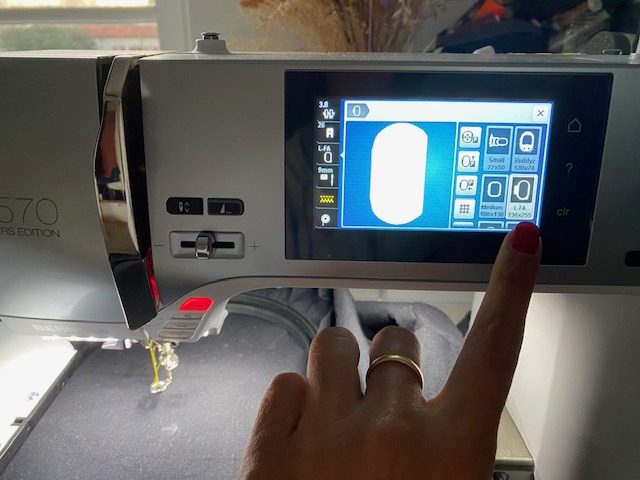
Choosing the embroidery design
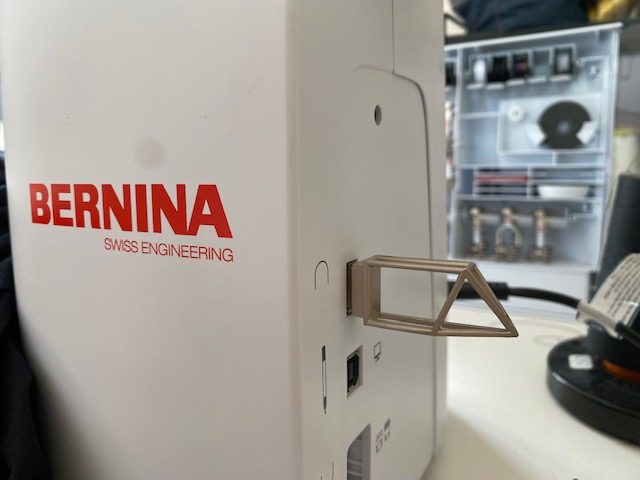
I first looked for an embroidery design on the internet and found some cool ones but I didn’t want to spend much money on this embroidery. And what was my surprise to find a beautiful design in the Swarovski USB that came with my Swarovski special edition box. The design had a rounded shape and it was a mixture of nature and flowers. Exactly what I was looking for.
Changing the color threads to match my desires
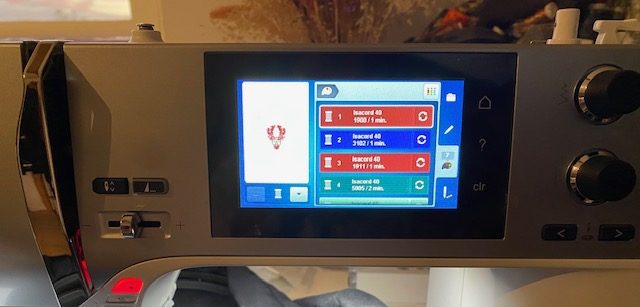
After choosing the embroidery design I just had to change the color threads that I was going to use according to the mix I had selected. You can adjust the colors on your screen quite easily to see how the final design will look like and also in order to be able to change to the correct color thread when the time comes! (it is quite easy to get lost on the color alignment as the embroidery is done in different steps and choosing the different objects of the design (for example, a flower can contain 1 or more color threads, but this doesn’t mean one follows the other one, as other parts of the design may be embroider before the flower is finished).
Therefore, it is much easier and simpler to change the colors of your threads on your screen so you can easily follow the instructions when the change is requested.m
Using the correct embroidery paper
Once everything was double checked, I taped my embroidery paper at the back of my shirt. I use taping embroidery paper as I find it very easy to use.
And it’s all about to start…
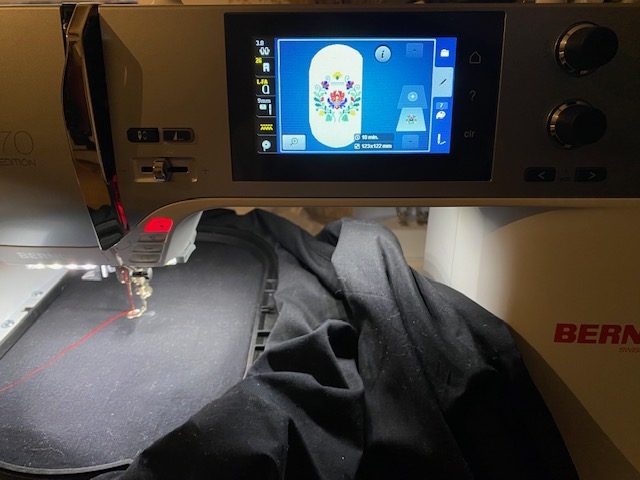
I then placed my shirt in between my top and bottom Freearm hoop parts, closed it and placed the hoop in the embroidery section of my machine.
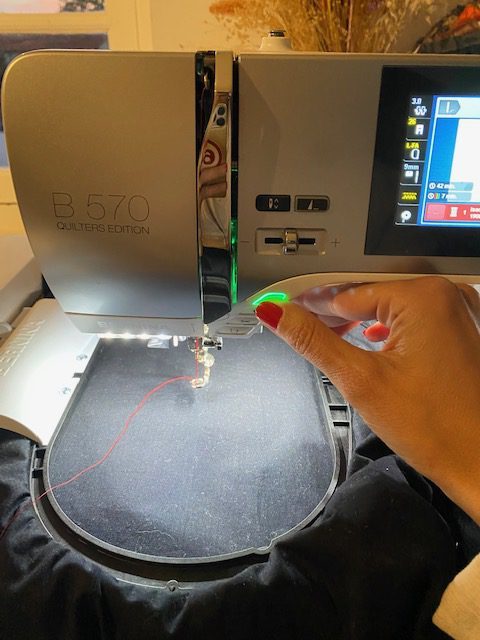
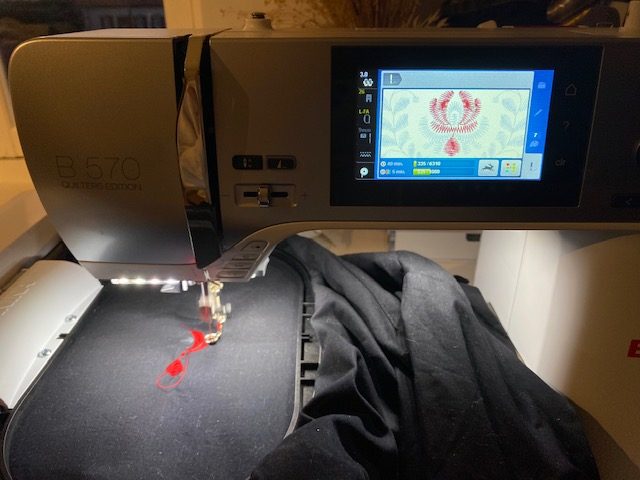
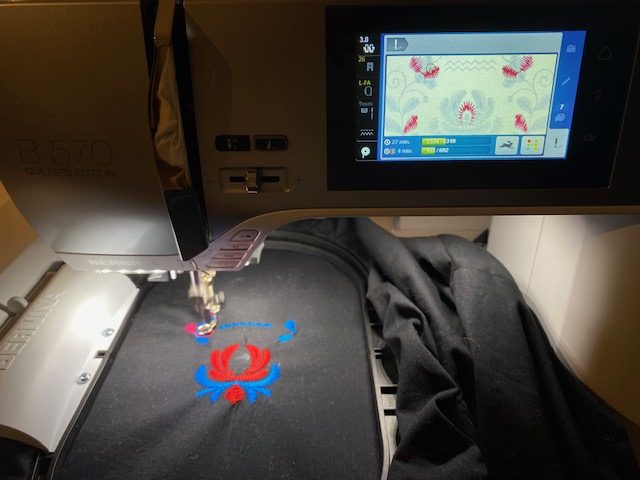
Then I just had to press start and let my Bernina do the job! I love watching every stitch being done and how it all takes shape little by little.
Changing the thread color in between the shapes is pretty easy and it is the only thing you have to do once you’ve pressed the start button.
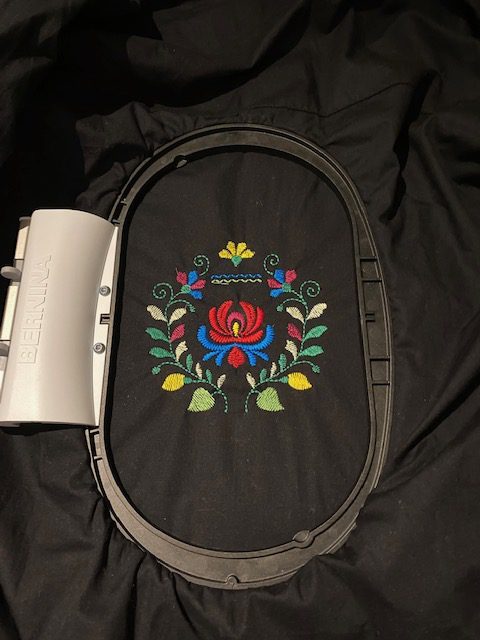
And this is the final embroidery, it took about 25 minutes to embroider the whole design.
I really like it and it makes the difference!
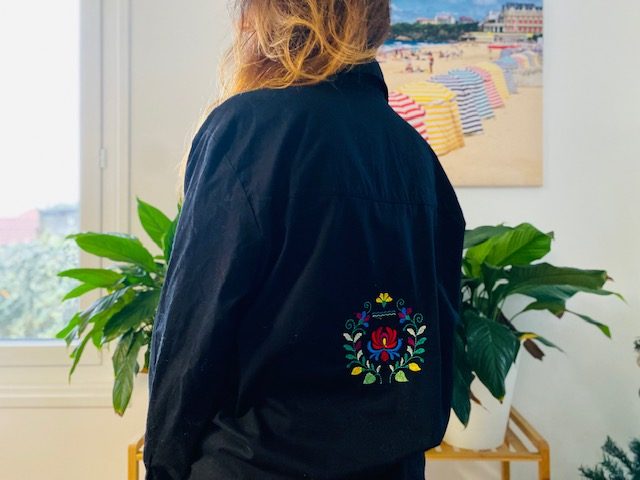
And this is how the back looks, pretty neat, isn’t it?
I took the shirt out from the Freearm embroidery hoop and cut the extra embroidery paper around the embroidery. The next step is to carefully take out the rest of embroidery paper without pulling.
And the final look!
And here is how my Frida Kahlo style embroidered shirt looks! I love it!
What do you think?
 BERNINA Corporate Blog -








Looks pretty!