Time for a new row! Another pointy one this time. We are going to make open triangles with foundation paper piecing. There were some questions about the length of the rows, and the sashing between them. So next week I’ll post an extra blog post over here with some additional information on frequently asked questions. But first, let’s dive in to part 4 of our quilt along!
Row#9 ‘Delta’
In this row we make triangles again. They are bigger than the ones from row #1 and they have a triangle on the inside as well. This shape reminds me of the Greek letter capital delta Δ which we used a lot in calculations during my study Mechanical Engineering. Delta stands for change. It feels like this quilt along also induces change. Small steps, small changes for some and BIG steps for others. New quilters are making huge progress in their quilting adventures, but also experienced quilters are trying and learning new things.
No matter what skill level you are at. There is always room to grow, to improve. Not only on a technical level, but especially on how we experience our quilting. How we deal with challenges, with mistakes, how much time we allow ourselves to practice on something. So here’s to change, to growth, no matter how small.
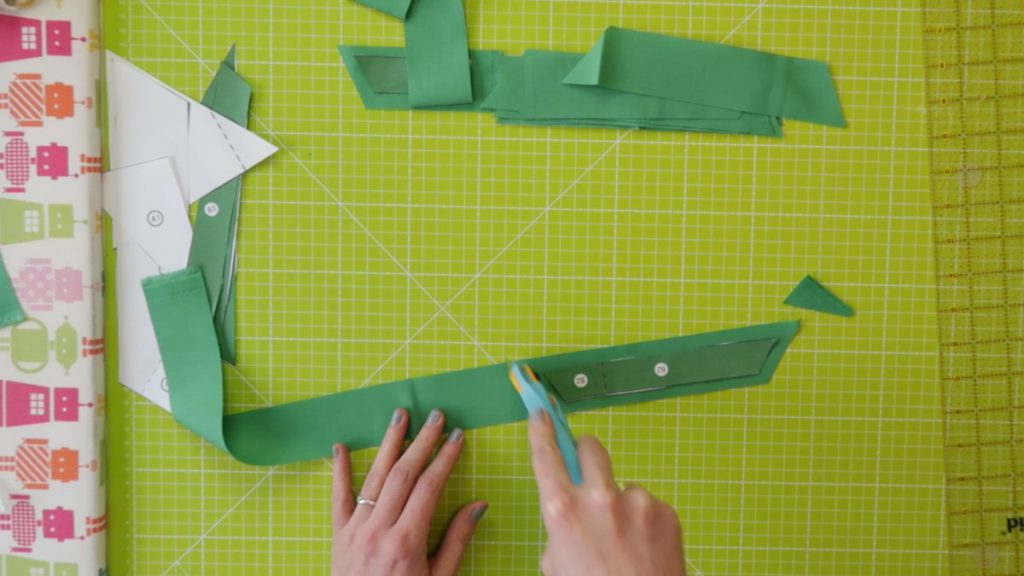
Check out the video below to see the making of this row!
New here?
If you’re new here, welcome! On the 28th of November we kicked off a super fun quilting project. We started a quilt along, where thousands of quilters from all over the world are making the same quilt. Every four weeks a new part of the pattern, a new row, will be released. After 12 rows you will have a quilt of 70 x 90″.
Even though we started eight weeks ago you can still join us! You will have enough time to catch up. There are also still fabric kits available for this quilt along. You can make the quilt in rainbow colors on silver fabric, in rainbow on white fabric or with blue fabrics. Of course you can also pick your own fabrics or use what you have in your stash.
On this page your can find all the links to previous blog posts about this project. Hop over to this blog post to read all the general information about this quilt project. And also read this one to learn more about the materials we use and the fabric requirements.
Fabric + Material
For this row you will need to print a PDF pattern, you will need some teabag paper (or normal printing paper) and of course you’ll also need fabric.
Did you order a kit for the quilt along? Than you’ll use the darkest green fabric called ‘Fern’ for this row if you are making a rainbow quilt. Or the darkest blue called ‘Emerald’ if you’re making a blue quilt. We will make one of the triangles in accent color, so also get your accent fabric out. And of course your need your background fabric.
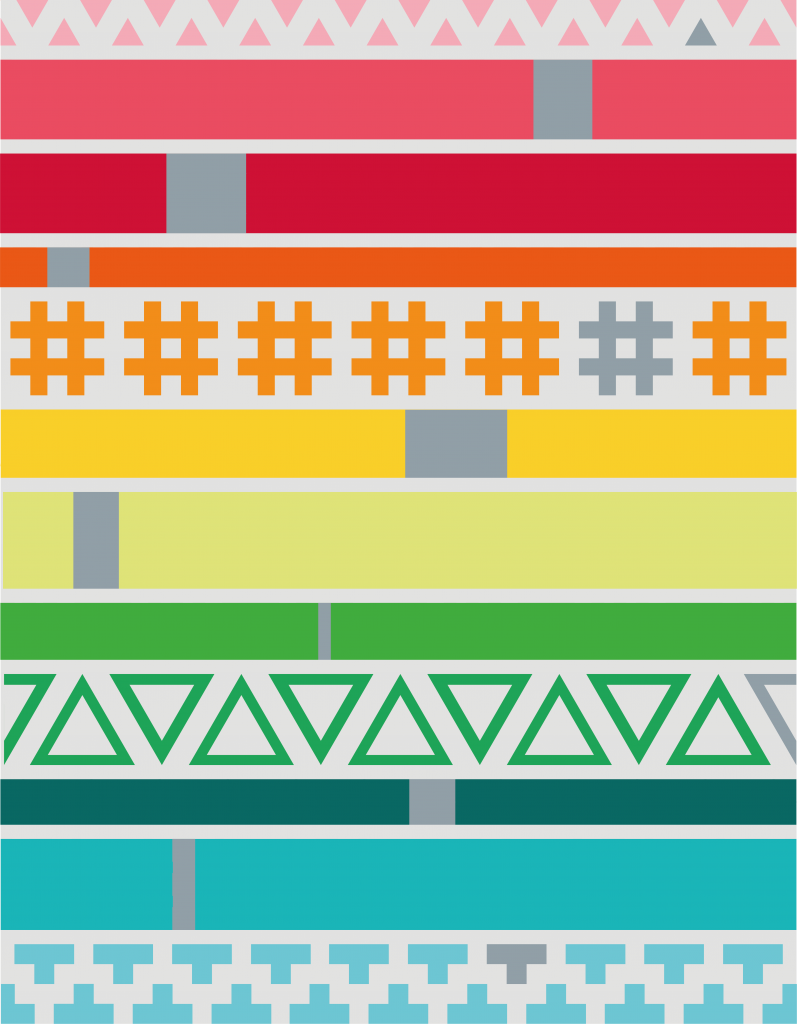
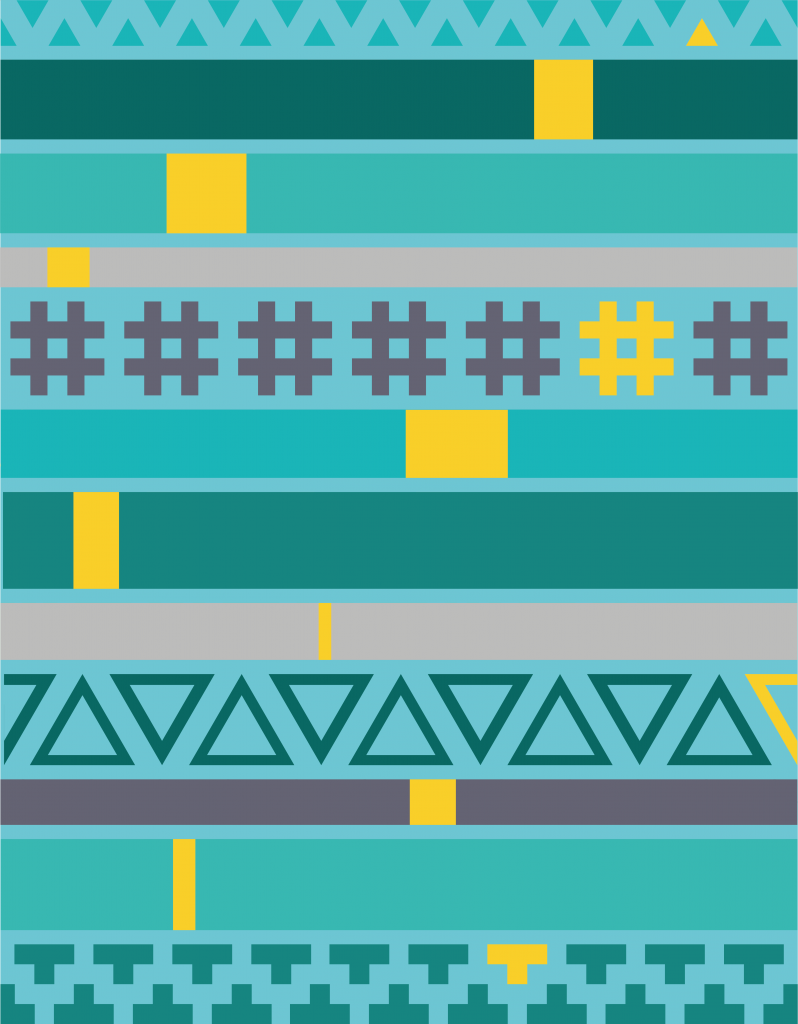
For those of you who want to play with the location of the accent color in each row, or add extra accent colors or just want to get a little more insight in the layout of the quilt. Here is a schematic of the rows and the placement of the accent colors.
And this is what the schematic of the quilt looks like for the blue fabric kit.
You will need the following to make this row.
- Main fabric: 14 inch
- Accent fabric: a small strip
- Background fabric: 15 inch
- Teabag paper or normal printing paper
- Add-a-quarter ruler (it’s super handy to have this ruler, but if you don’t I’ll show you how you can use a normal inch ruler as well)
- Inch ruler (12 x 6 or 24 x 6 inch both will be fine)
- Rotary cutter
- Cutting mat
- Iron + ironing board
- Sewing machine
- Thread (I use thread in the color of my background fabric)
Pattern
Here is the link to the PDF file for the paper piecing pattern. There is a pattern piece A, B, C and D. Make sure to print everything true to size or scale 100%. The height of this row should measure 8 inch (and should turn out 8 1/2″ with seam allowance)
QAL Part 4 – Row #9 ‘On Point’ Pattern
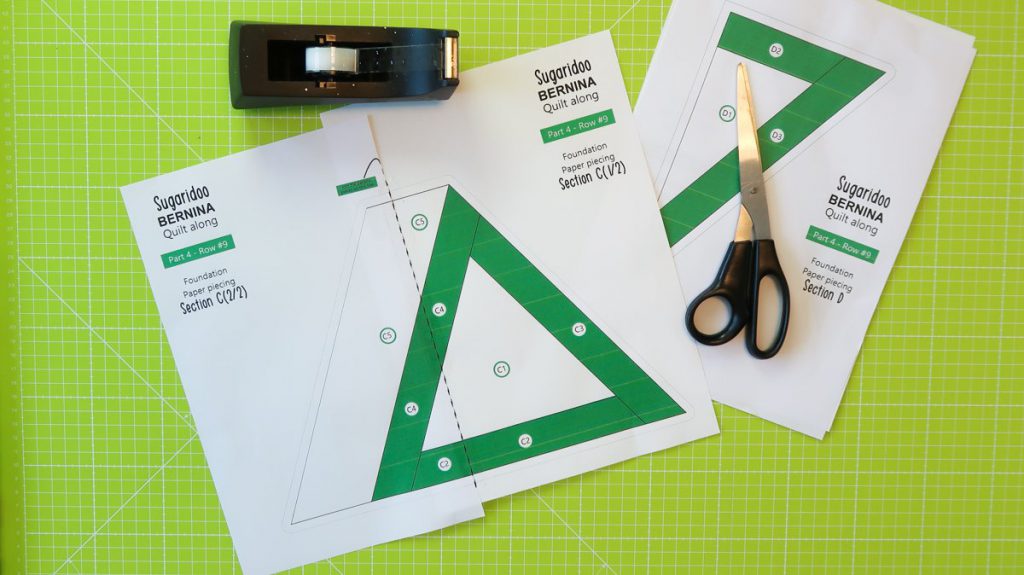
Assemble the pattern pieces for sections B and C on the dotted lines.
Teabag paper or …
For all my foundation paper piecing projects I either use freezer paper or teabag paper. Today I’m going to use teabag paper to show you how to do foundation paper piecing on paper. This is a slightly different technique then the one we used in part 2 of our QAL. But the end results will be the same.
So when should you use which method? Well, they will give you the same result, so basically you can just go with the method you like best. The biggest difference is that you can reuse your freezer paper pattern, but a pattern on teabag paper can only be used once.
When I would only make one block of something, like in the Sugaridoo Sampler, then I would use teabag paper. When I need to make the same block many times, like in the Tree Tree House pattern, then I will transfer the pattern to freezer paper and use that to make multiple blocks.
So for this row I would normally go for freezer paper. But since it’s fun to try out different methods, I’m going to show you how I work with teabag paper. If you don’t have any teabag paper, you can always just use normal printing paper. Teabag paper can be left behind your fabric when you’re done, but normal paper should be ripped away after finishing your row.
Transfer pattern
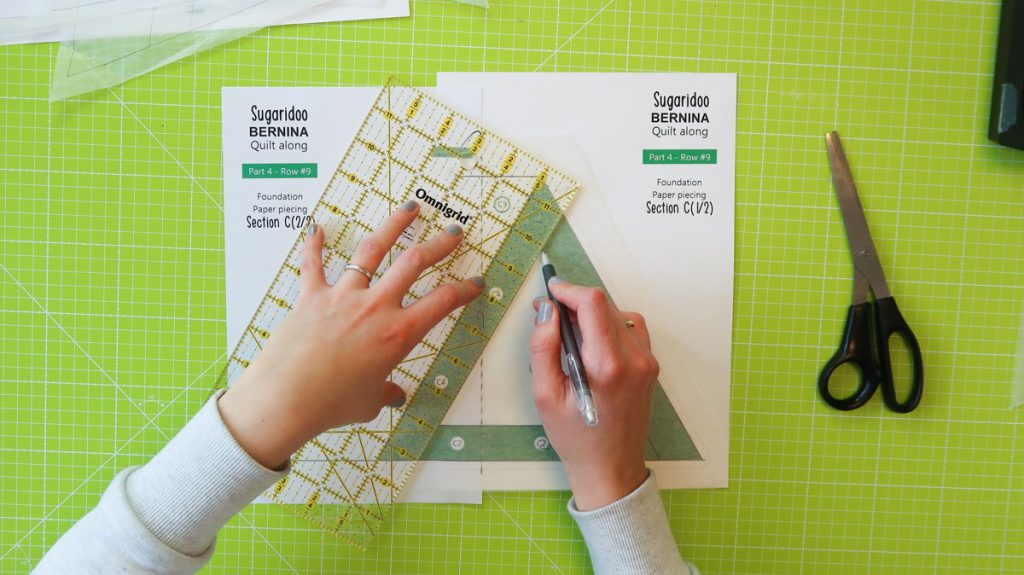
It is possible to print on teabag paper, but since this pattern is bigger than a printing paper size, I’m just going to transfer it with a ruler and pencil. When you print on tea bag paper, please first do a test to see if the ink from your printer bleeds to your fabric.
One method for printing on teabag paper is to tape a piece of teabag paper all around to a sheet of printer paper and then put it through your printer.
The other method that I like to use to print on teabag paper is with basting spray. Spray some basting glue on a sheet of printer paper. Place a second piece of printing paper on top. Press them together with your hands and then pull them apart. Now you have two pieces of sticky paper on which you can place a piece of teabag paper and transfer it through your printer.
Testing these methods is on your own risk 😉 Some printers really don’t like anything other then normal printing paper and will get a paper jam.
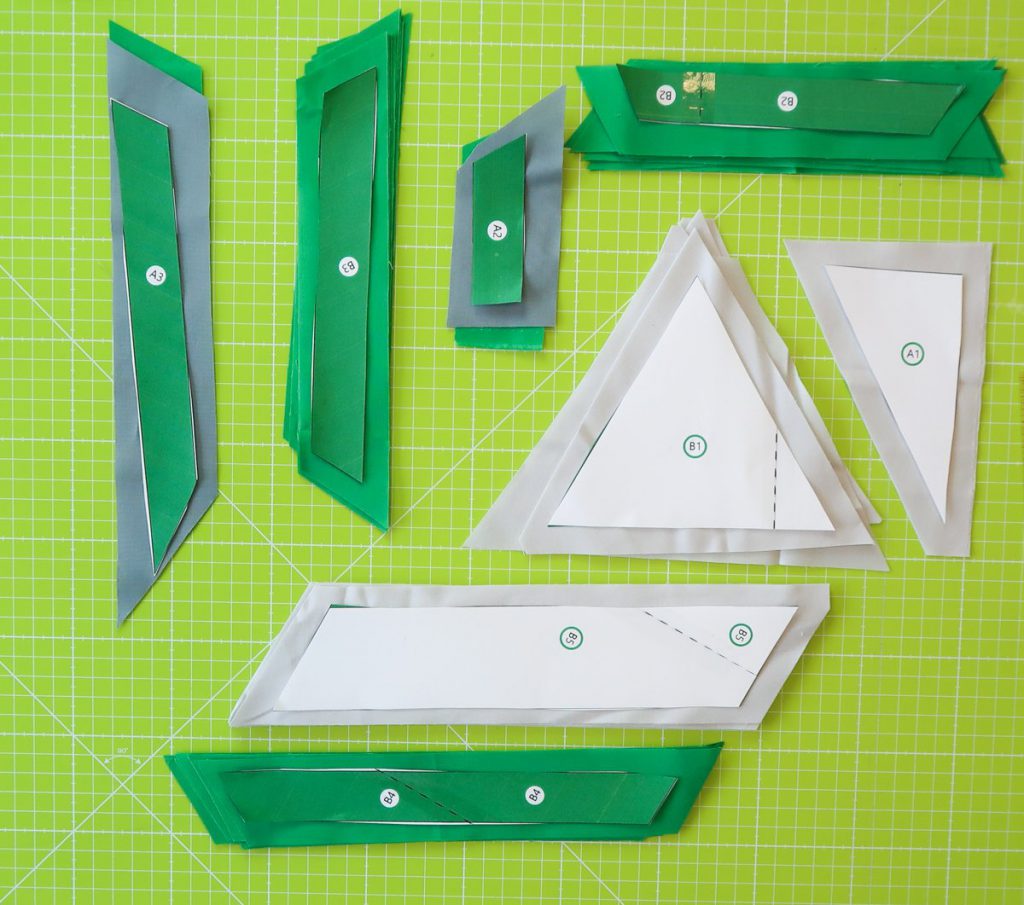
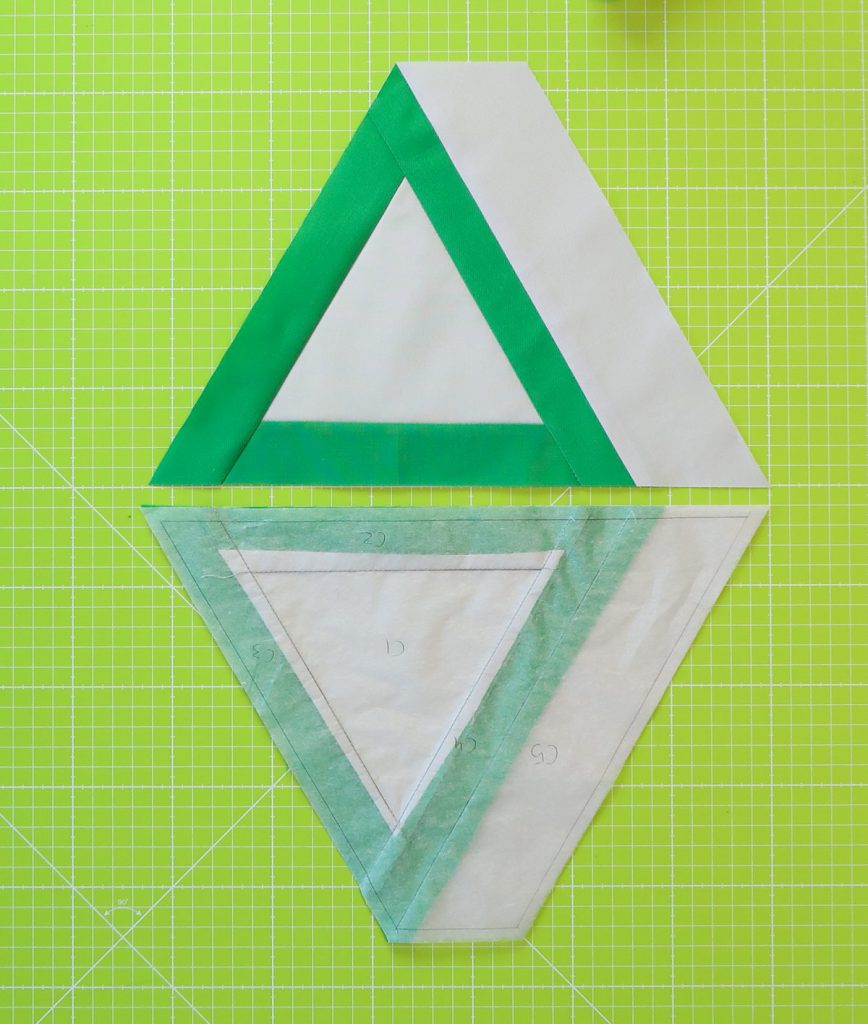
For this row you will need to make the following pattern pieces: 1 x pattern A, 5 x pattern B, 4 x pattern C and 1 x pattern D.
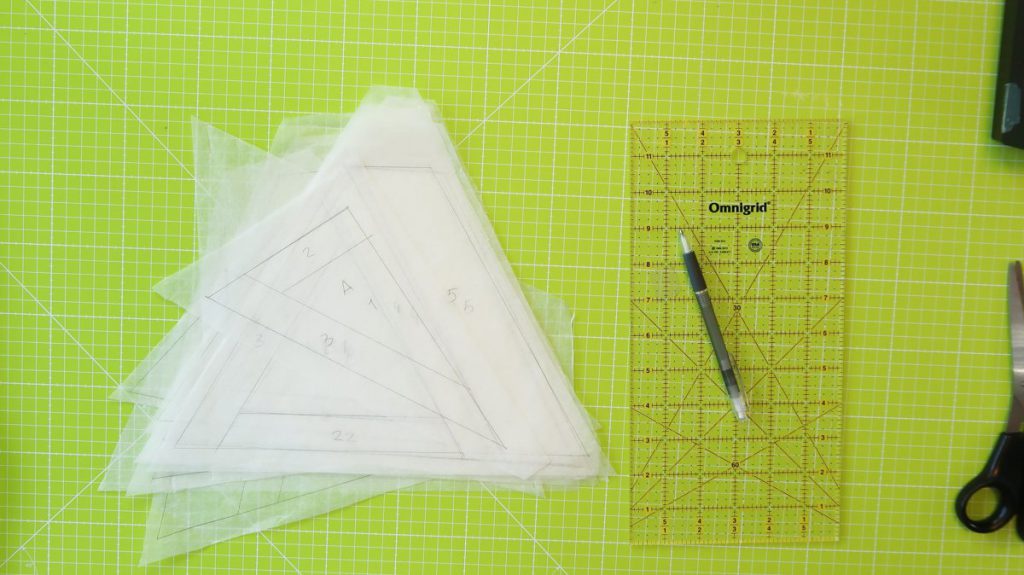
Templates
When you’re done preparing your pattern pieces you can cut your original pattern into templates. These templates are nice to use to cut your fabrics. The triangles are made out of 1 inch strips. So you can go ahead and cut 6 x 1 1/2″ strips over the WOF (cut them a bit wider if you want to have some wiggle room, I’m cutting them at 1 3/4″)
The pieces B5, and C5 are about 2 inch wide. So you can go ahead and cut 3 x a strip of 2 3/4″ wide for those pieces.
For this row you will need to cut the following pieces:
- Main fabric (Fern)
- 5 x piece B2
- 4 x piece C2
- 5 x piece B3
- 4 x piece C3
- 5 x piece B4
- 4 x piece C4
- 1 x piece A2
- 1 x piece A3
- Background fabric (Silver)
- 1 x piece A1
- 1 x piece D1
- 5 x piece B5
- 4 x piece C5
- 1 x piece D4
- 5 x piece B1
- 4 x piece C1
- Accent fabric (Titanium)
- 1 x piece D2
- 1 x piece D3
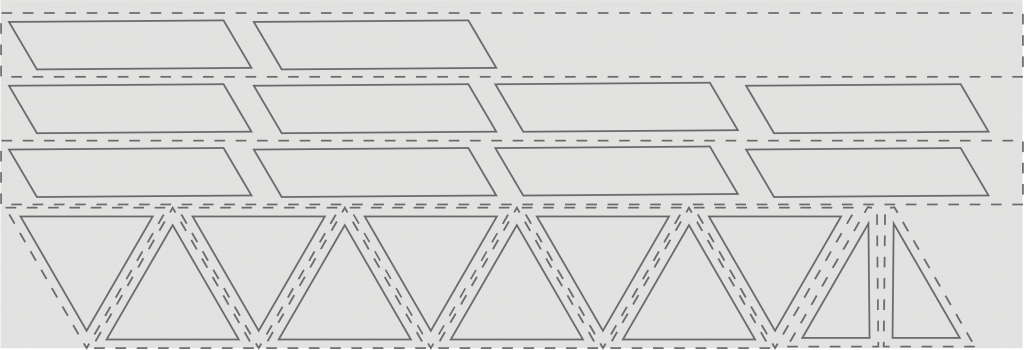
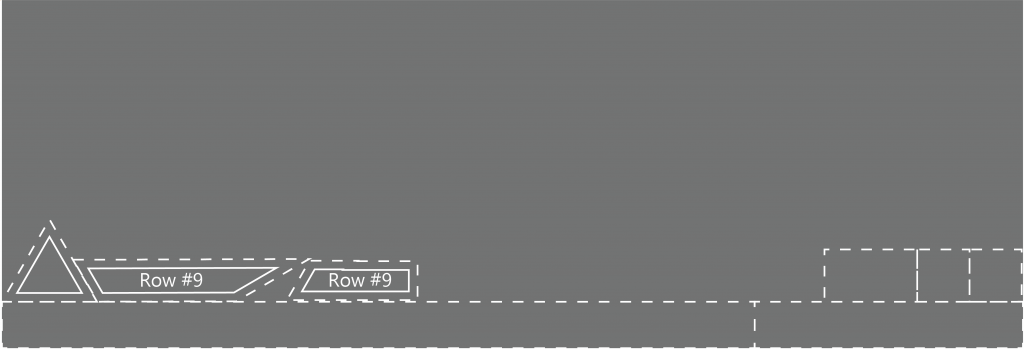
In the cutting scheme below you can find how you can fit all the pieces on your fabric. You don’t need to cut your fabric exactly as sketched out here, but it gives you an idea of how the pieces fit on the fabrics from the kit.
The dotted lines represent a seam allowance that is a little bit bigger than 1/4 inch. I always like to cut my pieces for foundation paper piecing a little bit bigger than needed.
These cutting schemes can also be downloaded as a PDF: Cutting schemes for QAL part 4 – Row #9 [Rainbow]
Here you can download the cutting scheme for the Blue fabric kit: Cutting Schemes for QAL part 4 – Row #9 [Blues]
Let’s start sewing!
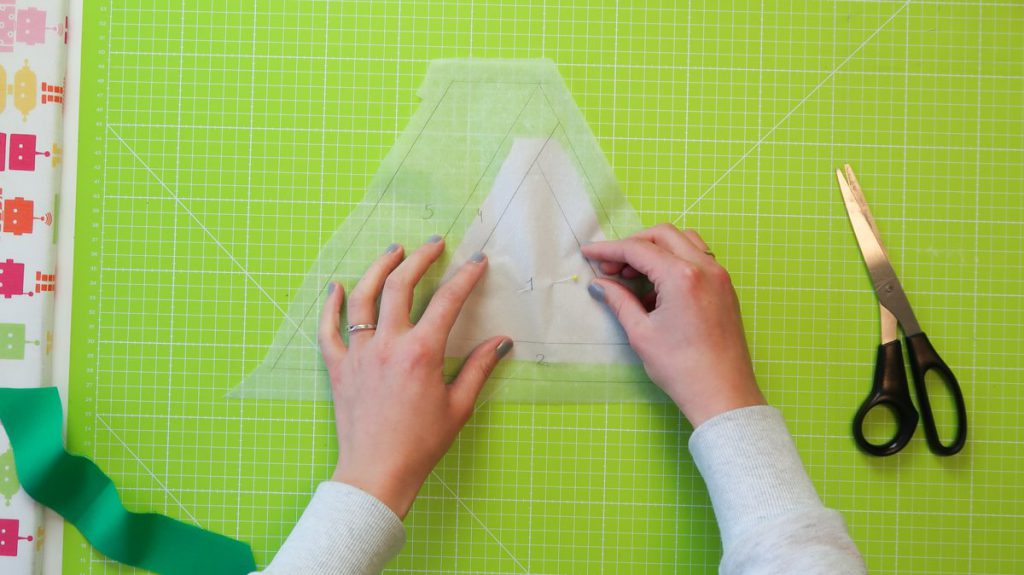
Place your first fabric piece right side down on your table. Place the pattern on top of it (pattern right side up so you can read the numbers).
Place the second fabric piece right side up on your table. To check where you should place it, fold back the pattern over the seam between piece 1 and 2. Fabric piece 2 should fit behind the folded back piece 2 on the pattern. 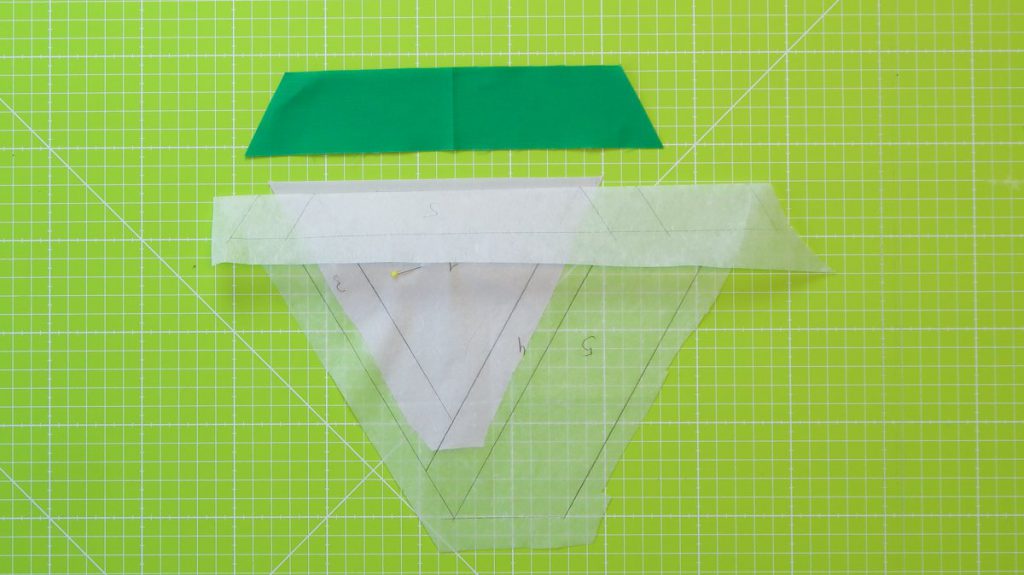
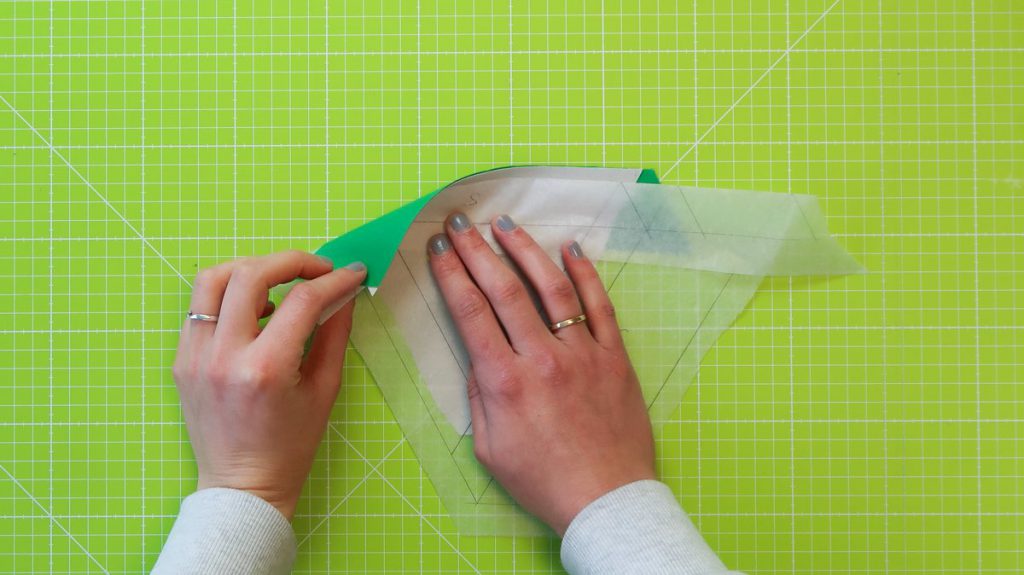
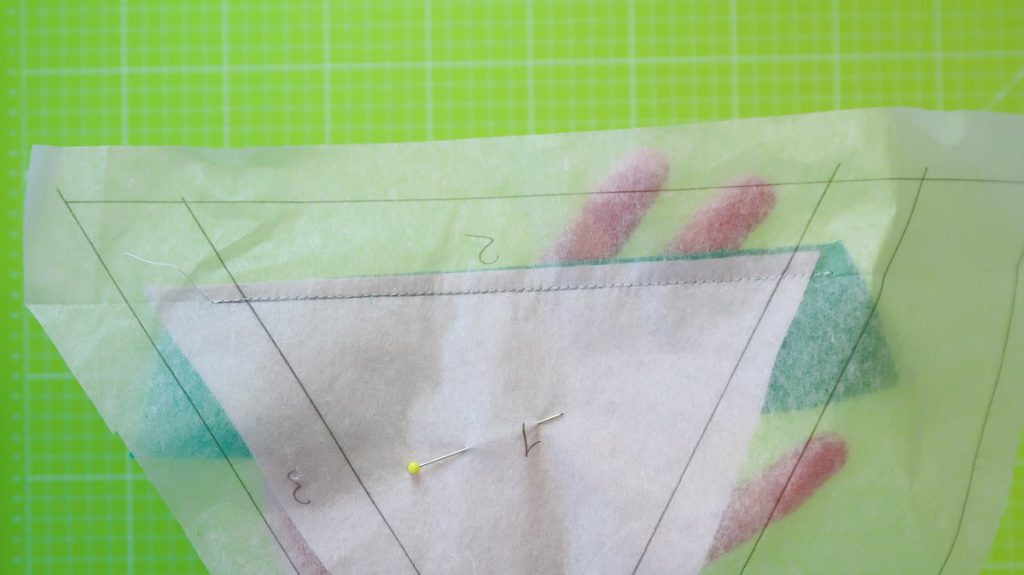
You can use a pin to keep things in place if you want to. Fold the pattern open and sew on the line of the pattern, through the paper.
Fold the fabric open and give it a press.
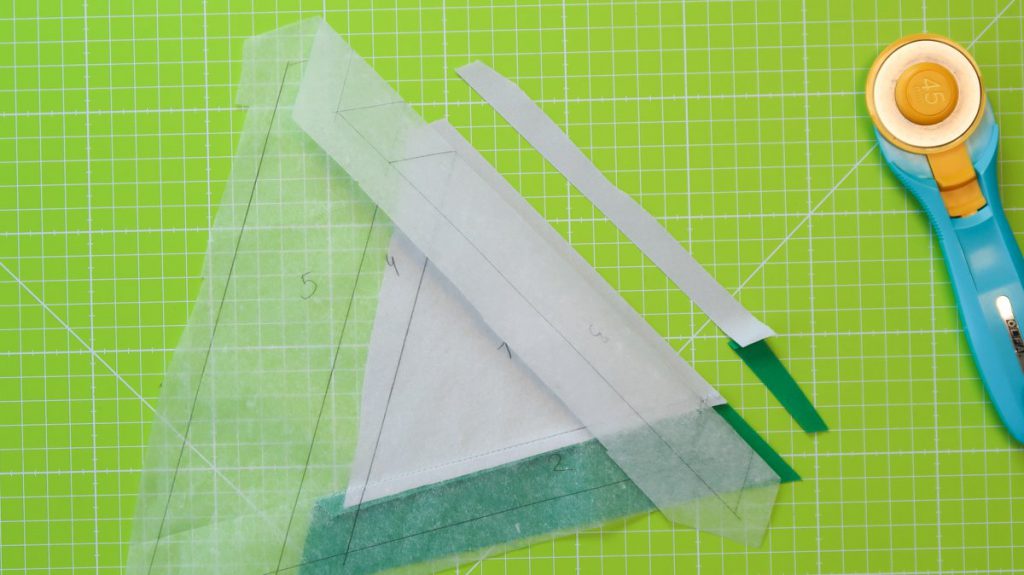
Now prepare for piece 3. Fold back the pattern over the line toward piece 3 (I use a card since the teabag paper is so thin). 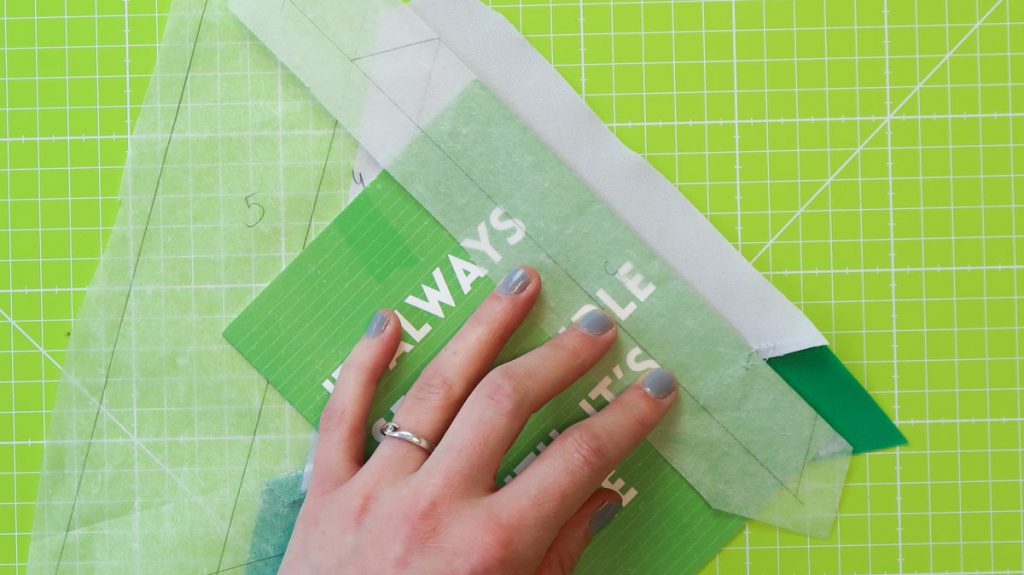
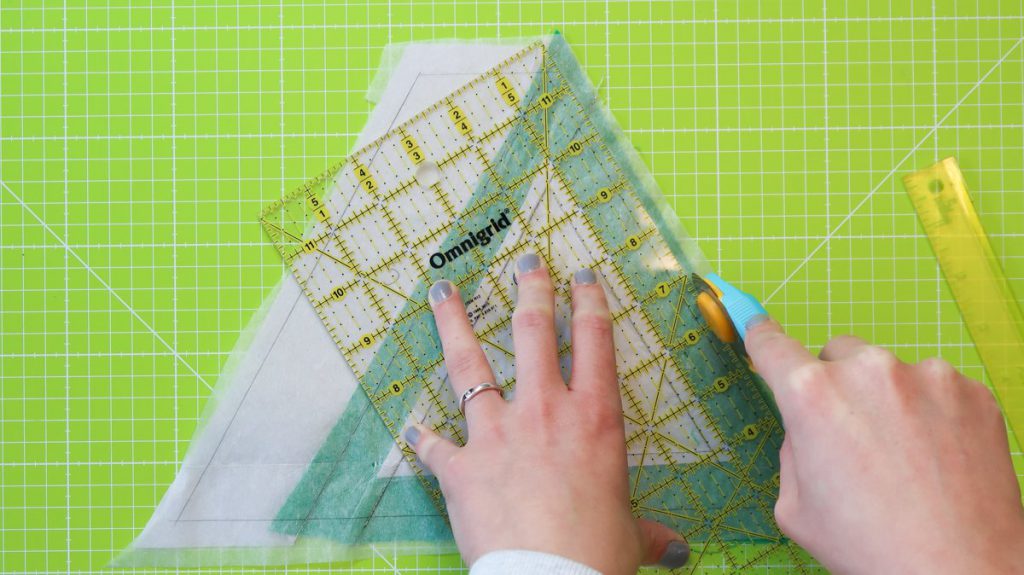
Use an Add-A-Quarter ruler to trim of the fabric to a 1/4″.
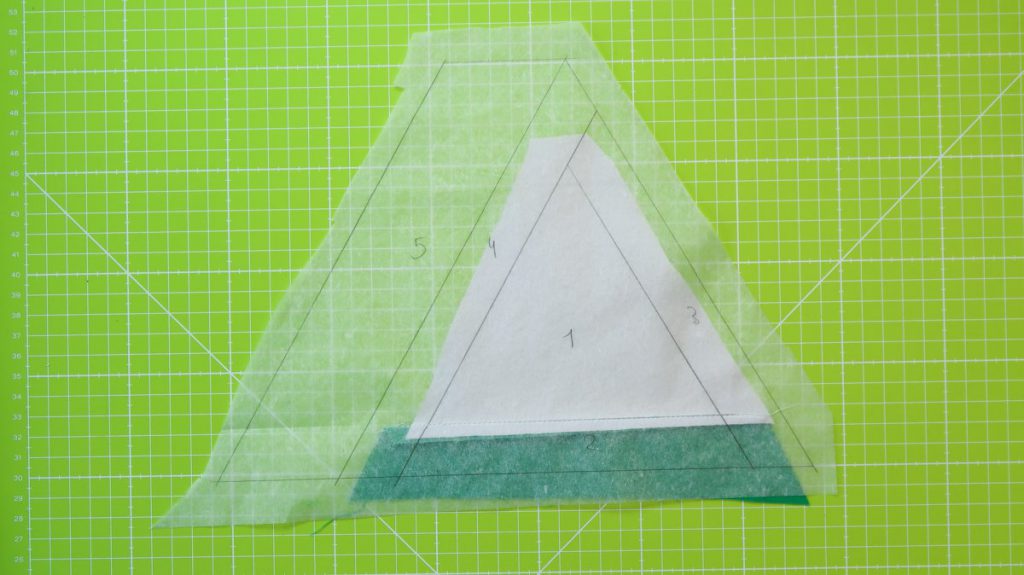
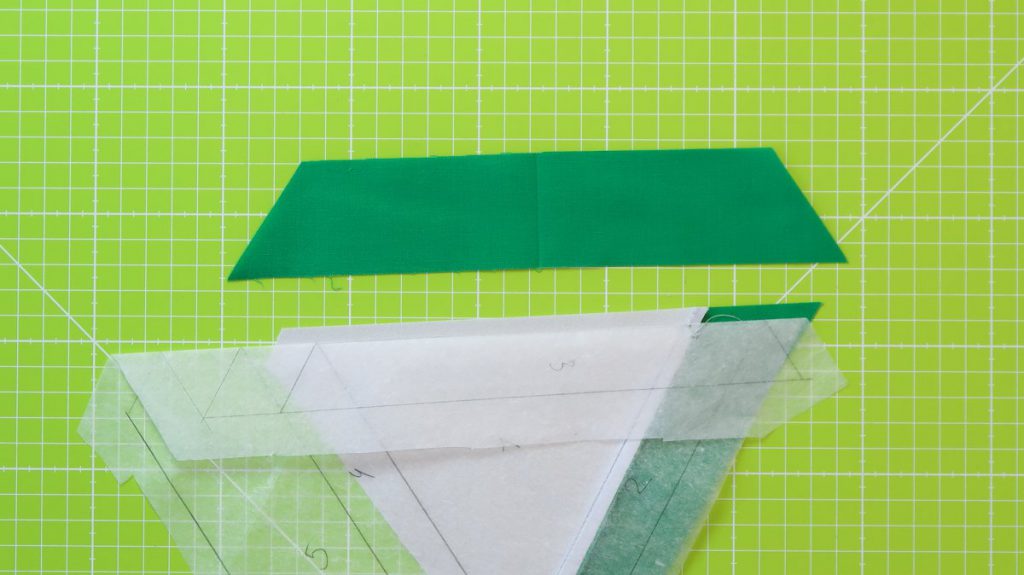
Place fabric piece 3 right side up on your table. Again make sure it fits behind the folded back piece 3 on your pattern.
Sew and press.
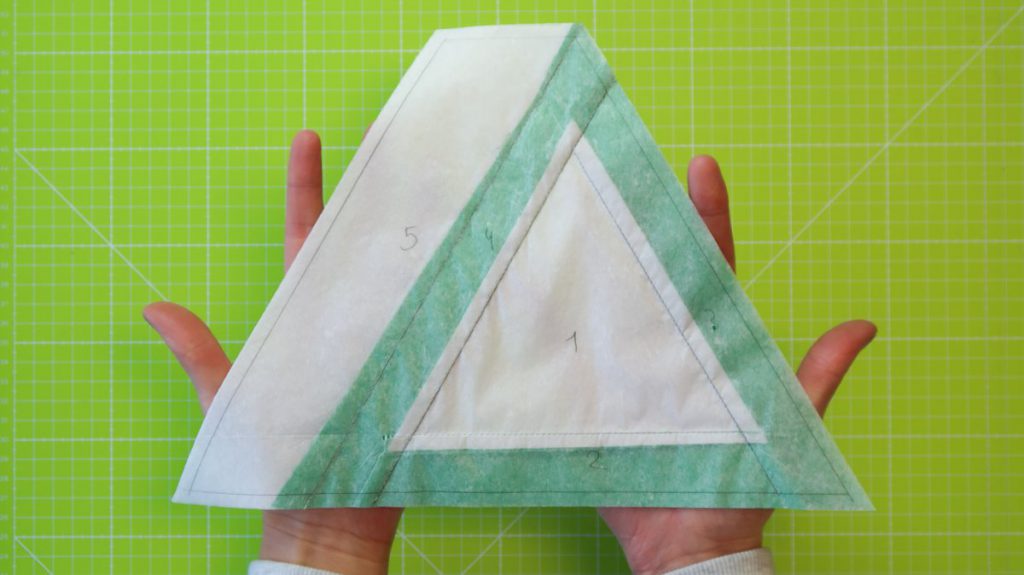
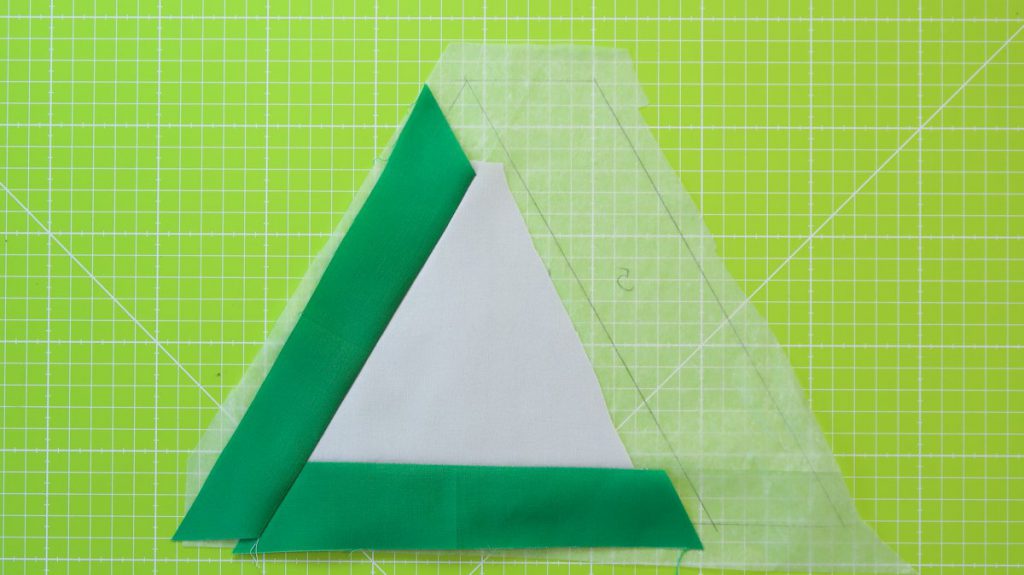
Continue adding pieces like this until all pieces of your section are added. The fabric should stick out around the pattern at least a 1/4″.
Trimming the sections
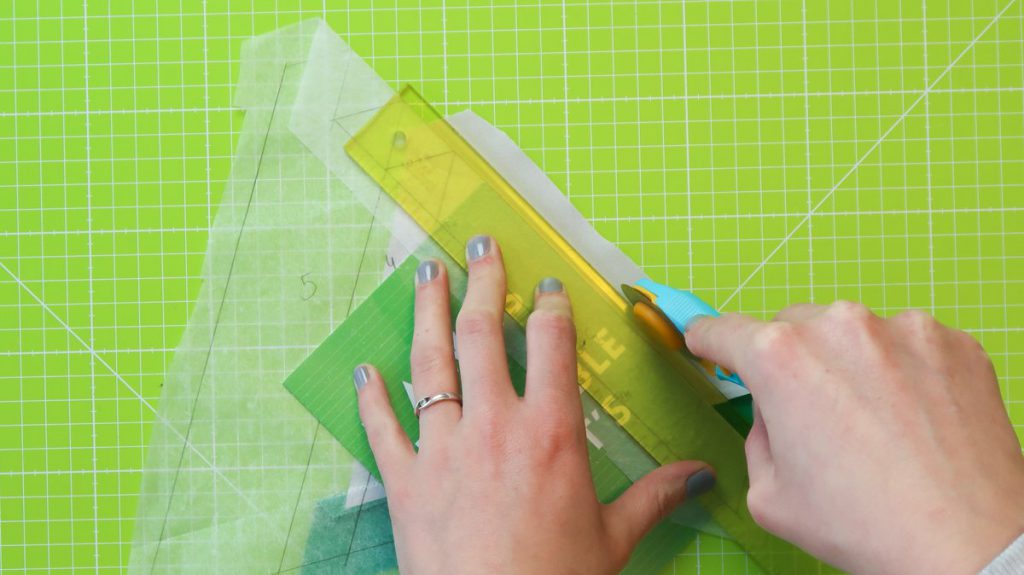
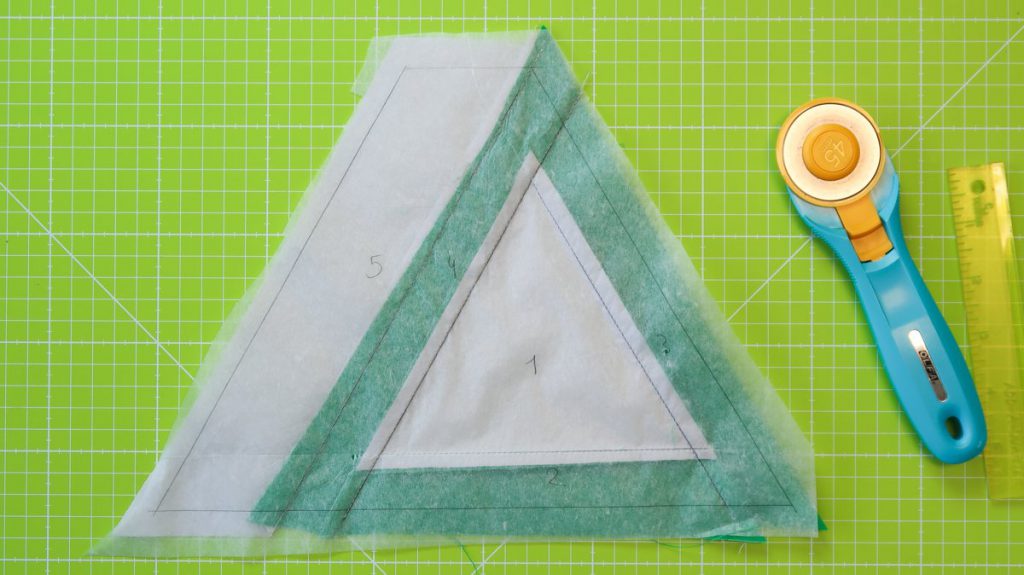
Now all the sections are done we will trim the edges off to a 1/4″ seam allowance.
Assembling the row
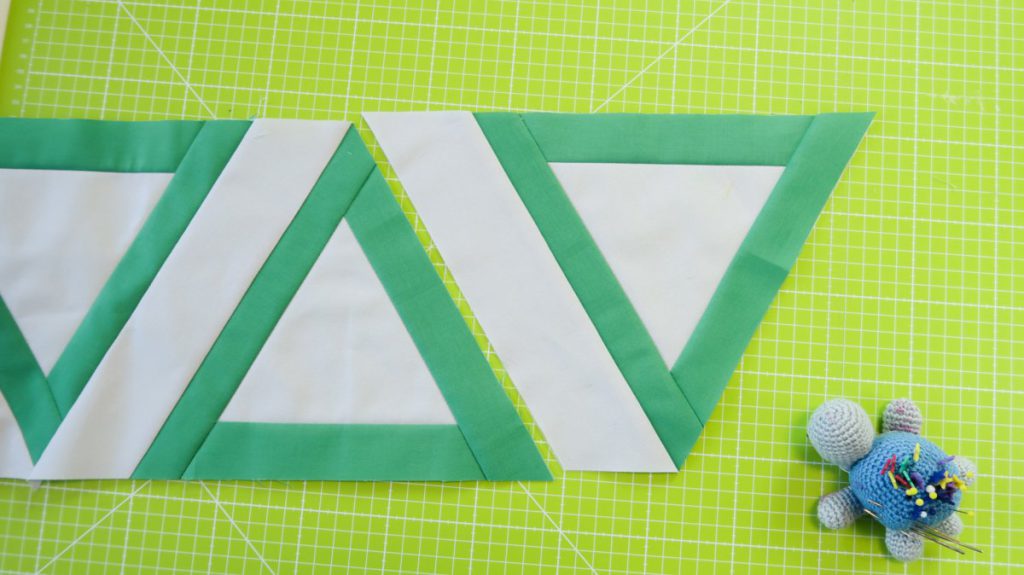
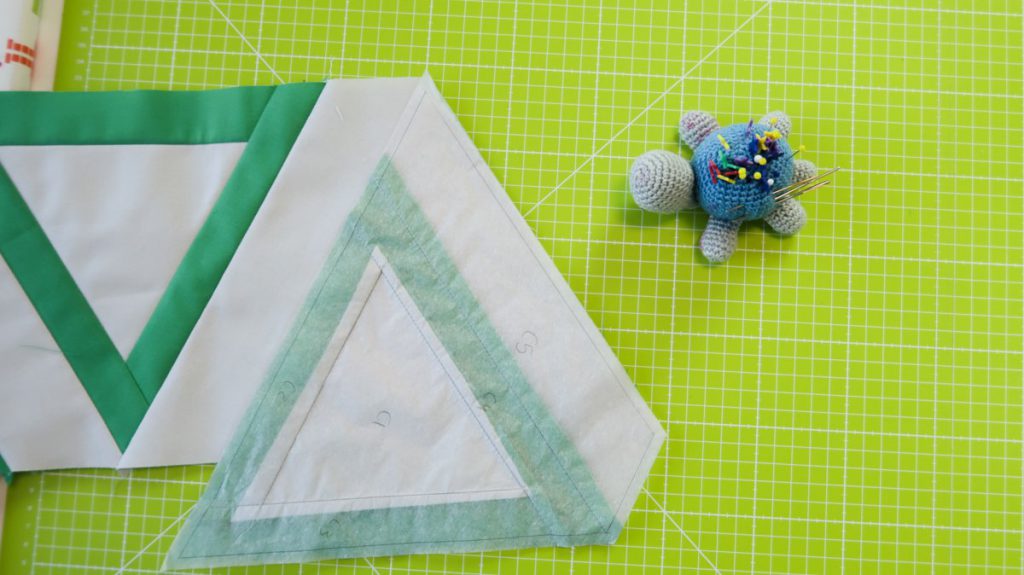
Whoohoo, time for the final step, assembling the row. Start on the left side of the row and add the sections in the following order:
Section A – B – C – B – C – B – C – B – C – B – D
Place the two sections you want to join with the right sides together.
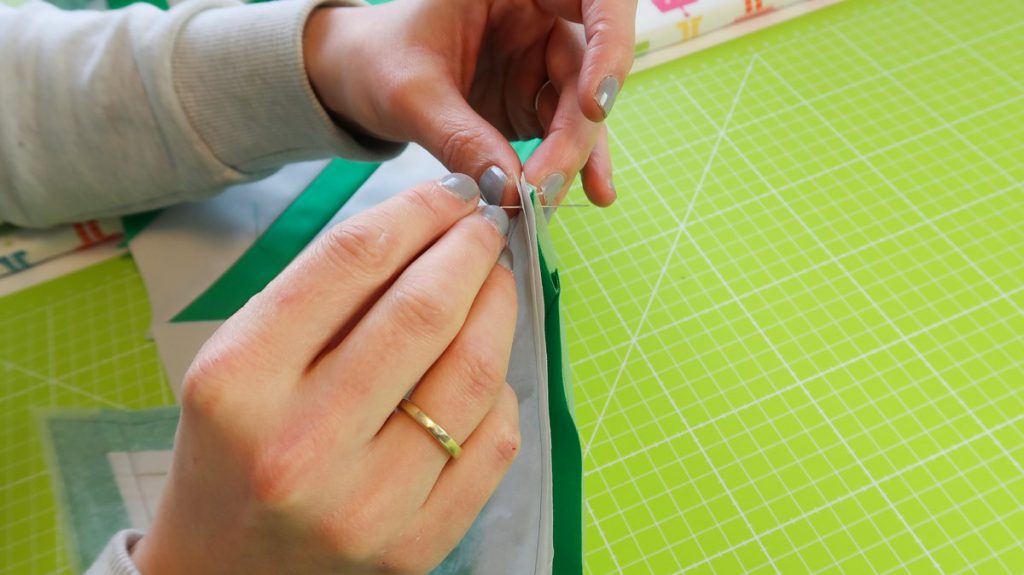
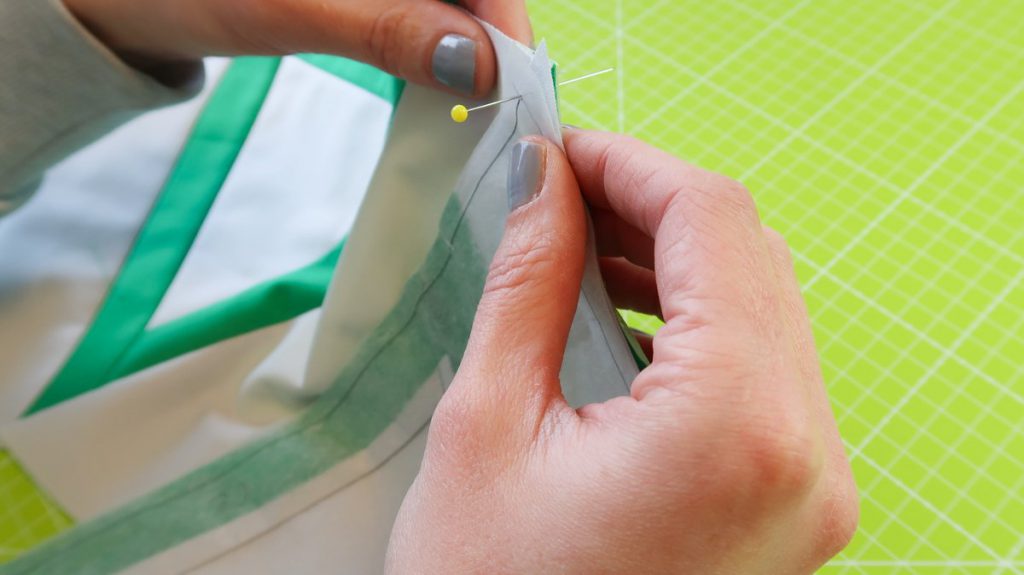
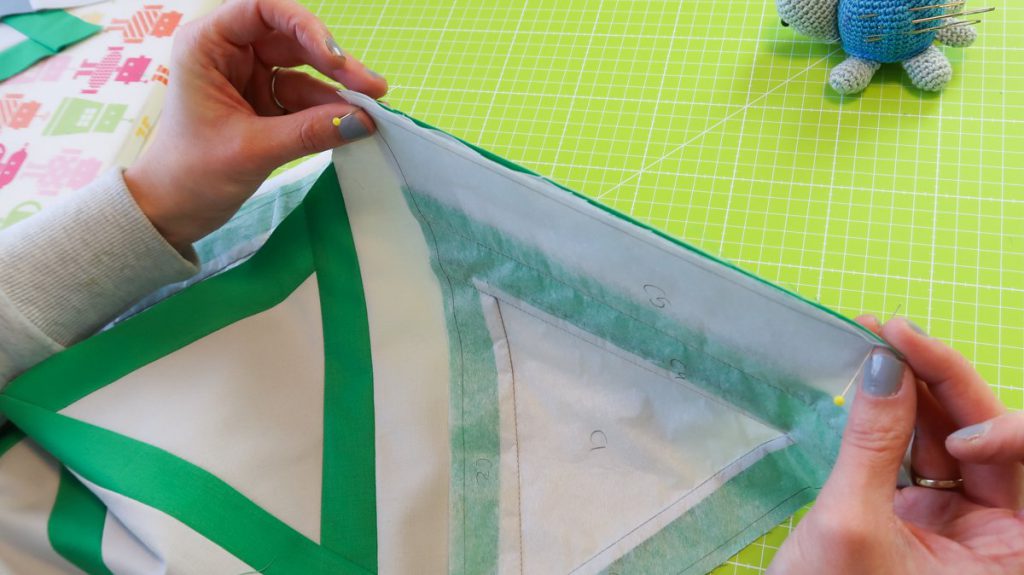
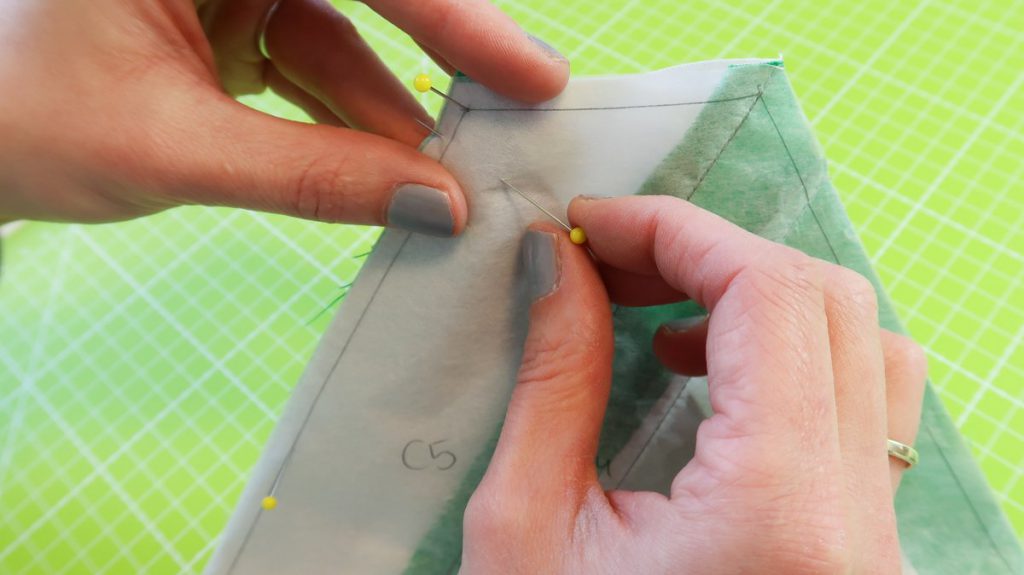
To join two sections I first like to place a pin through both corners. When you’ve place these pins in the corners through both sections you know that those corners will be aligned. (Also check out the video for this part, that might show it better than the photo’s.) I also place a similar pin in the center of the seam to line that up as well.
Now you will need to place pins to secure the two sections in place to be able to sew them together. Hold one of the corners with your fingers on both sides of the pin. The pin should stick out perpendicular to the fabric. Then place a pin flat through both sections. Of course remove the perpendicular pin before sewing 😉
Sew the sections together. I like to rip away the paper from the seam to make the seams less bulky. Press the seam open or to one side, just what you prefer.
Continue adding sections until your row is finished!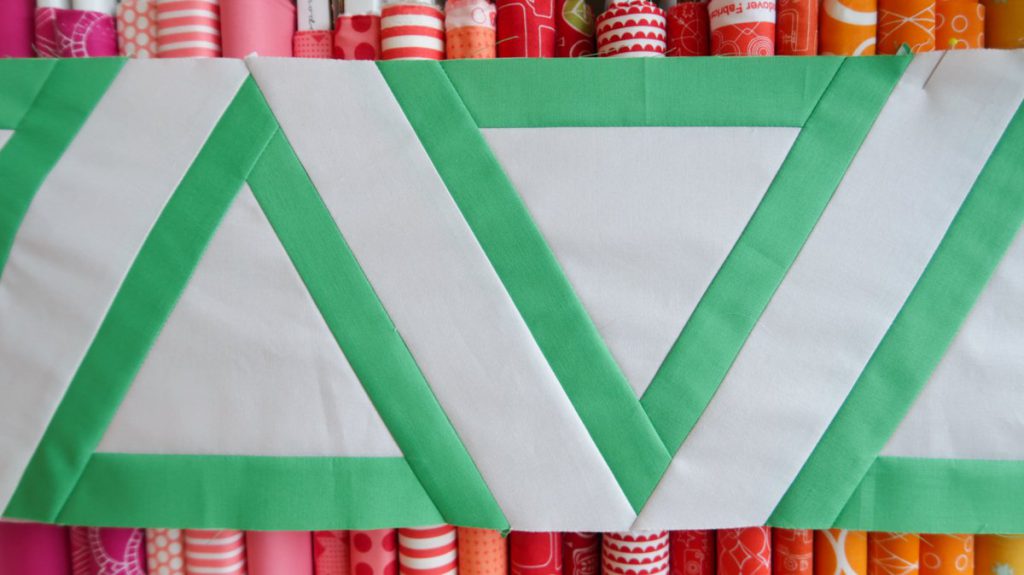
When you use tea bag paper you can leave the paper behind your work. But it’s also very easy to rip it away. I think I’ll rip it away in the end since the other rows that we make with different techniques don’t have the paper behind them.
And there is your complete row! Which method do you prefer? Teabag paper or freezer paper for foundation paper piecing?
See you soon!
Irene
 BERNINA Corporate Blog -
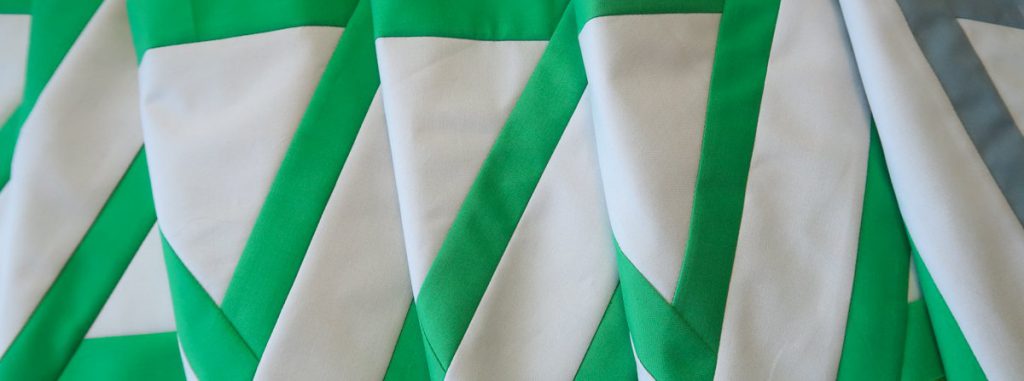
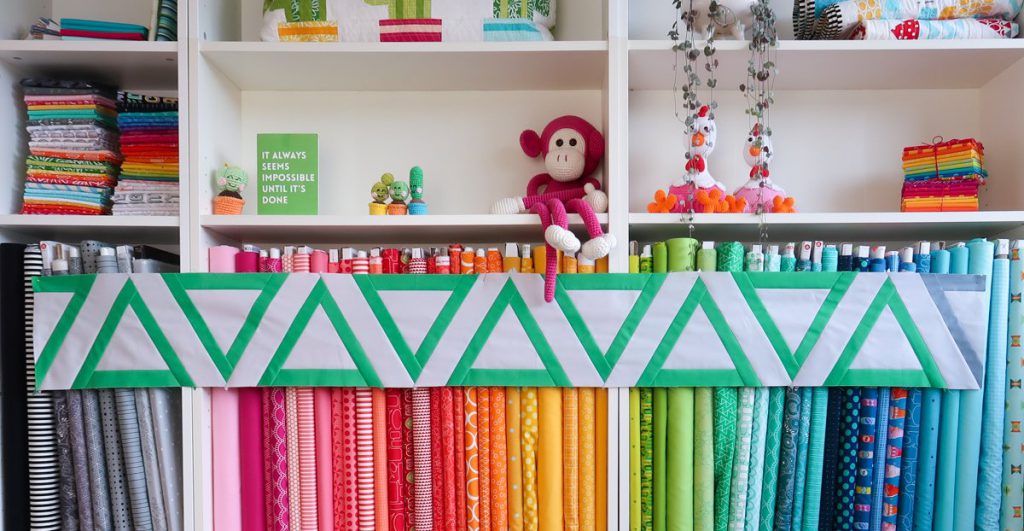

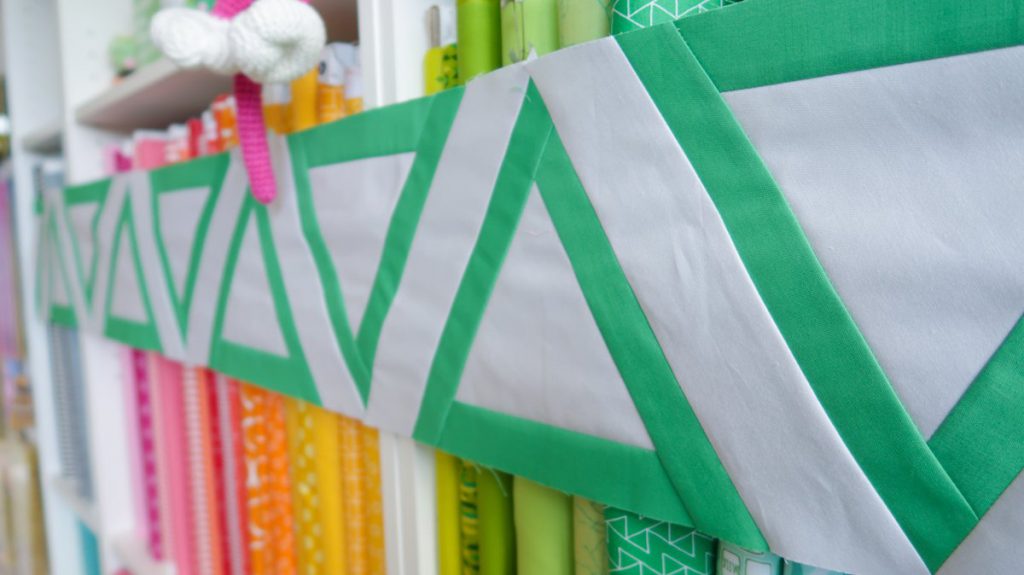
Maine Coast, USA. A cold, but sunny day to snap a shot of my Delta Row. ☀️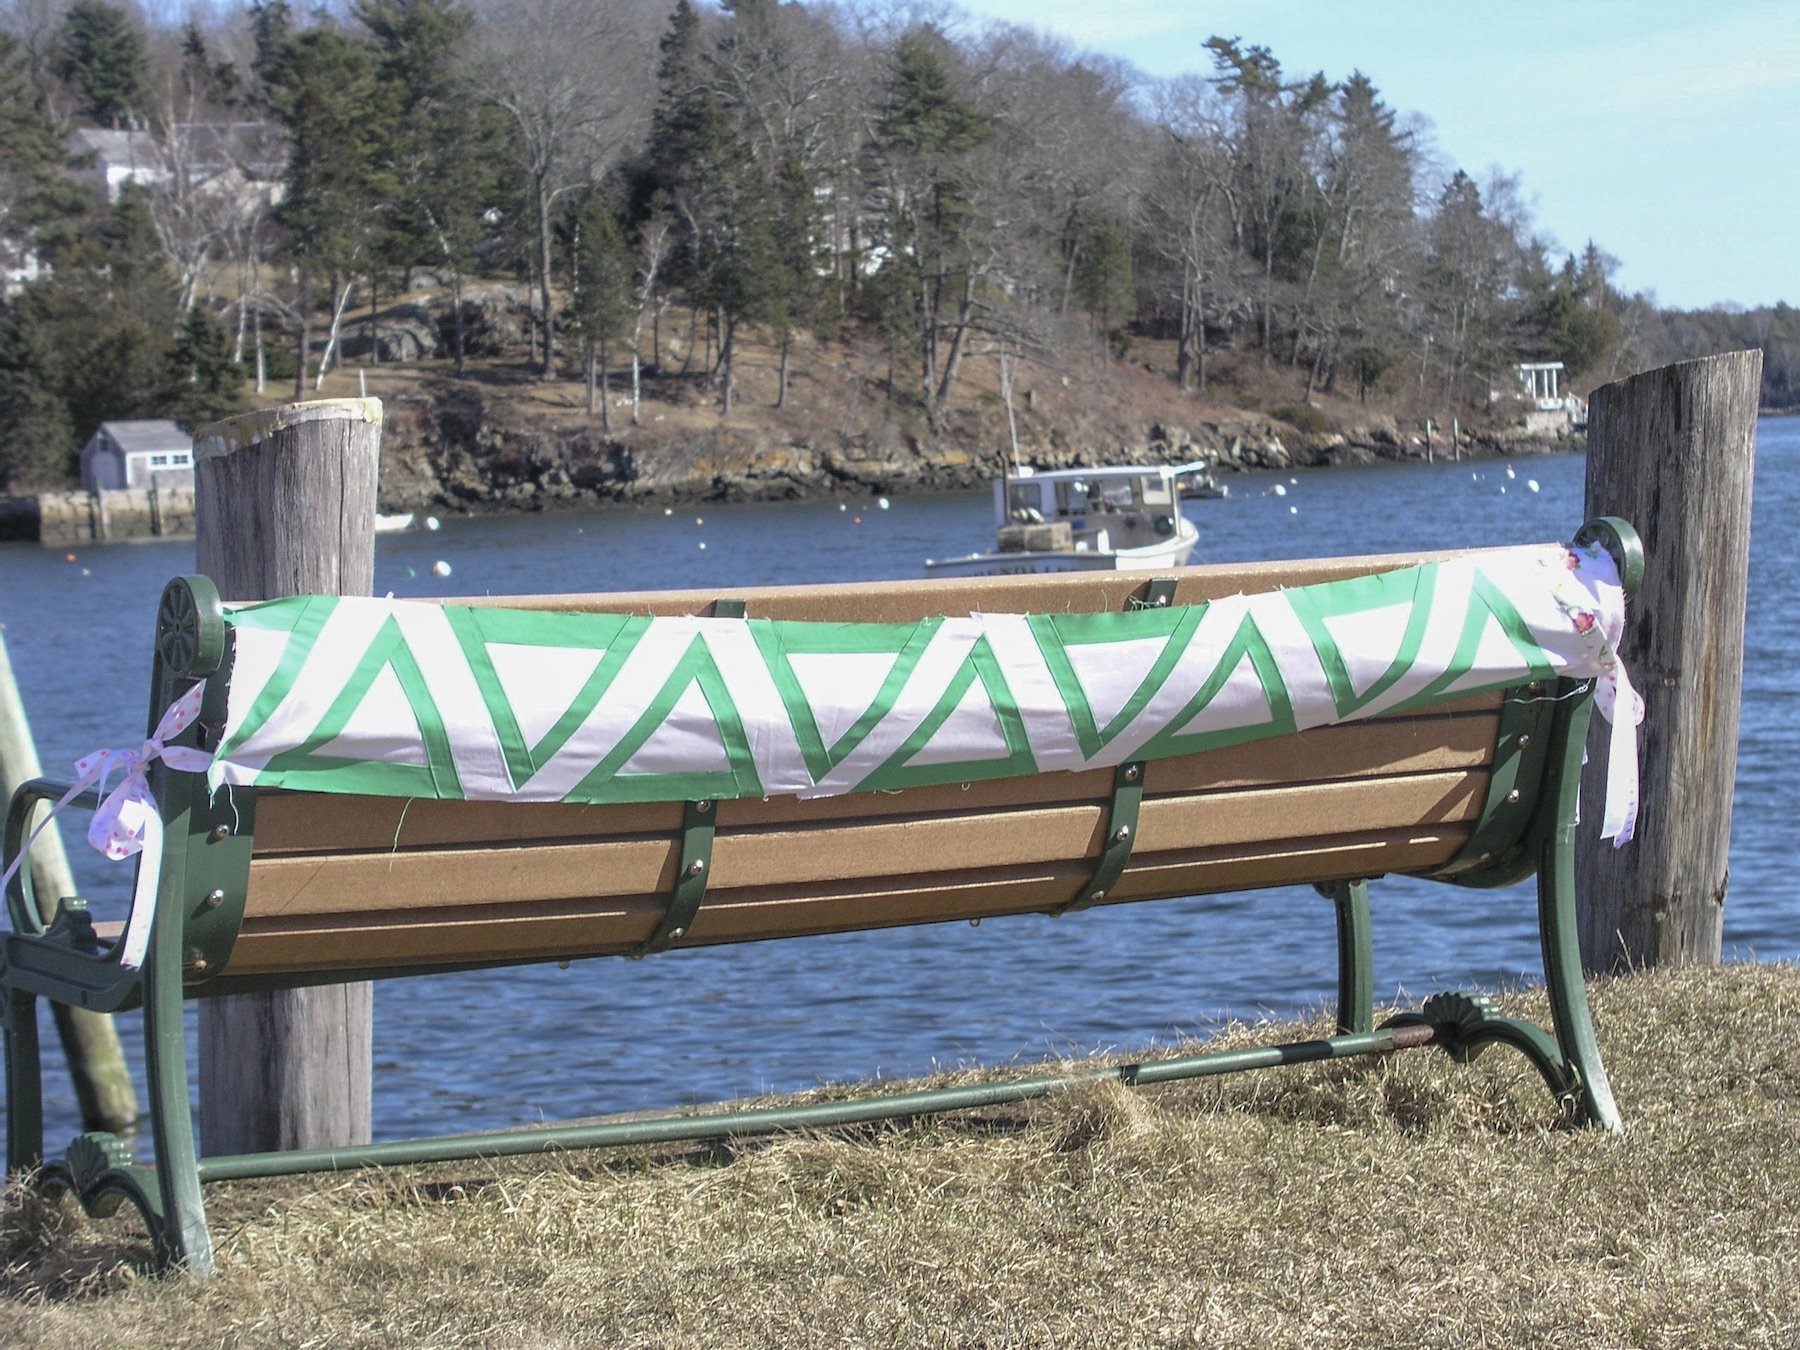
My Delta row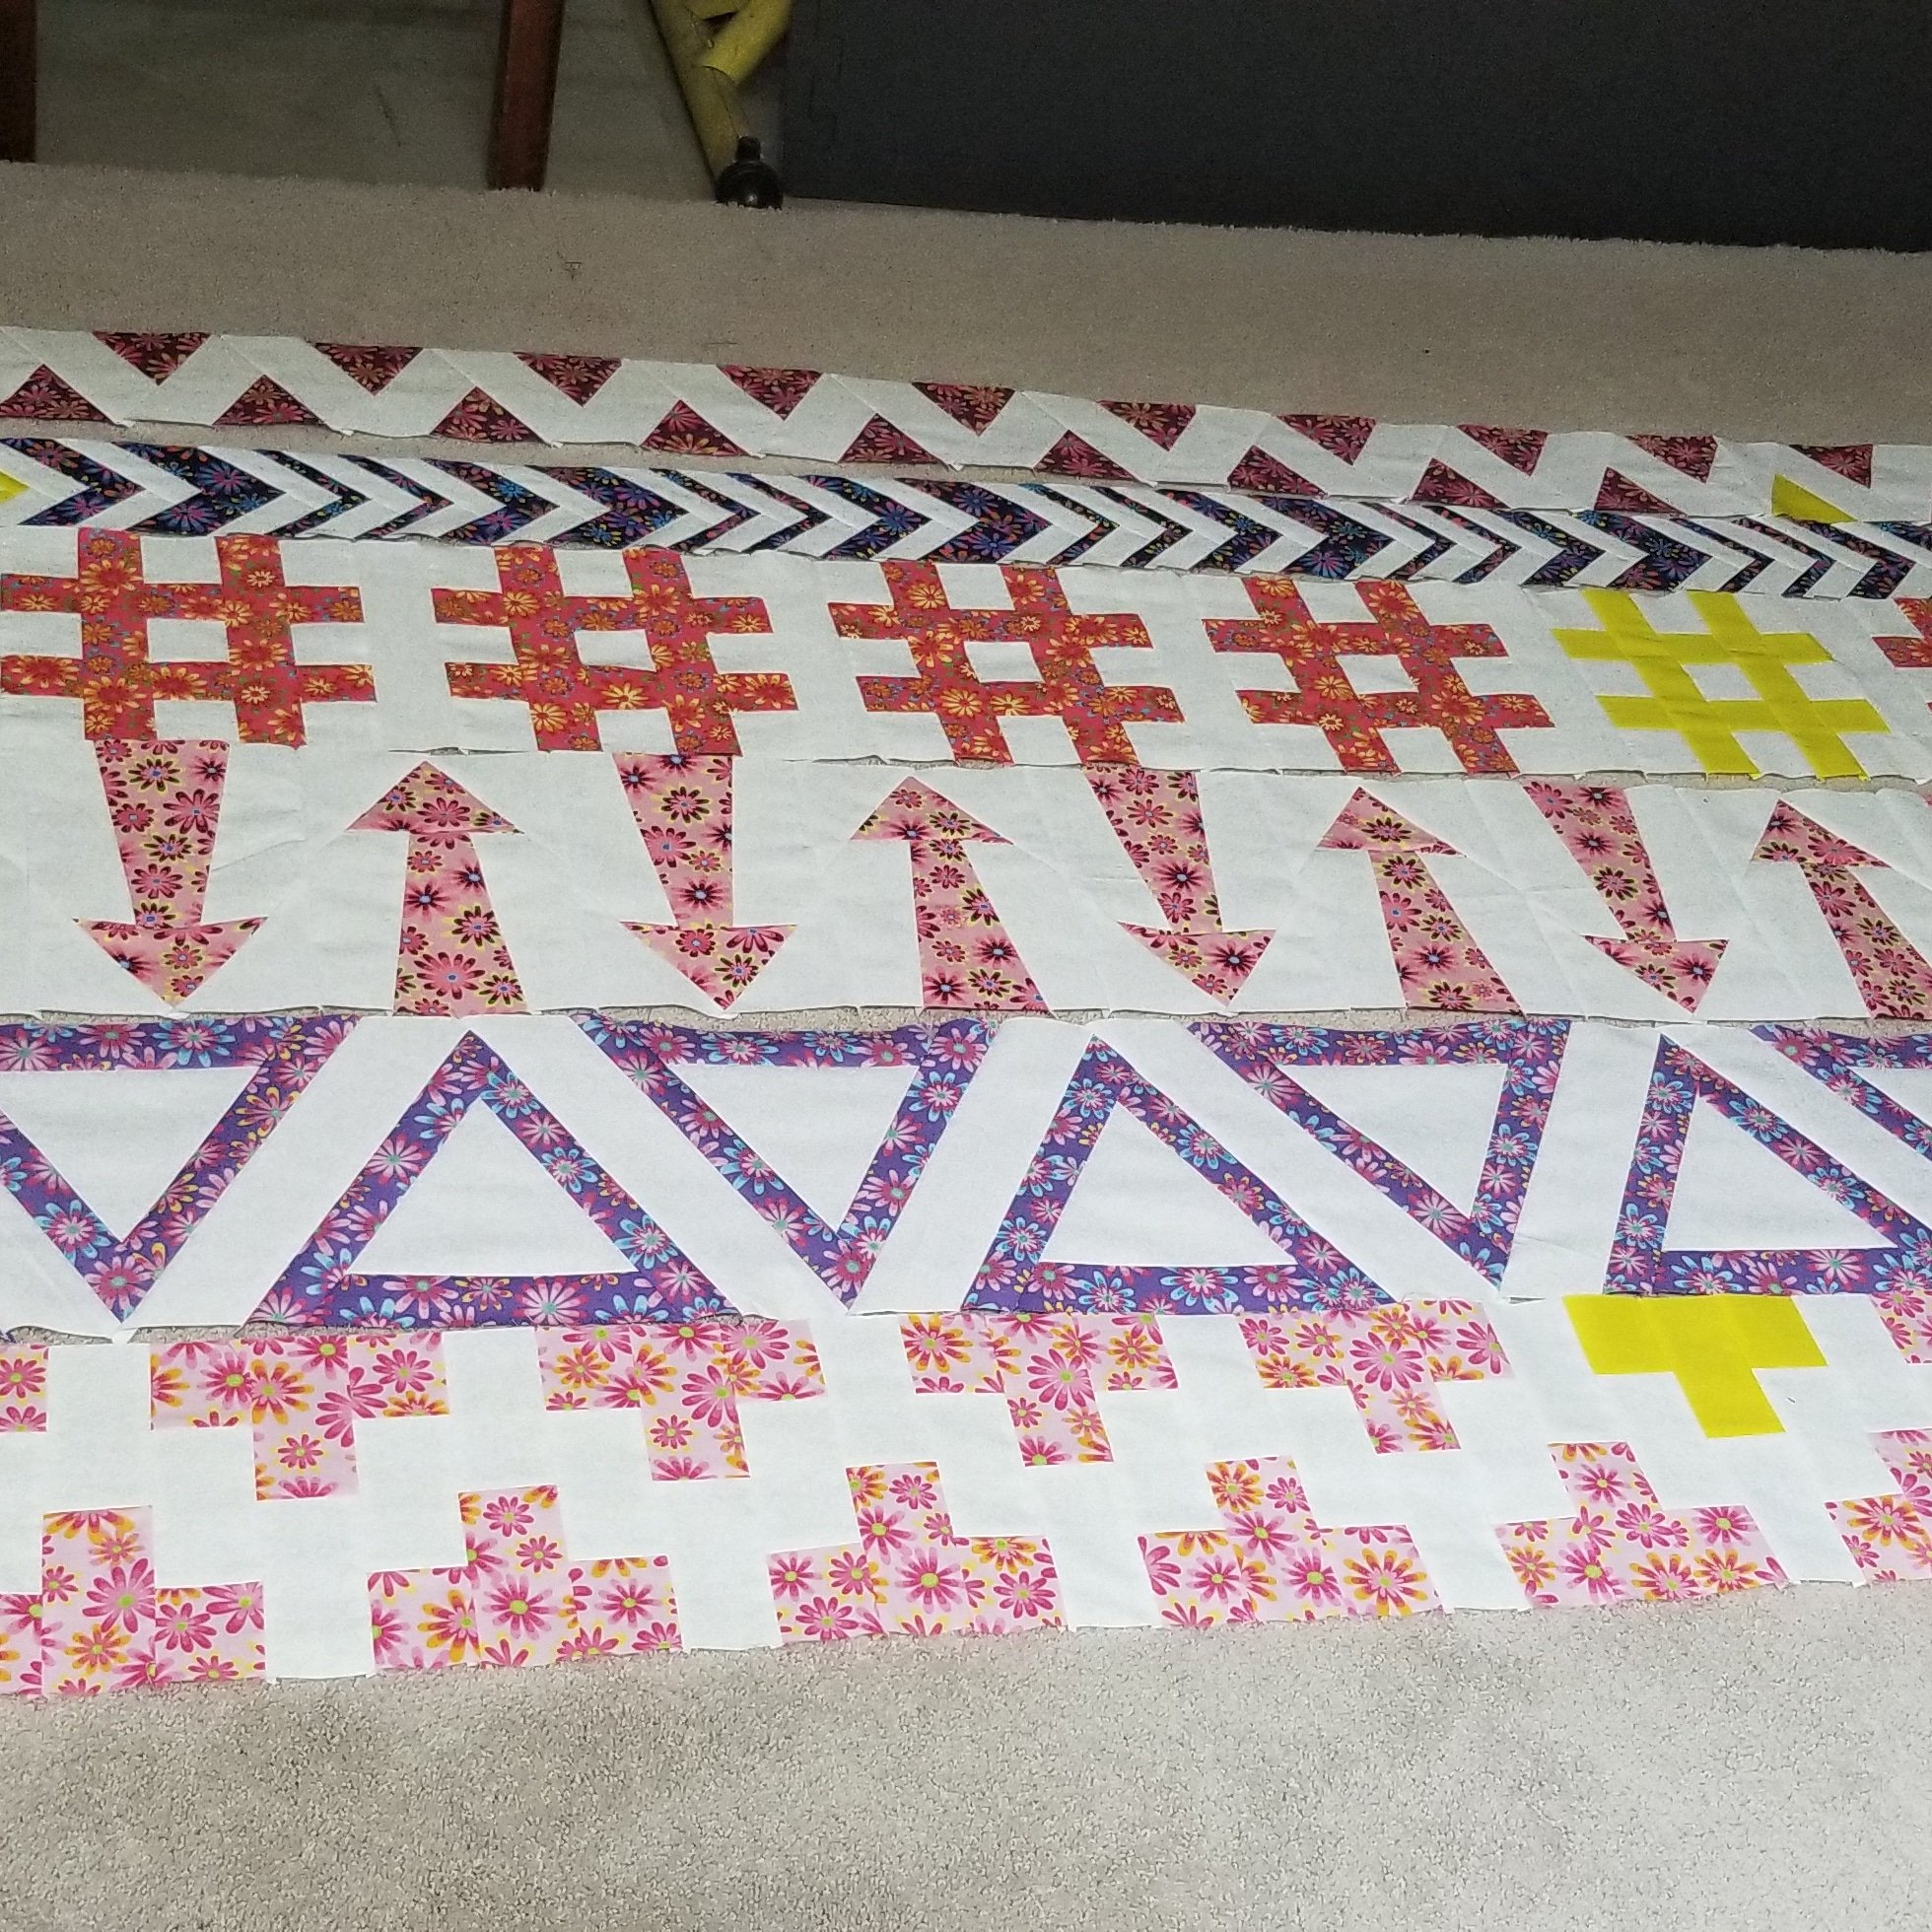
Could finally finish part 4!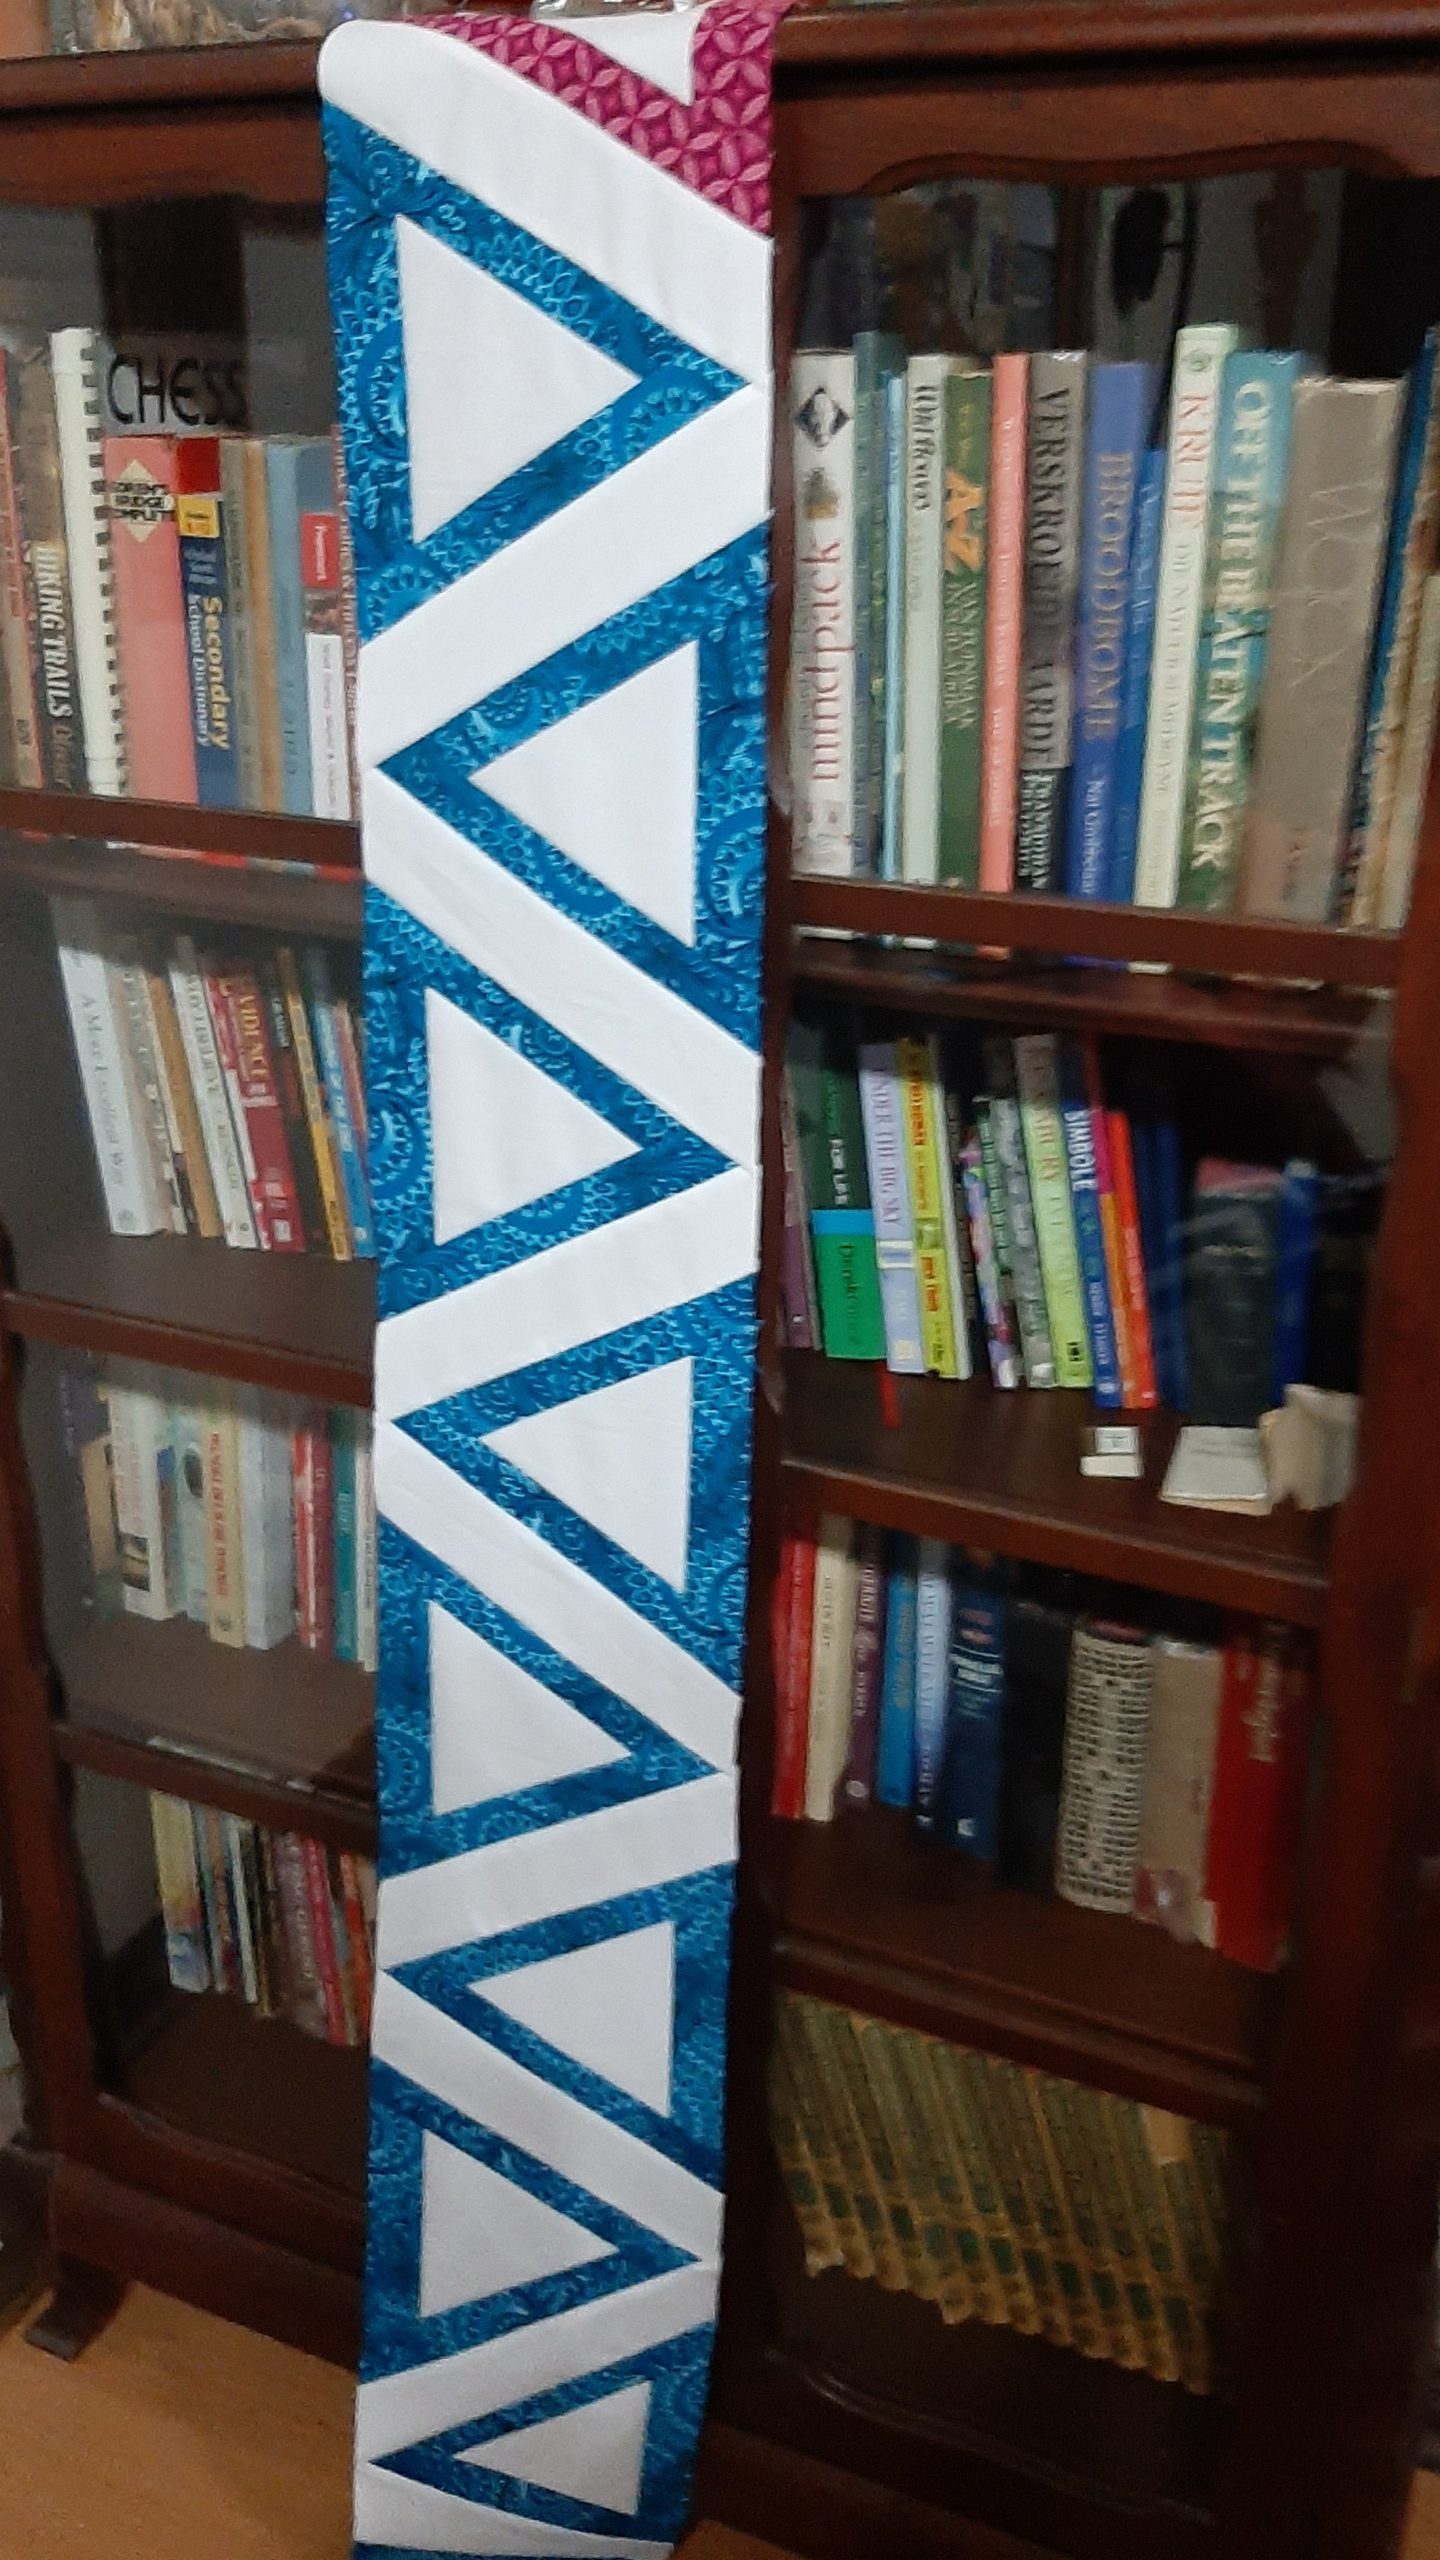
I Finally found time to complete the Delta Row #4! With working full time from home and making my share of masks for the community, it was so great to do this row! I get so excited to get to work on this fun project! It makes me happy! It’s not letting me post my photo. ?
Delta row finished. I used paper pricing again for the practice as it is a new method for me and I have used Irene’s metho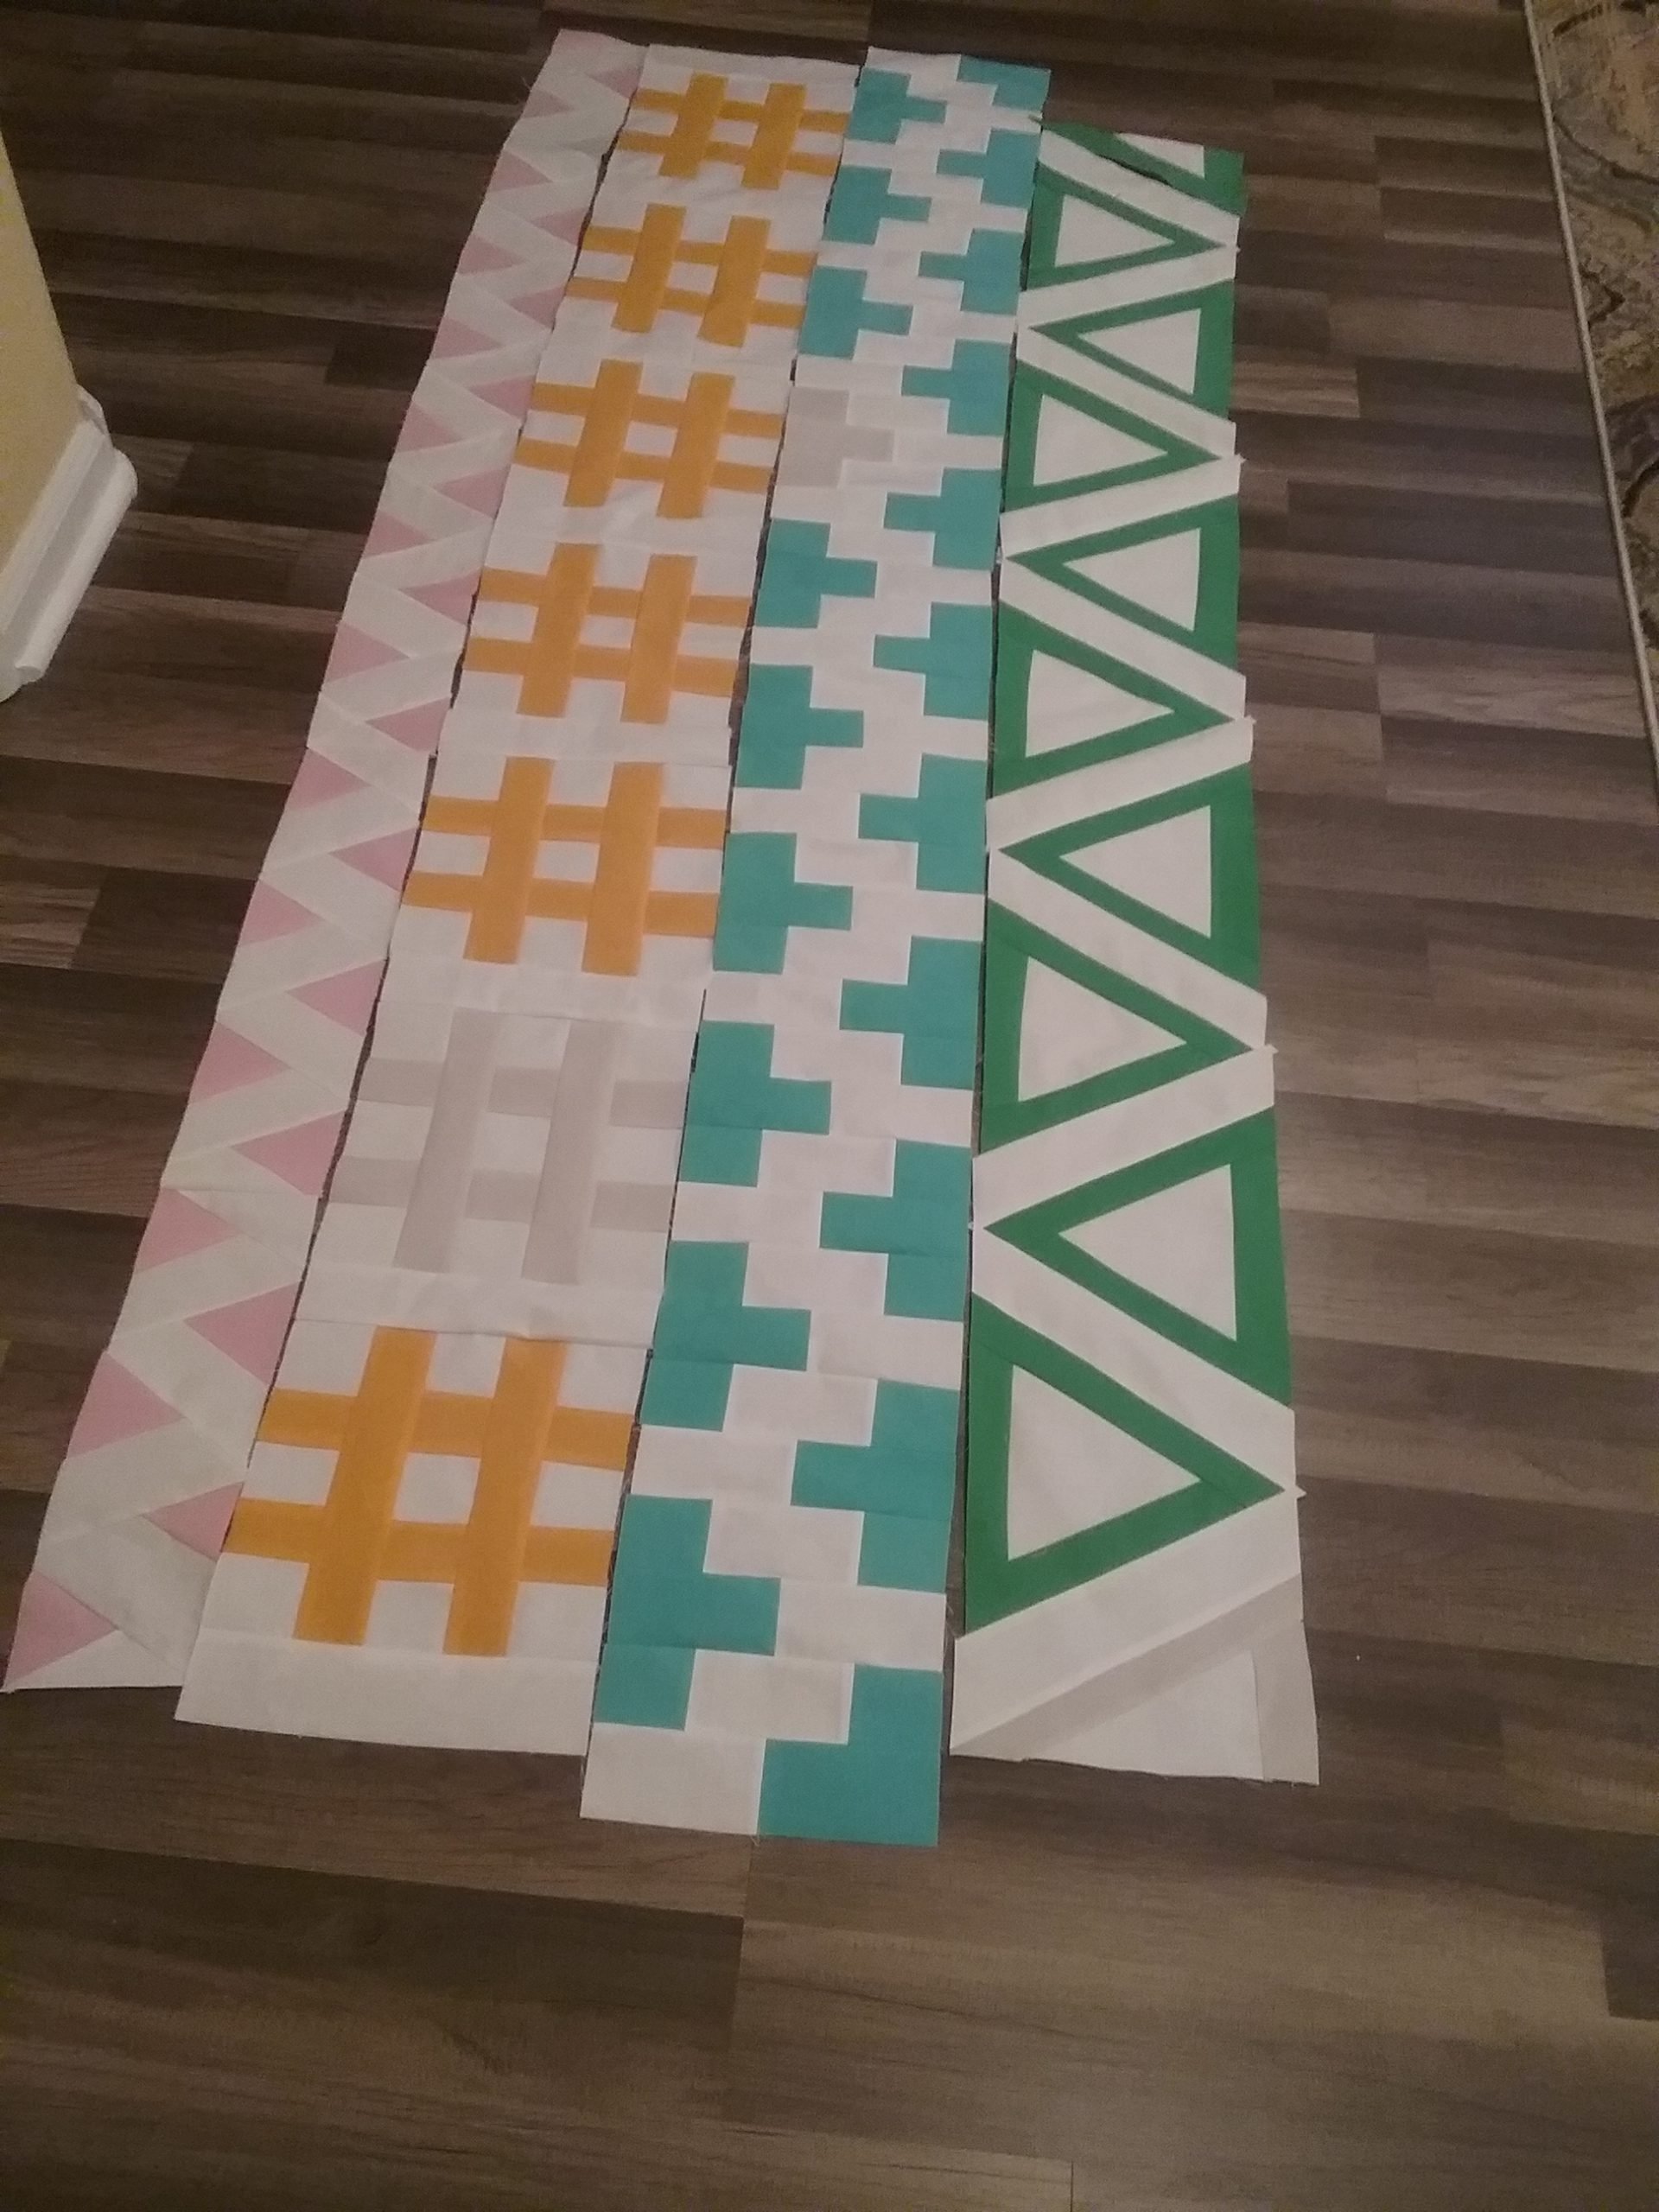 d. I actually made a half and another full TRIANGLE in case I need a bit more length when sewing together.
First four rows done, I enjoyed using the freezer paper.
My delta strip is 2 1/2 inch short ,my A block is smaller than my D block. My question is should I make another A block. it I do the A block it will be a different color. I don’t have the same color fabric
Part 4 – Row 9 done. Notice anything different? This is what happens when you’ve been paper piecing the way you have always done for 20+ years. The triangles end upside down. LOL – lots of learning along the way:)
I finally finished row 9 and am caught up! My row was 4 inches too short. Thinking about just adding 2 inches of background on each end. I used the freezer paper method which I really like. Not sure why it is short but guess I’ll make it work. Haven’t posted any pictures yet. Fun project!
wondering if anyone used freezer paper method in a continuous roll? any pointers on using freezer paper instead of tea bag paper? I really enjoyed the freezer paper method, kind of afraid of the matching up sections on tea bag paper.
?????? I cant believe i finished after 2 days only to realize it is 5 in to short. The printer was at 100% but stll printed not to size. I wish i had the measurements to check 1st. Not xure to start all over or just put a strip on both ends hoping it wont be to unnoticeable.
I’m sure it will be fine Donna. We always beat ourselves up about it if it’s not correct. Mine isn’t perfect but I’m still plodding on. No need to start it over again. Could you just take out the half triangle, add another full triangle and then add the half one, would that then be the correct length? A new challenge for me and did find the freezer paper one hard. I’m looking forward to Irenes next row.
Thankyou Ippy. I’m going to try the way you mentioned 1st and hopefully it will be better. It bothered me so much so I fussed with my printer and 2 others as well and they were same so I enlarged to 110% and it is almost perfect size. If the way you mentioned is makes it to long I will make another row …correct row and use the mistake row on the back.
Thank you for taking the time to help. ?
It was just a thought as I know I would be annoyed too, so worth trying Donna as it shouldn’t take too long to do. Also it’s at an end and you probably won’t notice it when its on the bed, or like you said, put on other side.
I’ve never used a printer so don’t understand how that works. I used the freezer paper and did find it difficult so I’m glad I did finish the row.
Let me know how you get on. ?
Hello everyone
Here is my last production, row 9. Enjoyed it and can’t wait for the next one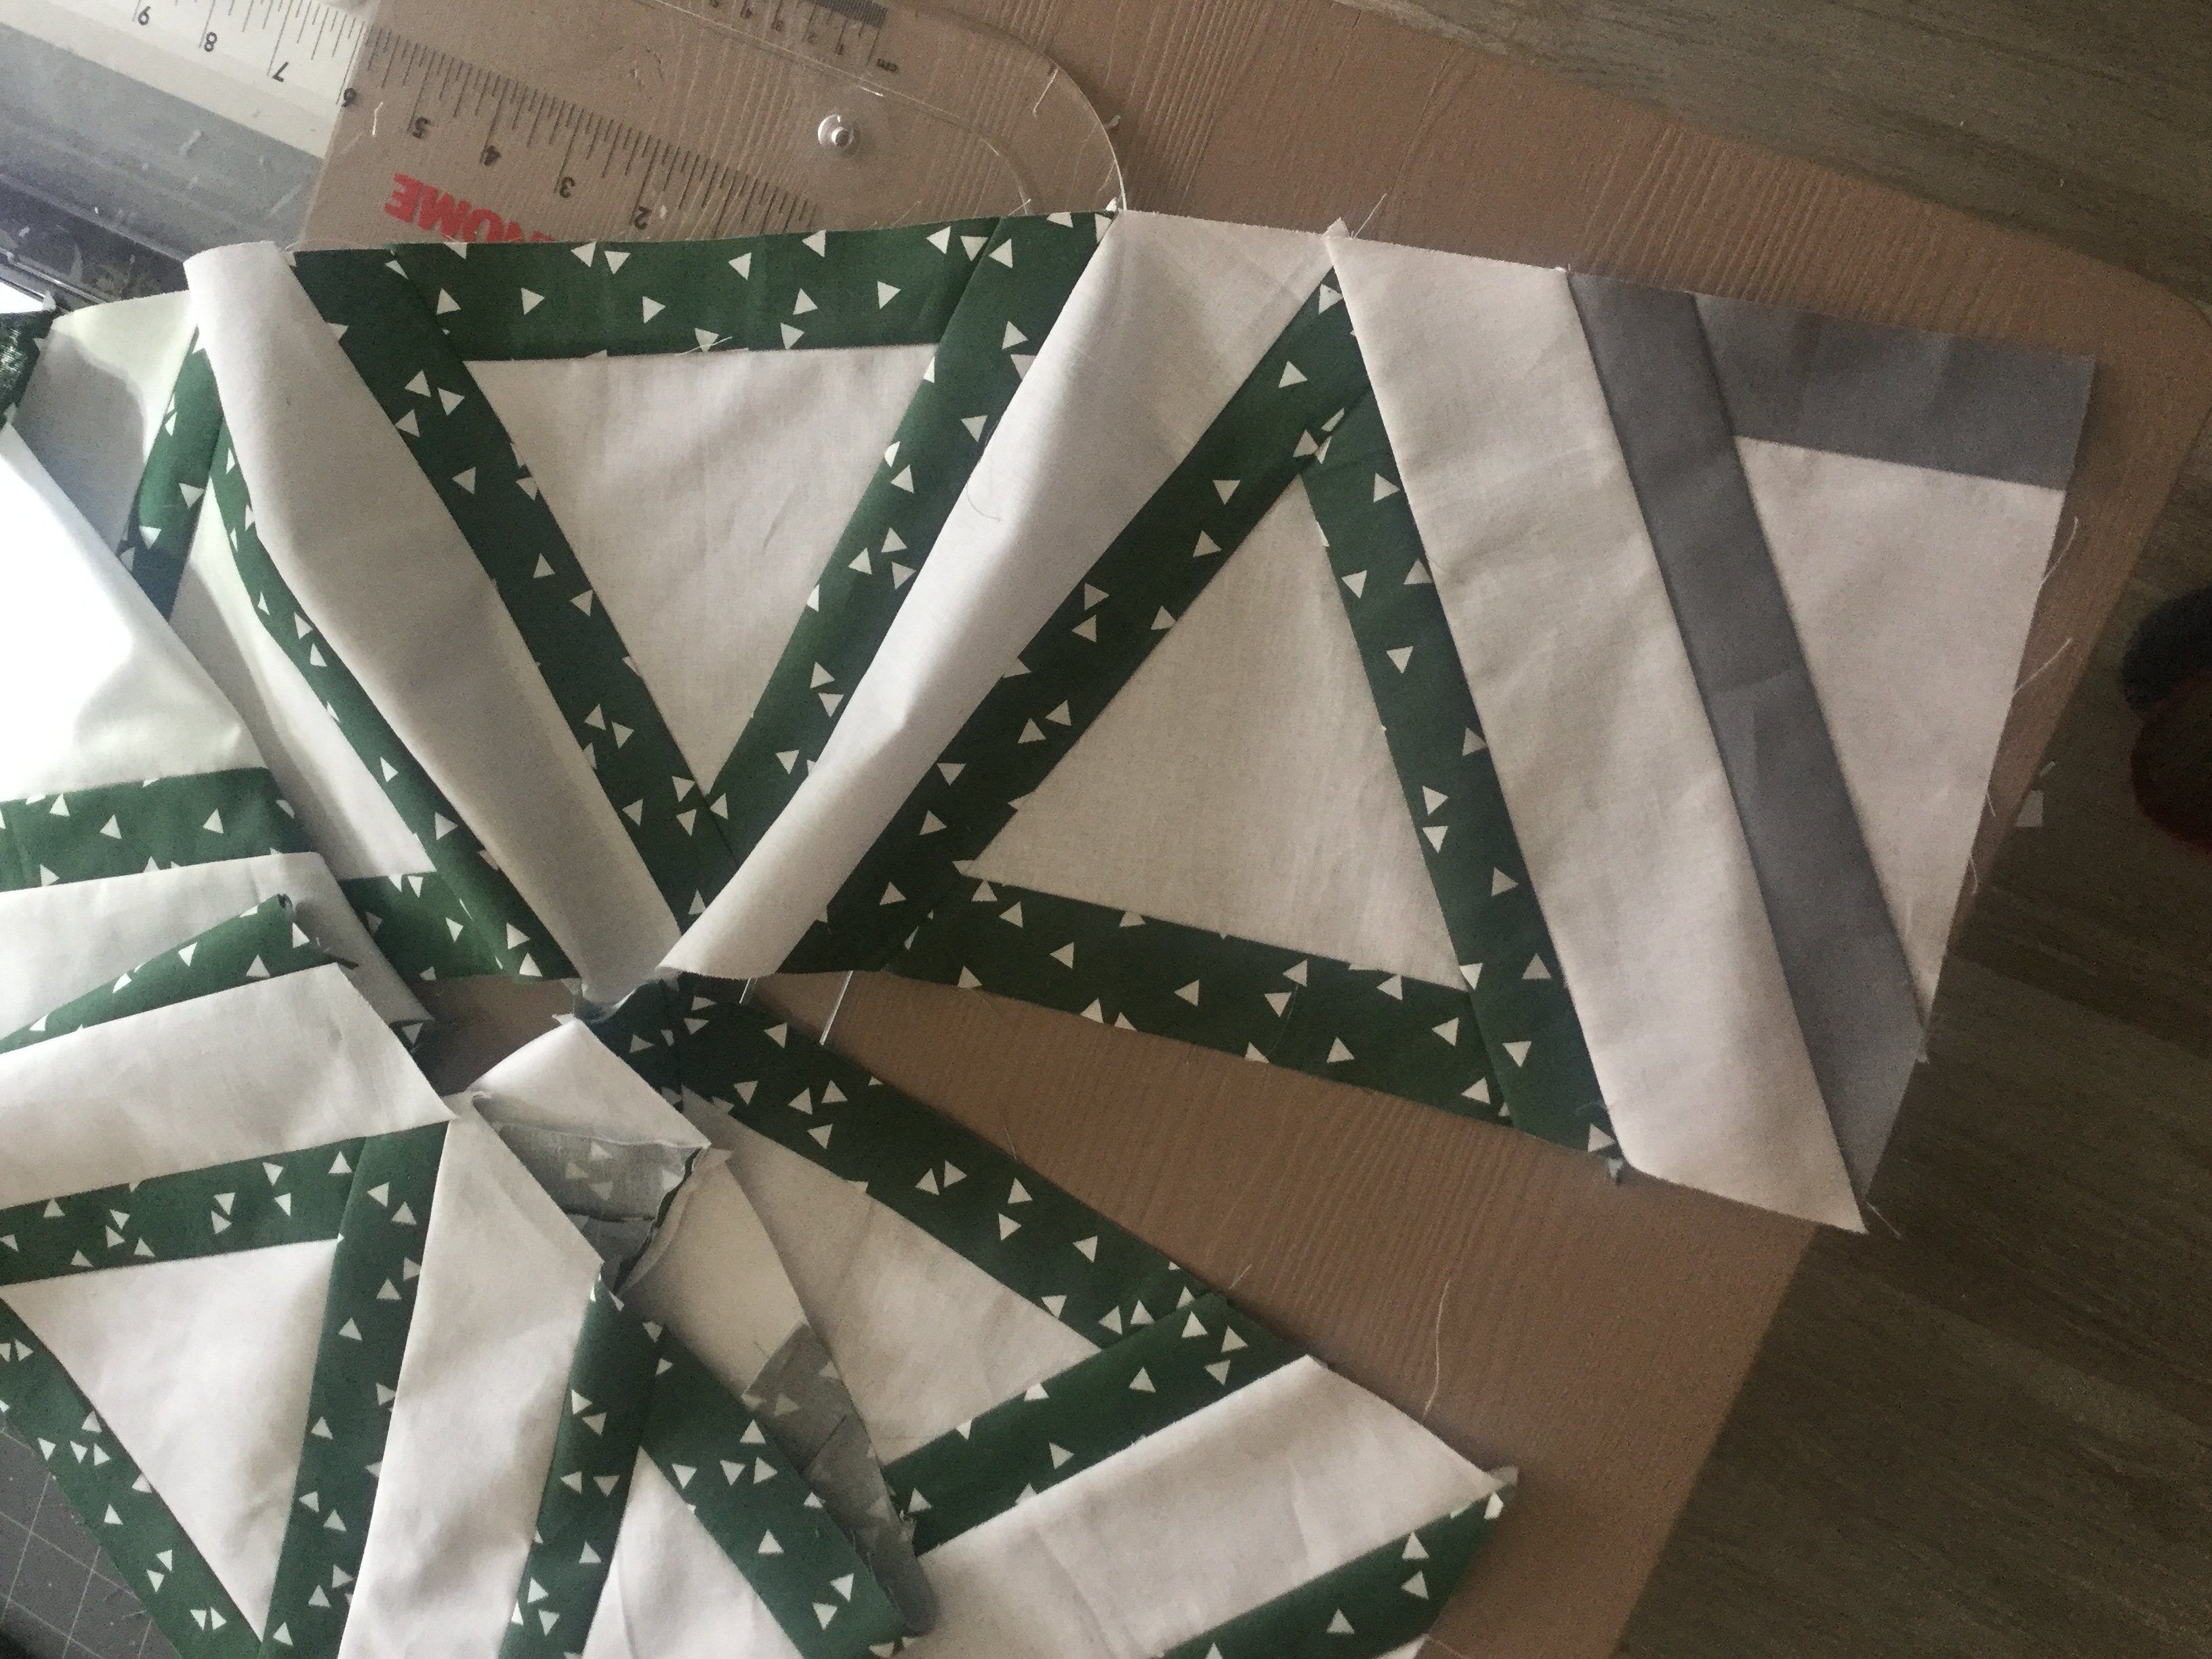
Hello: Do you have an uncolored graphic of the pattern with the delta row in it so that we can color it to match what we are working on. It helps me decide on what color to use based on where my colors are since I’m doing it on the fly with batiks. You had posted an uncolored updated on I think in the group last month or either you had sent it to me one. I can’t remember either way to be honest. 🙂
Done! I love it!
(now to wait for the next row 🙂
I am extremely charmed by both your colour and pattern combinations – very subtle and coordinated. As well as your animals. I wish I had some tiny creatures interested in my sewing.
I love your colour and pattern combinations, it is really attractive. You have inspired me to have a go at using a range of shades for the triangles when I get round to this row.
My Part 4 Row 9. I used lightweight interfacing since I didn’t have any tea paper. It worked out fine.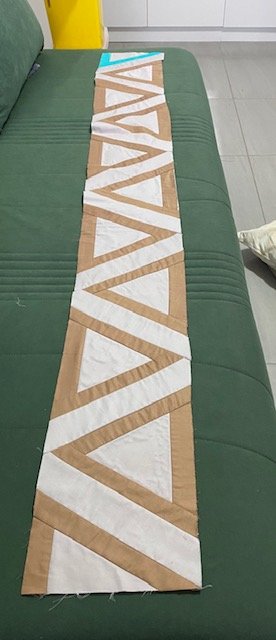
So this is my 4 rows.
When I added my 4th row, below – Predictive text jumped in, should have read ‘freezer paper’ not appear! Didn’t see an edit option.
That’s me finished row 4. No teabag paper and tried the freezer appear again. Practice practice practice and hope to get better at using this method. Level, difficult for me. Not giving up, yet ?
The Delta Row is done! ( don’t know why my pictures always load sideways or upside down) Because I don’t have easy access to tea bag paper, I decided to use the freezer paper method I love the precision you get with this technique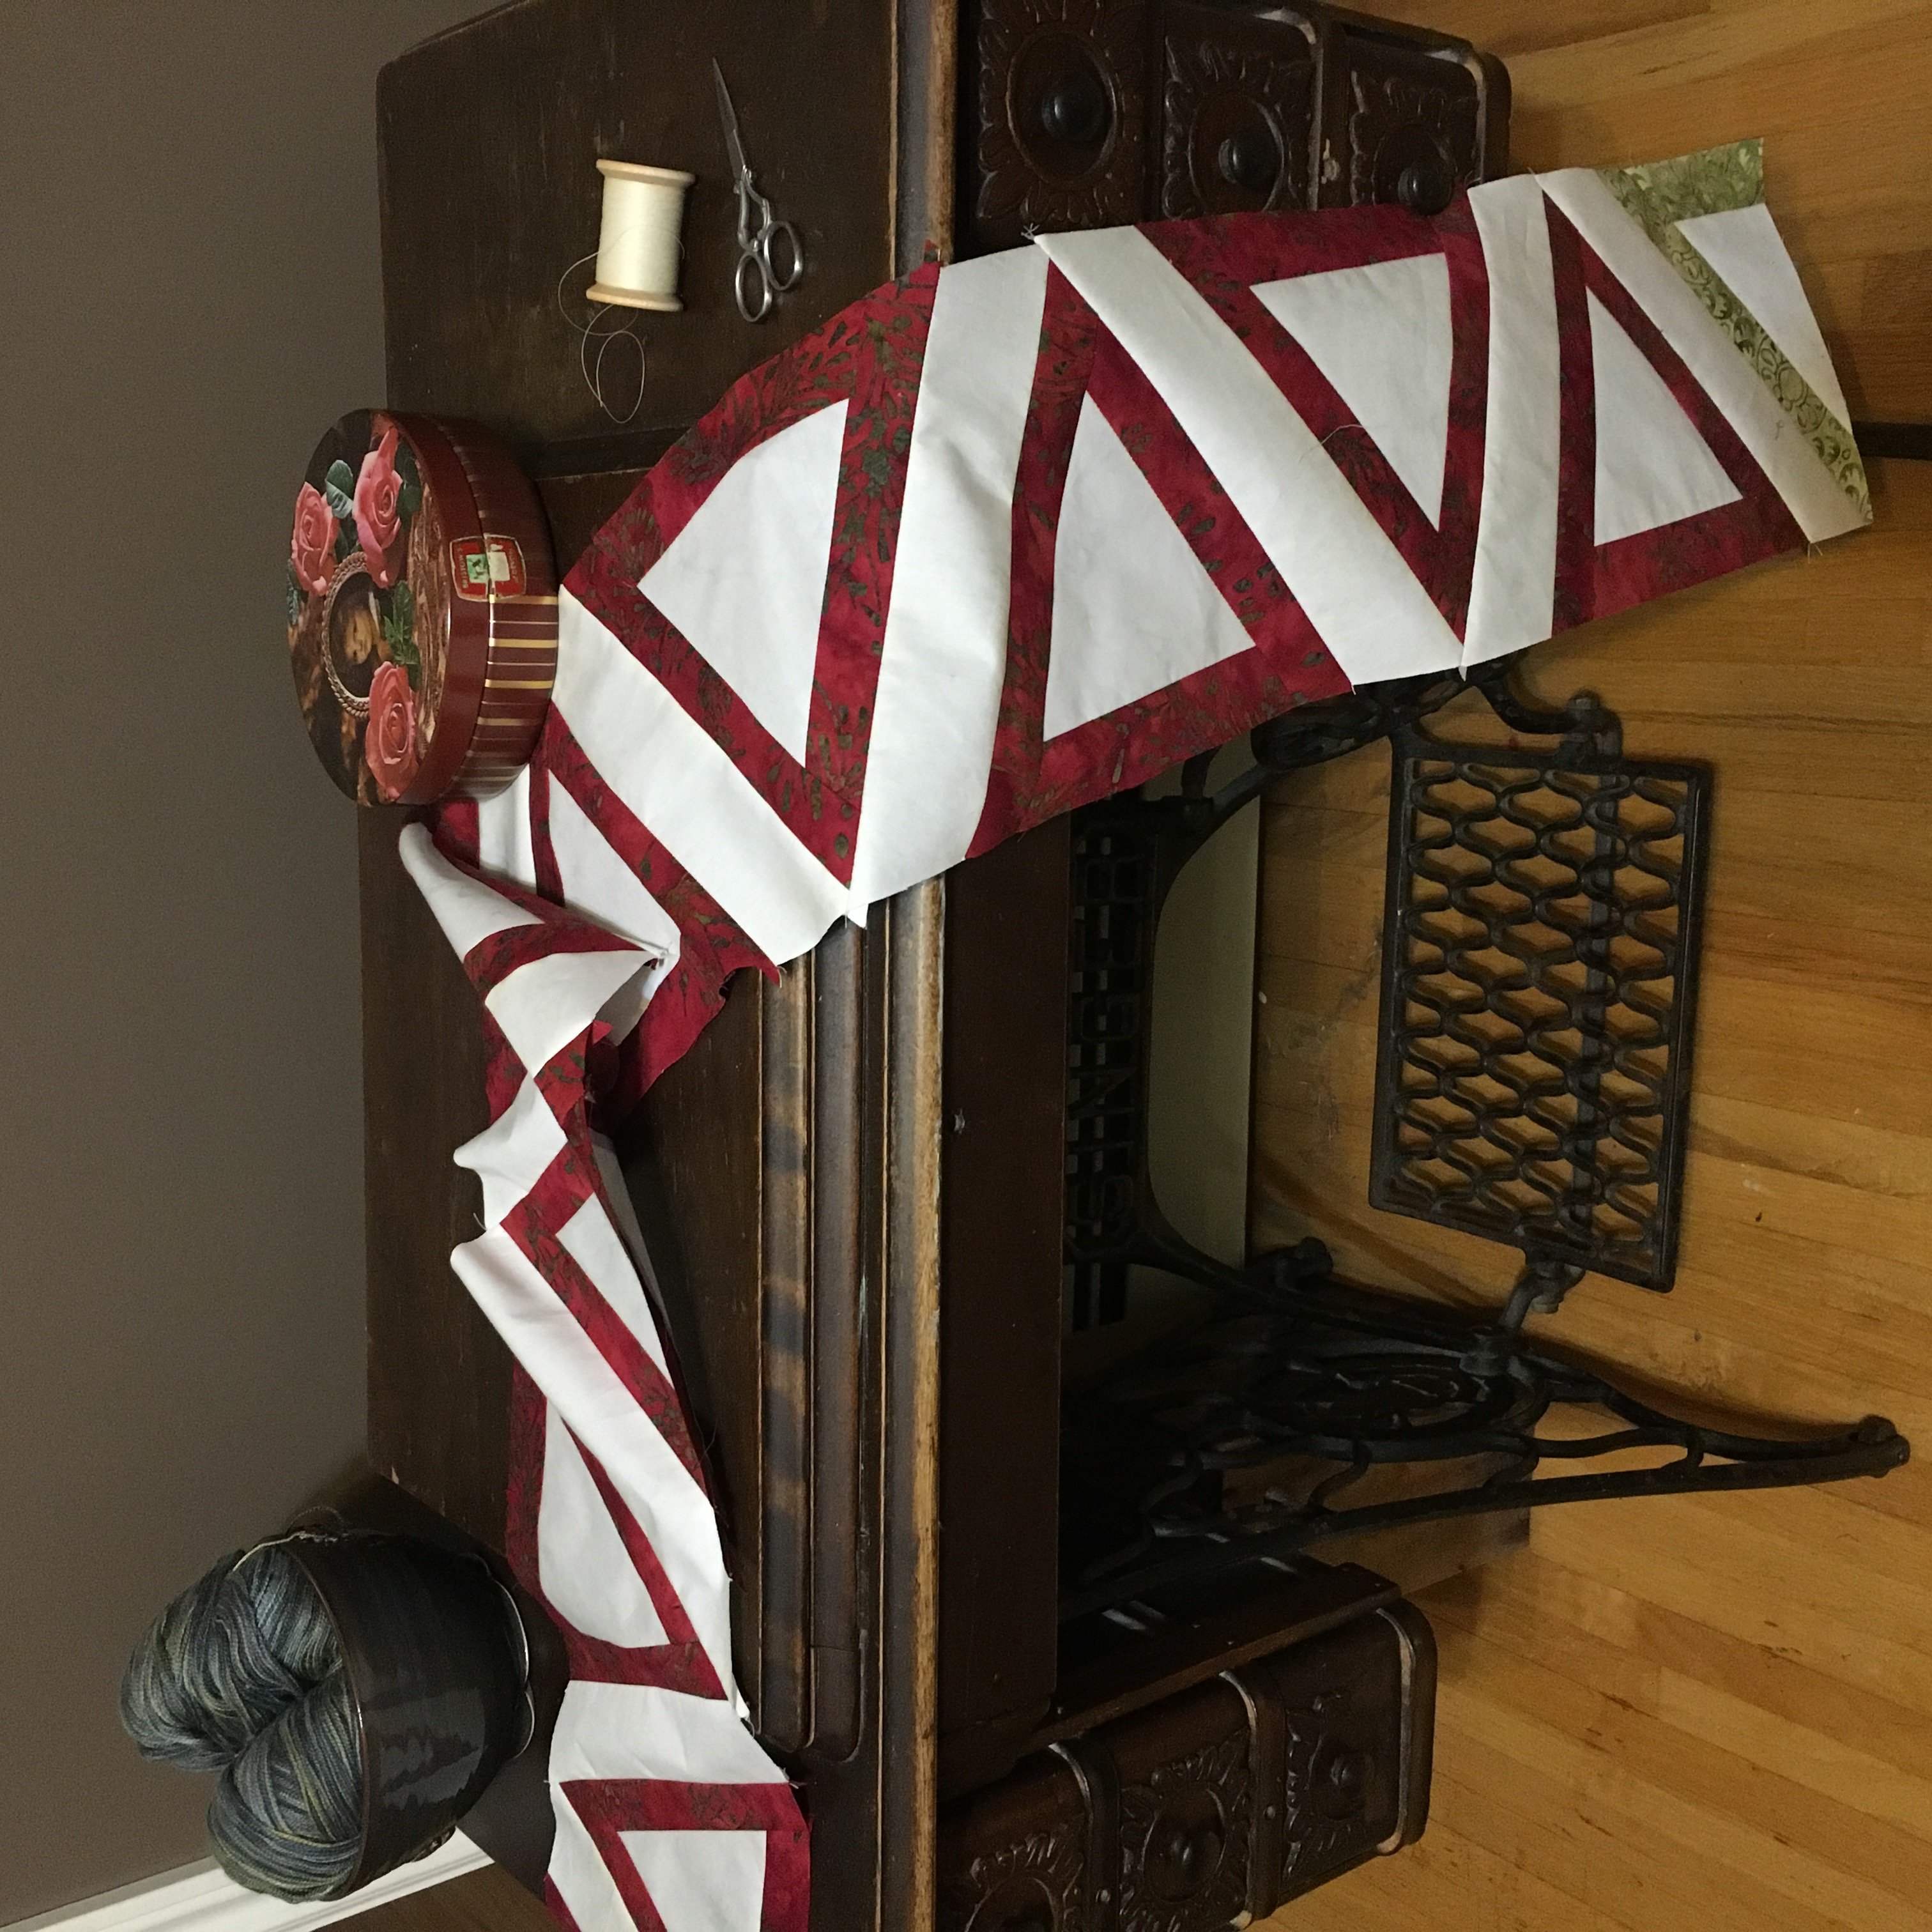
Here she is! She bent my brain a bit (more), but got into the groove! Very happy this row is done!!!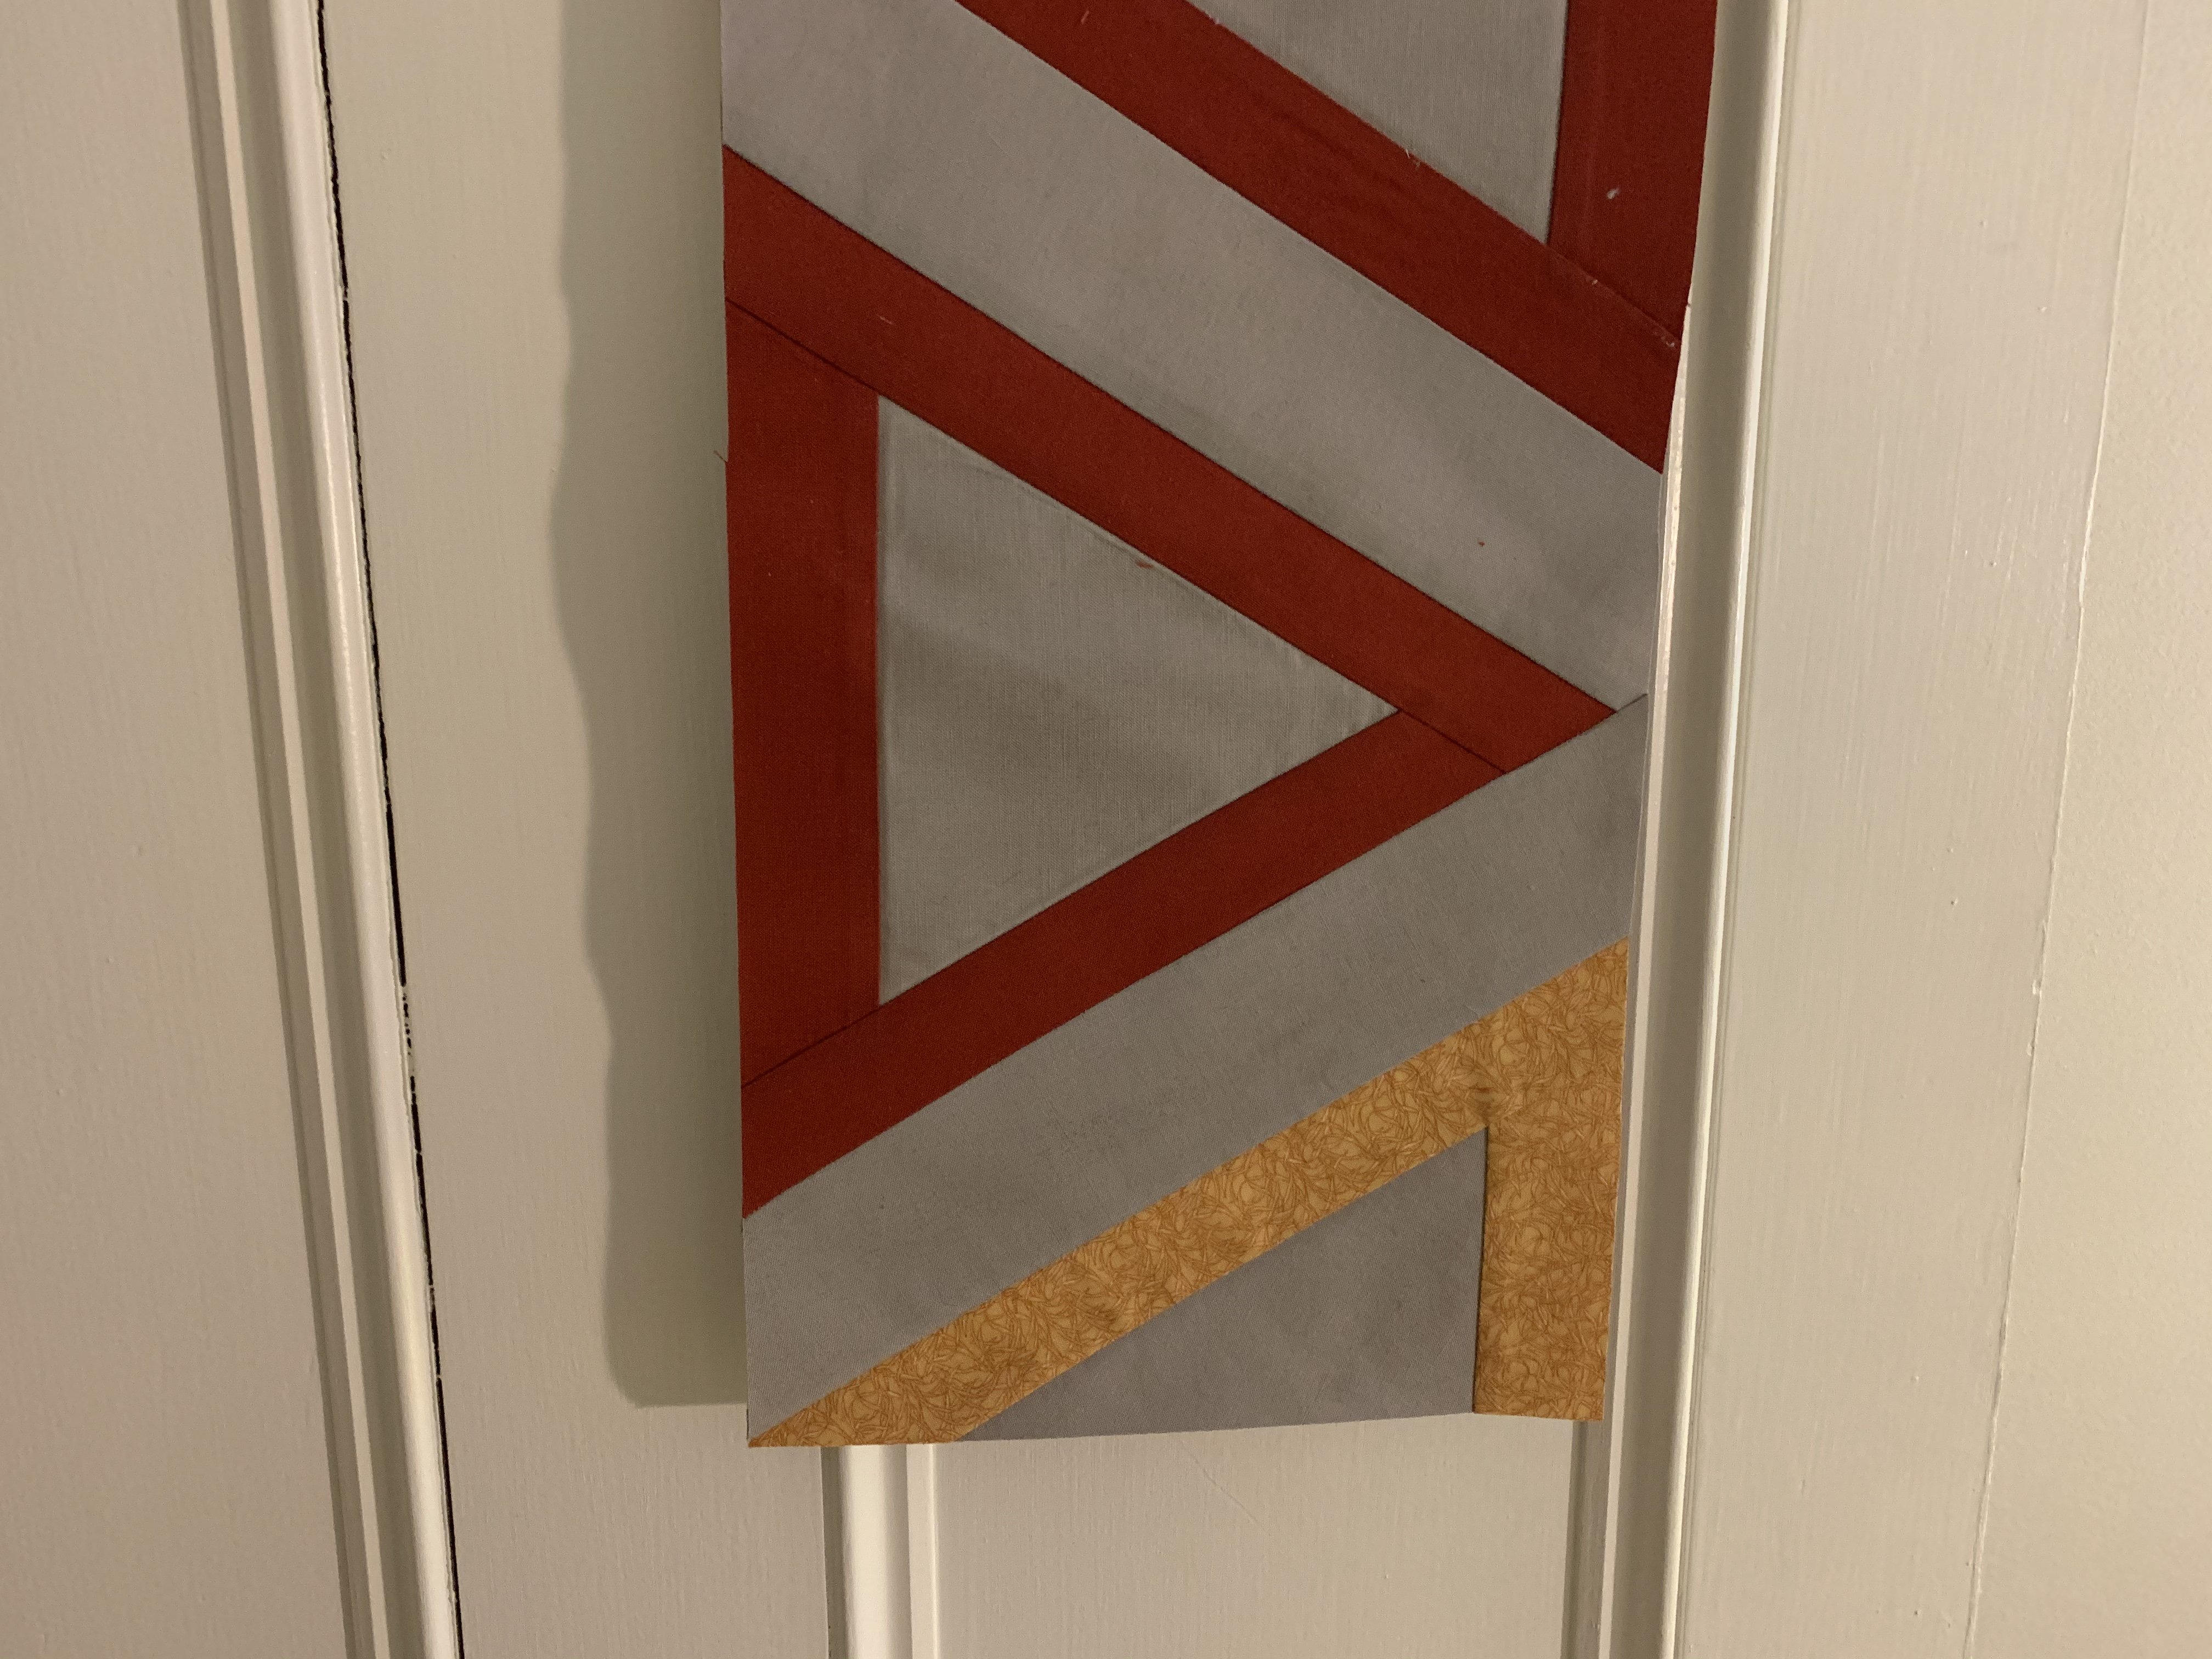
Finished Part 4 Row 9. Now that I have the correct pressing technique, thanks to Karen Brown, Just Get it Done Quilts https://www.youtube.com/watch?v=GI4Q22GdcOE and excellent instruction from Irene, I am very pleased with the result and beginning to really like foundation paper piecing. Oh, and I could not find tea bag paper but had some dollar store tissue paper, so I just traced the pattern to that and it worked out well. And, it was very easy to tear off. Thanks Irene! Now can’t wait for Part 5.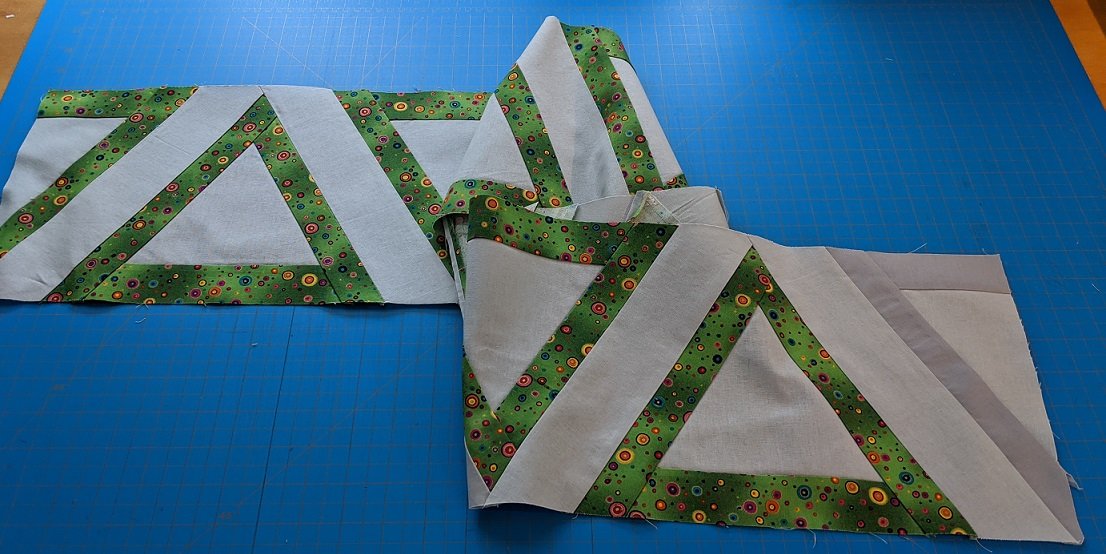
That is very pretty! I love your fabric.
Just watched it anderkat and will definitely do the finger pressing. Thanks for link. Every little tip helps.
Completed….Fun Row.
I have to get my templates printed at a shop, could you give me a measurement so I can check to see if they have printed it to the right size please, like you did for the other row which was lucky because I checked and it was smaller. Thanks
Row 4 looks lovely. Never used tea bag paper. Just purchased the freezer paper not so long ago for row 2. Just finished my 3 rows. Row 2 was the trickiest for me, but got there.
I think there is an error on the cutting scheme picture. The accent fabric appears to need a triangle cut from it, but there is no accent fabric triangle used in the row. So don’t waste fabric by cutting an accent triangle.
My mistake. I see that the scheme is referencing a triangle made from Row 1, not row 9. So it’s a previous cut in the fabric.
Hi – thanks for the Row 9 for the 4th week! Can’t wait to get started. Not sure what has happened, but the Section C 2/2 on the bottom did not print out to 1″ width; it is about 1/16″ short. I just added that to the pattern that I printed so that it matched to Section C 1/1.
Love it! I’m excited to make this row. I’m going to use “news” paper (plain, thinner than printer paper, recycled fiber) for the foundation paper piecing and then carefully tear it away. I’ve used this before for foundation paper piecing and it works well.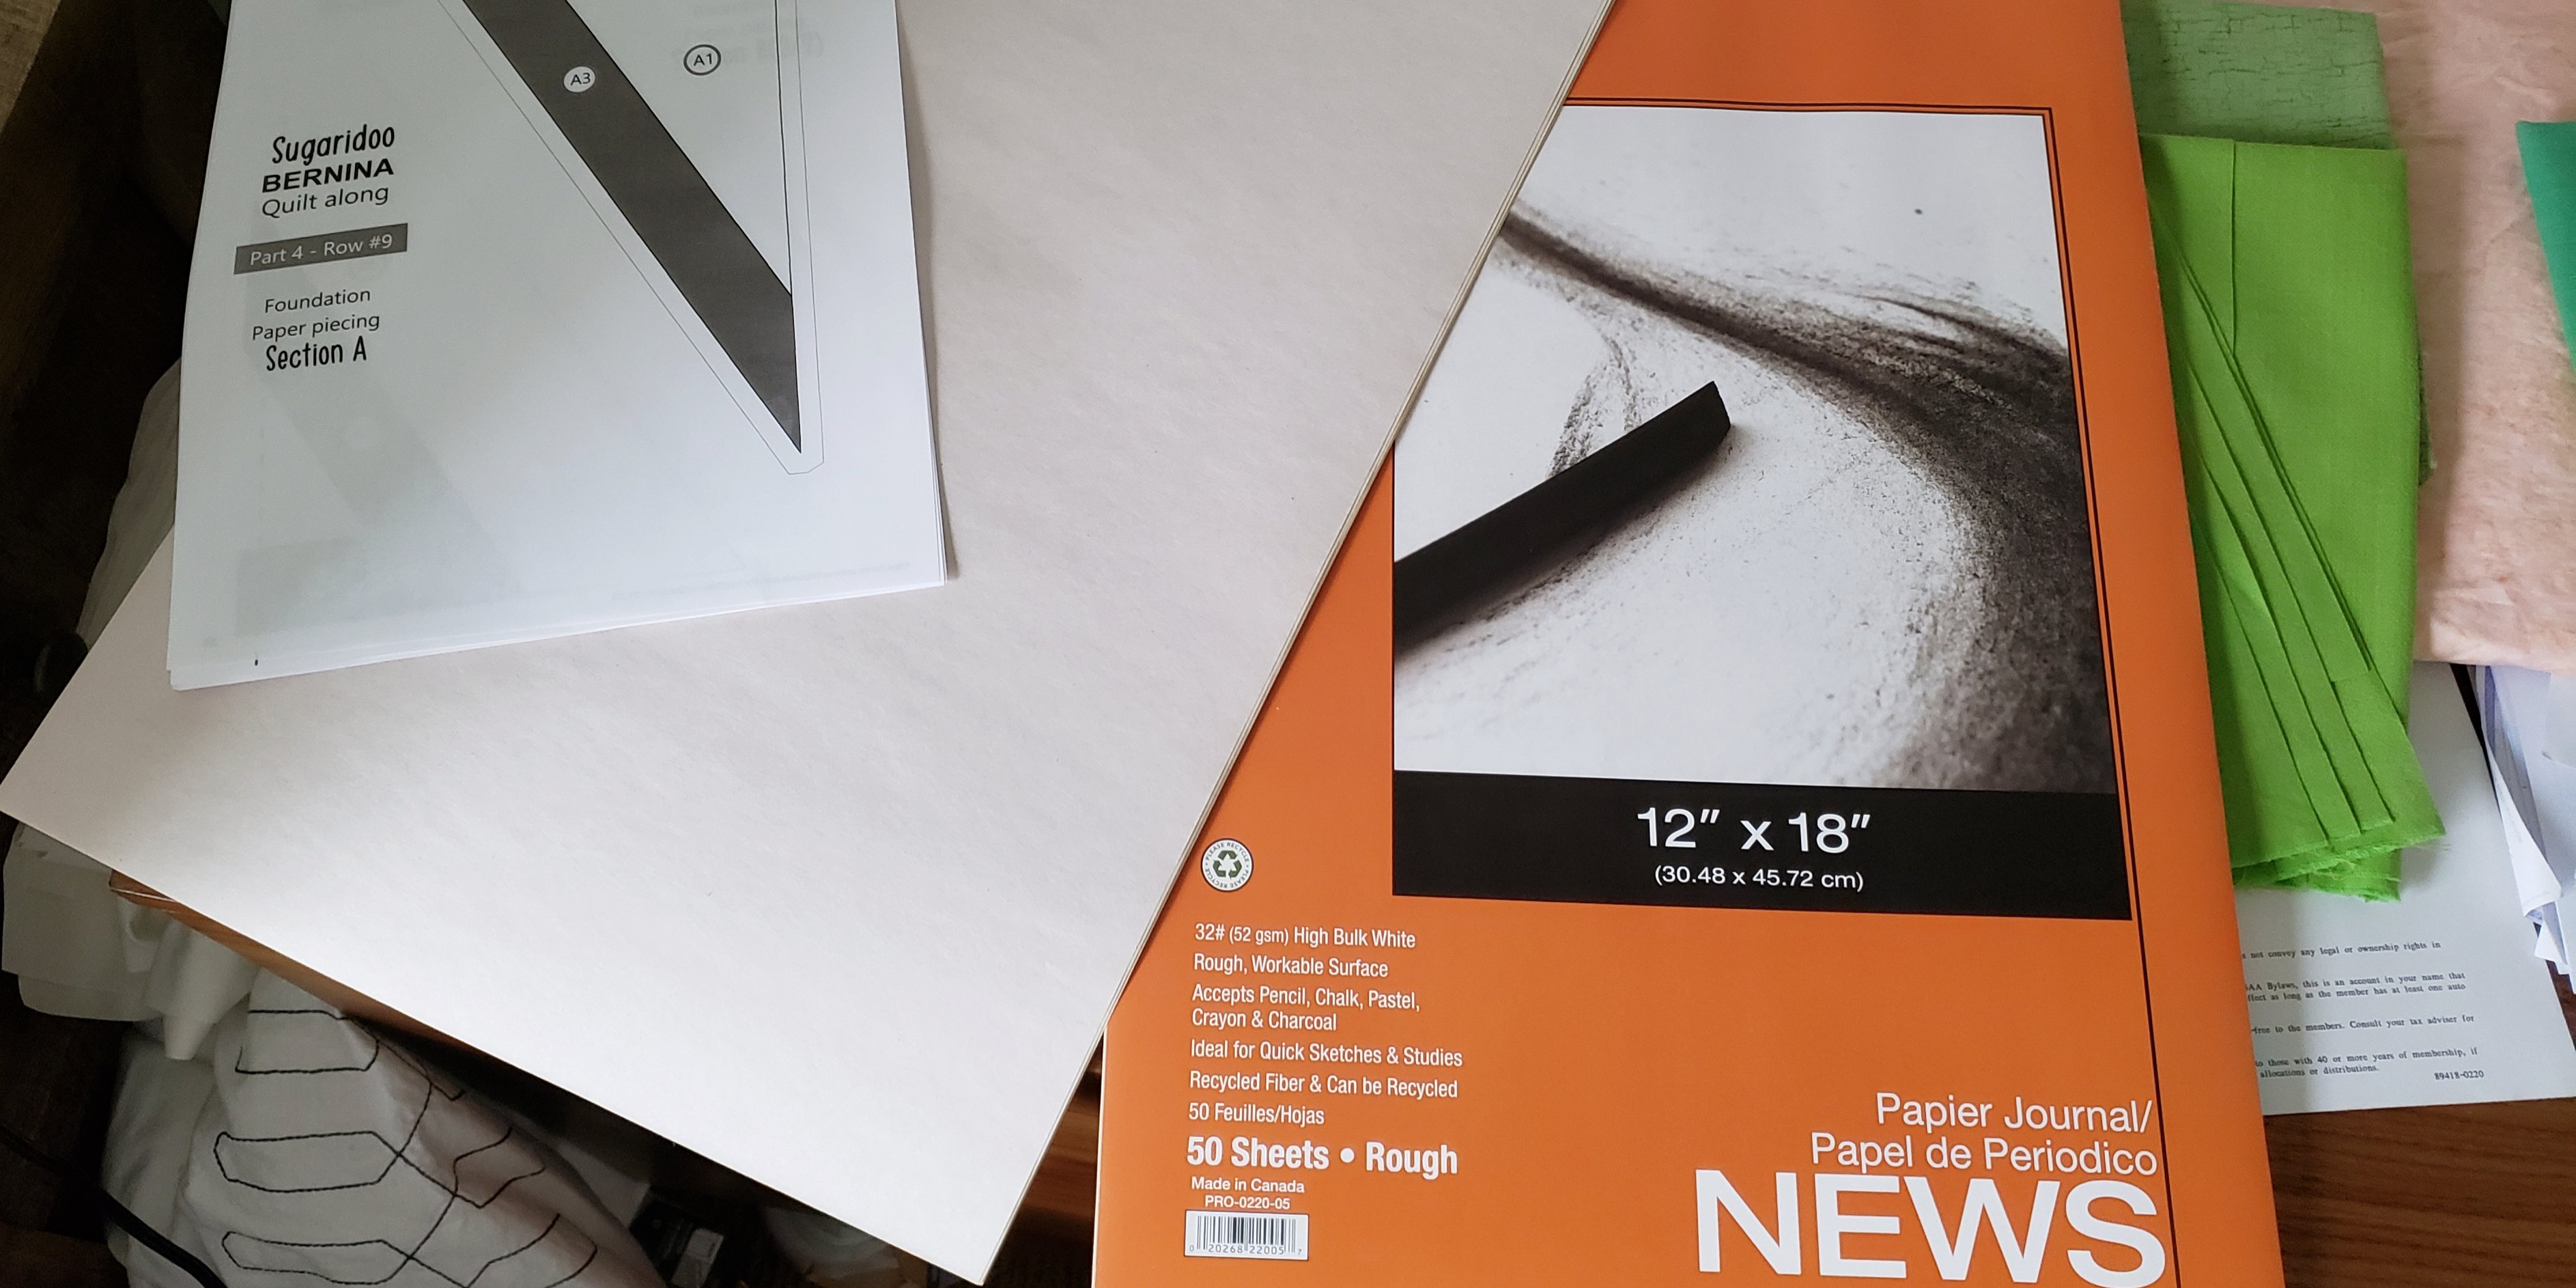
What is the measurement of the dark triangle on the printed pattern? I’m trying to be sure my printer is printing at 100%. Thanks!
Measure piece A along the vertical line. It should be 8 inches without the seam allowances and 8 1\2 with the allowances.
Thank you Jenny!
Neither, I had enough PP with the last one. I will make it the way I know how. Sorry I am wanting it to look soo good. Thank you for what you are teaching. I will try with scraps later.
Hi, planning to start rows soon as Covid 19 has us in lock down here in NZ. I’d planned to make rows at a now cancelled quilting weekend in May. But I’ve told myself ….MUST tidy sewing room first! Thank goodness I have purchased fabric and picked up machine from its yearly service so ready to roll!…Maybe I could start at kitchen table….