It is here. The final row. Part 12 of the quilt along. Today we will mix and match two different techniques to make the missing row of our quilt. In the bottom of this blog post you will find information for the back of your quilt plus a special rainbow backing pattern.
Row #11 ‘All together now’
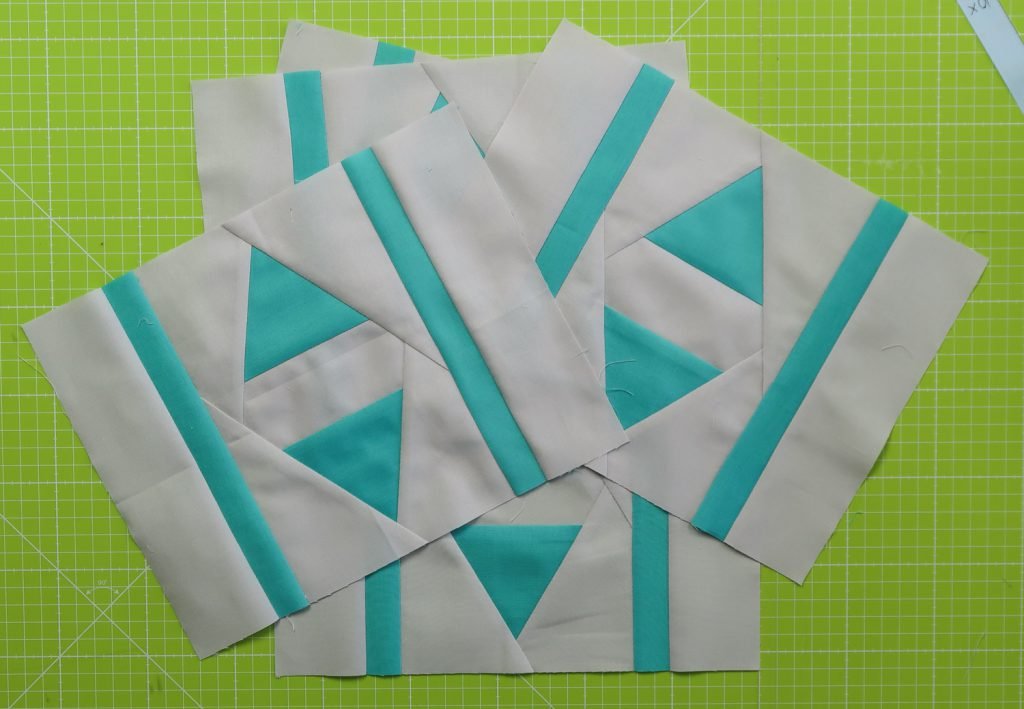
This row is called All Together Now. Triangles, squares and rectangles are mixed together to make this row. But this row also is the row after which we can finally put our quilt together. One single row looks nice on it’s own, but seeing all those rows together is something just so special!
In this row we will be using foundation paper piecing and sewing strips. Two techniques we practiced a few times in earlier rows. Pick the paper piecing technique you prefer. And check the instructions of earlier rows if you need a refresher on the technique.
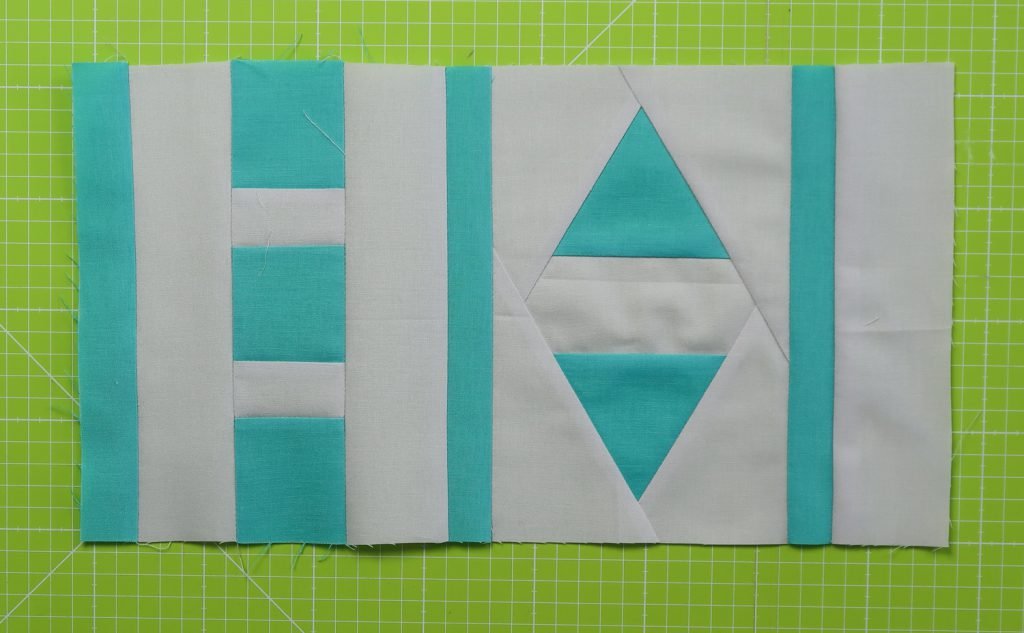
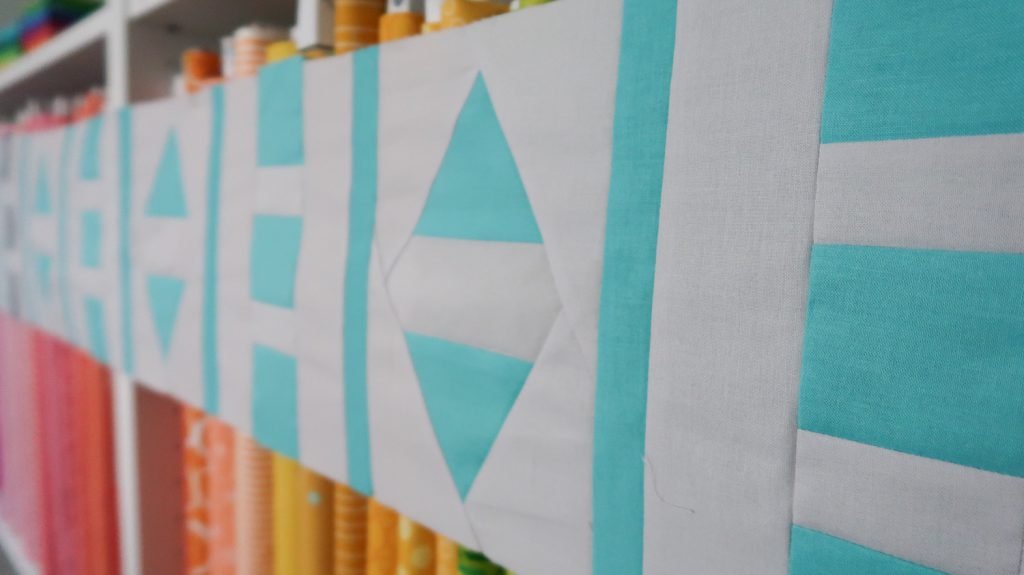
Here it is, the row All together now. Enjoy the final row of our quilt along!
Check out the video below to see all the steps to make this row.
New here?
If you’re new here, welcome! On the 28th of November we kicked off a super fun quilting project. We started a quilt along, where thousands of quilters from all over the world are making the same quilt. Every four weeks a new part of the pattern, a new row, will be released. After 12 rows you will have a quilt of 70 x 90″.
Even though we started eight weeks ago you can still join us! You will have enough time to catch up. There are also still fabric kits available for this quilt along. You can make the quilt in rainbow colors on silver fabric, in rainbow on white fabric or with blue fabrics. Of course you can also pick your own fabrics or use what you have in your stash.
On this page your can find all the links to previous blog posts about this project. Hop over to this blog post to read all the general information about this quilt project. And also read this one to learn more about the materials we use and the fabric requirements.
Fabric + Material
Did you order a kit for the quilt along? Than you’ll use the light blue fabric called ‘Breakers’ for this row if you are making a rainbow quilt. (Pleae note: in the pictures and video you see me using the wrong color Capri. In the rainbow quilt it should be Breakers!) Or the blue fabric called ‘Jade’ if you’re making a blue quilt. We will make a few of the strips in accent color, so also get your accent fabric out. And of course your need your background fabric.
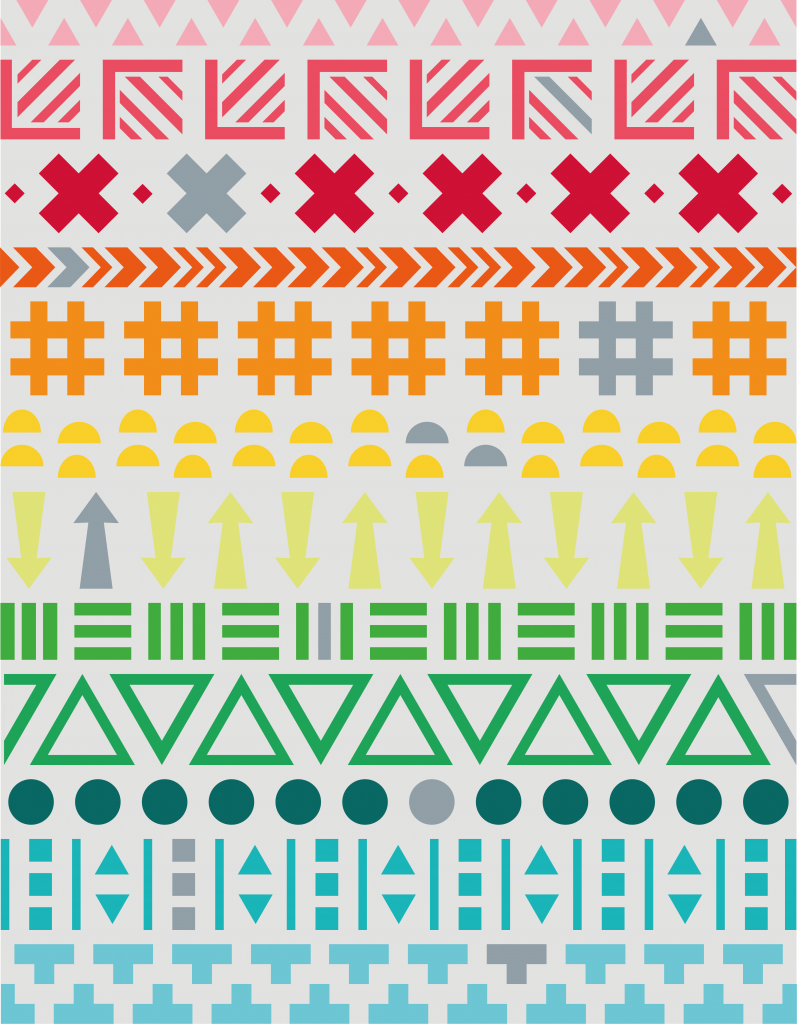
For those of you who want to play with the location of the accent color in each row, or add extra accent colors or just want to get a little more insight in the layout of the quilt. Here is a schematic of the rows and the placement of the accent colors.
And this is what the schematic of the quilt looks like for the blue fabric kit.
You will need the following to make this row.
- Main fabric: 12 inch
- Accent fabric: fabric for a few strips
- Background fabric: 20 inch
- Inch ruler (12 x 6 or 24 x 6 inch both will be fine)
- Add-a-quarter ruler
- Rotary cutter
- Cutting mat
- Freezer paper or tea bag paper
- Iron + ironing board
- Sewing machine
- Thread (I use thread in the color of my background fabric)
Cutting your fabric
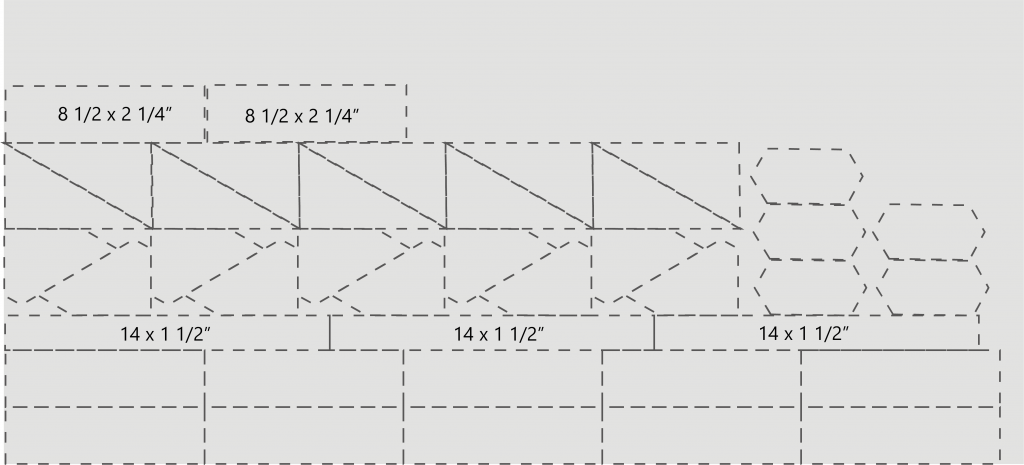
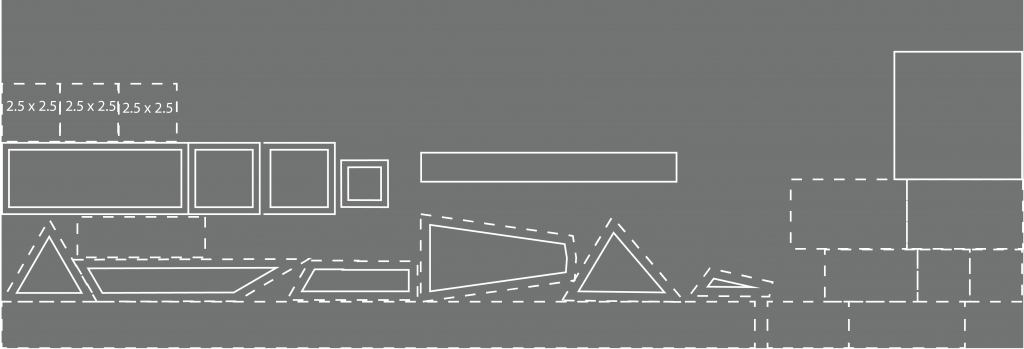
All the measurements below include a 1/4″ seam allowance. Pieces in the cutting scheme without measurements are pieces from the paper piecing pattern.
Main fabric (Breakers)
- 2 x a strip of 1 1/4 x 8 1/2″
- 3 x a strip of 2 1/2″ x 14″
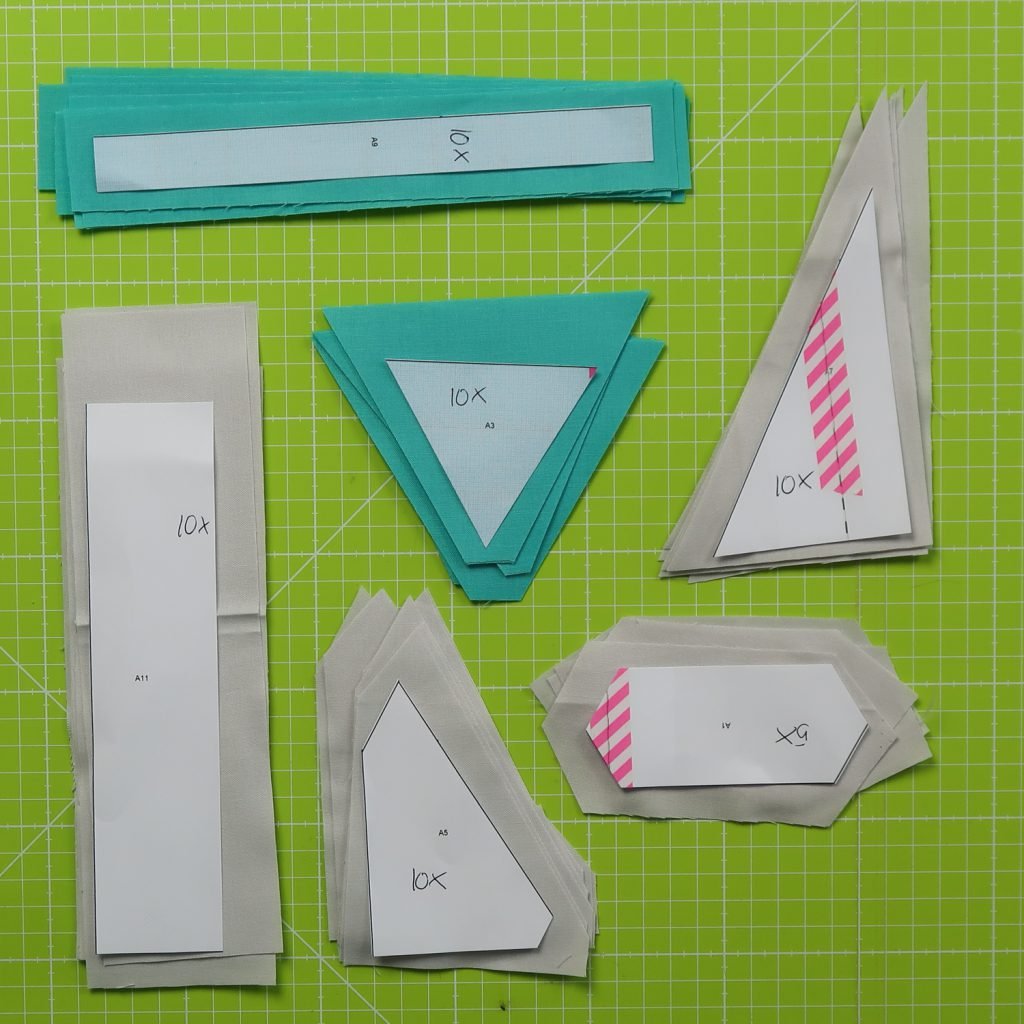
- Cut the pieces you need for the paper piecing parts
- 10 x piece A3
- 10 x piece A9
Background fabric (Silver)
- 2 x a strip of 2 1/4 x 8 1/2″
- 2 x a strip of 1 1/2 x 14″
- 2 x a piece of 1 1/2 x 2 1/2″
- Cut the pieces you need for the paper piecing parts
- 10 x piece A10
- 5 x piece A1
- 10 x piece A5
- 10 x piece A6
Accent fabric (Titanium)
- 3 x a piece of 2 1/2 x 2 1/2″
These cutting schemes can also be downloaded as a PDF:
Cutting schemes for QAL part 12 – Row #11 [Rainbow]
Here you can download the cutting scheme for the Blue fabric kit:
Cutting Schemes for QAL part 12 – Row #11 [Blues]
Let’s get started
We will first make the paper piecing parts of this row. Download the pattern below and use the foundation paper piecing technique that you prefer. I’m going with the freezer paper method for this row. Check back to previous rows to refresh the foundation paper piecing technique if needed.
Foundation Paper Piecing pattern row #11
You need to make this part five times.
Sewing the squares
Now we will make the squares-strips that go in between the paper piecing parts.
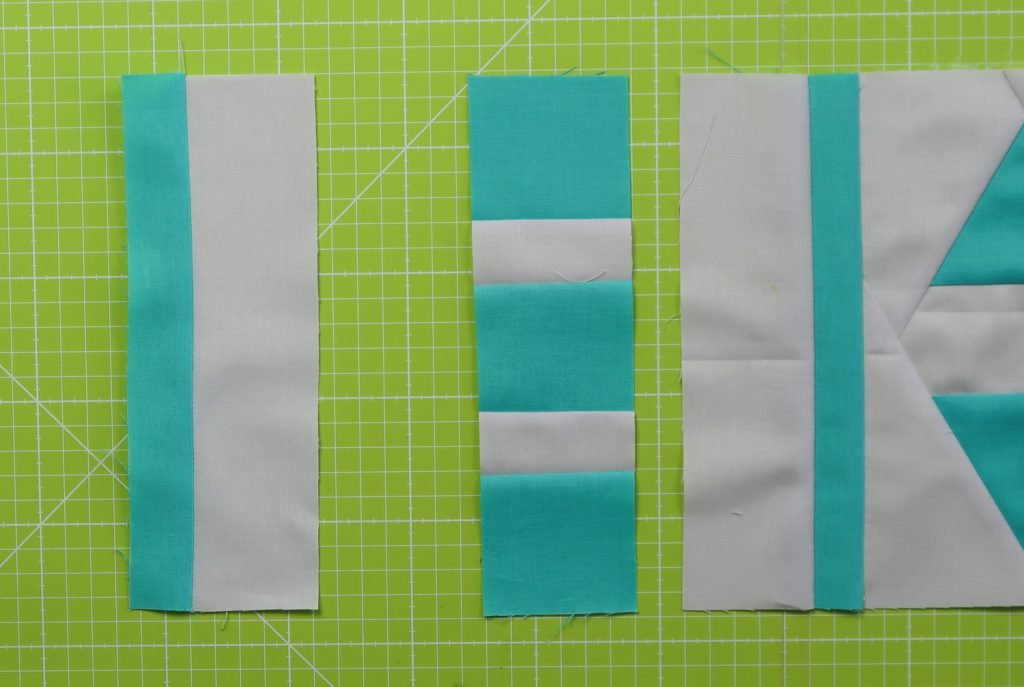
Take the two 14″ strips in background fabric and the three 14″ strips in main fabric.
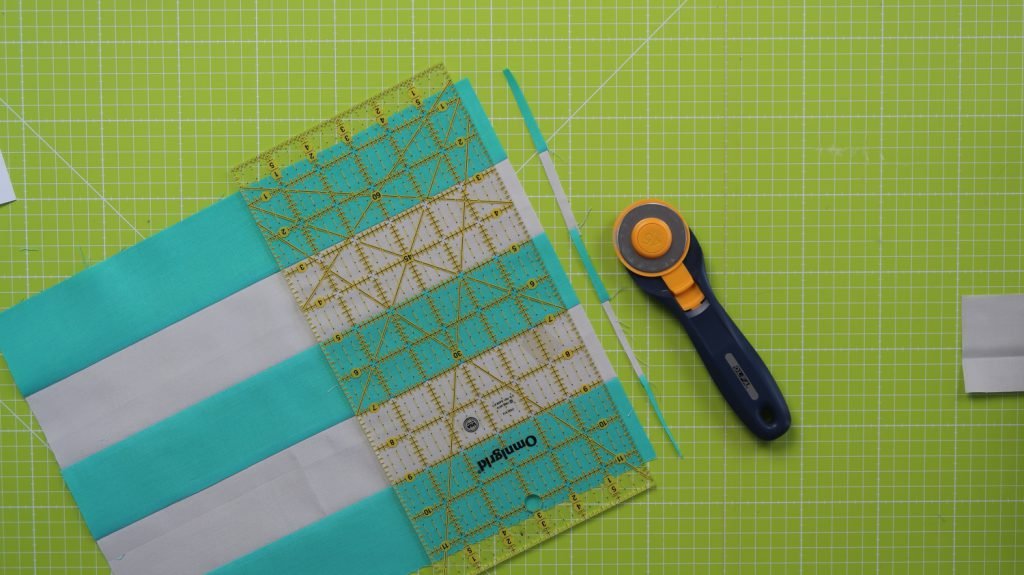
Sew these strips together in alternating order. Start and end with the main fabric.
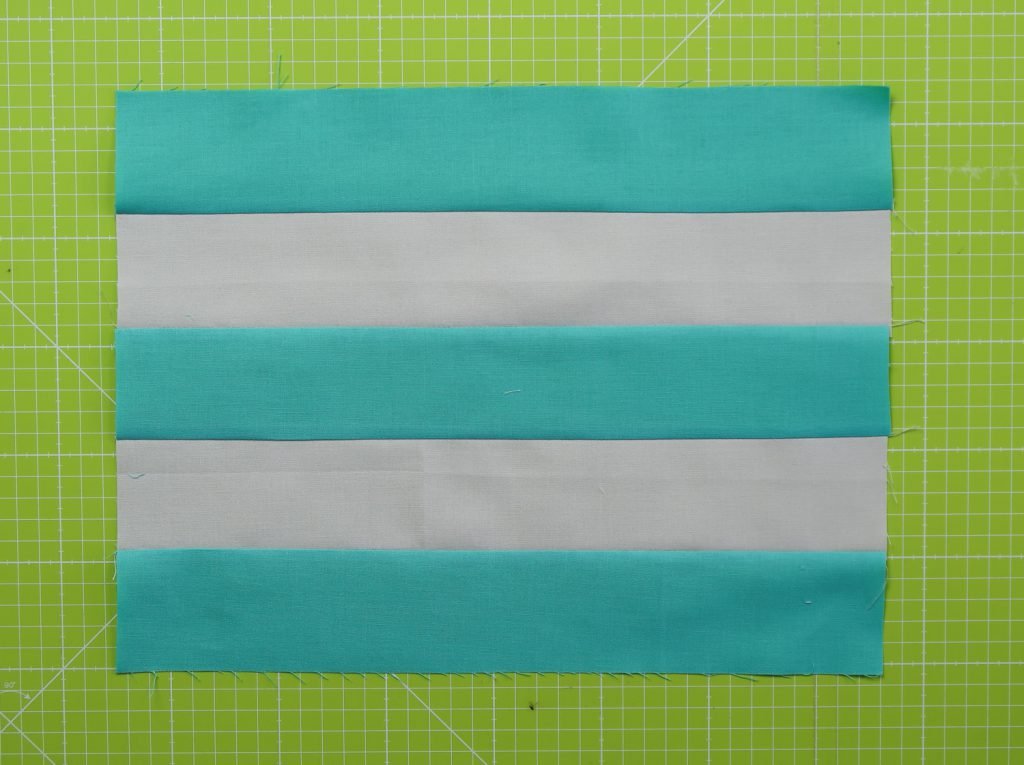 (In the picture above and below I made a mistake of using 2 1/2 wide background strips, those should be 1 1/2″)
Now cut these strips in 2 1/2″ wide slices. There is some extra length in the strips, so you can square of the side first
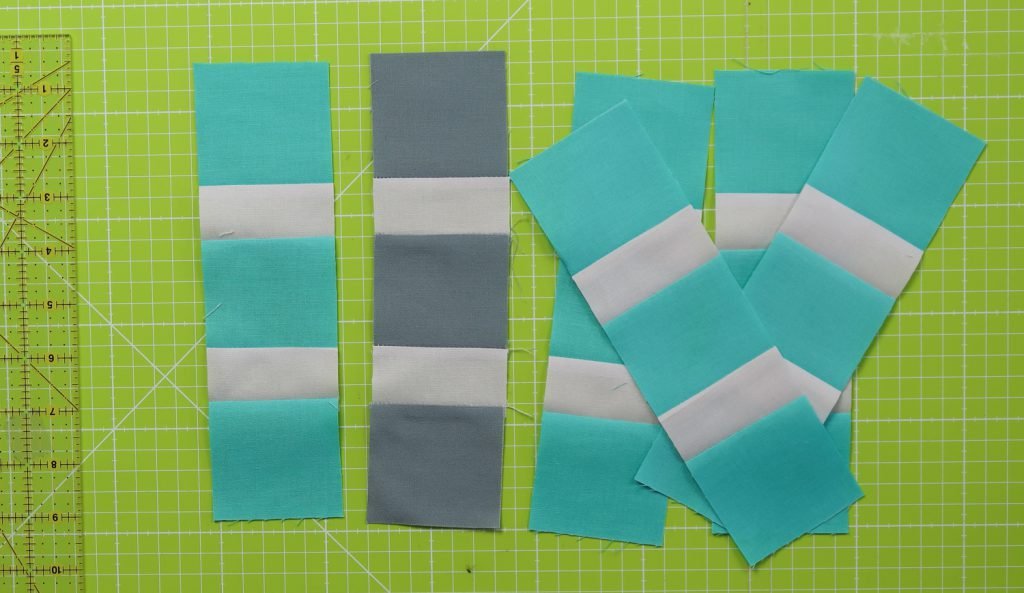
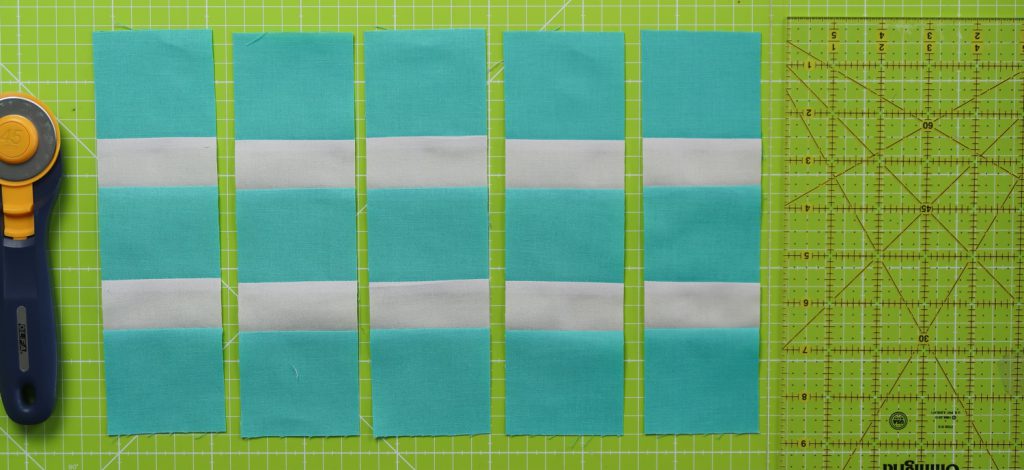 (Here you see how the square-strips should look with the correct background strips.)
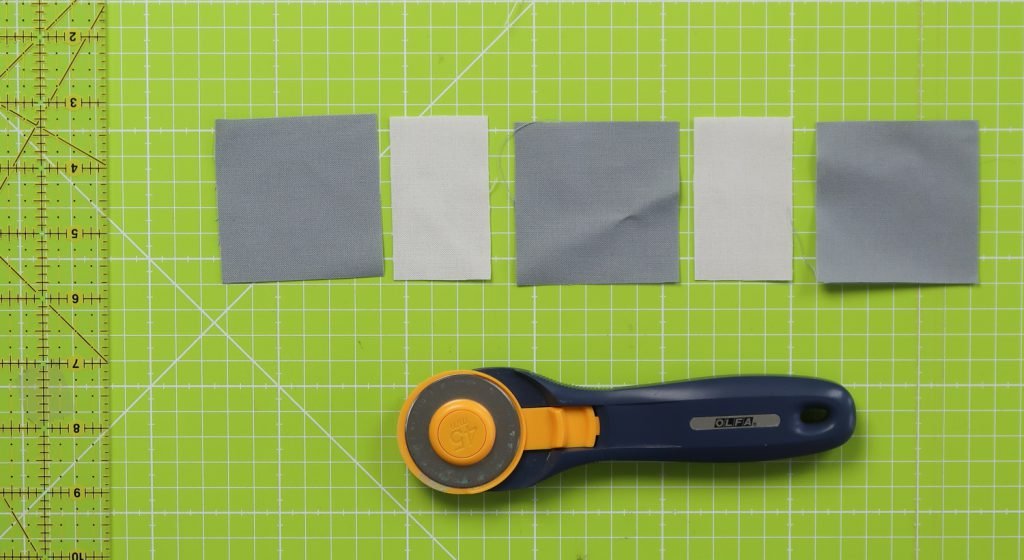
I made one piece with three squares in accent fabric. For that you will sew the three 2 1/2 x 2 1/2″ accent squares and 1 1/2 x 2 1/2″ background pieces together.
Assembling the row
Now we have all the pieces to make the row we can assemble it.
Start on the left with a 1 1/4 x 8 1/2″ main fabric strip. Then a 2 1/4 x 8 1/2″ strip background fabric.
After that we will alternate with a squares-strip and a paper piecing part
I put my accent piece as the second squares-strip from the left.
Continue to add squares-strips and paper piecing parts.
Finish the row with a 2 1/4 x 8 1/2″ strip background fabric and a 1 1/4 x 8 1/2″ main fabric strip.
You made it!
Well it’s almost the end. We still need to sew all the rows together. That is something we will do in four weeks. On the 29th of October you will find the post with all the information about the sashing between the rows here on the Bernina blog. I’ll show you how to make all the rows the same length. And how to sew everything together into one quilt top.
You will need to finish your quilt, and post a picture in the Bernina community or on Instagram before the 26th of November. The instructions on how to enter your quilt to have a chance to win one of the three Bernina 570QEs or one of the three rulers sets will be given in the blogpost about sewing the sashing to the quilt.
Happy quilting!
Irene
The back of the quilt
Fabric for the back
For the back of the quilt you can use any fabric you like. I’m going to show some options on how to quilt the quilt after the next blog post. I will show you how to quilt the quilt in three sections and in one piece.
So before you make the backing for the quilt you need to decide if you want to quit your quilt in one piece, or in three smaller sections.
One piece backing
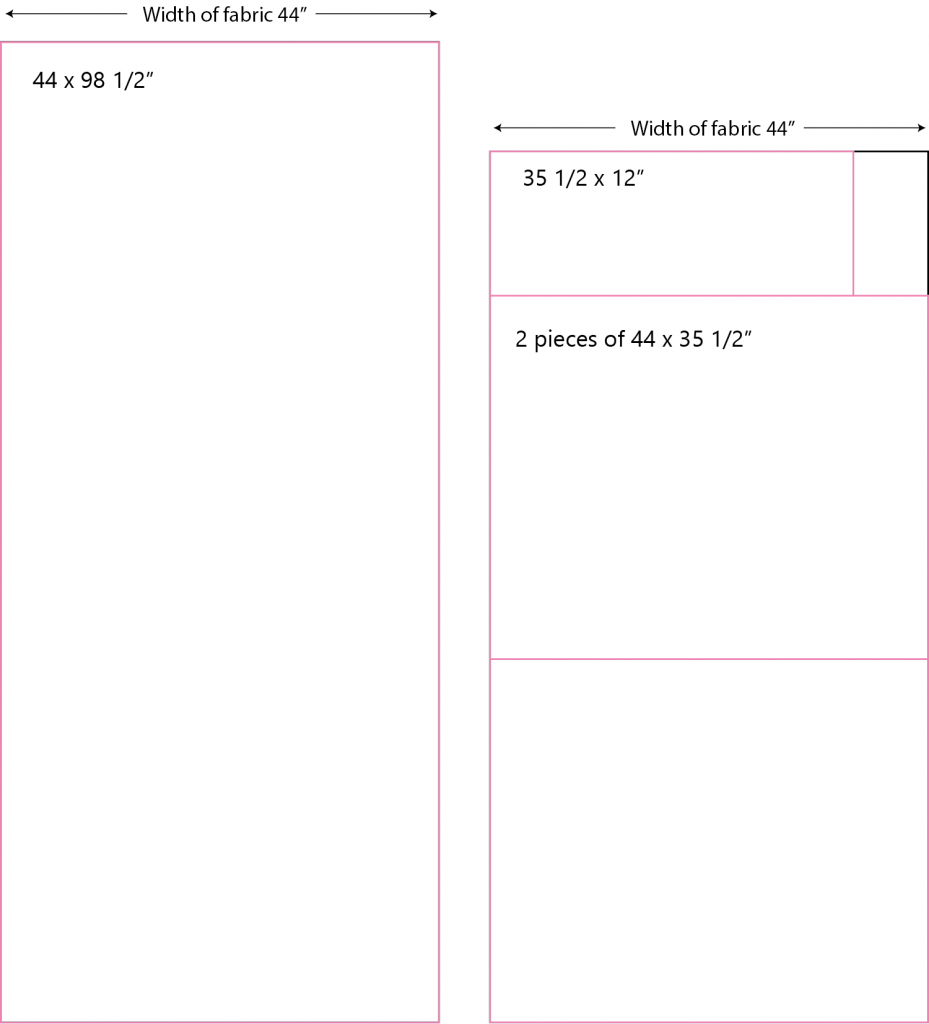
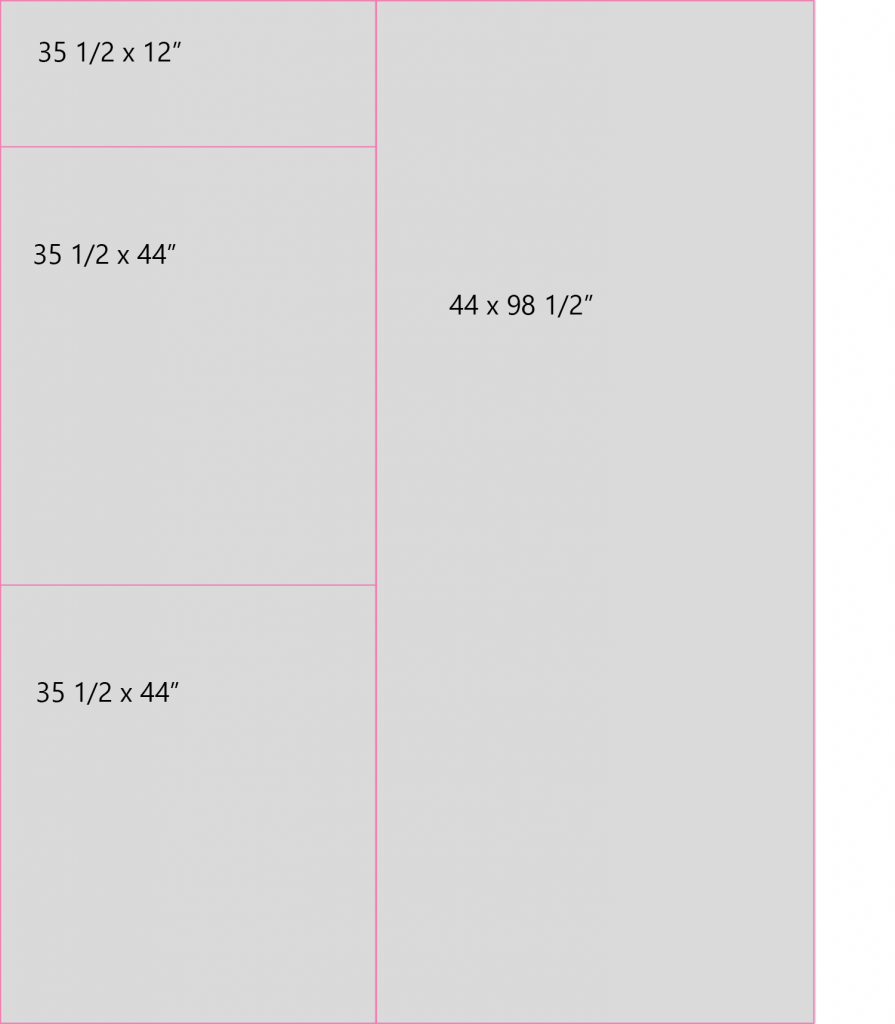
If you want to make it in one piece, you will need 5 yards of fabric for the backing. Always make backing fabric a little bit bigger than your quilt top. I like to make is 4 inches bigger on all sides. So our backing should be 78 1/2 x 98 1/2″.
This is calculated for fabric that is 44 inch wide. When you use extra wide quilting fabric (104 – 108 inch) you will only need 78” of fabric. You can cut your fabric like this:
And then sew that together like this. Start by sewing the three pieces on the left together. Then add the larger pieces to the right. The measures above and below include seam allowance. The finished quilt back will measure 78 1/2 x 98 1/2”.
Three pieces backing
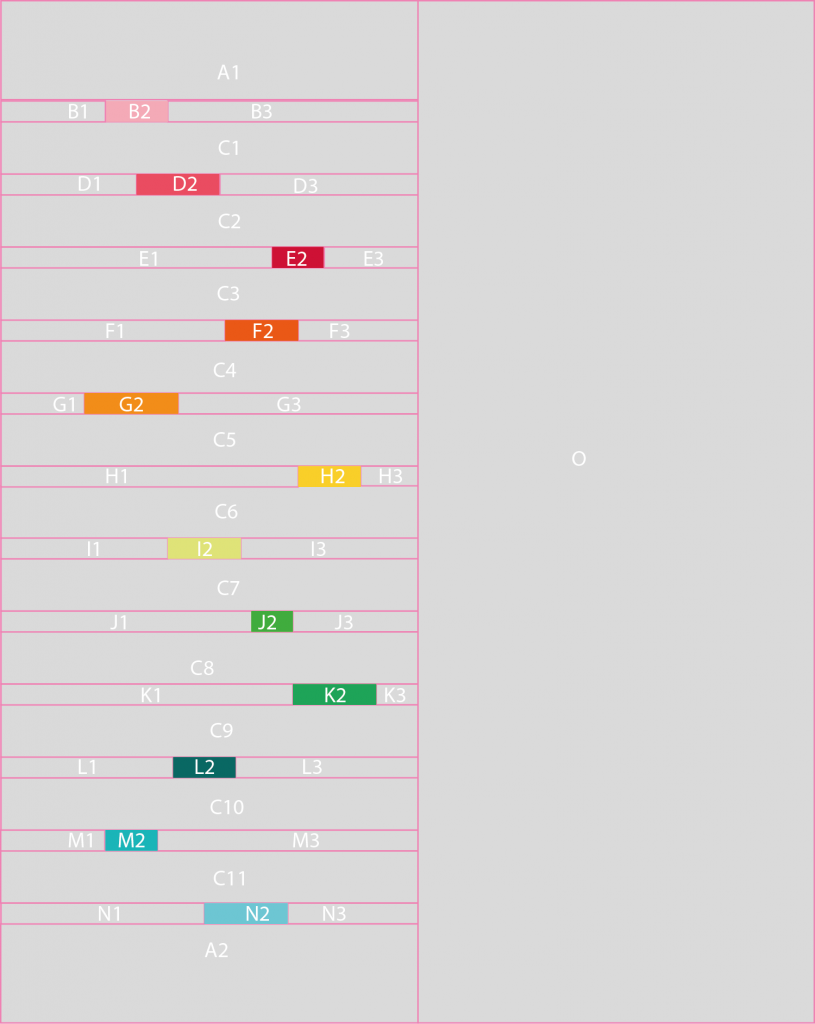
I divided the quilt in three sections like this.
- Section 1 (row 1 – 4)
- 70 1/2 x 26 1/2” (finished size)
- 78 1/2 x 34 1/2 (incl 4 inch on all sides)
- includes the sashing below row #4
- Section 2 (row 5-8)
- 70 1/2 x 31 1/2” (finished size),
- 78 1/2 x 39 1/2 (incl 4 inch on all sides)
- now sahing above row #5 and no sashing below row #8
- Section 3 (row 9-12)
- 70 1/2 x 32” (finished size),
- 78 1/2 x 40 (incl 4 inch on all sides)
- includes sashing above row #9
The width of normal quilt fabrics is 44 inch. So I would suggest using 3 pieces of 78 1/2 inch for this option. That will be a total of 3 x 78 1/2 = 235 1/2 inch = 6 yard + 20 inch (6m) of fabric.
Special rain bow sprinkles pattern for the back
I also made a PDF with all this information. It includes a bonus pattern for the backing. You don’t need to make this backing in order to be able to win one of the prices. It’s just something extra that I designed for the quilt along.
 BERNINA Corporate Blog -
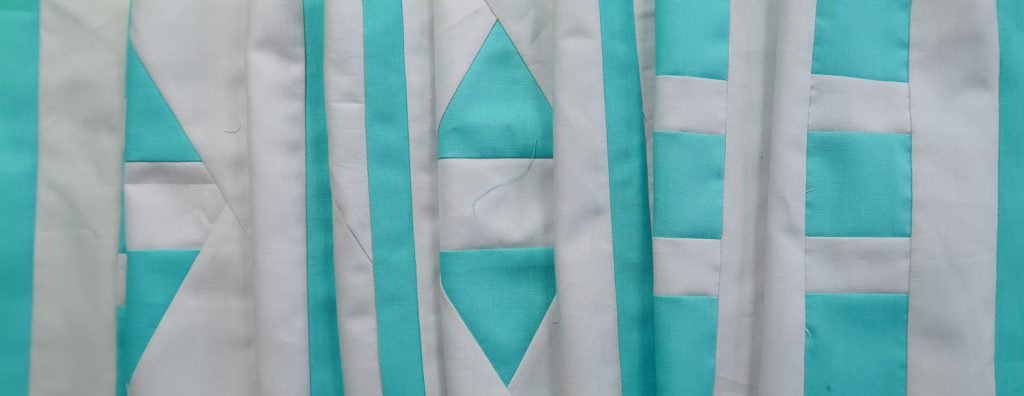



My quilt top is finished! Love the results! Labor of love ❤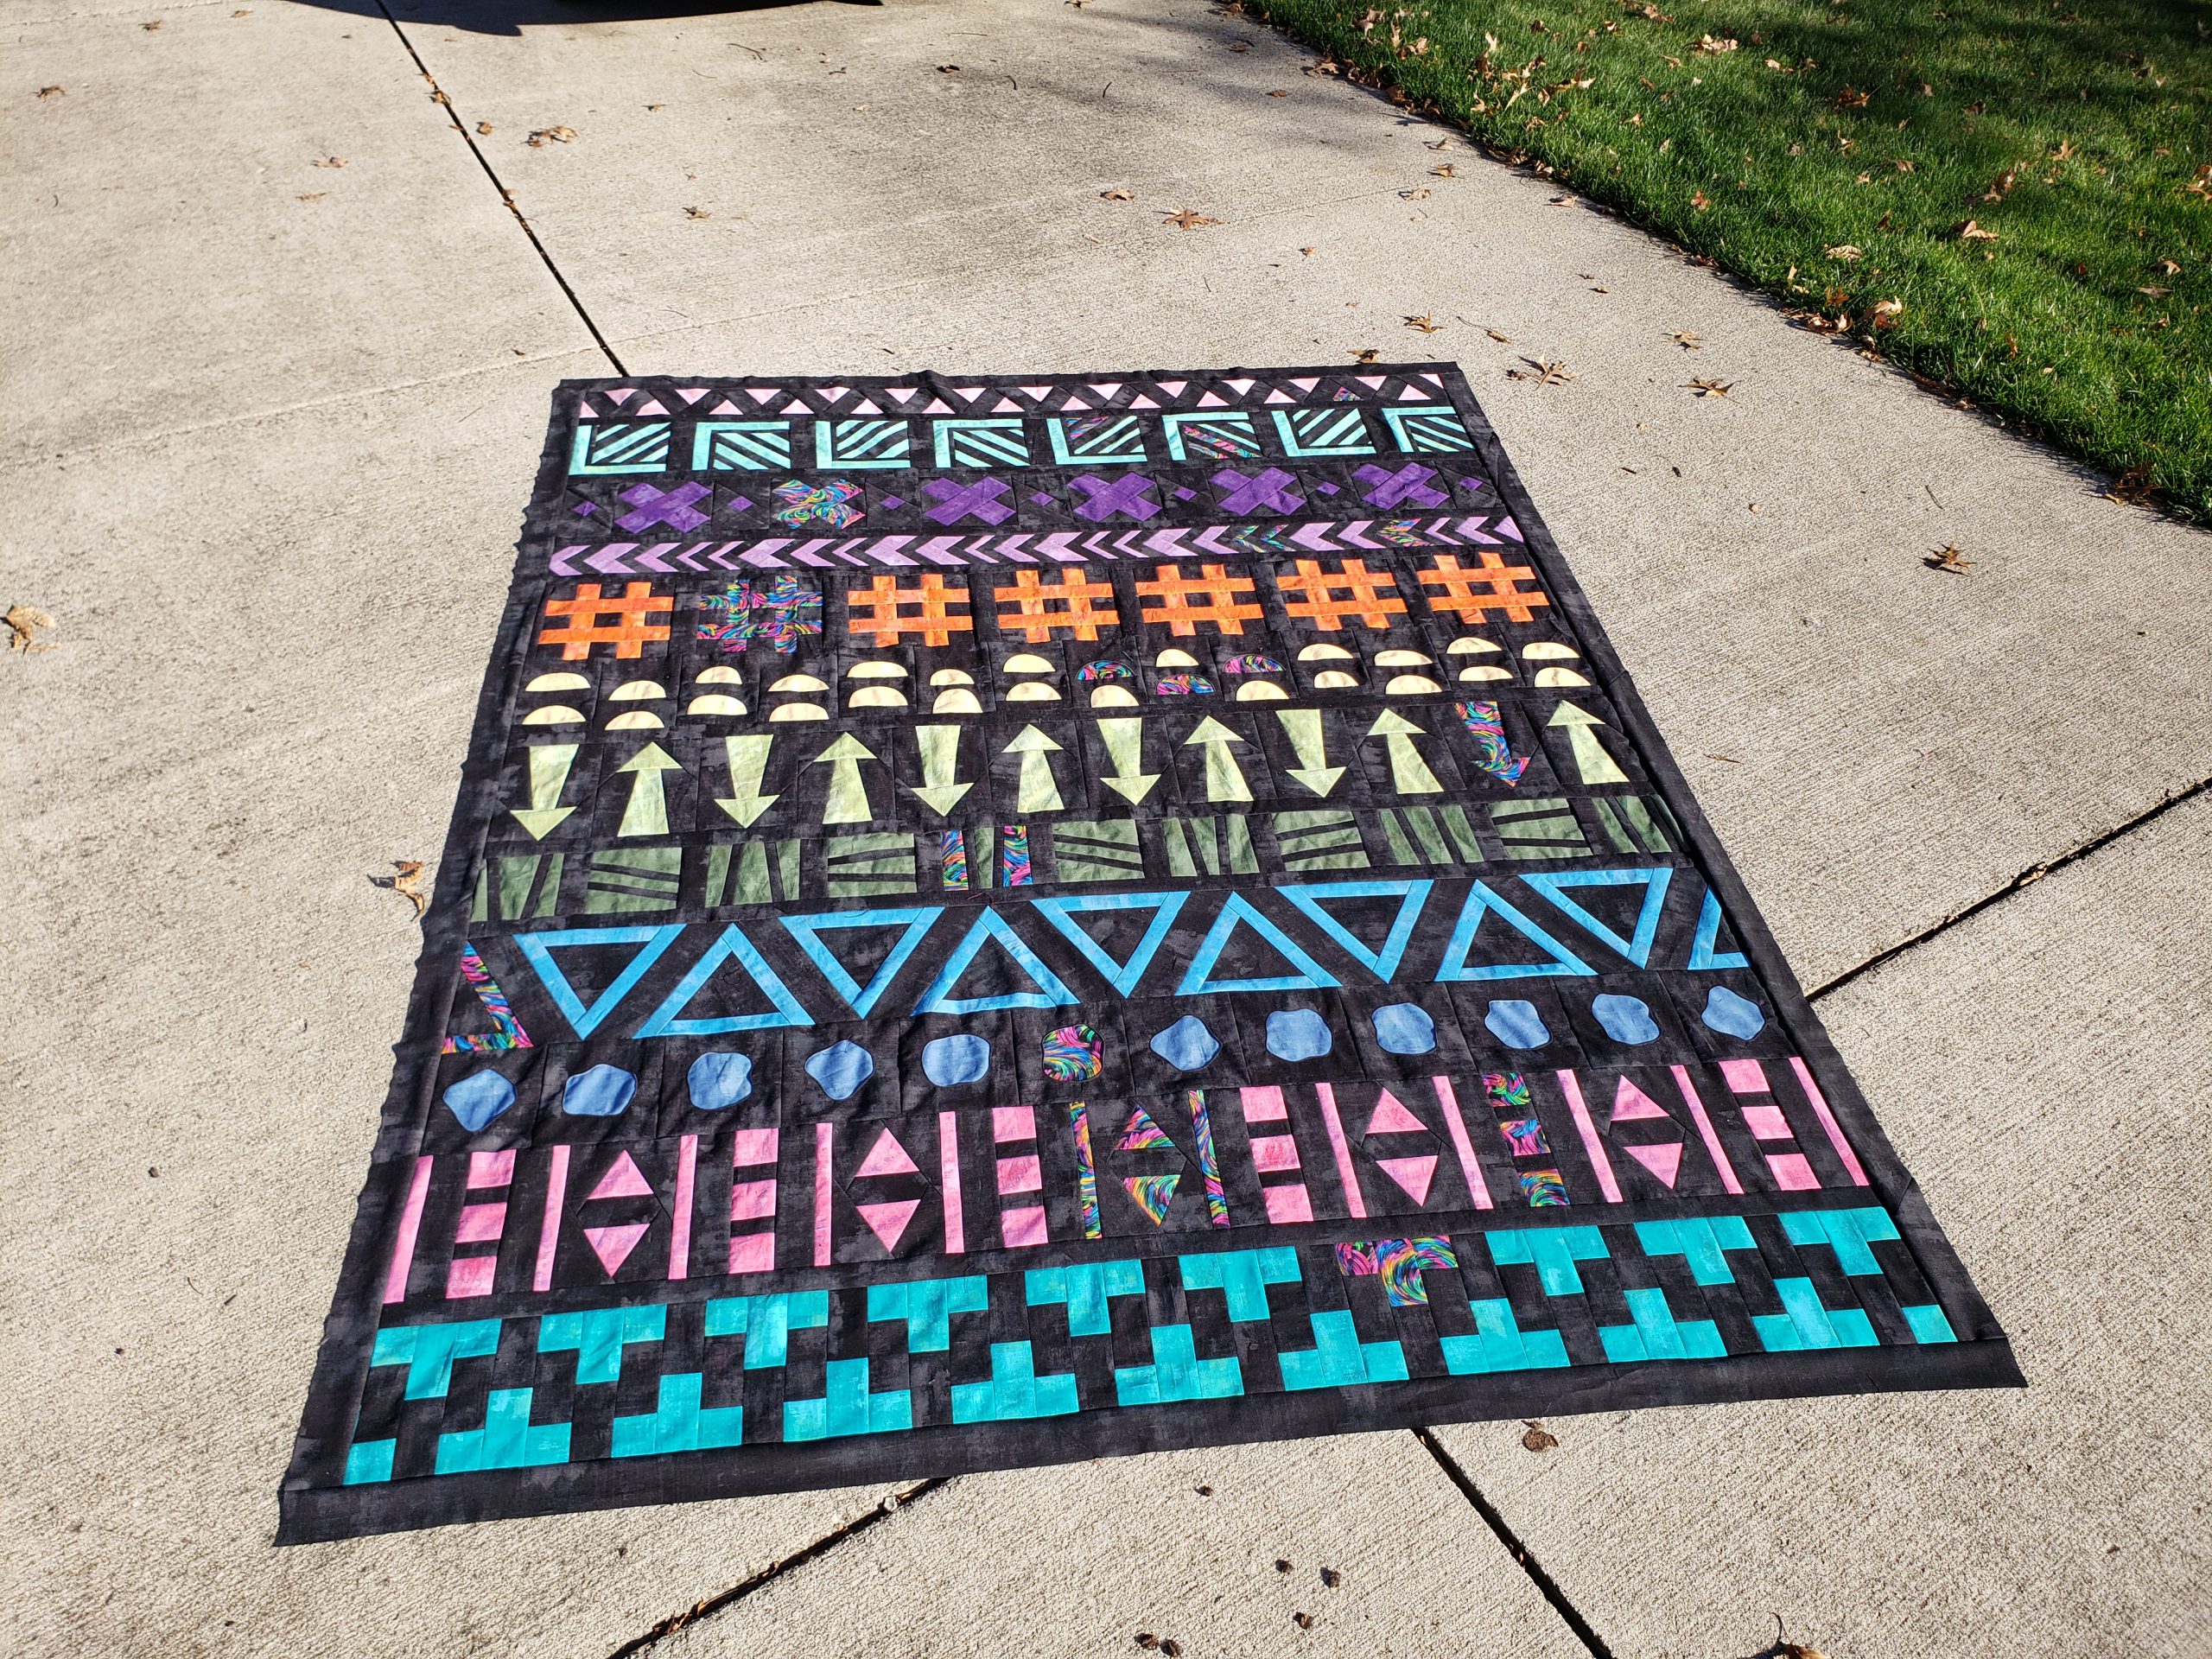
[caption id="" align="aligncenter" width="2560"]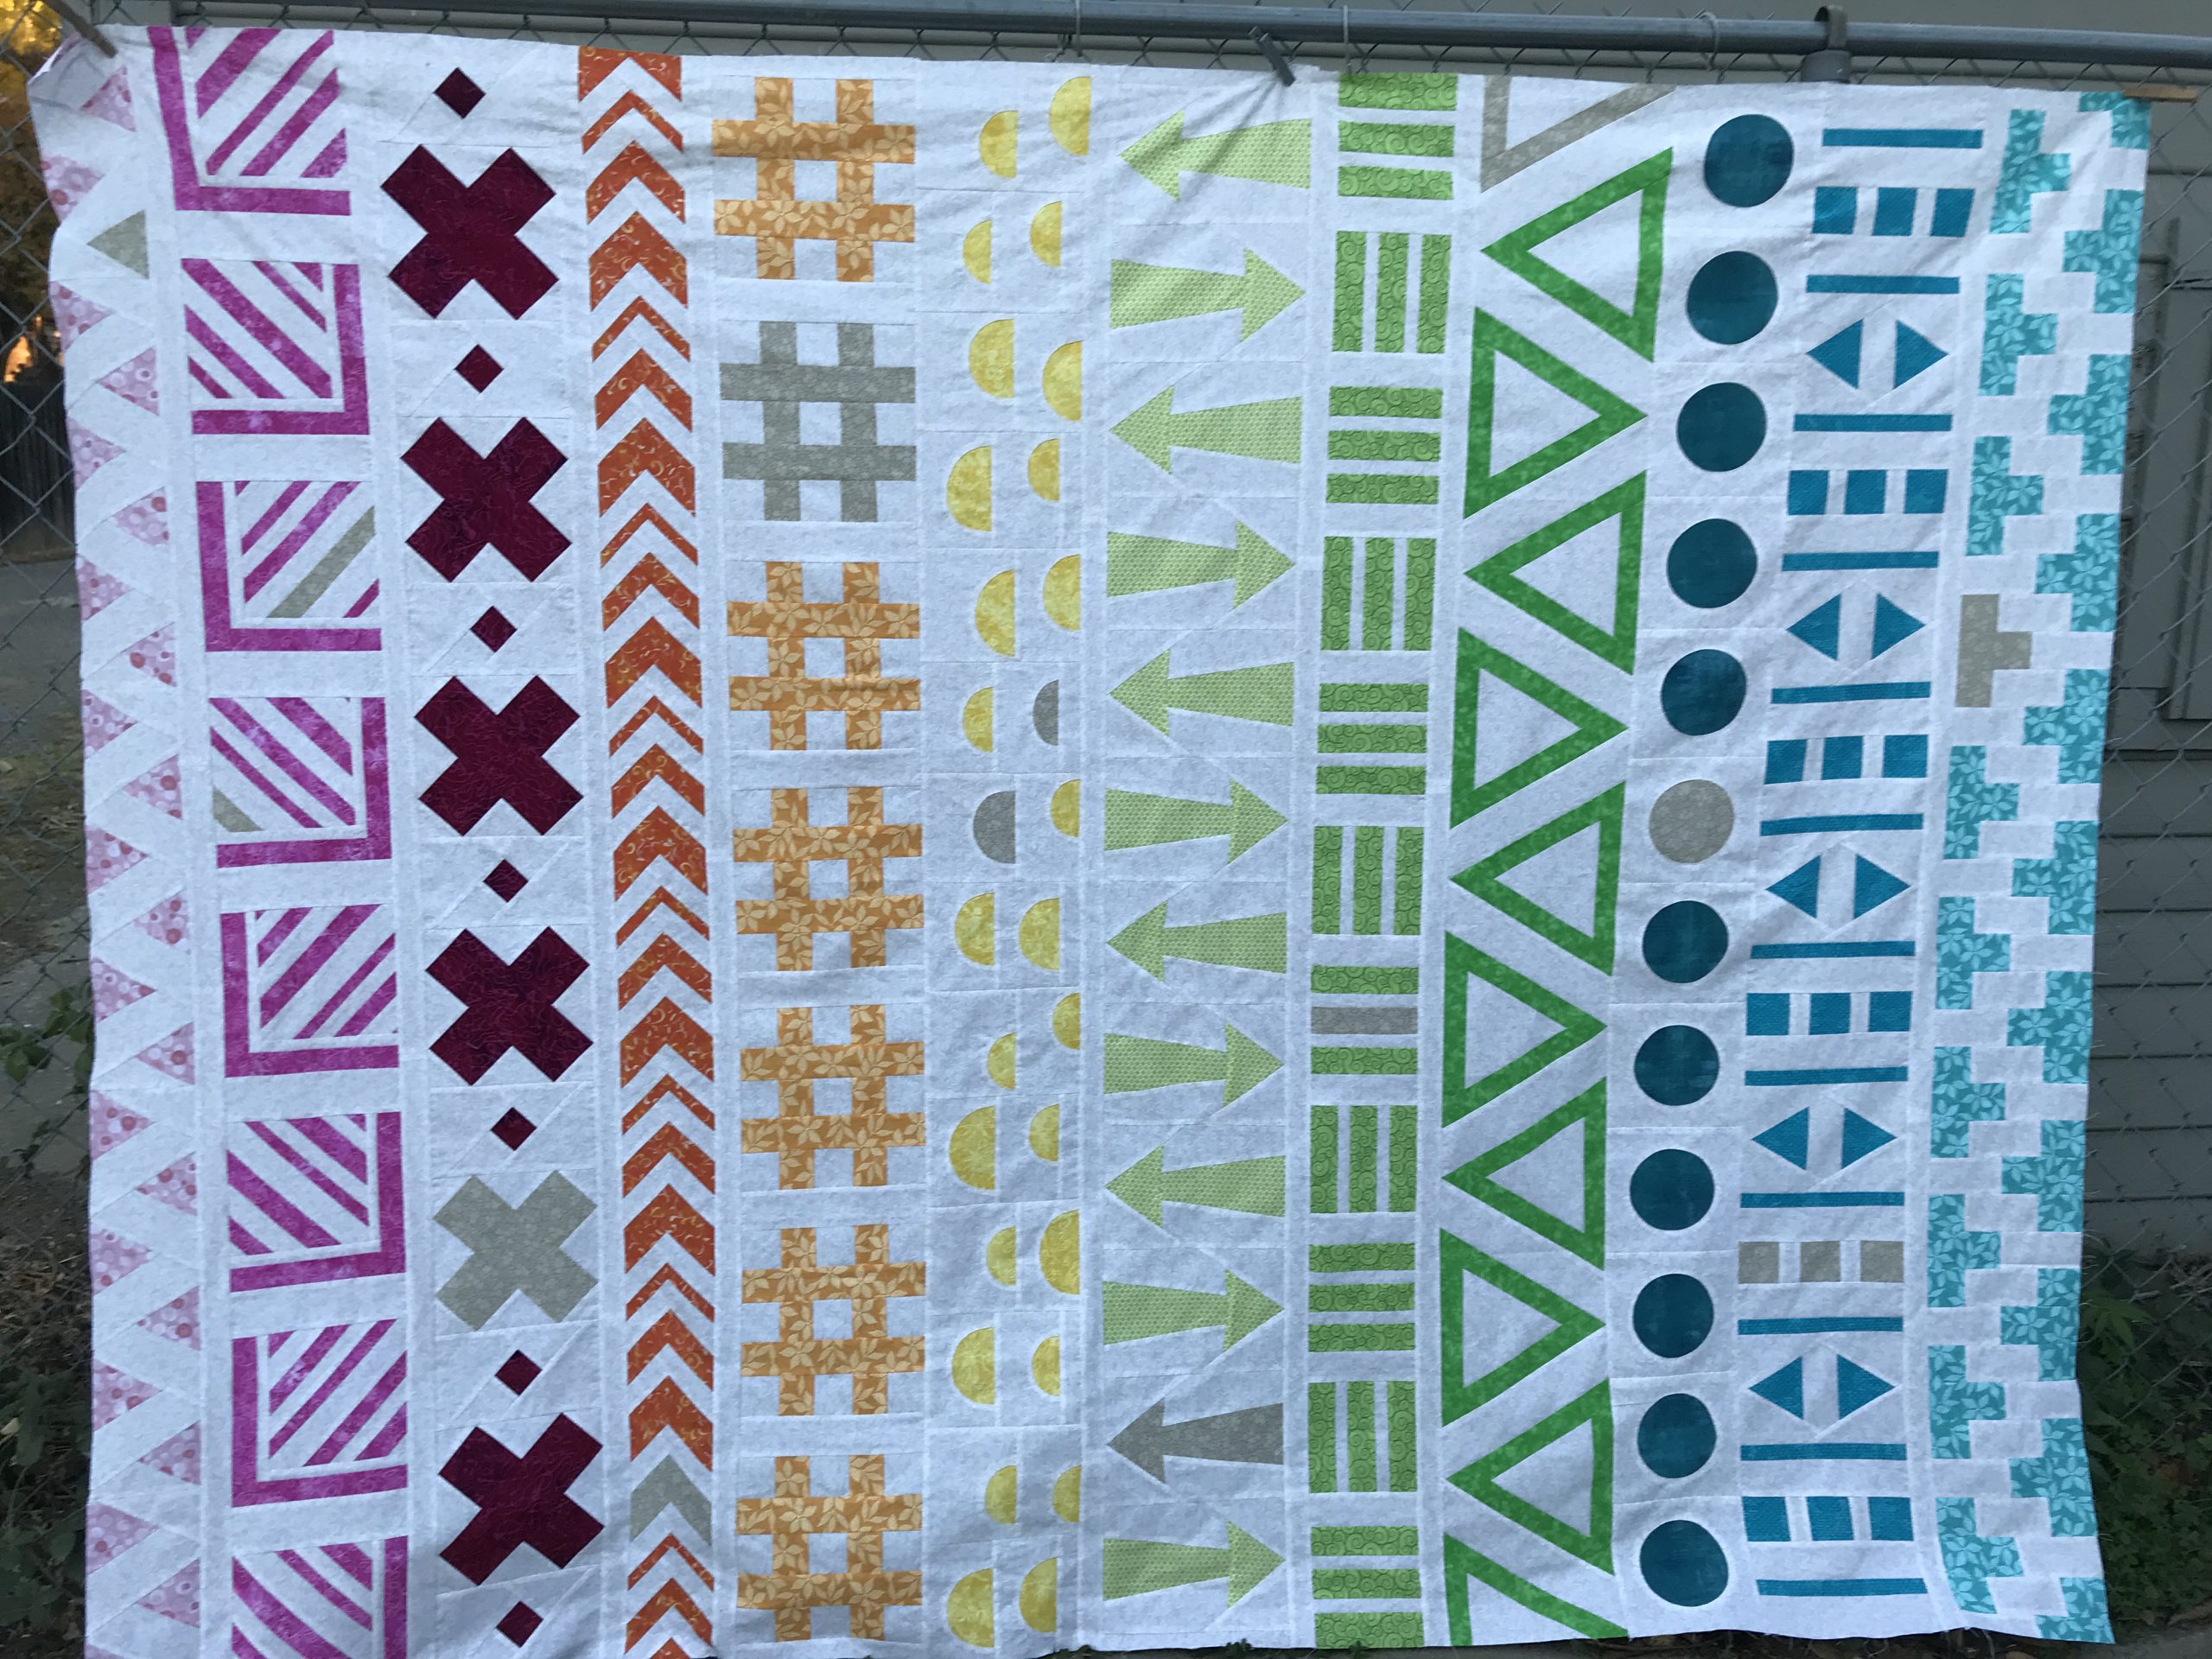 Fun project, learned a lot.[/caption]
Finally done, thank you Irene and Bernina, this was a fun project.
I finally found the time to put this together! I paper pieced the triangles and color stripes but I pieced the squares with the background stripes using traditional quilting techniques. Now to find the time to assemble the quilt top.
Maine Coast, USARow 11 – All Together NowTaking these photos at the park has been a very enjoyable add-on to the QAL. It’s lovely to see the progress of both the rows & the seasons.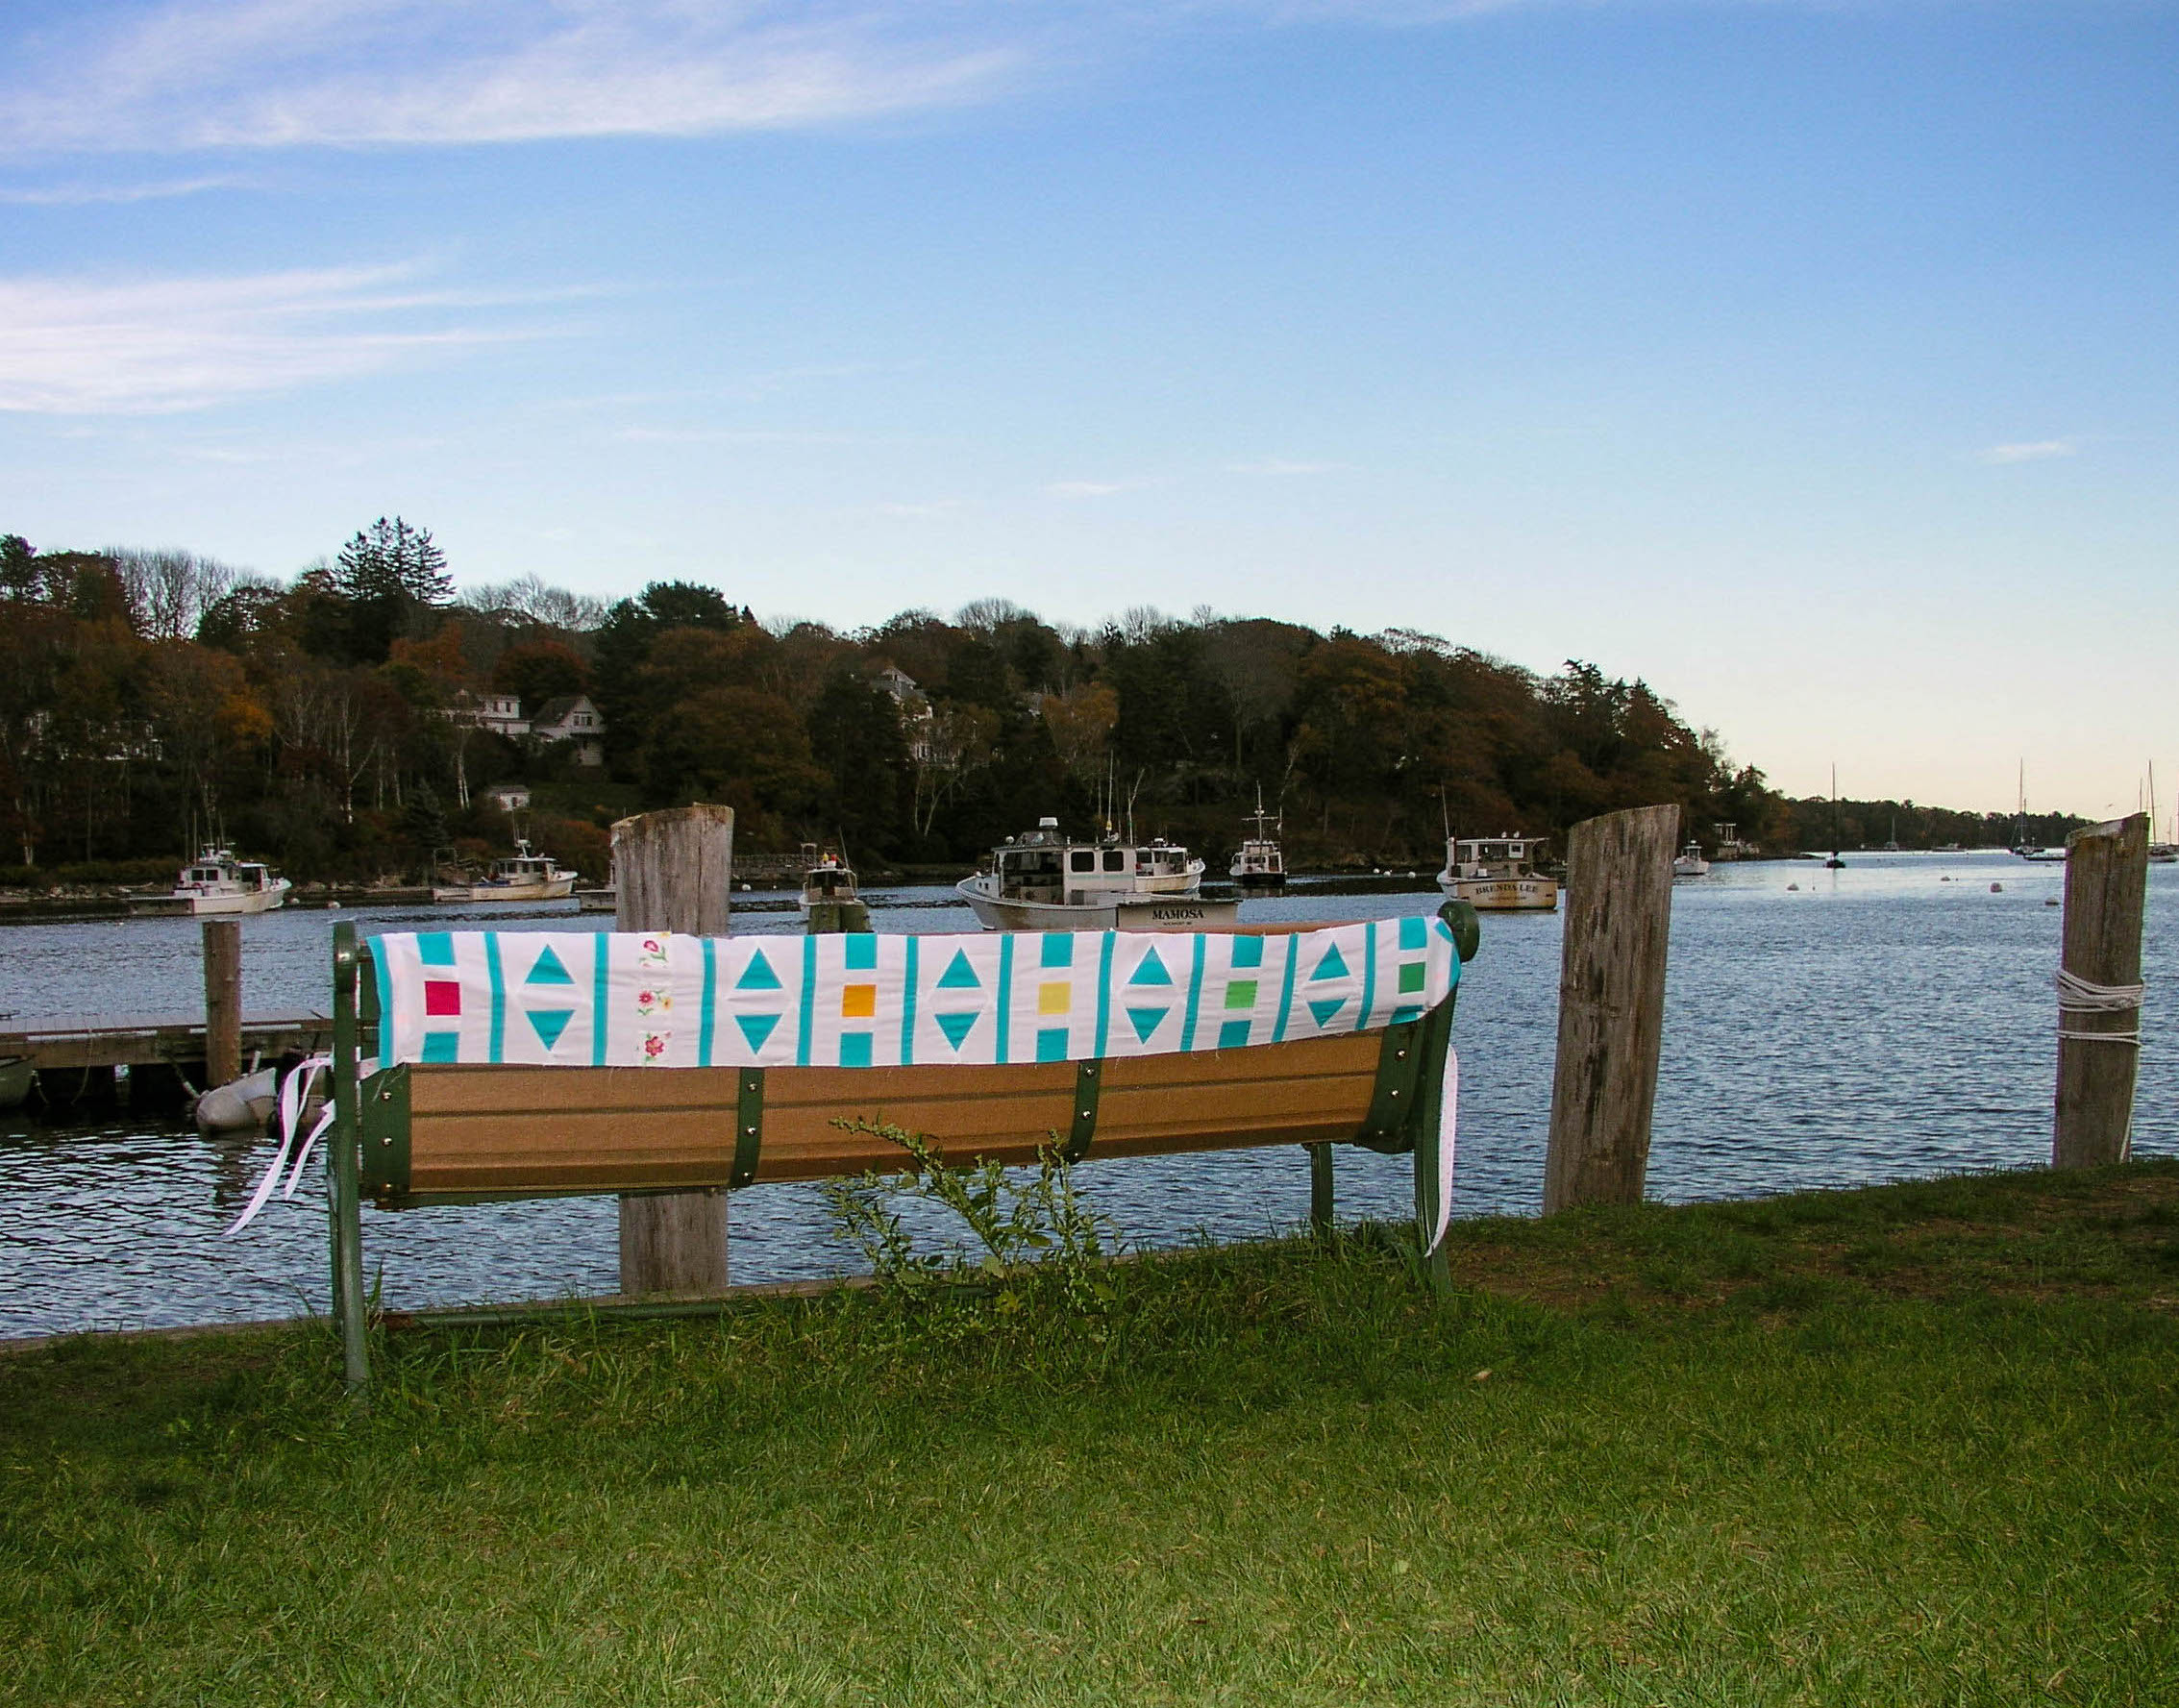
Finially finished. I plan on adding sashing to the sides to make it more symmetrical.
I finally finished the QAL! This was quite the journey for me. I am a relatively new quilter and some of the rows were really stretching me. I feel I learned a lot during the past year and the videos were very clear and helpful. I am looking forward to the next video on making the quilt sandwich and quilting it. I hope you do something similar again I would be very excited to join.
Thank you Irene for this fun quilt along. I’m looking forward to the quilting tutorials!!
thank you Irene , I enjoyed the QAL , my first one , I learned so much a long away especially since I am beginner , your teaching style is very clear and easy to understand , thank you so much .
Because of Covid-19 I won’t be able to get my quilt 100% done by November 26th as the lady who has the longarm machine is in NH and I am in VT. I am not allowed to go to NH except for doctor appointments and essentials (groceries). Will I still be eligible if the top is done but it is not quilted? When she does it on the longarm she sandwiches the quilt with the batting and the backing. Please advise. Thank you for everything! I have learned many new techniques. You are an excellent teacher with so much wonderful enthusiasm! Please stay safe and stay well.
Yes. Just the top needs finished.
Quilt top all done and ready for quilting. I’m quilting it in three pieces. I really enjoyed Irene and the group. All were very encouraging and helpful. Looking forward to the next QAL!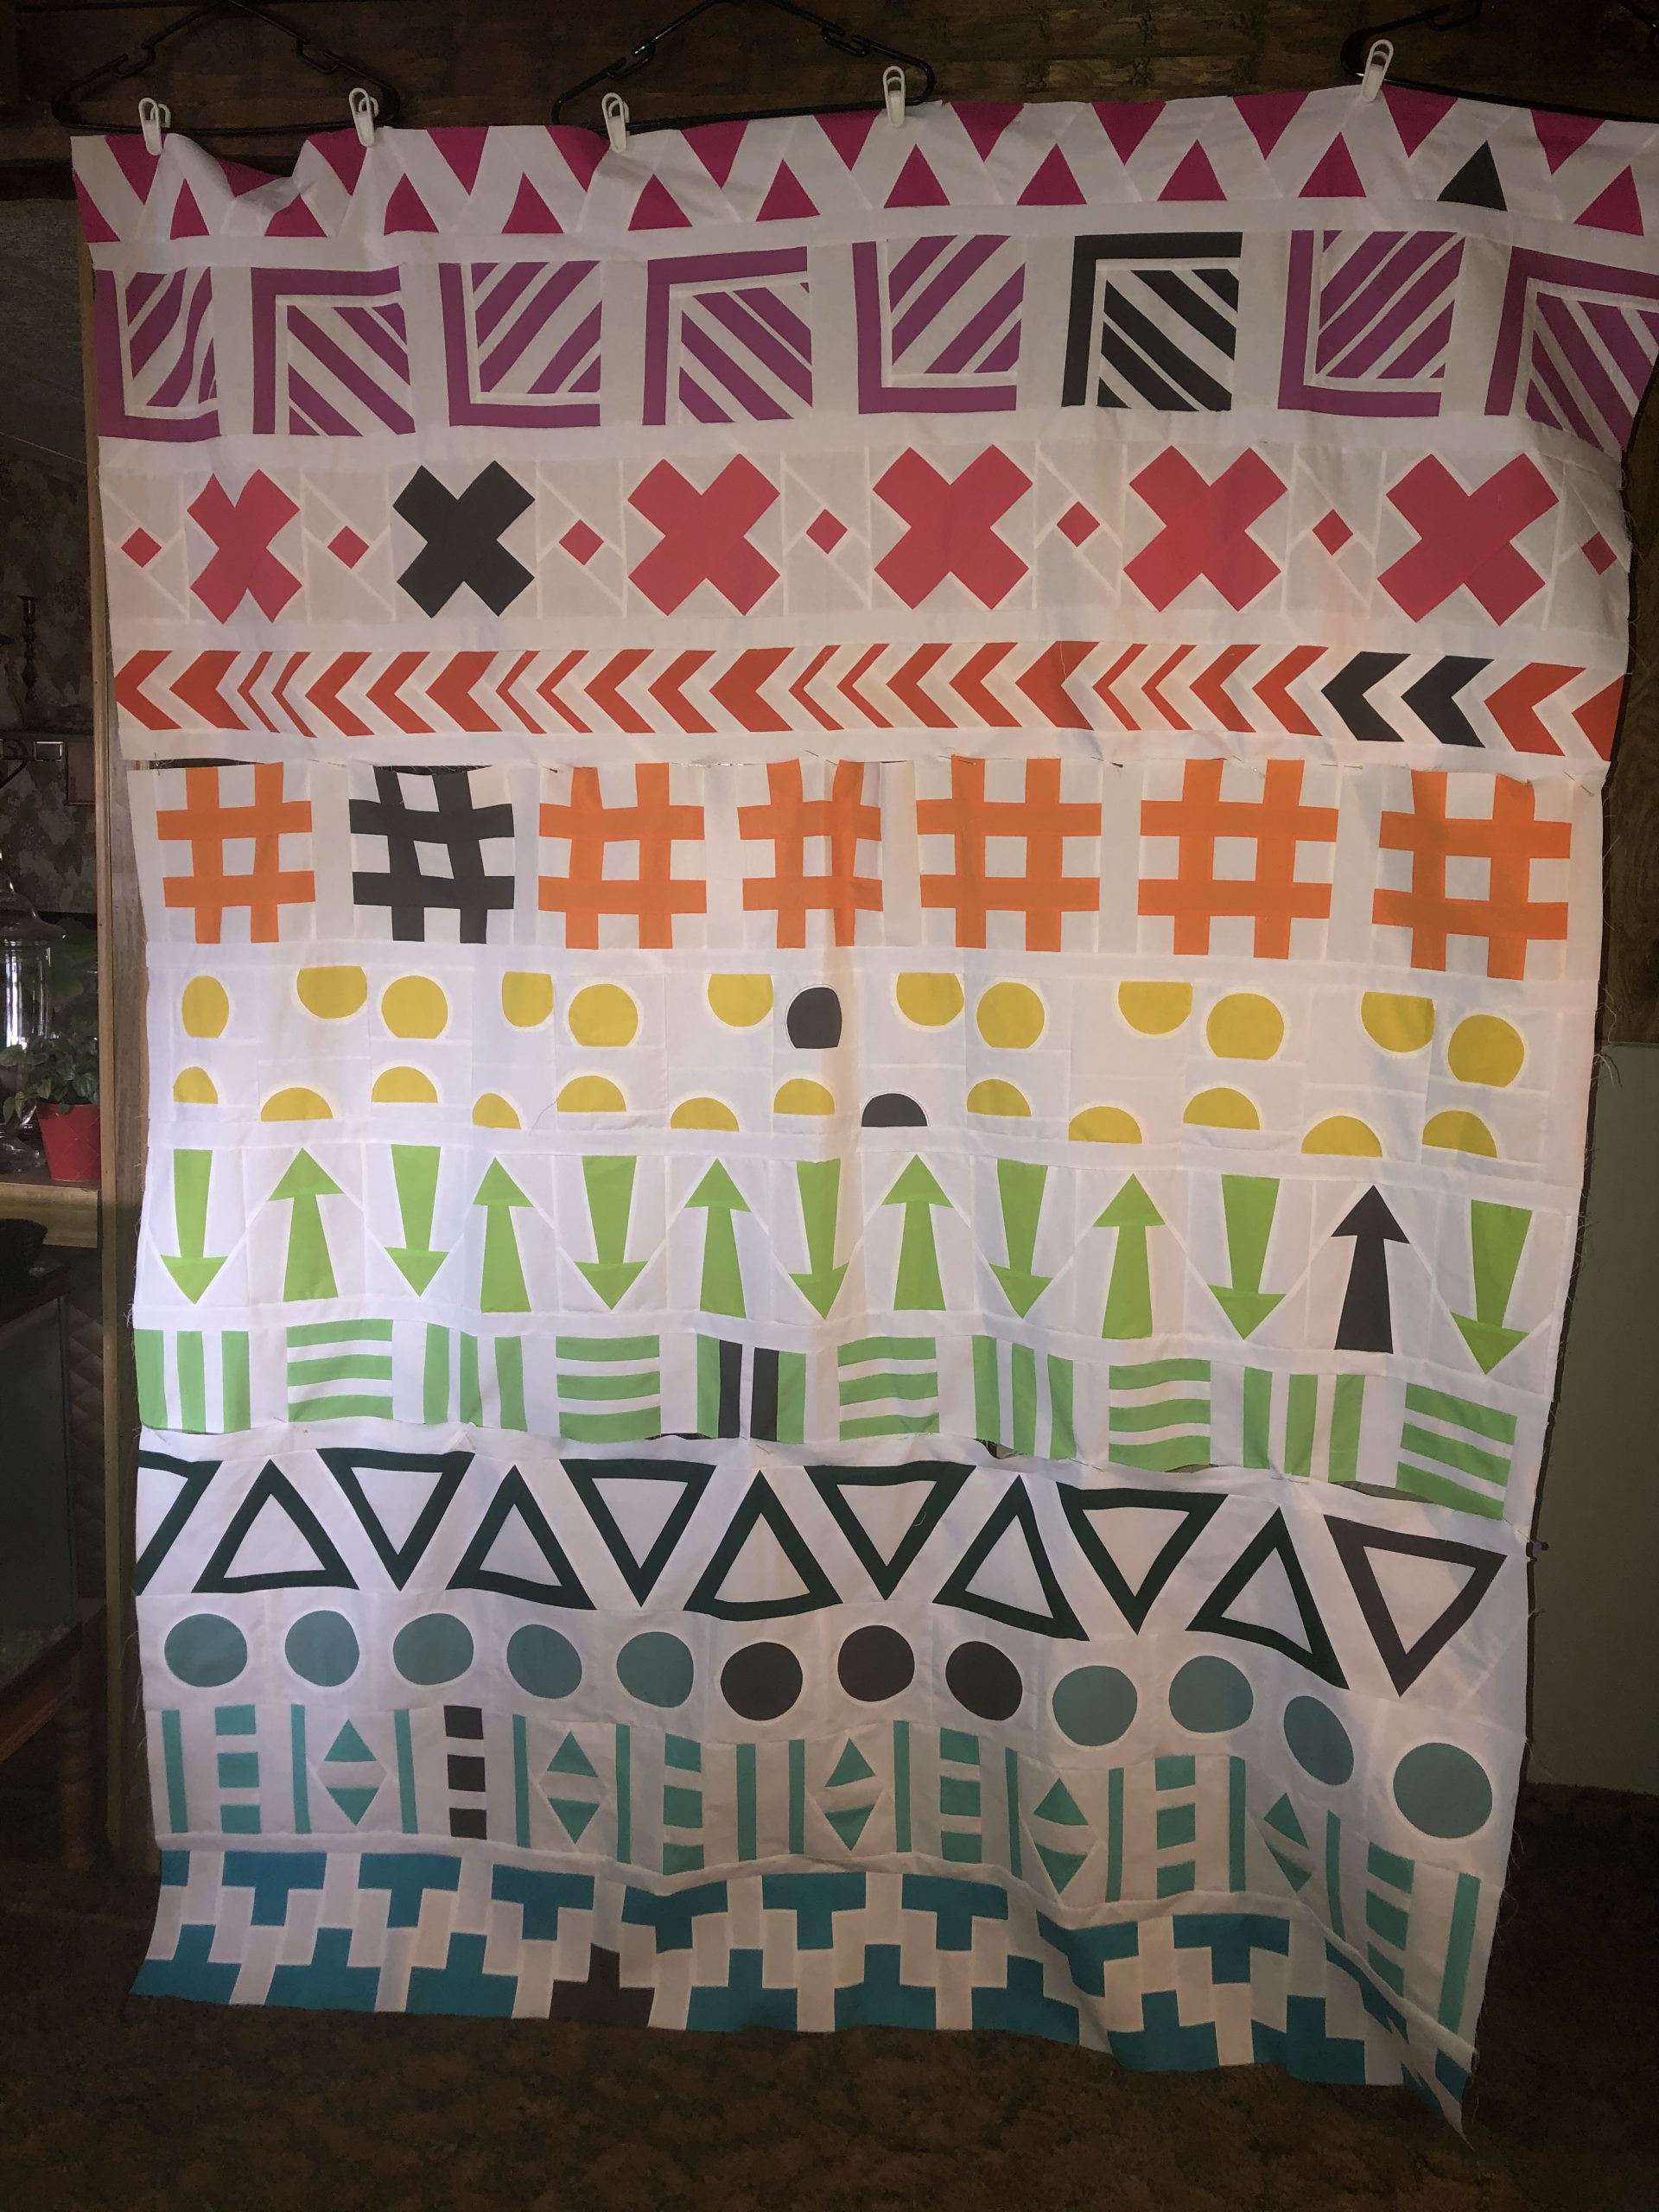
Finished the quilt top . Thank you so mush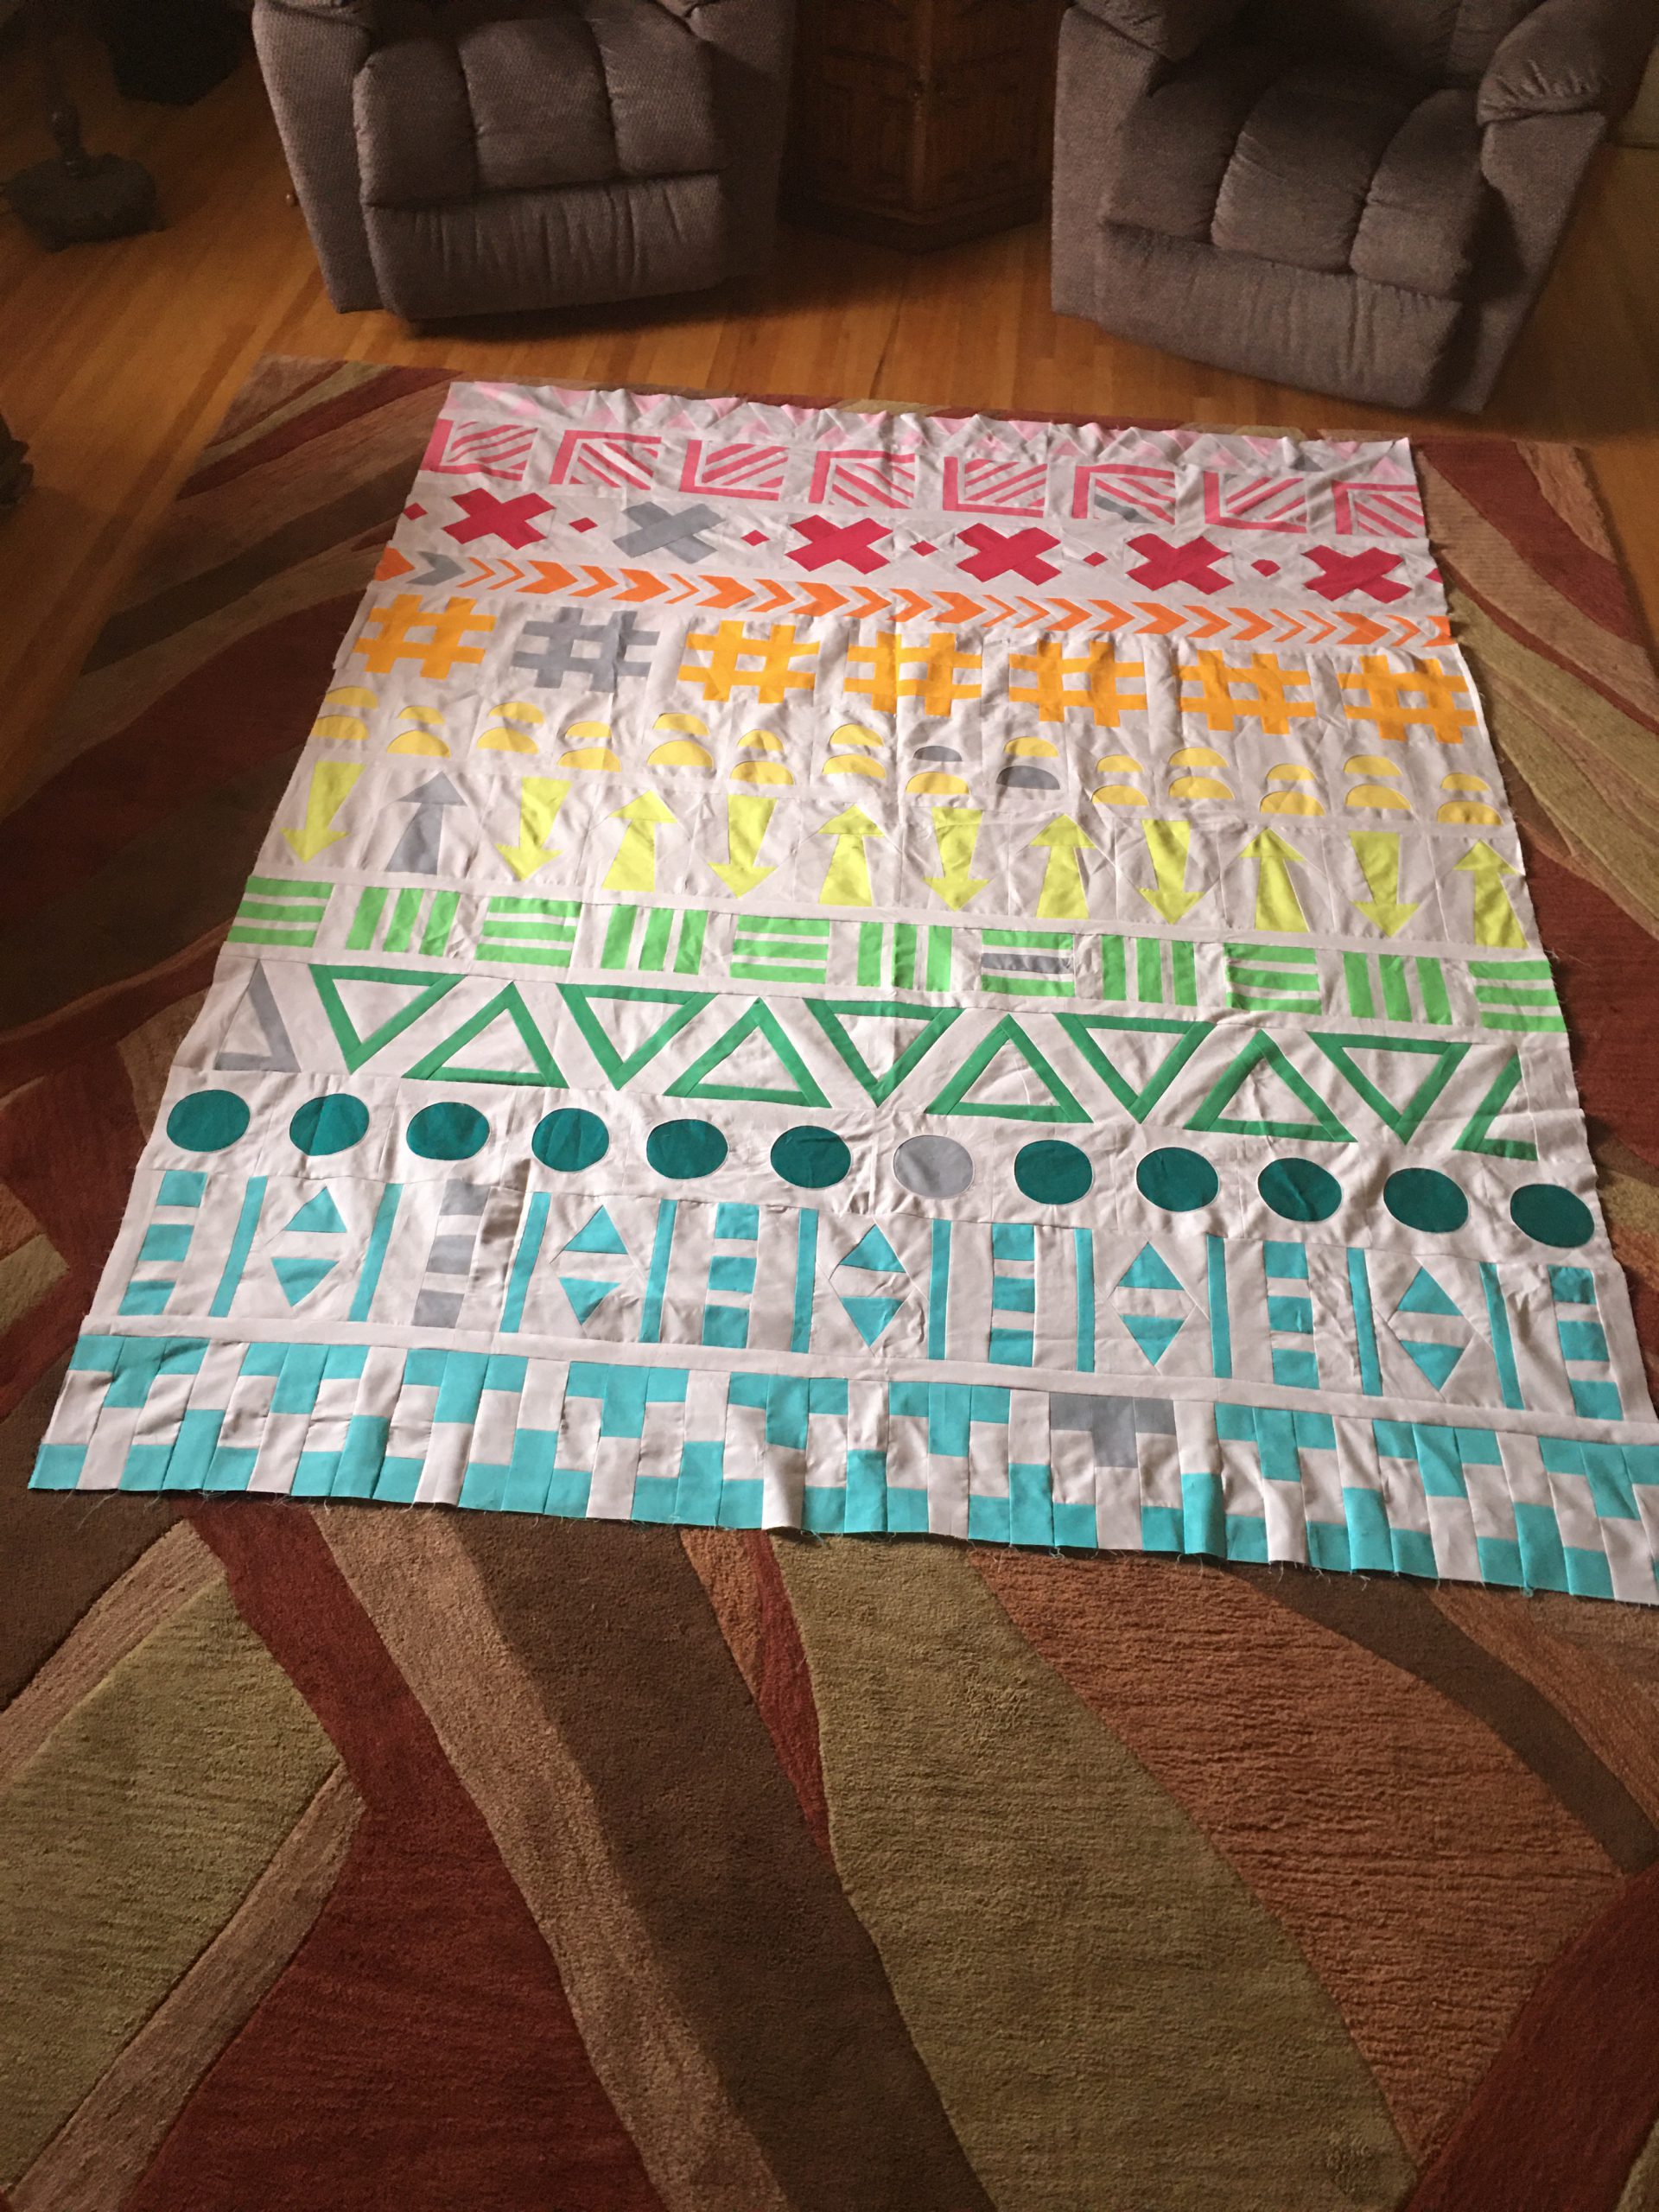
Oops I think I put this in wrong place will try and replace with completed quilt top don’t know how to delete this post/ comment sorry I hope doesn’t disqualify me 🙁
Thank you for such a great QAL. I have learned so many new techniques by joining this group.
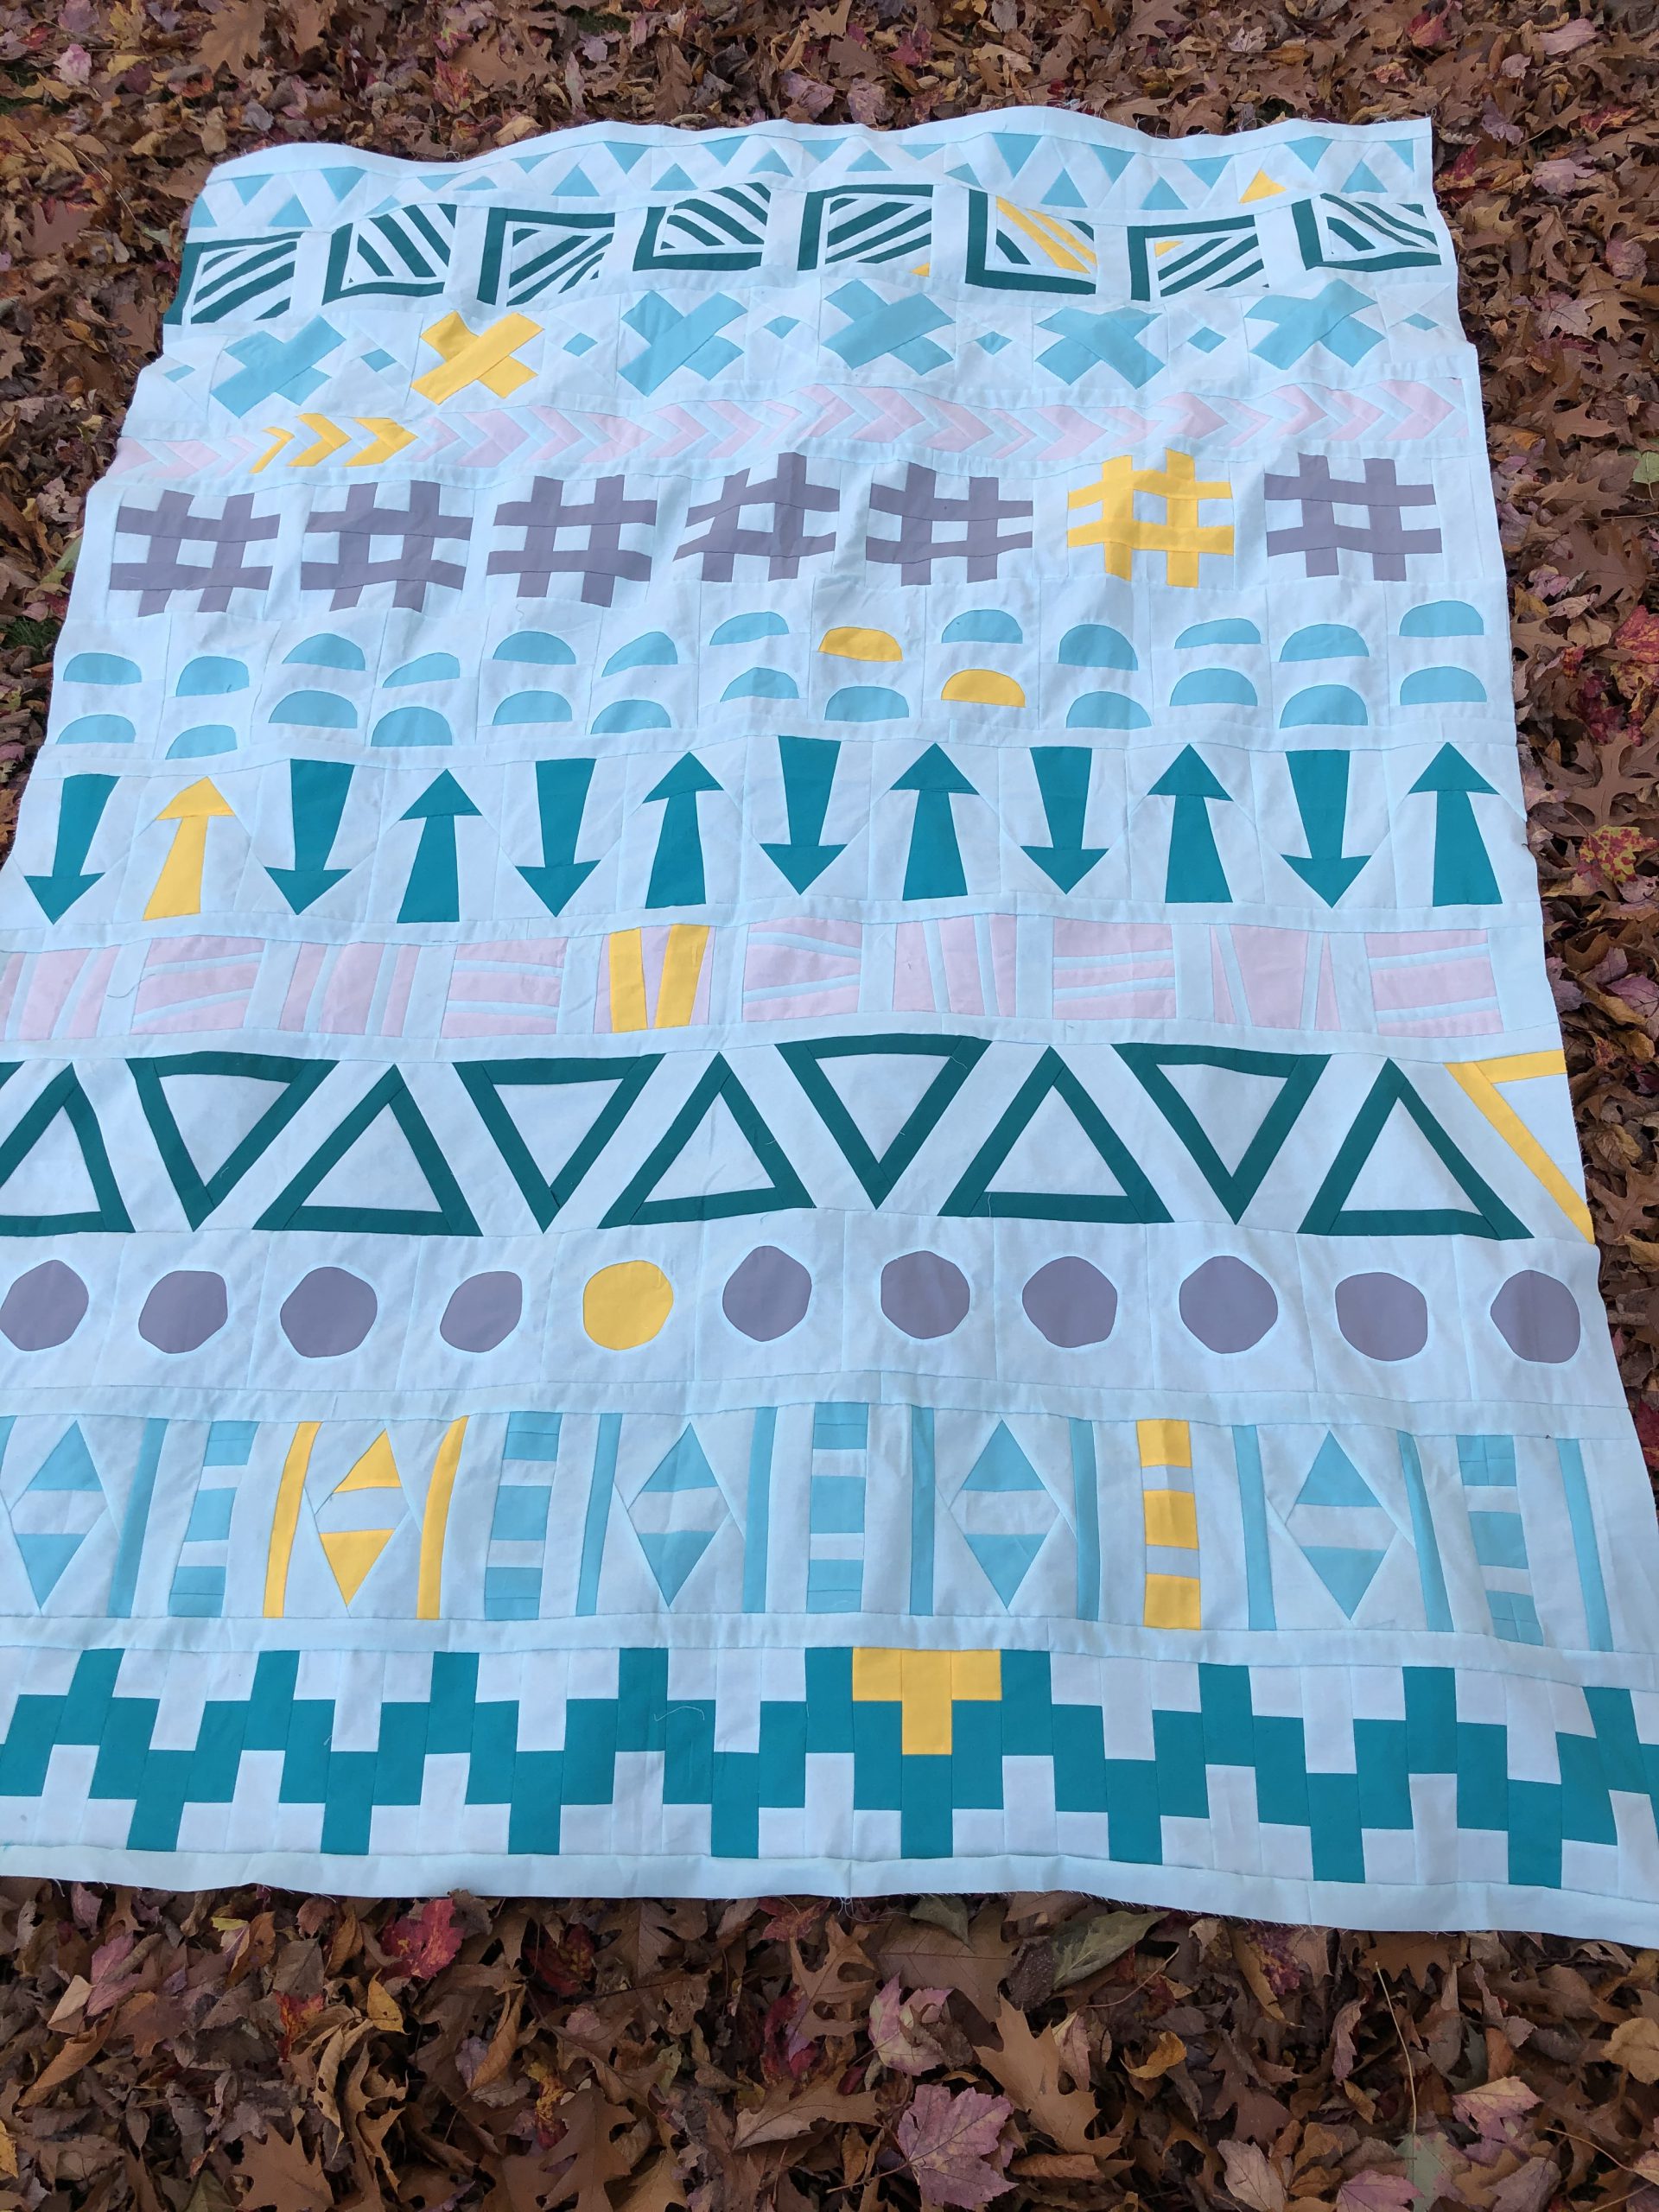
Here’s my completed top.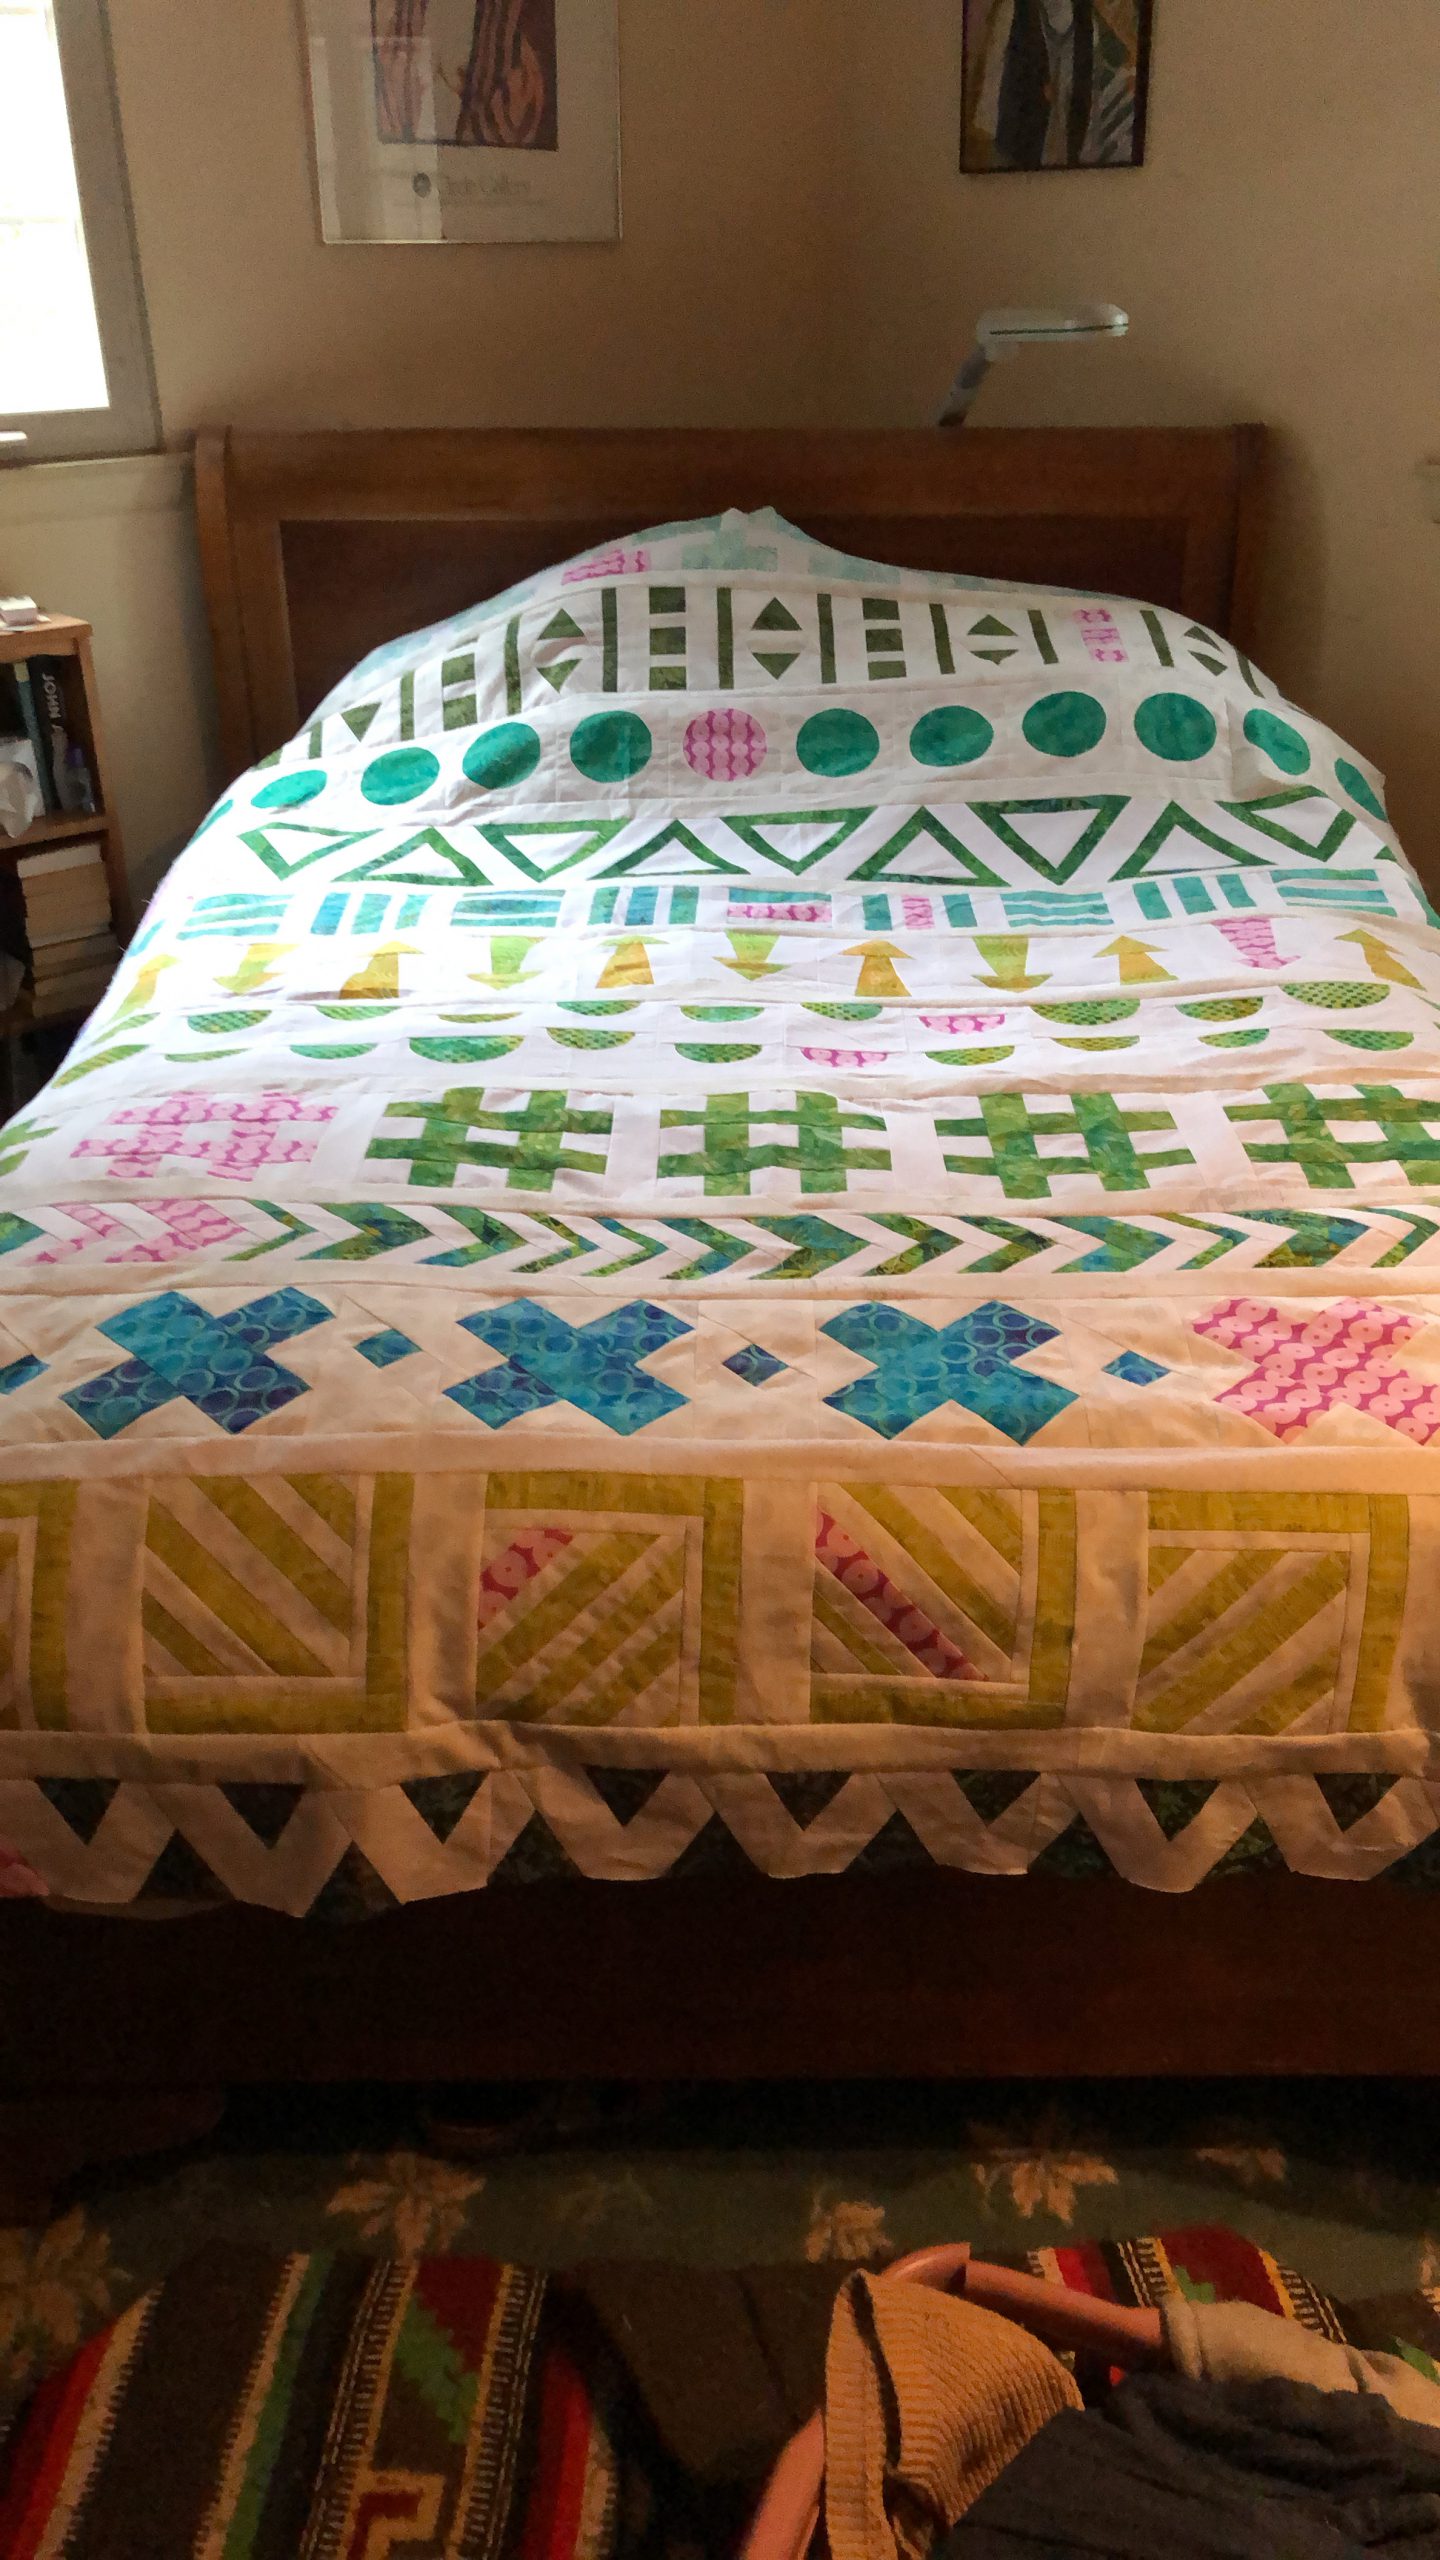
Tadadadadaaaaa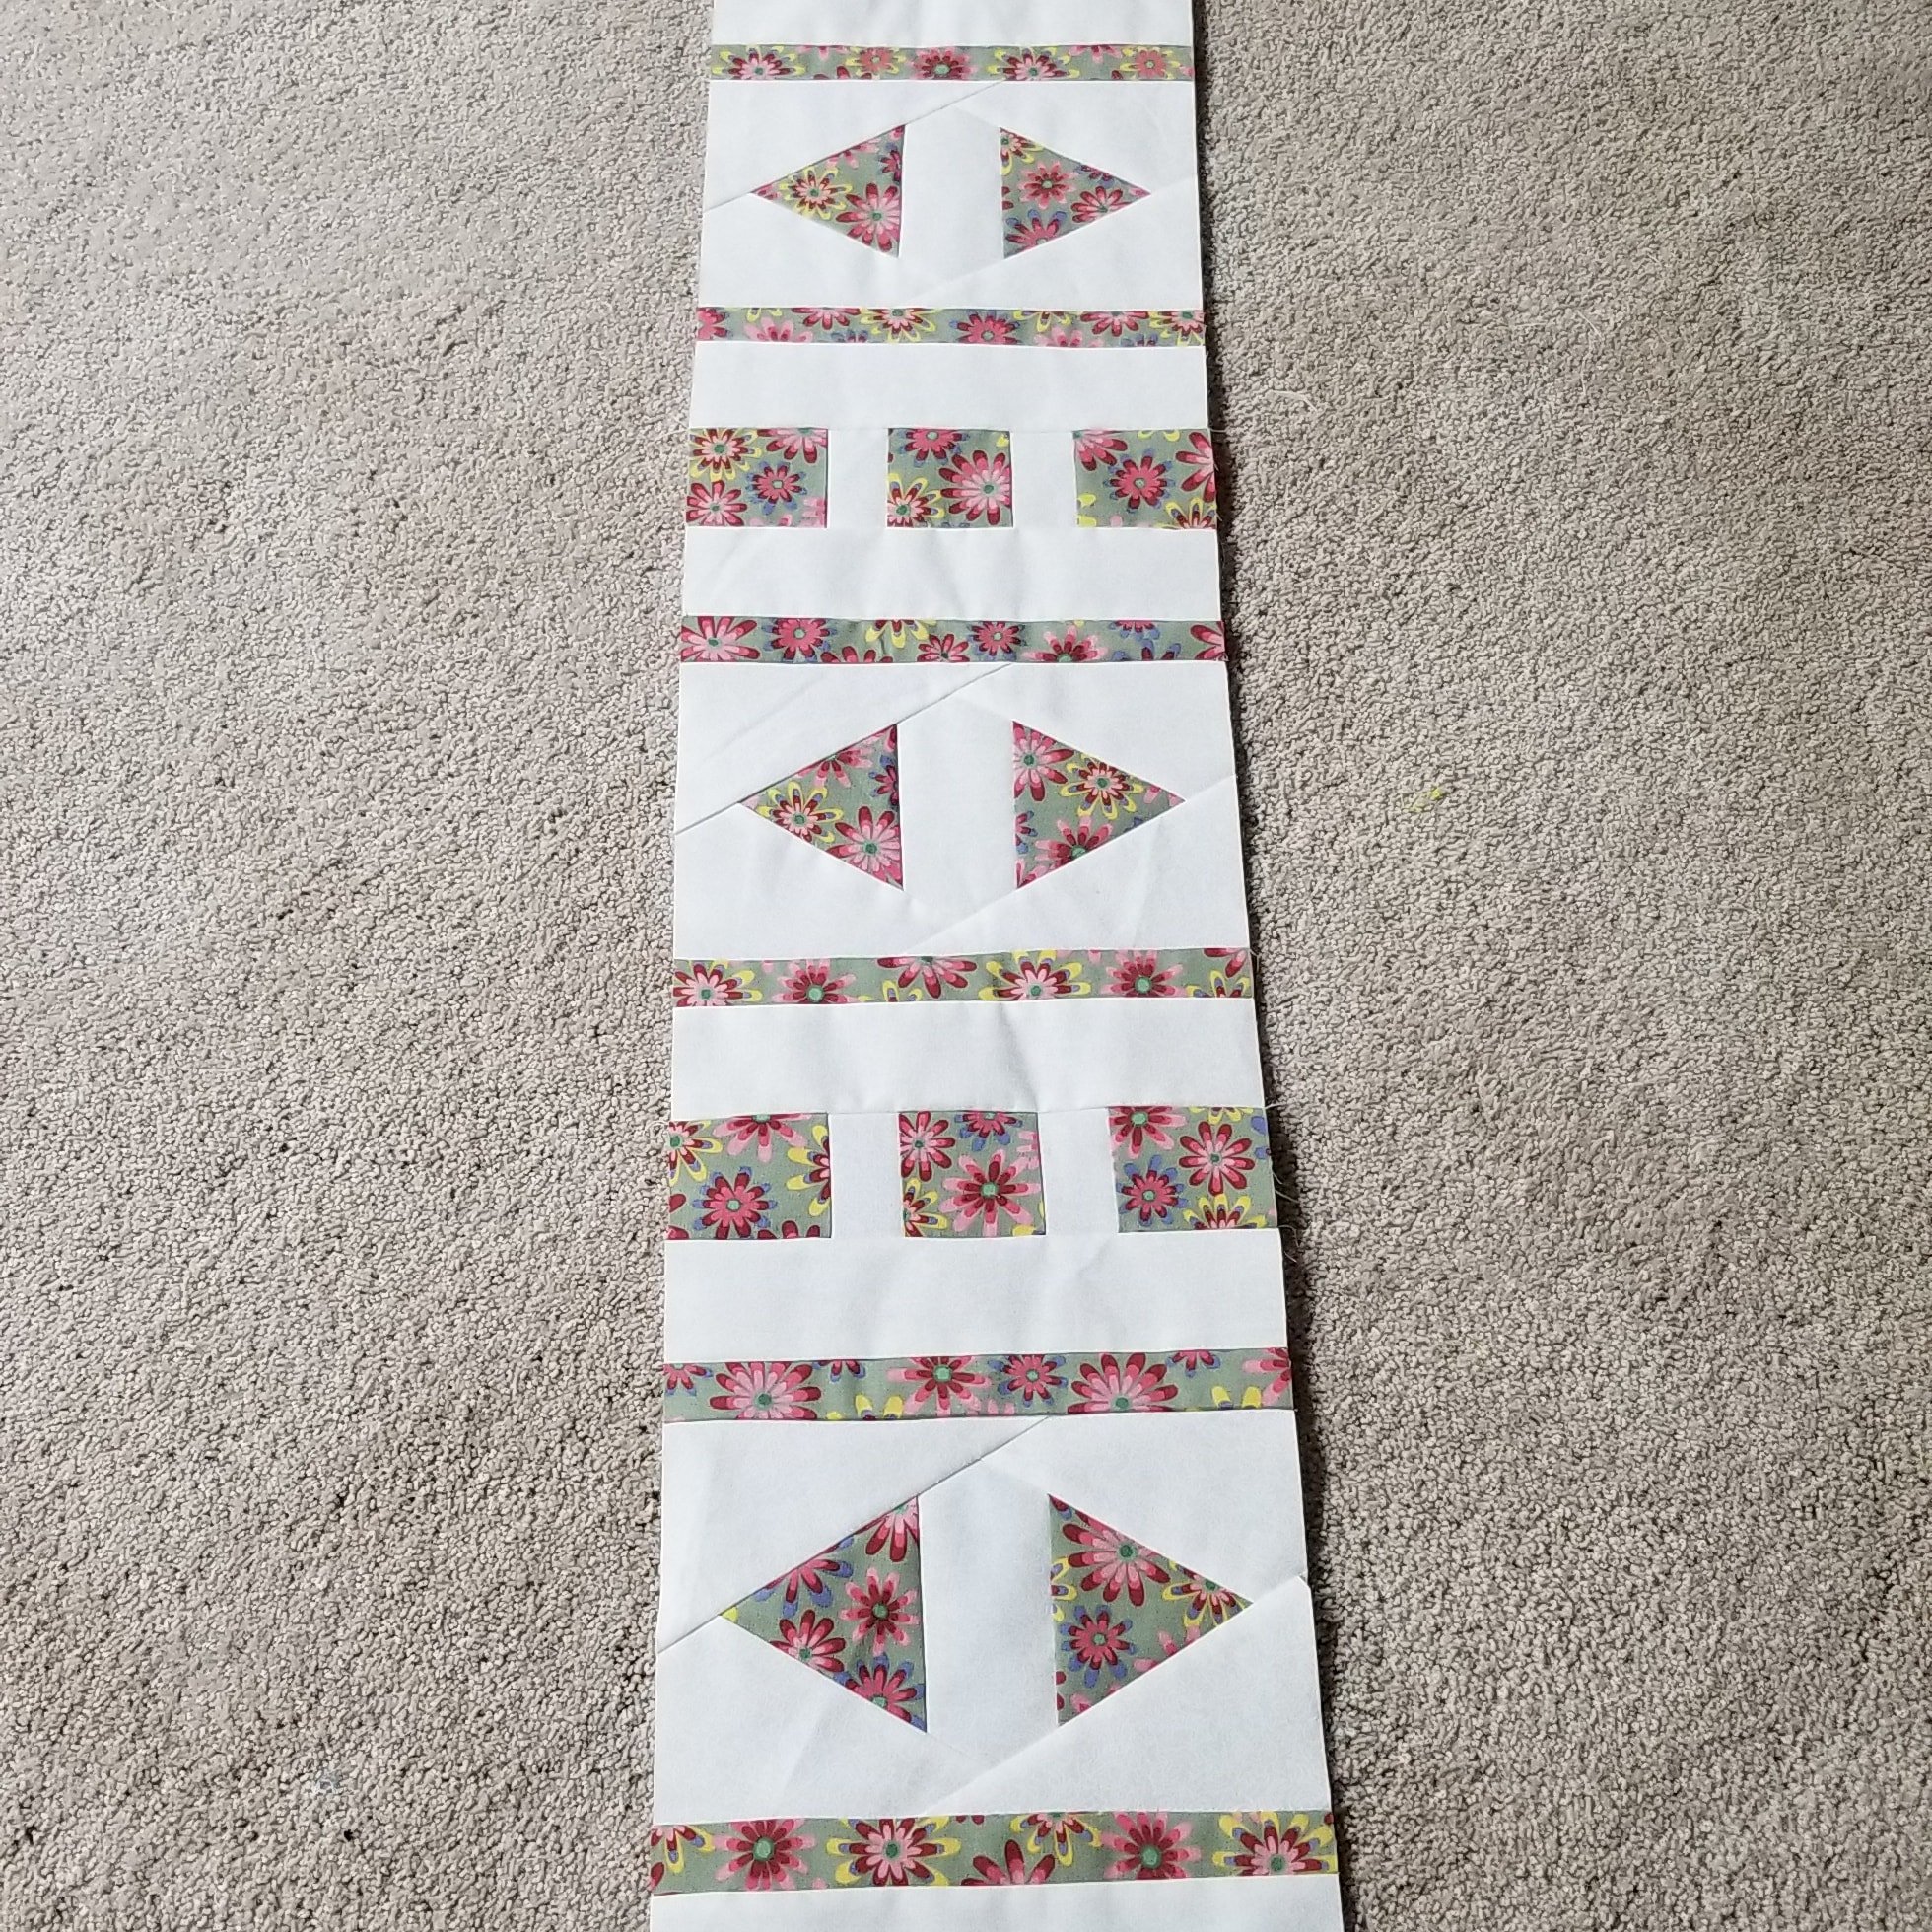
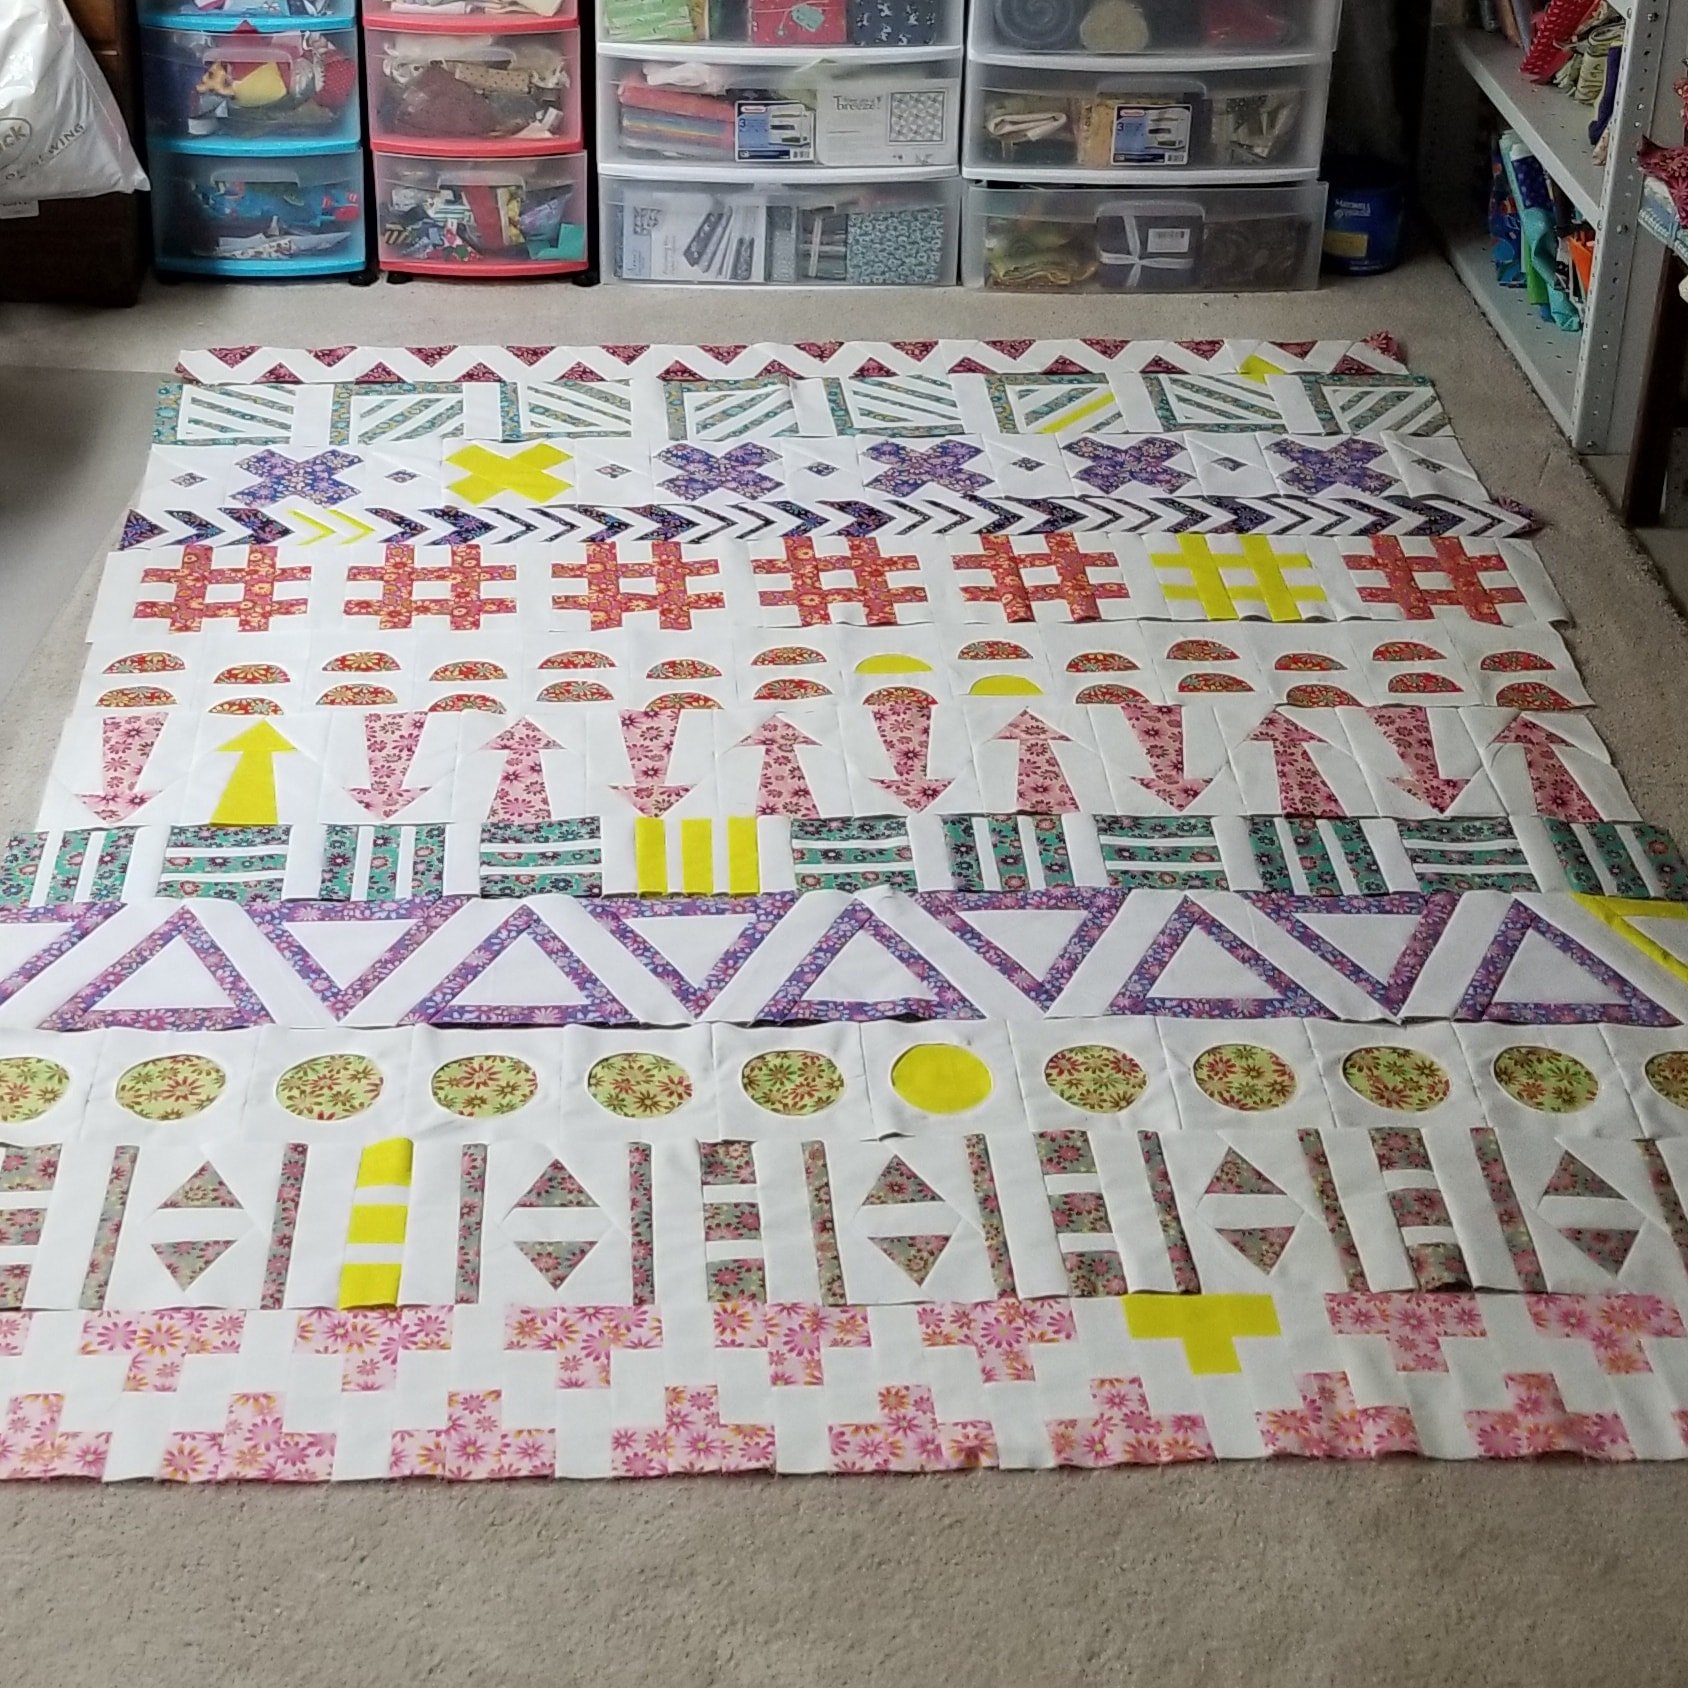
Thank you, Irene, for all your hard work putting this together fo us! After surgery this summer, !after getting a puppy!, I did think I’d be able to do it! Can’t wait for your video this Thursday!
14 “ Strips of background fabric shoulD be 2.5 “ not 1.5”. FYI ?
Yes, I just caught that!
It’s done, it’s Done!!! The final row is completed. I changed the colour at the last minute for a better colour transition between rows 10 and 12. I can’t wait to put it all together. Looking forward to Irene’s demonstration of quilting in thirds.
Pieced in three sections of 4 rows, now to decide what backing I will be working with.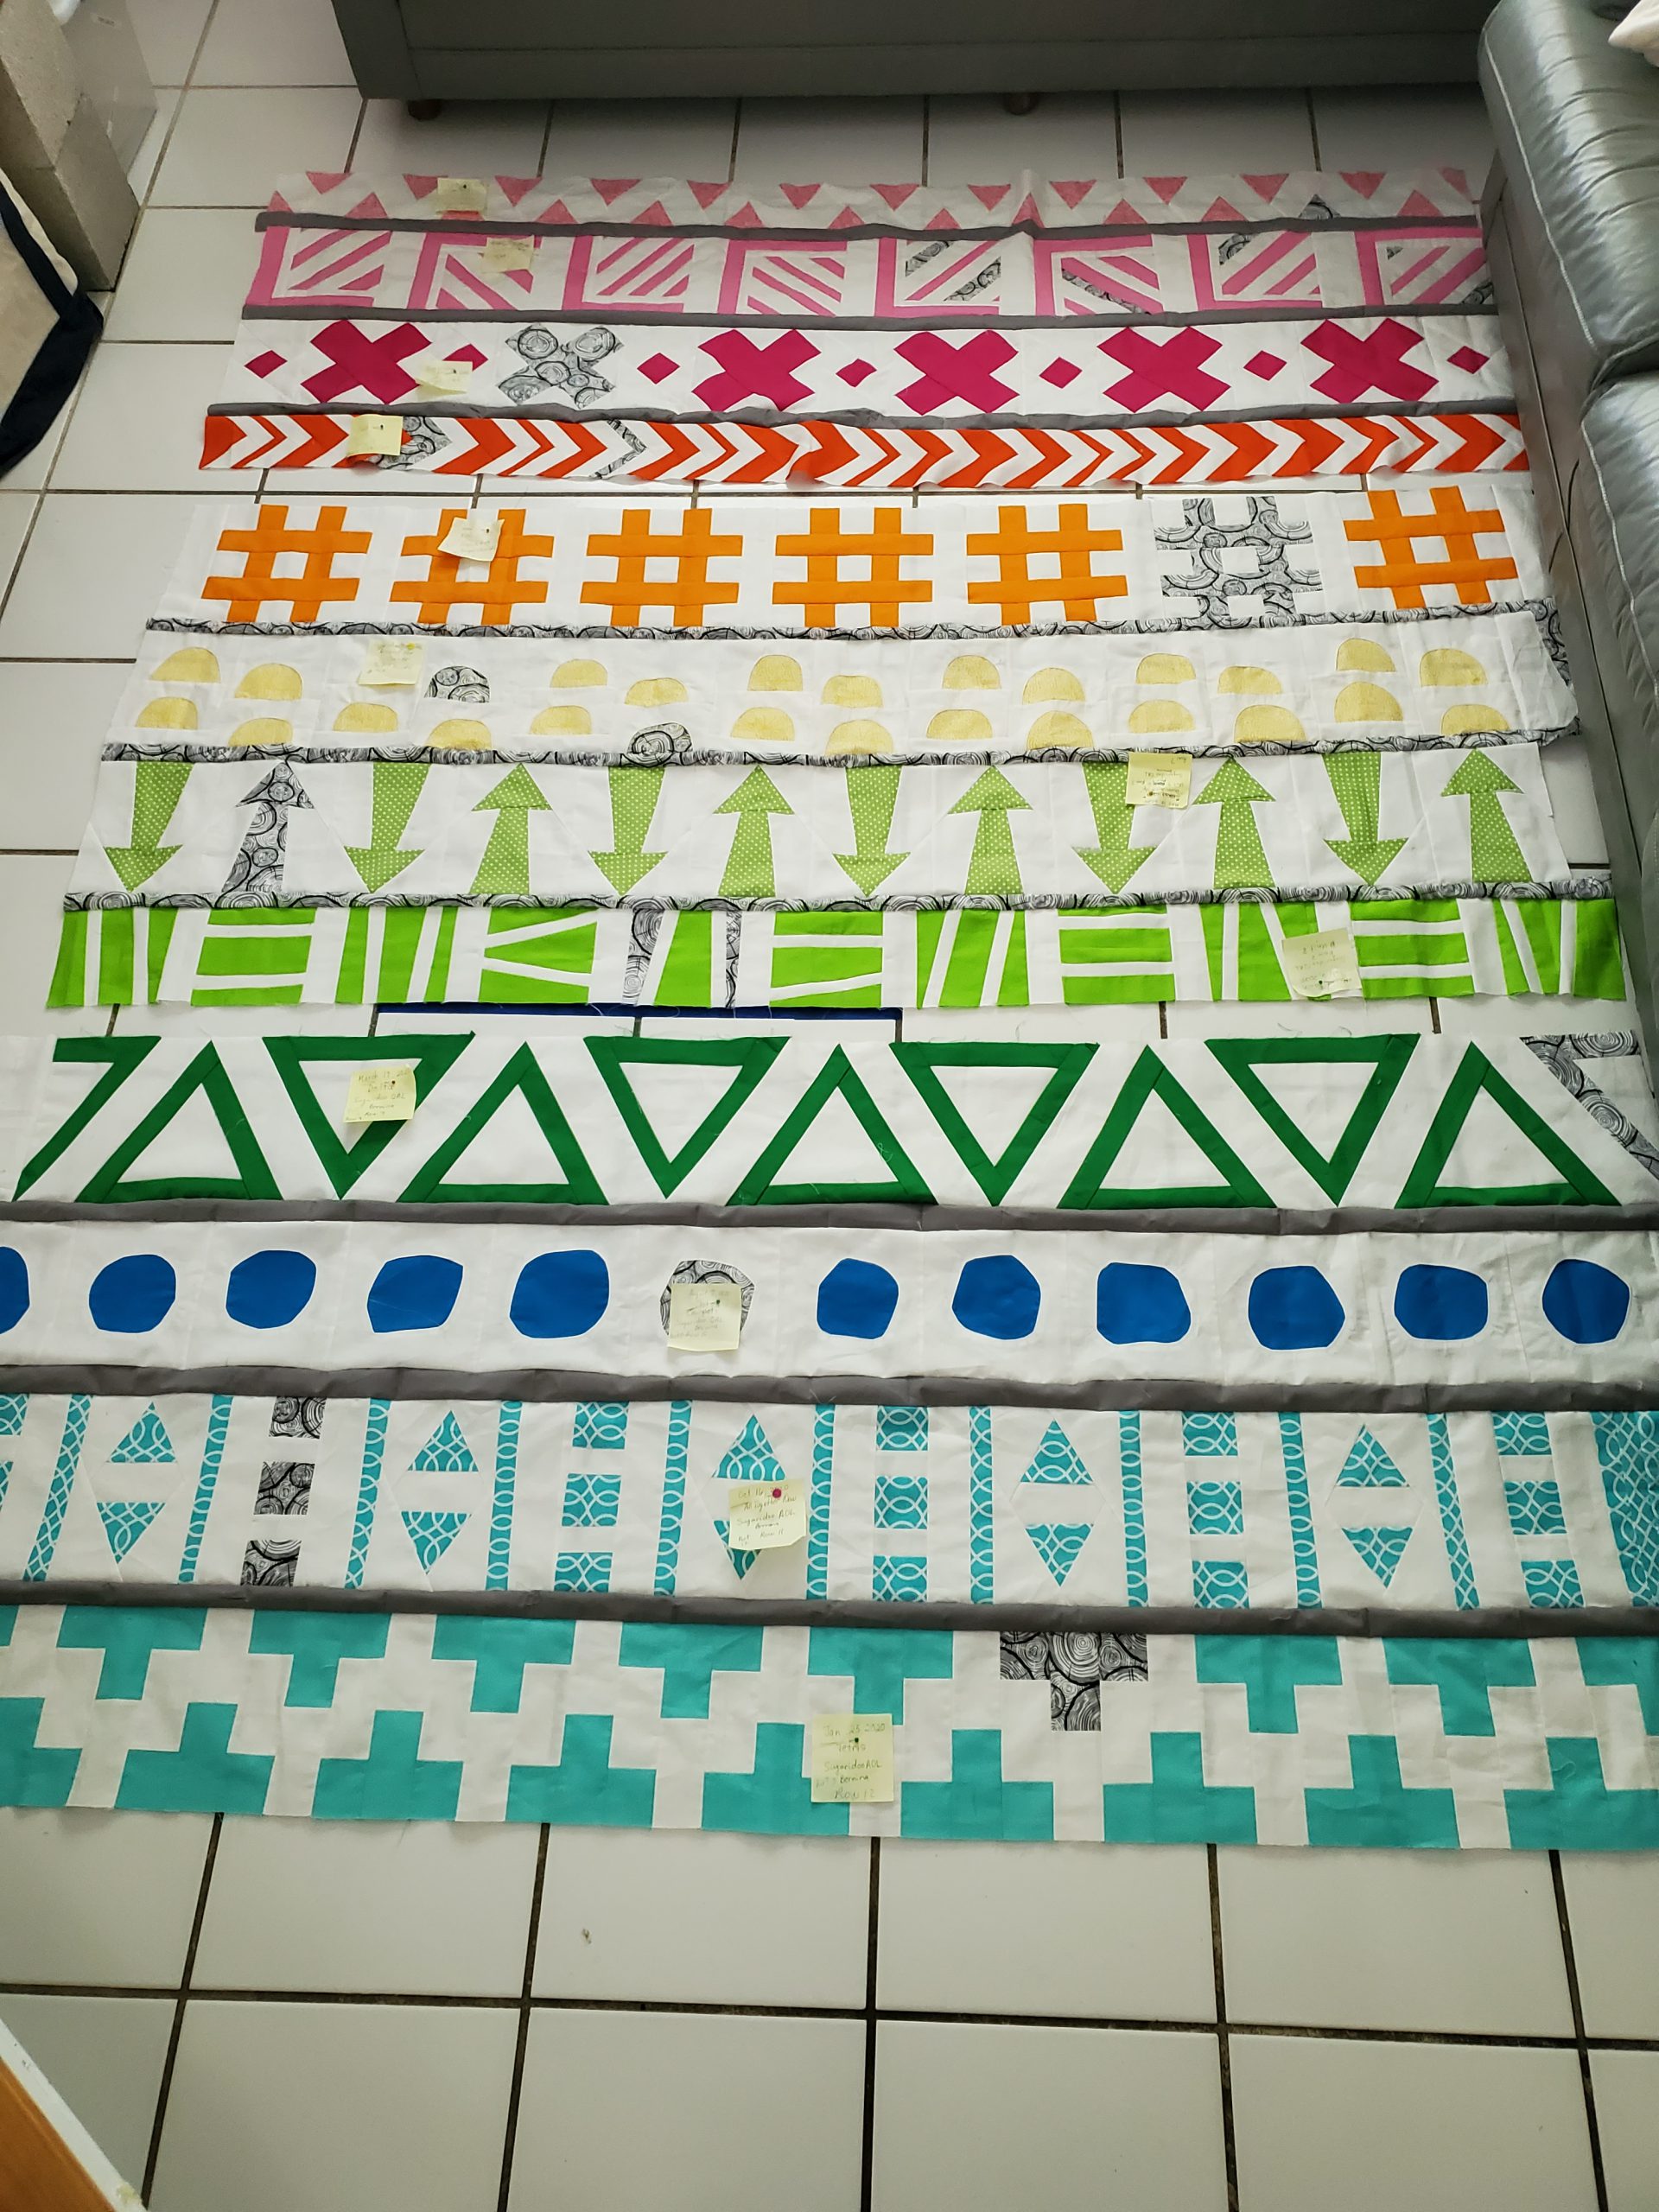
Finished my last row, thank you Irene for a great learning experience. Thank you Bernina for sponsoring this Quilt Along, have learned so much. Congratulations Irene on new baby and wishing Jules the best.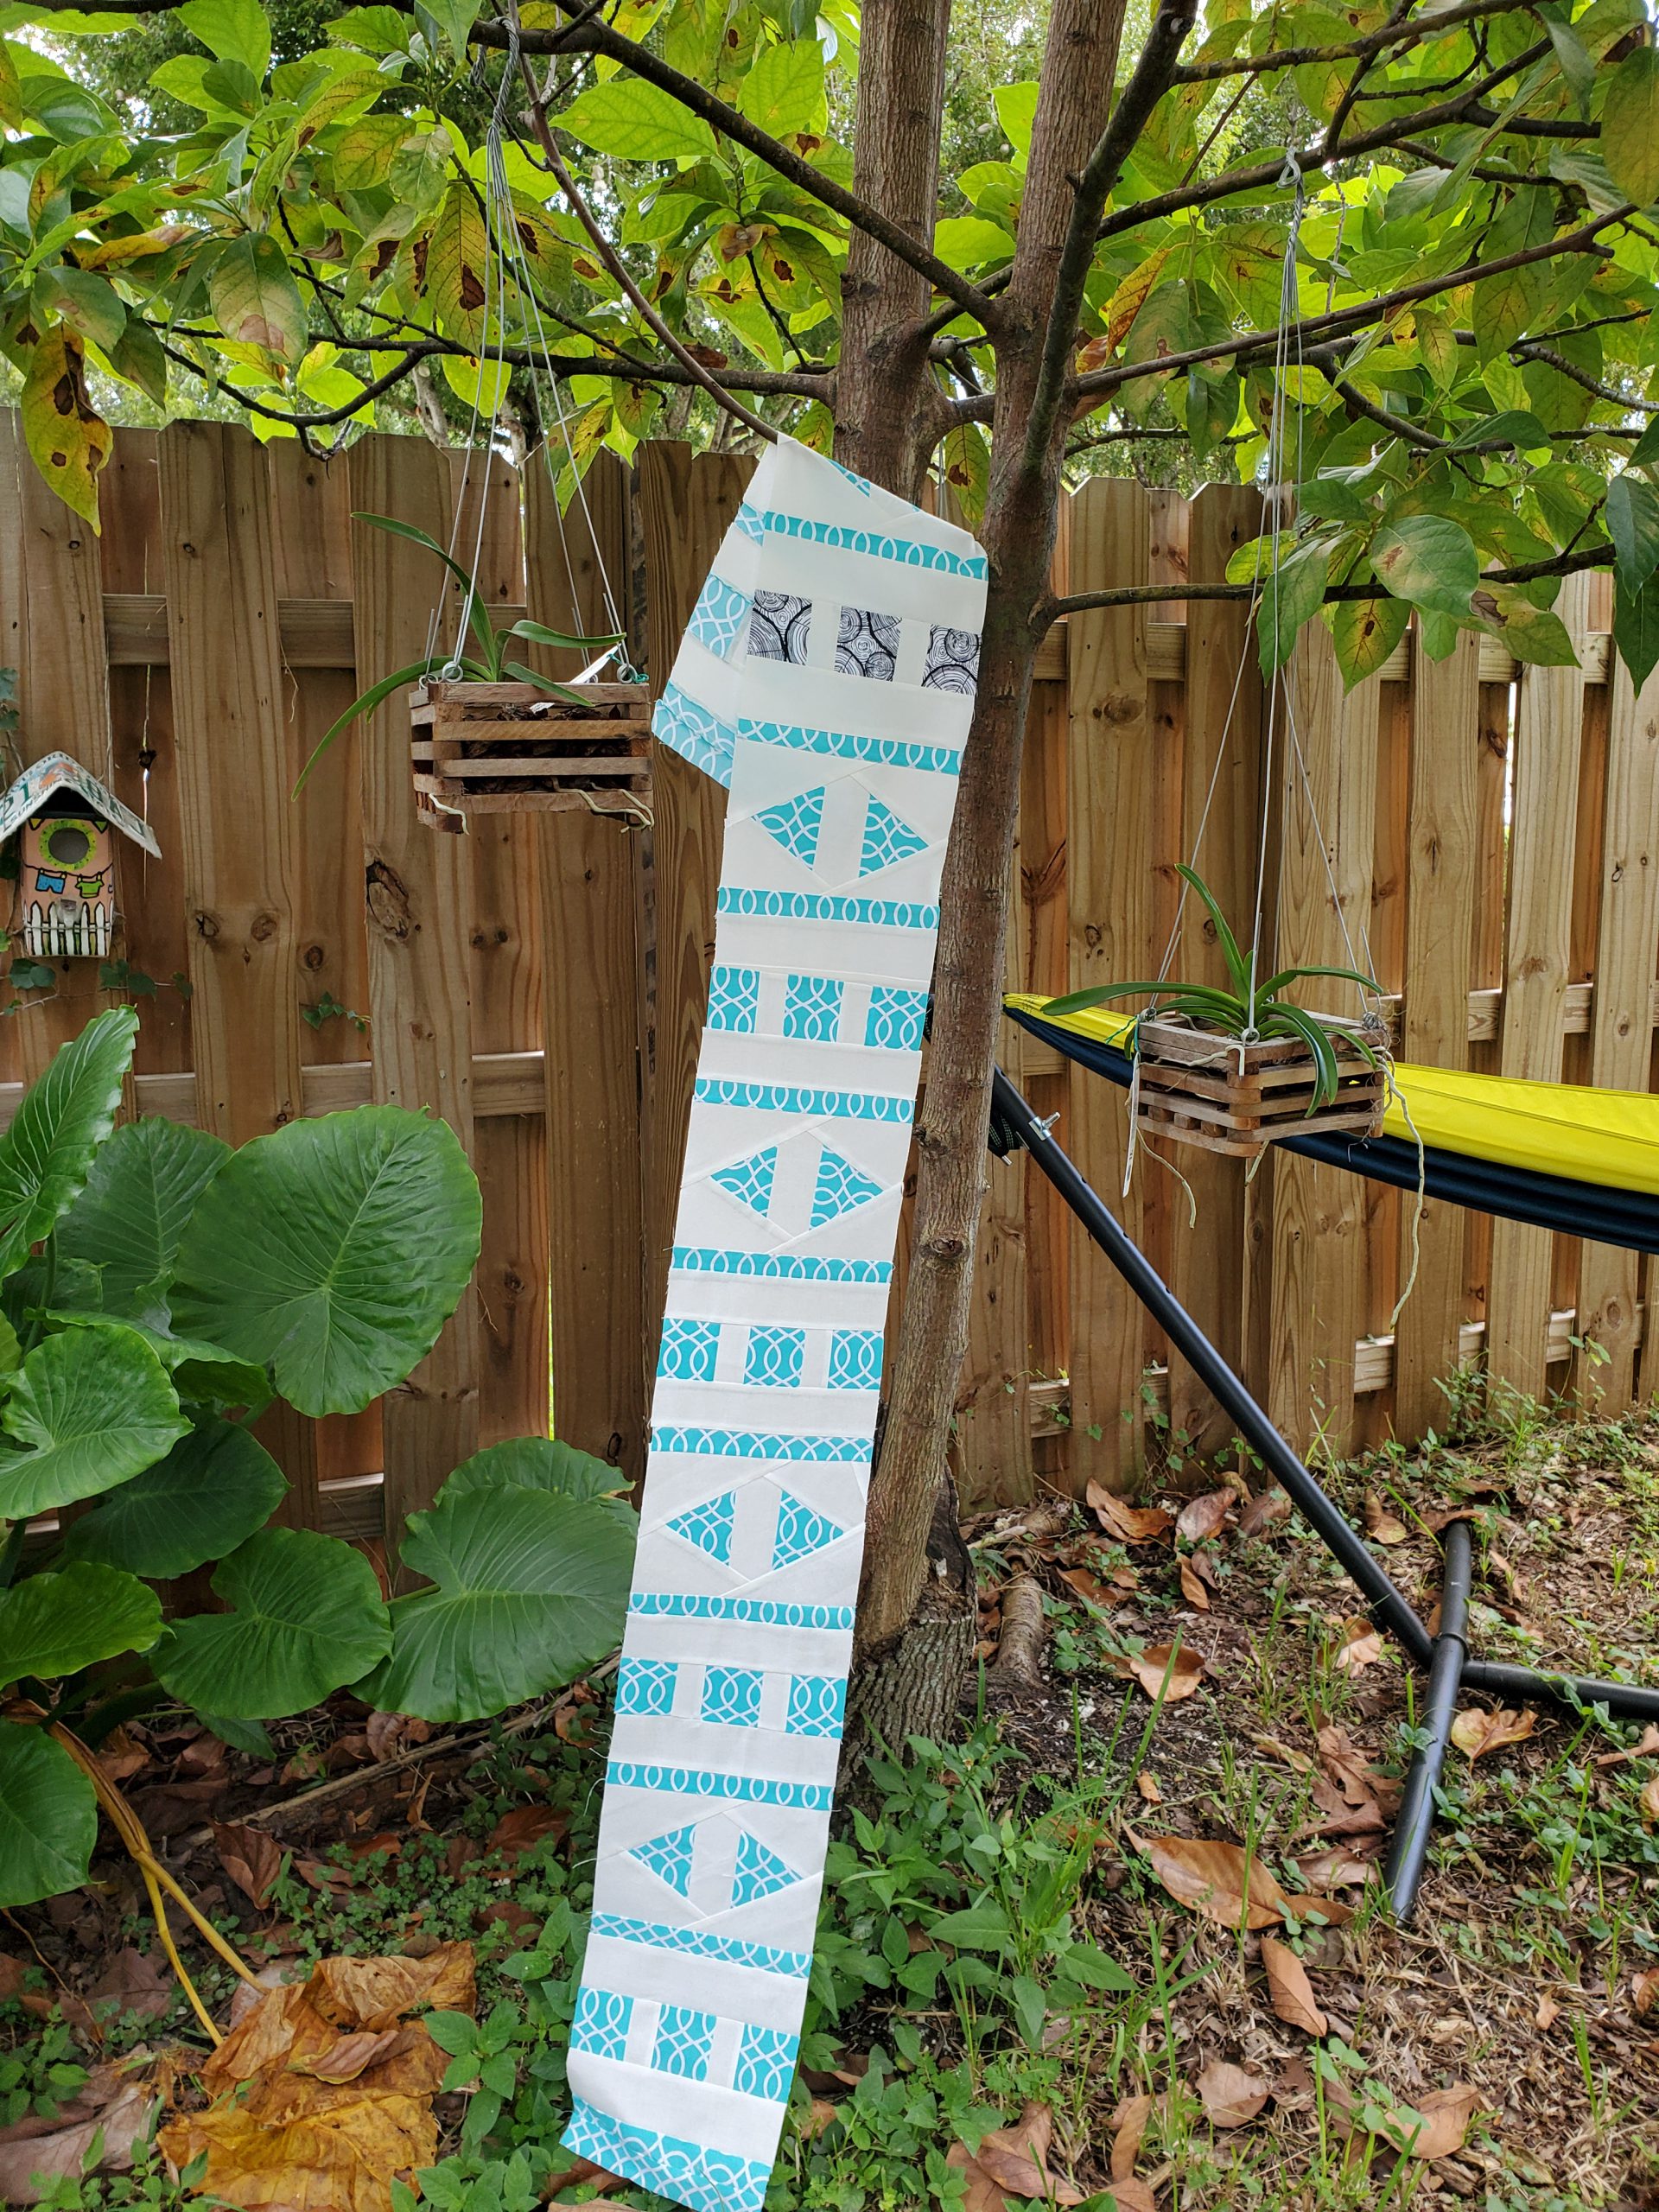
Thank you Irene for this qal. I have enjoyed it very much and learned a lot! Your instruction has been very clear and always enjoyable to watch. This quilt will be adorable! Also, congratulations on your new baby! Best wishes for you and your entire family.
Final row. I did struggle with the paper piecing to make sure I captured all the seams. Happy this row is done.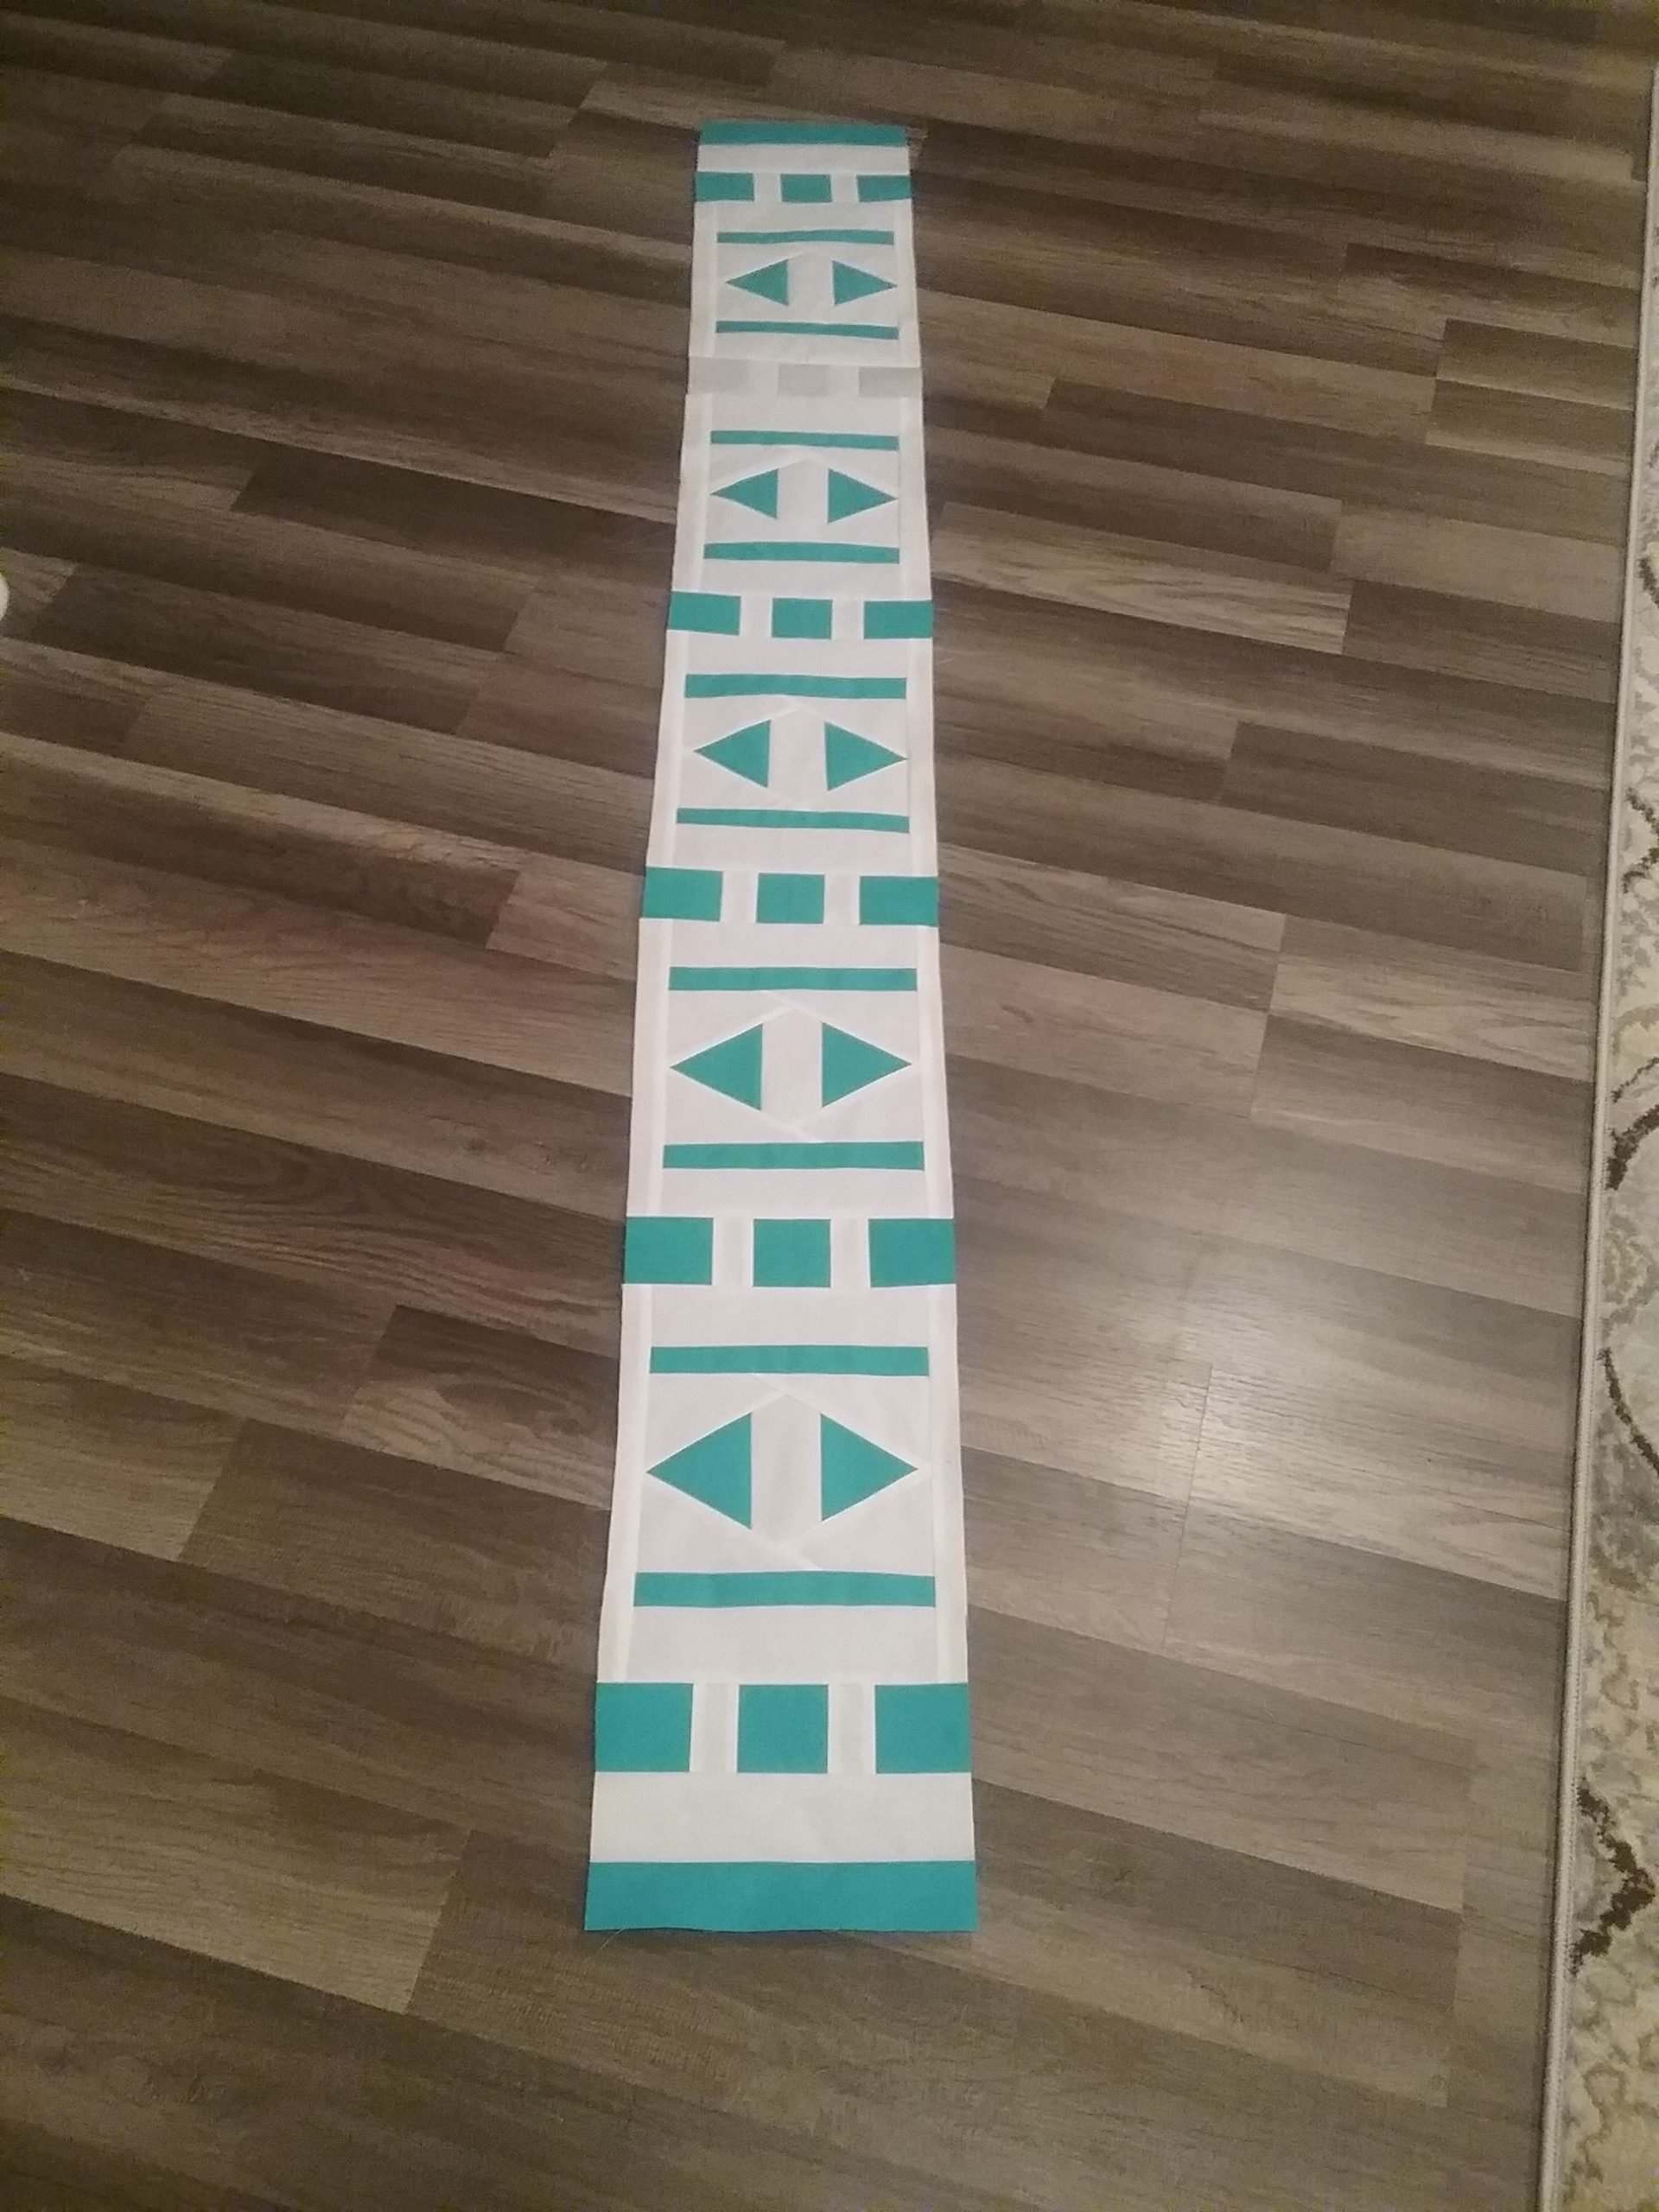
Paper piecing is soo fun!
This was my favorite row yet, I can’t believe we are at the end. Thank you Irene, this was a lot of fun.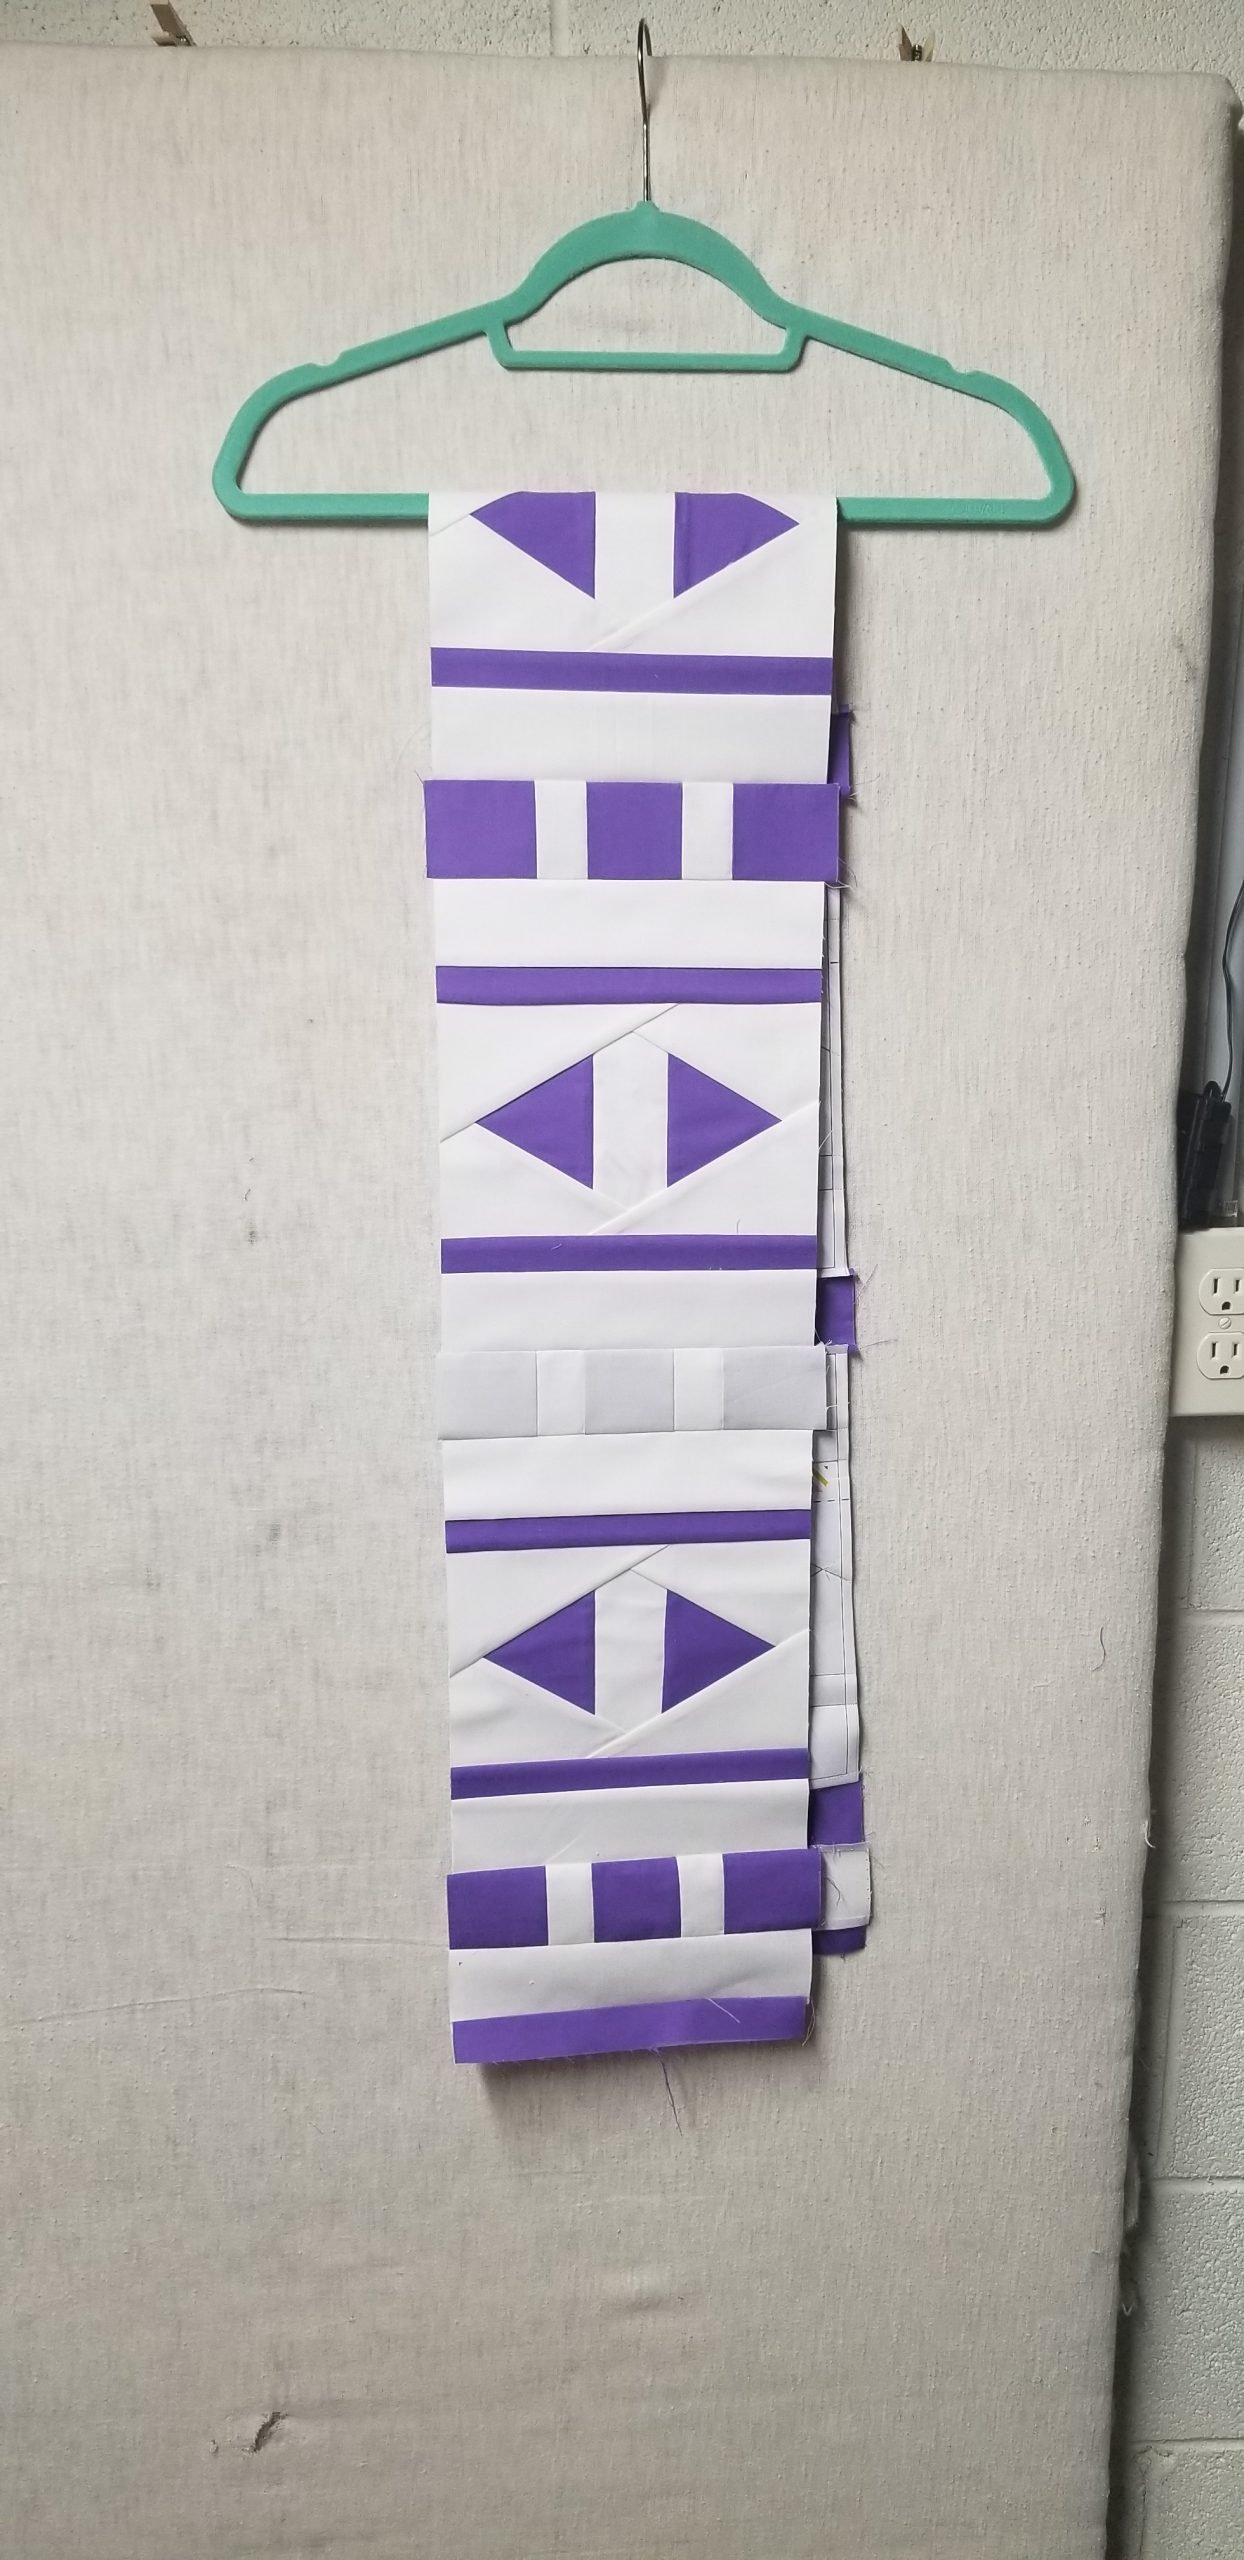
Thank you for such an interesting project. I learned some techniques I am sure I would never have tackled on my own.
This has been a fantastic quilt along. Have learned some new techniques. Really love the way you do paper piecing. Will be using that technique the next paper piecing quilt l do. Thank you! Will miss your “Bubble” personality, which has been a guiding light in this storm that we are living in. Have checked out your blog love some of your other ideas. Have made a couple of your pencil quilts and donated to a woman’s shelter. Thank you for all the fun that l have had doing this quilt along. Looking forward to finishing this quilt and your ideas on quilting it.
The last row in the Bernina Sugaridoo QAL and it was free, thank you team Irene. I’ve thoroughly enjoyed learning new techniques from you and surprised myself in what I can now do. Will definitely be tuning in if you decide to do more. This came at a time we all needed something to keep ourselves going. ????

Thank you Irene for this Quilt along. I would have given up long ago but you have a way to encourage people to keep on going. Happy to be almost finish but sad to have finished as well. Still working on my last row. I do need to put sashing between my rows because I had to use what I had on hand. How wide should my sashing be?
Loved this row…had a lot of fun with it. Happy Days but Sad Ending! Irene I hope you plan to do another QAL – Love your energy.
Irene, I was wondering if it is possible to use the Rainbow Backing while still quilting it in three sections. I would like to try that if possible. I like both ideas. Thanks.
I didn’t see the 1”square on the printing of the pattern and my blocks are 7 3/4” instead of 8 1/2”. Please reshoot the photo of the strip pieces so the strips are alternating 2 1/2” and 1 1/2”. I looked and sewed them together before I read. Another error!
I cant get the pattern to print the tight size either, and by all the posts I’ve read, alot of us have had that problem. The part 12 q&a is oct 17th. Im hoping this is addressed and fixed by then.
Thank you Irene and everyone who made this QAL possible. It was fun and a great learning experience. I learned several new techniques that I know I will continue to use.
Thank you again!
Kathy
Thank you so much Kathy!
Thankyou Irene and team, for this qal, really had fun with new techniques and lovely comments and photos of all the fabulous quilts coming together. Stay safe and well. xx
So nice to hear that. Thank you Karen!
You are so lovely, you made me laugh when you said you forgot your nail polish. Will miss your happy videos. Take care. x
Lots of fun Irene, thank you! I looked for your nails right away and noticed you had forgot! Now, back to my sewing room to finish this row!
Haha yes.. I forgot it completely, only noticed it myself half way filming the video.
When the paper piece pattern is printed, should it be 8 1/2” tall?
Yes
Mine prints to 8″ tall.
8.5″ with seam allowance.
Yes that’s correct. The row is 8 inch hight, 8 1/2″ including seam allowance.
Thank you, Irene for this wonderful quilt along. It couldn’t have come at a more appropriate time. I really have enjoyed learning new techniques. Your teaching skills are superb! Can’t wait to put this whole quilt together and actually do the quilting! I will be sad to see this project end.
That’s great to hear Debbie! Thanks for joining along. I also had so much fun rolling out the new row every four weeks. Can’t wait to see all the finished quilts.
Thank you Irene for such a wonderful project to participate in during this time. Your smiles, talent and inspiration had me do techniques that I probably would have never tried. Although I was late starting by a few months, I easily caught up with your terrific instructions. I actually made the rows with leftovers from previous projects and quilts. I am not sure how chaotic it will look when it is all done, but it fits perfectly with all our world has endured in 2020. I hope you will do another QAL in the future. I am sad this will be coming to an end, but I have a feeling you will have many more projects for us in the future. Good health and happiness to you and your family.
Thank you so much for your lovely message Dianne. So happy to hear that it encouraged you to try new things. That’s so great! I would love to do another QAL in the future 🙂 Hugs!
Once again. I love this row and can’t wait to get started!! Thank you for sharing your creativity with us, Itene and all your positivity!
be well!
Thank you so much Kris!
Thank you Irene for your bright and happy personality! I have had a great time with our QAL! I hope you do another! Such a happy and colorful quilt! I just love it! Learning to do reverse applique was fun and I have grown to like sewing and cutting on a 45! lol
I wish you, your family and Sugaridoo all the love and happiness!
Thank you so much!
That really put’s a smile on my face dear Lonie, thank you so much for sharing. Yes I really hope to do another QAL next year.
Thank you for your enthusiasm, energy and creative spirit. I’m a long time quilter and enjoy learning how other quilters design and piece their quilts. Yes I’m all caught up and will be sewing the last row in the next few days. So glad this quilt along happened during this difficult year. Thank you again.
Thank you so so much Diane. Great that you’re all caught up! It’s been quite a year indeed, the QAL was for me as well a nice way of focusing on happy things. Hugs!
I love it, I have learned so much. I will be happy to see it to completion. Thank you for all the fun this has been so far!!!
Are you going to take us through the sandwich process along with the quilting process as well as binding? I don’t know how to do the finishing. We do have to complete this process in order to qualify for drawing yes?
I have completed the foundation blocks and the squares but when I went to sew them together the foundation blocks were an inch shorter than the square sections.
I do not have any more background fabric. What do you suggest?
Hi Linda, maybe you can cut off a little bit off the squares strips on the top and bottom to make them the same height as the foundation blocks.
To qualify, you need to finish all the rows, and join them together either in one large top, or 3 sections. And of course post everything on the Bernina blog or Instagram.
Not Helpful!
I have tried countless times to get on the Bernina blog with no success.
I do not do Facebook.
Thanks for your reply Itejeda, that’s correct!
Hi Linda, what goes wrong when you try te get on the Bernina blog?
Hi Kathryn, Yes I’m going to take you through all the steps! I’m even going to make a mini series on how to quilt the quilt in two ways. You only need to finish the quilt top in order to quality. All the information about how to enter will be on the Bernina blog in a few weeks.